This post contain affiliate links.
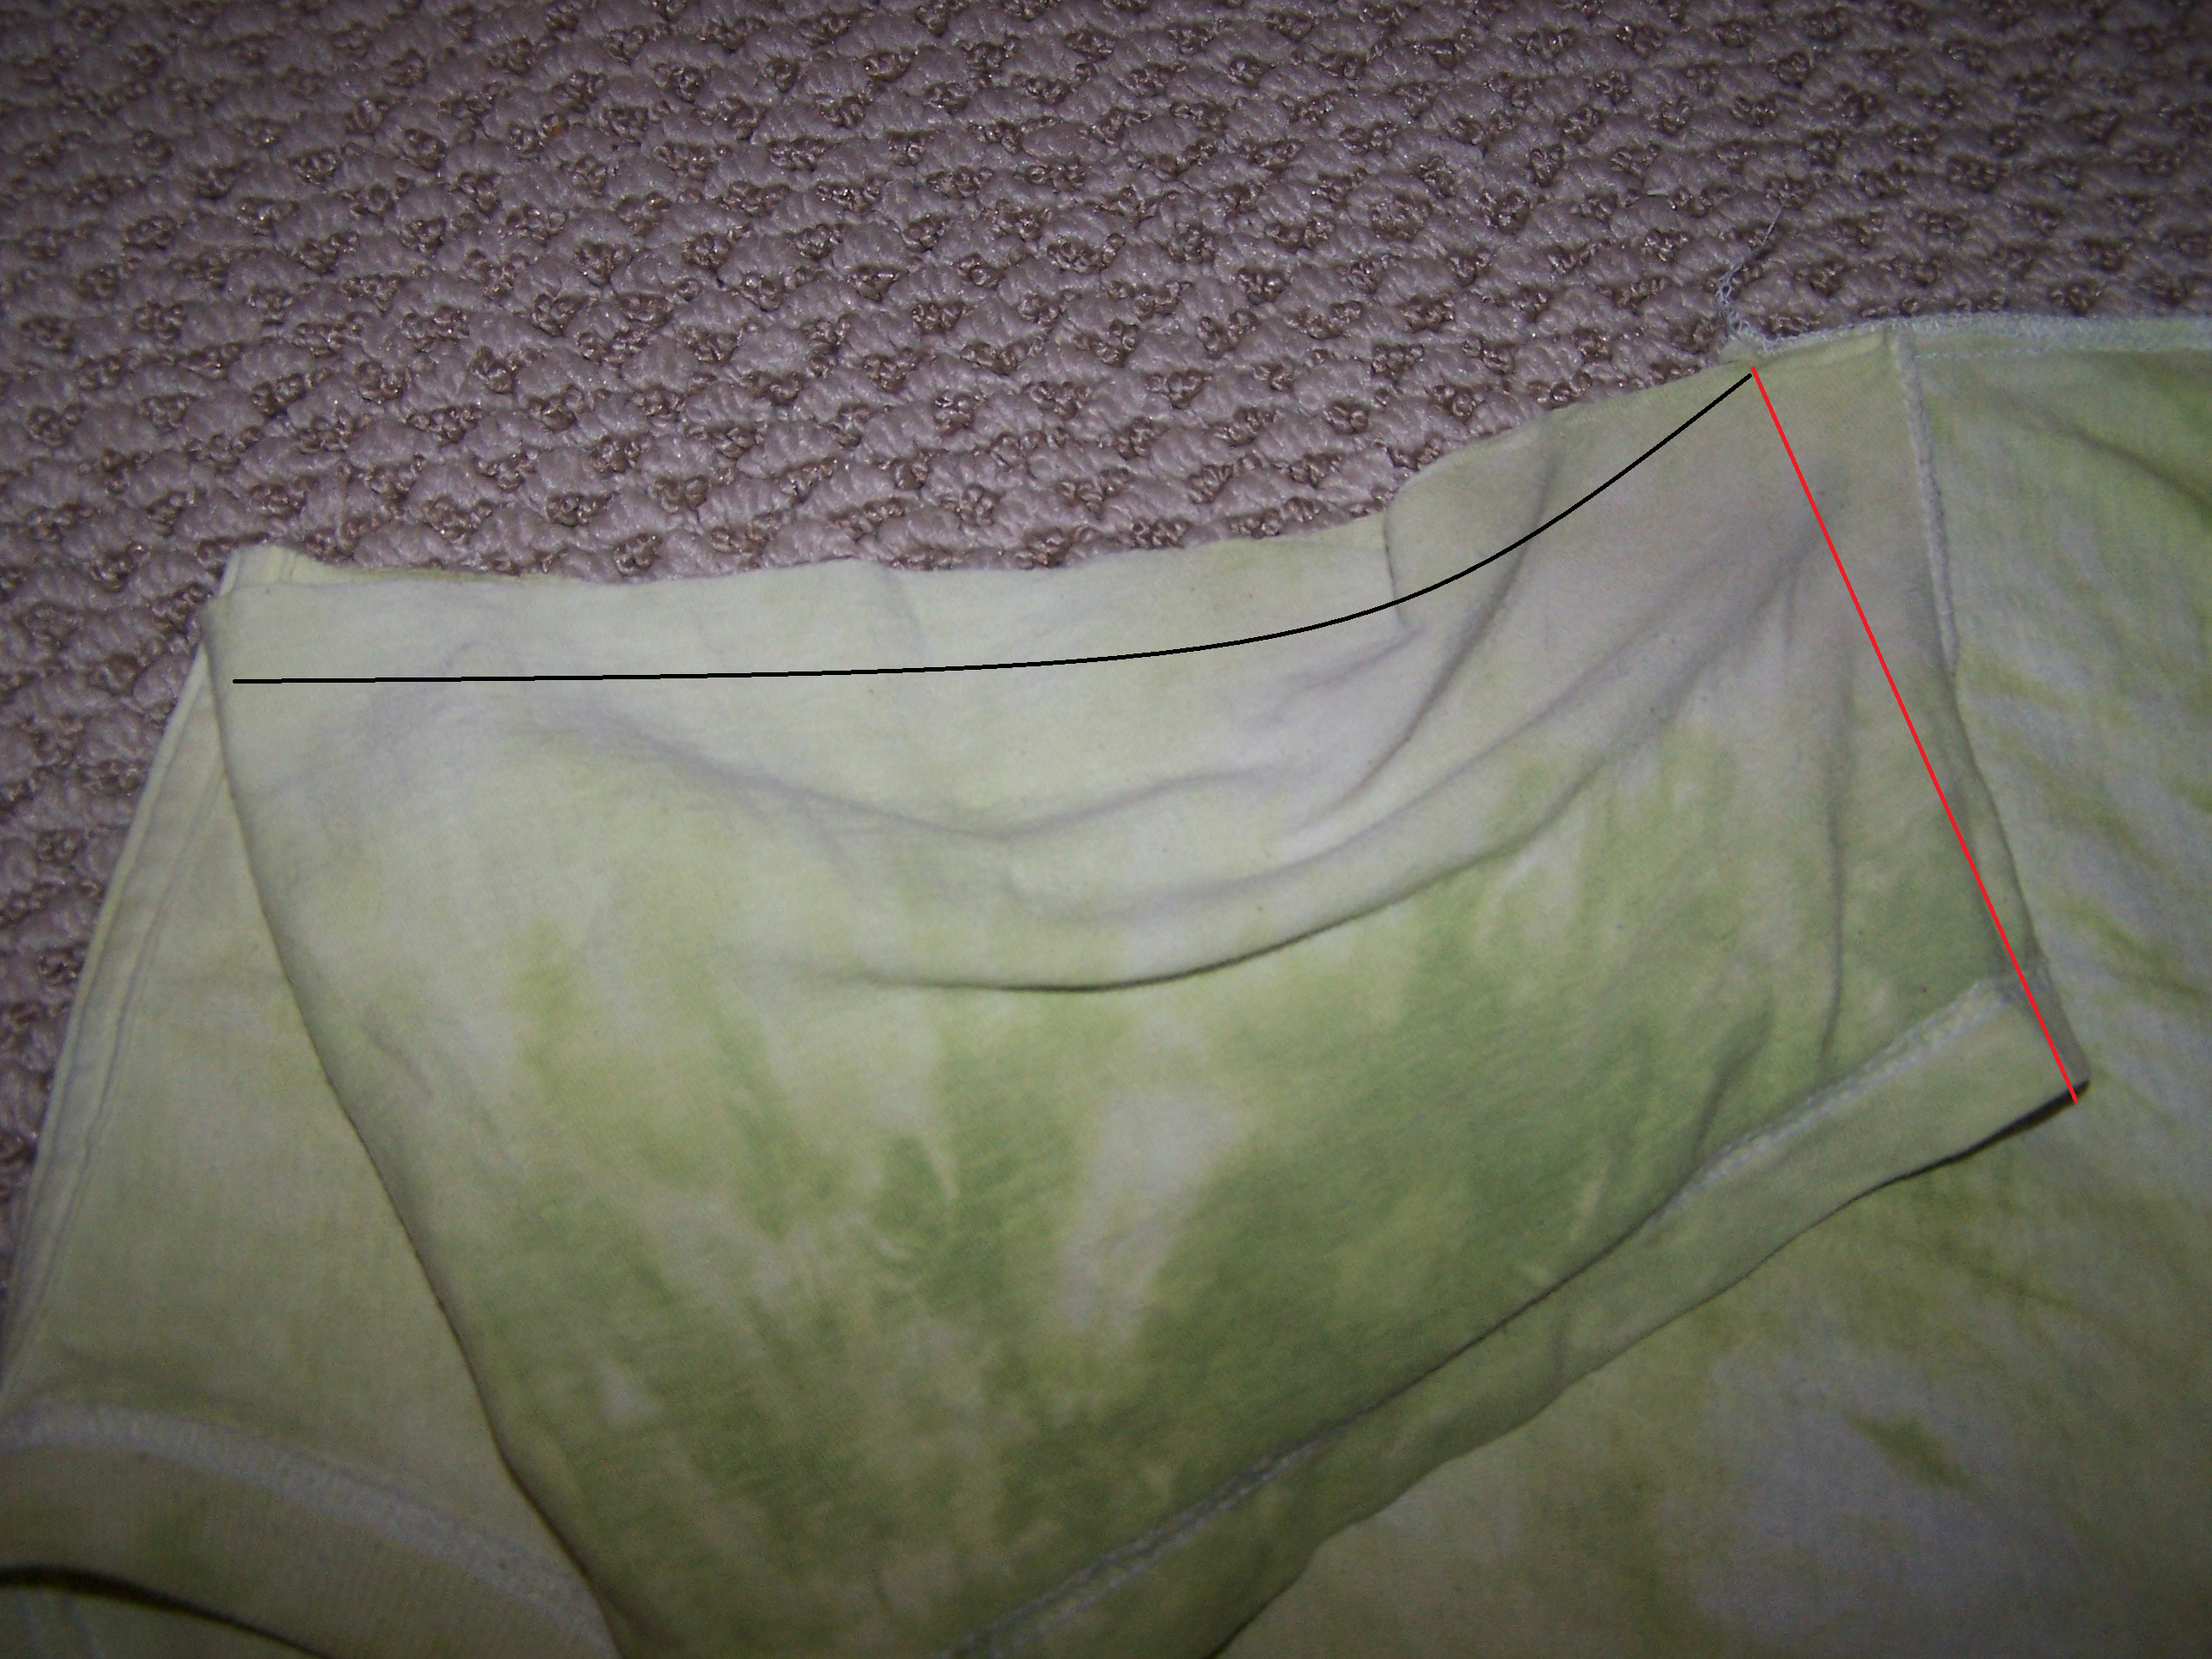
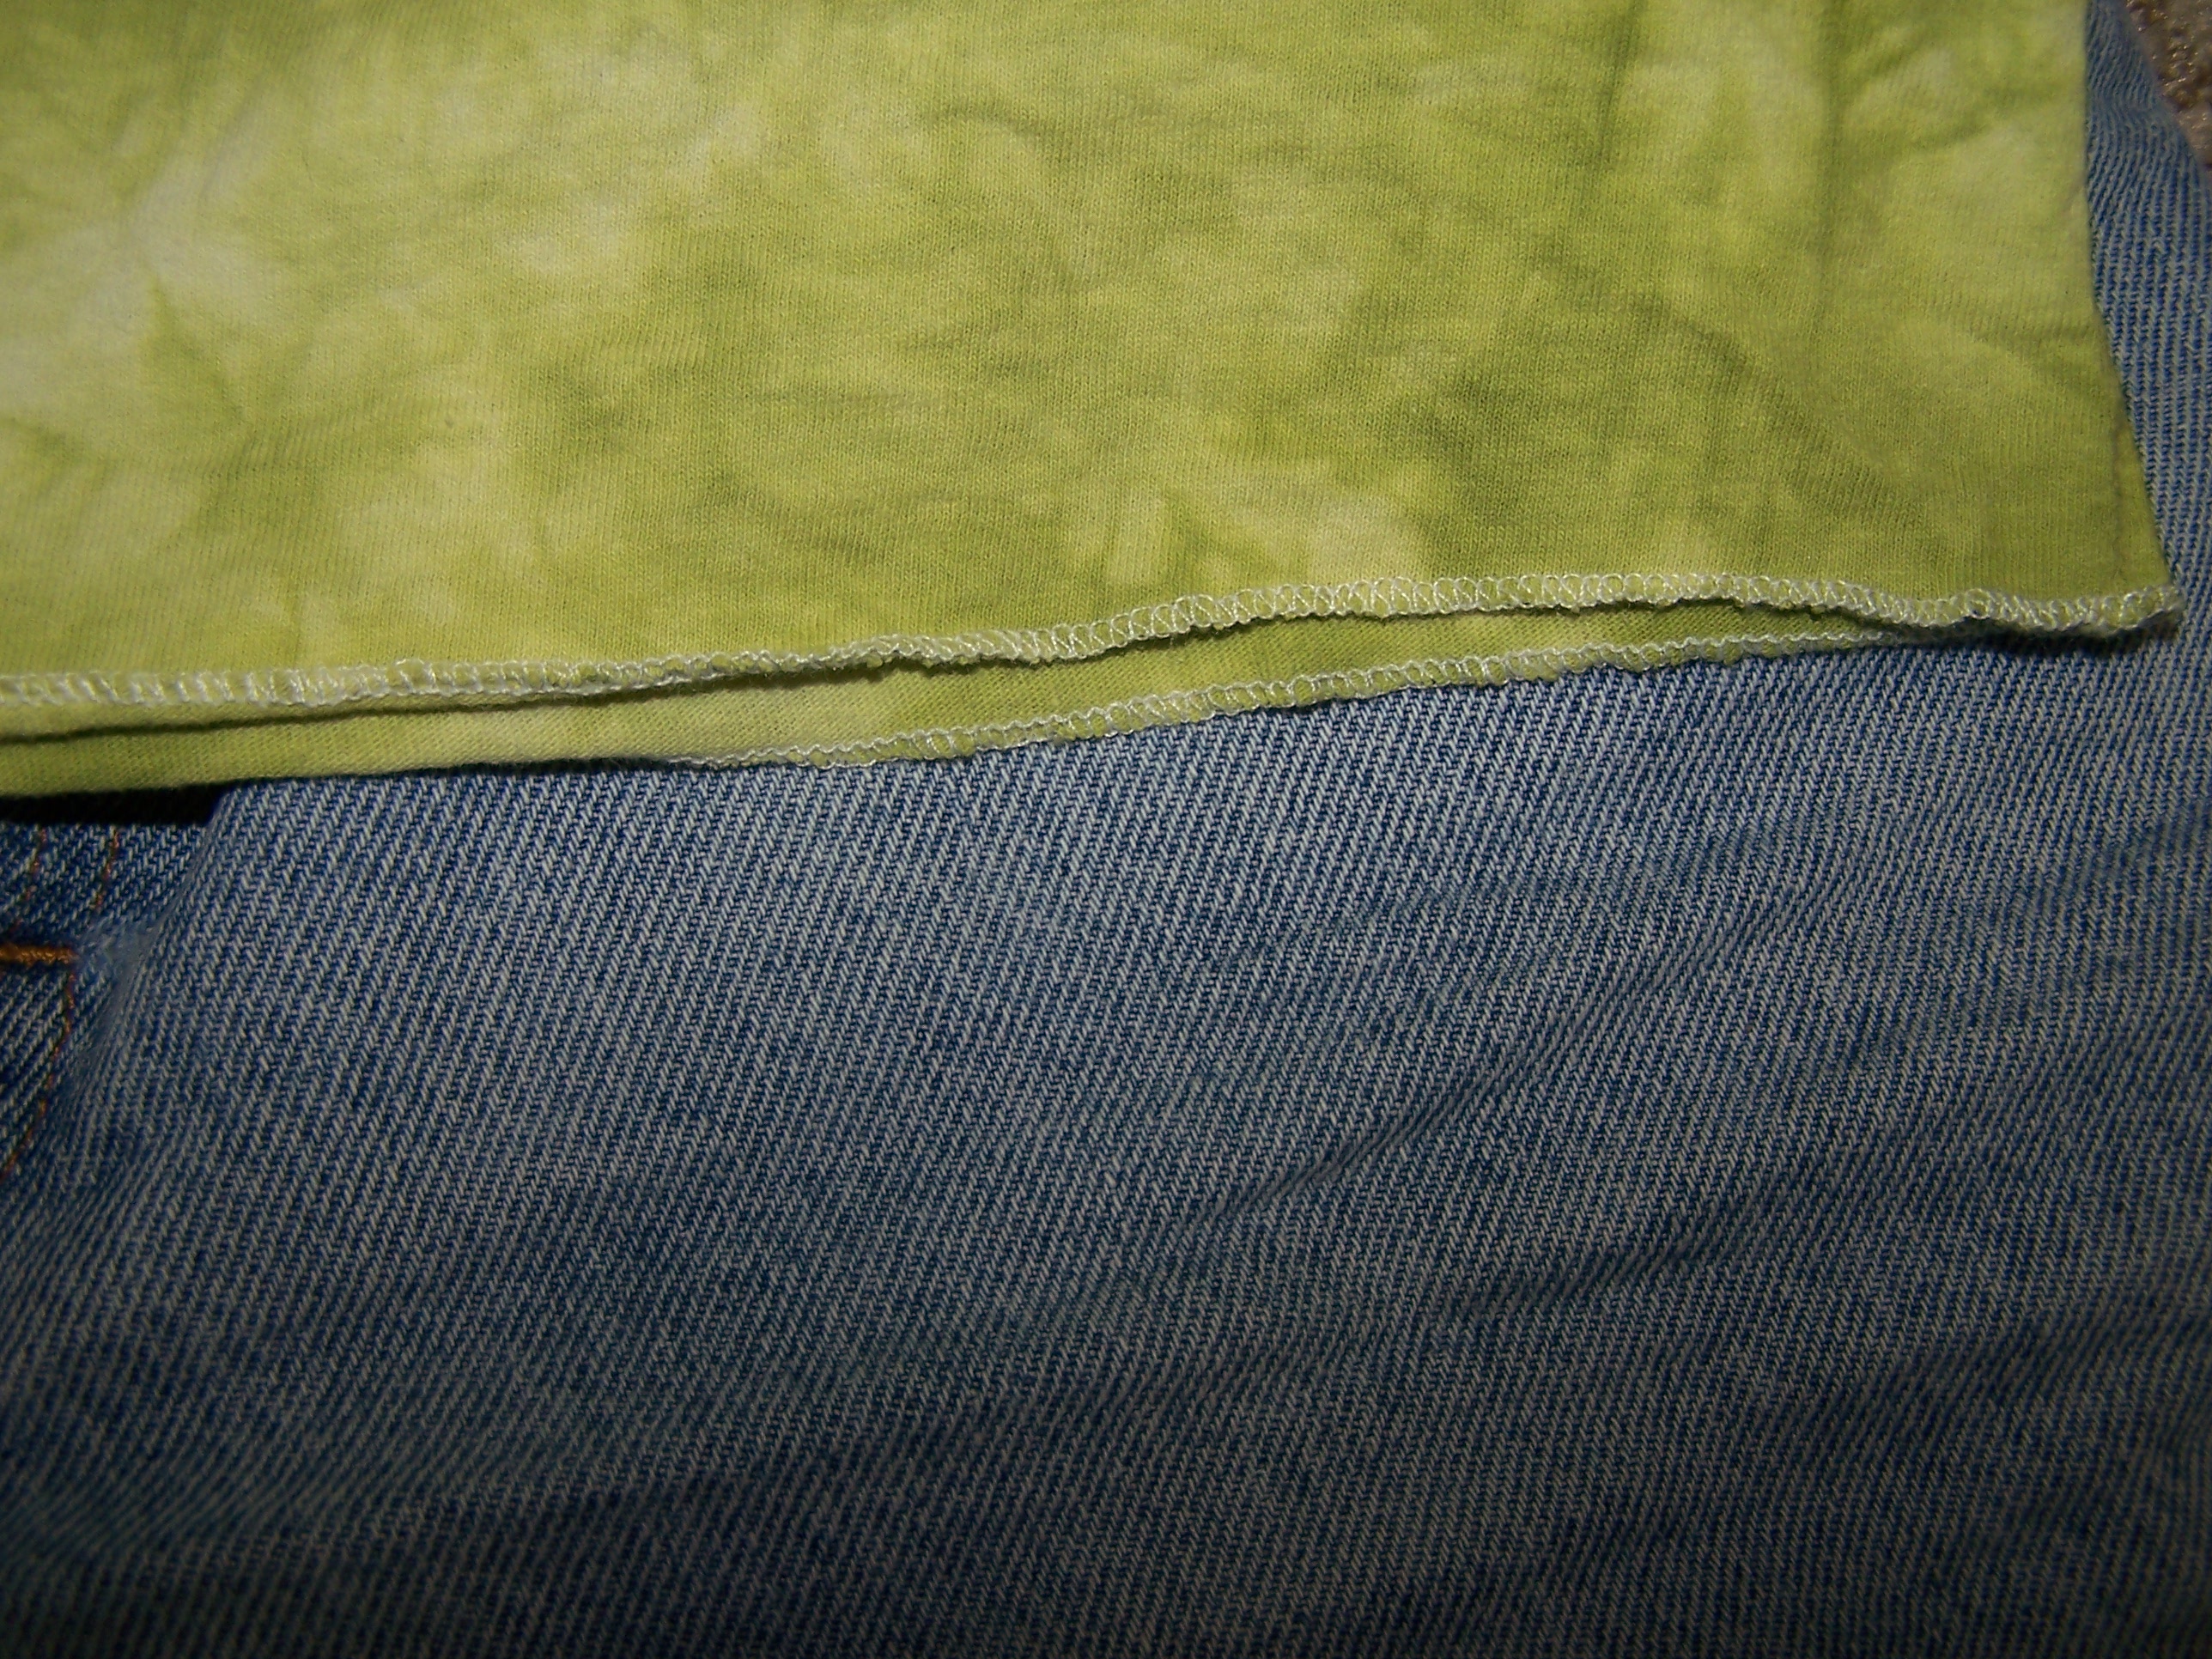
I bought my serger a couple years ago on Black Friday at JoAnn’s. I wasn’t sure about it at the time – I’d never used one before and I had no way of trying one out. There was a definite learning curve, but I’m very happy with it and I’ve a learned a couple things along the way. I will say that I probably don’t use my serger the way most people do. I sew all of my seams with my regular machine and then serge them. In my mind, this makes the seams more secure. I also usually only use three threads. If I used four, knit seams might be secure with just a serged seam.
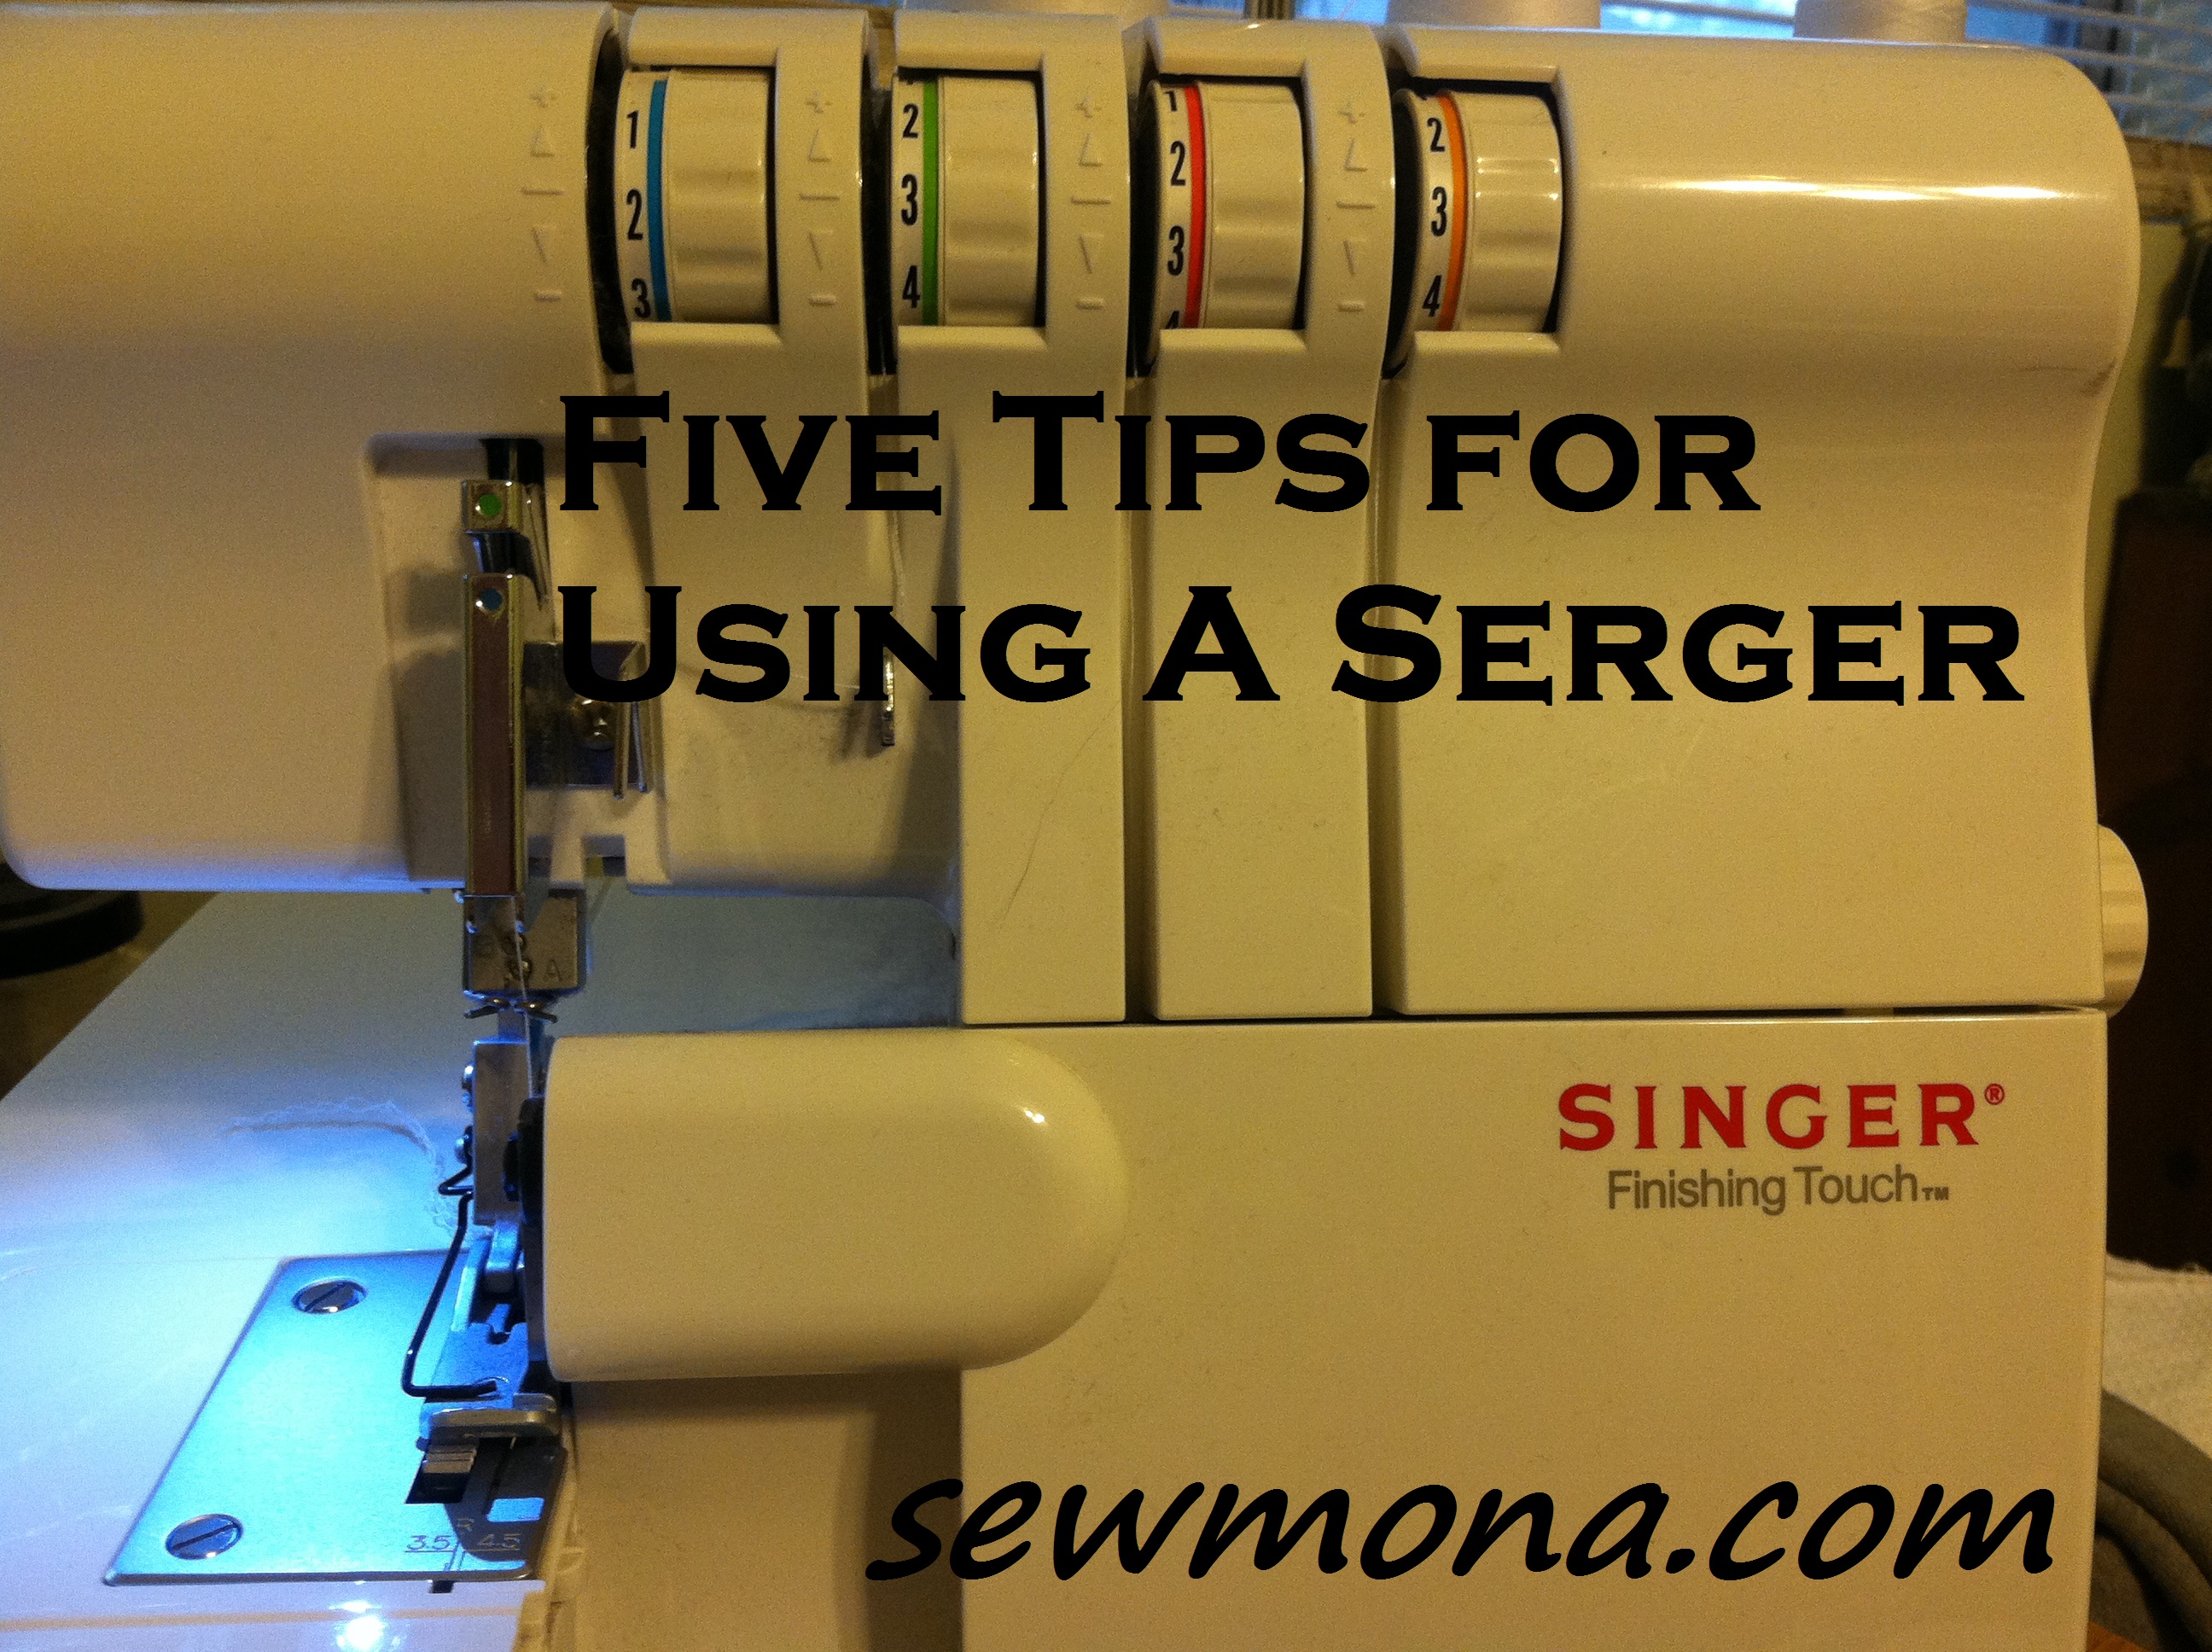
1. Learn to thread it, but don’t make it harder than it is. The first time I threaded my serger, I had to have the book open to the directions and it took me forever to get it right! My serger seems to be very particular about how the threads are lined up initially and so there’s an order to threading. Take you time, do it in order and you should be fine.
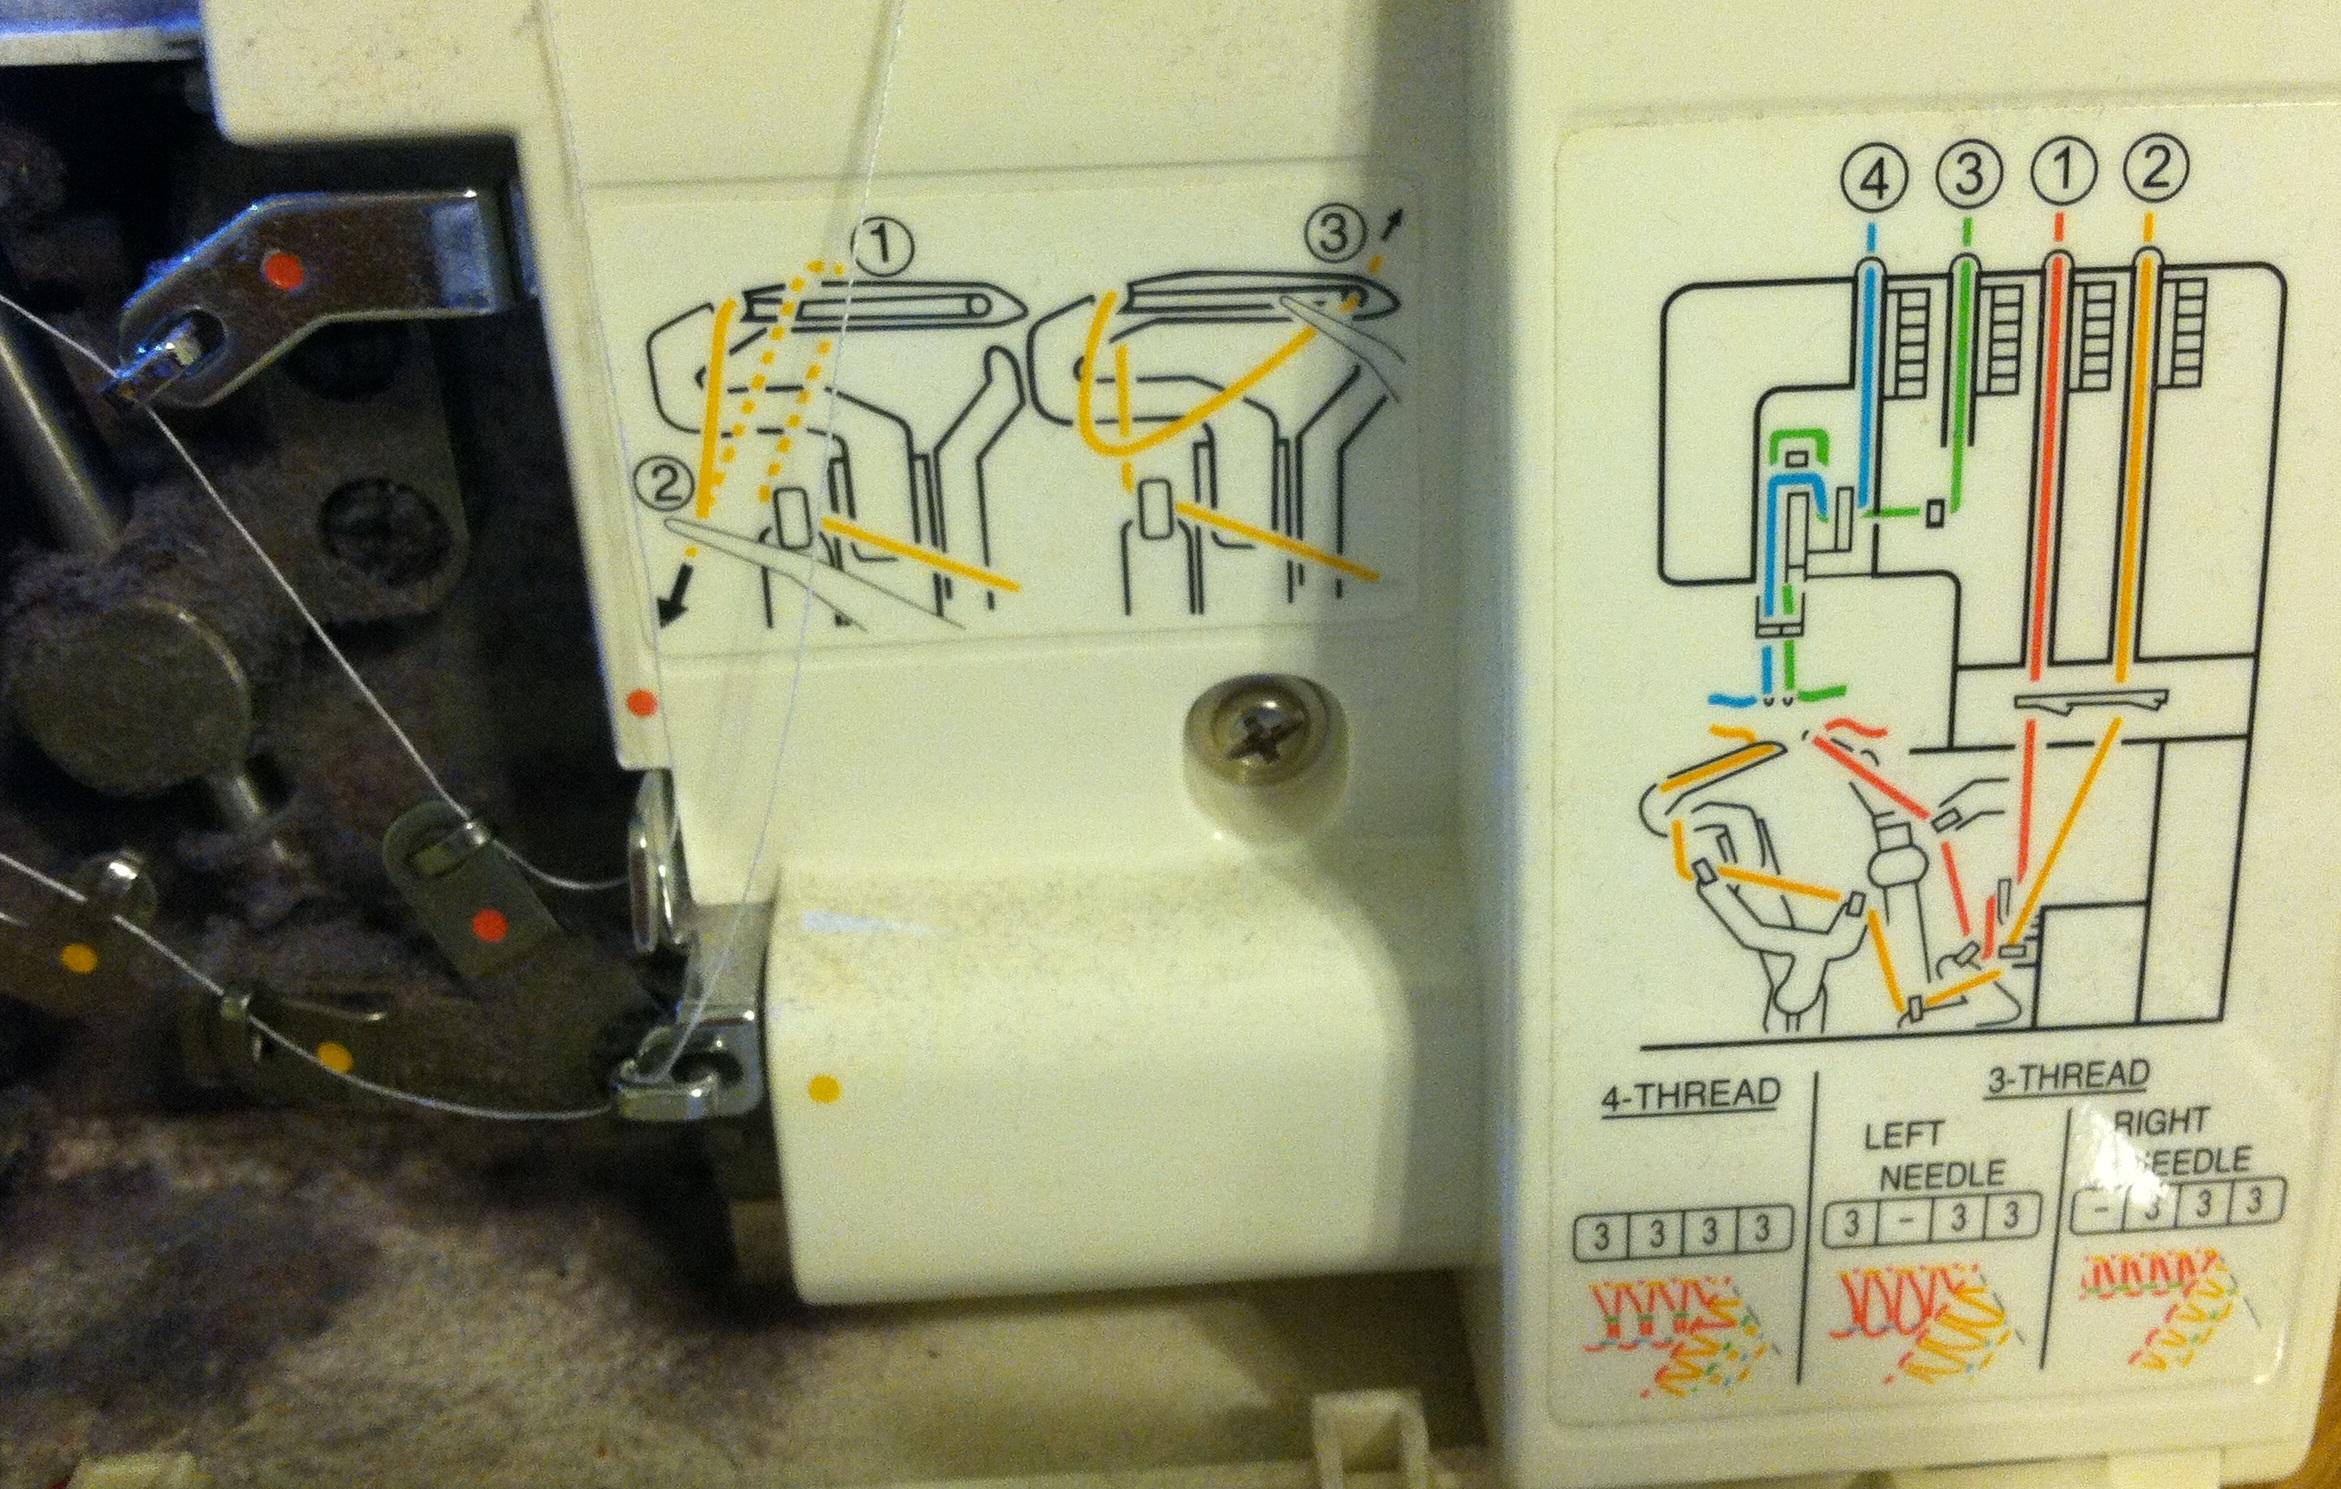
Please ignore the fuzzy mess…I probably should’ve cleaned it before I took the picture!
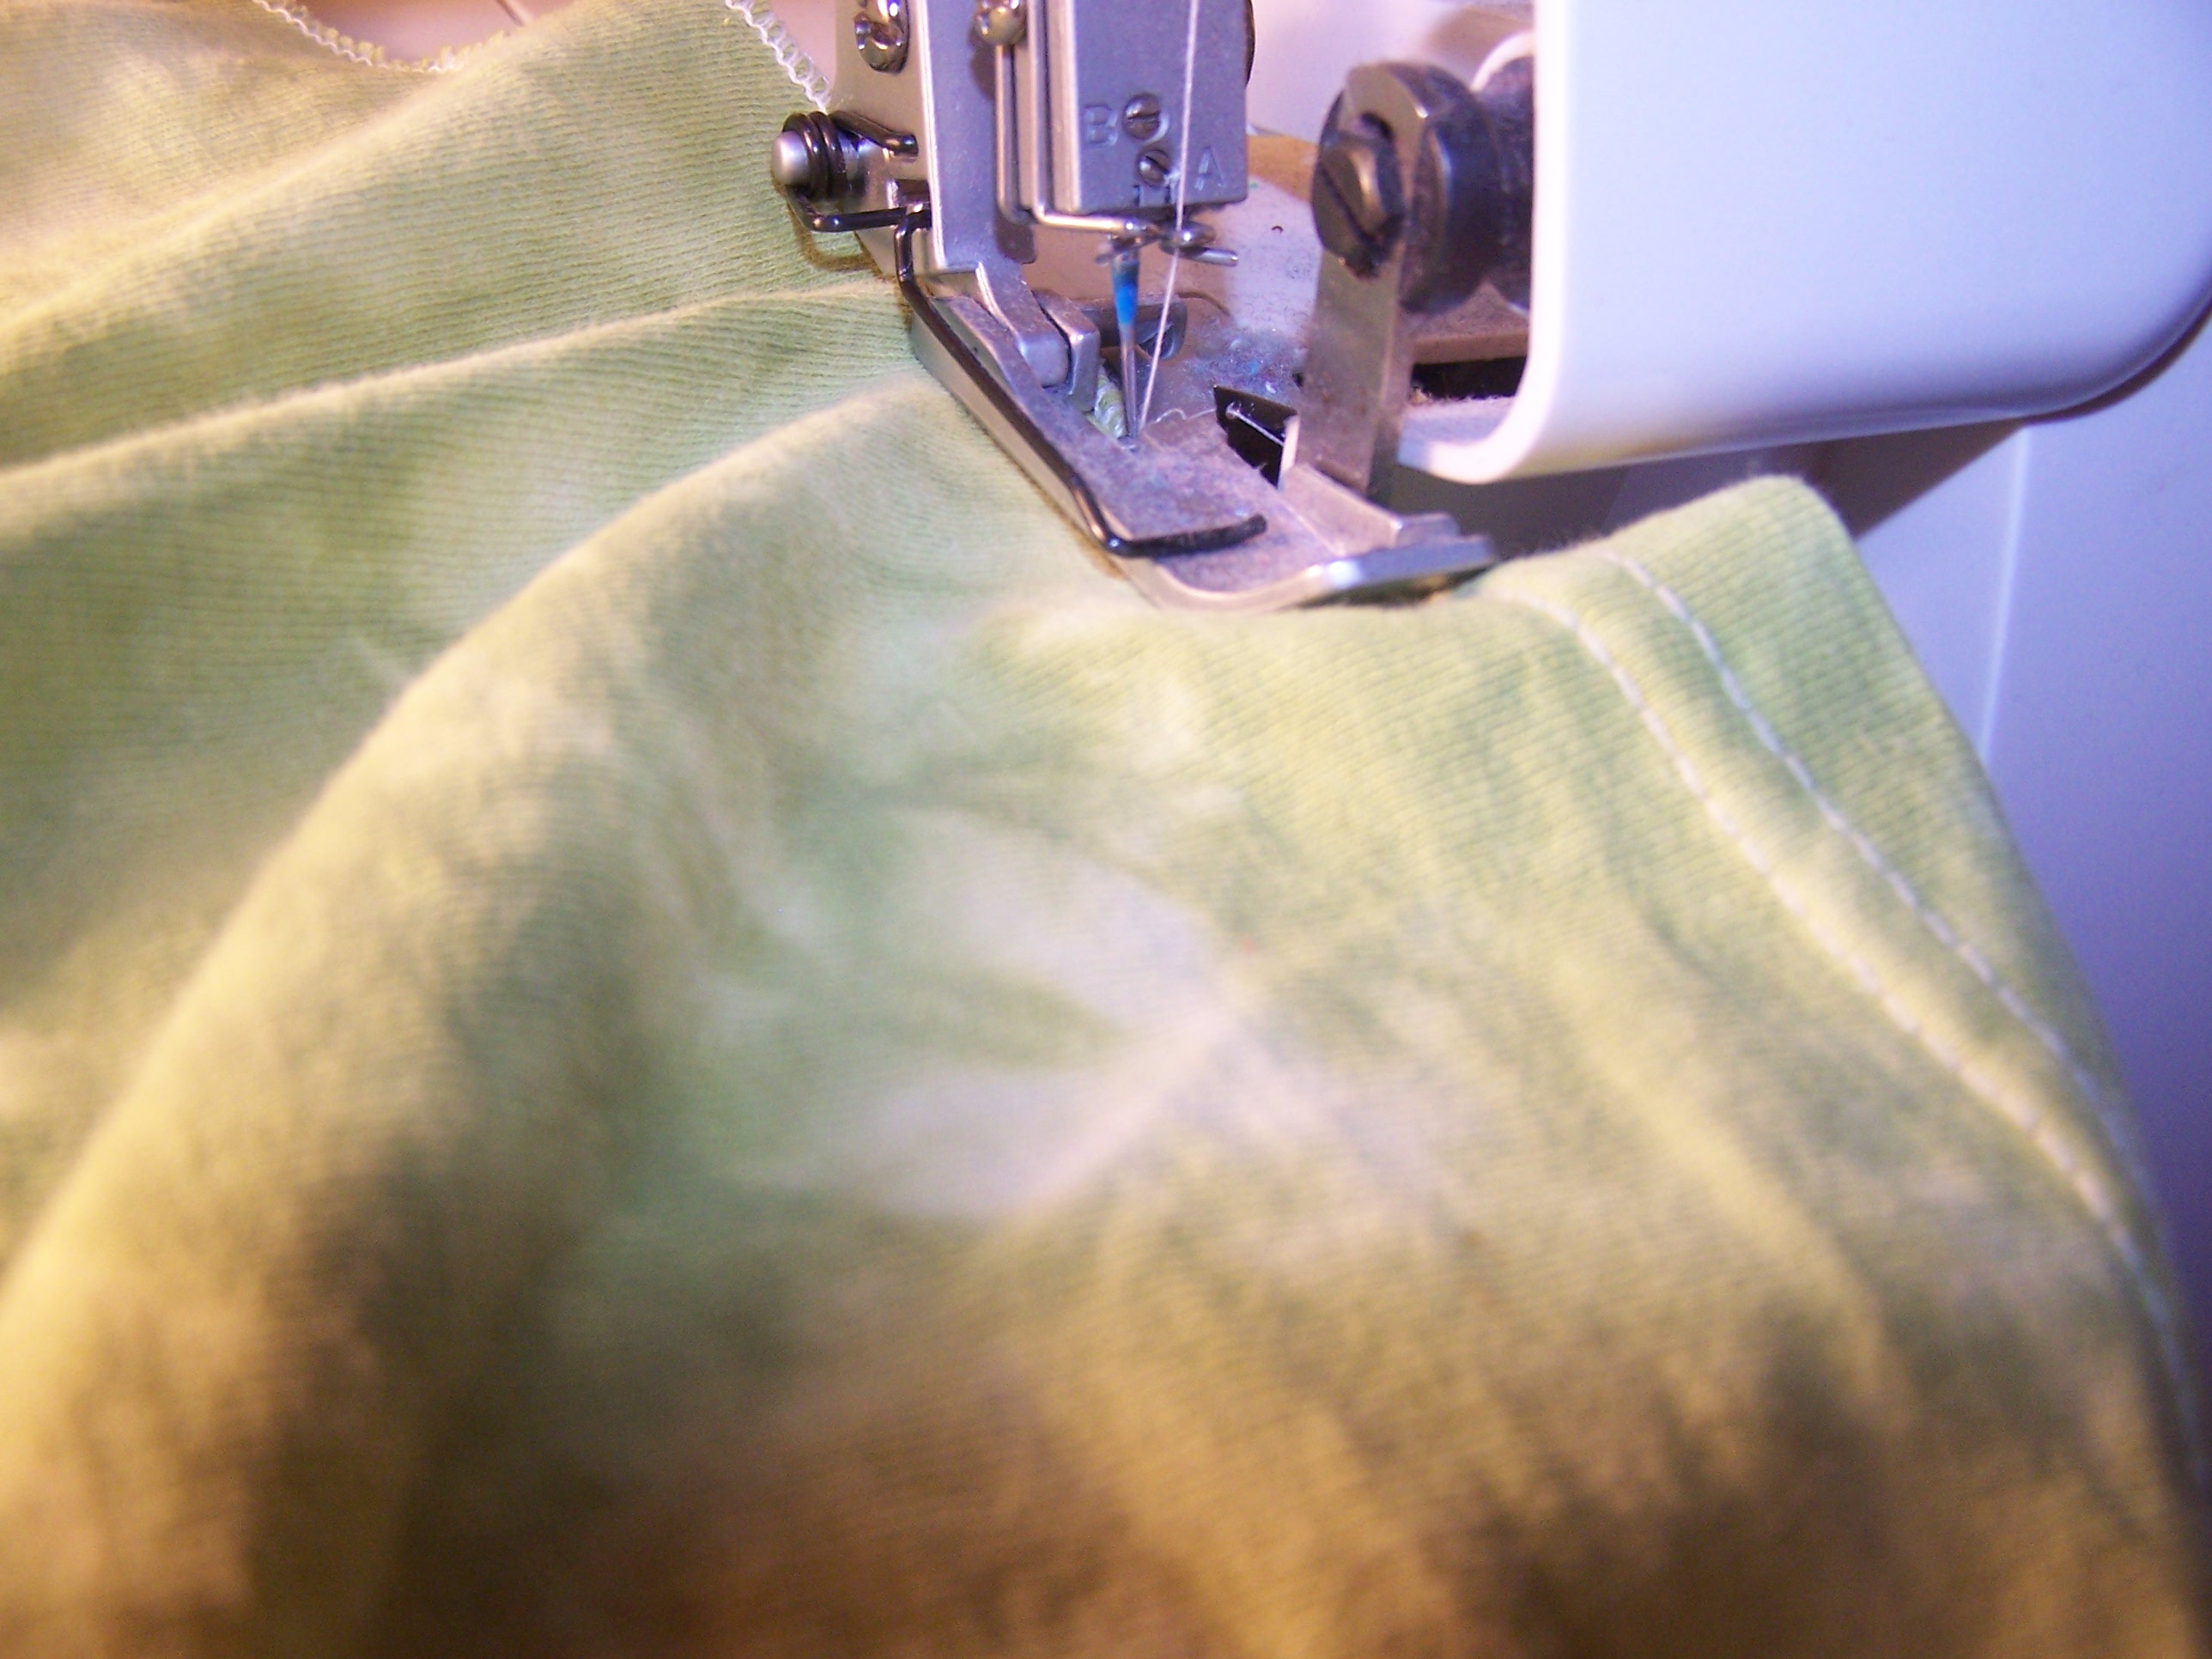
2. When you stop in the middle of a seam, keep your needle down. Just like when you’re sewing with a regular machine, you always need to put your needle down so your material doesn’t wander.
3. Hold the thread when you start. Again, when you start sewing with your regular machine, you usually hold the threads back out of the way. When you start serging, hold the threads back and even pull them gently as you start. That way the threads don’t bunch up at the beginning of your seam.
4. Corners aren’t as hard as you think. Take a few minutes to practice on a scrap. I found that outside corners are much easier than inside corners. This is where #2 comes in – if you have to stop mid-corner and adjust your material, make sure your needle is down. Just like anything else, the more you do it, the easier it gets.
5. Maintain it – learn how to oil it! Clean it – regularly.

What tip would you add?
This post contains affiliate links. See my disclosure policy for more information.