SewMona

A slice of my Florida life

  • Sewing
    • SewMona on Etsy
    • Clothes
      • Boys
      • Girls
      • Men
      • Women
    • Pattern Reviews
    • How to Sew
  • Camping
    • Florida Campgrounds
  • Recipes
  • Crafts
  • DIY
  • About

How To Sew: Adding A Skirt to a Shirt

How to Sew Adding A Skirt To A Shirt

I’m working on a series of posts about adjusting clothing to fit.  To see all of them click here – How to Sew.

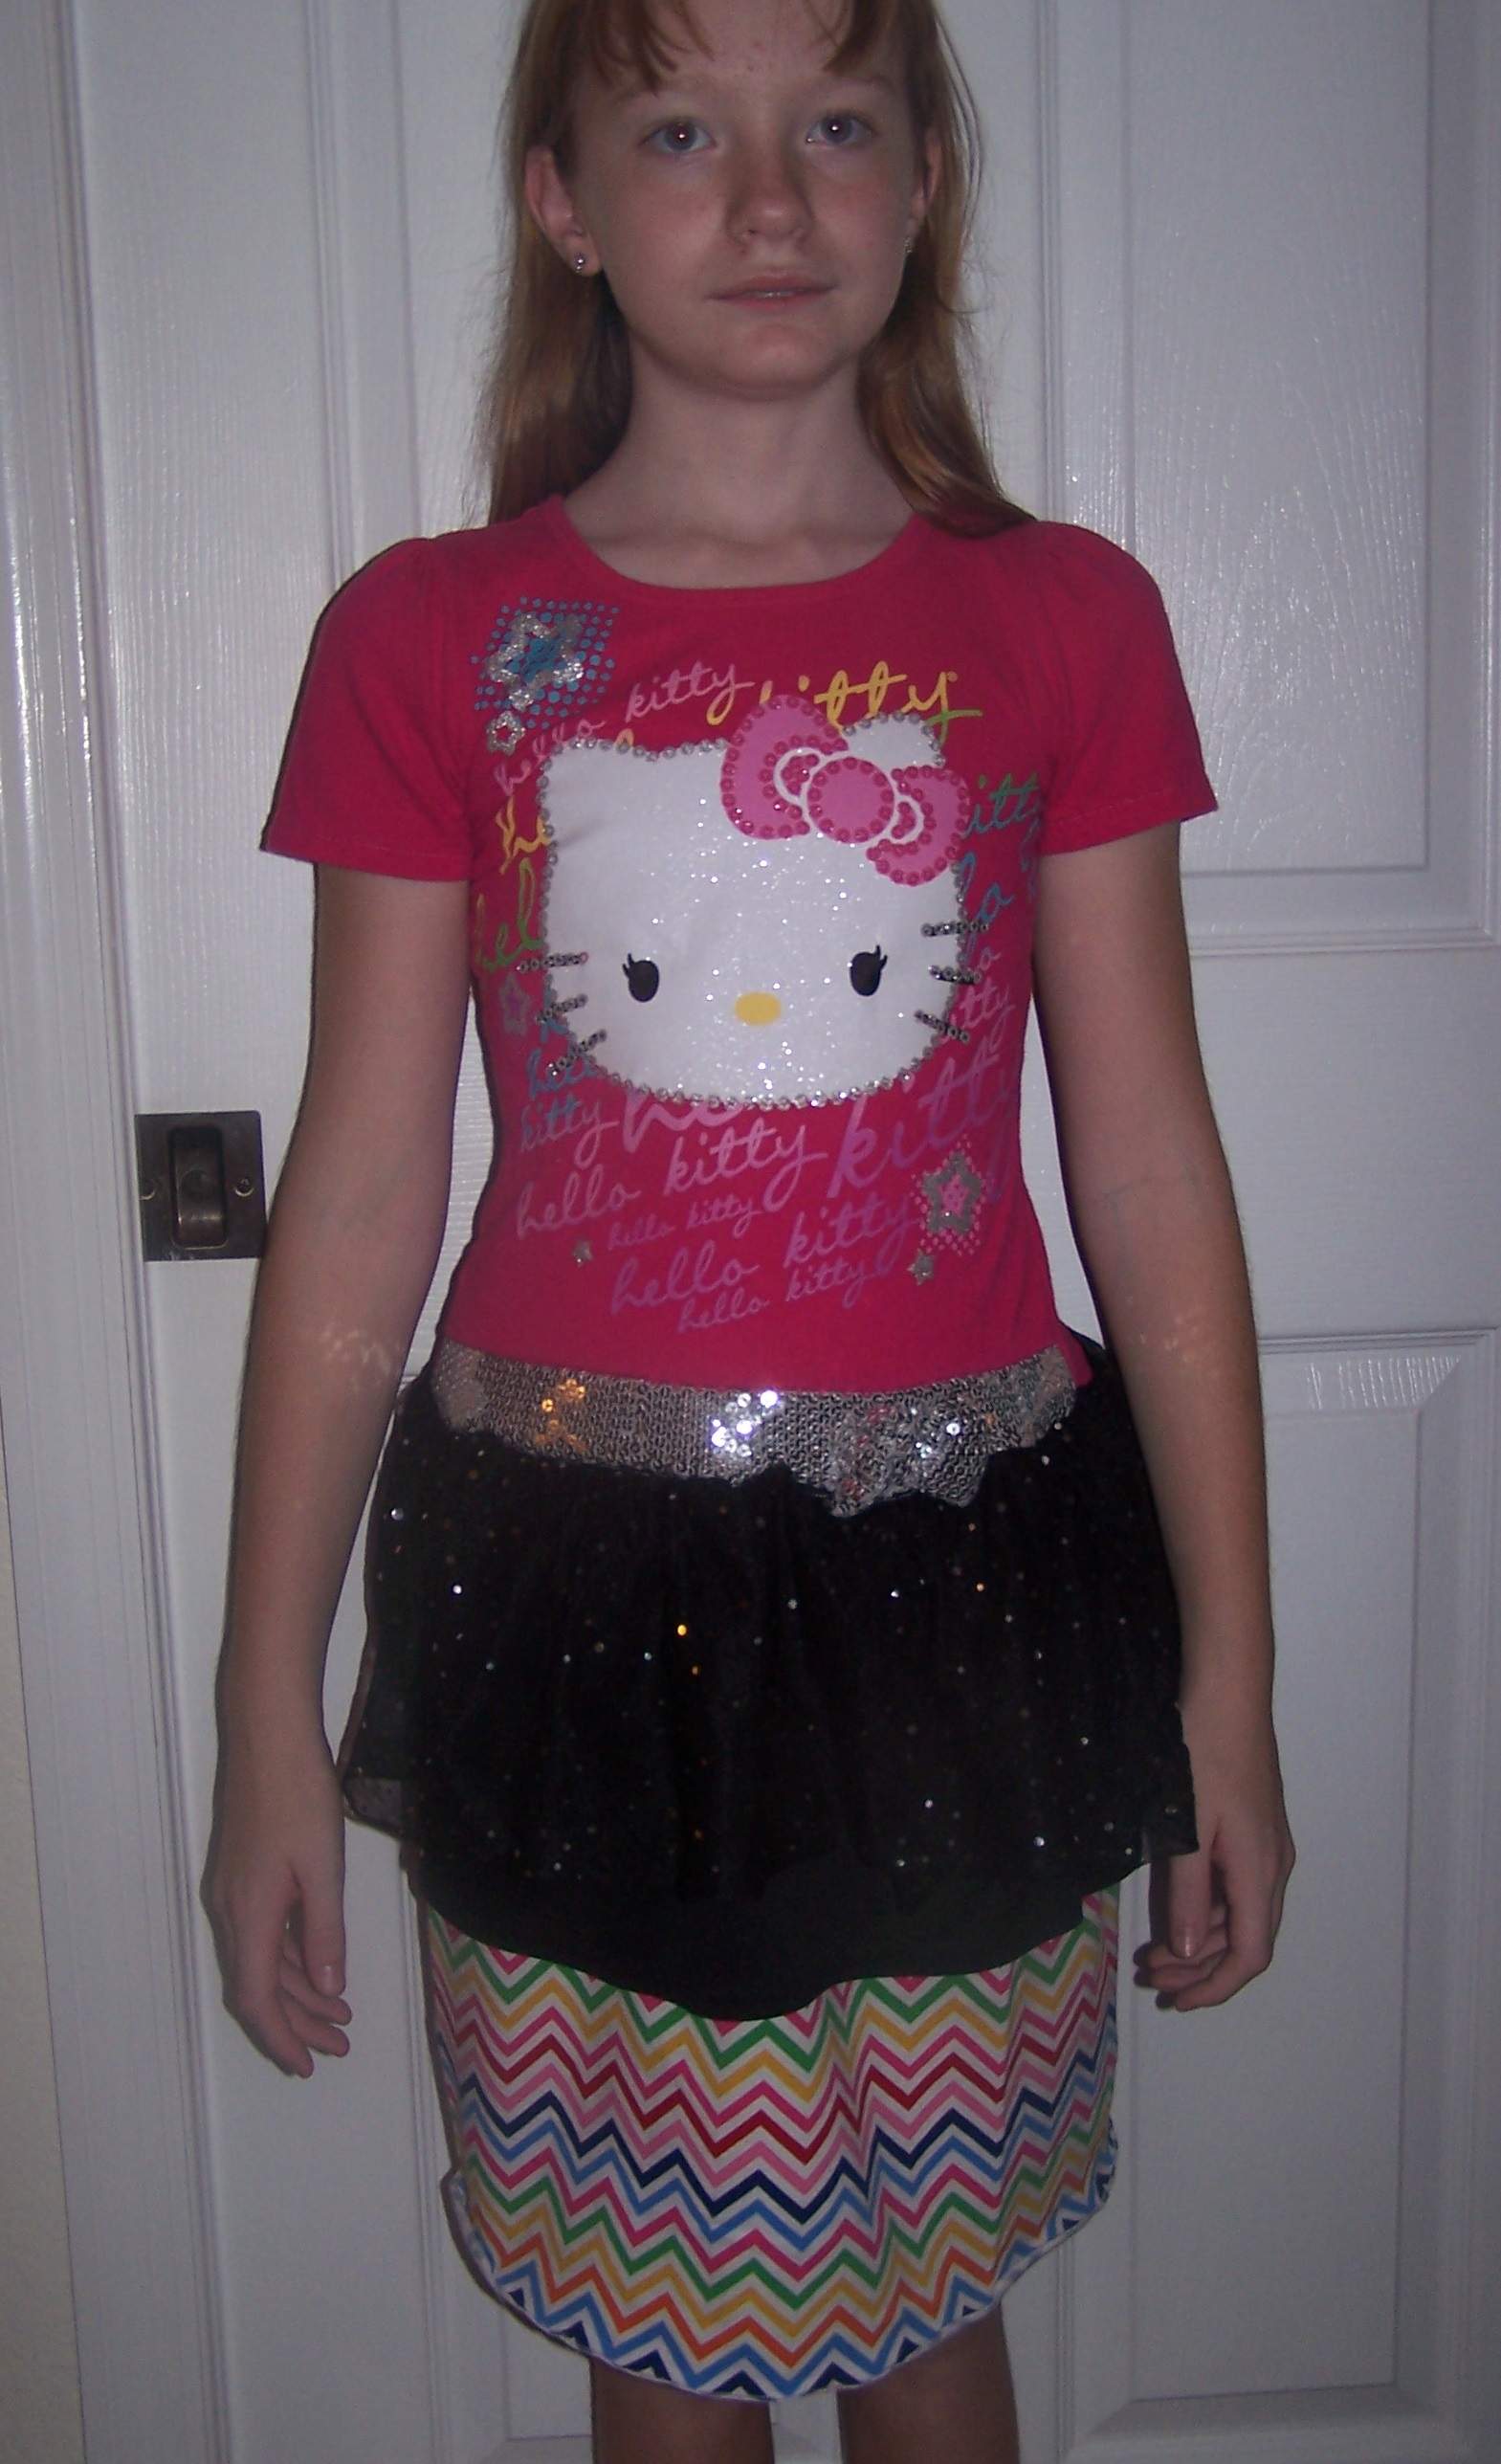
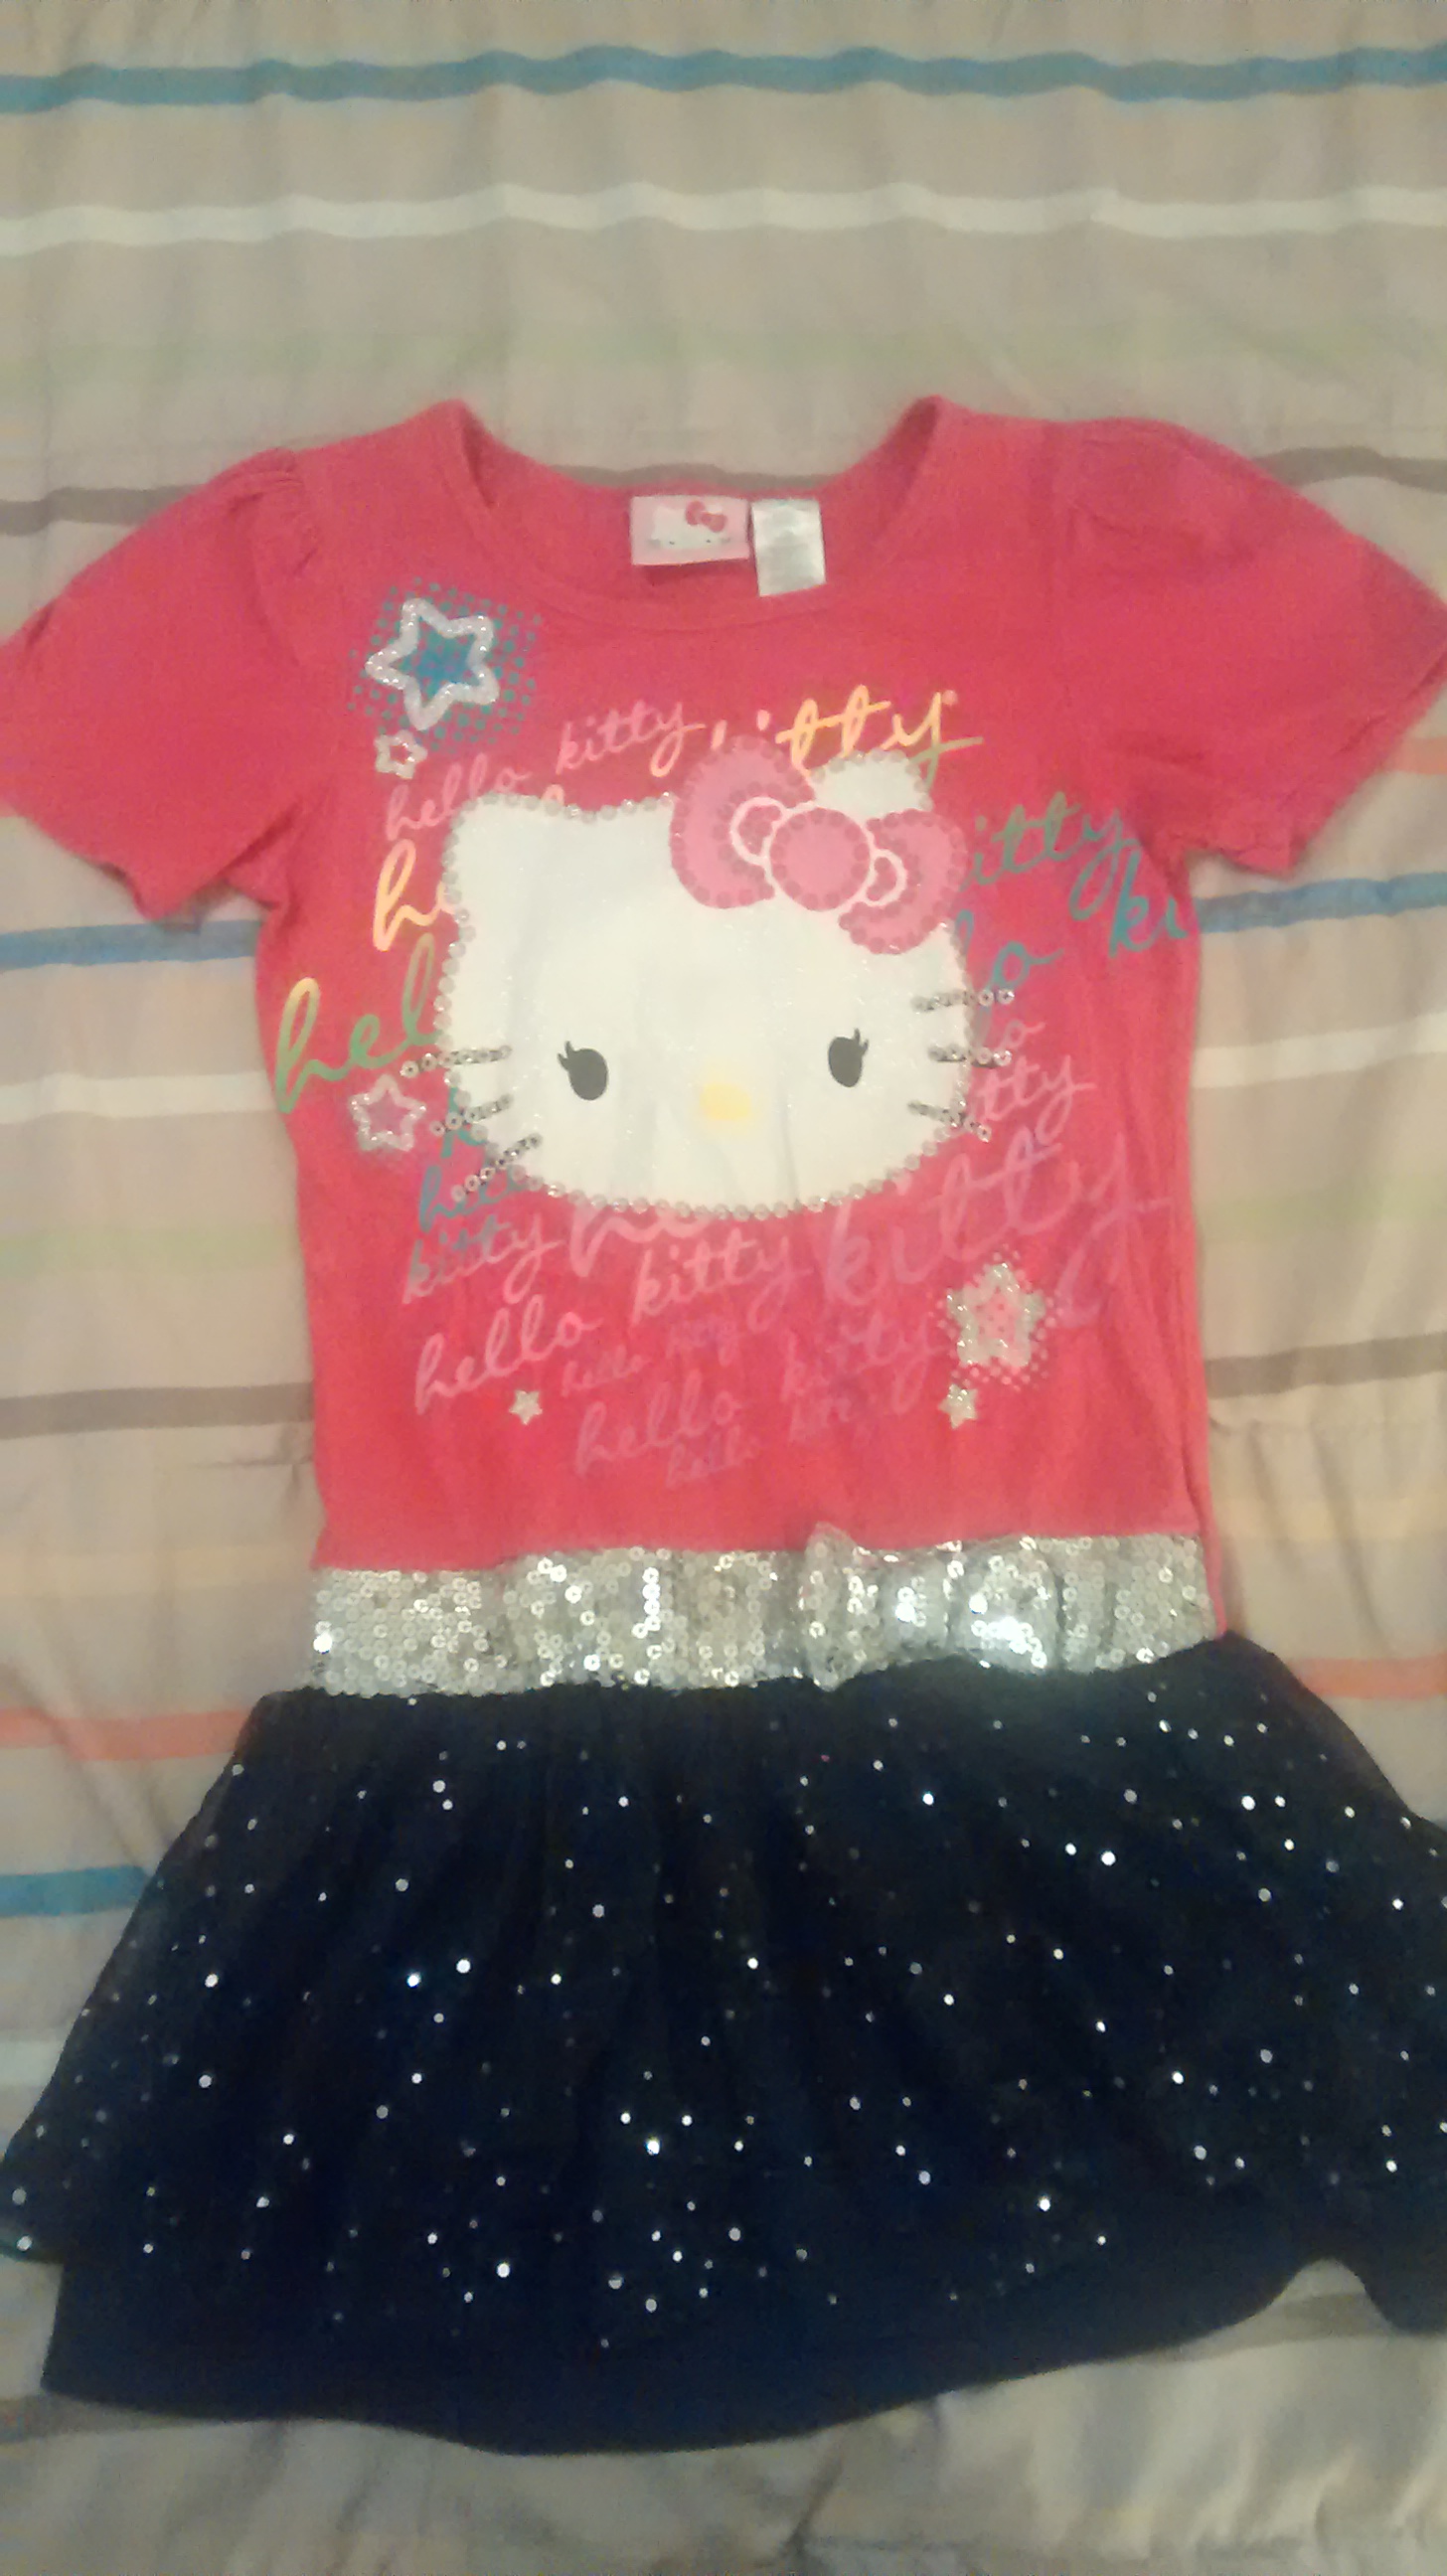
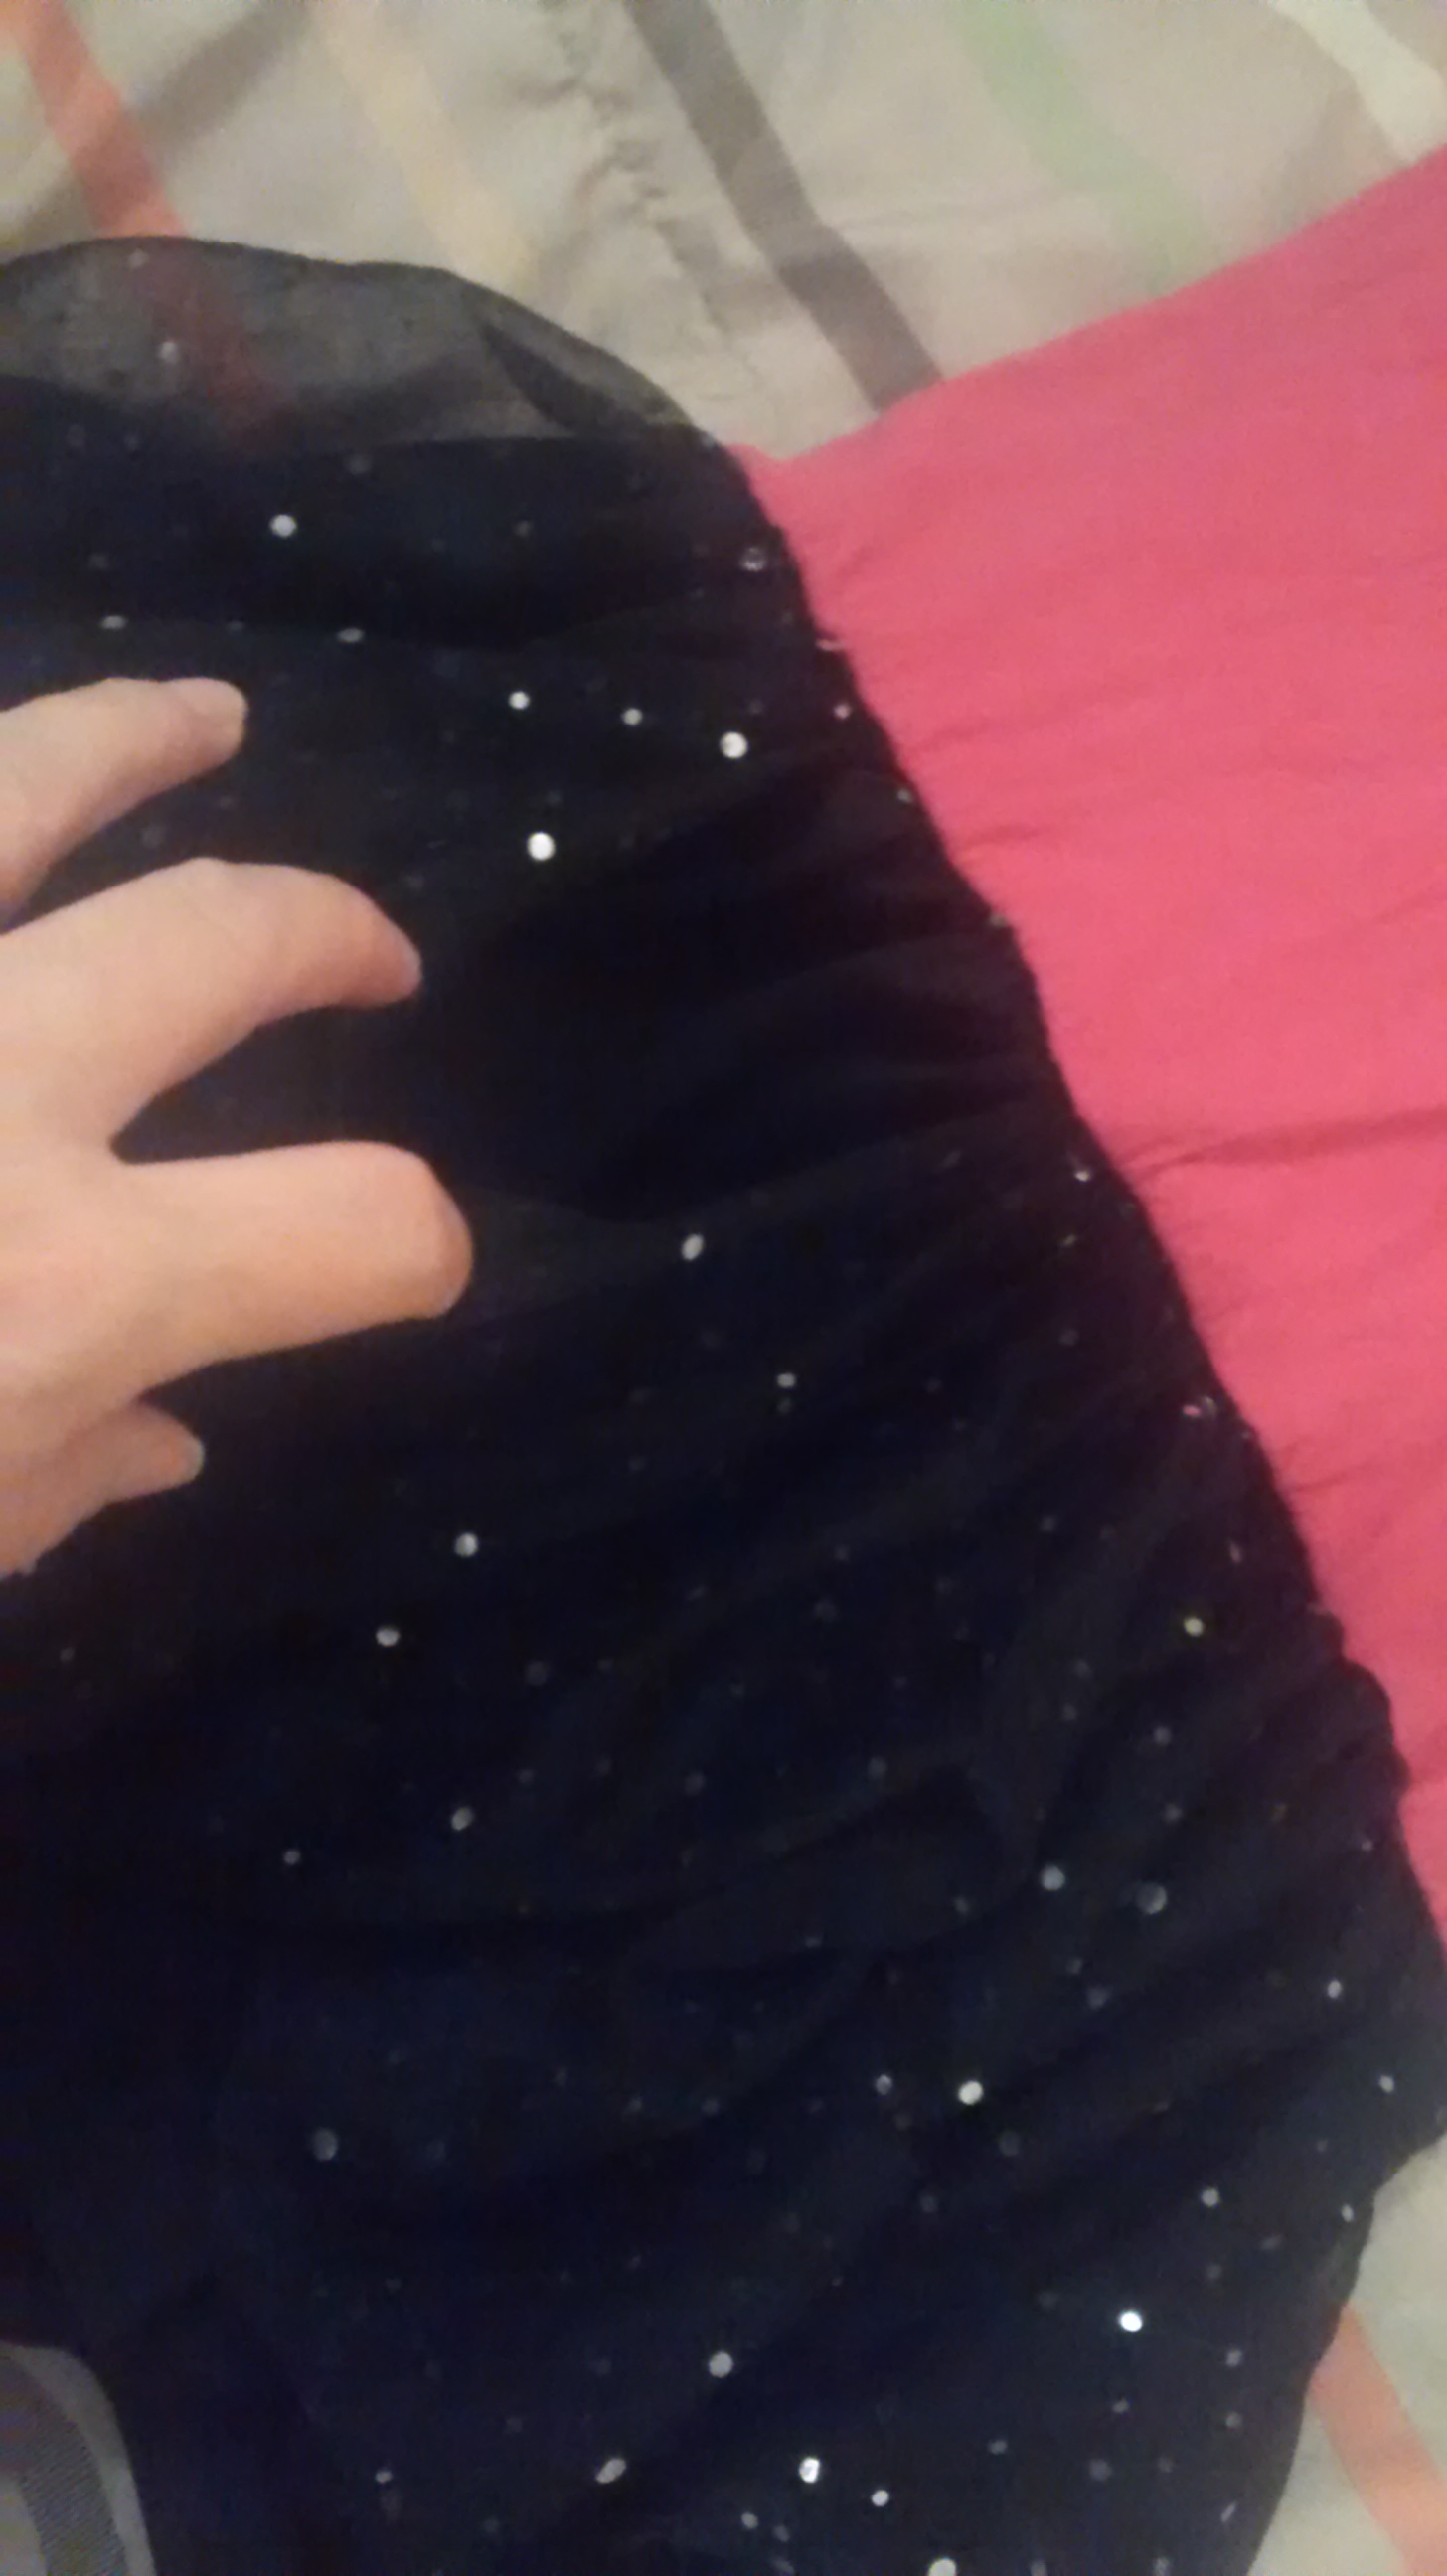
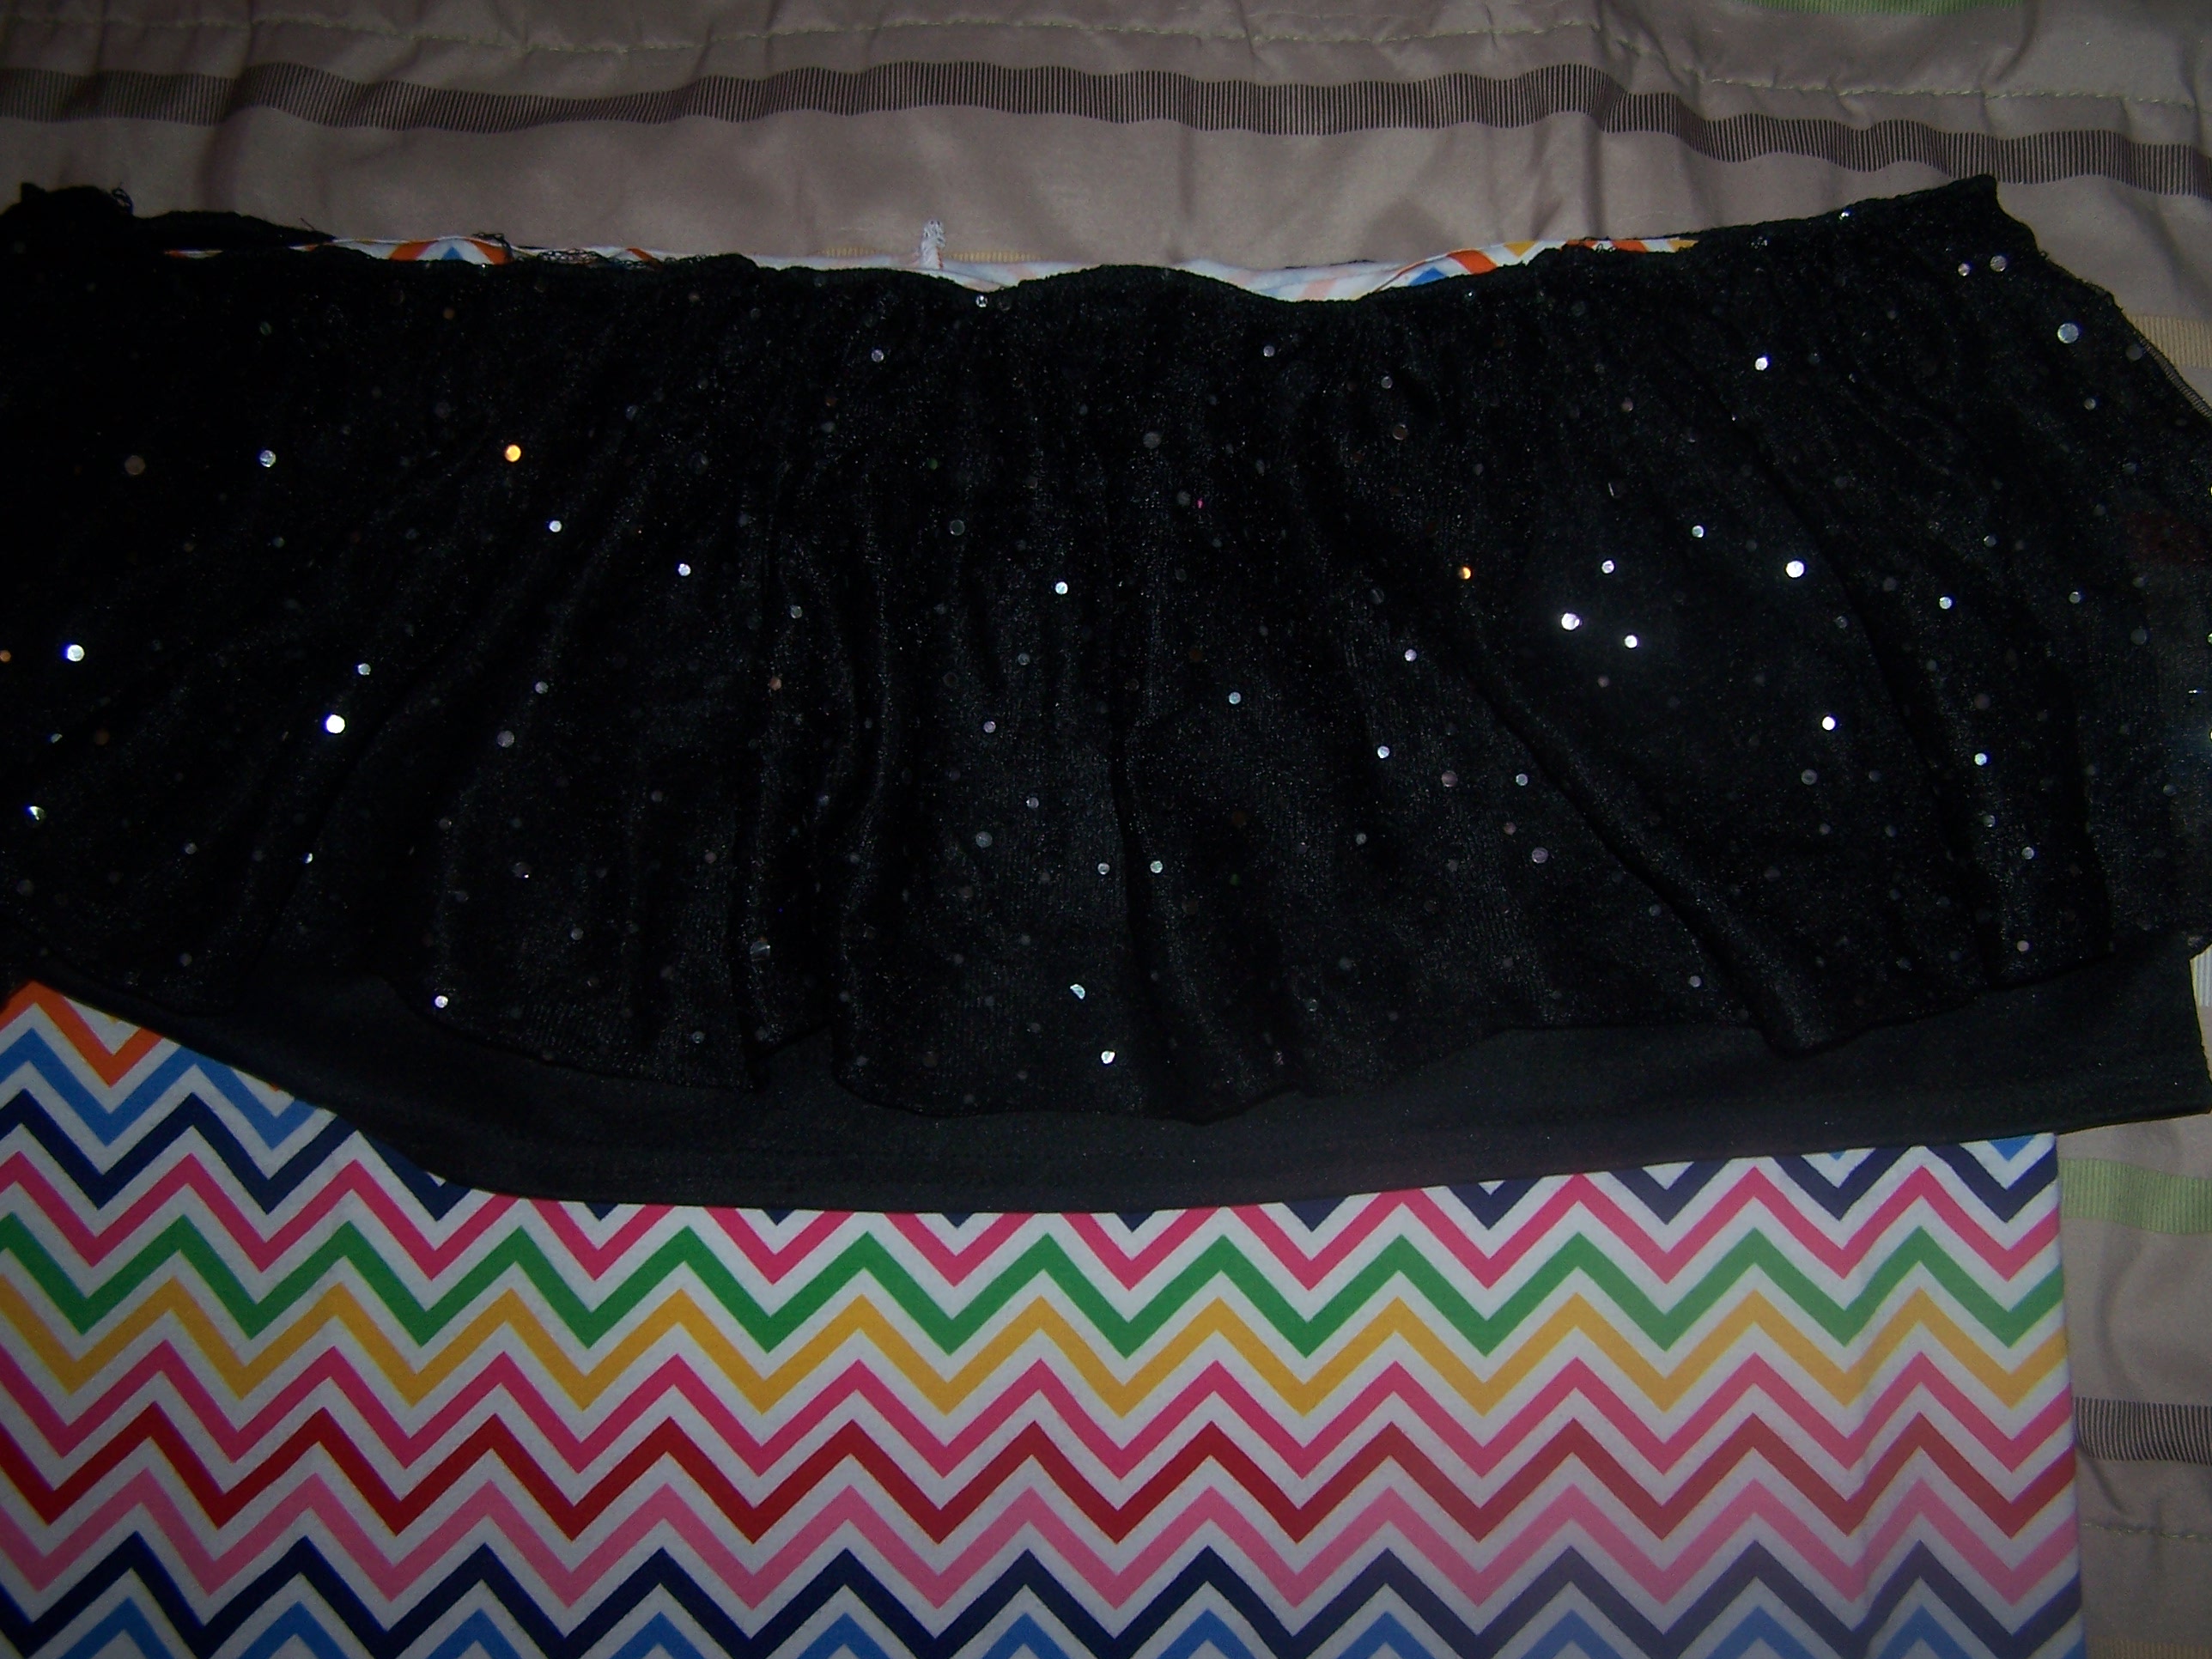
My daughter has this long shirt/short skirt that she really likes.  She normally wears it with leggings, but recently we’ve noticed that the skirt doesn’t quite cover enough and the tulle is pulling away from the seam.  Since she really likes it, I’m going to lengthen the skirt a bit.

Short Shirt Dress

Short Shirt Dress Tulle Pulling Away
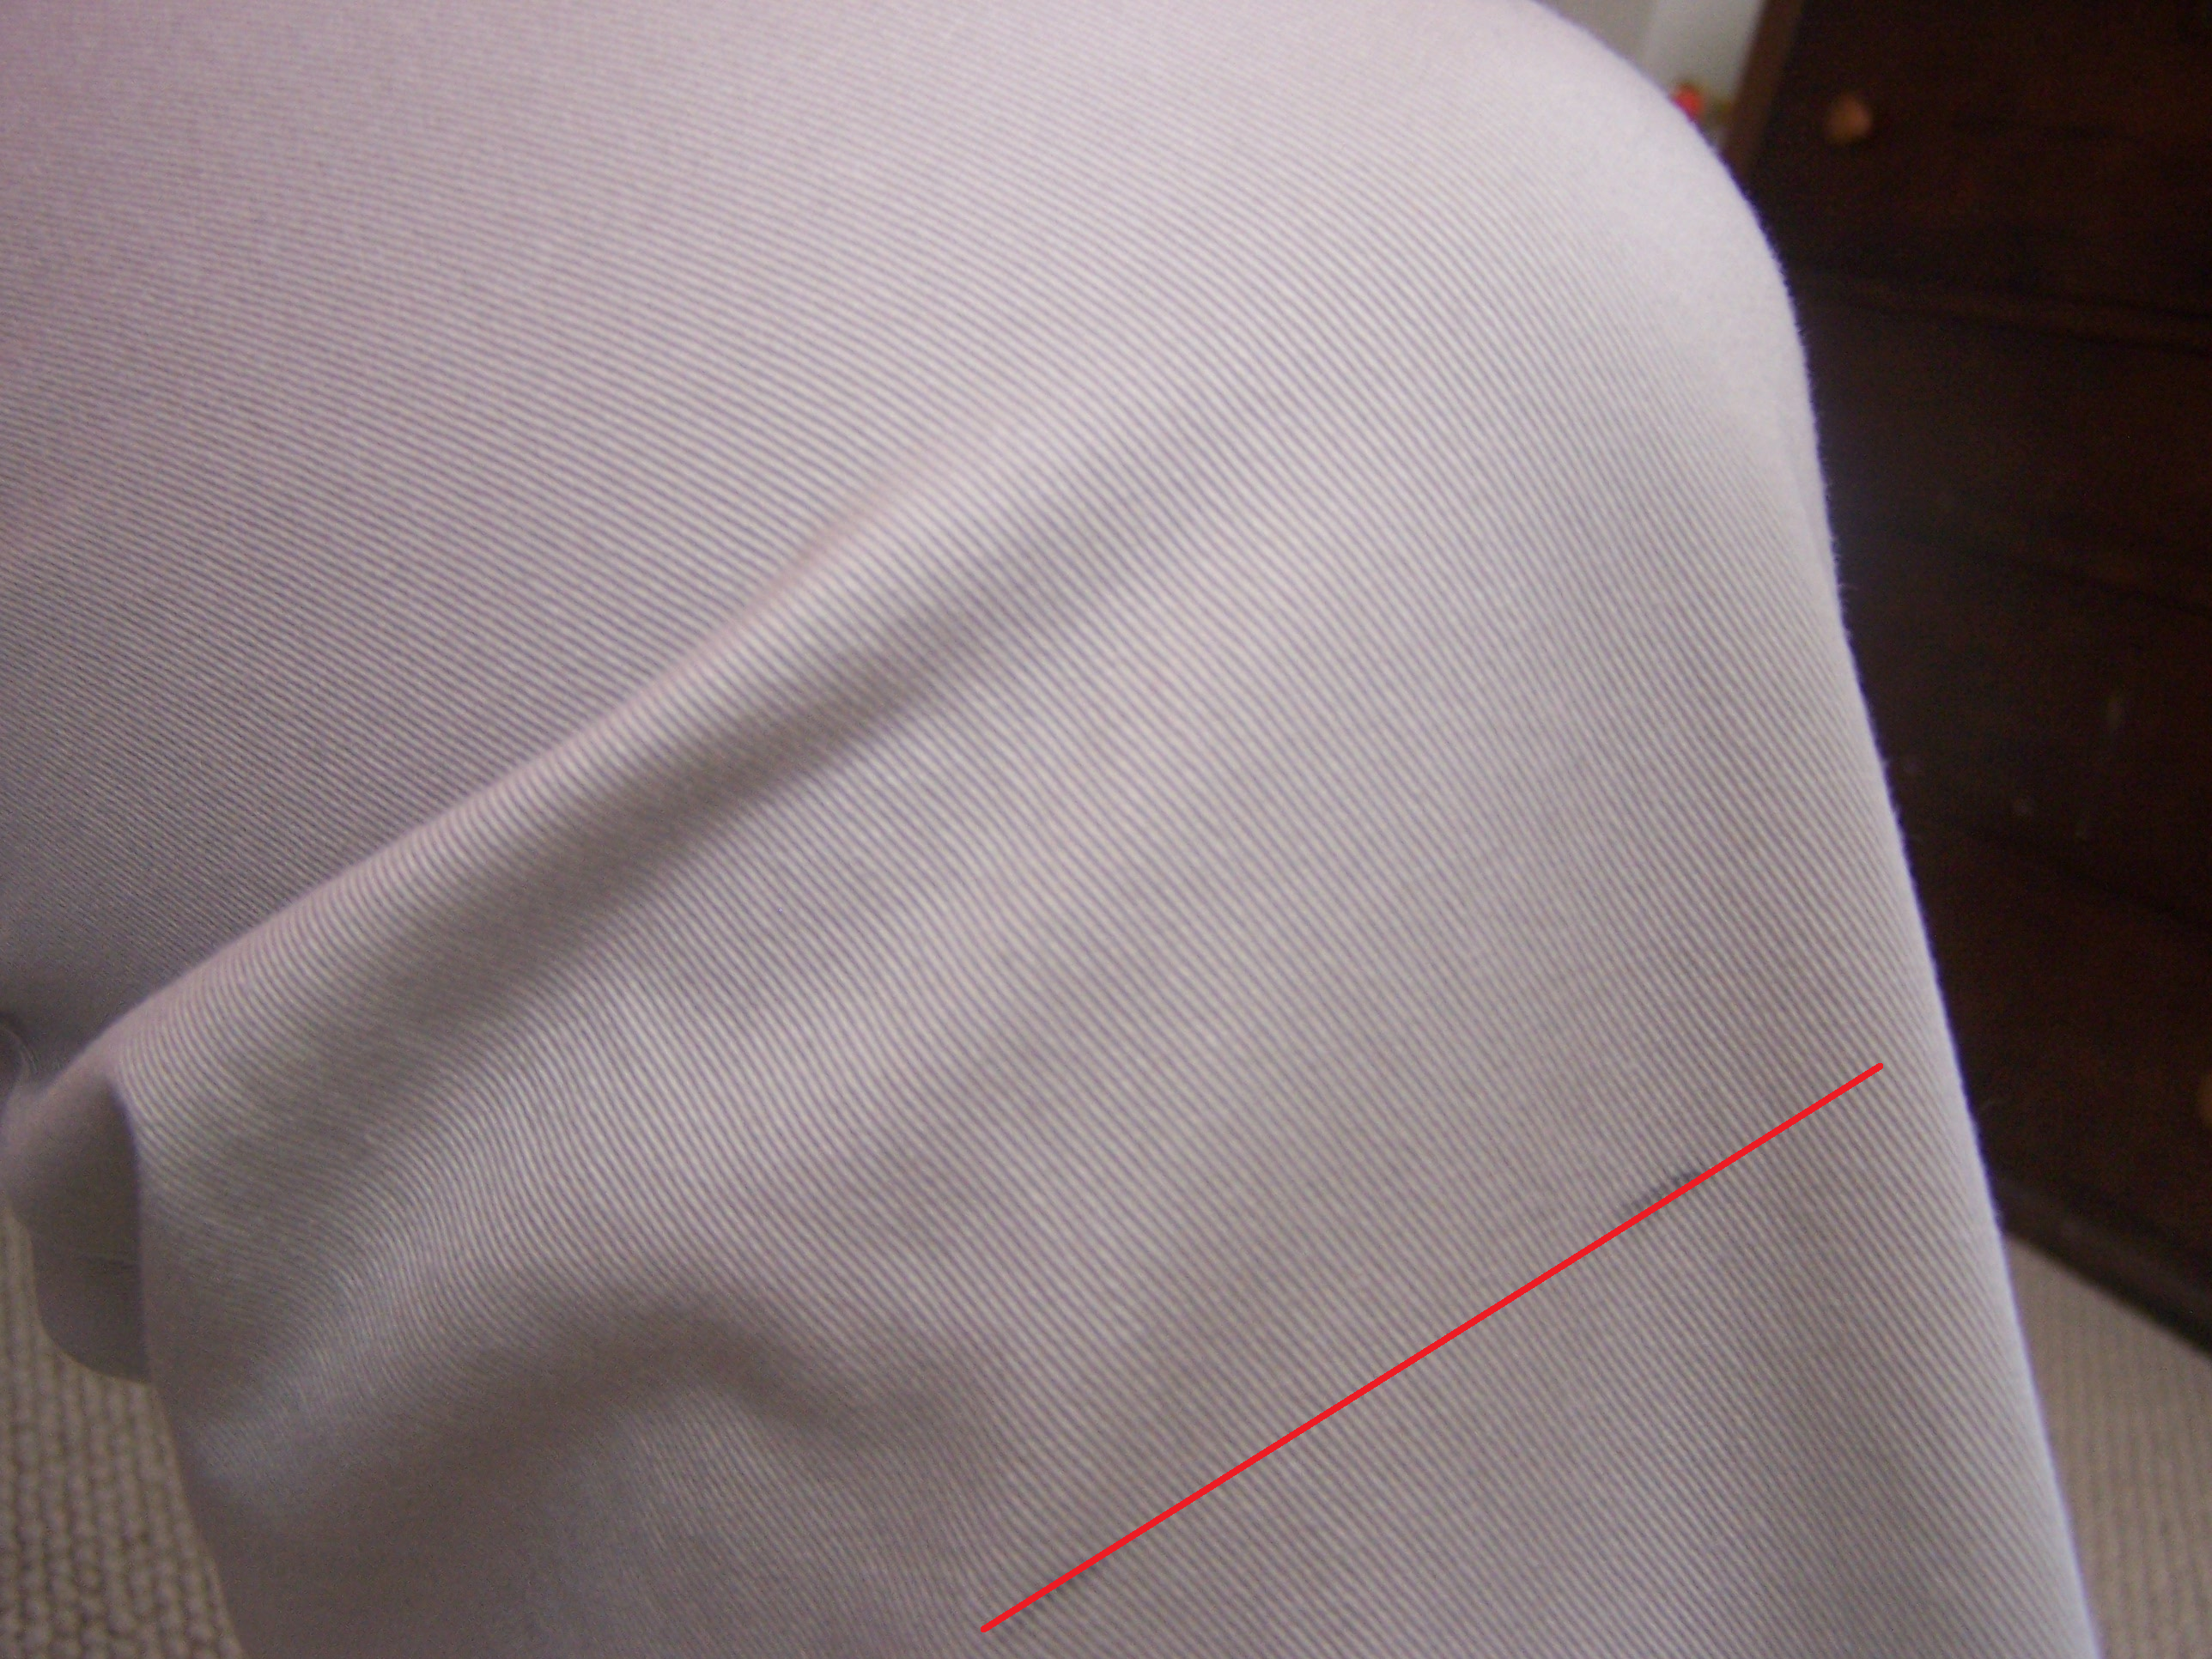
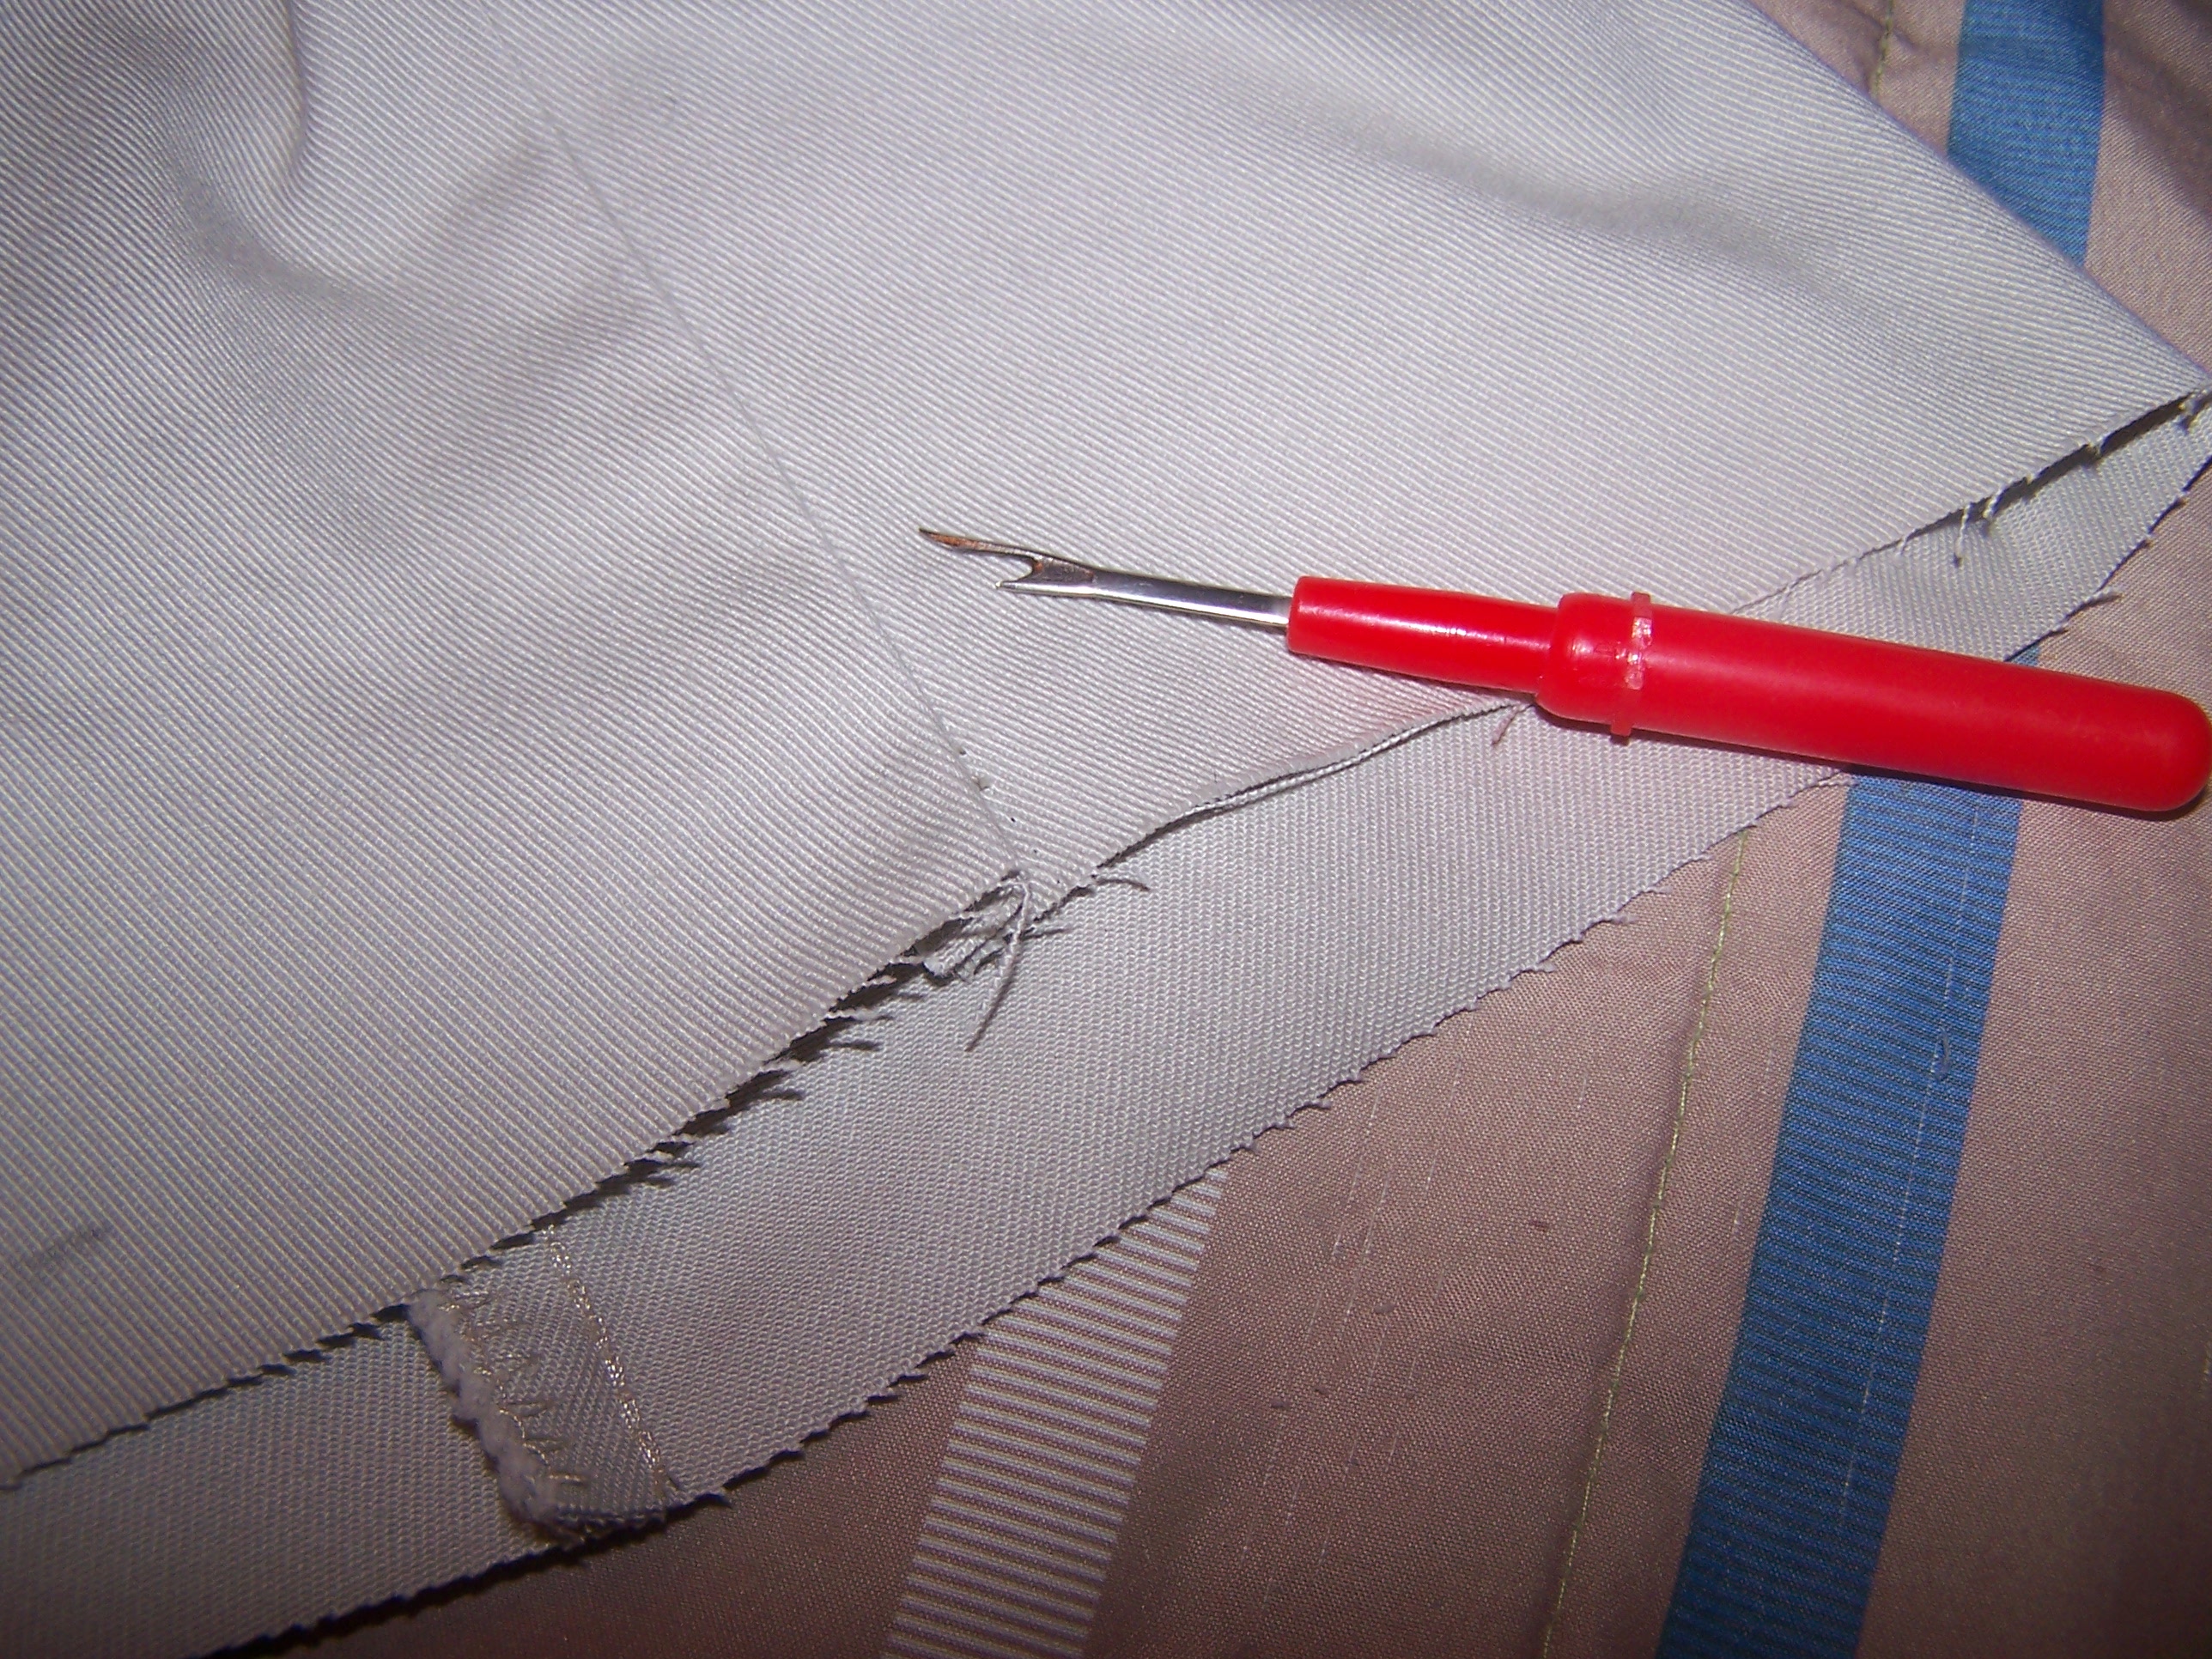
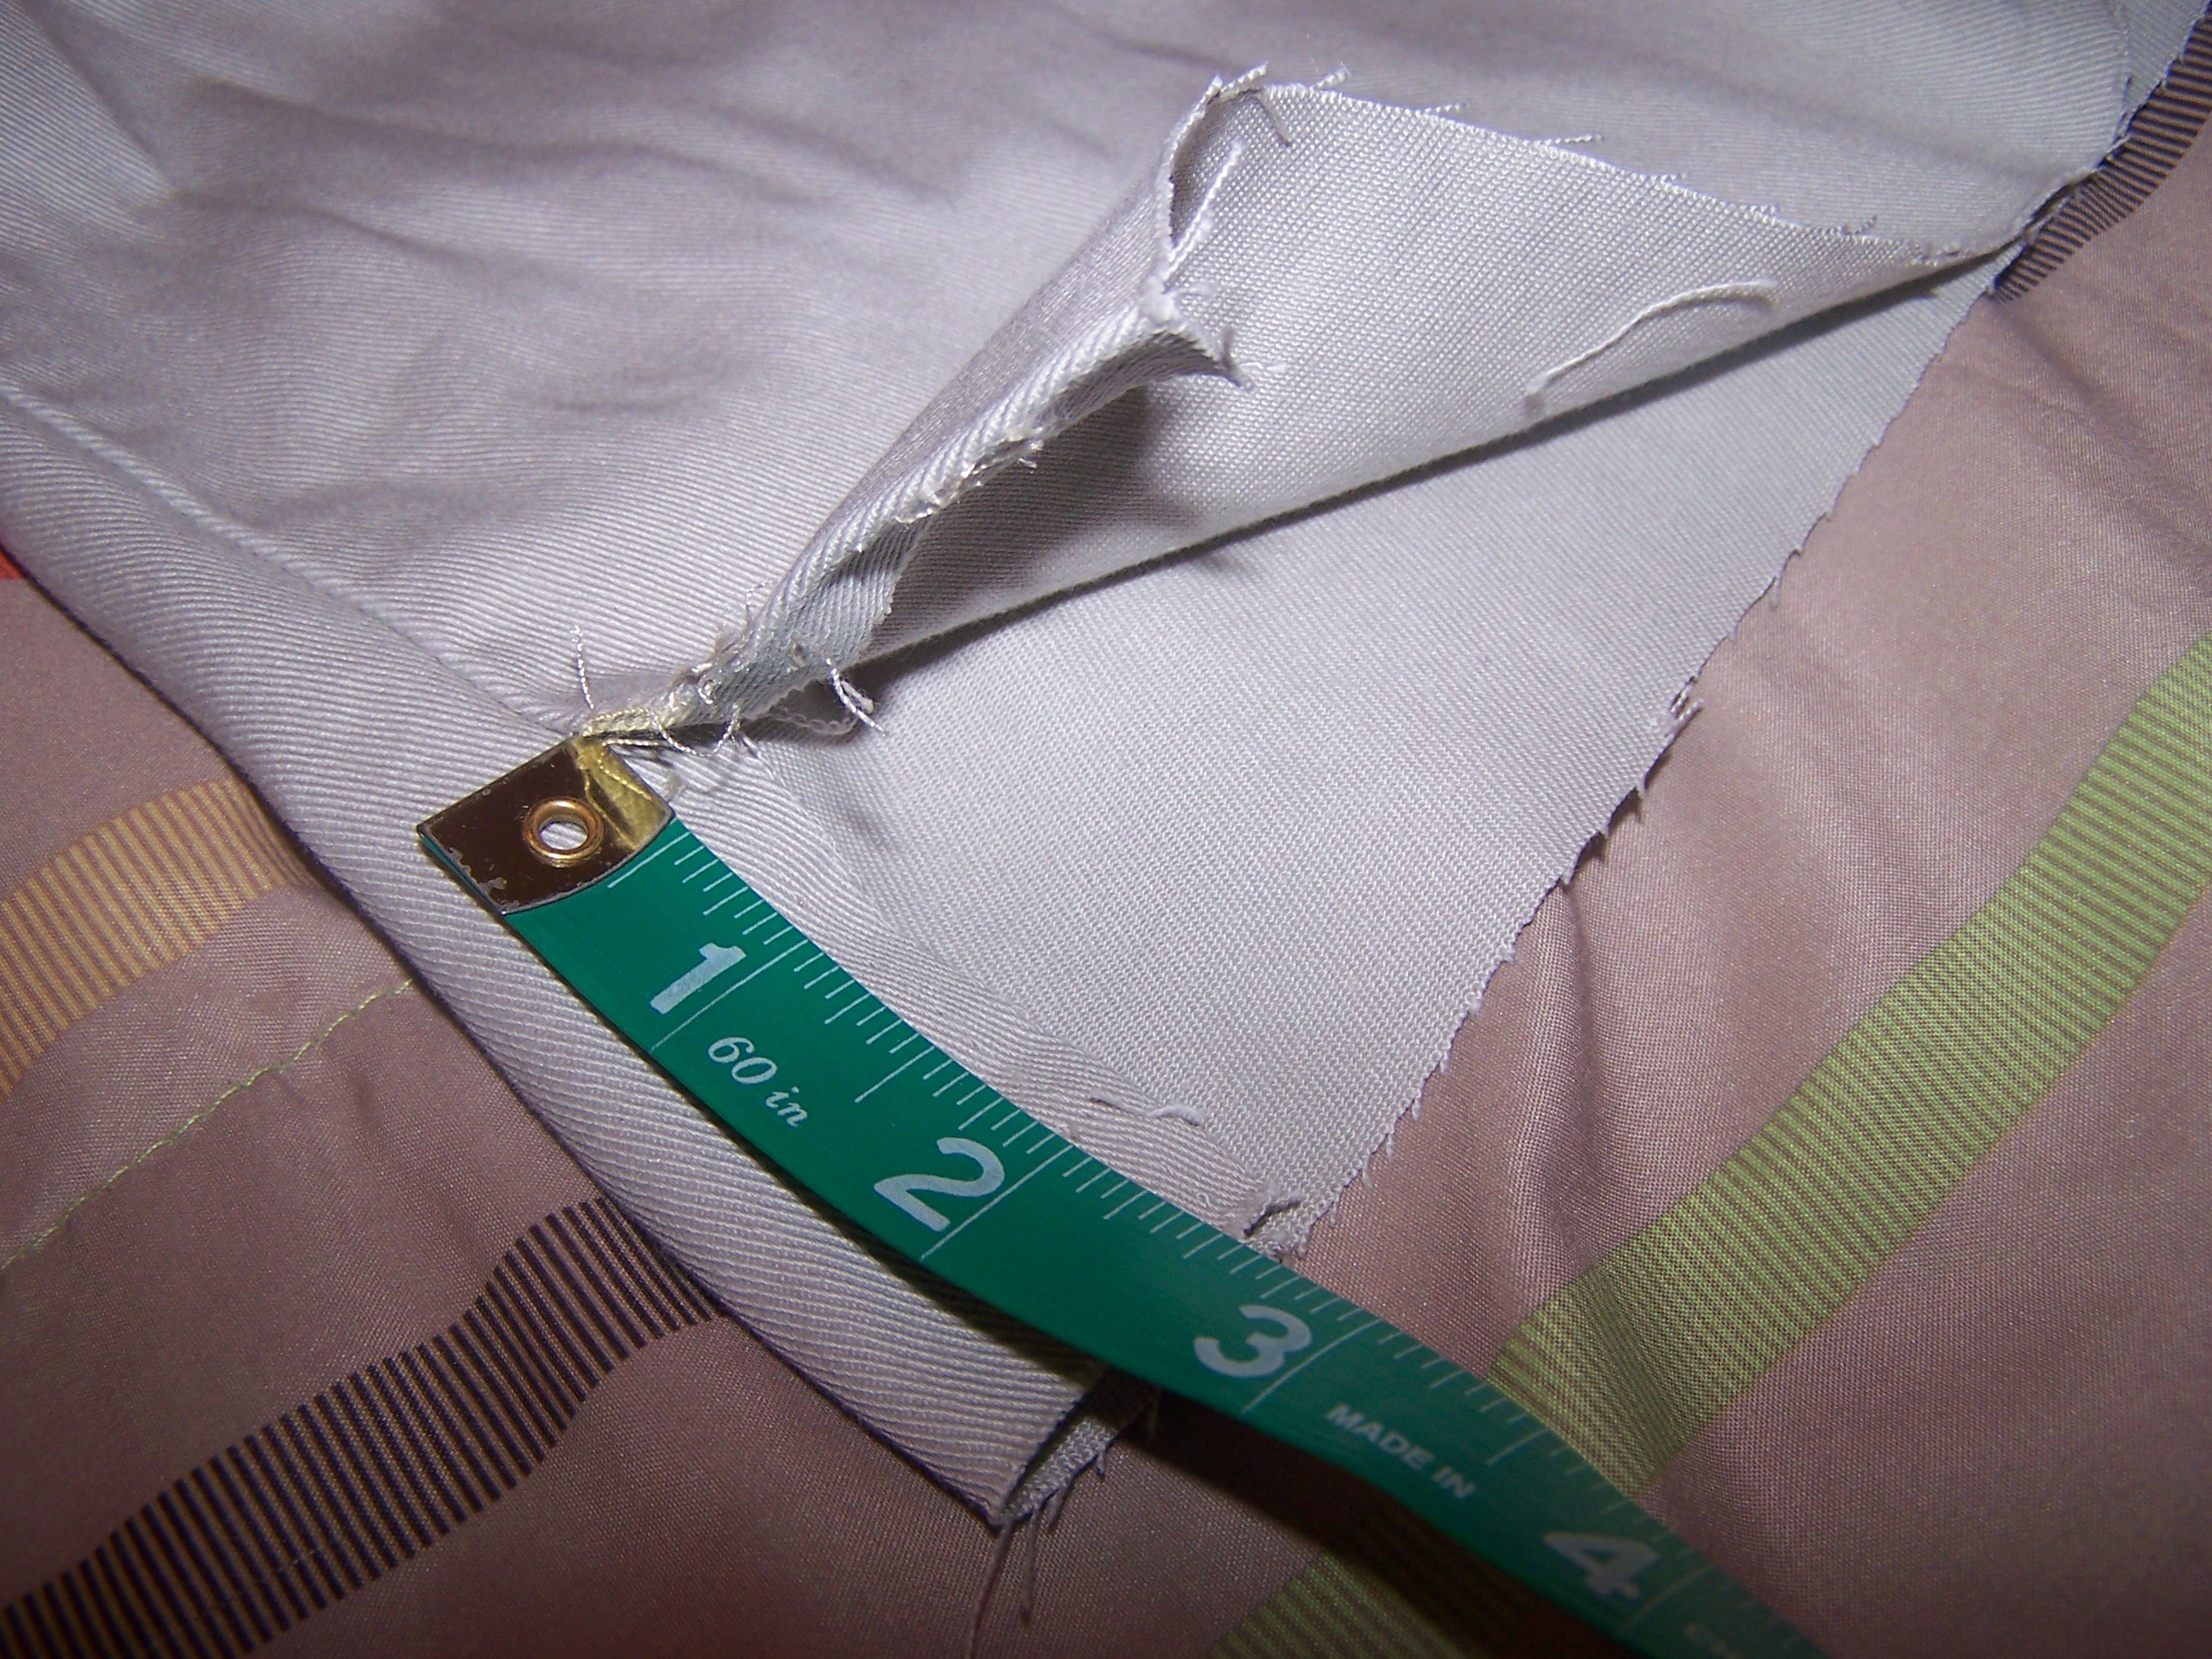
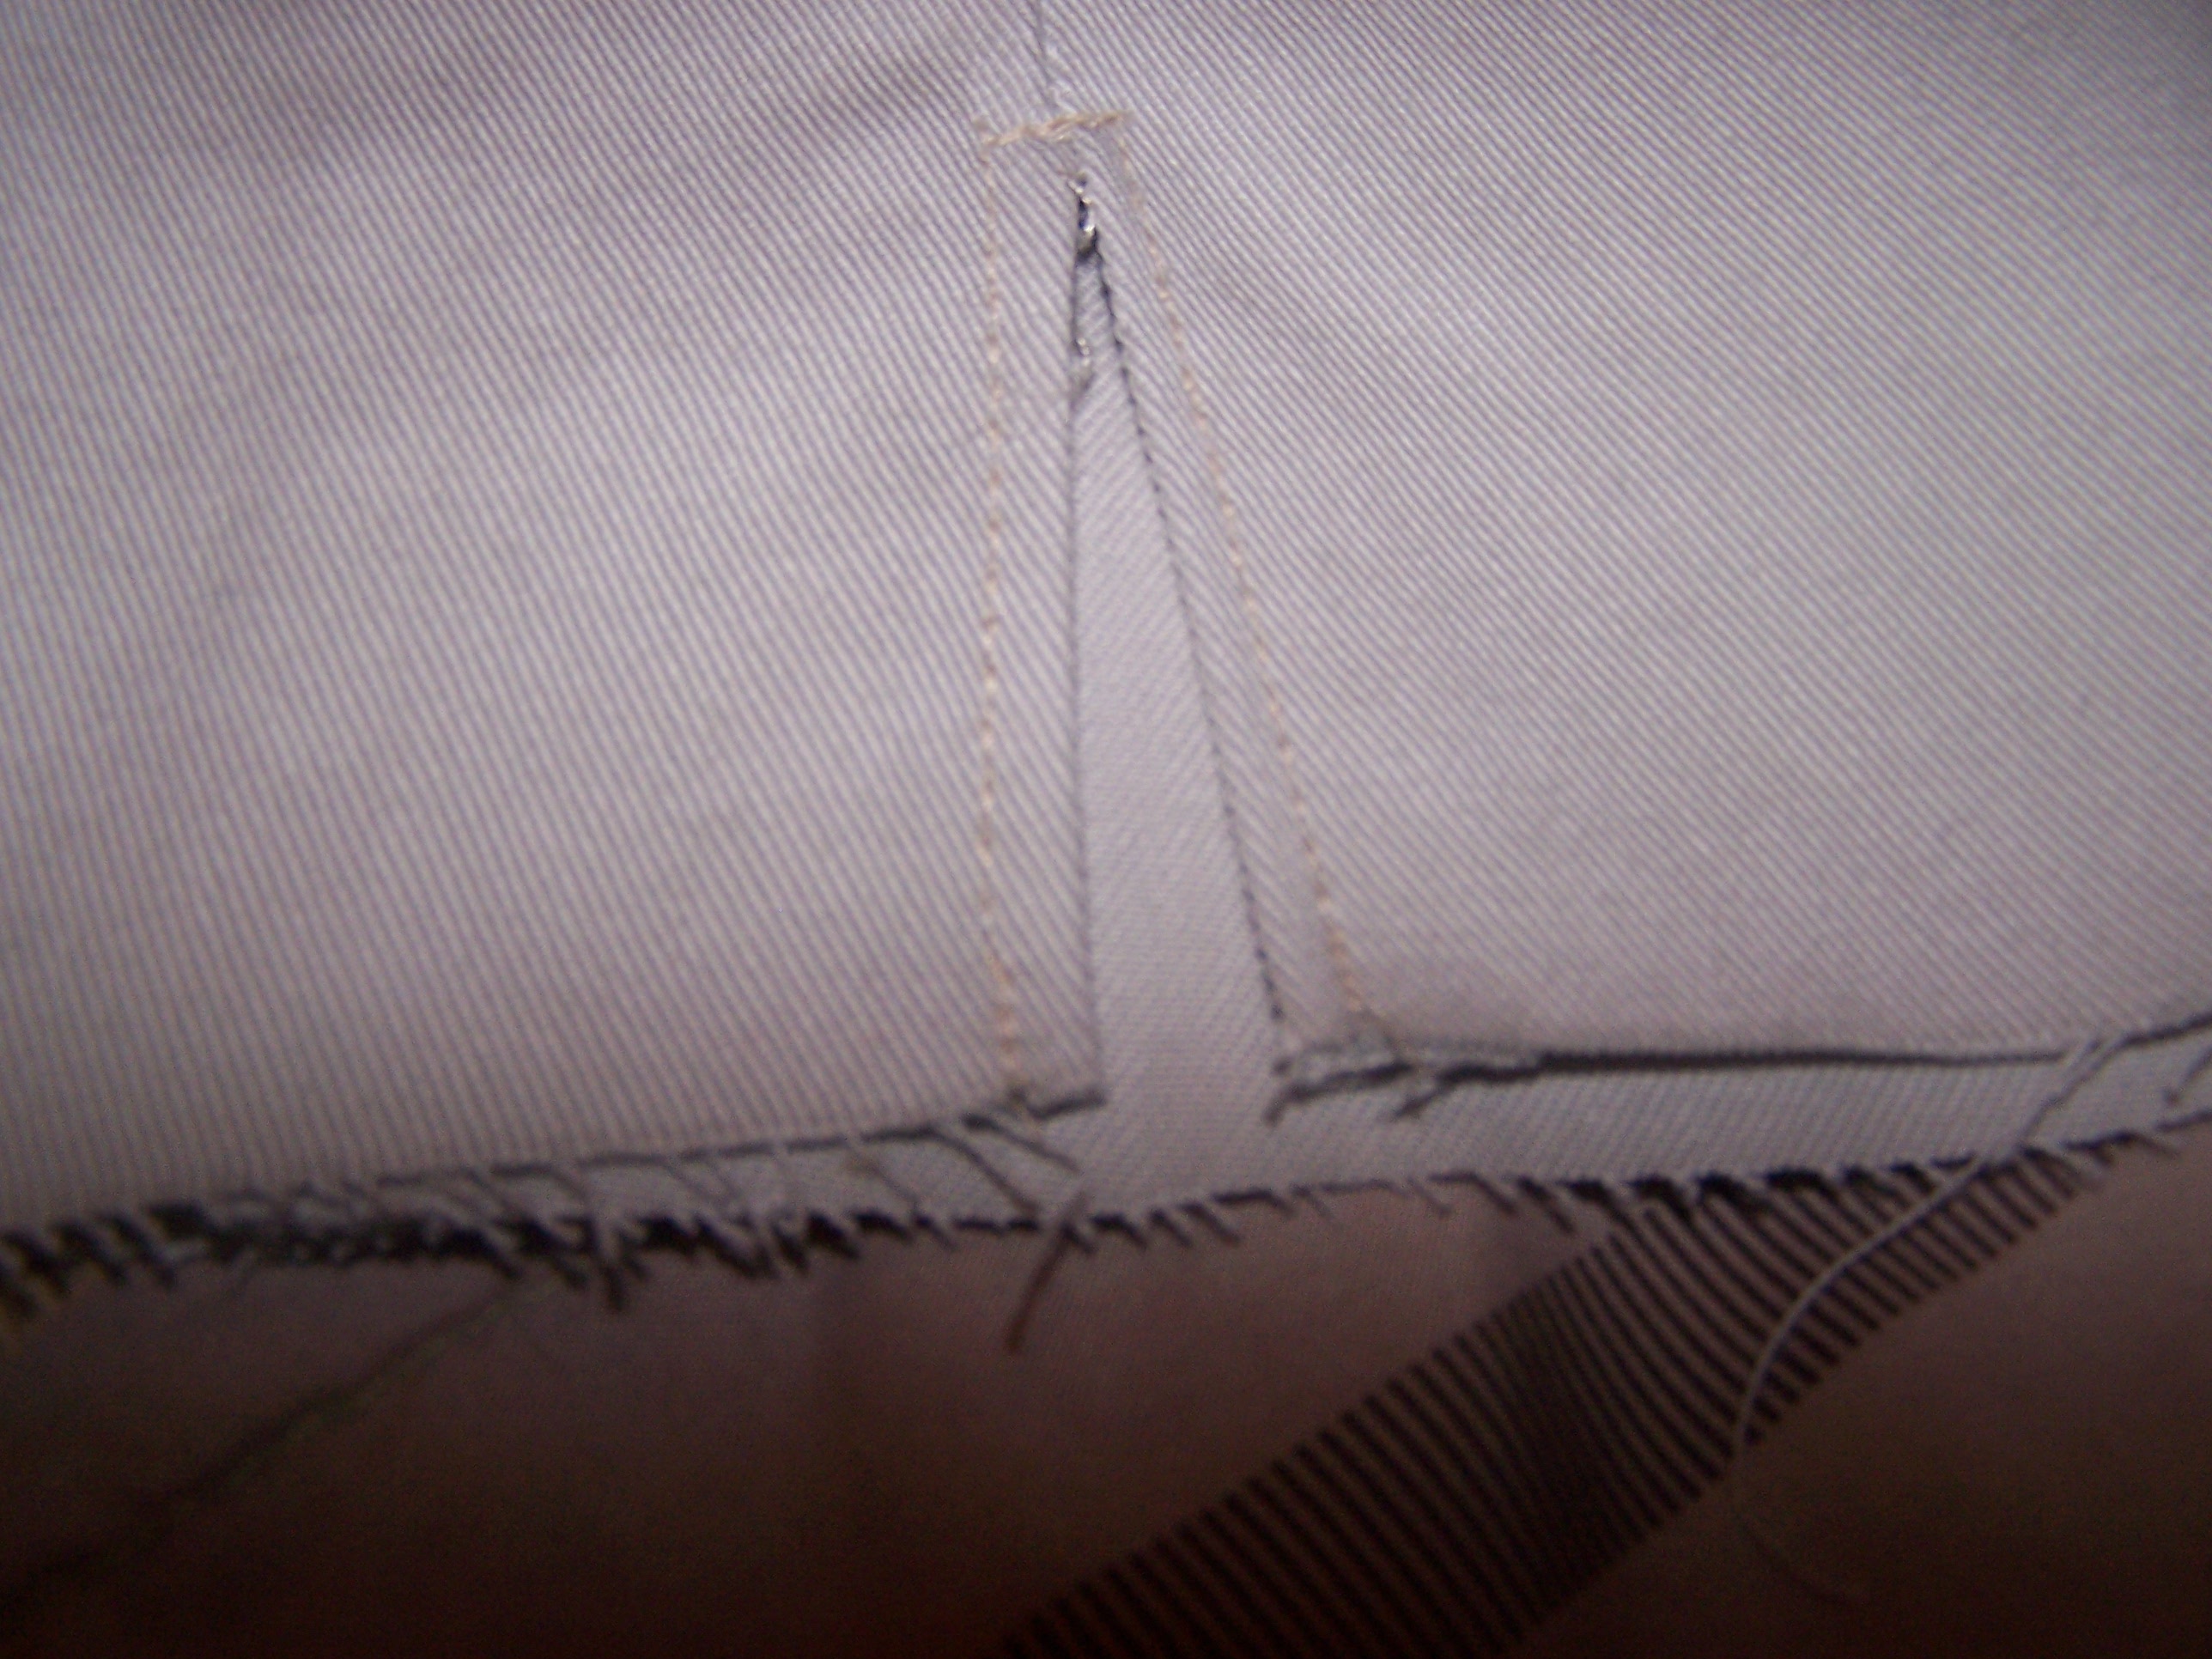
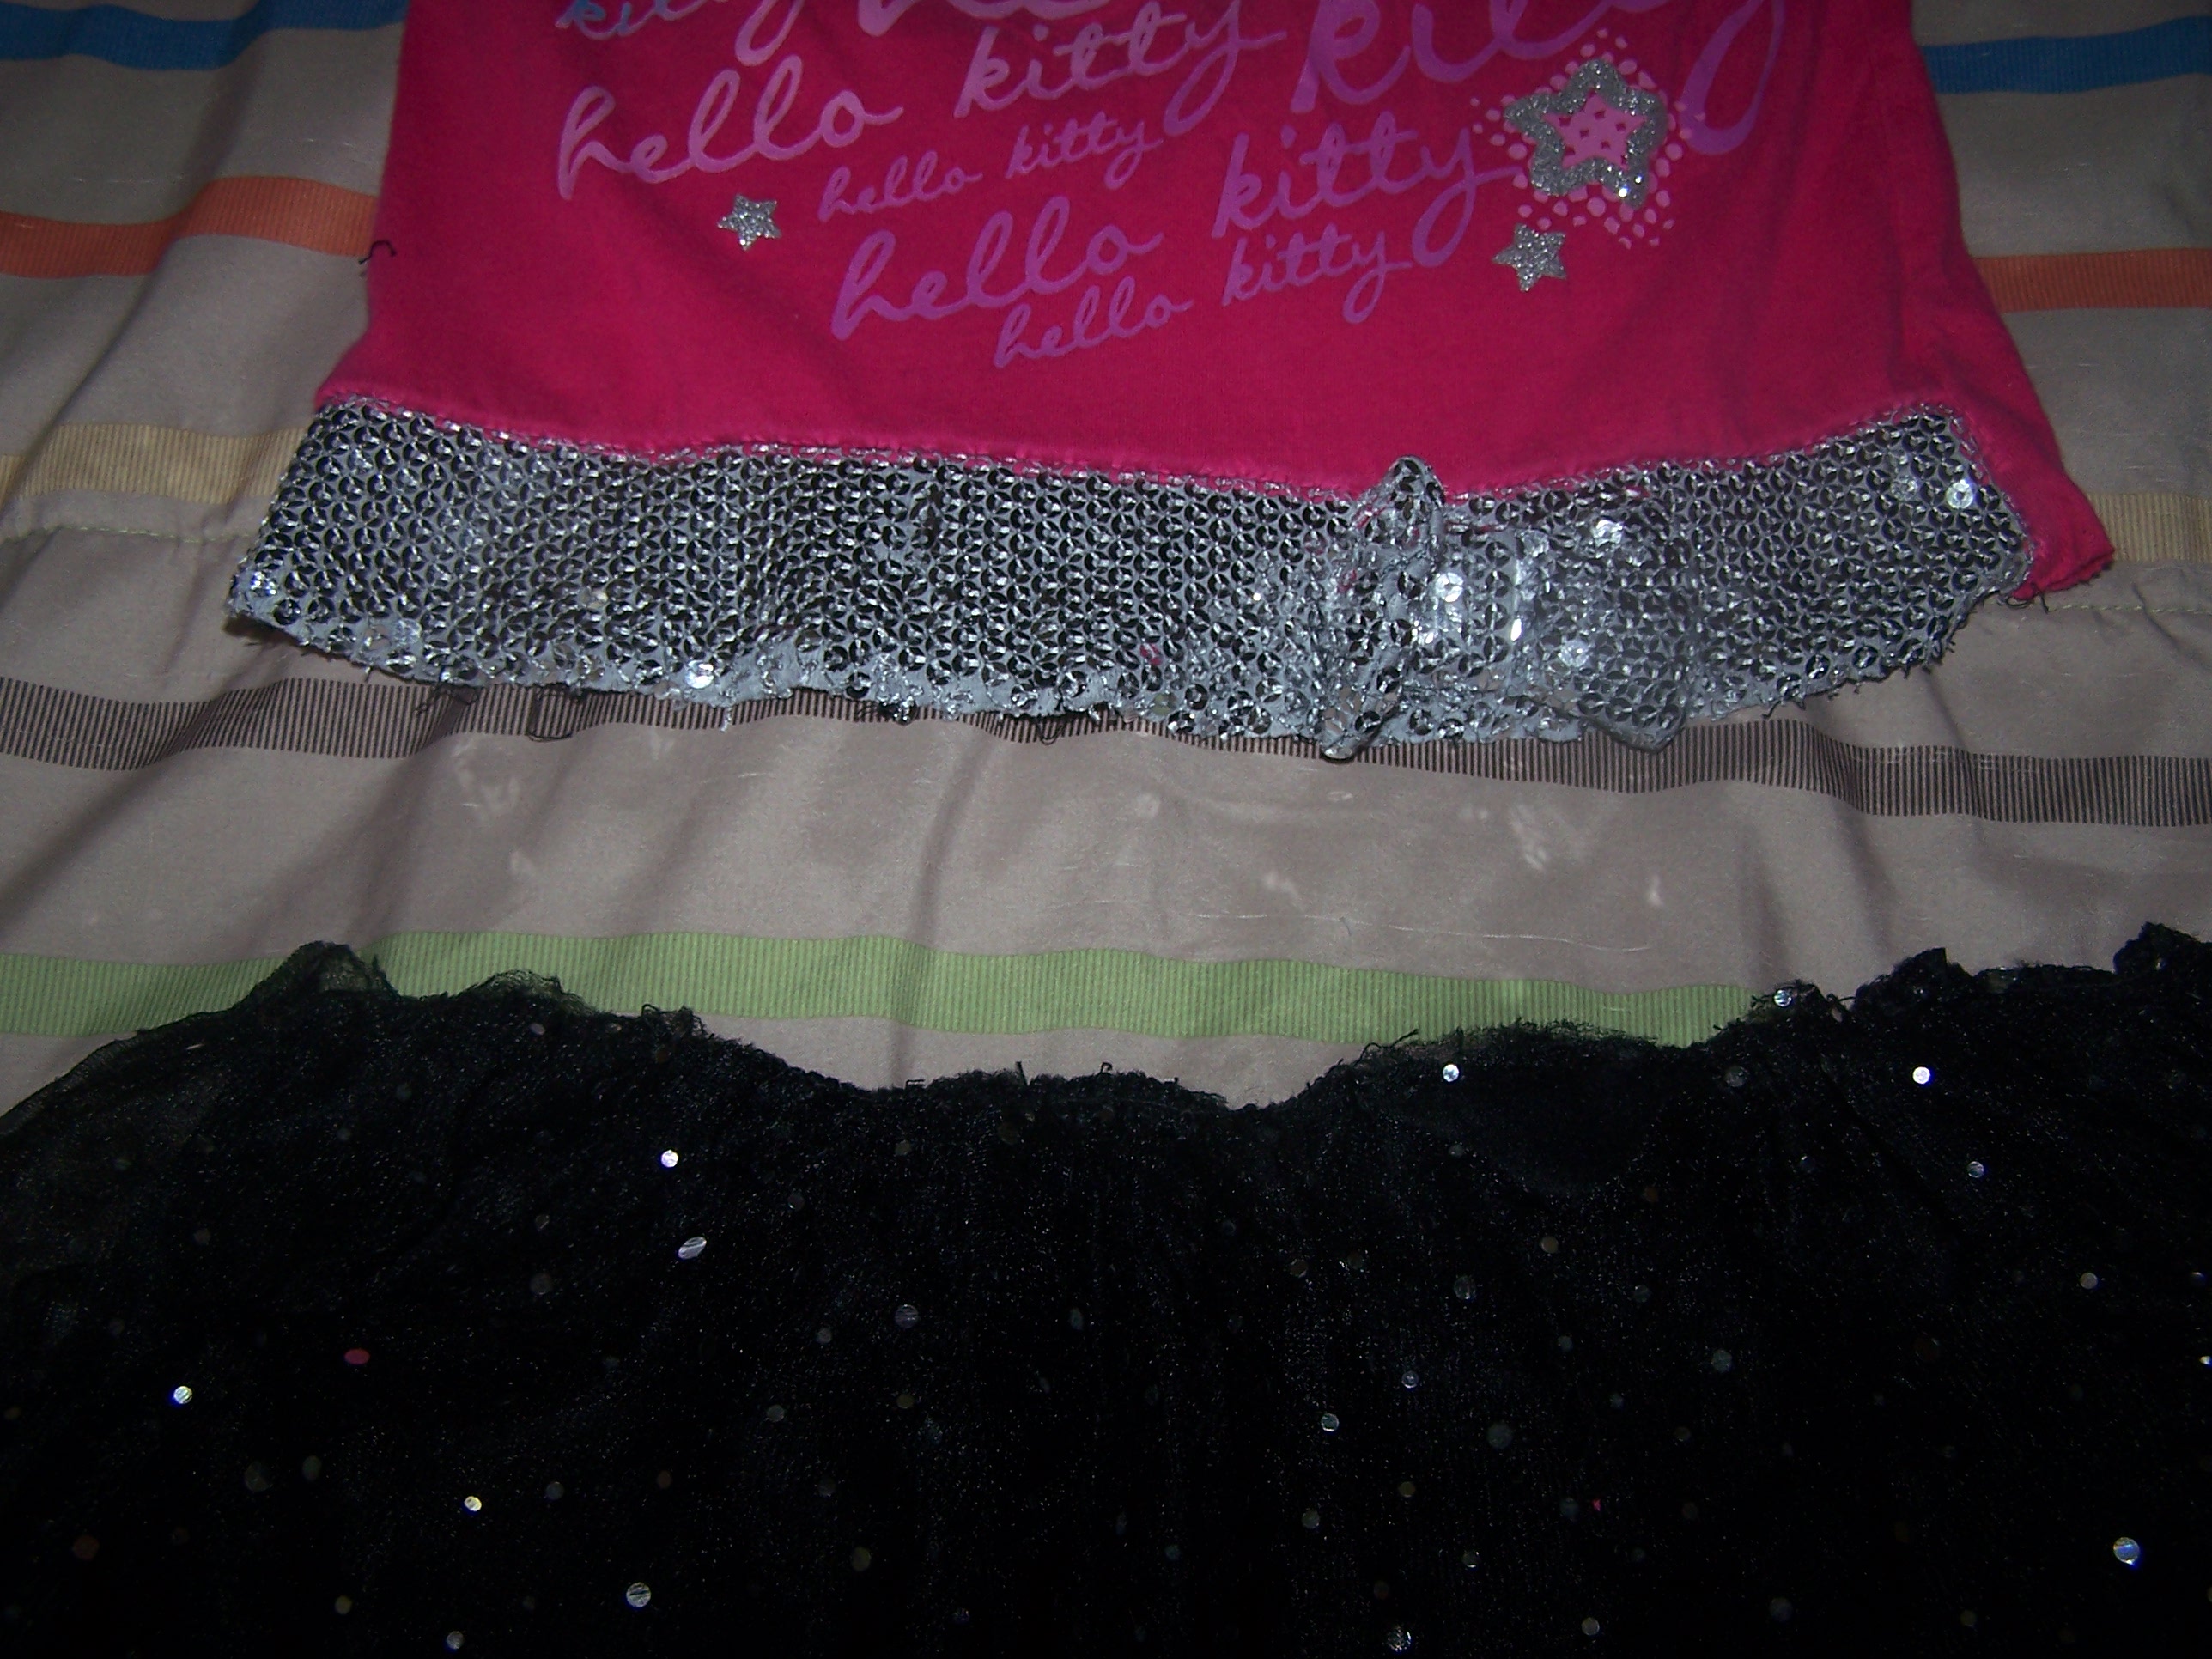
The first step is to remove the skirt from the shirt.  You can either cut them apart by cutting very close to the seam or use a seam ripper to rip out the seam.

Skirt Shirt Separated
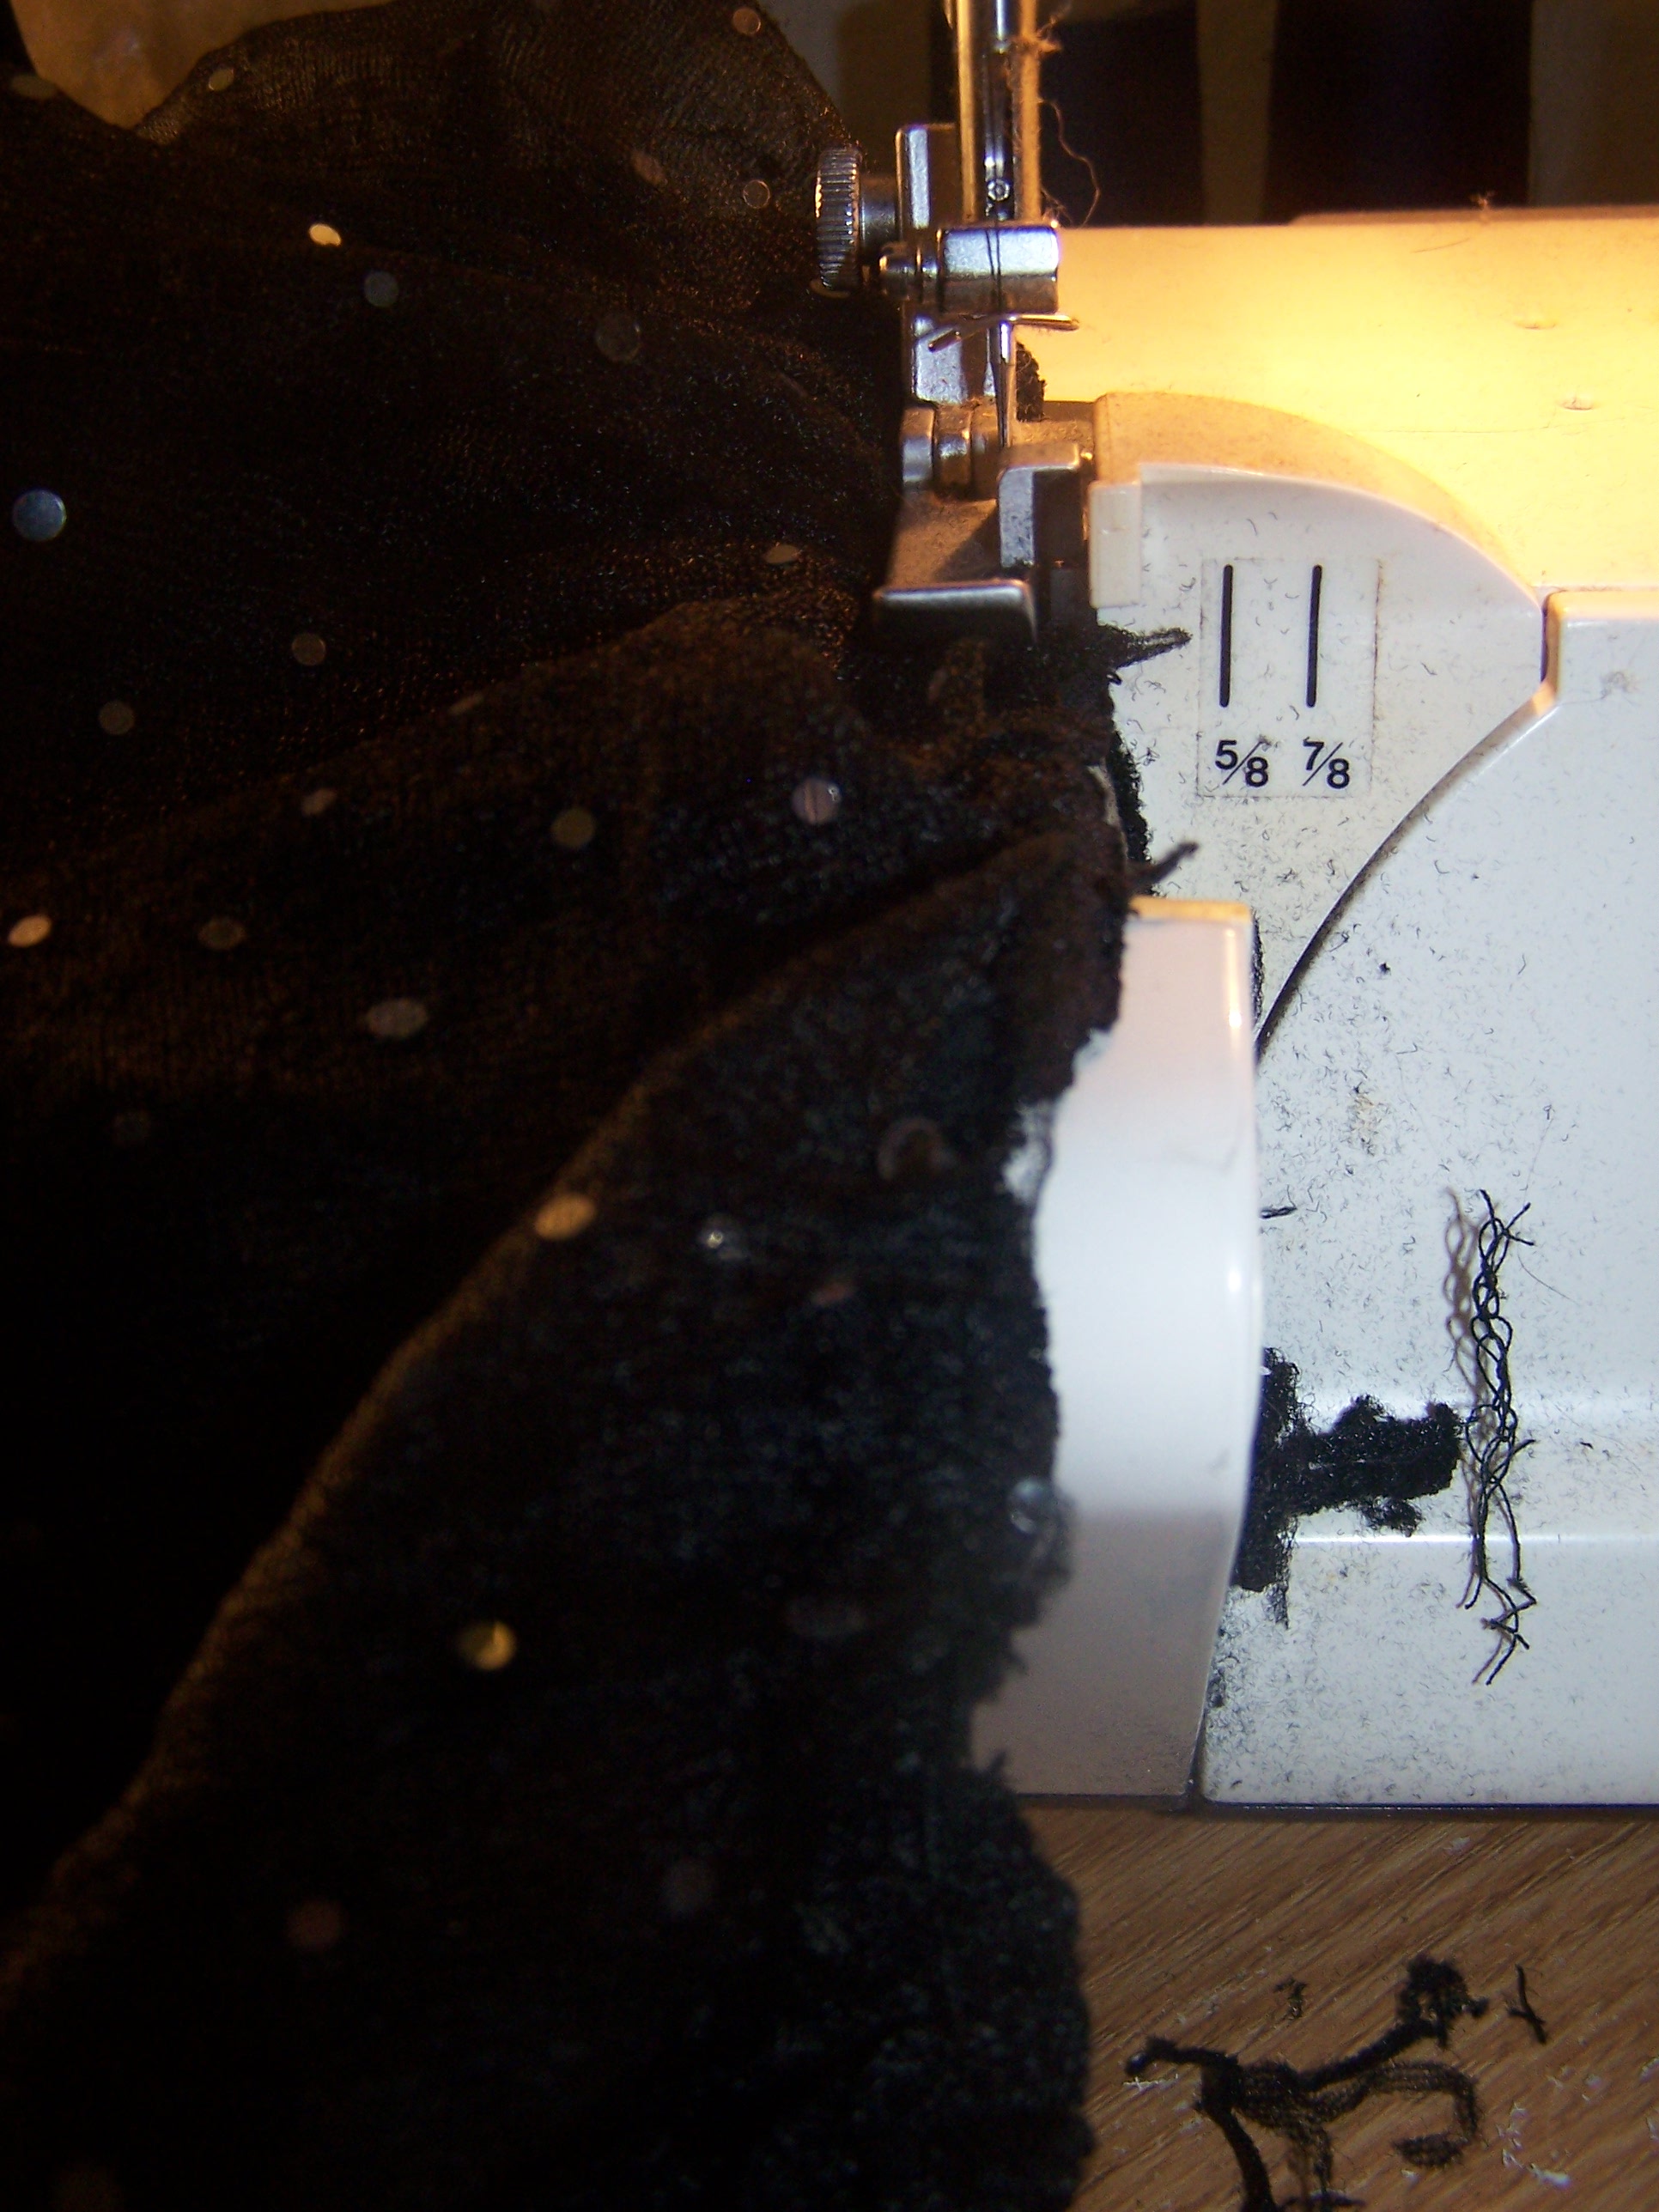
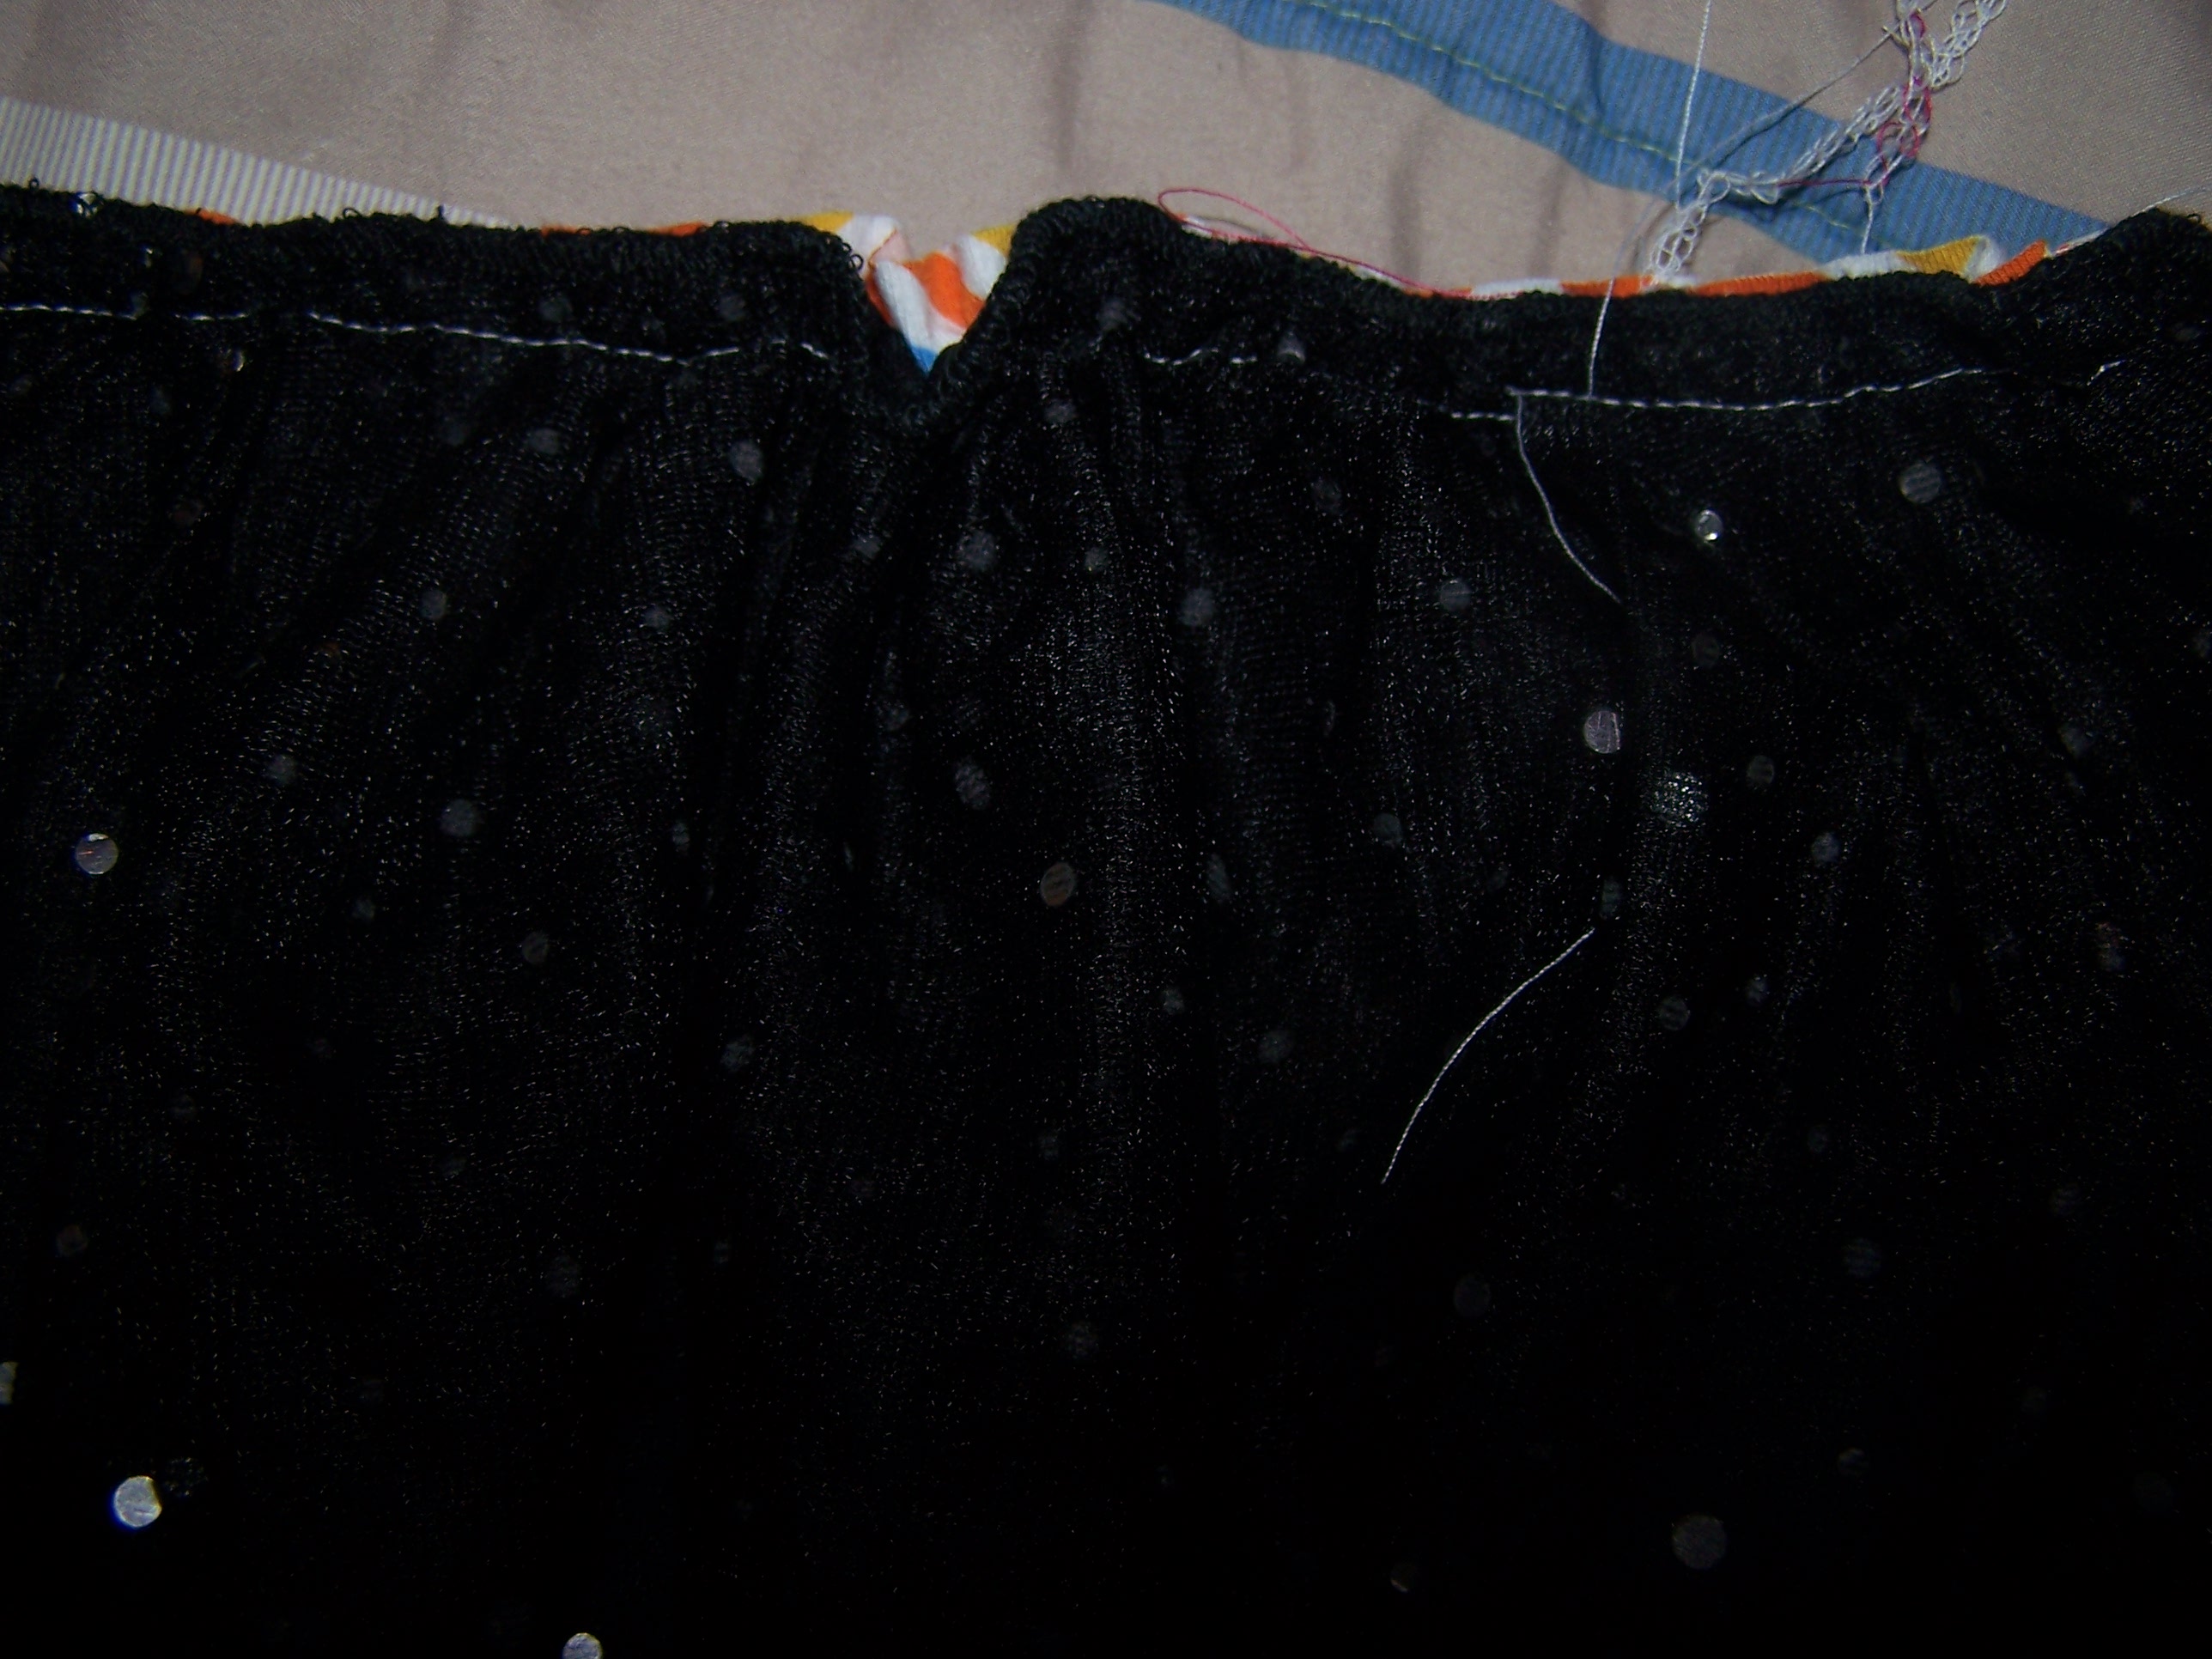
Then, because the tulle was ripping out of the seam, I serged it back to the underskirt.

Serging Skirt Tulle
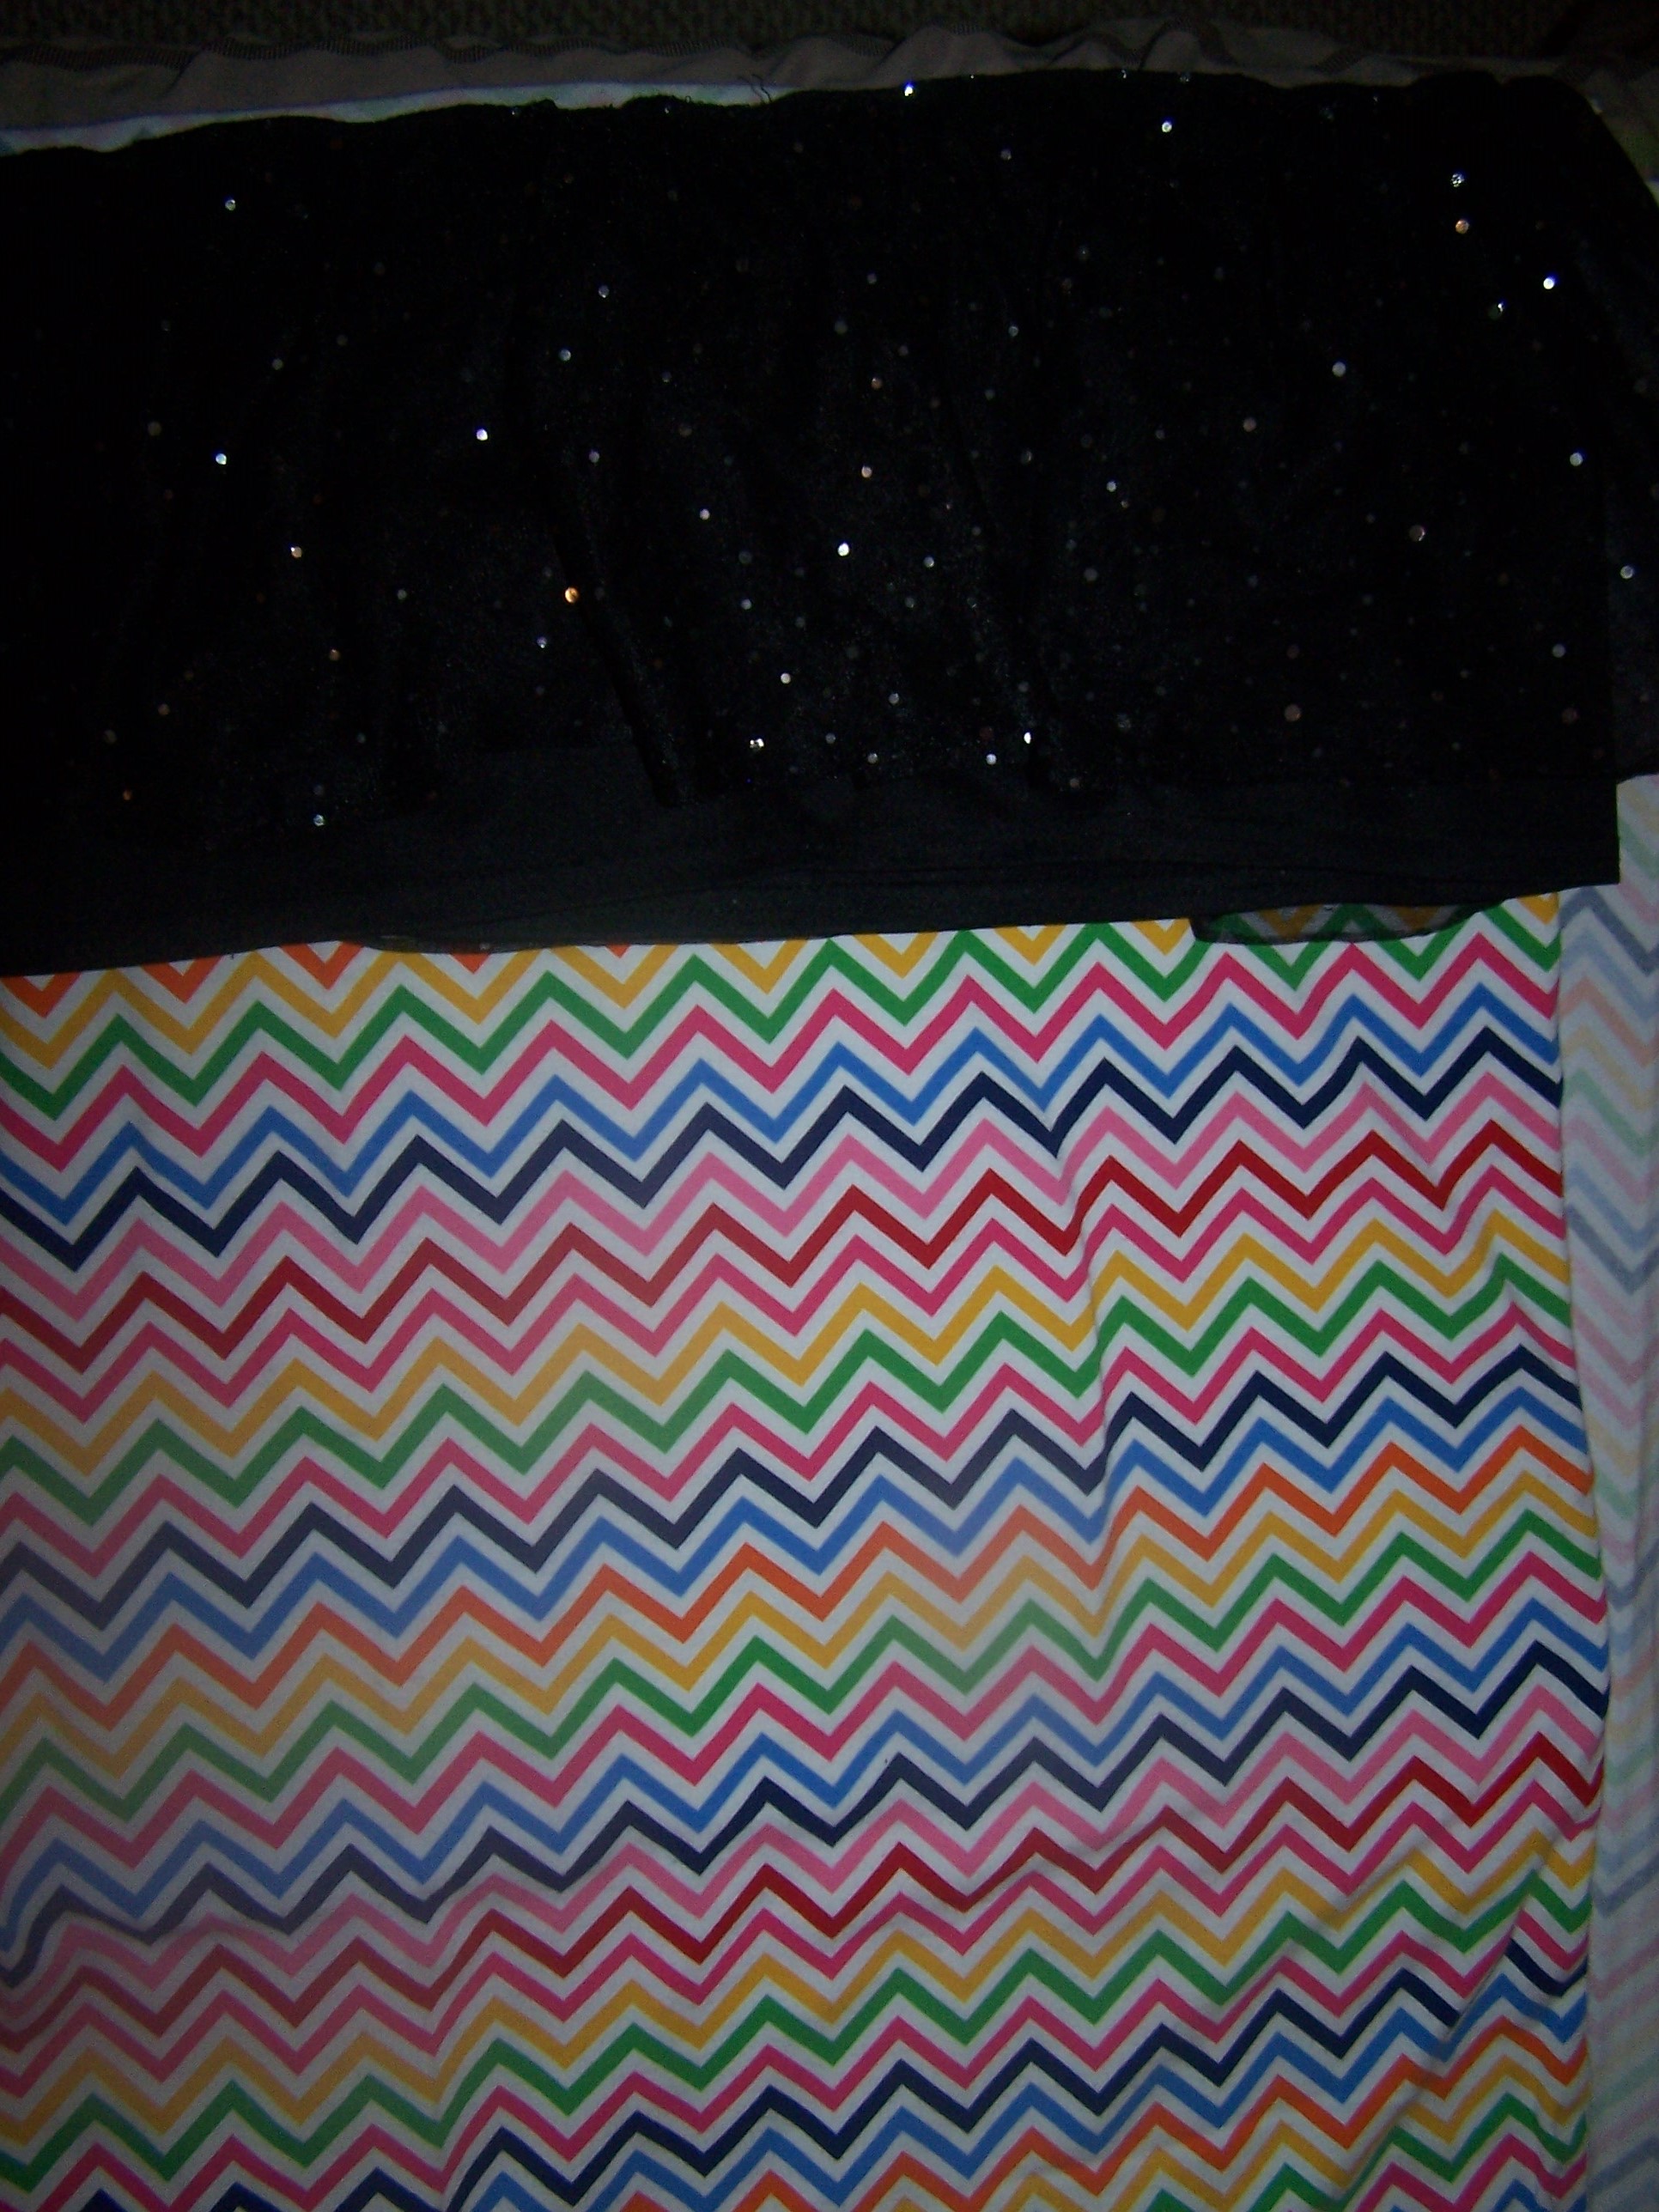
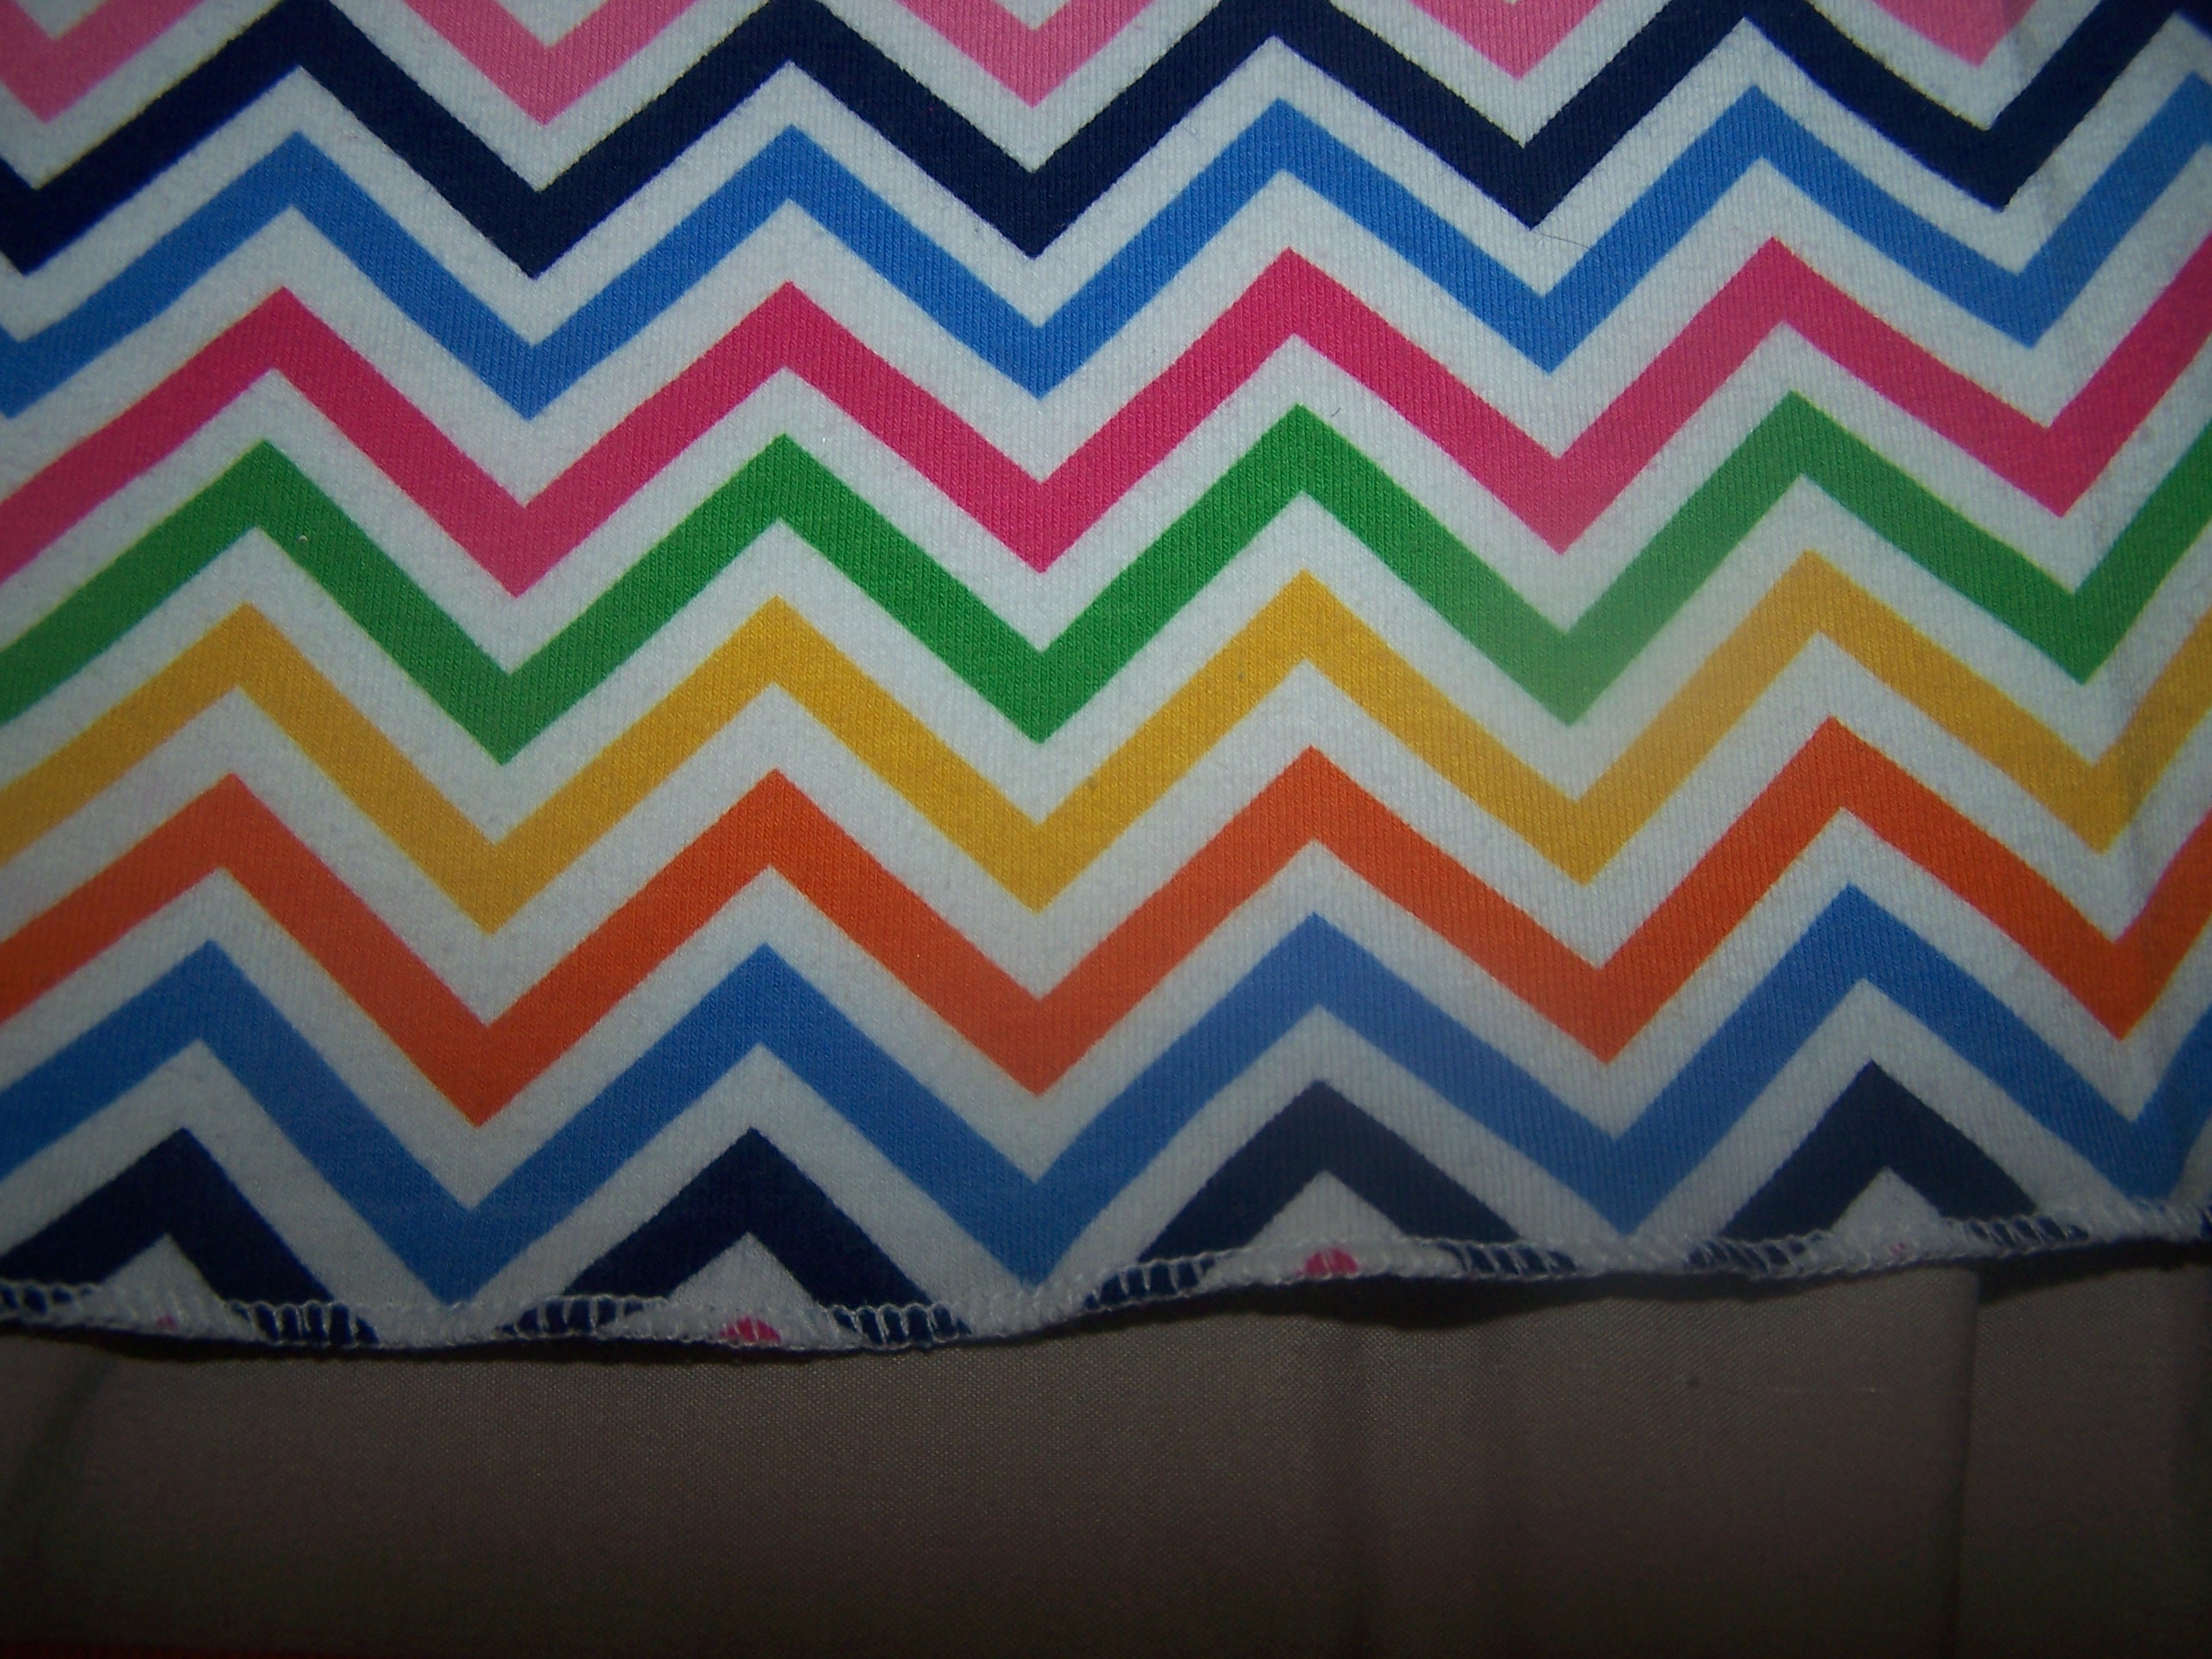
My daughter picked out this chevron print to be the skirt.  I cut a piece the same width as the current skirt and twice as long.

Pick Material CoordinateThen I sewed the ends together and hemmed the bottom (I used a rolled hem on my serger, but you can also fold the edge under 1/4″ and then turn it under 1/4″ again and stitch close to the fold).

Rolled Hem Side Seam Sewn

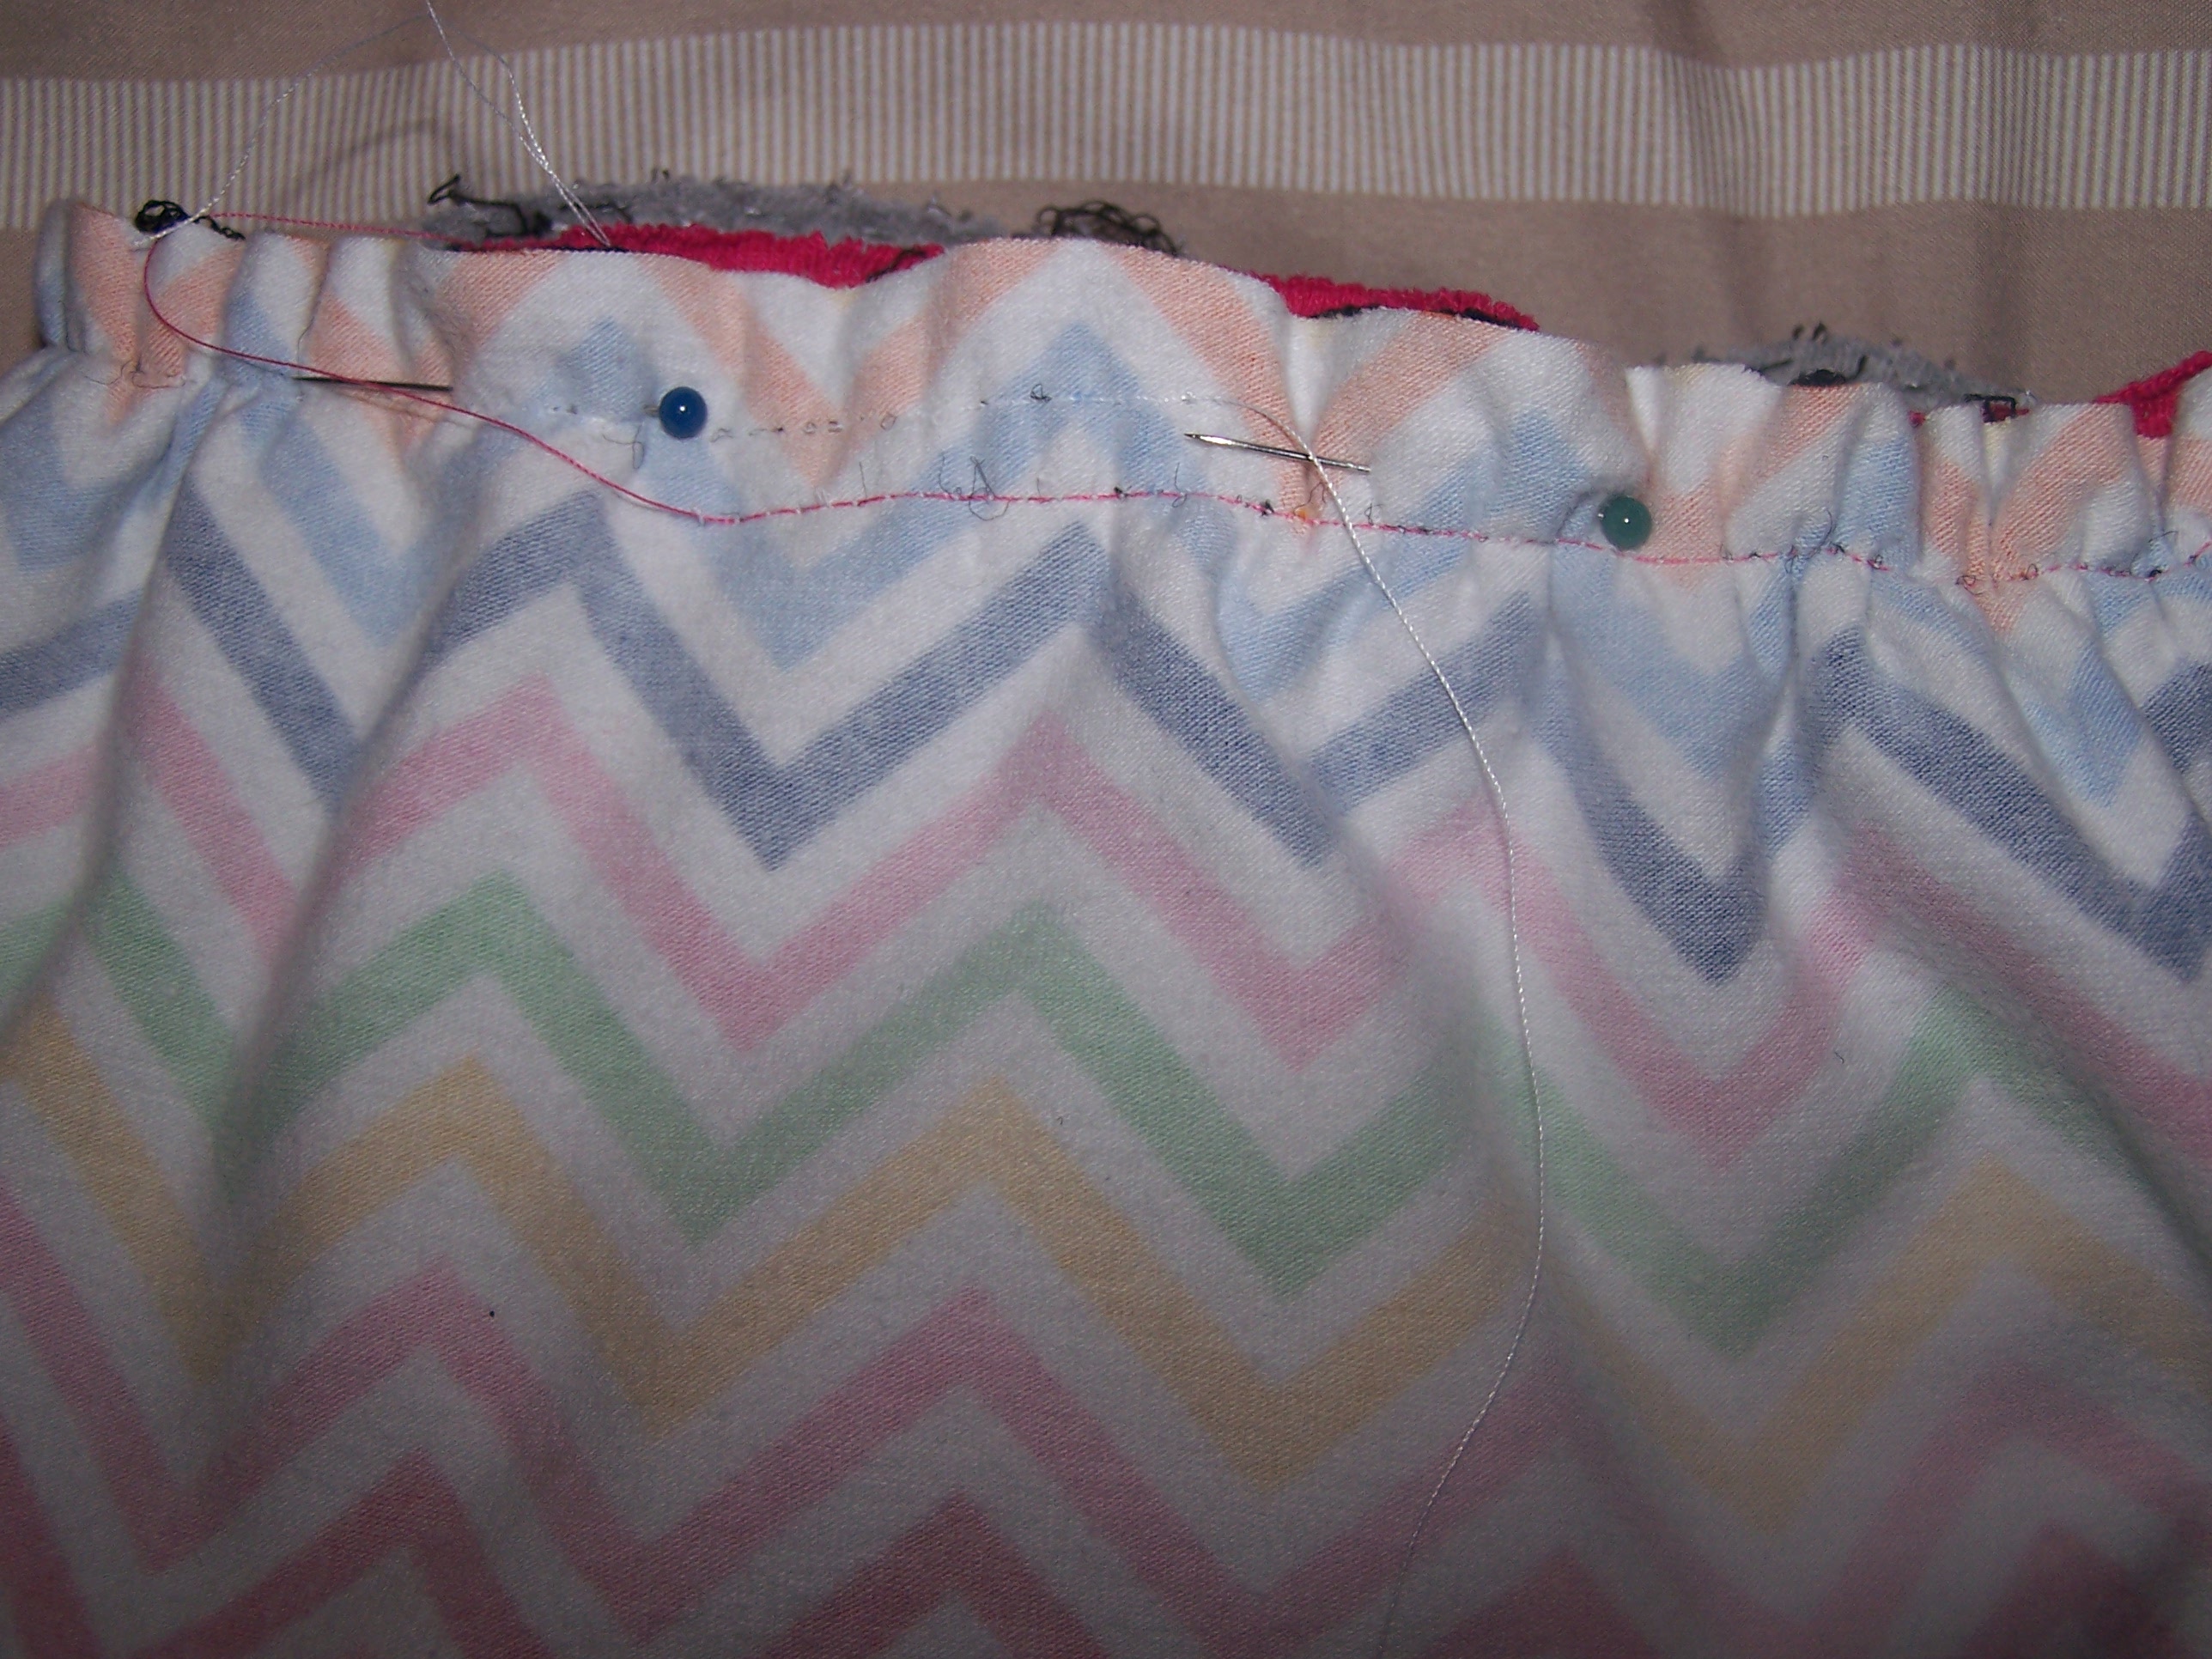
Then, line up the top edges of the existing skirt and the new skirt and baste them together.  Don’t backstitch – you’ll be gathering this to make the skirt fit the shirt.

Skirts Lined Up

Pull the stitches up so that it fits the bottom of the t-shirt.

Gathered Skirt

Pin the skirt to the shirt making sure you catch all the layers and make sure all the layers are flat…nothing is more frustrating than having part of the skirt sewn into the seam!  Then sew the seam.  If needed, pull out the basting stitches.  I only pull them out if they show.  😉

Pinned Skirt

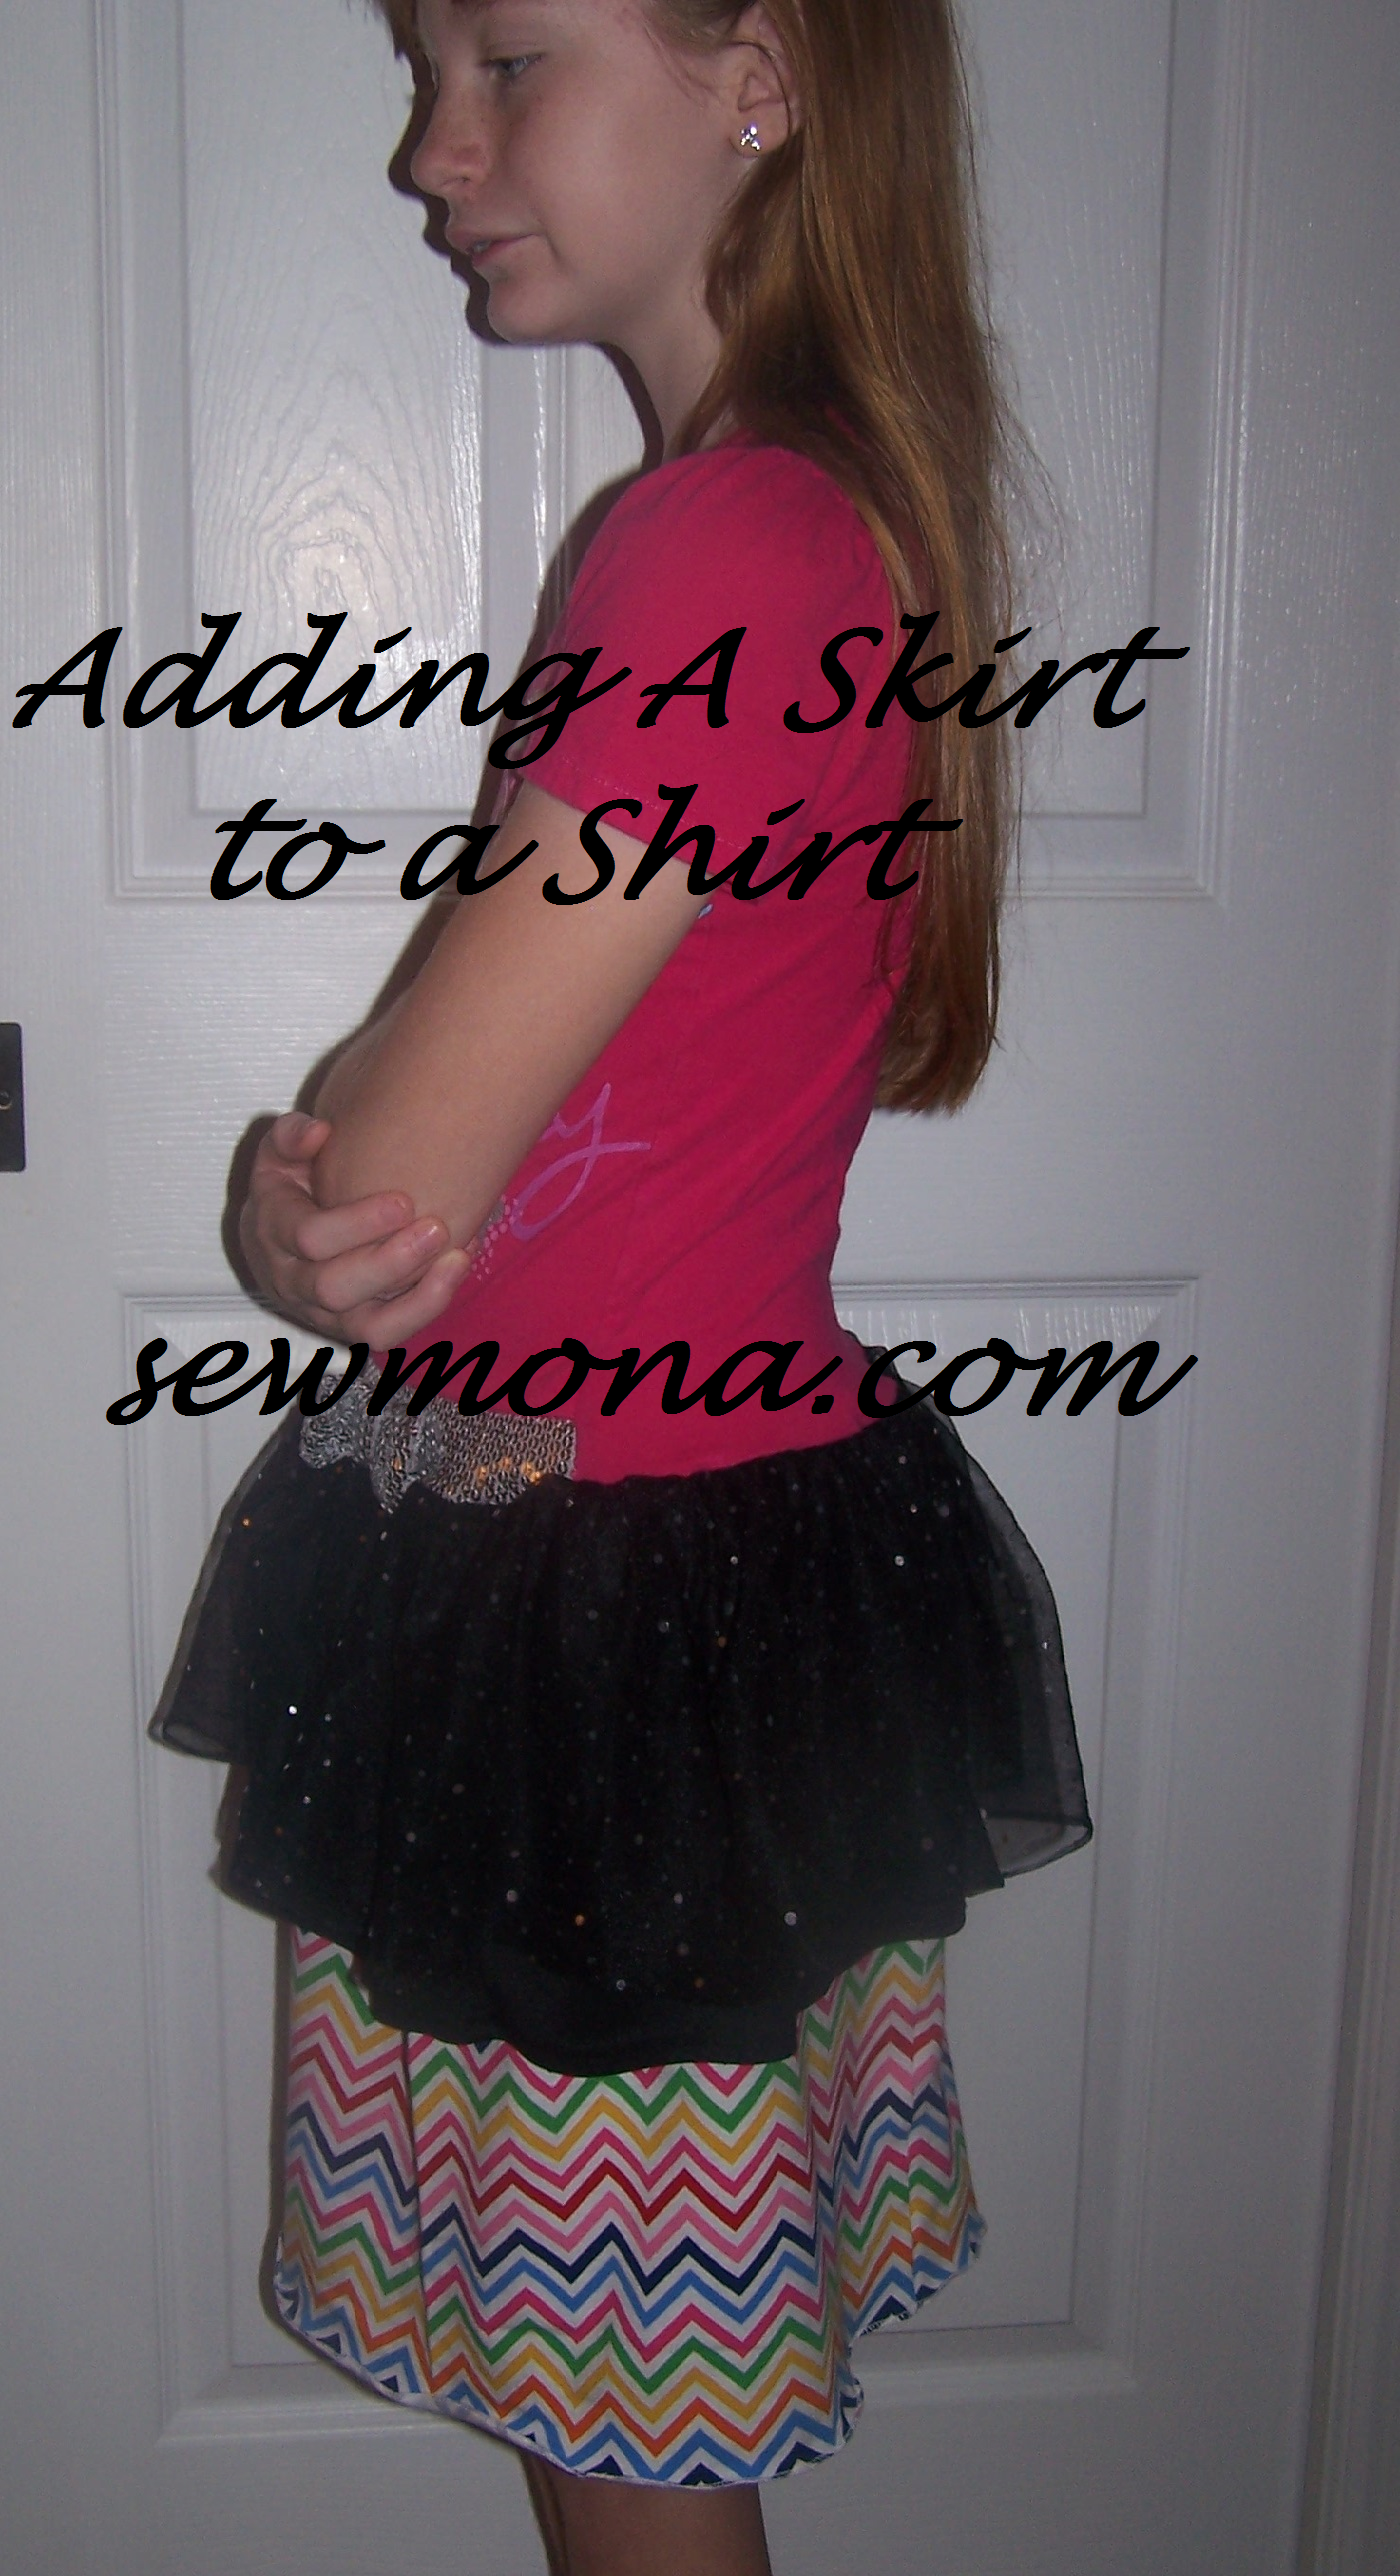
Then convince your daughter to try it on and admire your work.

Finished Skirt Shirt
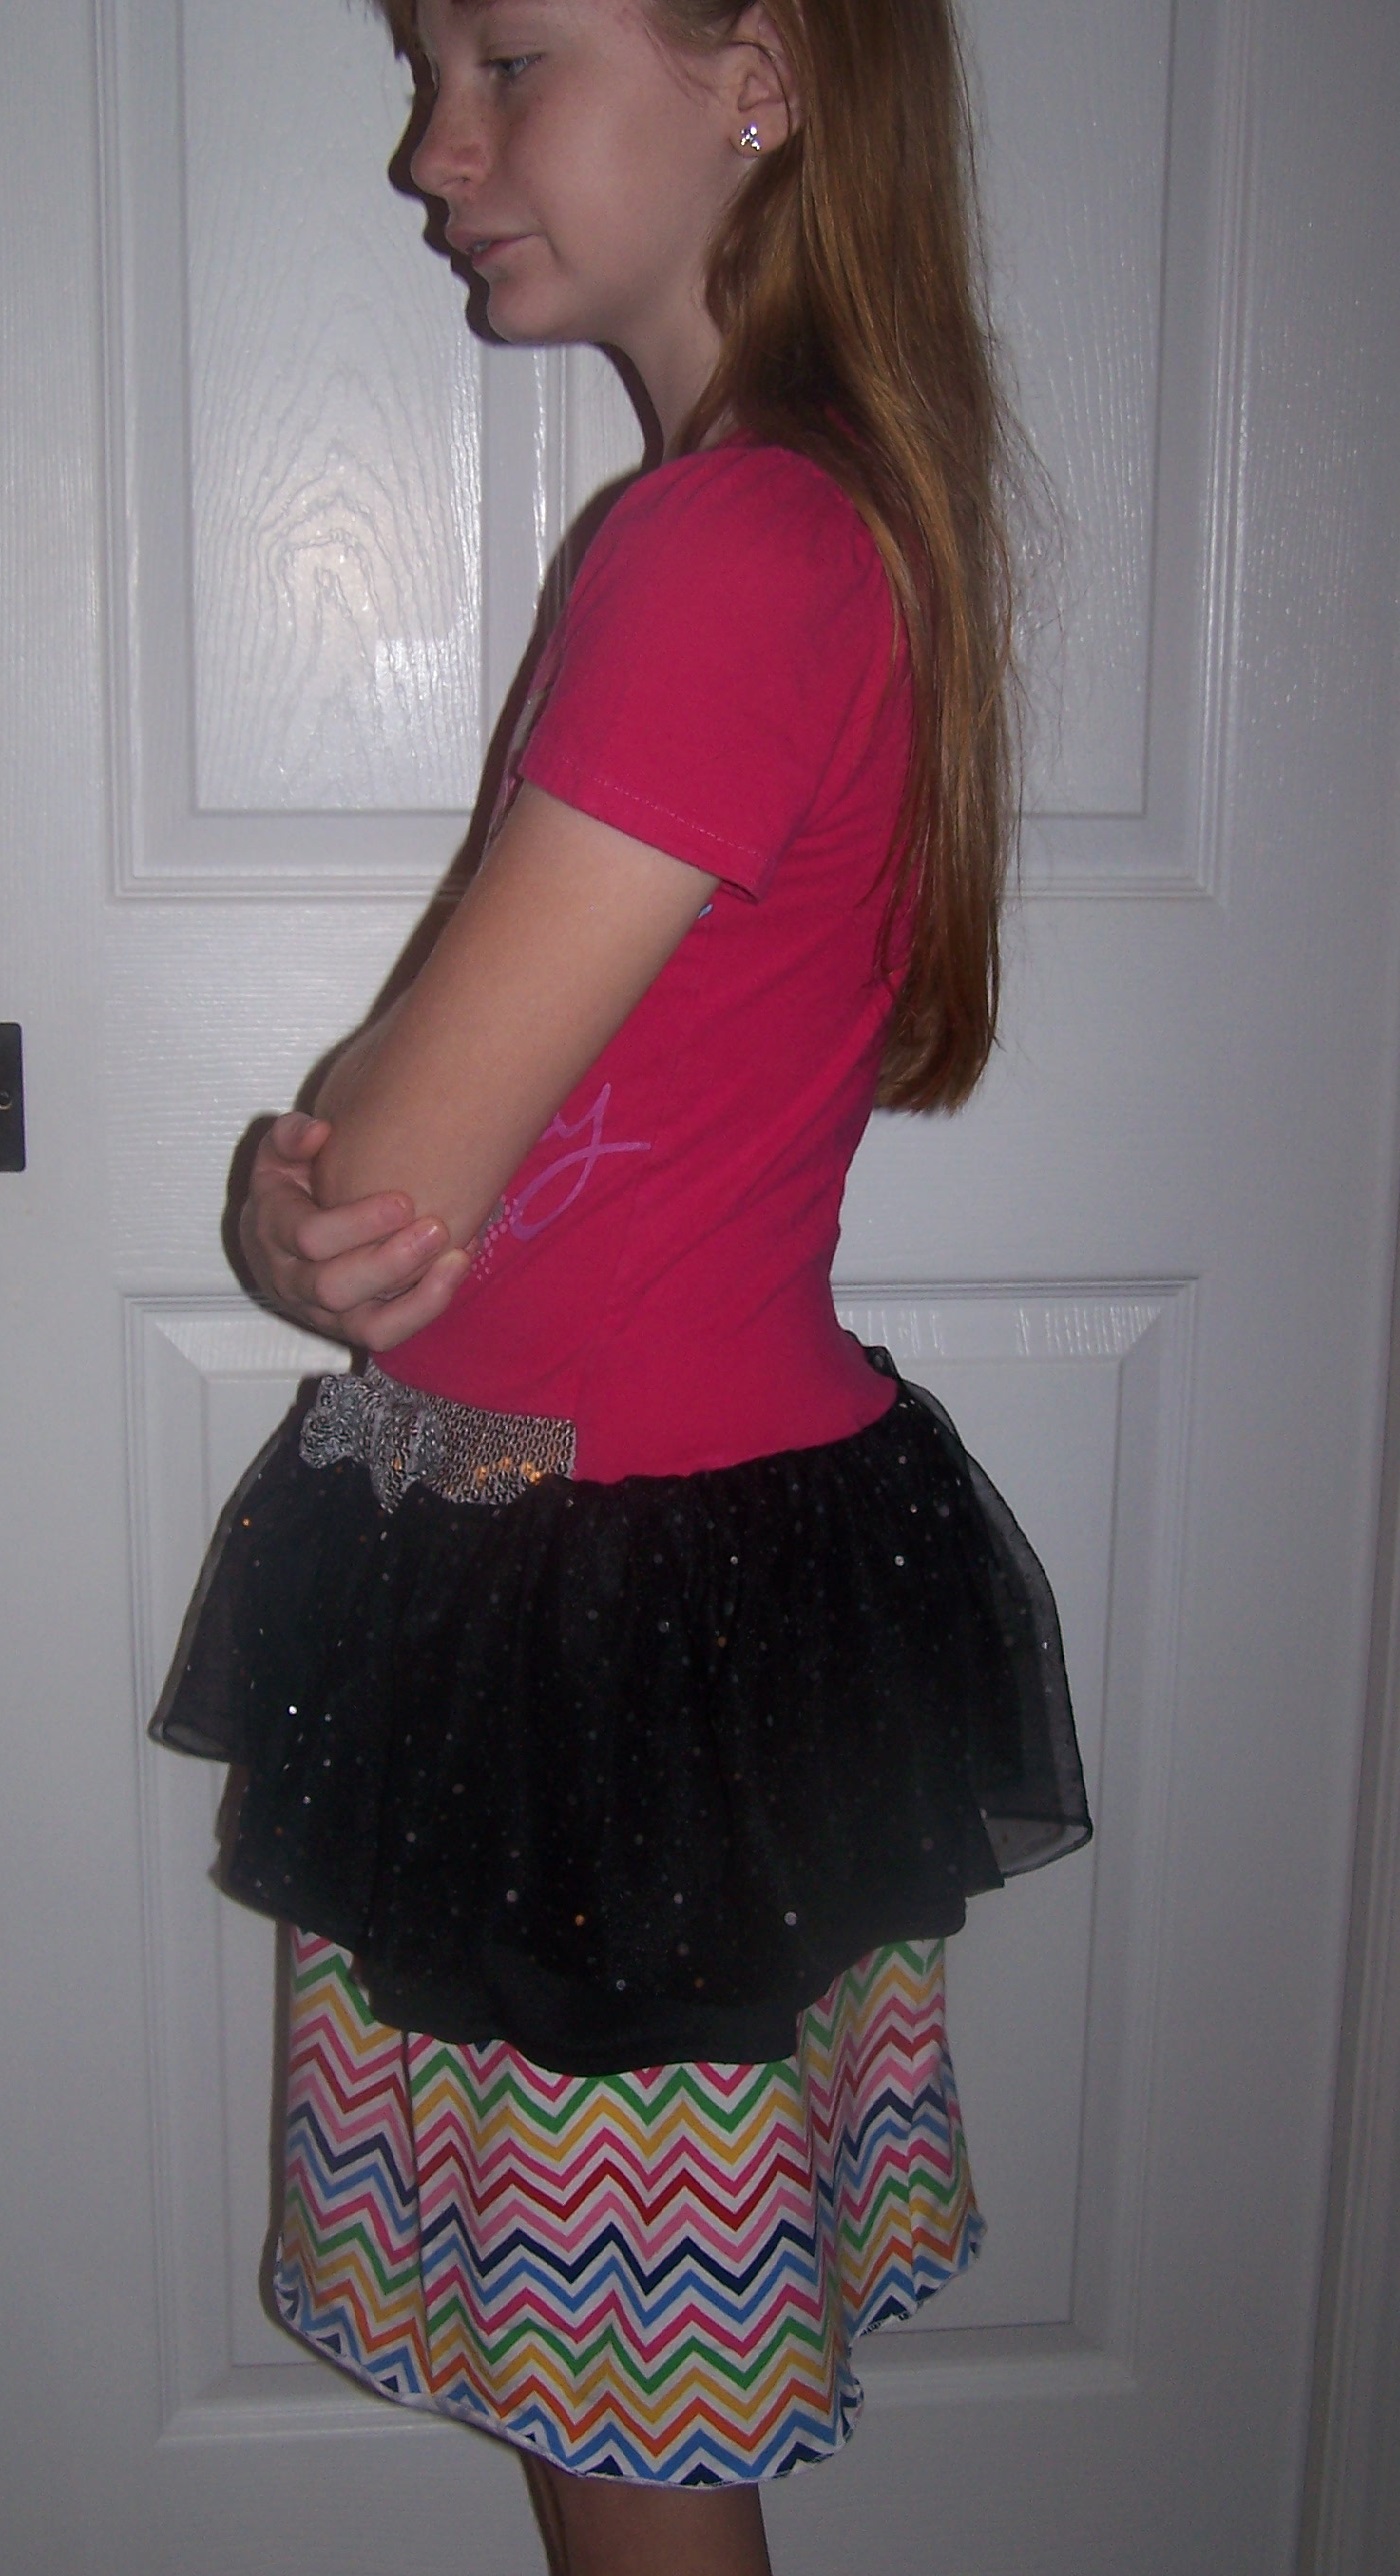
Now it’s long enough that she could wear it without leggings!

Finished Shirt Skirt Front

Homemade Pumpkin Puree

Homemade Pumpkin Puree

*This post contains affiliate links.

Did you know you can cook a whole pumpkin and then turn it into pumpkin puree?  I didn’t.  I mean, I guess I did, but it just never occurred to me that it could be that easy.  Then I read this post…several years ago.  I forgot about it…until the day after Halloween when my supposed-to-be-a-jack-o-lantern was still just a pumpkin.  I wondered if I could cook up my big ol’ pumpkin?  I decided to give it a try and since I’m telling you about it, that means it worked.

I washed it and put it on a cookie sheet.  I also had to take out one oven tray so it would fit.  I stabbed it a few times – don’t want any exploding pumpkins!  I will say that stabbing it was kinda fun!  Then I cooked it at 350 for almost 2 hours.  It probably could’ve cooked a little longer, but I had places to go and couldn’t wait any longer.

Whole Pumpkin in the Oven

After it cooled for an hour or so (maybe longer), I cut it open.  It was so easy!  I separated the seeds and saved them for roasting.  The stringy stuff went into the compost container.  I cut the skin off the rest (the skin went into the compost too) and chunked the fruit.  Cooked Pumpkin Guts
I used my immersion blender to mix it up.  It really didn’t take that long.  I ened up with about 5 cups of pumpkin puree.  I’m sure I would’ve had more, but I wasn’t real careful when I cut the pumpkin up and I’m sure there was a lot of good stuff left on the skin.
Pumpkin Puree

I froze three one cup baggies and made the other two into pumpkin roll.  It was delicious!

Pumpkin Puree for Freezing

Of course the seeds had to be roasted!  I spread them in a single layer on a cookie sheet, give them a generous sprinkle of salt and bake them at 350 for 10 minutes or until they are golden brown.  They are extra good when eaten still warm!

IMG_20151105_225611449

Have you ever cooked a whole pumpkin?

*This post contains affiliate links.  For more info, see my disclosure policy.

Thank You

Thank You!

American Flag Freedom

Making Pants Into Capris

Pants to Capris

I recently bought two pairs of pants at Goodwill. I needed some “new” work pants. I tried them on and was sure one pair would work. The other pair I wasn’t sure about – they seemed just a tad too short – like maybe an inch or so. After I got them home and washed them, I tried them on again. They just aren’t quite long enough for my taste. So, since there’s nothing wrong with them, I’m going to turn them into capris.

Short Pants
I tried them on and marked how long I want them to be.

Short Pants Marked

Then, cut them remembering to leave an inch for the hem.  I used the first leg as a pattern to mark where to cut the second one.

Legs Cut

I wanted to have a small slit on the side, so I opened up the outside seam about 3″ on each side.  If you don’t want a slit, skip to the last step to hem your capris.

Open Up Side Seam

Open Seam

Sew around the edge of the slit.  If the seams are serged, you may need to undo some of the serging so that the seam will lay flat at the top of the slit.

Sew Edges of Slit

Turn under 1/4″ on the hem and press.  Then turn under another 3/4″ and press.  Stitich close to fold.  If you want, stitch again 1/8″ from first seam or use you twin needle.

Turn Hem Under Twice and Hem

Enjoy your “new” capris!

Finished Capris


Pop Up Camping – Under Sink Storage

Pop UP Camping

As I was packing for our first long trip, I was lamenting that the storage under the sink can’t be used while traveling because it gets flipped over when the kitchen is folded down. There are two nice size compartments that hold my dishes when we’re set up, but when we travel, I have to move them.

Look at all that unused space!

Unused Under Sink Storage

The other thing I was grumbling about is all the bedding we have to take.  Camp chairs, towels, washcloths, hand towels, sheets, blankets, pillows, pillow top for our bed (because we like to be comfy)…it all takes up space.  Normally I store the chairs under the dining benches and the rest gets piled on the floor.  Then, I had a brain storm, an A-HA moment!  I could put some of the bedding & towels in the unused space.  It wouldn’t hurt them to be flipped over and then I would have more room on the floor.  Also, careful folding and rolling helps make blankets take up a little less space.  I fit quite a bit of stuff into those two cabinets.  Just be careful of the sink hoses since they need room to move when opening/closing the kitchen.  As you are setting up, you make up the beds first so that these compartments are emptied.  Then set up your “kitchen.”  When you close up, put the kitchen stuff away first and then put the bedding away.

Also, just a note (in case you were wondering) – cereal does NOT store well there for traveling!  If the box is open even just a tiny, little bit…big cereal mess!

How do you make the most of limited storage space?

  • « Previous Page
  • 1
  • …
  • 17
  • 18
  • 19
  • 20
  • 21
  • …
  • 43
  • Next Page »

Hi, I'm Mona - wife, mom, teacher, seamstress, blogger. This is my home on the web. Read More…

Categories

Copyright © 2026 · The Marianne Theme By Blogelina · Built on the Genesis Framework

Copyright © 2026 · The Marianne on Genesis Framework · WordPress · Log in