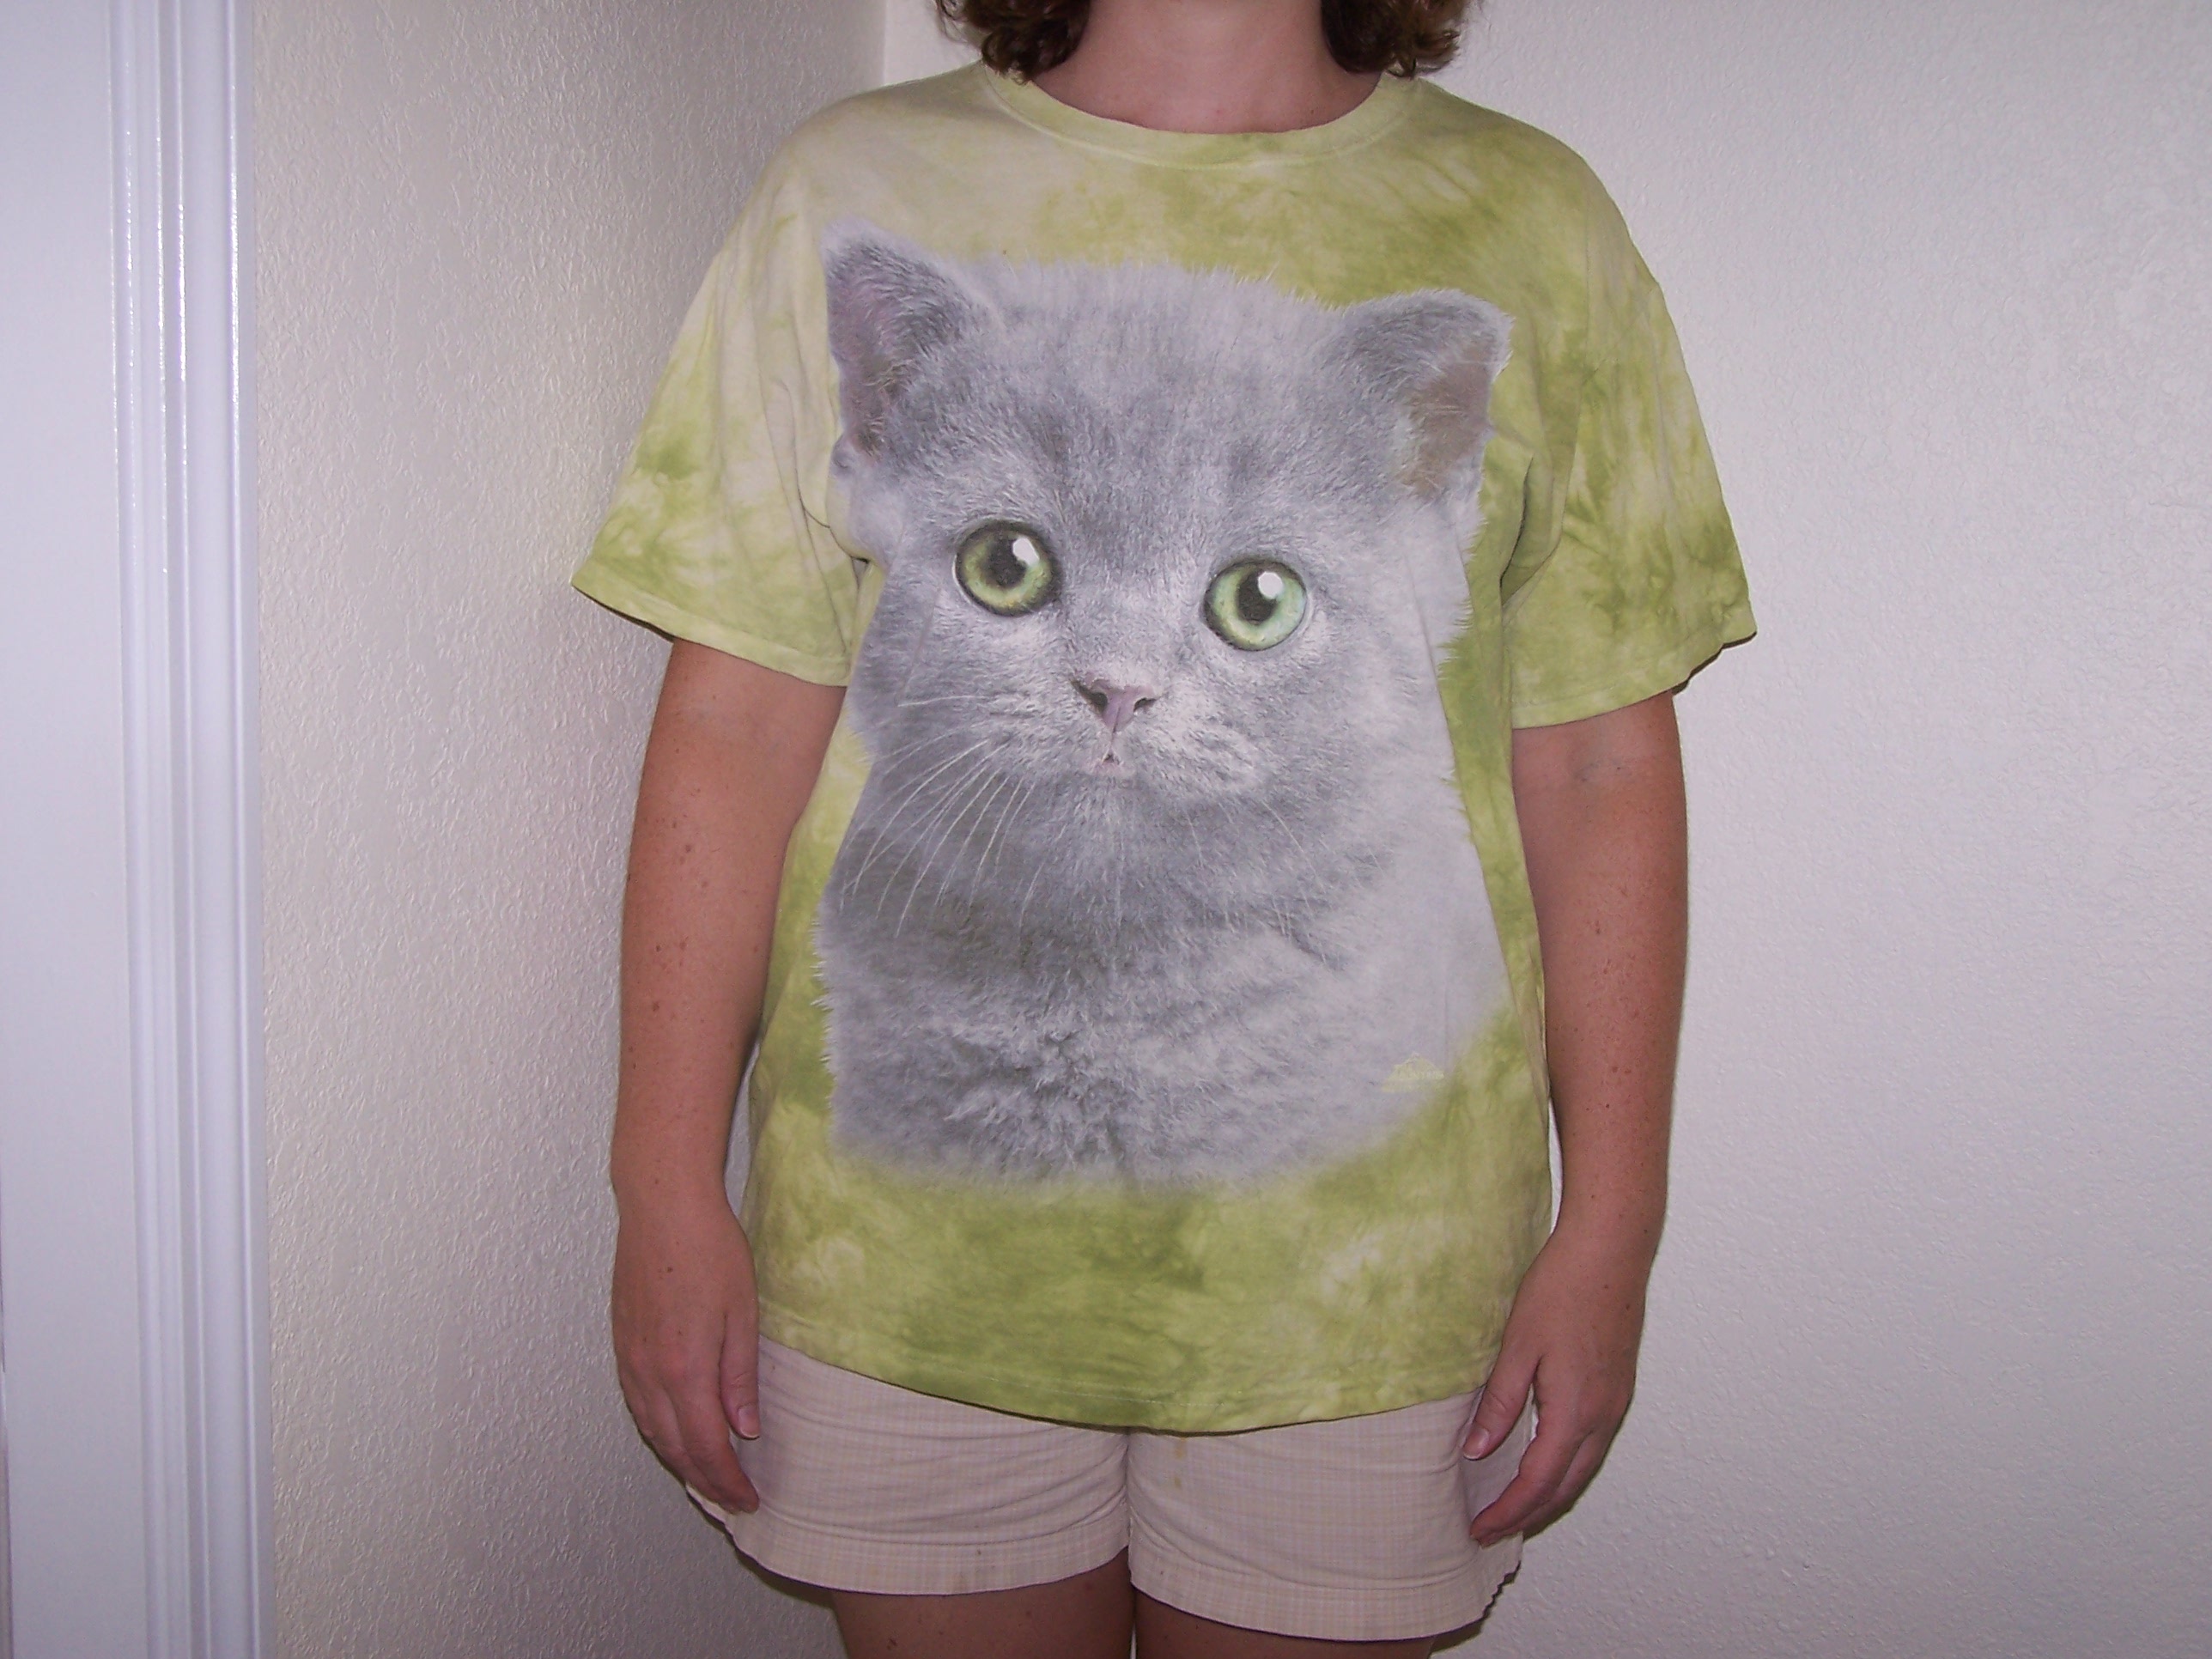
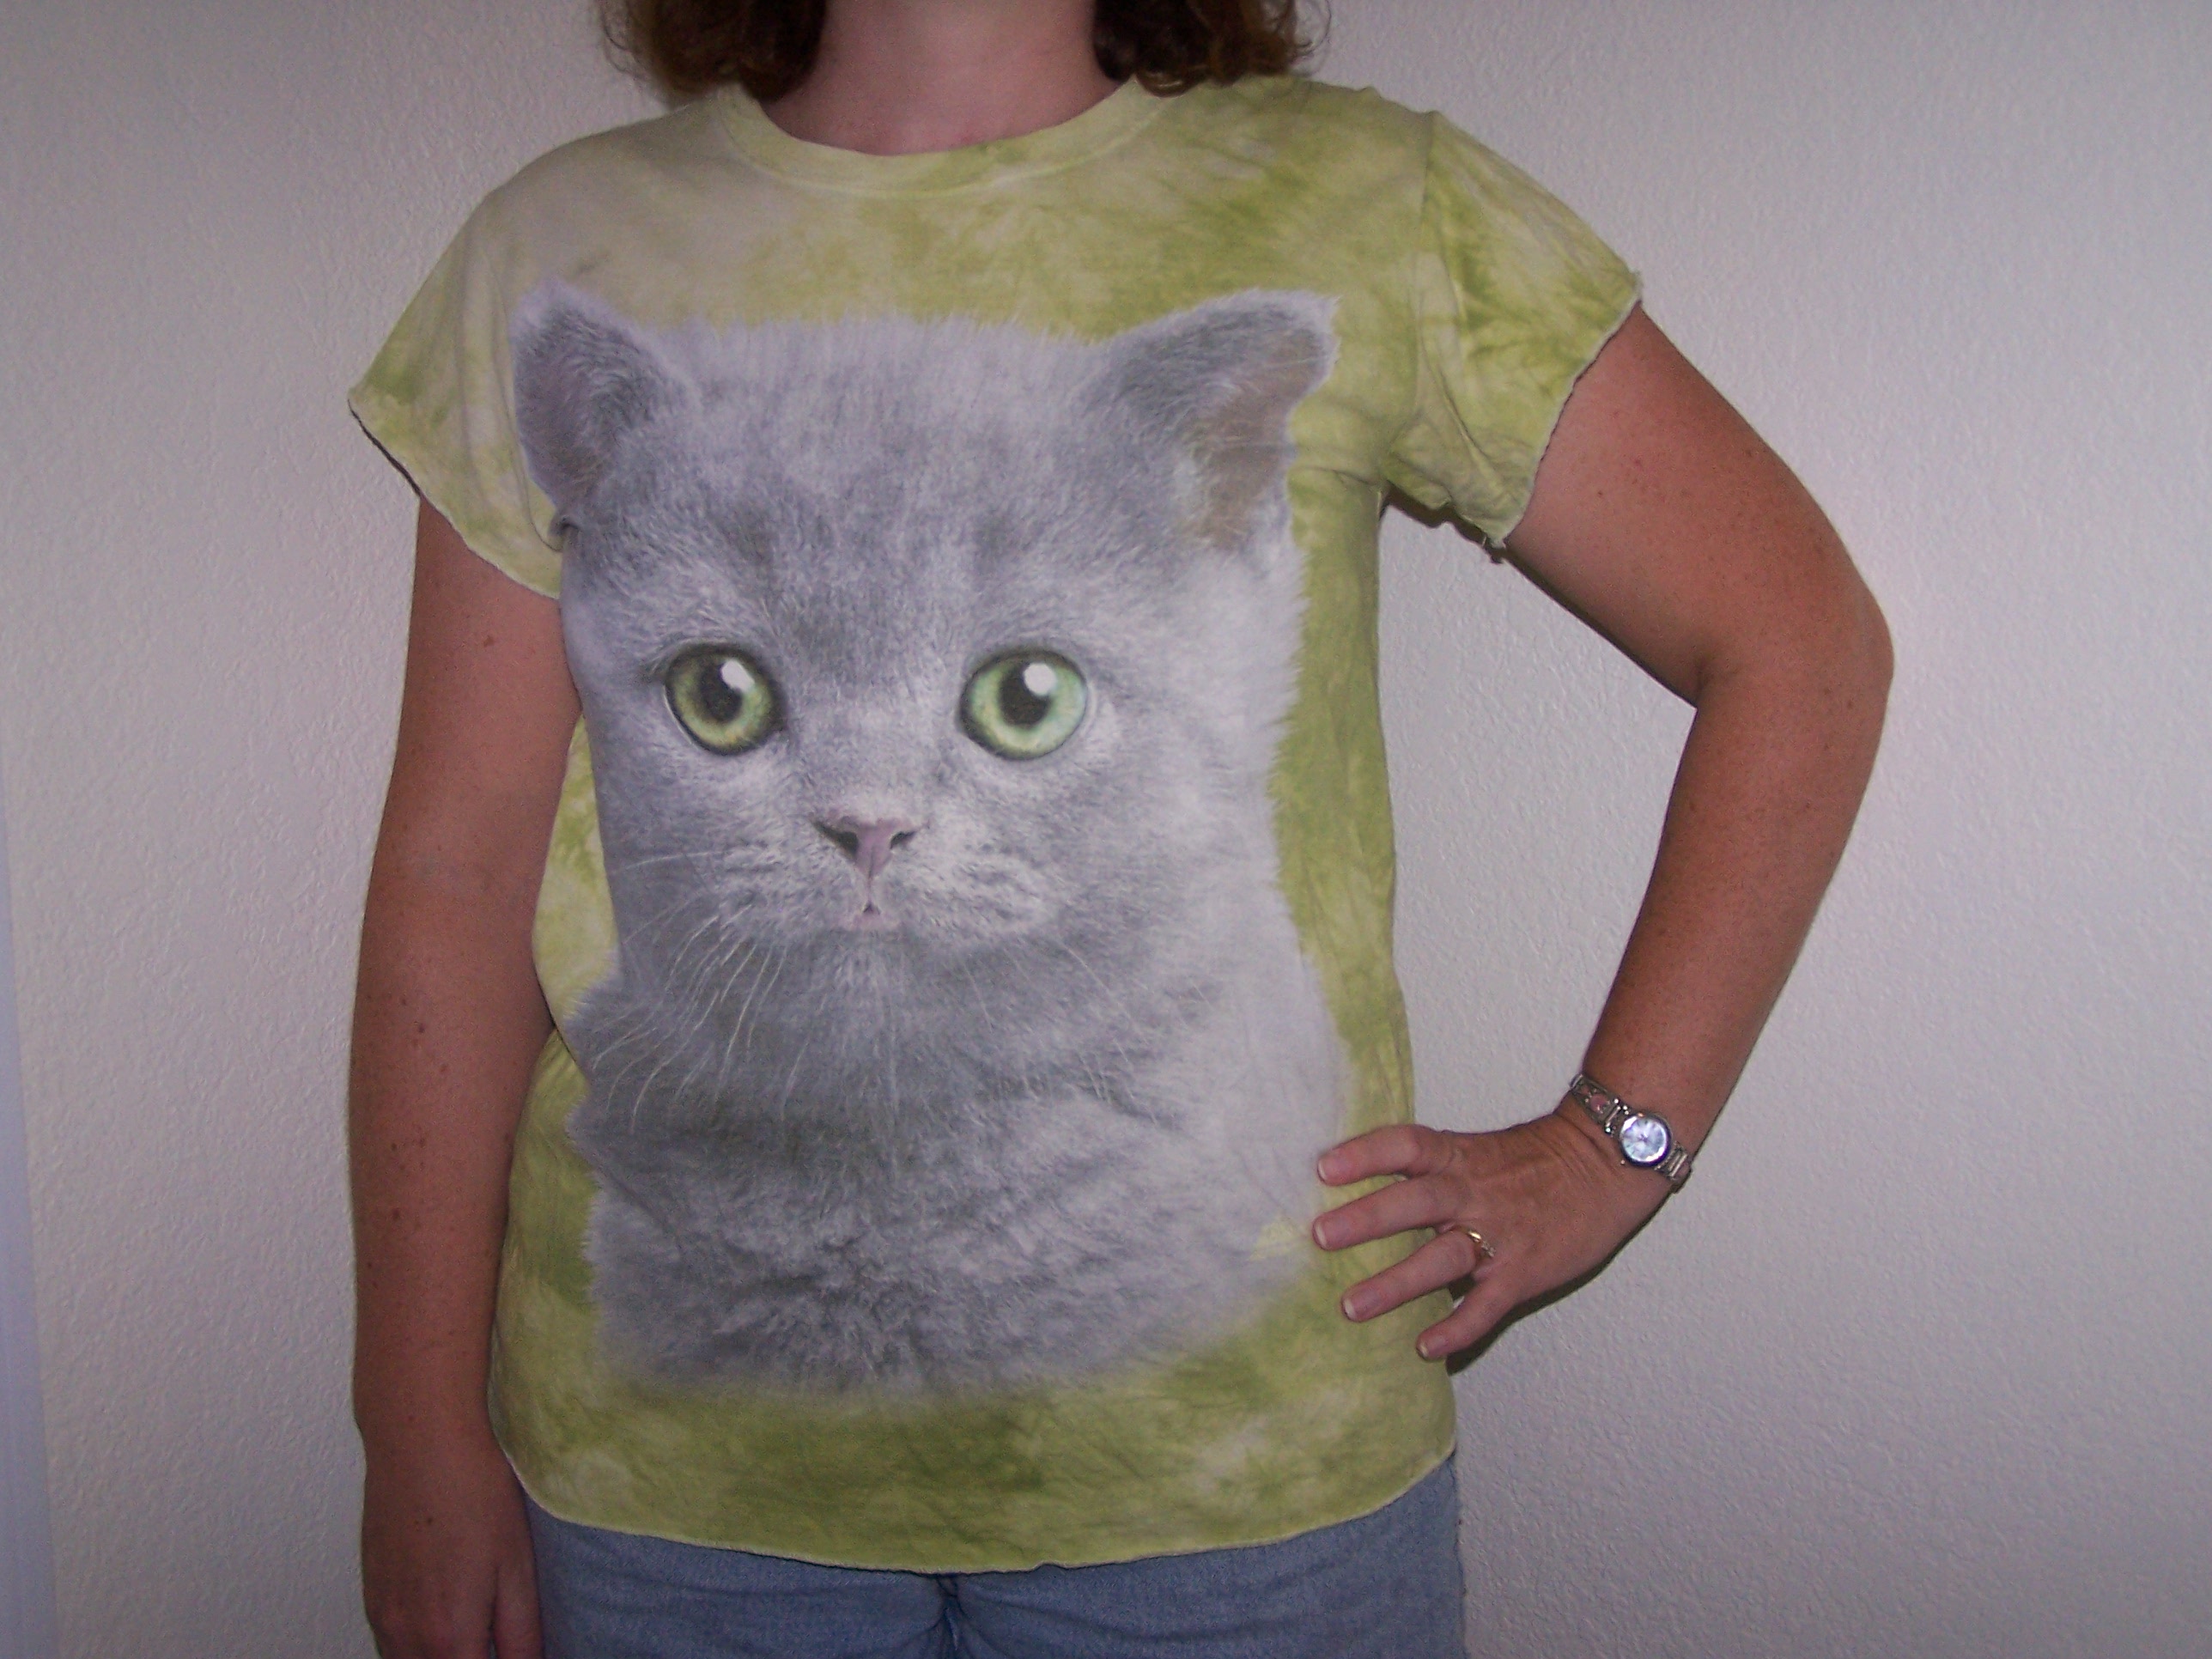
I have a lot of t-shirts that I love, but here in Florida it tends to be too hot for loose, baggy t-shirts. They’re just too long – too much extra material that makes them too warm. One of my favorites is my kitty shirt. I’ve had it for years (maybe 8 yrs!) and the kitten on it reminds me of one of our cats when she was little. So, I want to wear it, but I don’t love the fit anymore. I decided it would be very easy to make it more Florida summer friendly. I’ll resize it a bit and then remake the sleeves.
I know it doesn’t look that big, but the shoulders hang off as t-shirts frequently do and it just felt too big.
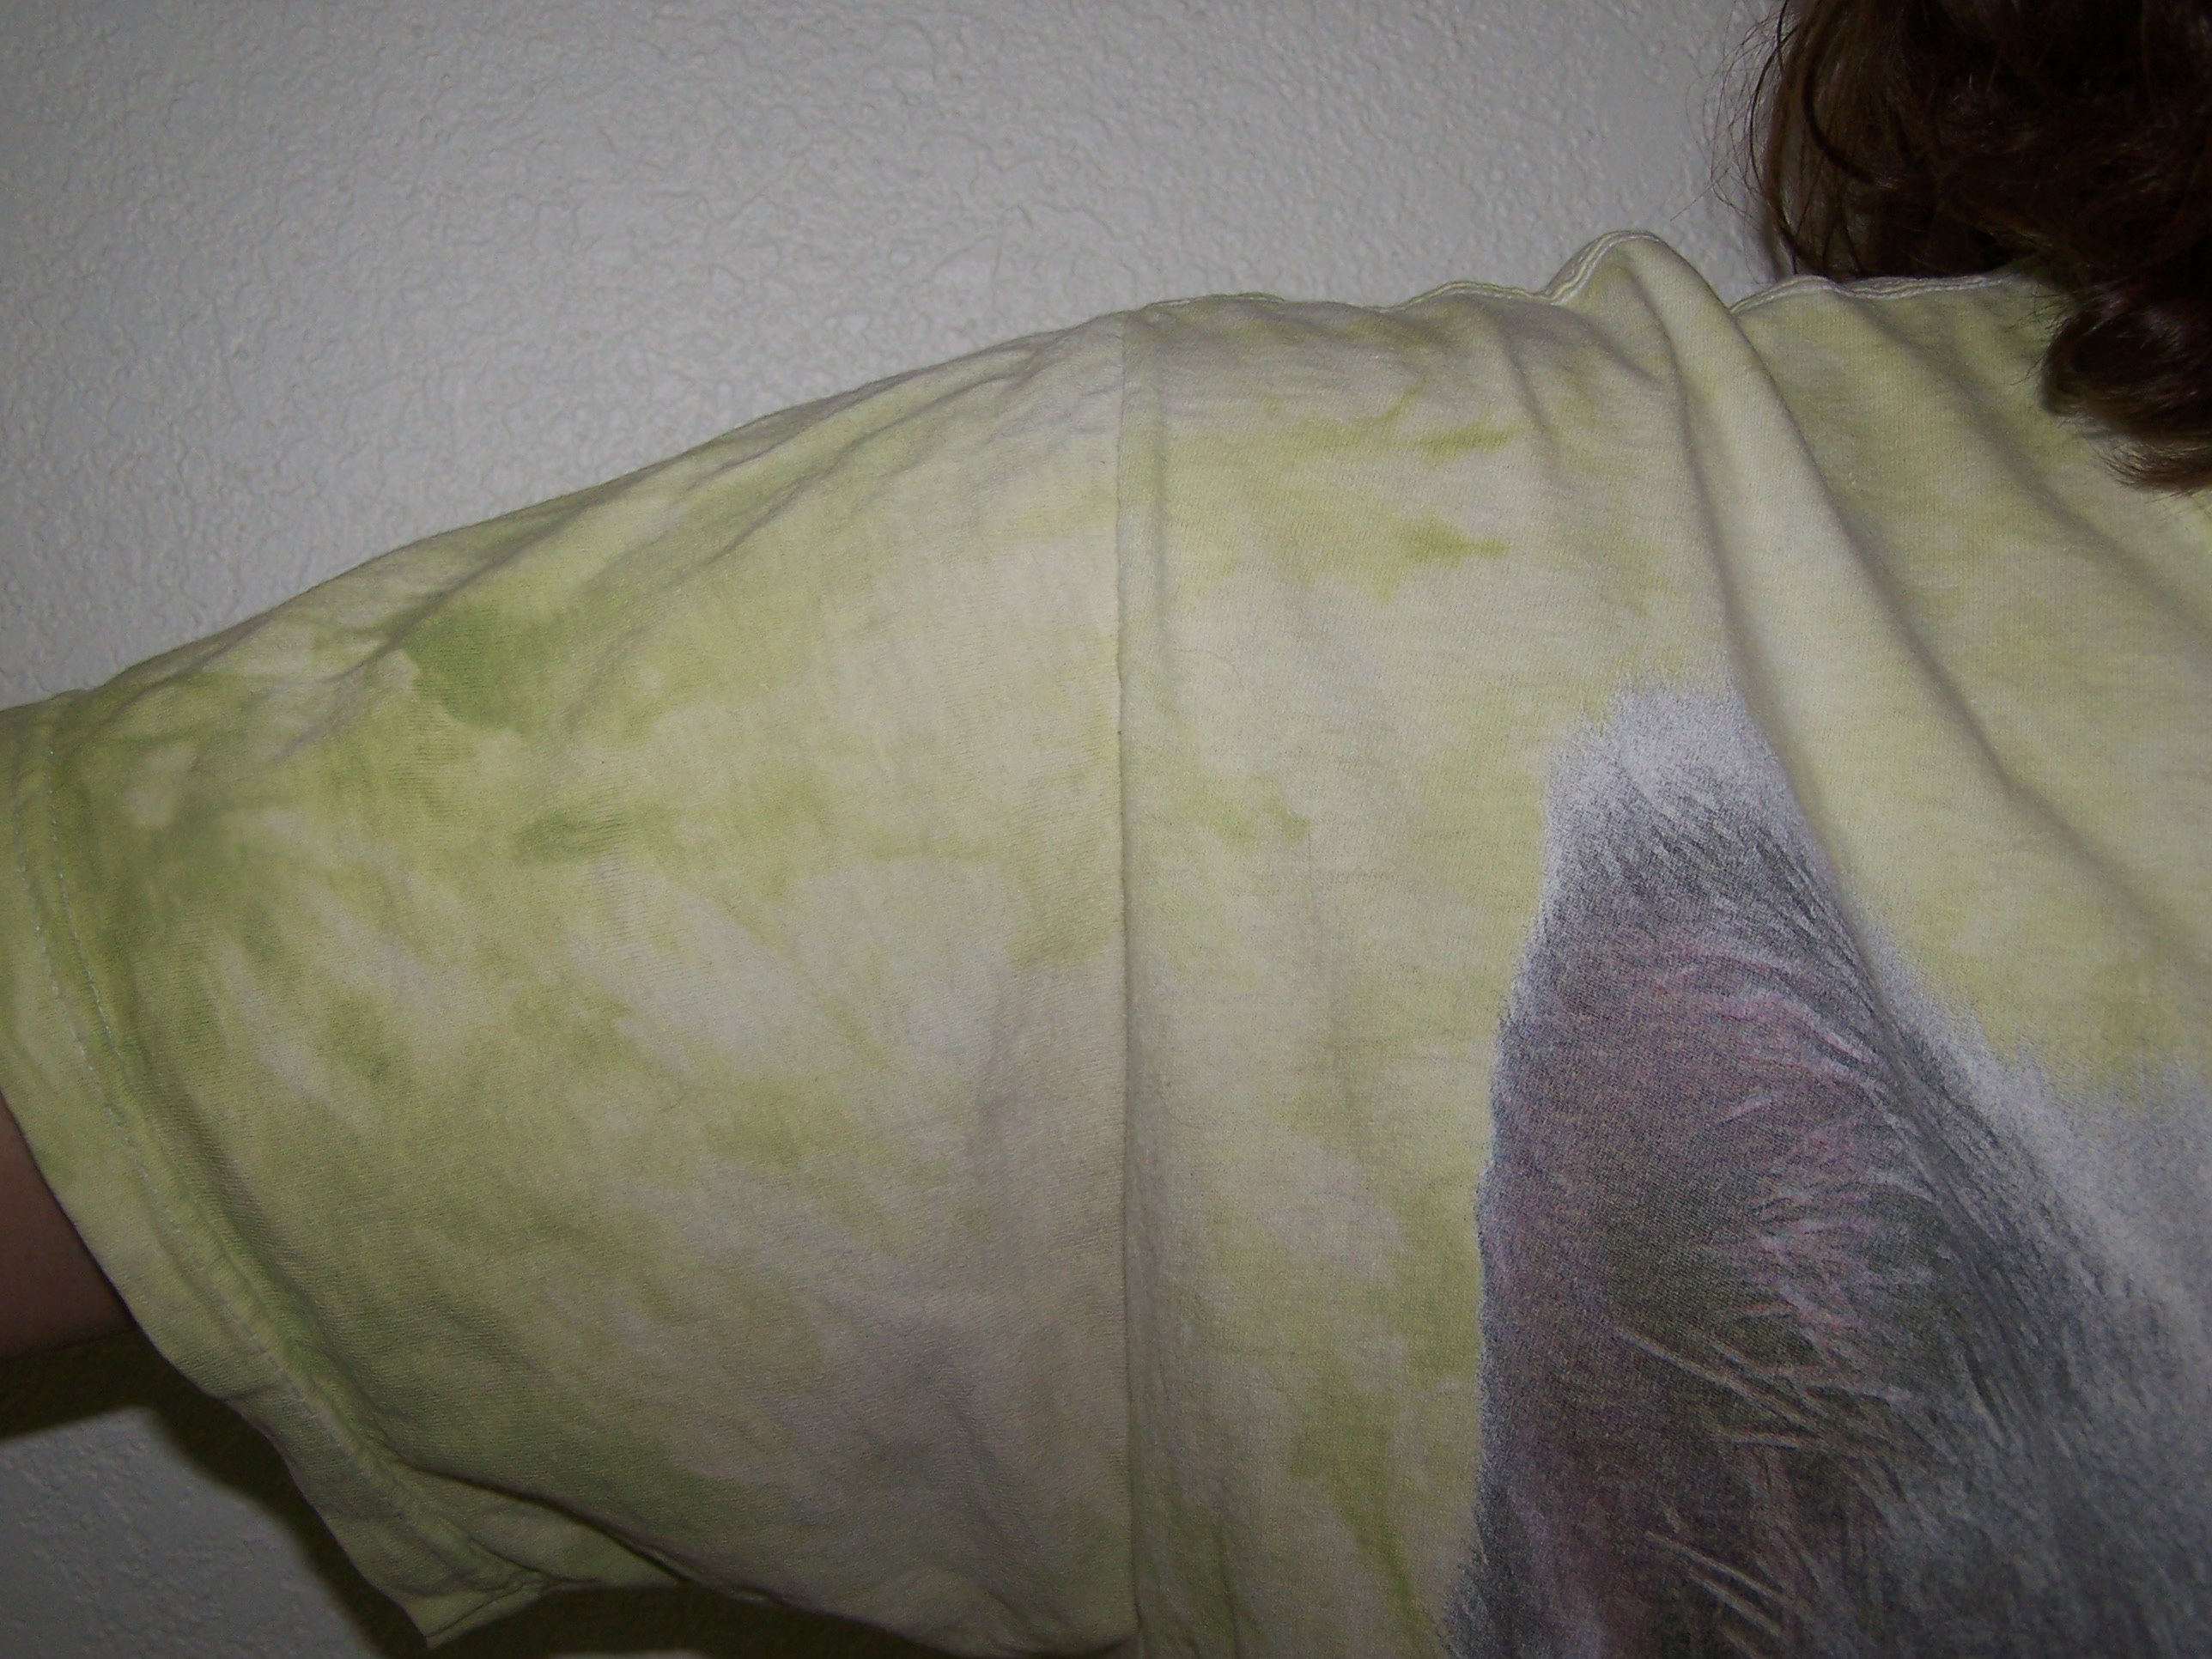
See all the extra material on the shoulder?
I want to get rid of that so it’s more like a fitted t-shirt…but not too fitted.
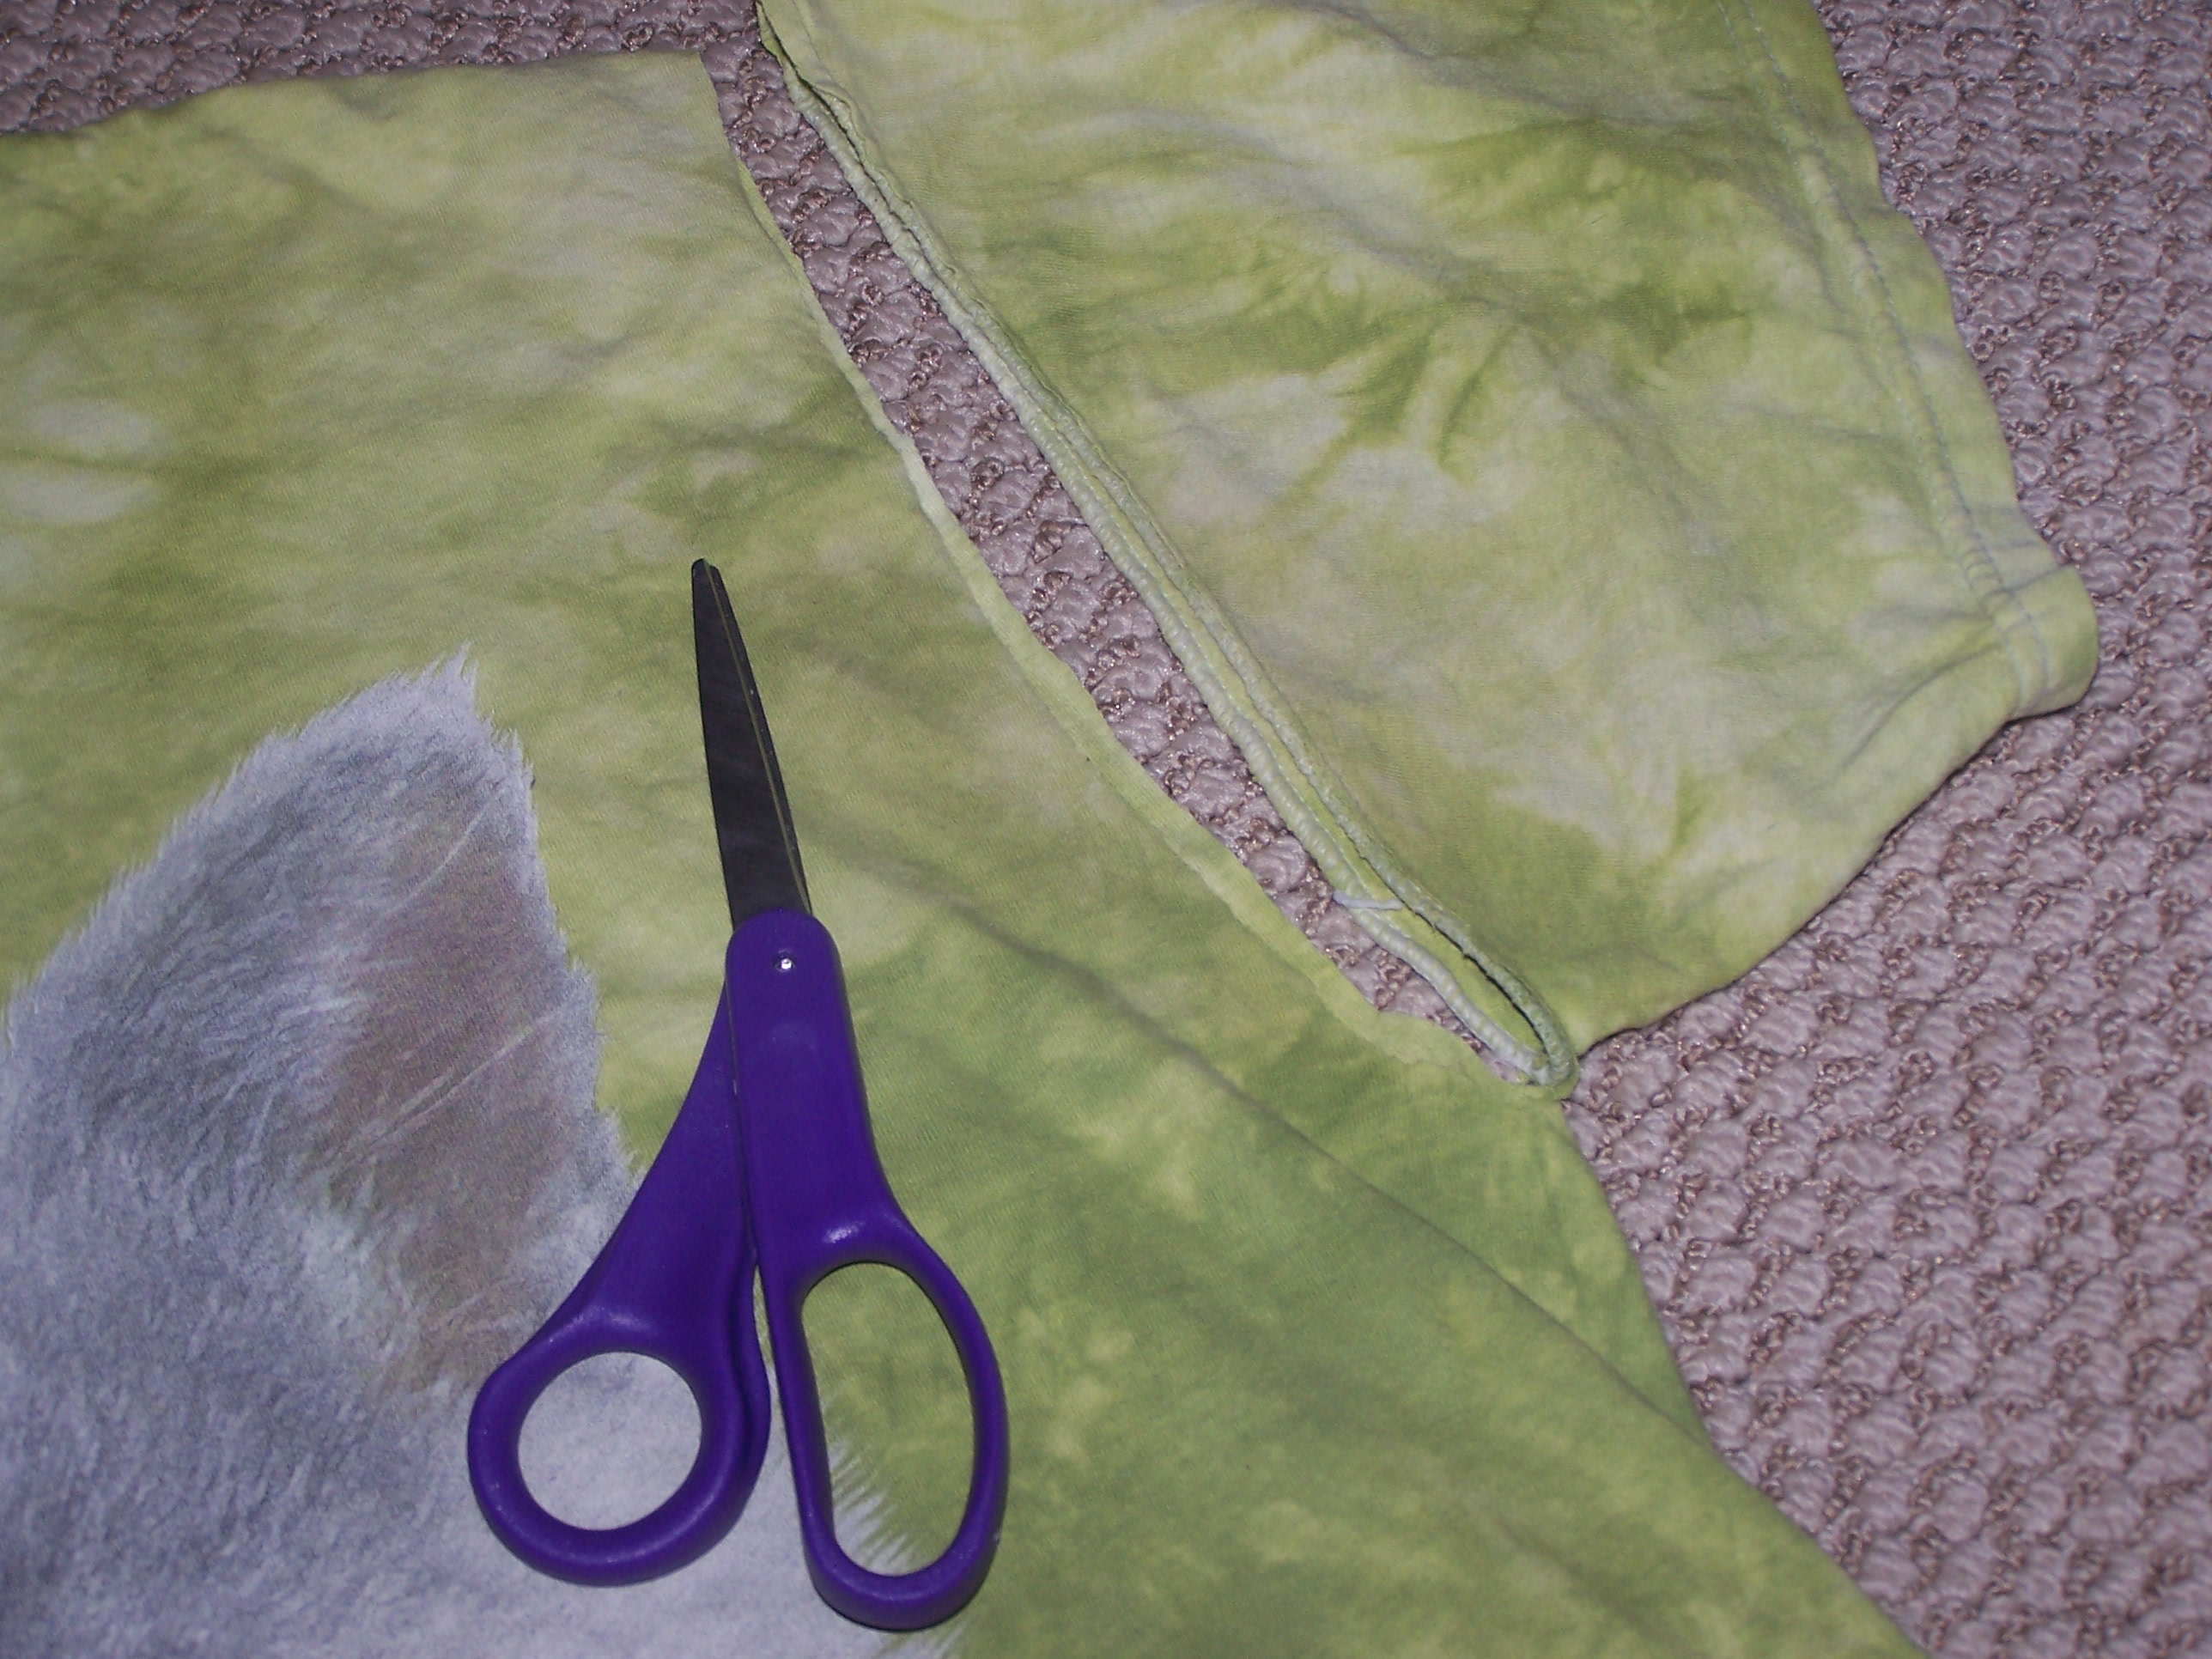
I’m following pretty much the same steps as I did here. First up is cutting off the sleeves. Cut close to the seam and don’t cut into the sleeve because I’m going to reuse it.
This t-shirt didn’t have side seams so I had to create them. I marked how far up I wanted the side seam to come and then I sewed down the sides tapering out towards the bottom since I didn’t want to take in the width to much. After trying it on (several times) and resewing a bit, I was happy with the fit.
Next I marked how I wanted to the new armhole shape (armscye) to look. Remember some of it was sewn as part of the new side seams so I had to make it a little bit bigger and take off some of the shoulder so the seam would sit properly. I tried the shirt on, drew a line, cut it, cut the other side to match, tried it, trimmed a bit, tried it on…you get the idea. Eventually I was happy with where the it sat. Just remember that a little bit will be taken up by the seam allowance.

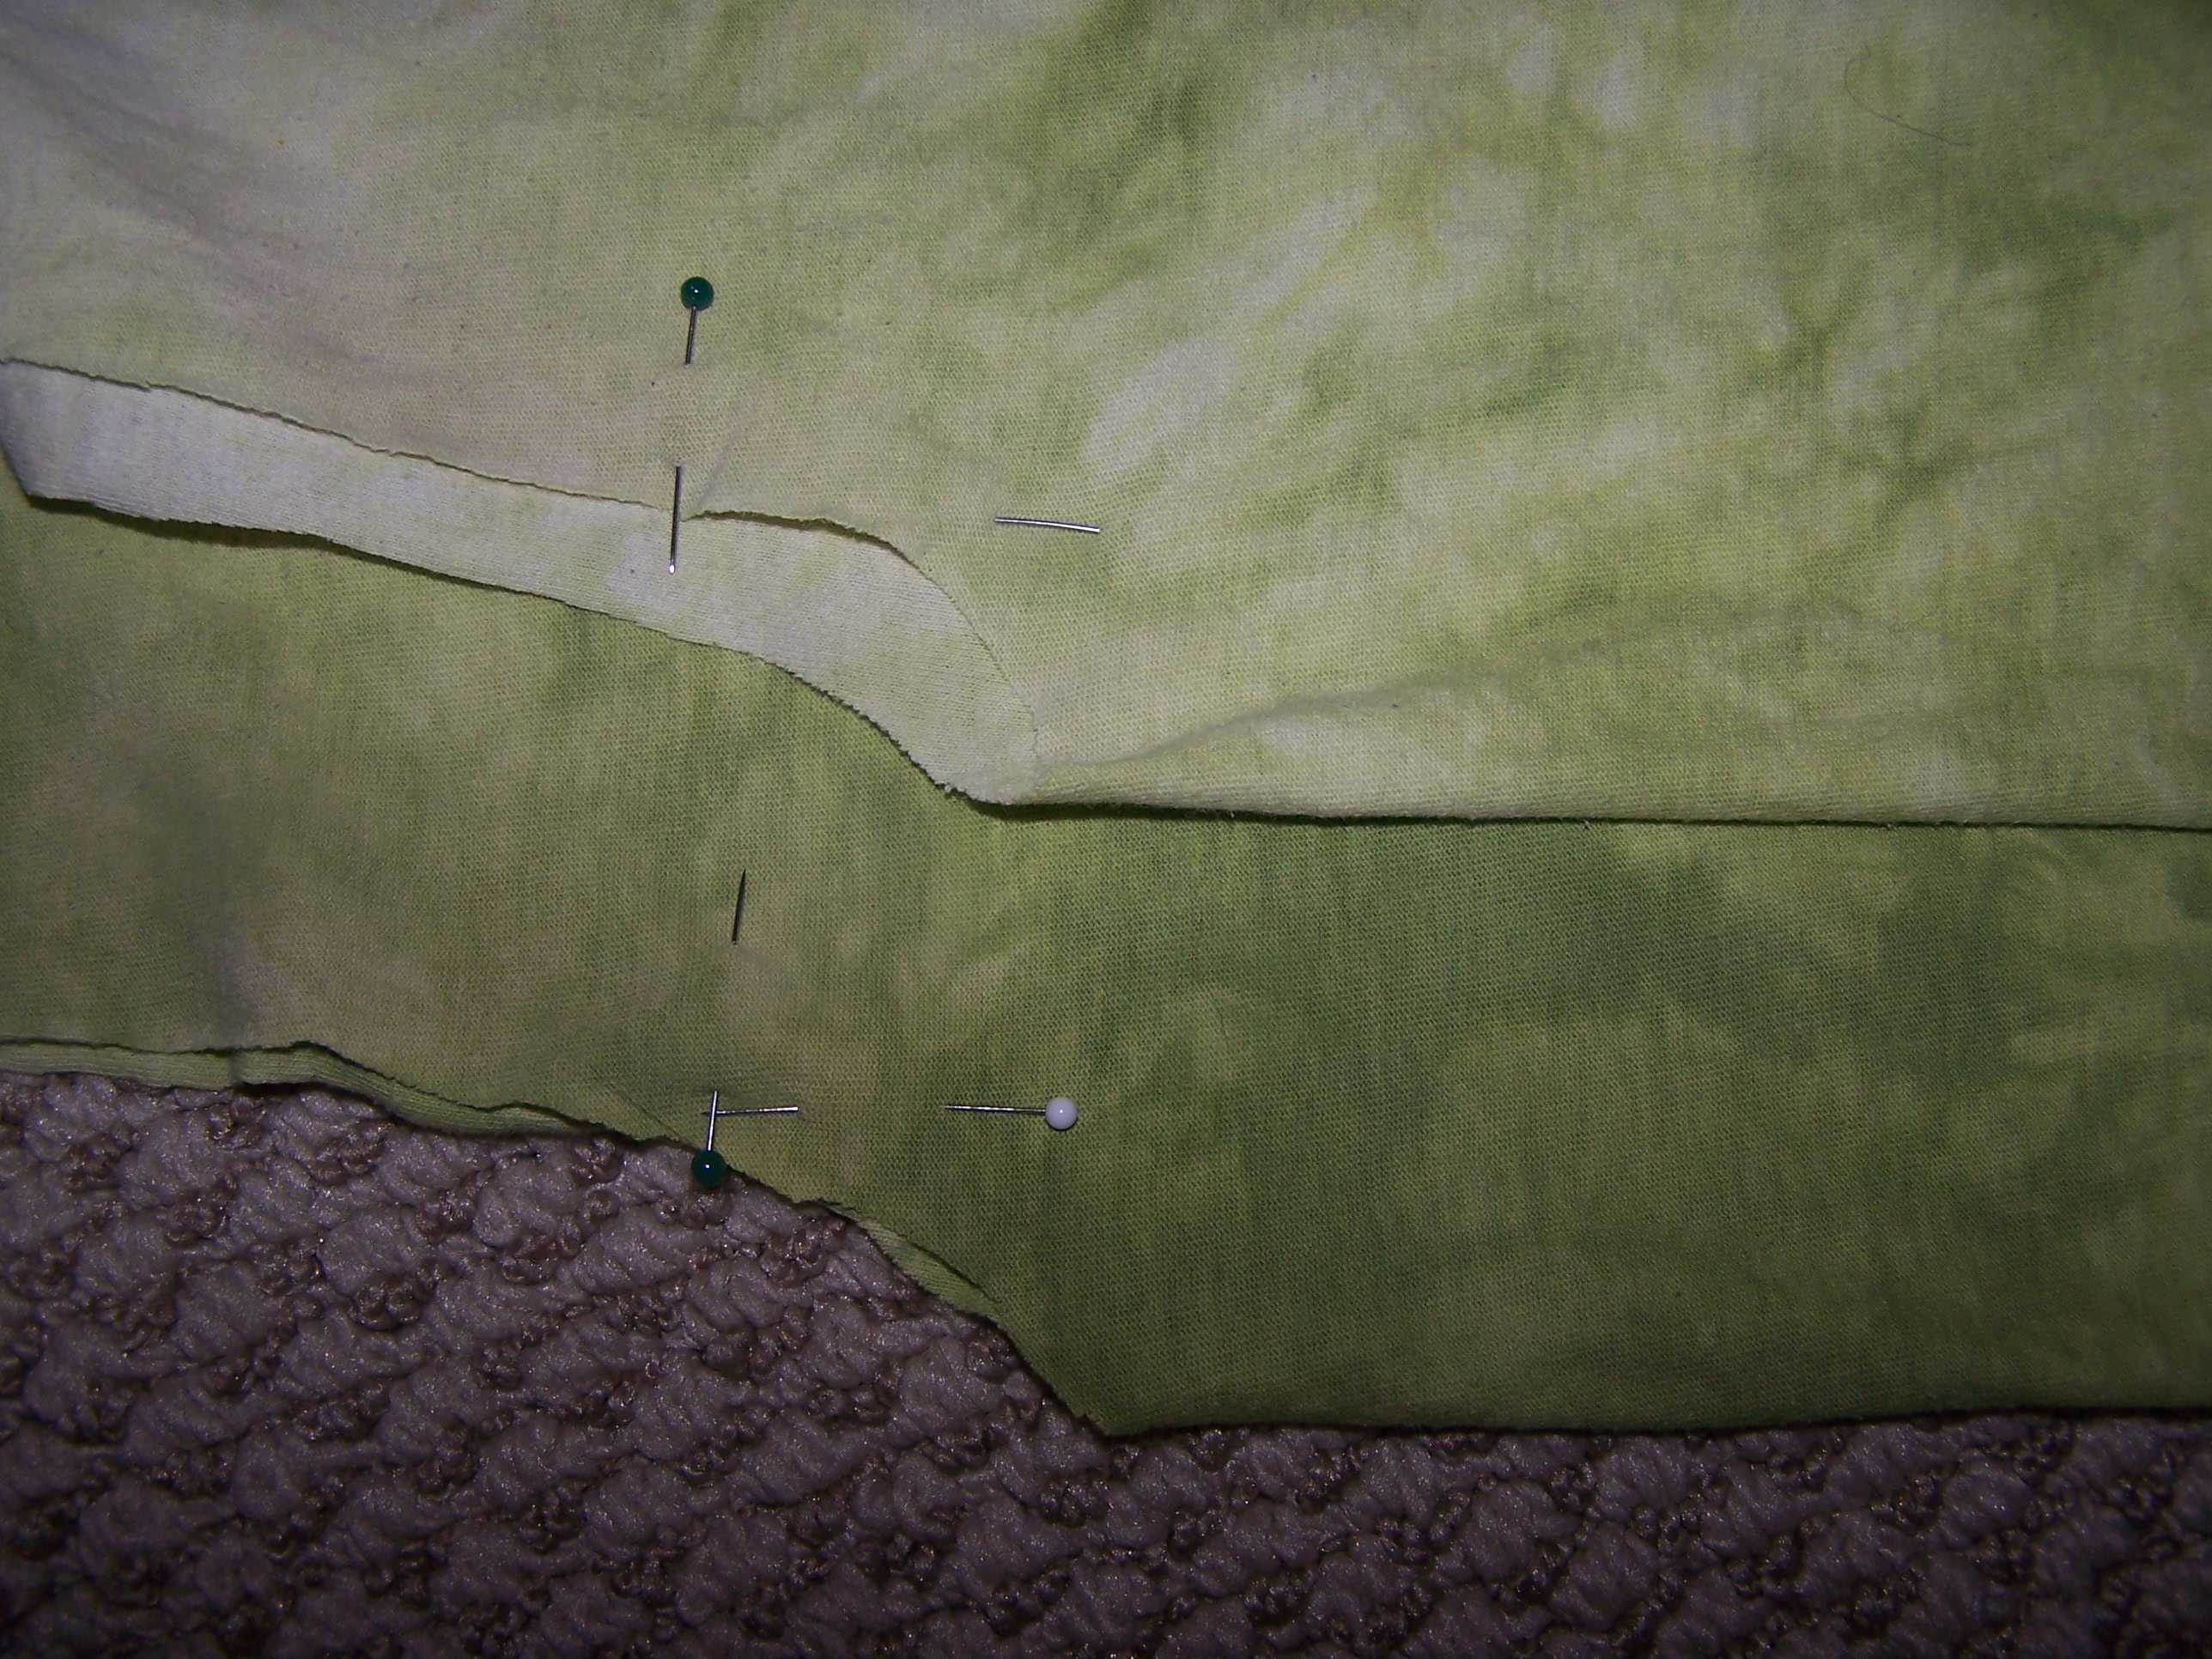
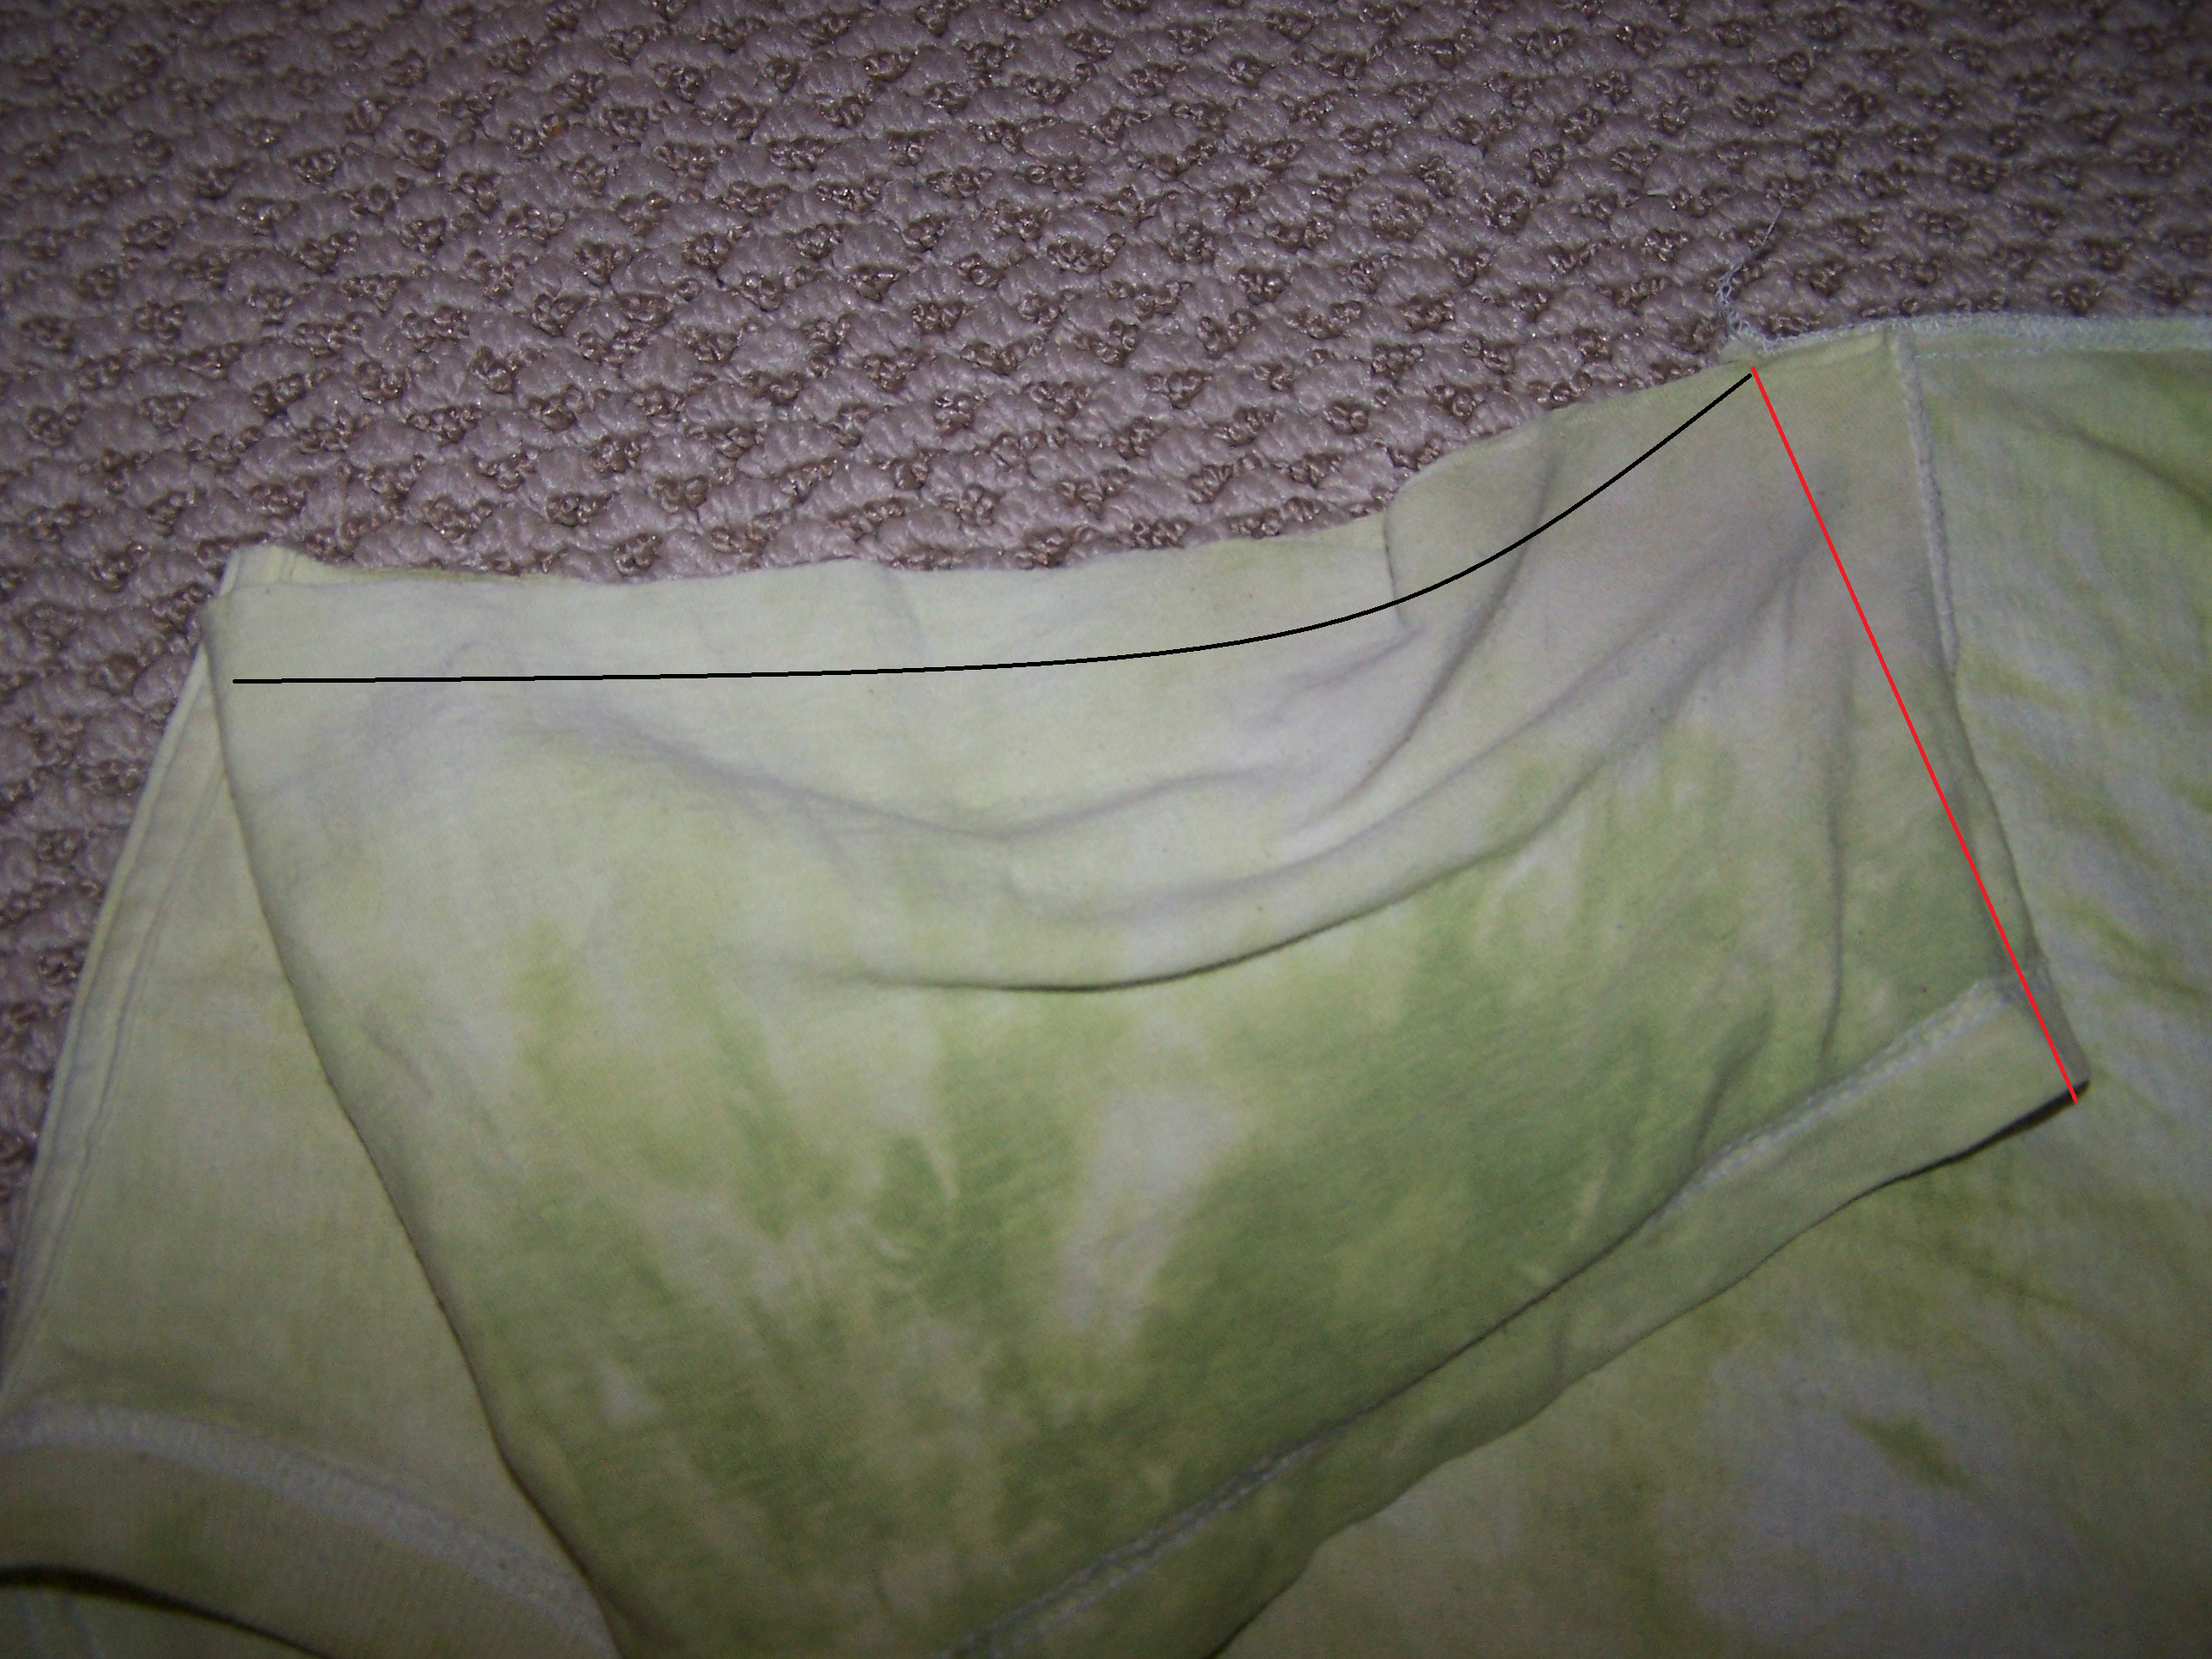
Then, the sleeves need to be adjust so they fit the new armhole. Line the sleeve up and mark where the new underarm seam needs to be. In my picture it’s the red line. The black line is where the armhole seam will be. I sewed the underarm seam at an angle because I didn’t want it to be too tight.
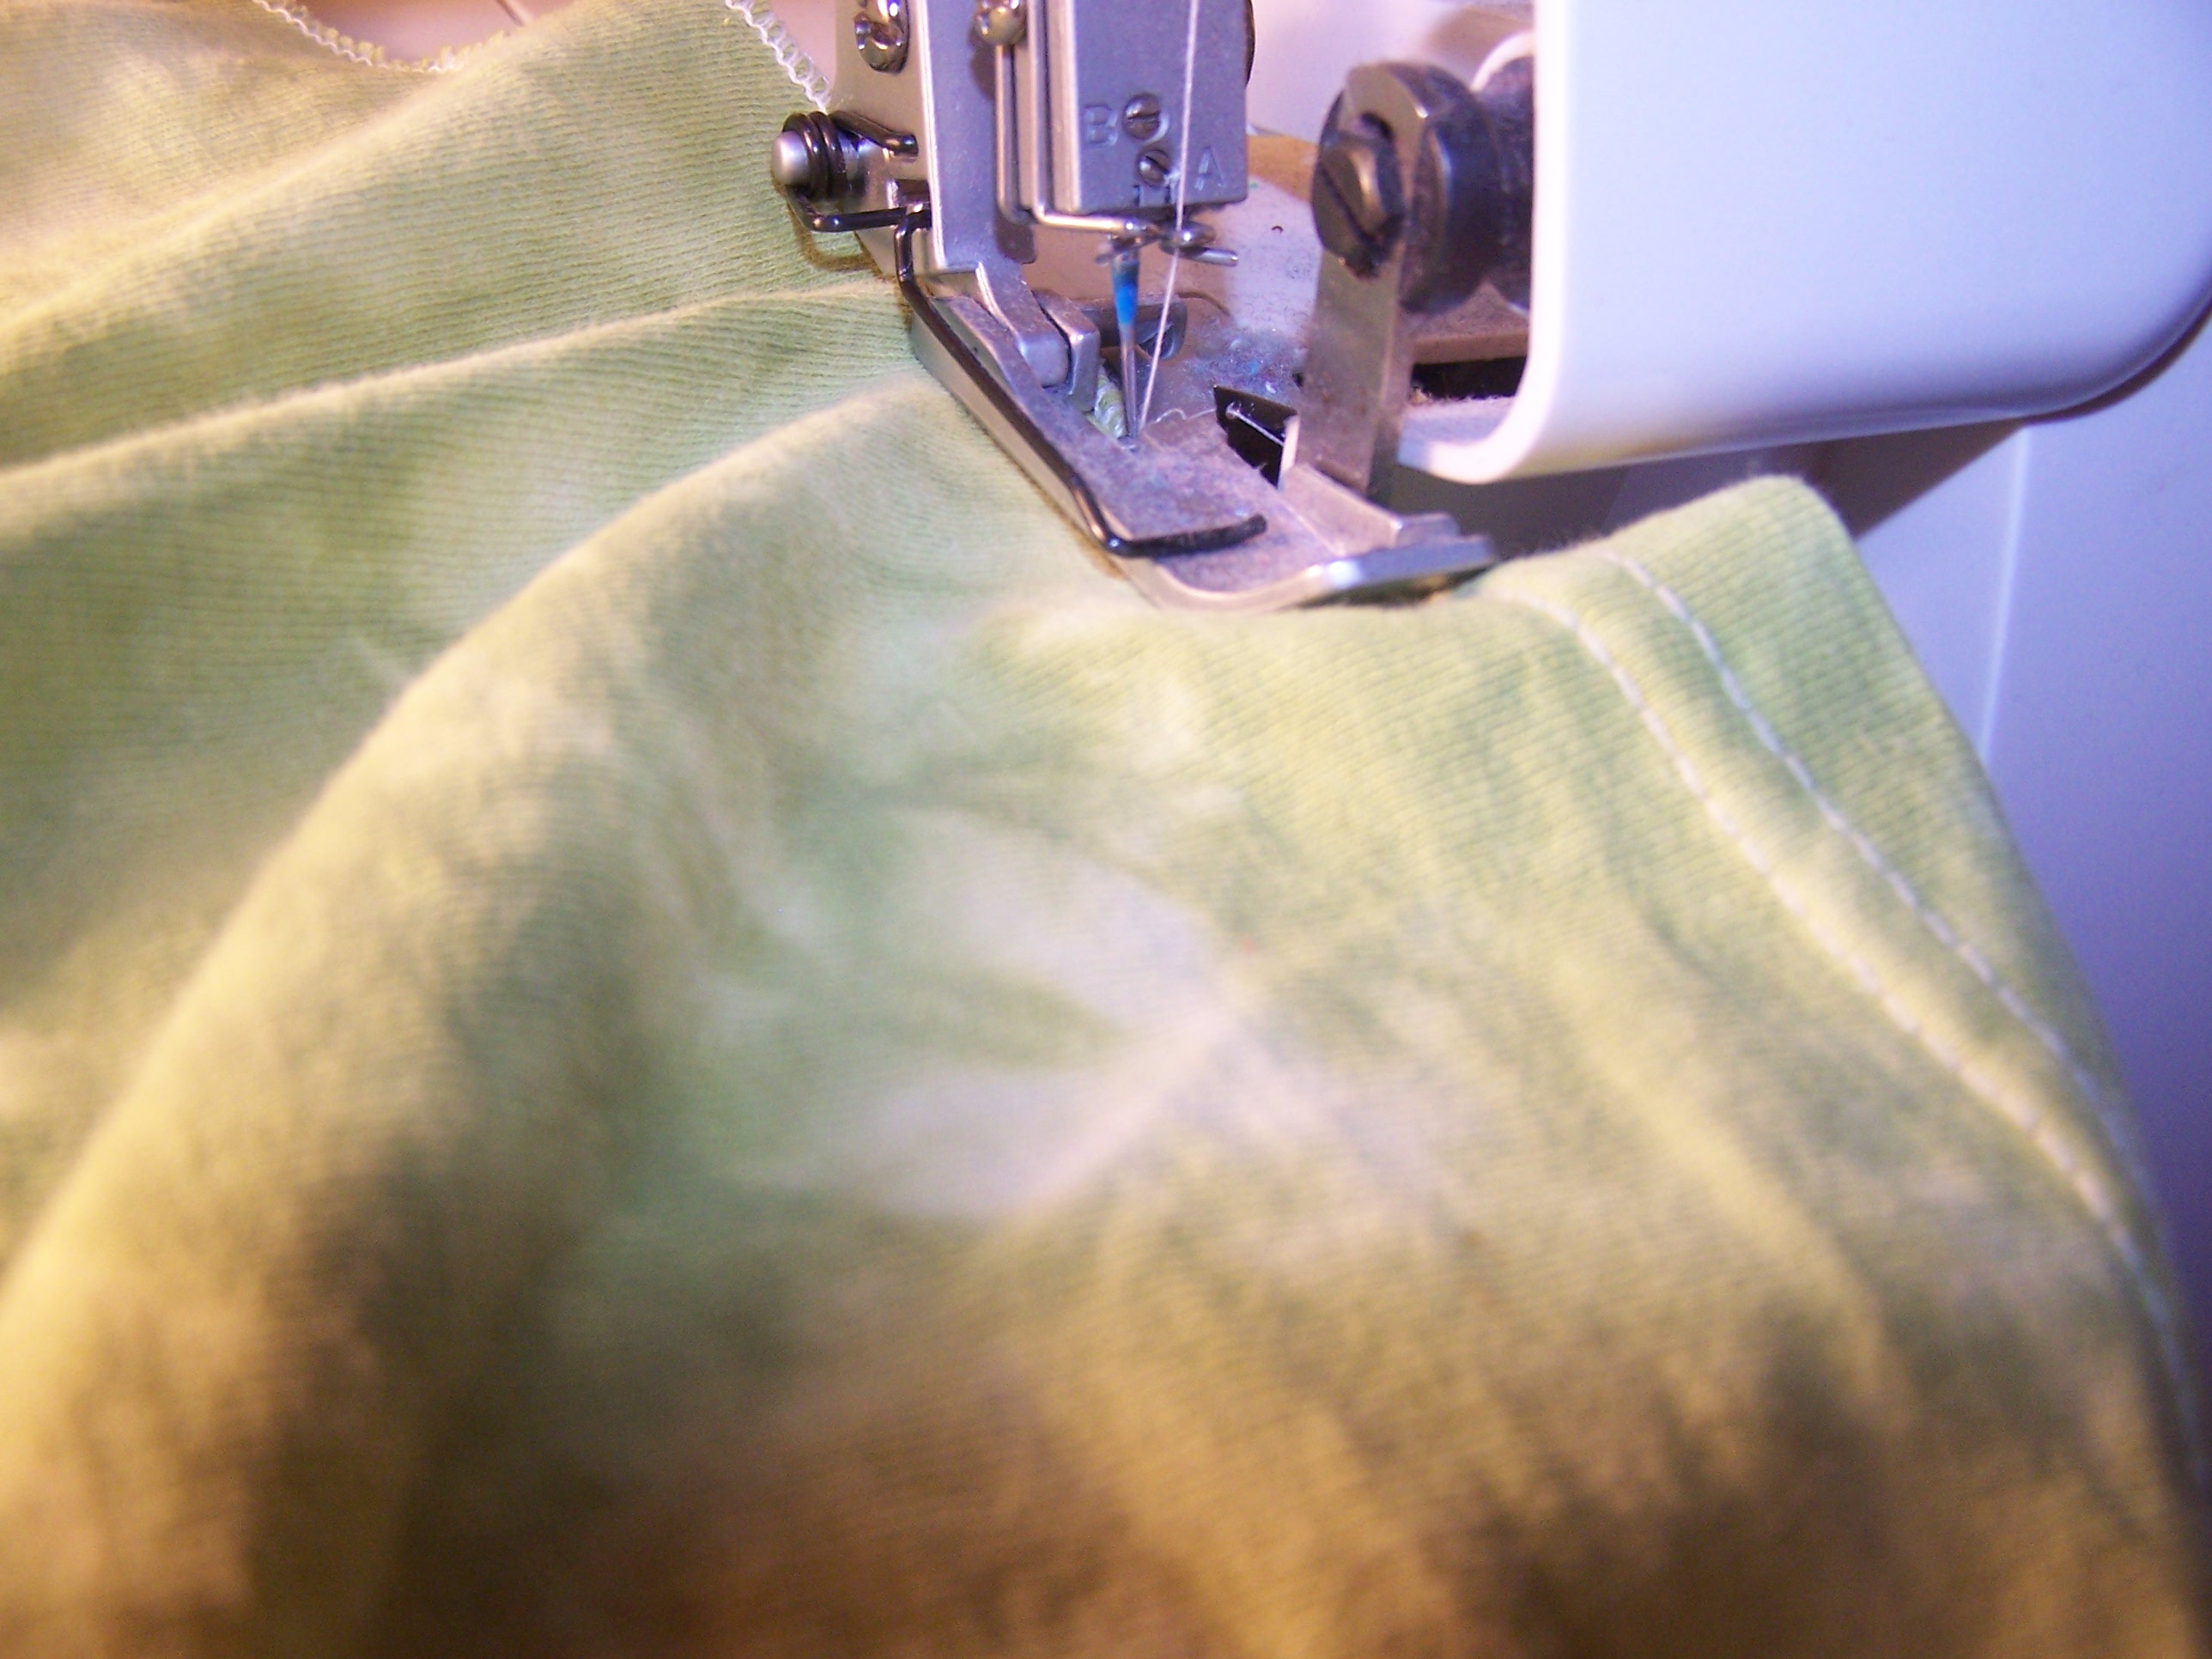
Pin the sleeve seam making sure to line up the underarm seam with the side seam. Sew the sleeve back in.

I wanted to shorten the sleeves a bit so I tried the shirt on (again!) and marked where I wanted the hem. I used the rolled hem feature on my serger. Then, to make it look more like it came that way I also did a rolled hem on the bottom too. I serged just above the existing hem.
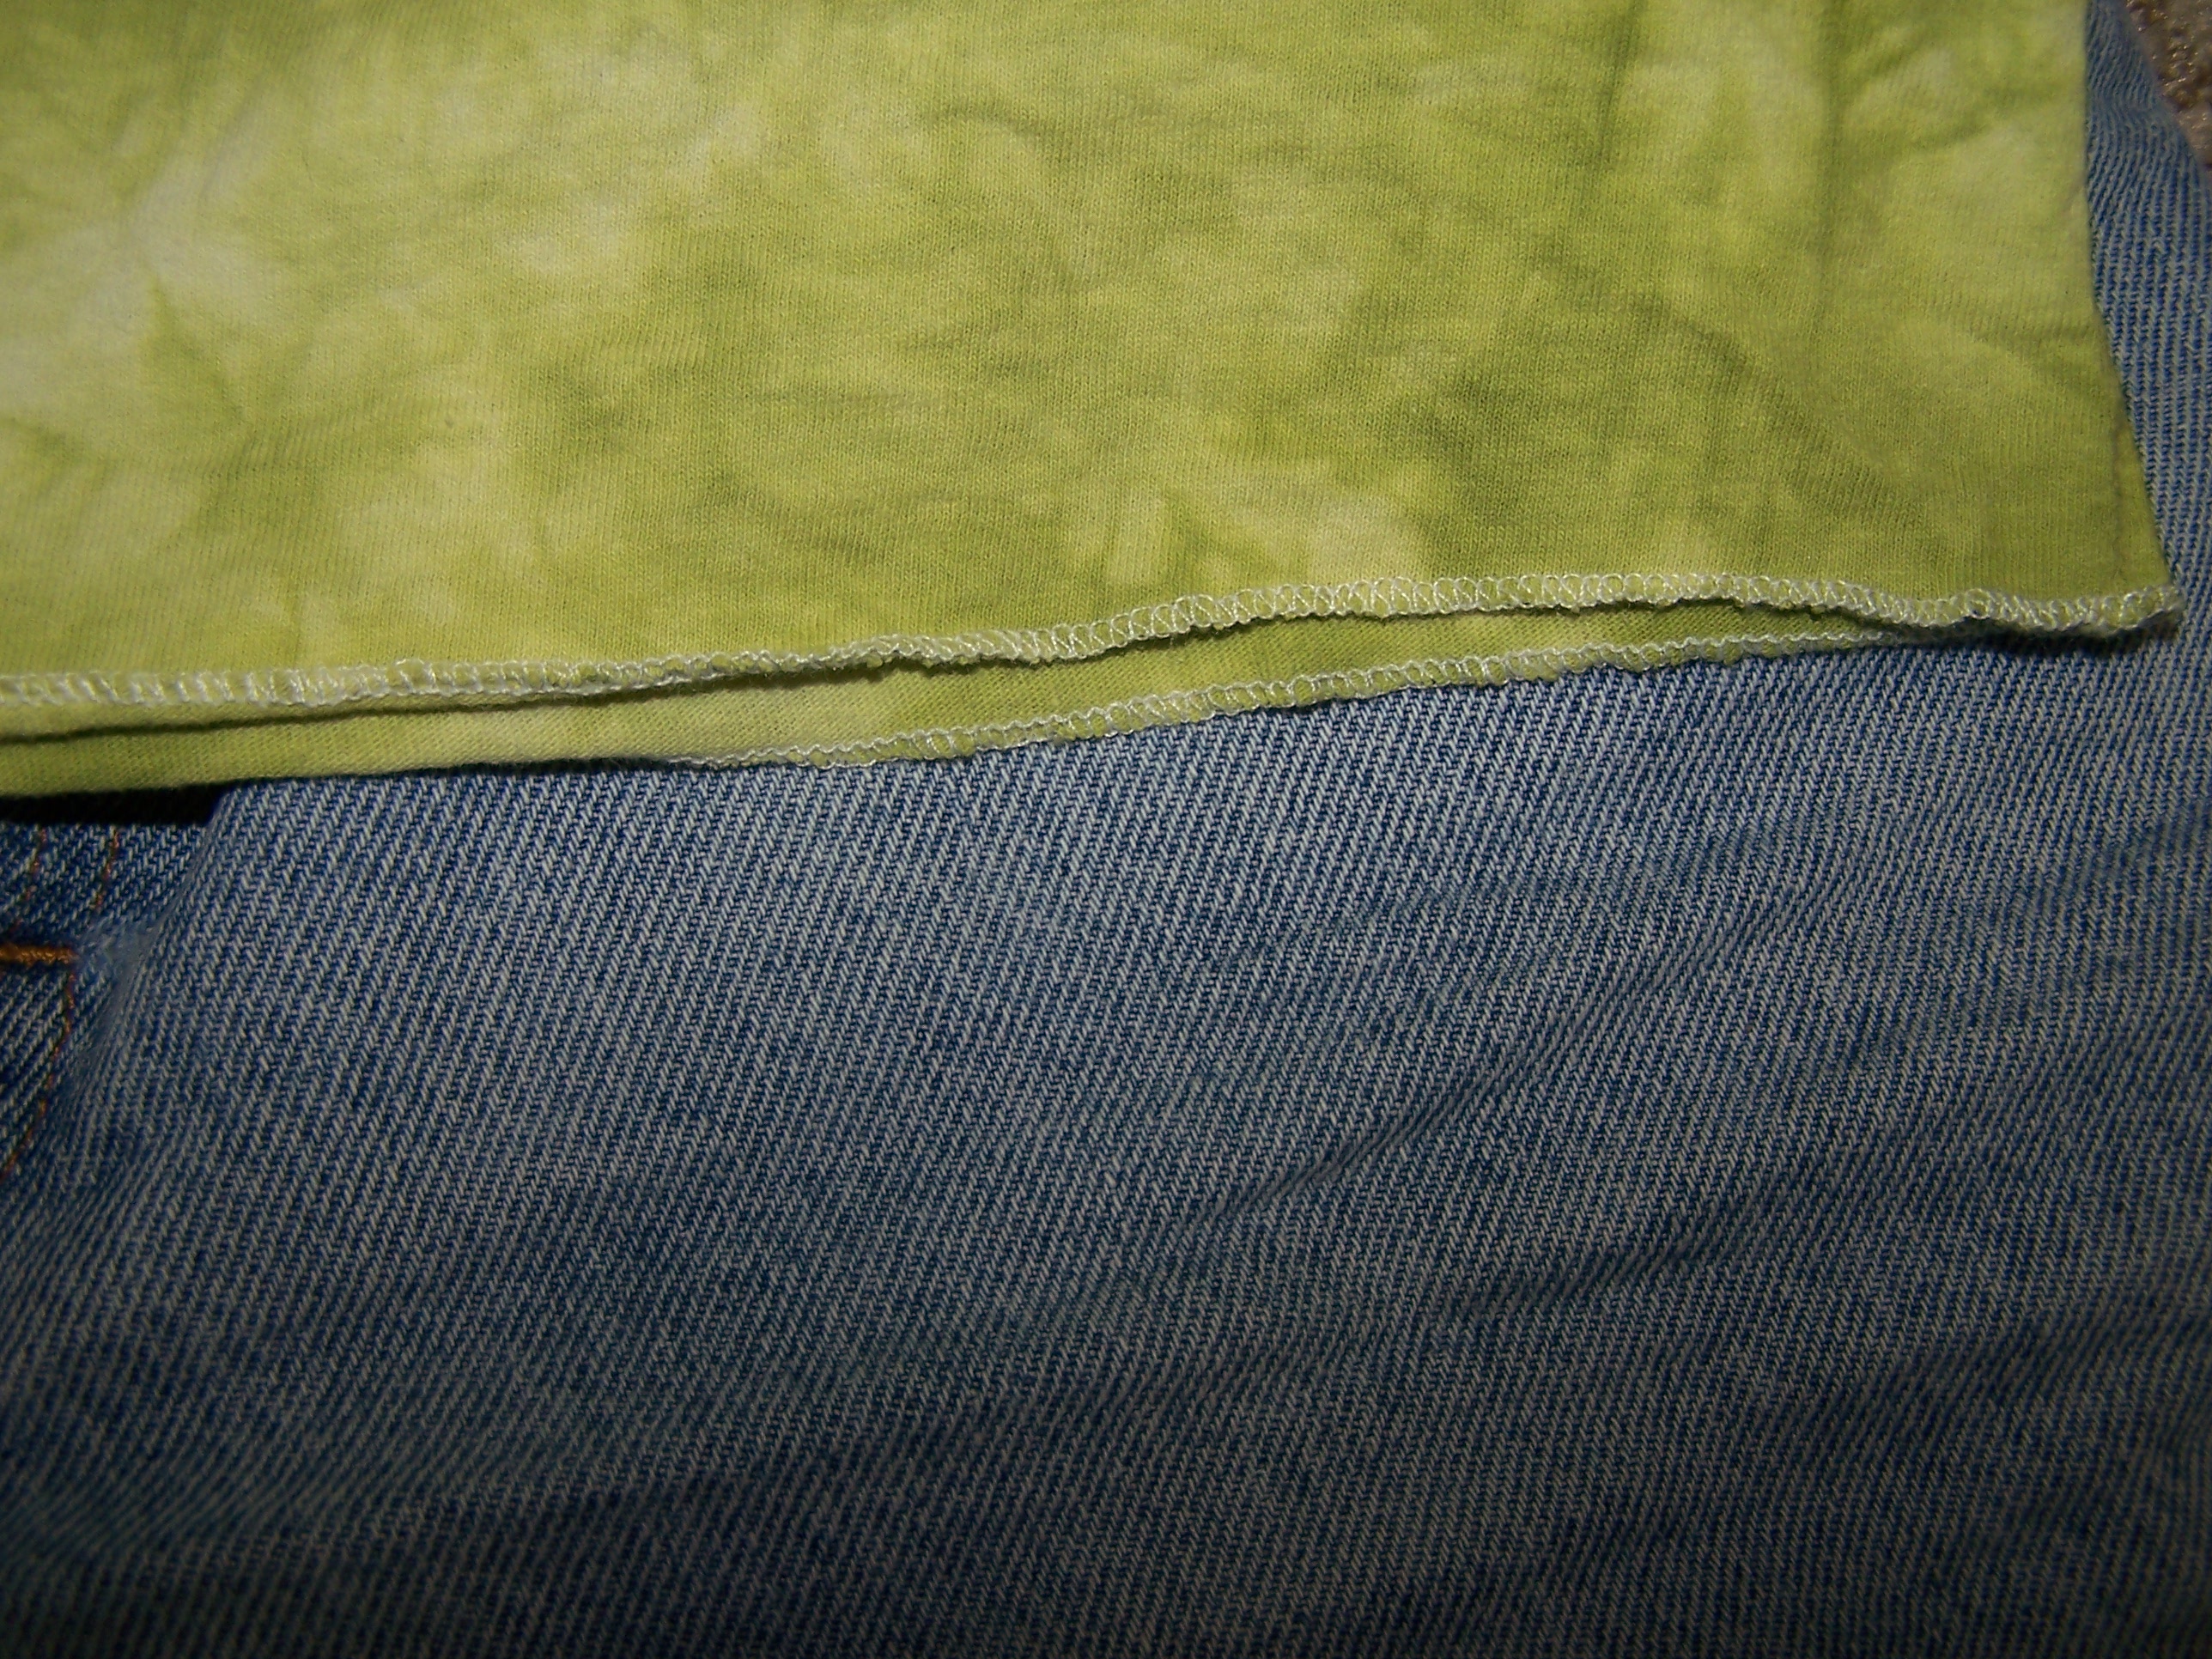
Rolled hem – I think it’s perfect for a casual shirt like a t-shirt.

Rolled hem on the sleeve – a little less bulky – perfect for the summer.
Now try it on one last time!
Leave a Reply