I’m working on a series of posts about adjusting clothing to fit. To see all of them click here – How to Sew.
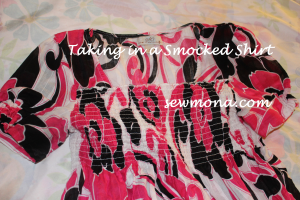
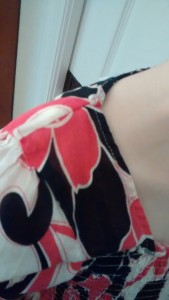
My daughter was given this shirt. She loved it and wanted to wear it to school right away. I didn’t pay much attention to the size and apparently didn’t really look at it when she tried it on. The back was so gap-py and the front kept creeping down lower than she likes. I put a rubber band around the back to take it in for the day (it was covered by her long hair).
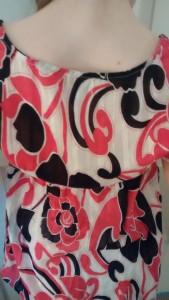
The easy part of this was taking in the shoulder seam. I took in about 1/4″ – 1/2″ and narrowed it down to match the existing seam. This helped a little bit.

When the shirt is on, you can’t even tell there’s a little extra seam there.
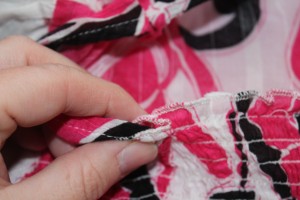
Fixing the smocking took some thought. My first thought was to add a piece of elastic over the top piece of elastic on the smocking. However, that didn’t work so well and I ended up taking it off. Plan B was to just take tucks on either side. That turned out to be much easier. I only sewed them at the top smocking seam line.
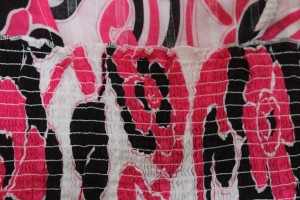
The tucks are barely noticeable.
Now, she can wear the shirt without constantly pulling it up in front and pulling the shoulders back up.