SewMona

A slice of my Florida life

  • Sewing
    • SewMona on Etsy
    • Clothes
      • Boys
      • Girls
      • Men
      • Women
    • Pattern Reviews
    • How to Sew
  • Camping
    • Florida Campgrounds
  • Recipes
  • Crafts
  • DIY
  • About

How To Sew: Making A Poinsettia Shirt

How to sew: Adding a poinsettia to a store bought shirt.

I’m working on a series of posts about adjusting clothing to fit.  To see all of them click here – How to Sew.

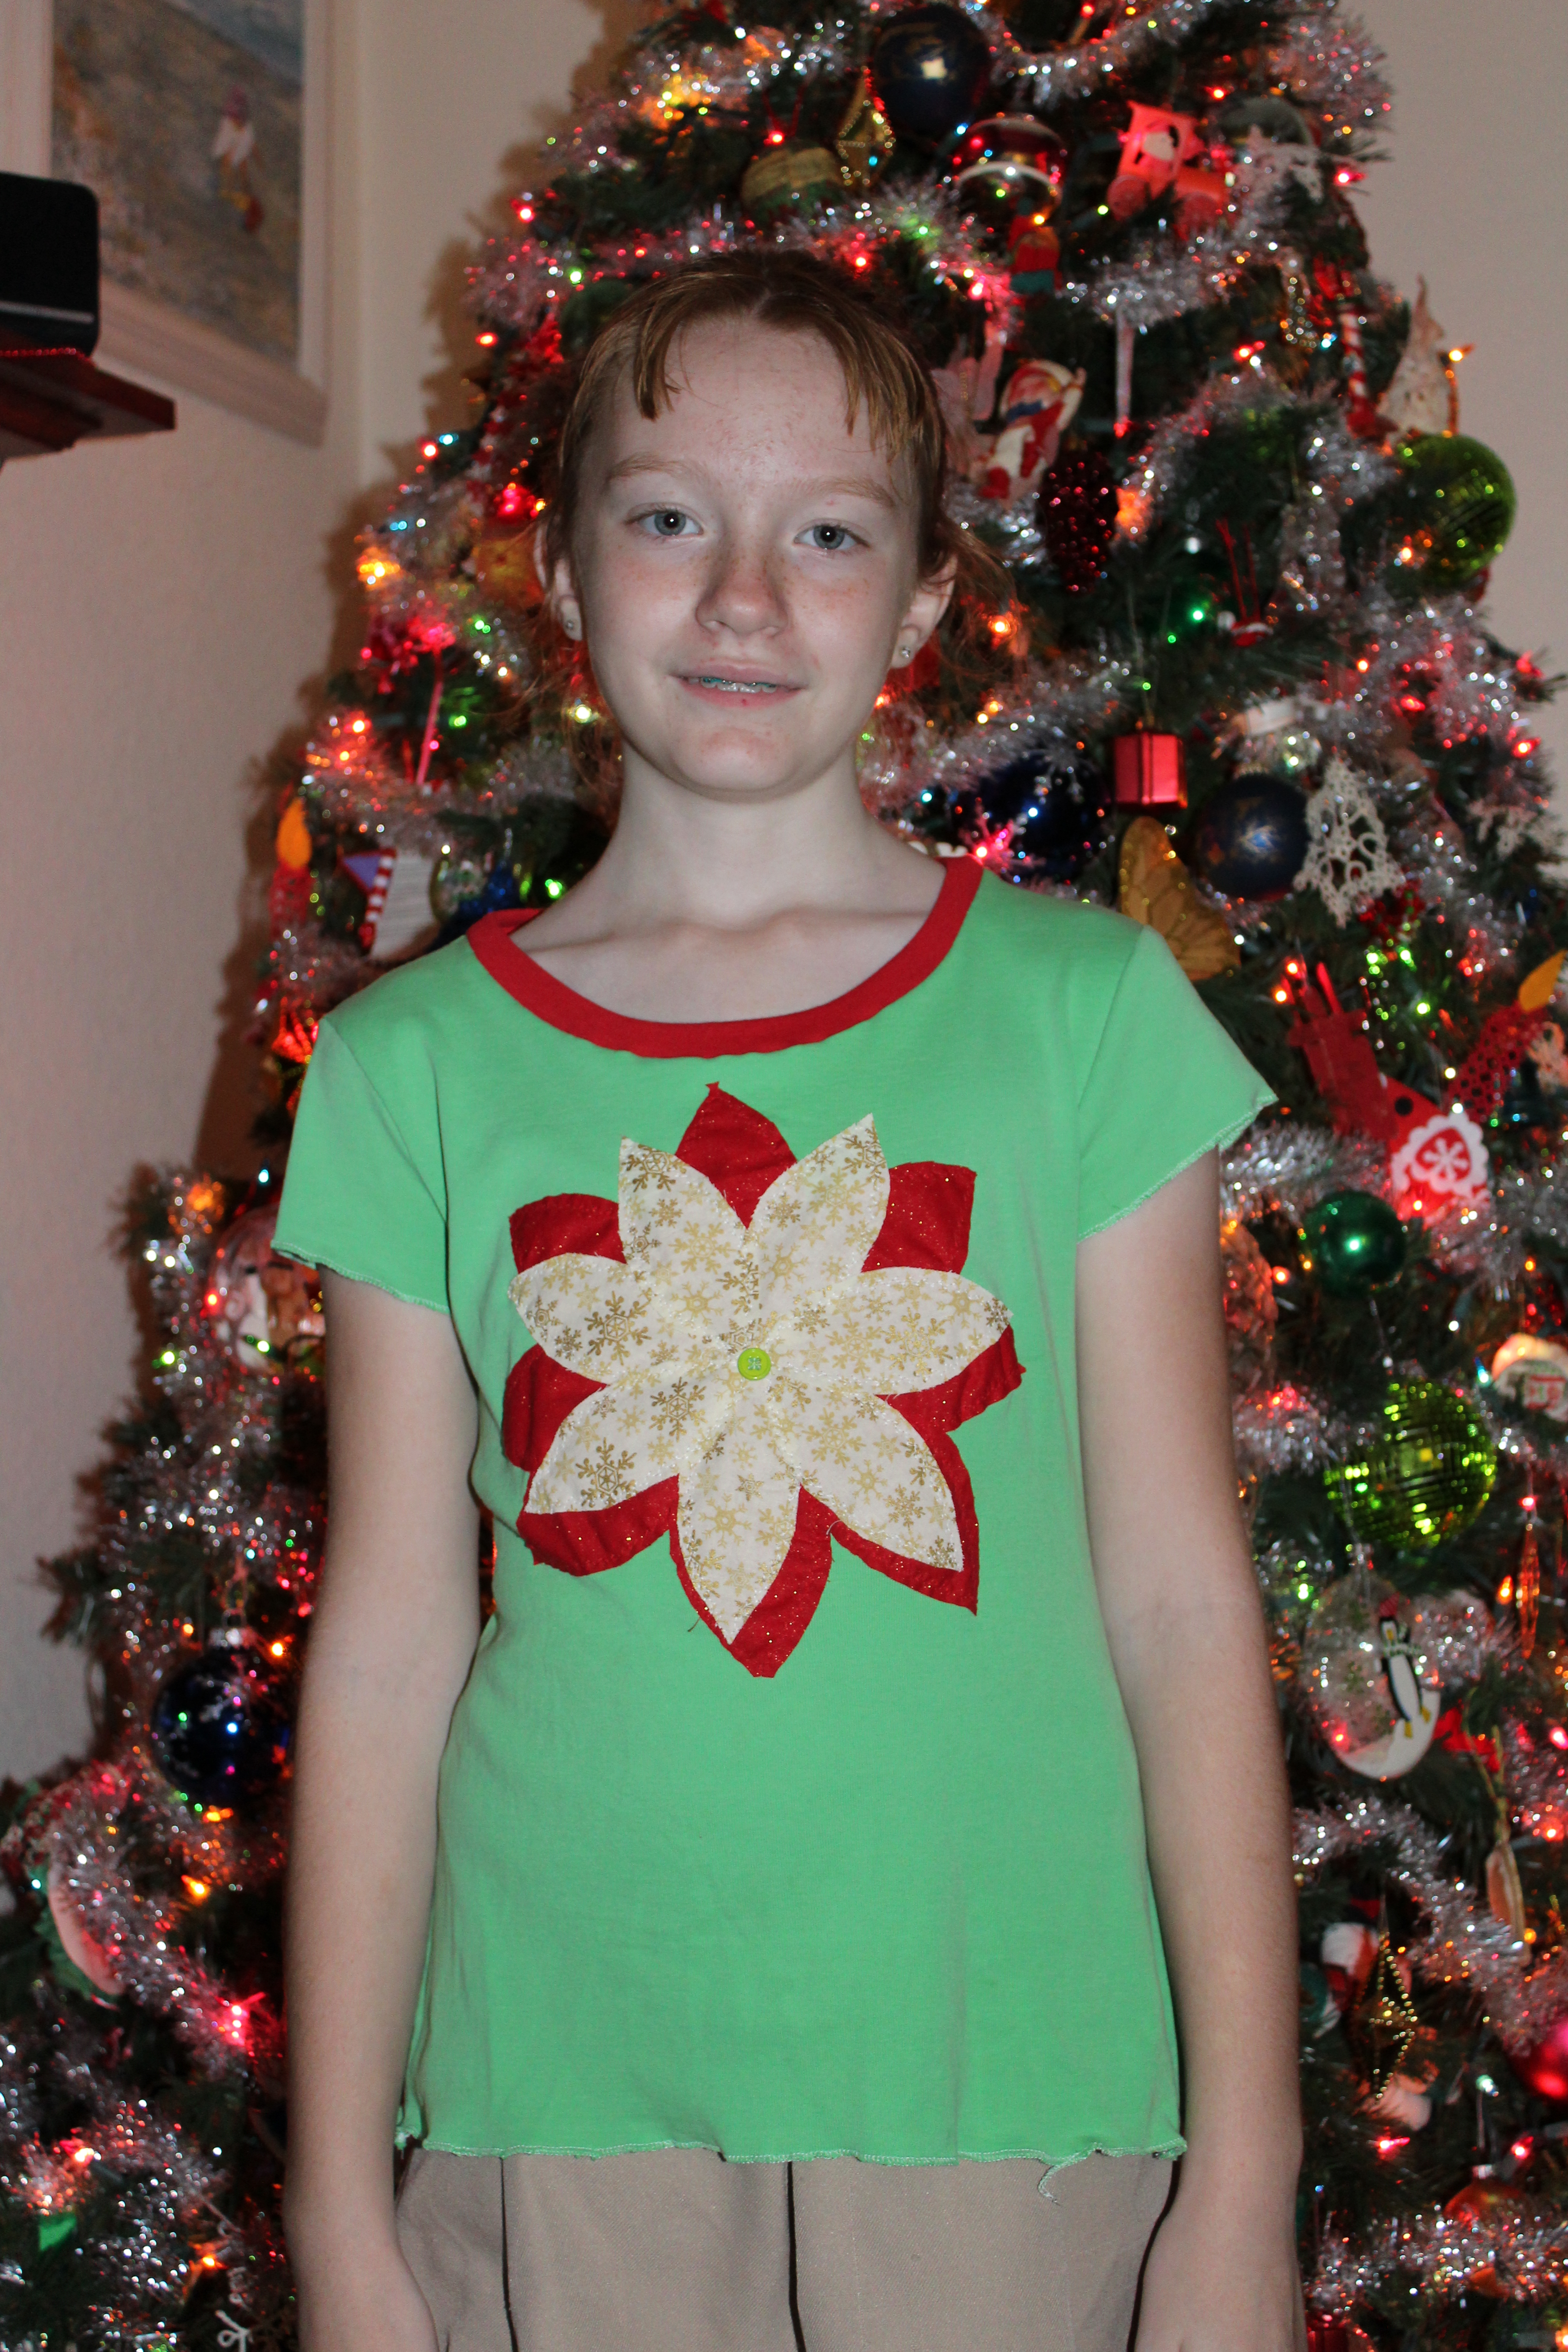
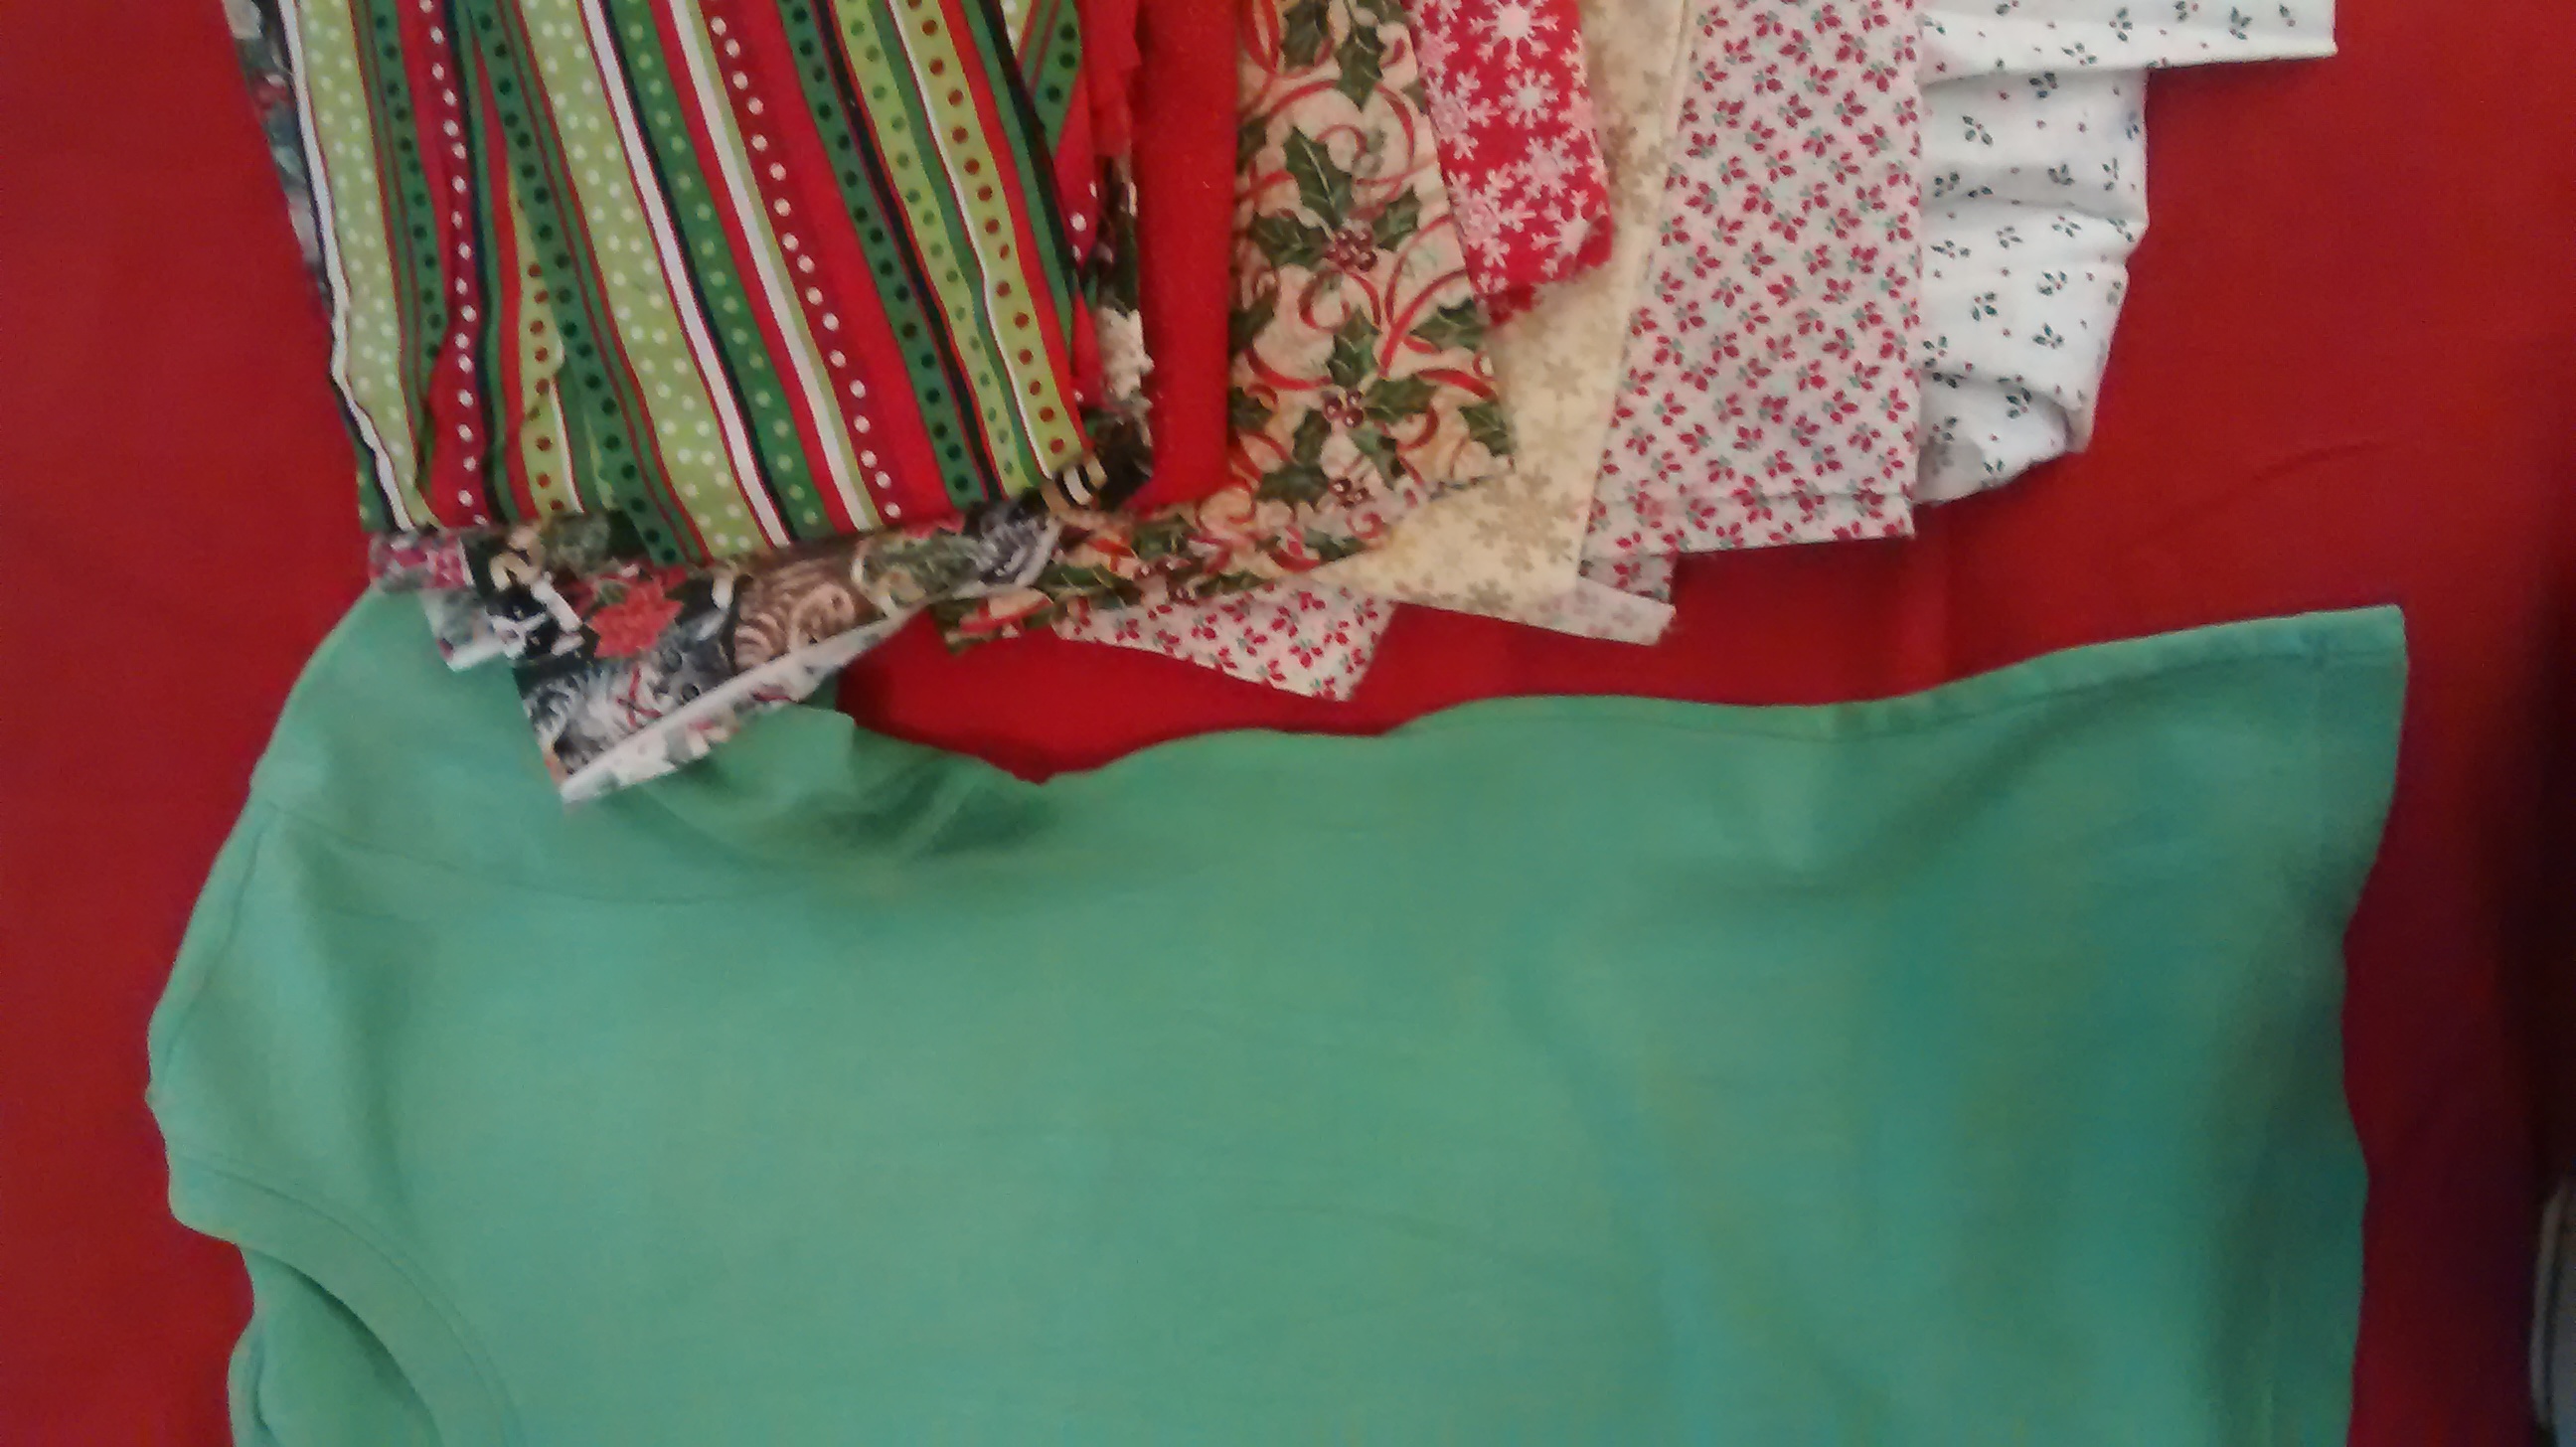
Adding to a store bought t-shirt is a simple way to dress it up for a holiday.  For instance, I made these Christmas tie shirts for my boys a couple years ago.  Several years ago, I came across this tutorial.  I couldn’t wait to try it out, except it was winter and short sleeve shirts and flowers weren’t really on my mind.  So, I modified it a bit and made it into a poinsettia.  Perfect for a Christmas shirt!  You can use a store bought shirt, or if you’re inclined, make your own.  For the flower, all you need are a few scraps of Christmas material and a button.

Christmas Scraps Poinsettia Shirt

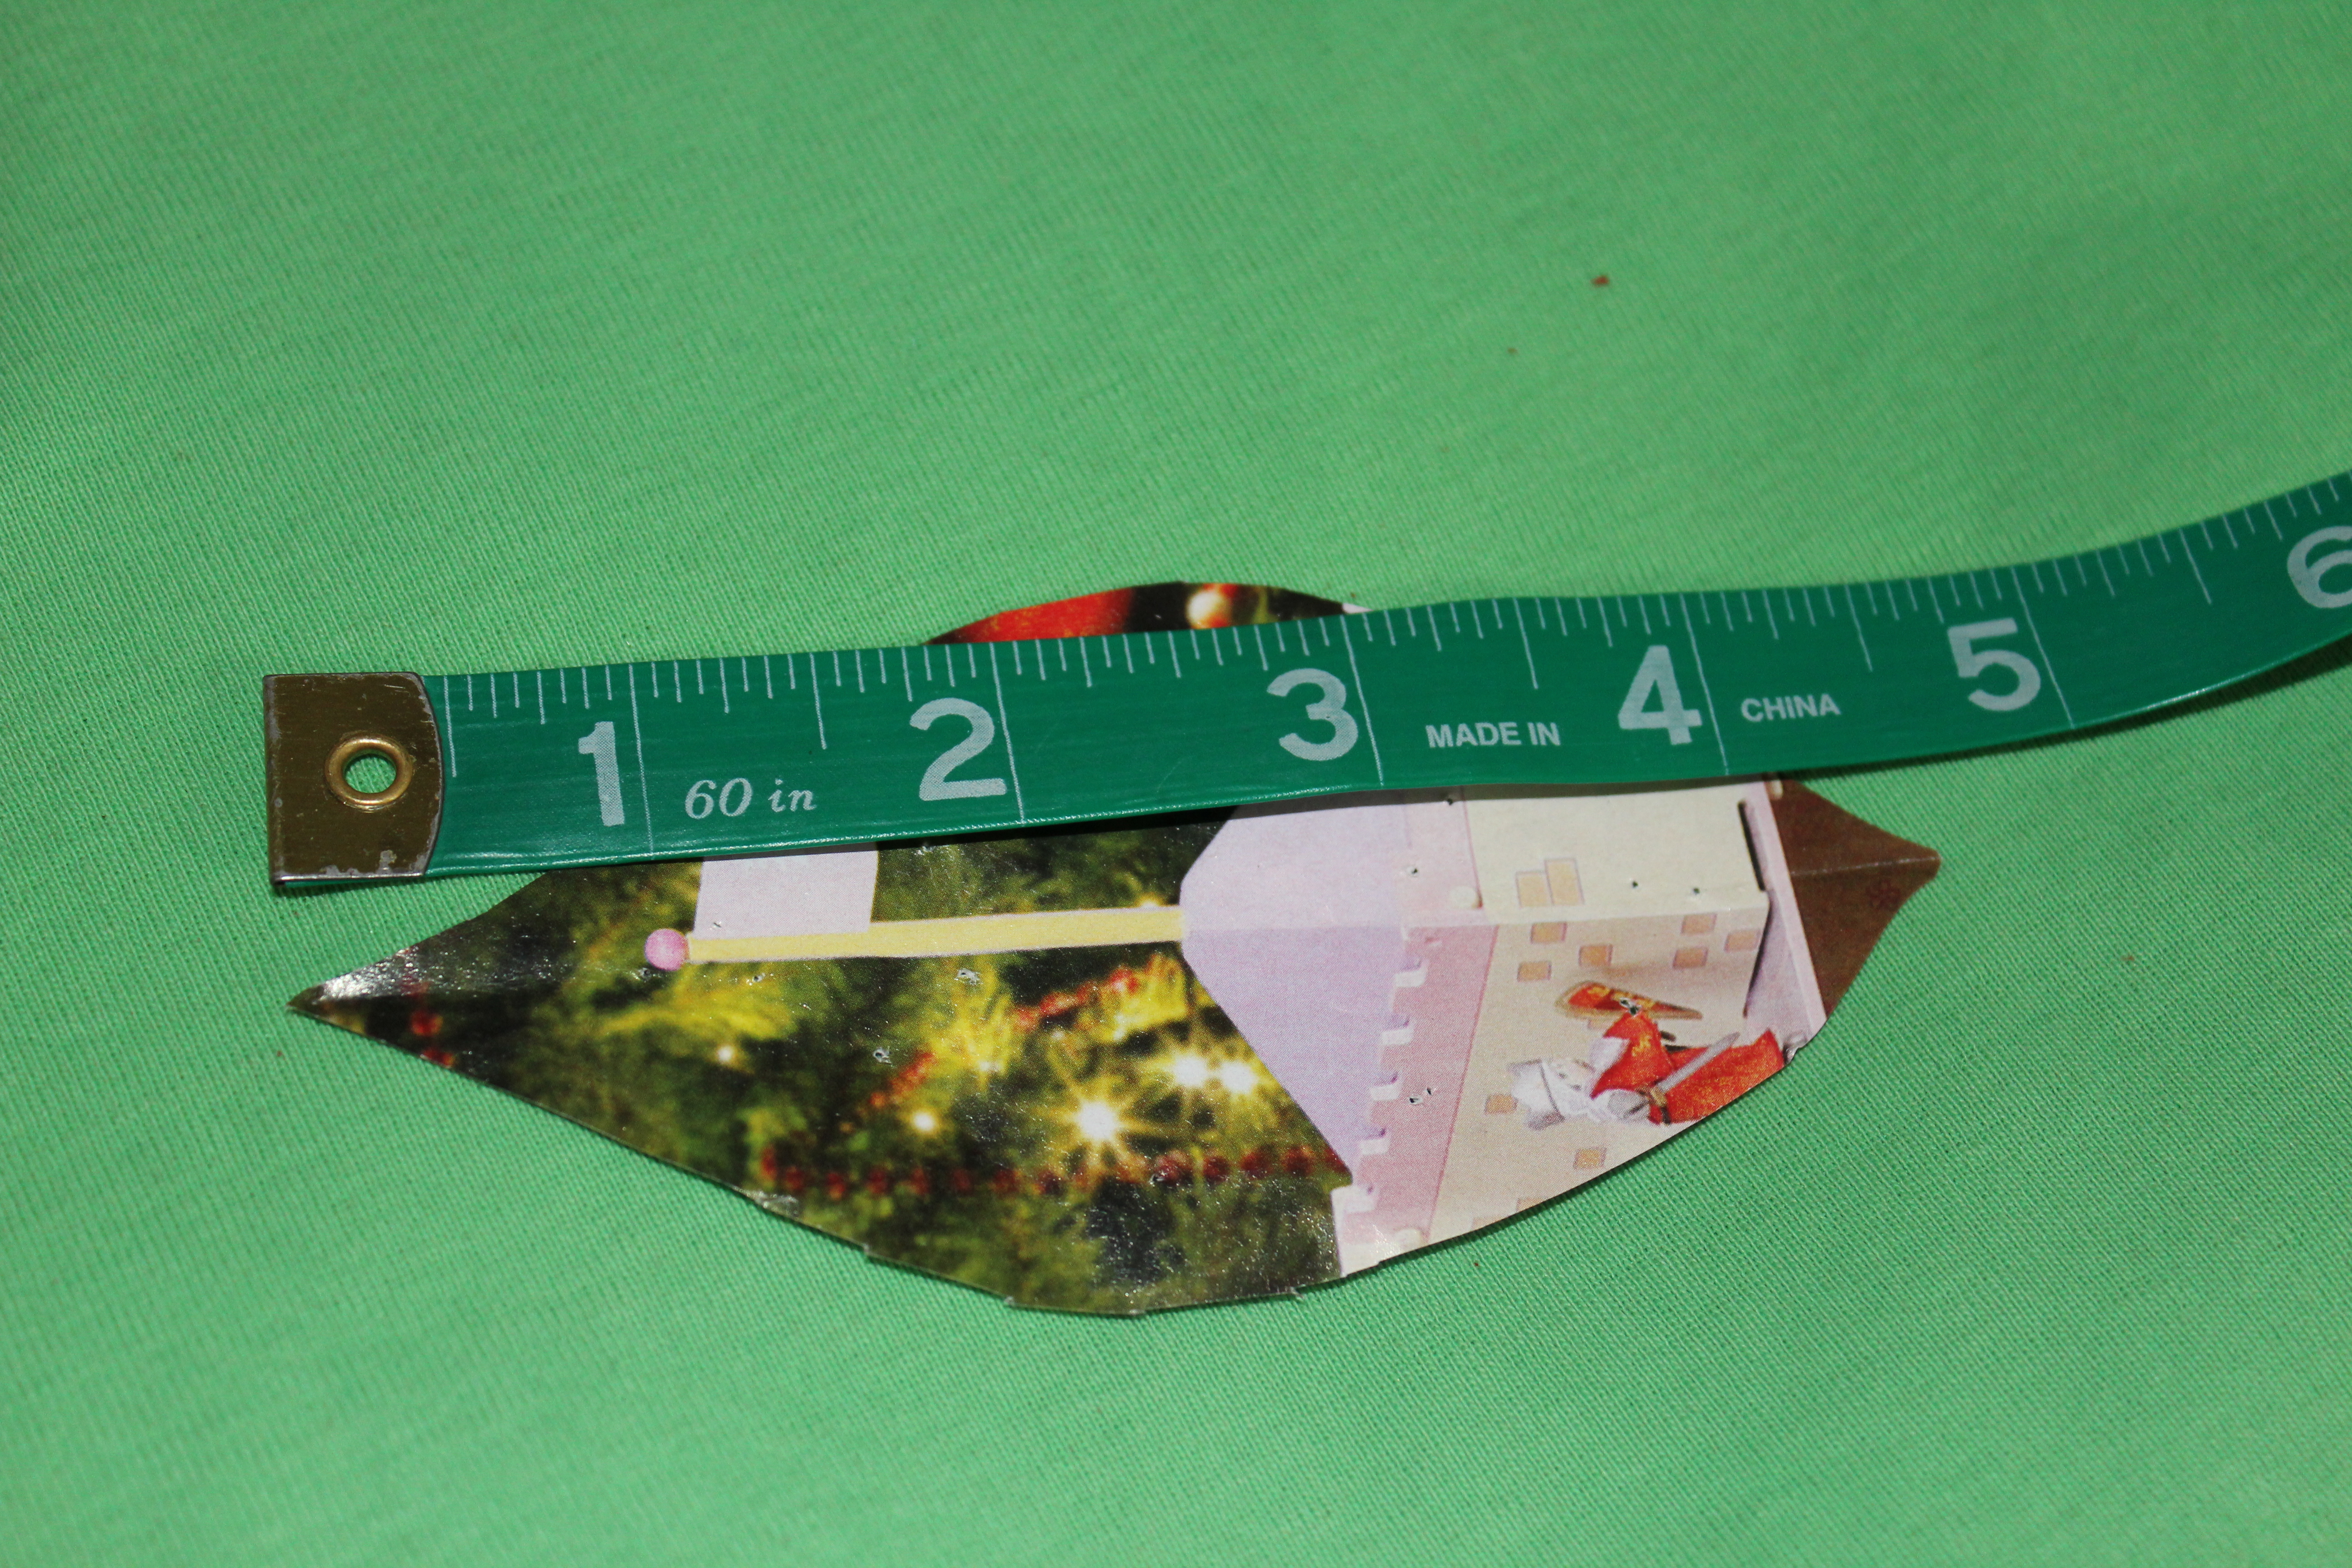
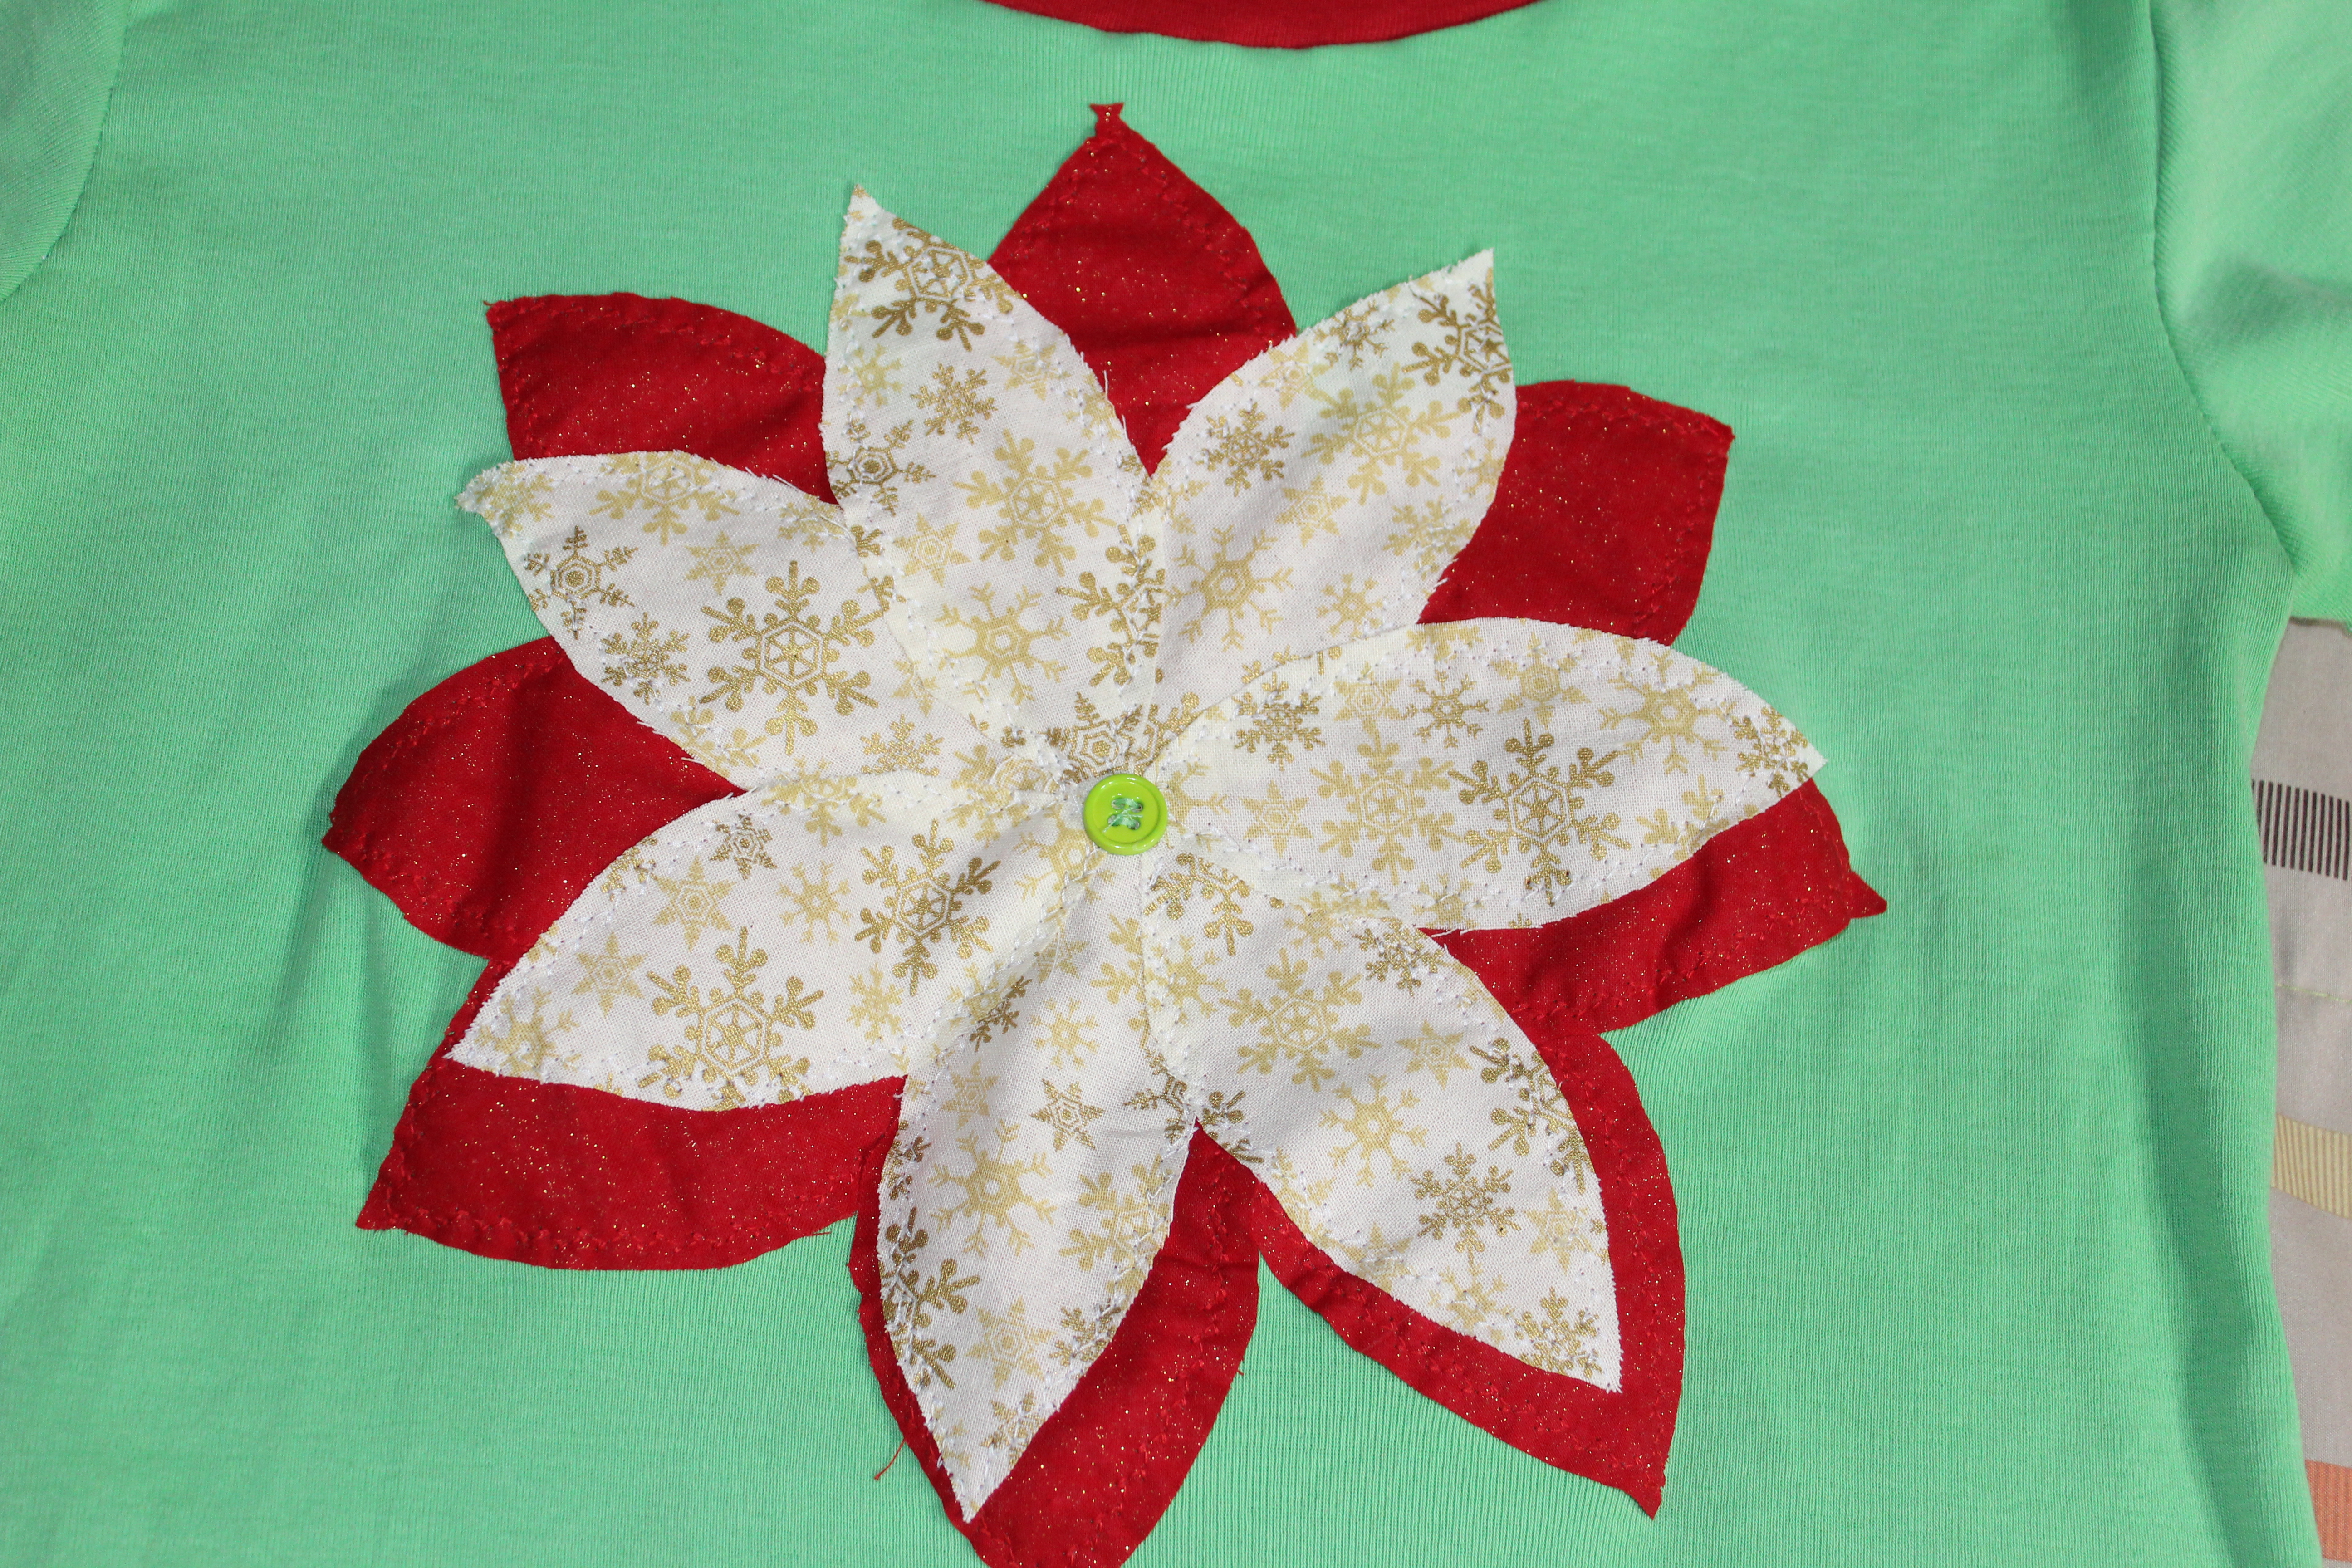
I looked at several poinsettia pictures online and drew a petal pattern.  The size of your pattern will depend on how big you want the poinsettia and how big the shirt is.  For reference, my model wears a size 10.

Poinsettia Pattern

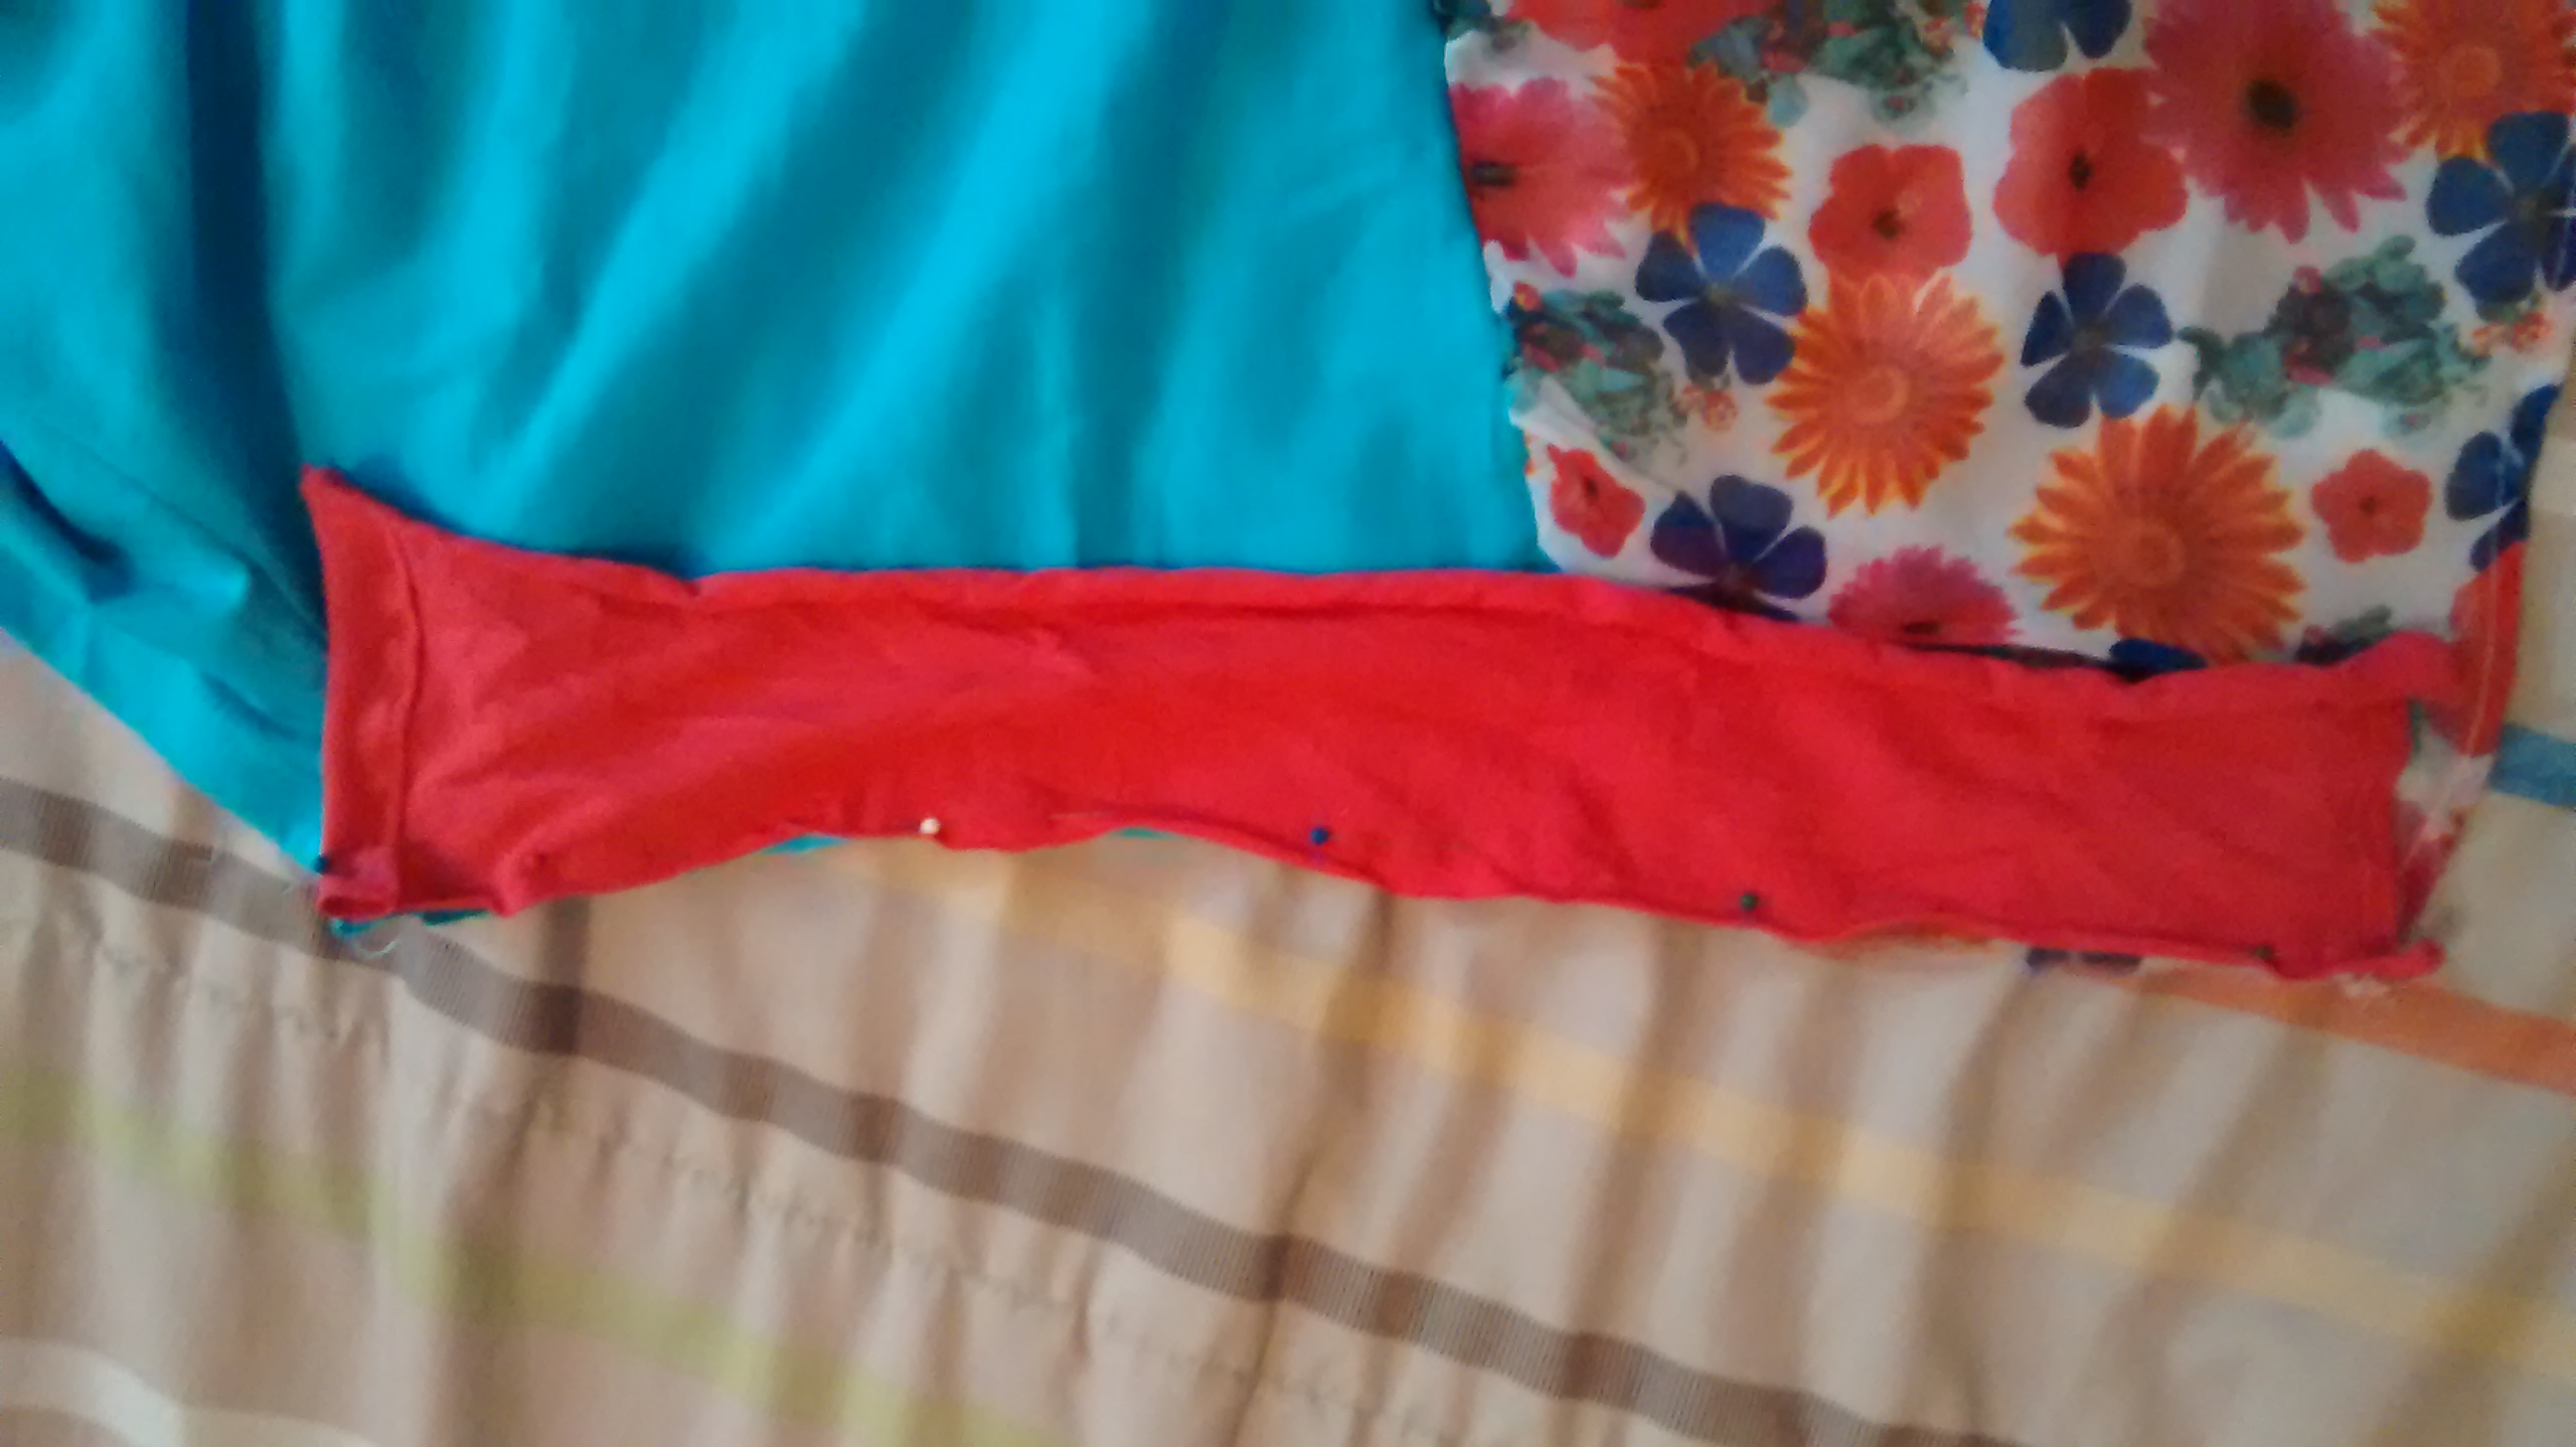
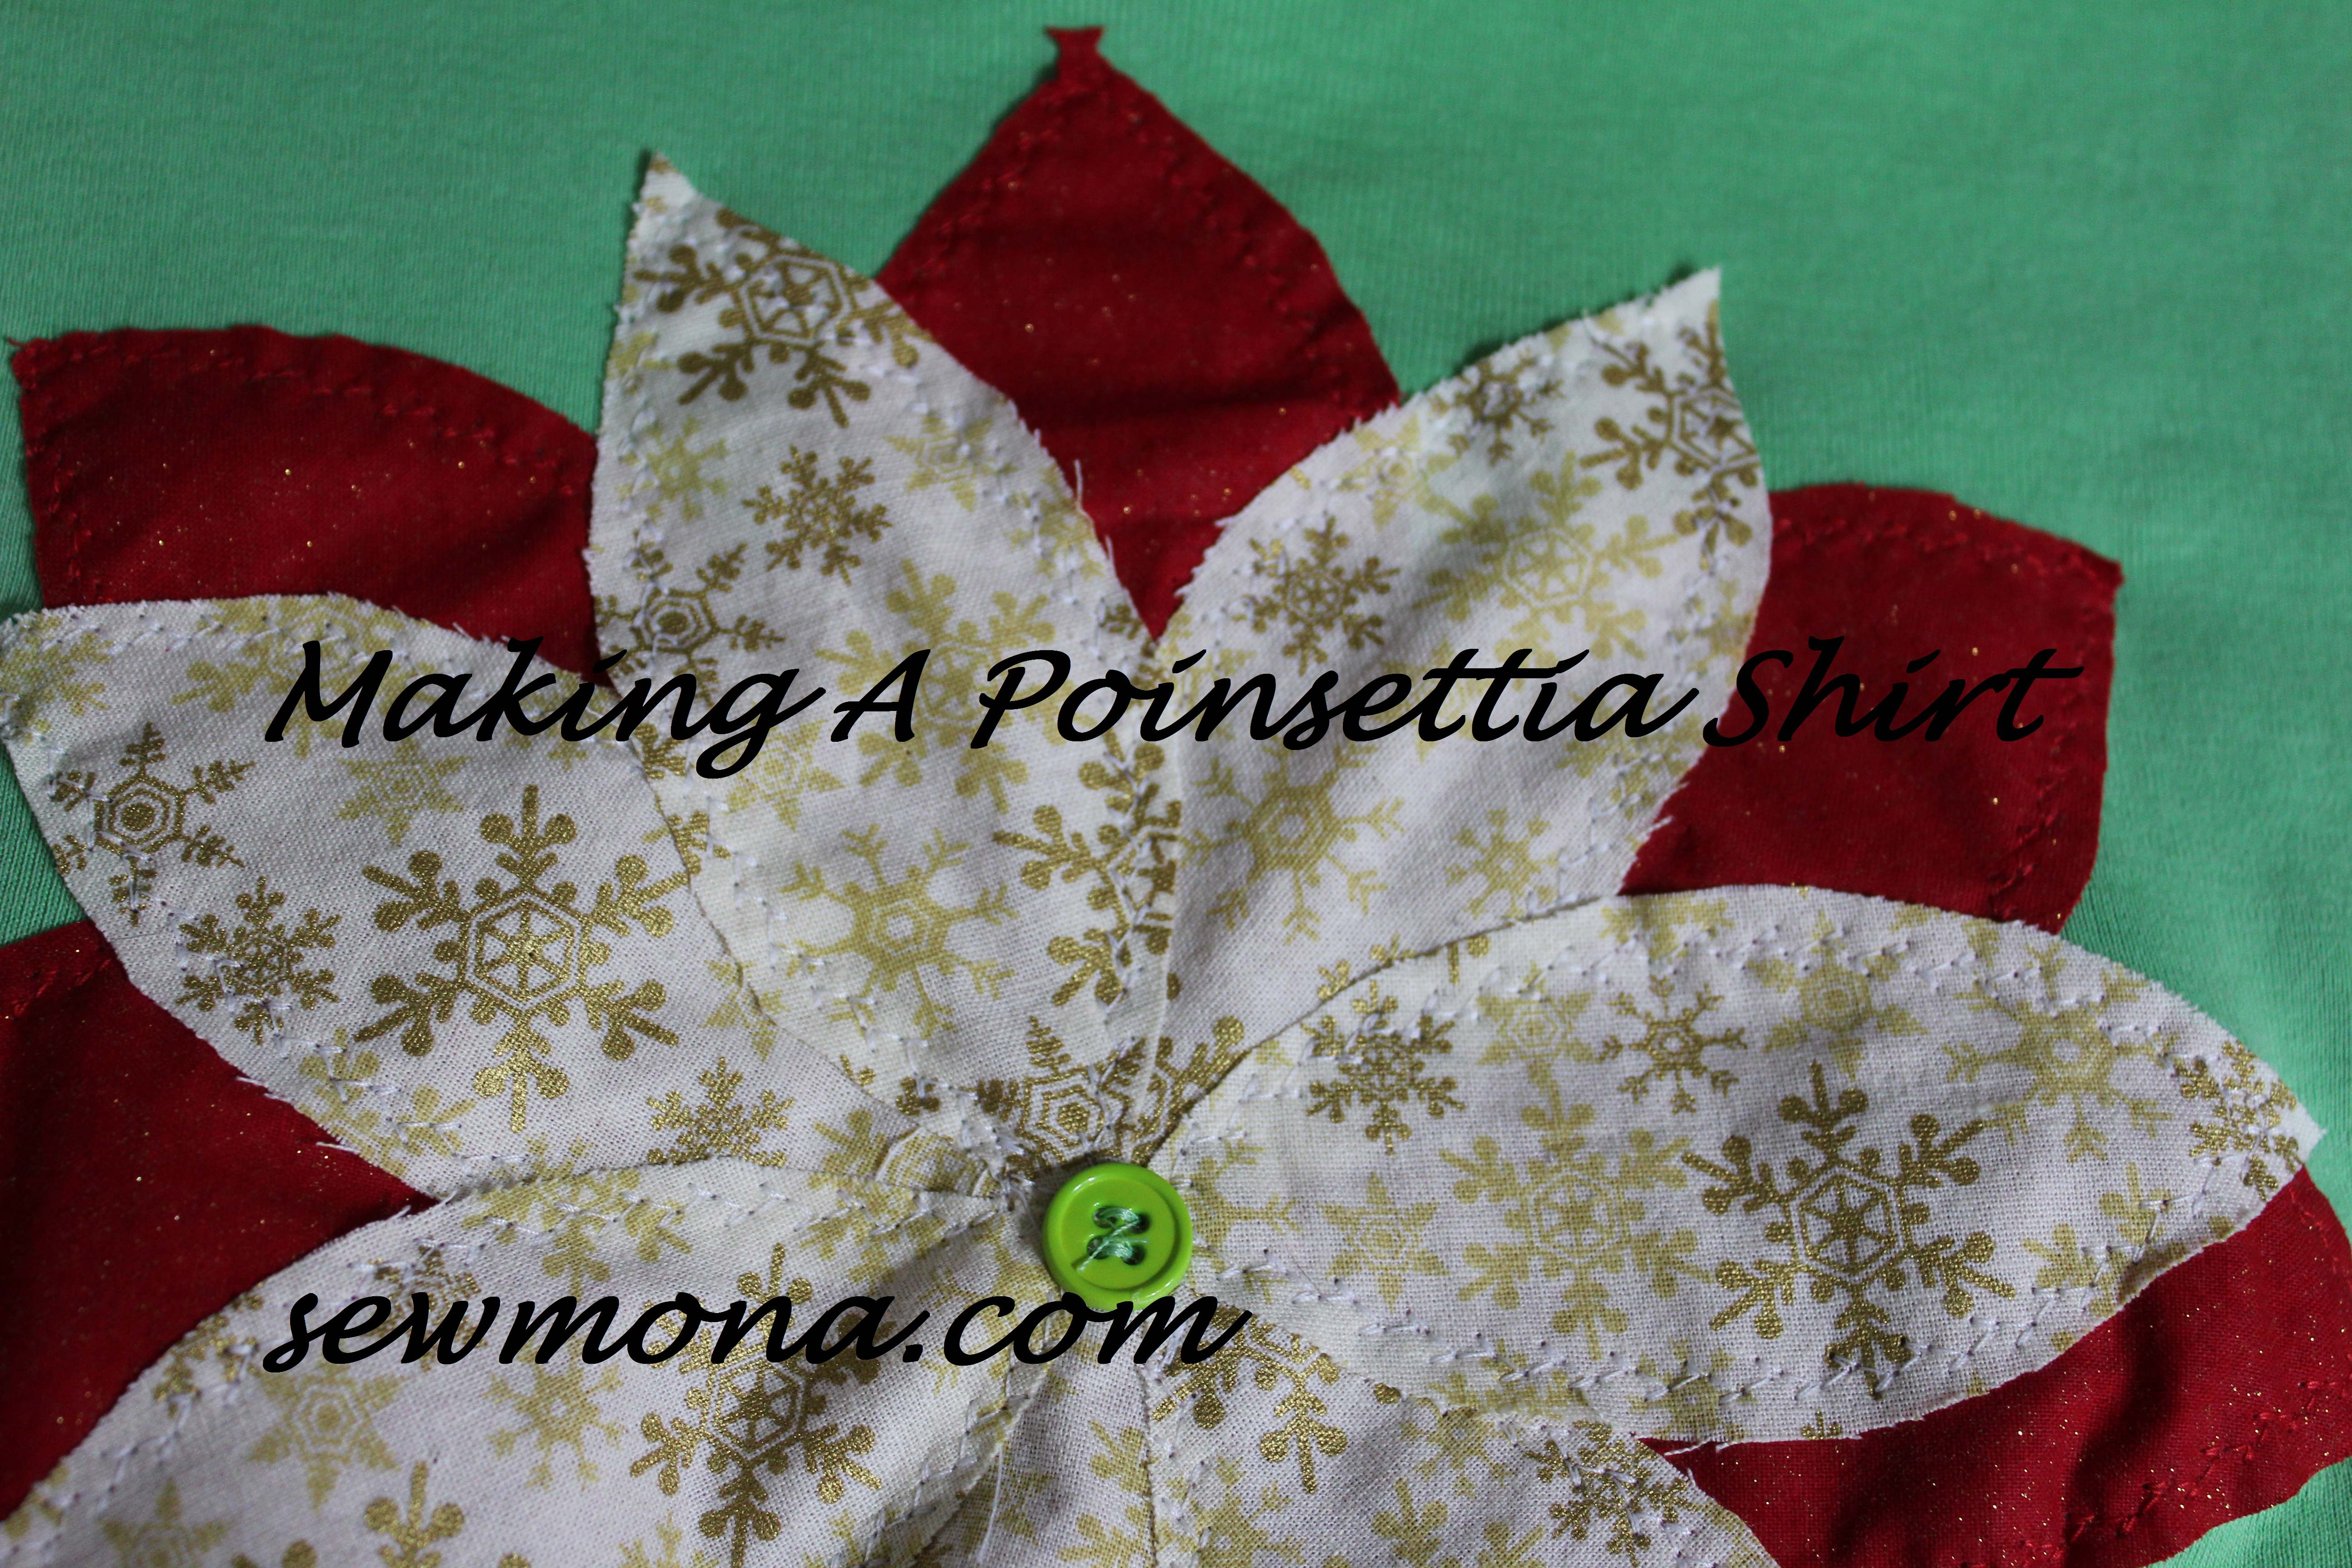
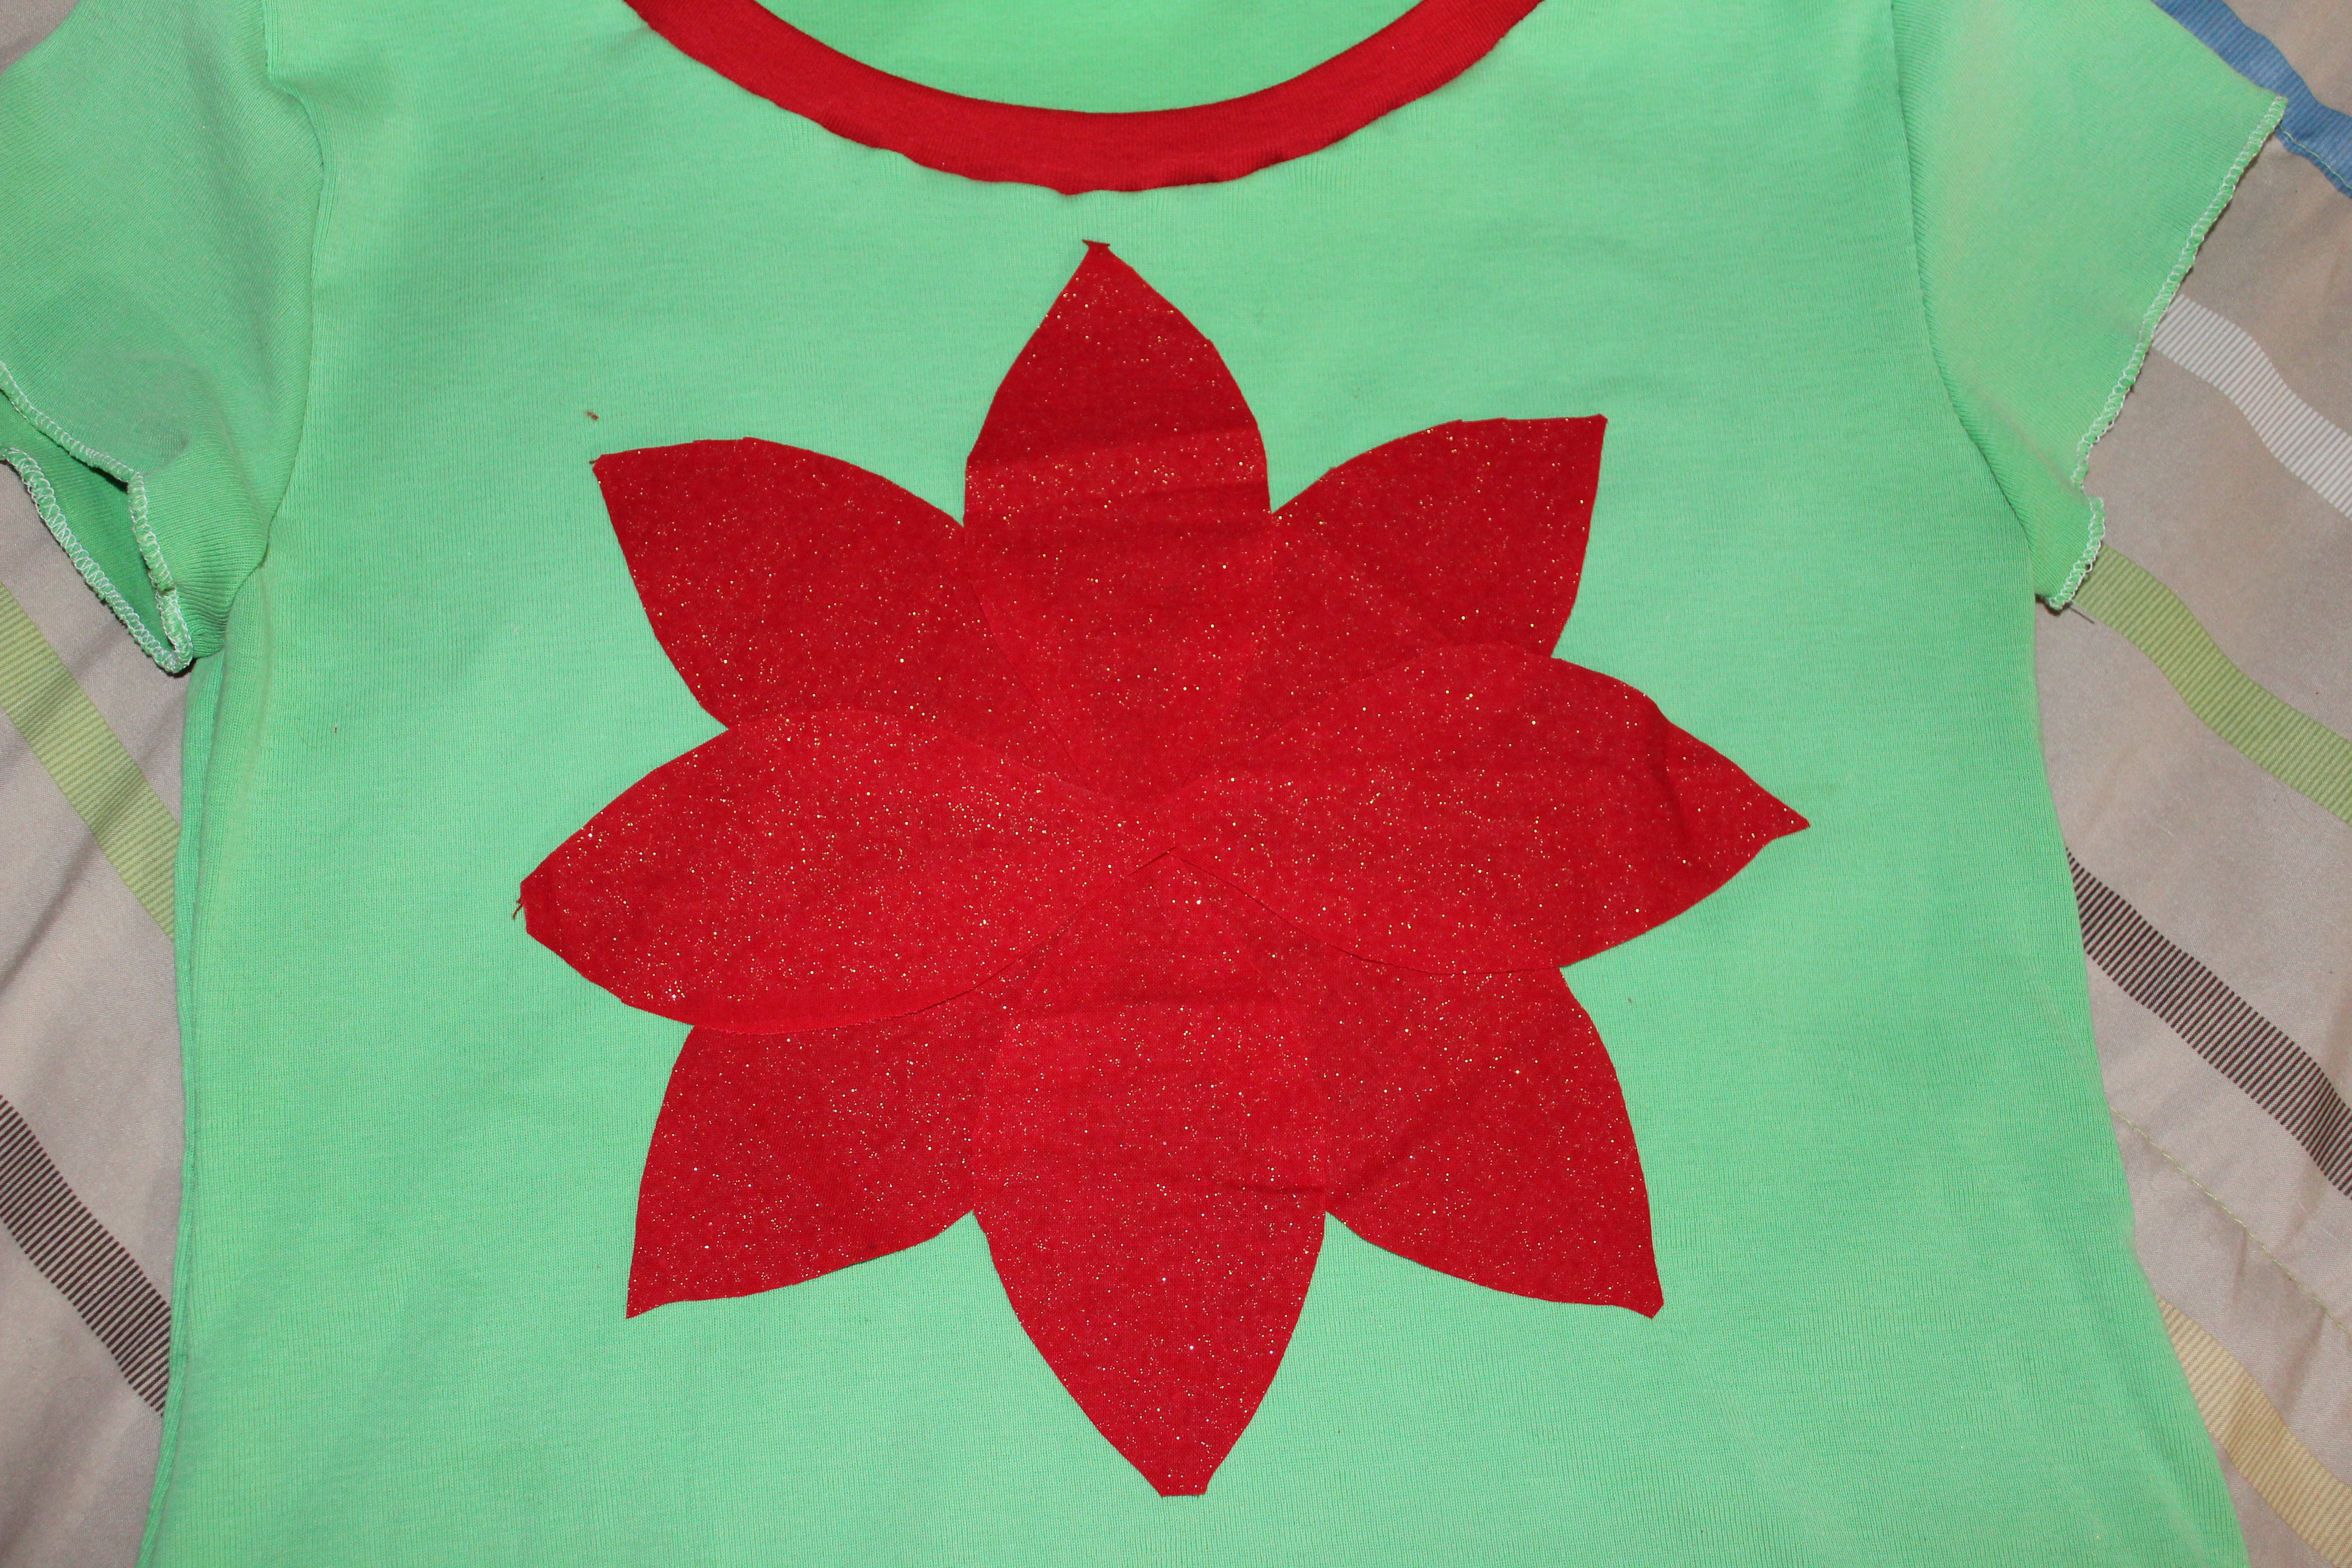
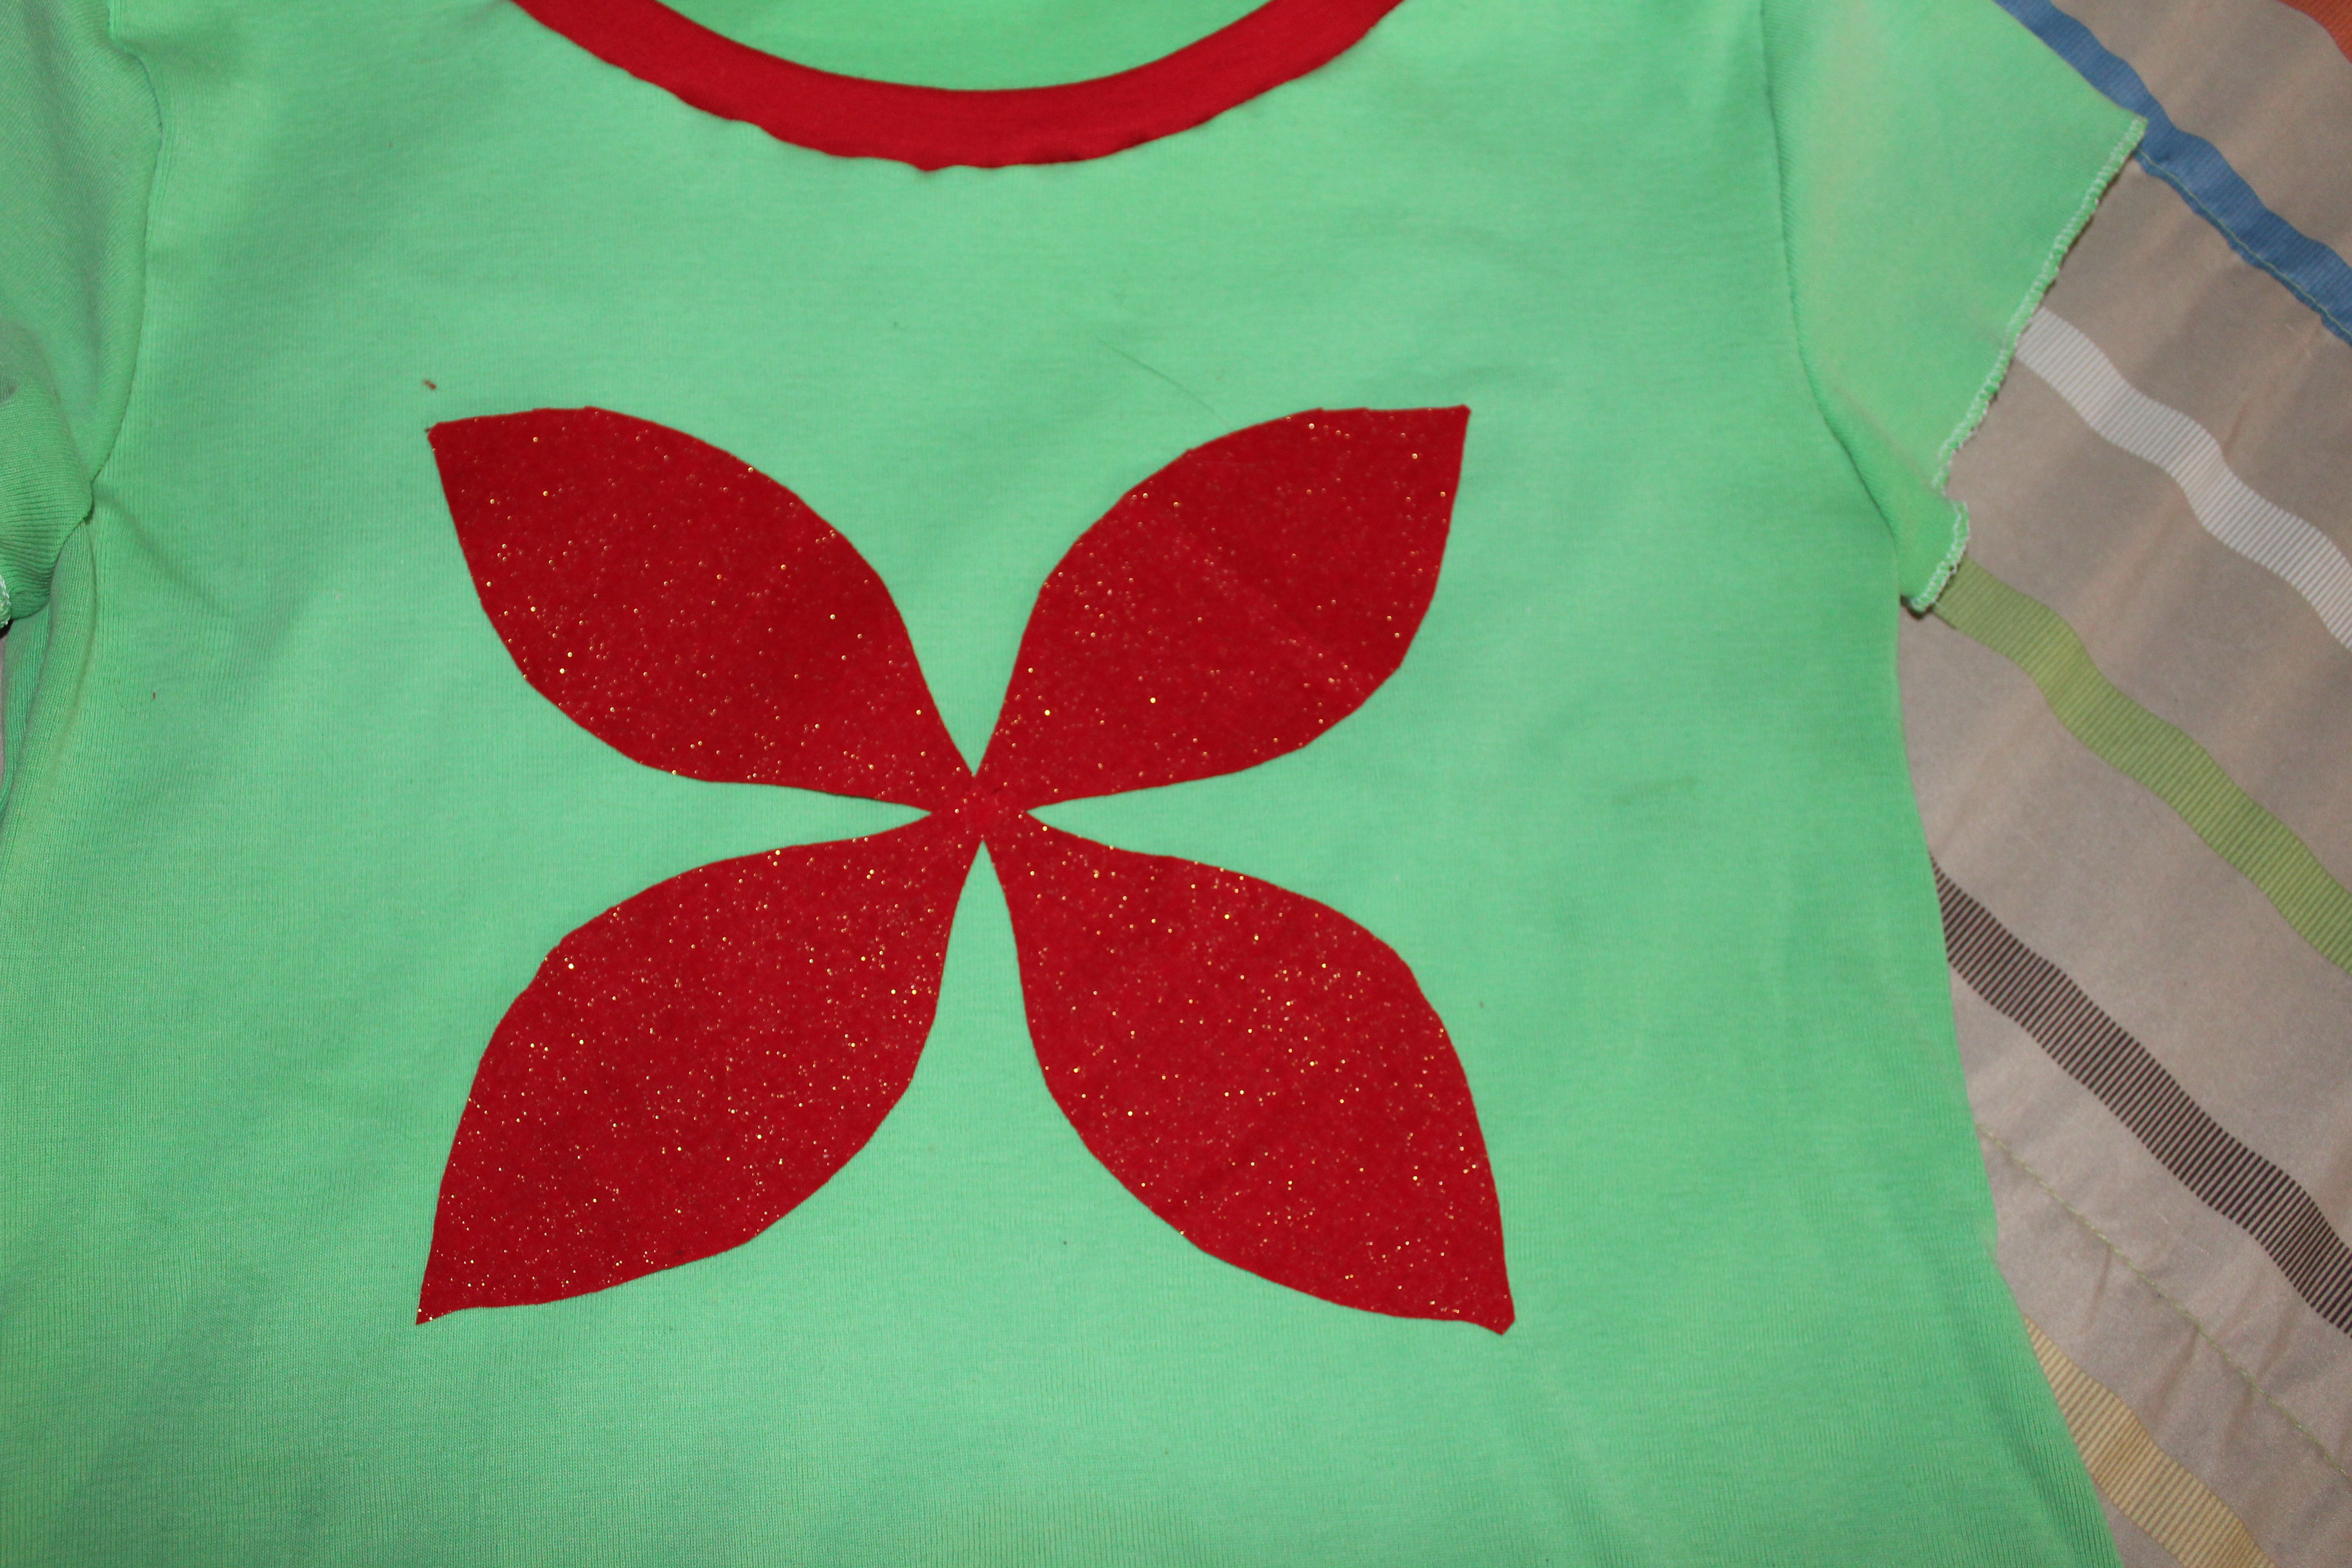
I used two different materials.  I cut 8 petals from one material and 7 slightly smaller ones from another.  You could use the same material or all different materials.  It’s totally up to you – customize it to your daughter’s (or your) taste.

Poinsettia Leaves

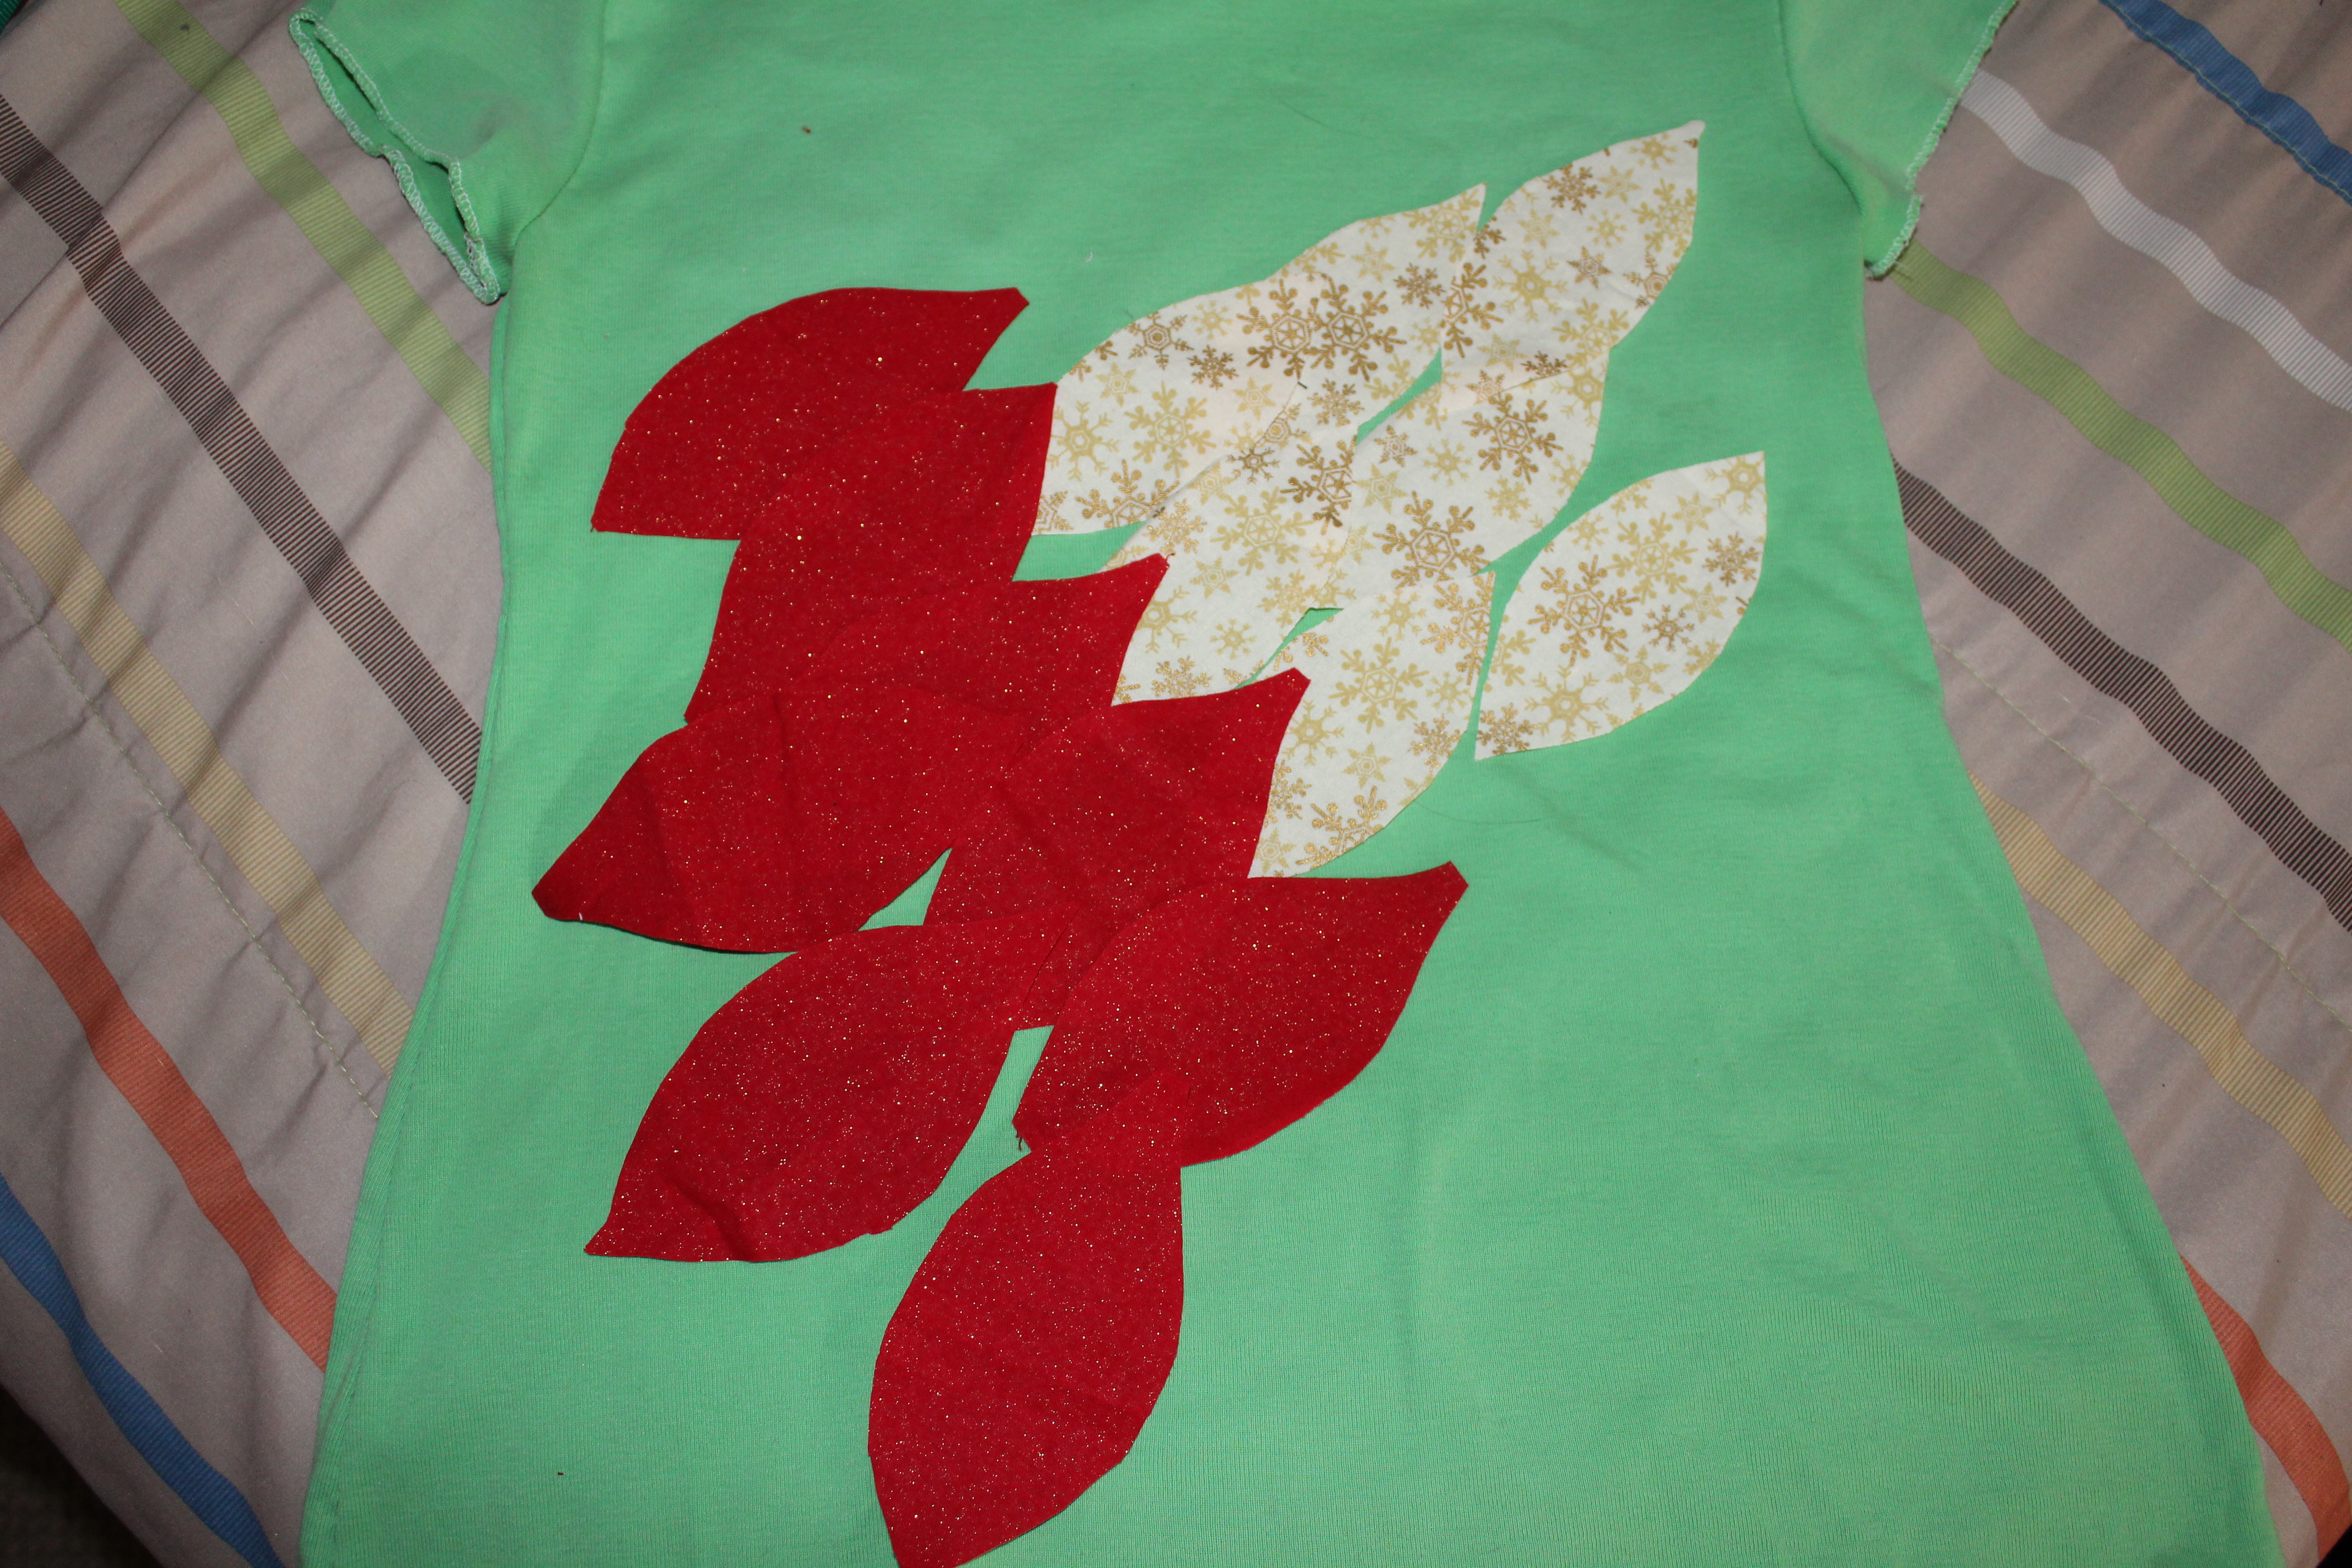
Lay them out to make sure you like the look.  Depending on the material and size of your flower, you may want more or fewer petals.  Once you’re satisfied, pin the first layer down (actually, I sew four down and then lay the next four down).  Sew around the edges using your favorite decorative stitch.  I used a feather stitch and matching thread.  If you’re using plain material you can use a contrasting thread for a little extra touch.  If you don’t have a machine that can do different stitches, a straight stitch will work just fine.  If you’re really ambitious, you can hand sew them on using a blanket stitch (there are lots of tutorials and videos on google).

Poinsetia First Layer

Christmas Poinsettia Bottom Layer

Christmas Poinsettia Shirt Pinned Layer

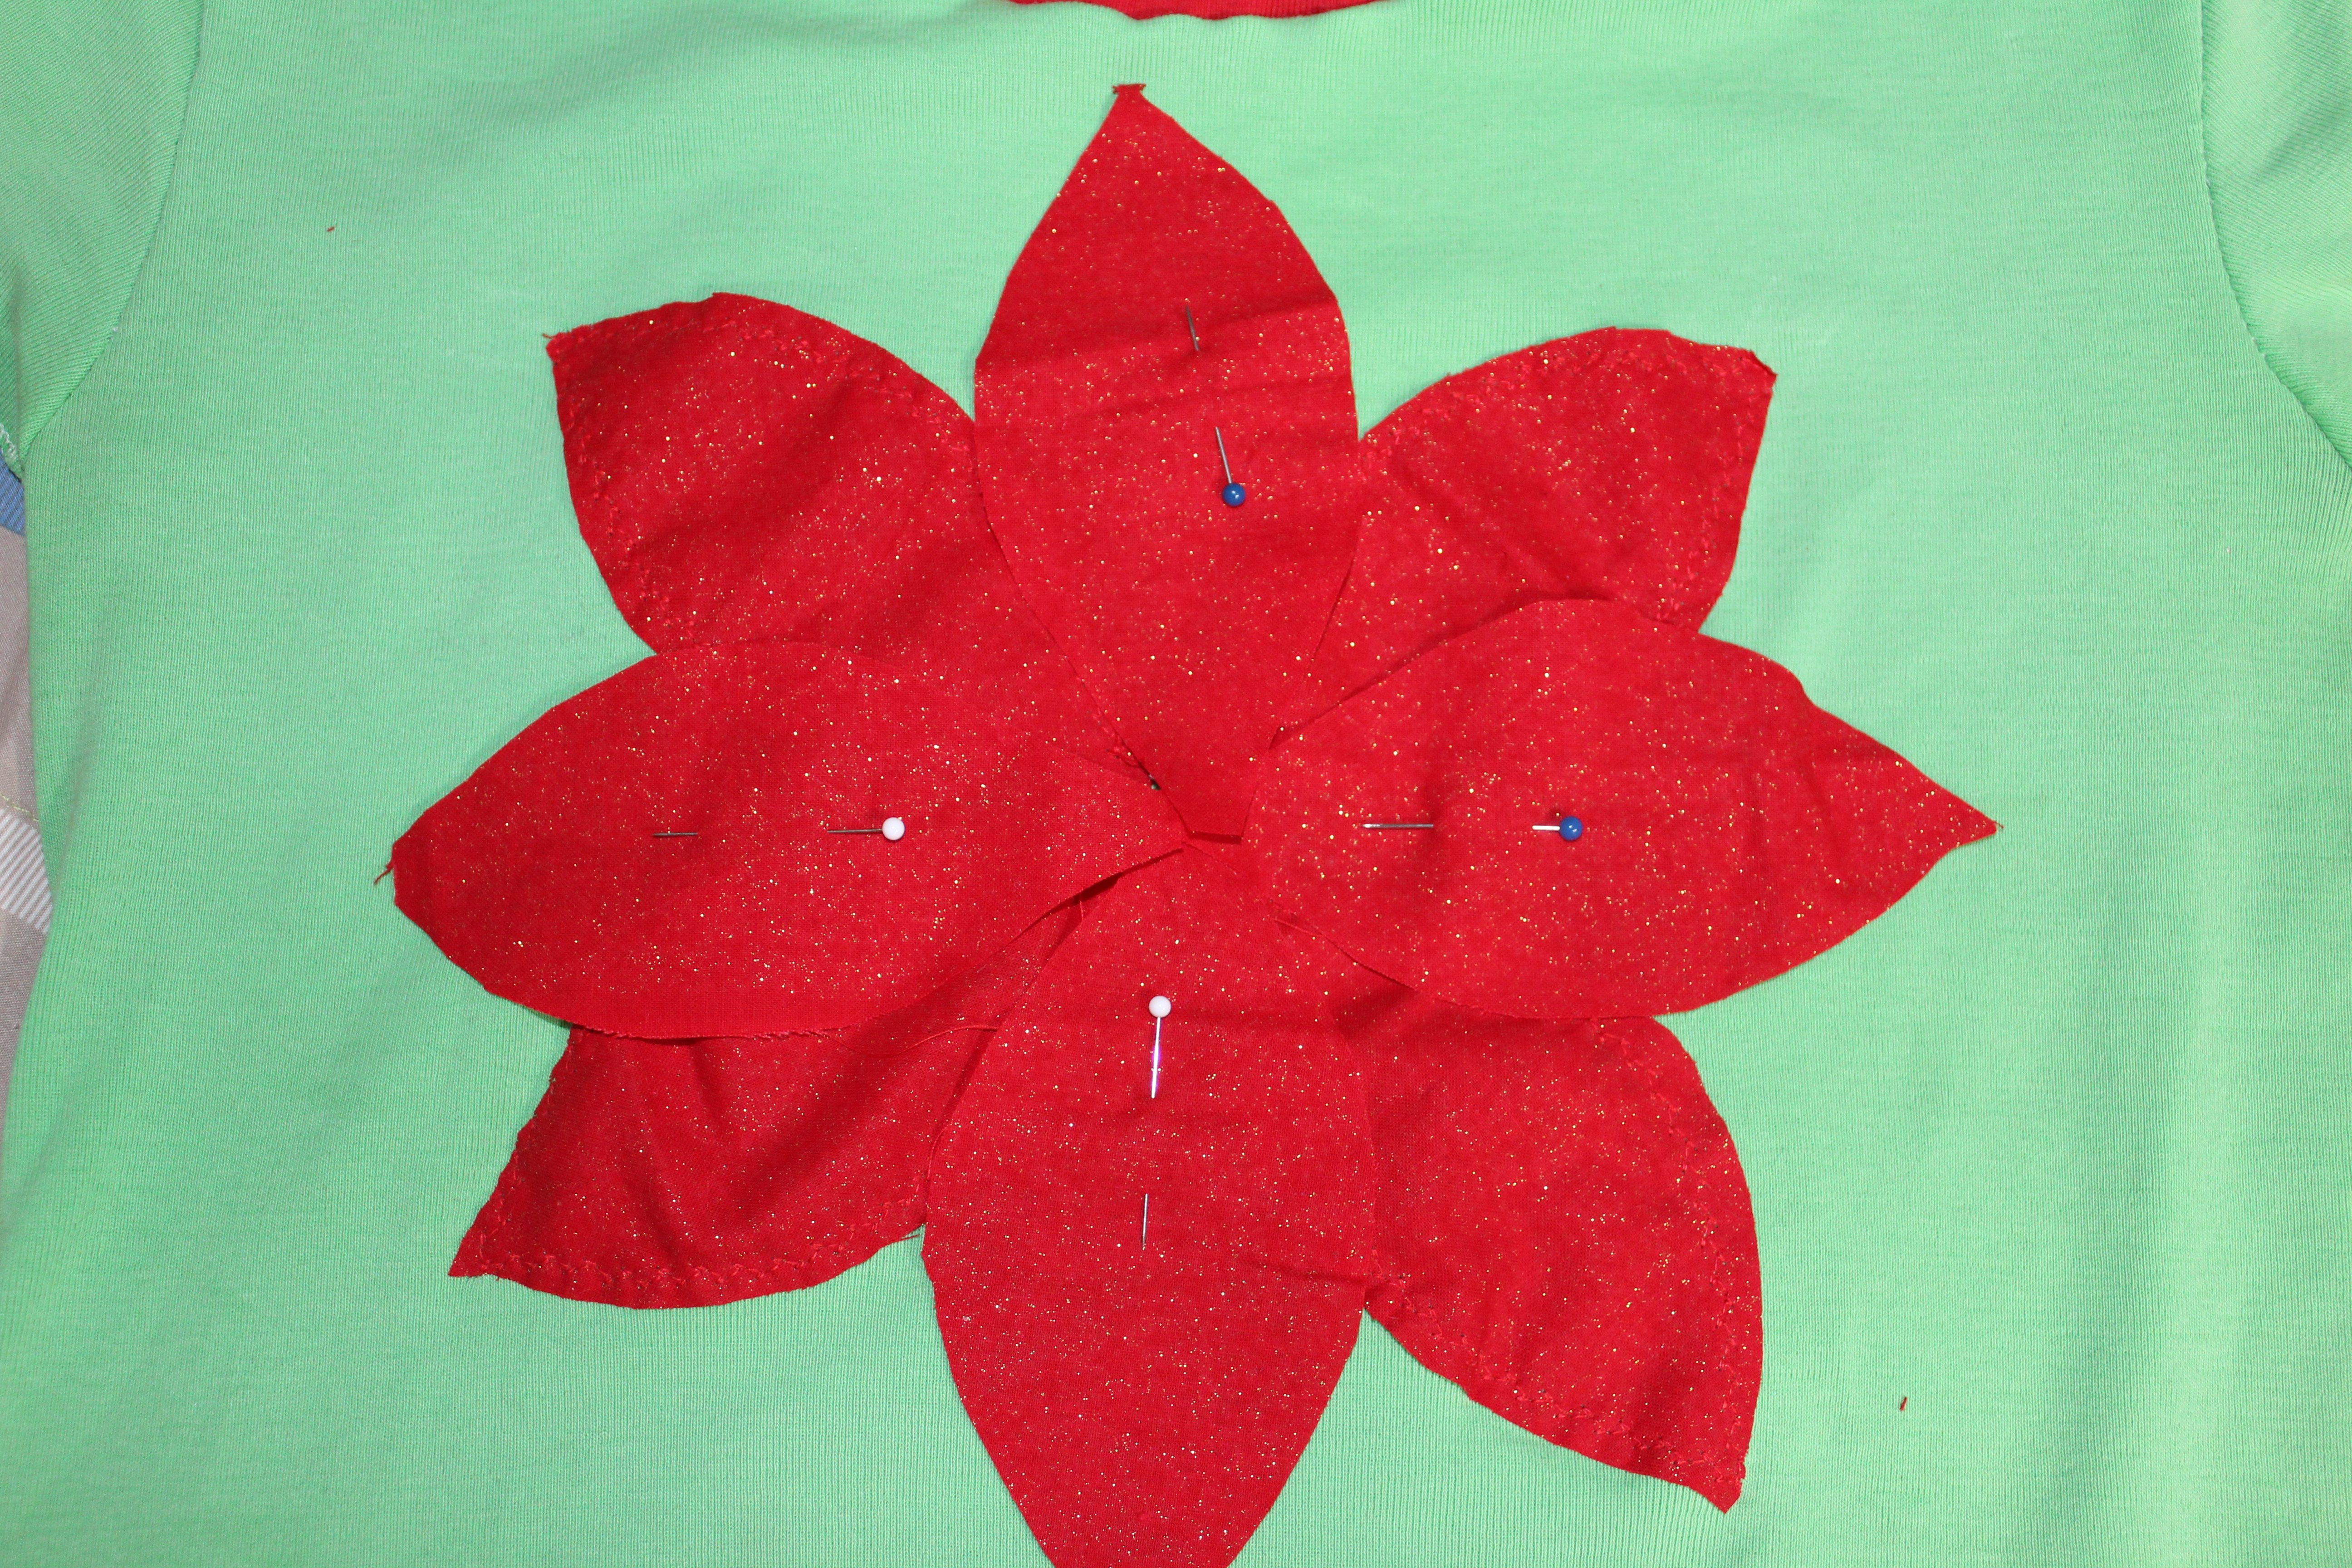
Once the first layer is sewn down, lay out the second layer and pin them down.  Sew them down the same way.

Christmas Shirt Poinsettia Second Layer

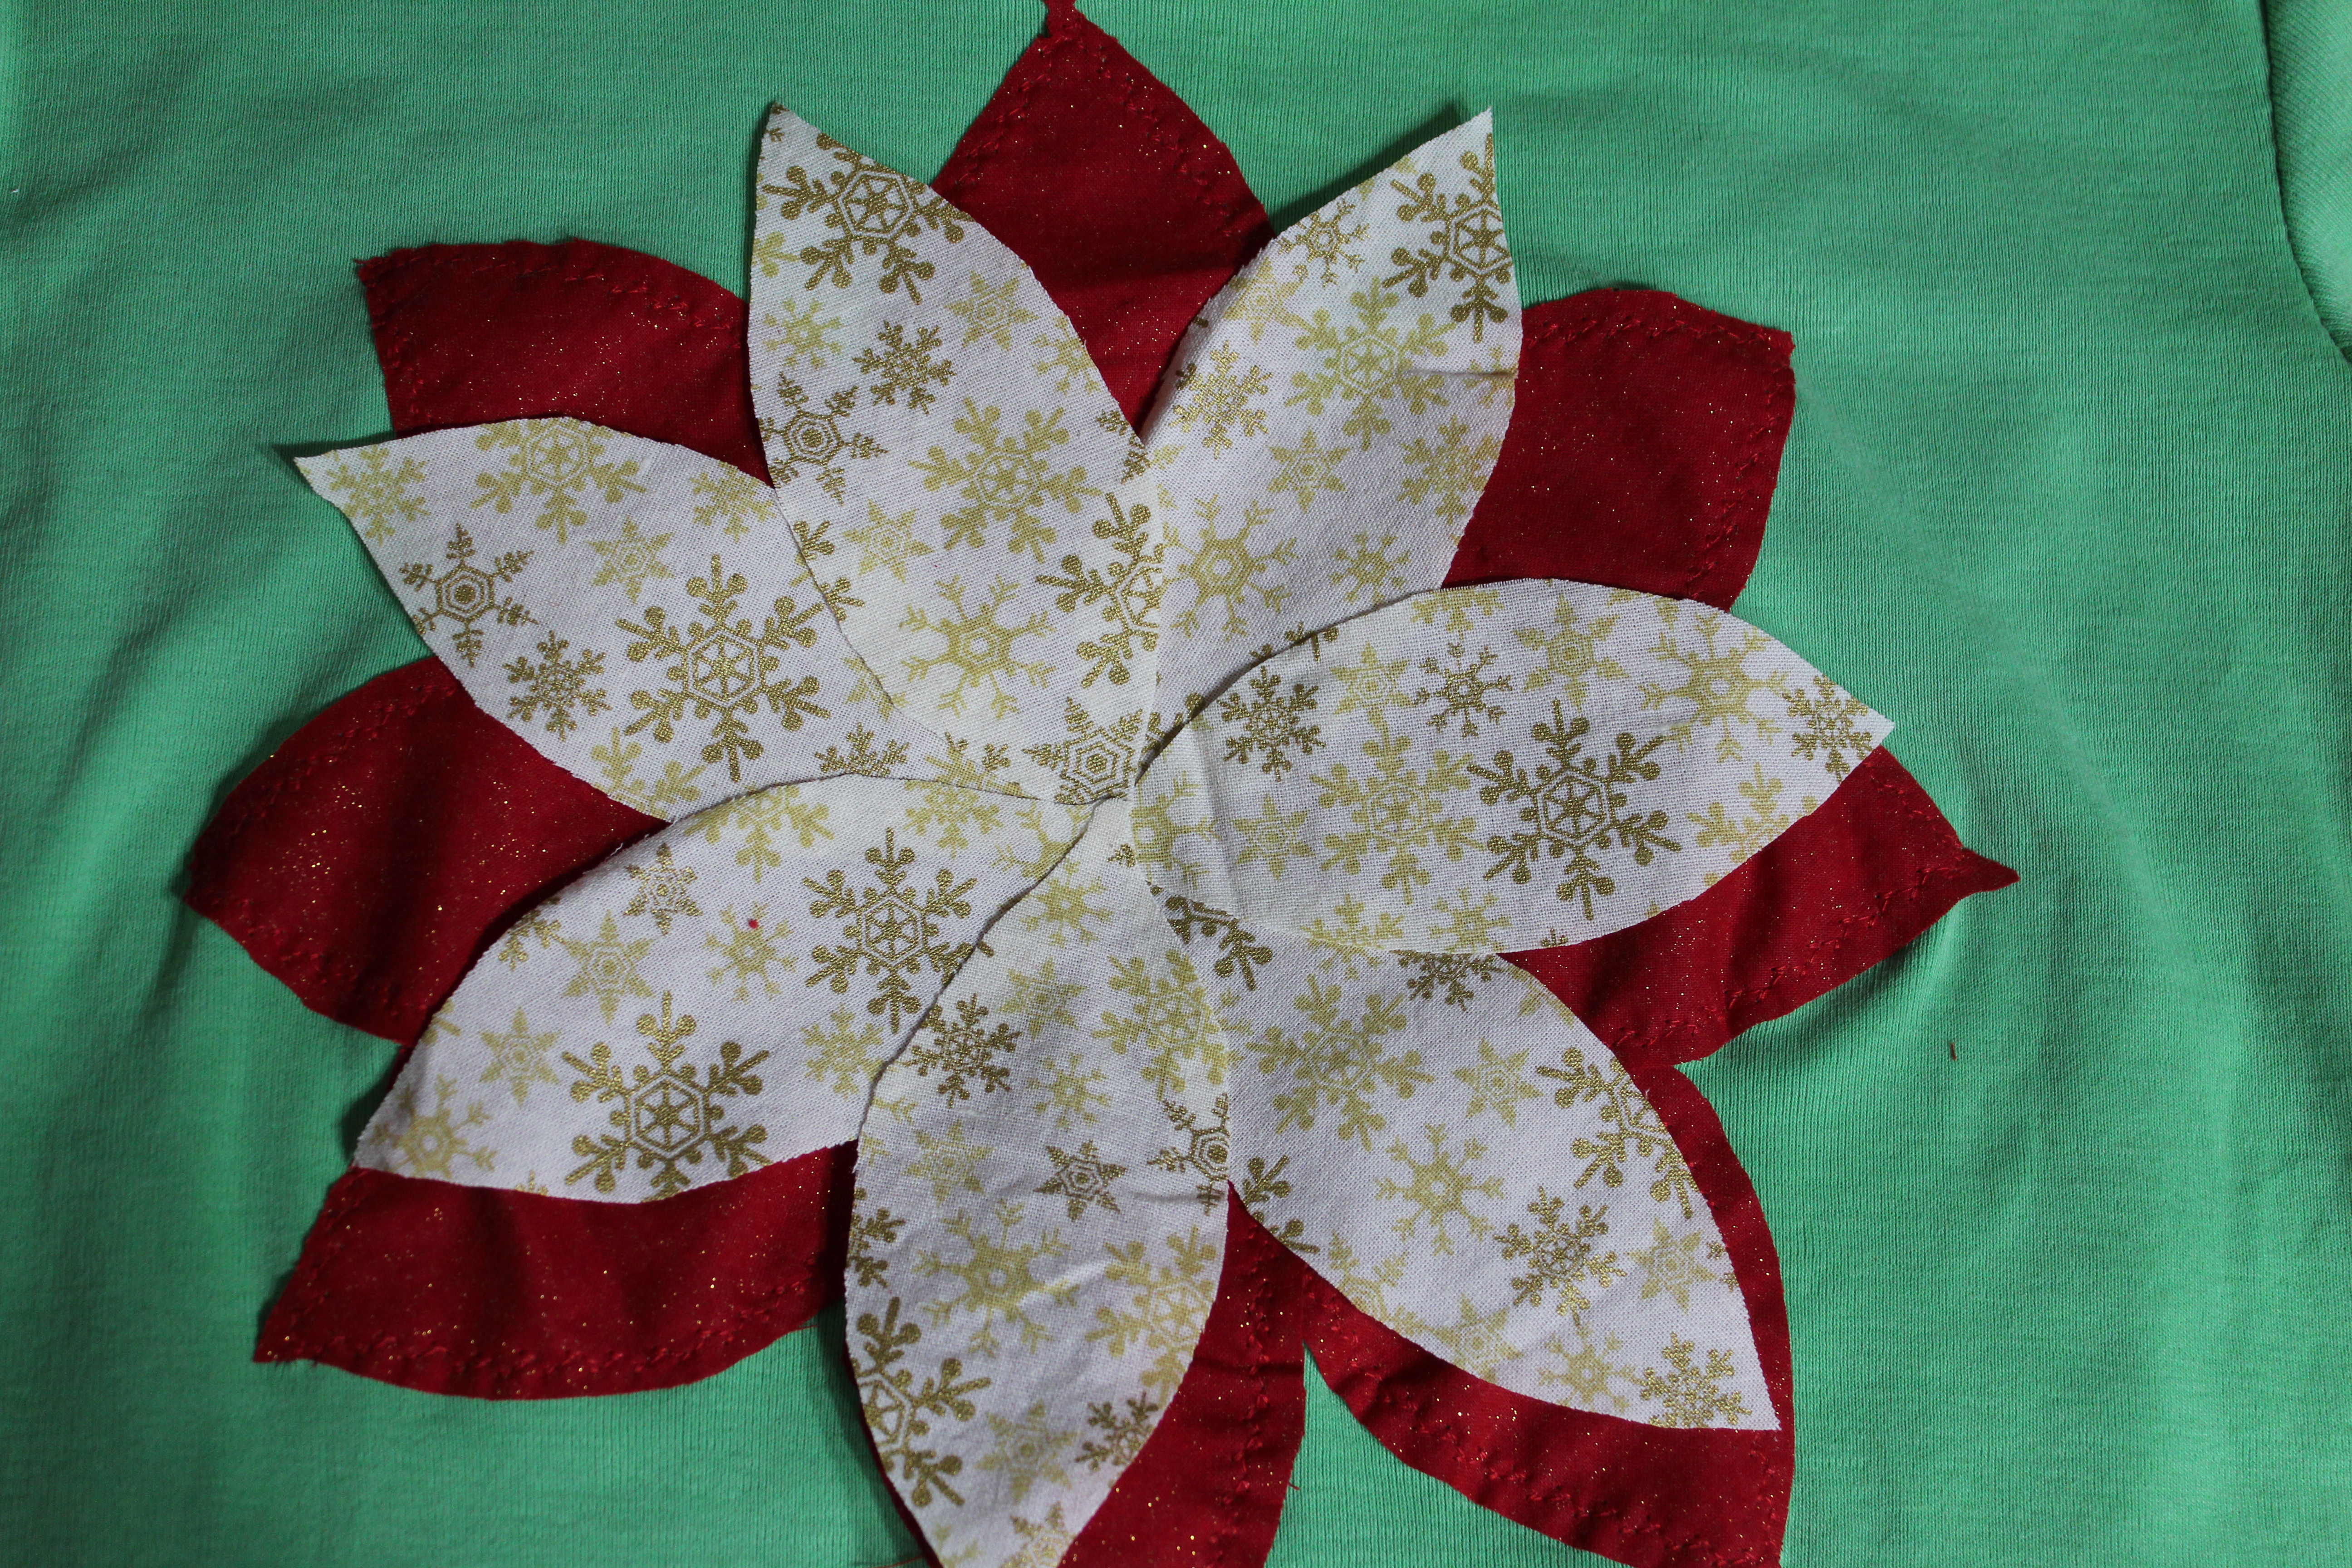
Tack a button down to the middle.

Christmas Shirt Poinsettia Button

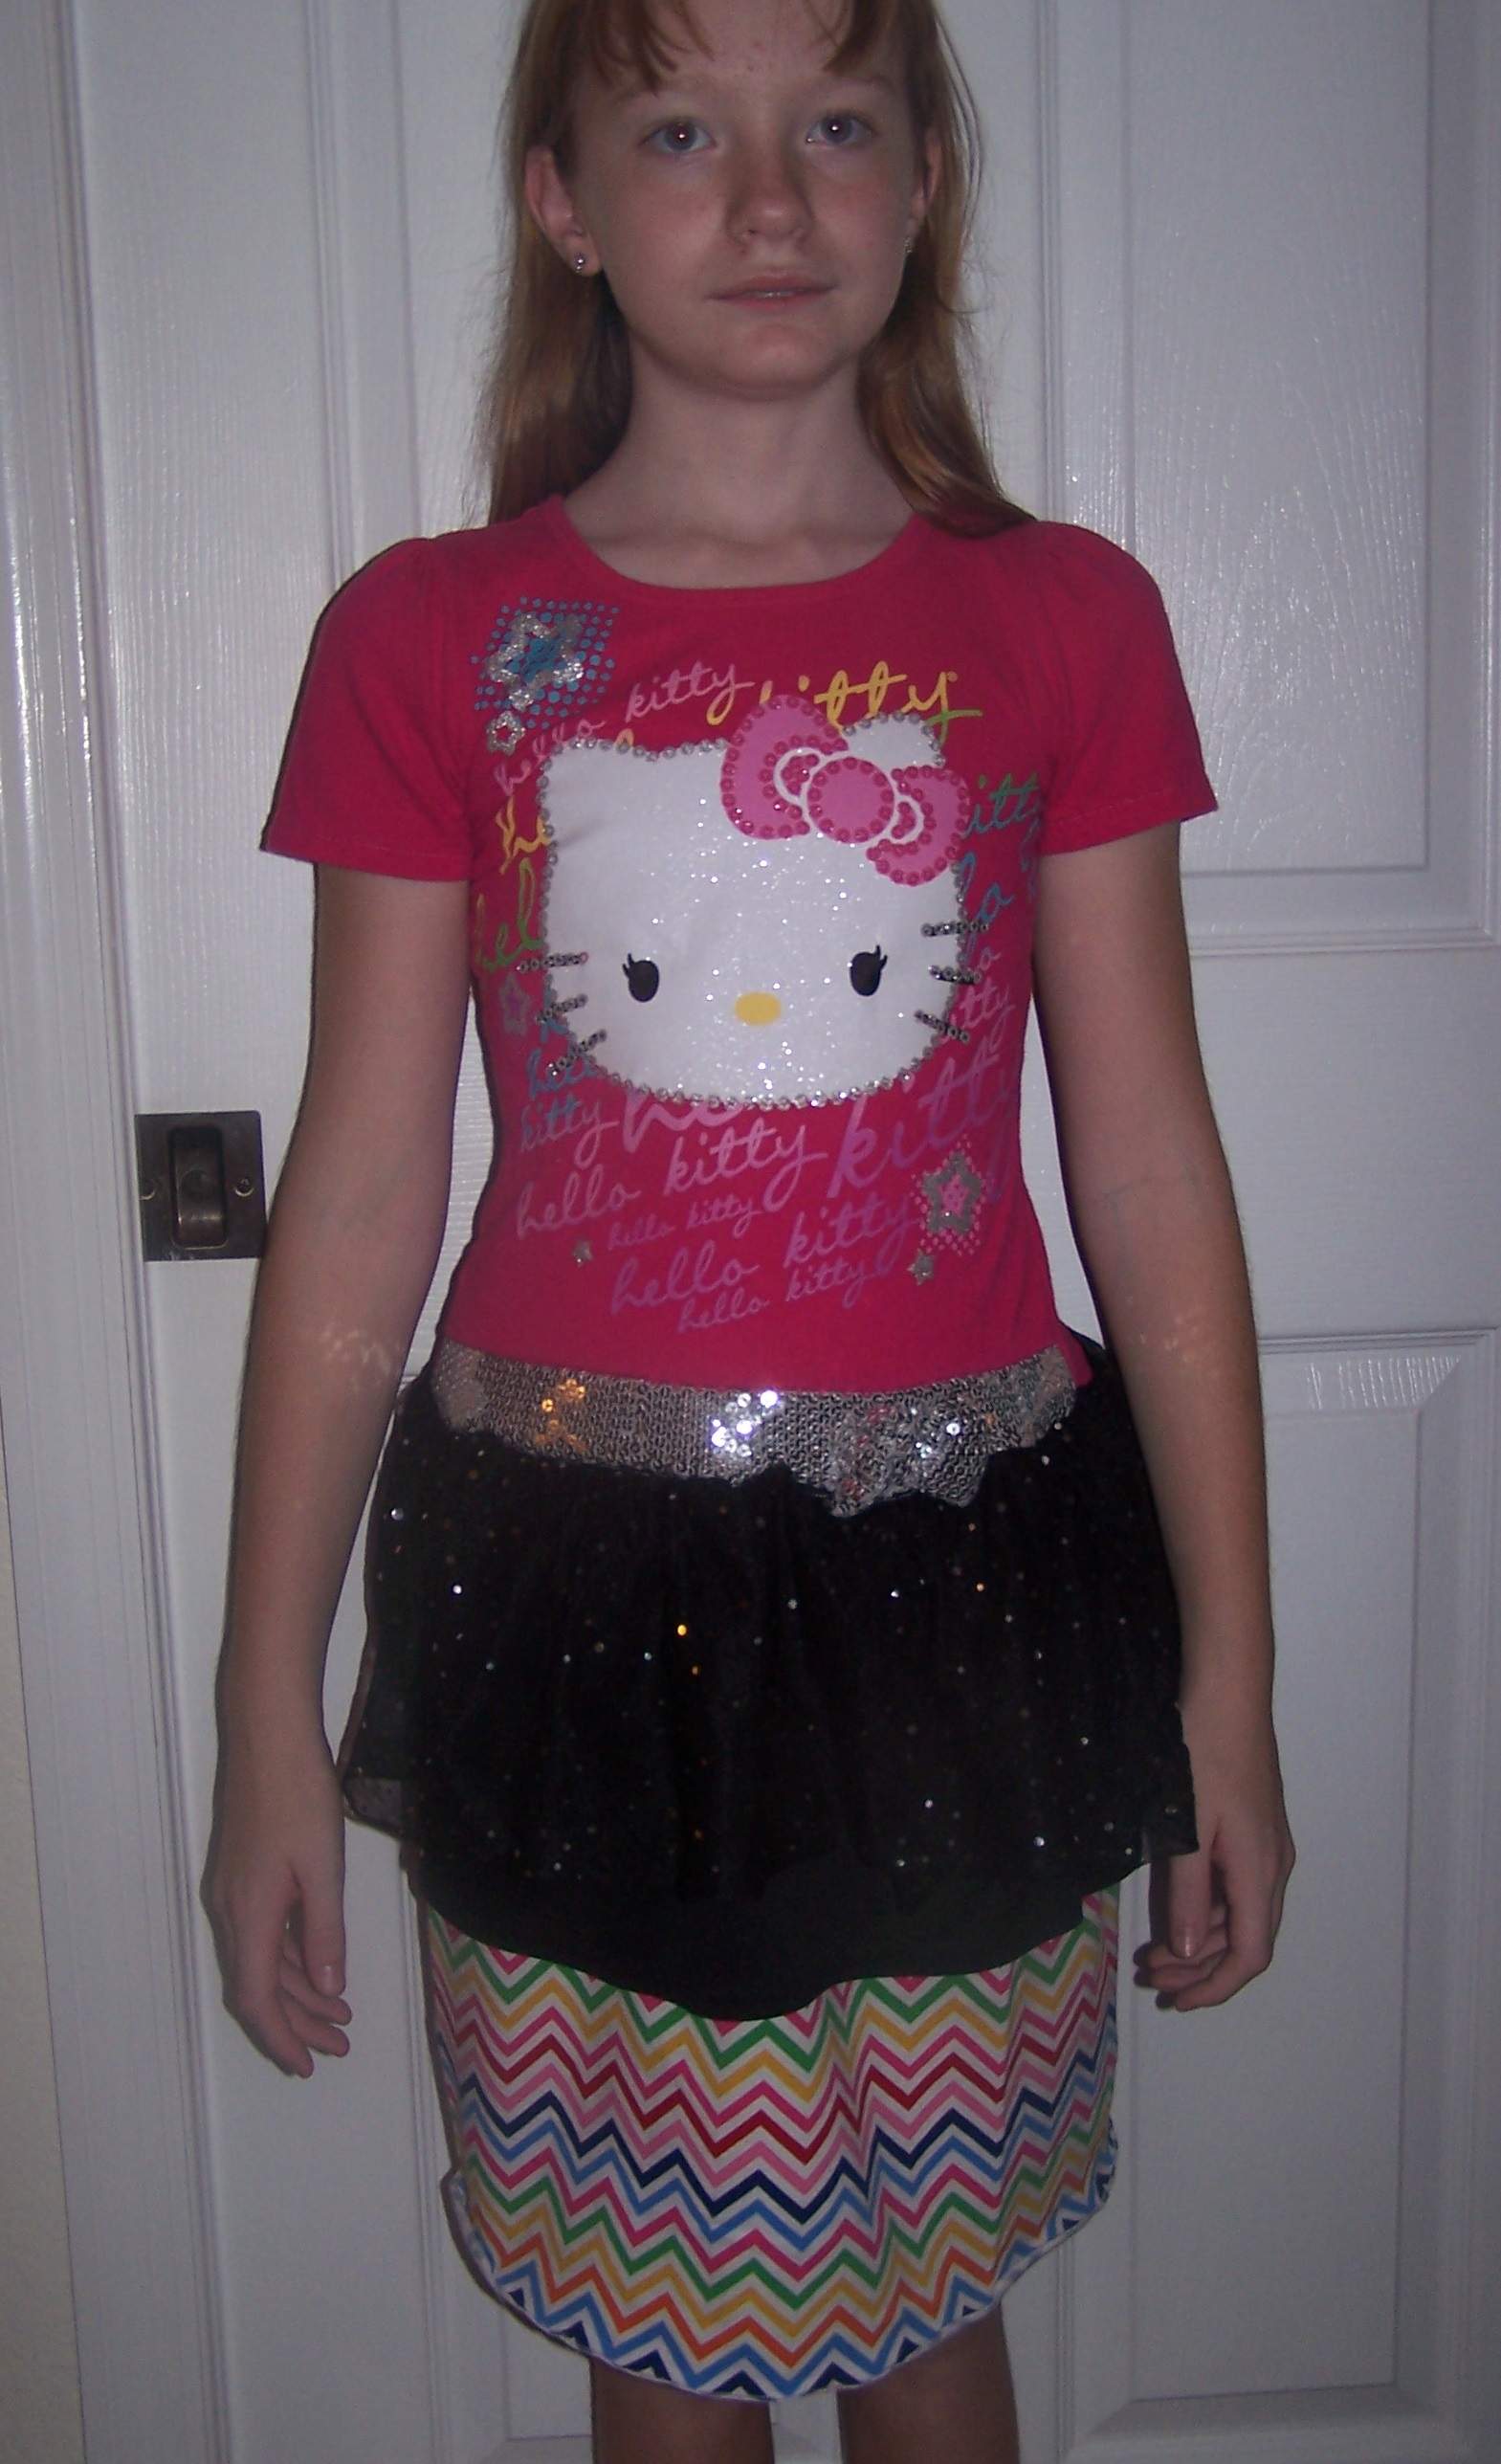
Make your daughter try it on and admire your handiwork.

Christmas Shirt Model Poinsettia

How To Sew: Color Blocking a Shirt

How to Sew: Color Blocking a ShirtI’m working on a series of posts about adjusting clothing to fit.  To see all of them click here – How to Sew.

Did you ever find the perfect shirt, only it wasn’t the right size?  Maybe you bought matching shirts for kids and then they weren’t the right size.  Maybe you found the perfect shirt at your local thrift store and but it was a little too small.  Maybe it’s a favorite shirt that’s shrunk a bit.  No matter, you can use color blocking to make it fit again.

All you need is a coordinating material scrap that’s about the same weight as the shirt you’re fixing.  For this shirt, I choose a plain color because there were already some prints going on.  If it’s a solid color shirt, you could add a fun print.

T-Shirt and Coordinating Material

First, take apart the side seams.  If you don’t want to rip the seams out, you can cut very close to either side of the seams and remove the seam.  Do it all the way up the side and down the arm.

Take apart the side seams

Cut two strips of your material to the length of the side & arm.  Don’t forget to add a little bit for the hems on either end and make them wide enough to allow for the seam allowance.  I added 1.5 inches to the length and about an inch to the width.  Hem the short ends – I made sure the hems matched up to the hems on the shirt so the sleeve hem was a narrow hem and the shirt hem was a little wider.

Cut Strips of Coordinating Material

Pin the hemmed pieces to the sides making sure your hems are at the right end.  Sew the seams.

Pin the Hemmed Pieces to the Sides

Turn it right side out and admire your work.  It’s really an easy project – less than an hour…probably less than 30 minutes if you choose to just cut the seams out.

Color Blocked Shirt

Have your model try on the shirt.

Model Color Block Shirt

How To Sew: Adding A Skirt to a Shirt

How to Sew Adding A Skirt To A Shirt

I’m working on a series of posts about adjusting clothing to fit.  To see all of them click here – How to Sew.

My daughter has this long shirt/short skirt that she really likes.  She normally wears it with leggings, but recently we’ve noticed that the skirt doesn’t quite cover enough and the tulle is pulling away from the seam.  Since she really likes it, I’m going to lengthen the skirt a bit.

Short Shirt Dress

Short Shirt Dress Tulle Pulling AwayThe first step is to remove the skirt from the shirt.  You can either cut them apart by cutting very close to the seam or use a seam ripper to rip out the seam.

Skirt Shirt Separated
Then, because the tulle was ripping out of the seam, I serged it back to the underskirt.

Serging Skirt TulleMy daughter picked out this chevron print to be the skirt.  I cut a piece the same width as the current skirt and twice as long.

Pick Material CoordinateThen I sewed the ends together and hemmed the bottom (I used a rolled hem on my serger, but you can also fold the edge under 1/4″ and then turn it under 1/4″ again and stitch close to the fold).

Rolled Hem Side Seam Sewn

Then, line up the top edges of the existing skirt and the new skirt and baste them together.  Don’t backstitch – you’ll be gathering this to make the skirt fit the shirt.

Skirts Lined Up

Pull the stitches up so that it fits the bottom of the t-shirt.

Gathered Skirt

Pin the skirt to the shirt making sure you catch all the layers and make sure all the layers are flat…nothing is more frustrating than having part of the skirt sewn into the seam!  Then sew the seam.  If needed, pull out the basting stitches.  I only pull them out if they show.  😉

Pinned Skirt

Then convince your daughter to try it on and admire your work.

Finished Skirt ShirtNow it’s long enough that she could wear it without leggings!

Finished Shirt Skirt Front

  • « Previous Page
  • 1
  • 2
  • 3
  • 4

Hi, I'm Mona - wife, mom, teacher, seamstress, blogger. This is my home on the web. Read More…

Categories

Copyright © 2026 · The Marianne Theme By Blogelina · Built on the Genesis Framework

Copyright © 2026 · The Marianne on Genesis Framework · WordPress · Log in