SewMona

A slice of my Florida life

  • Sewing
    • SewMona on Etsy
    • Clothes
      • Boys
      • Girls
      • Men
      • Women
    • Pattern Reviews
    • How to Sew
  • Camping
    • Florida Campgrounds
  • Recipes
  • Crafts
  • DIY
  • About

Camping in the Everglades

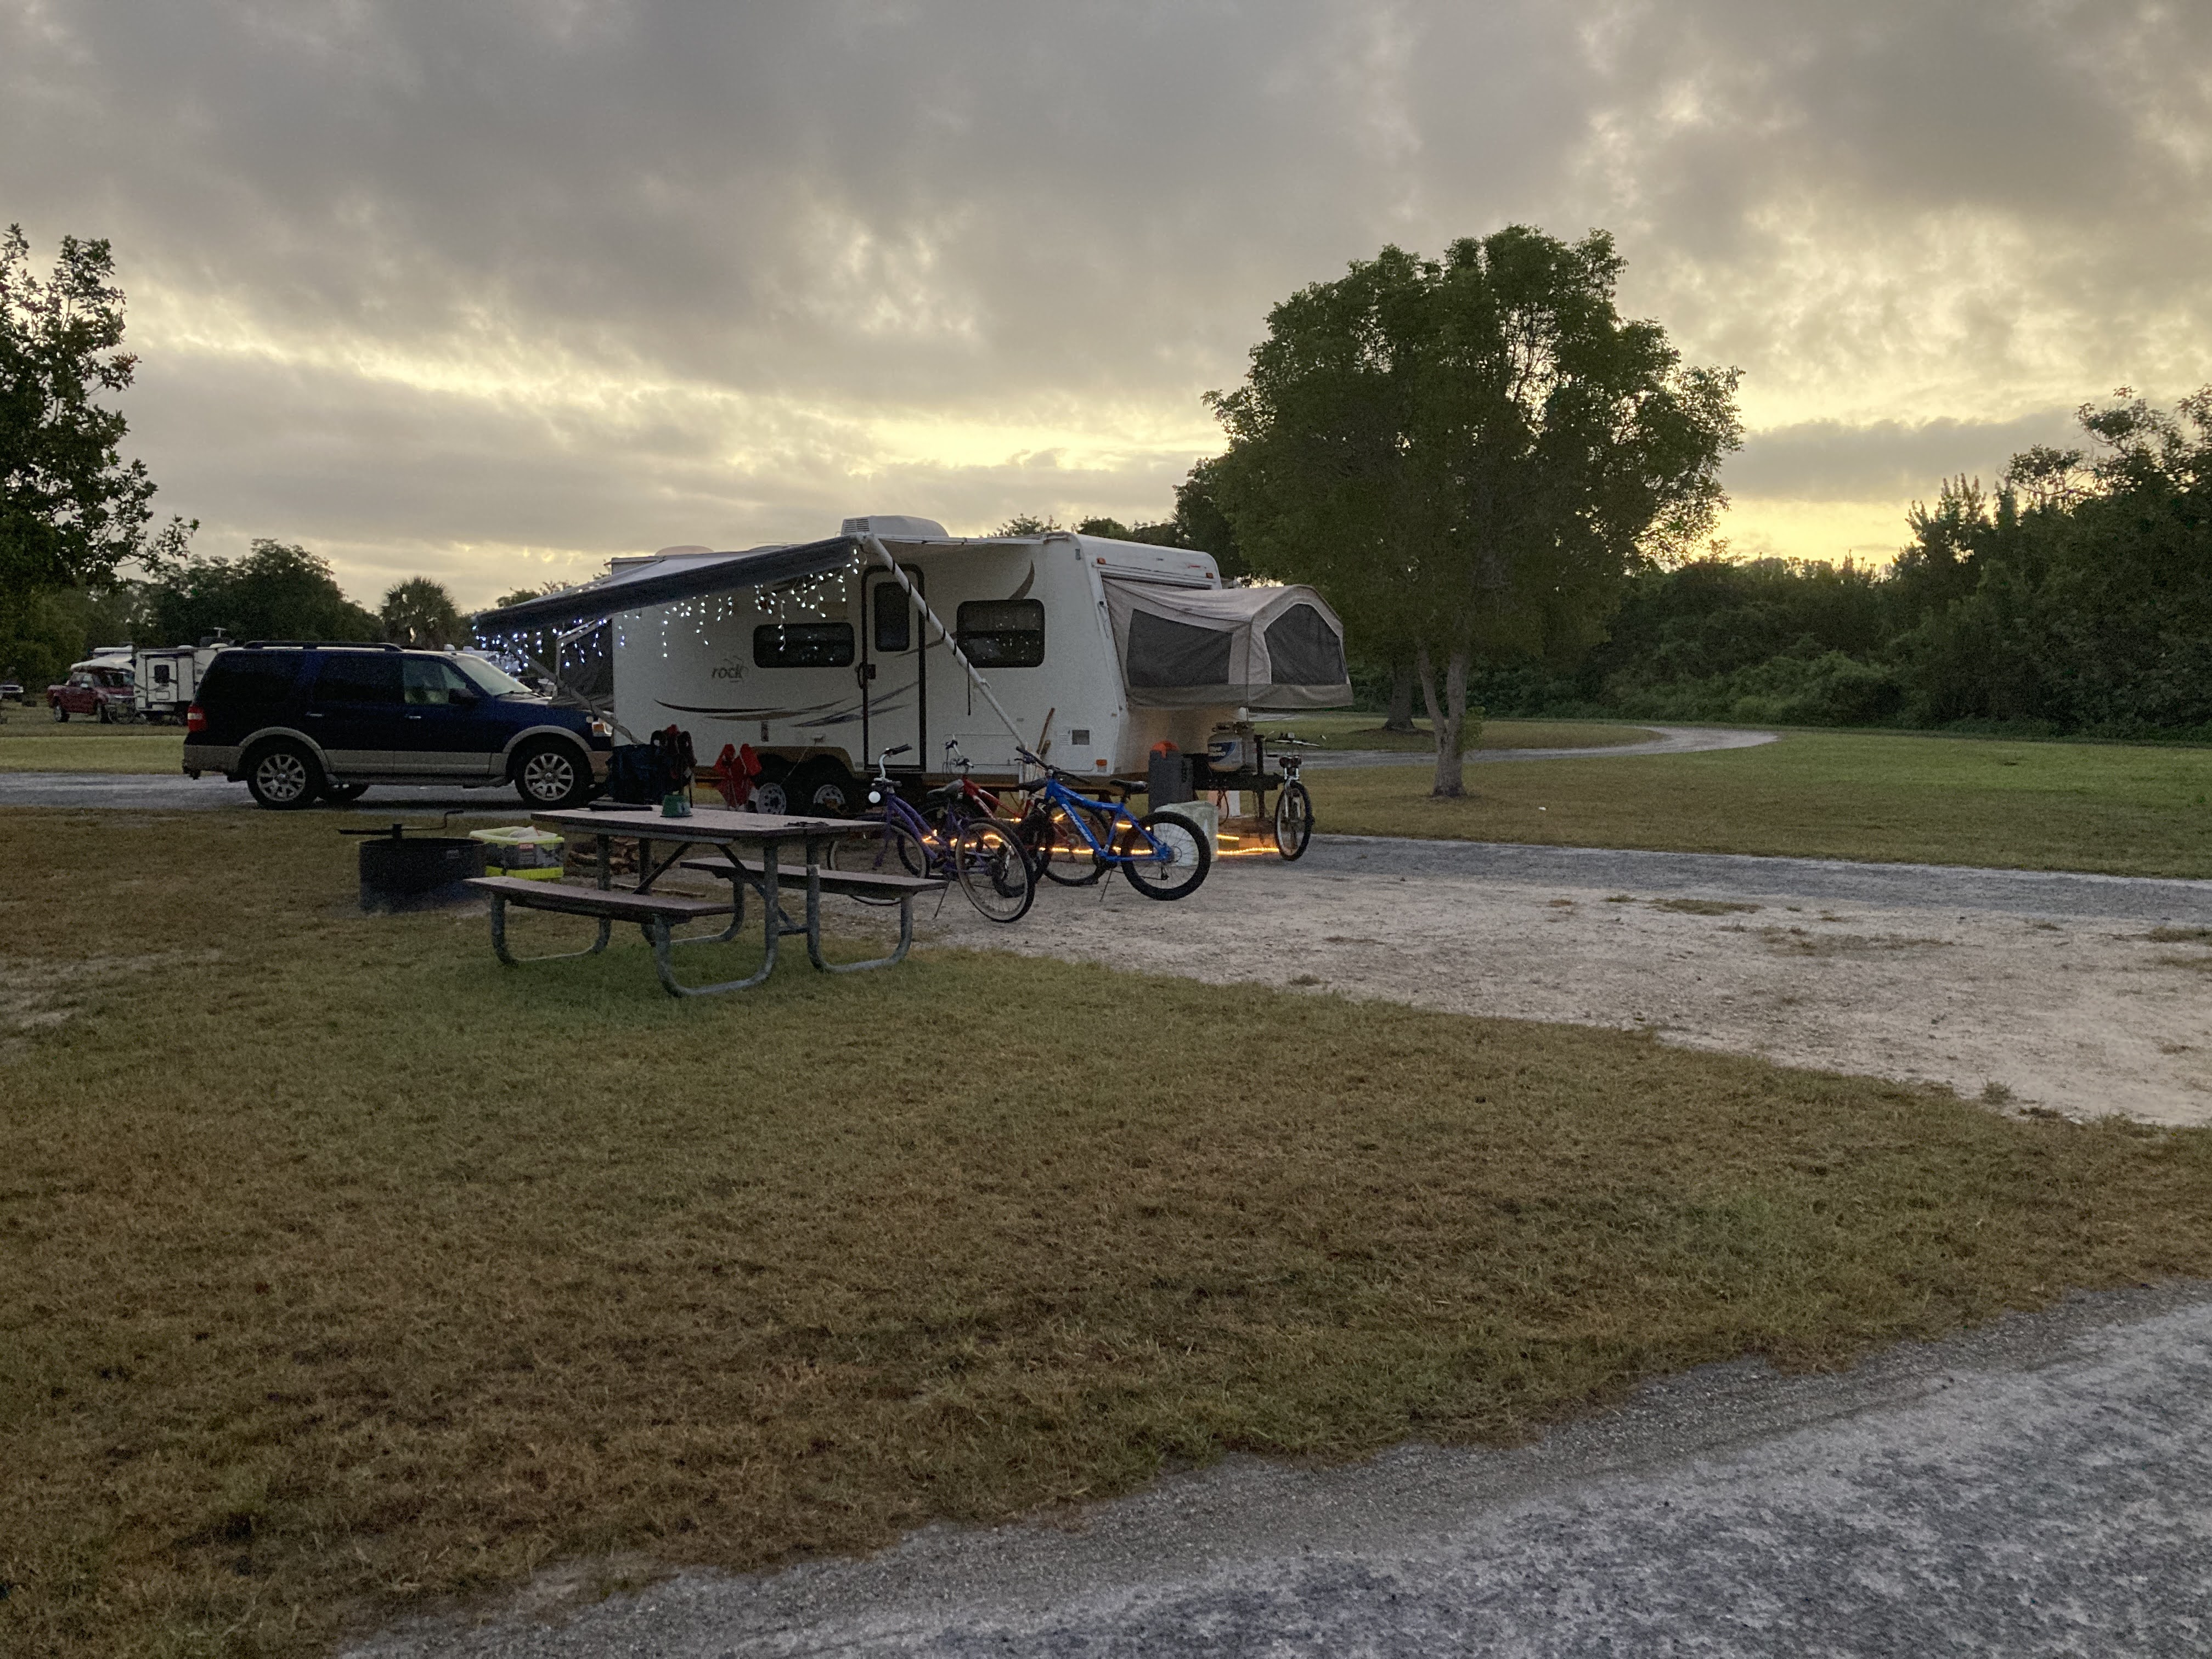
Ever since we visited Everglades NP several years ago and I found out there’s a campground 38 miles from the entrance, I’ve wanted to go. I finally got my wish! I was able to book a site with electric for 5 nights.

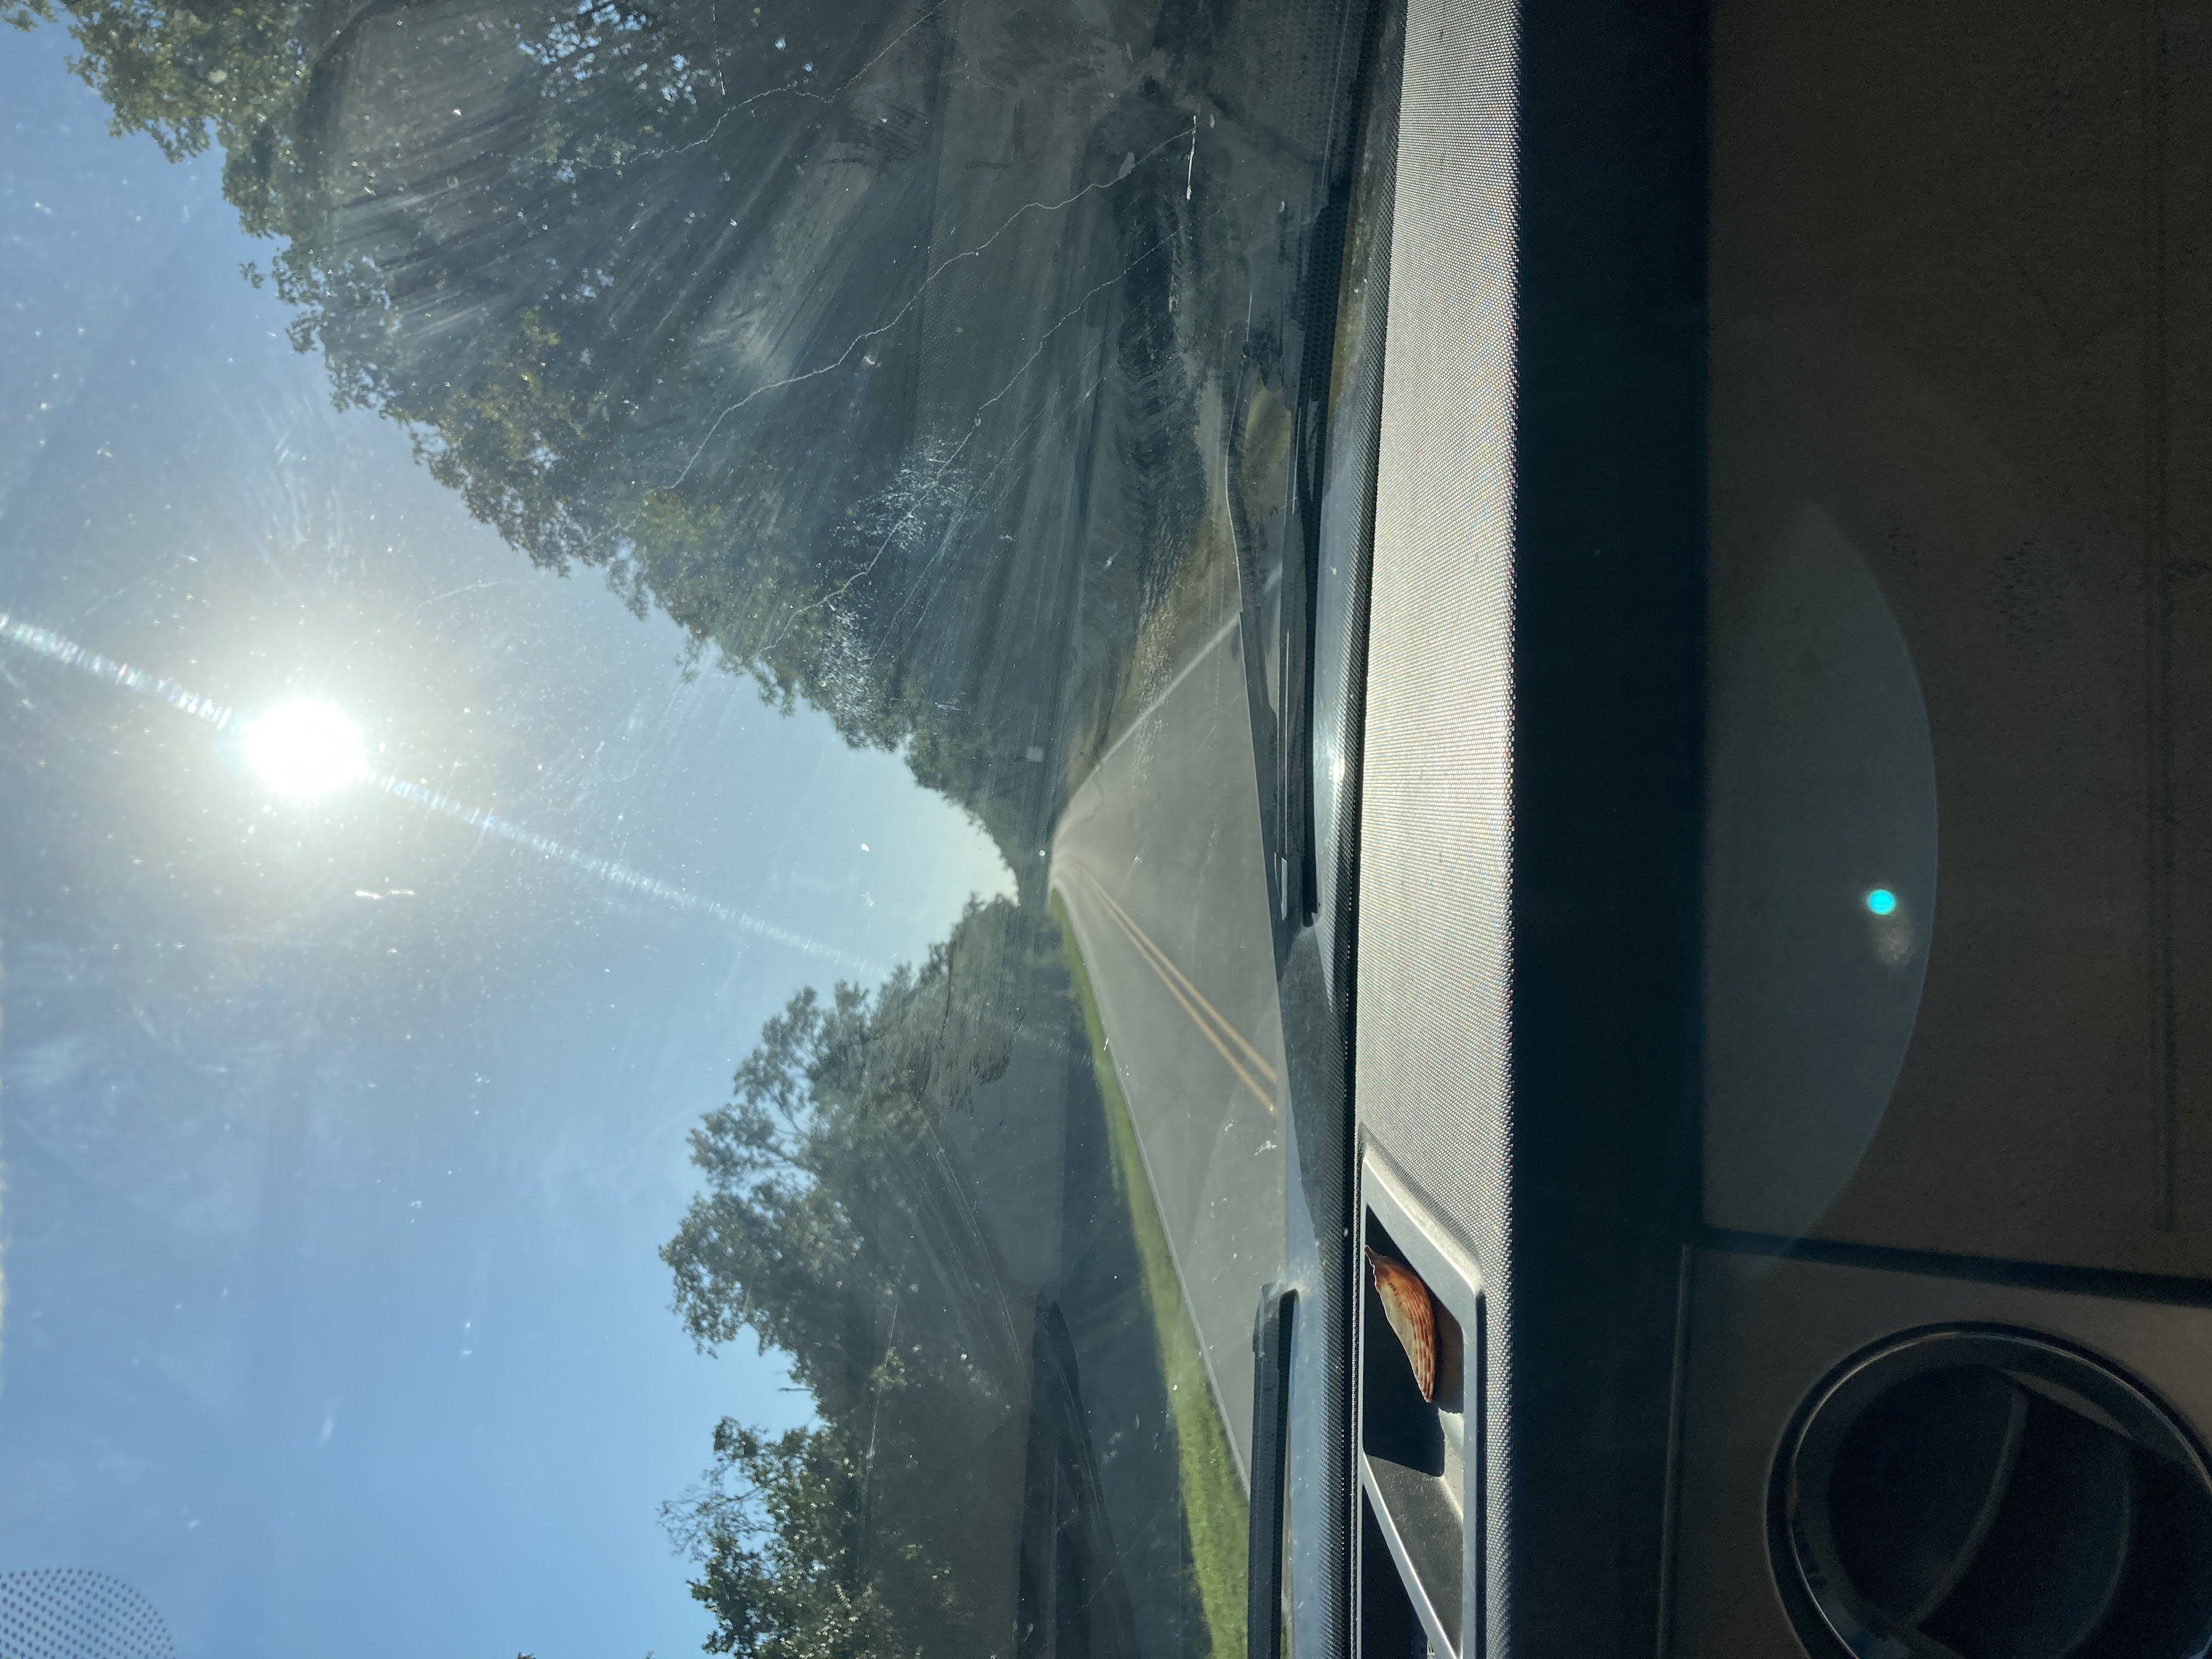
Let me start by saying that the drive to the campground was nothing like I thought! My only memory of the roads were of the smaller side roads…I completely forgot that the main park road is paved. Plus, once you leave the main entrance area and start on the 38 mile trip to Flamingo, the speed limit goes up to 55!

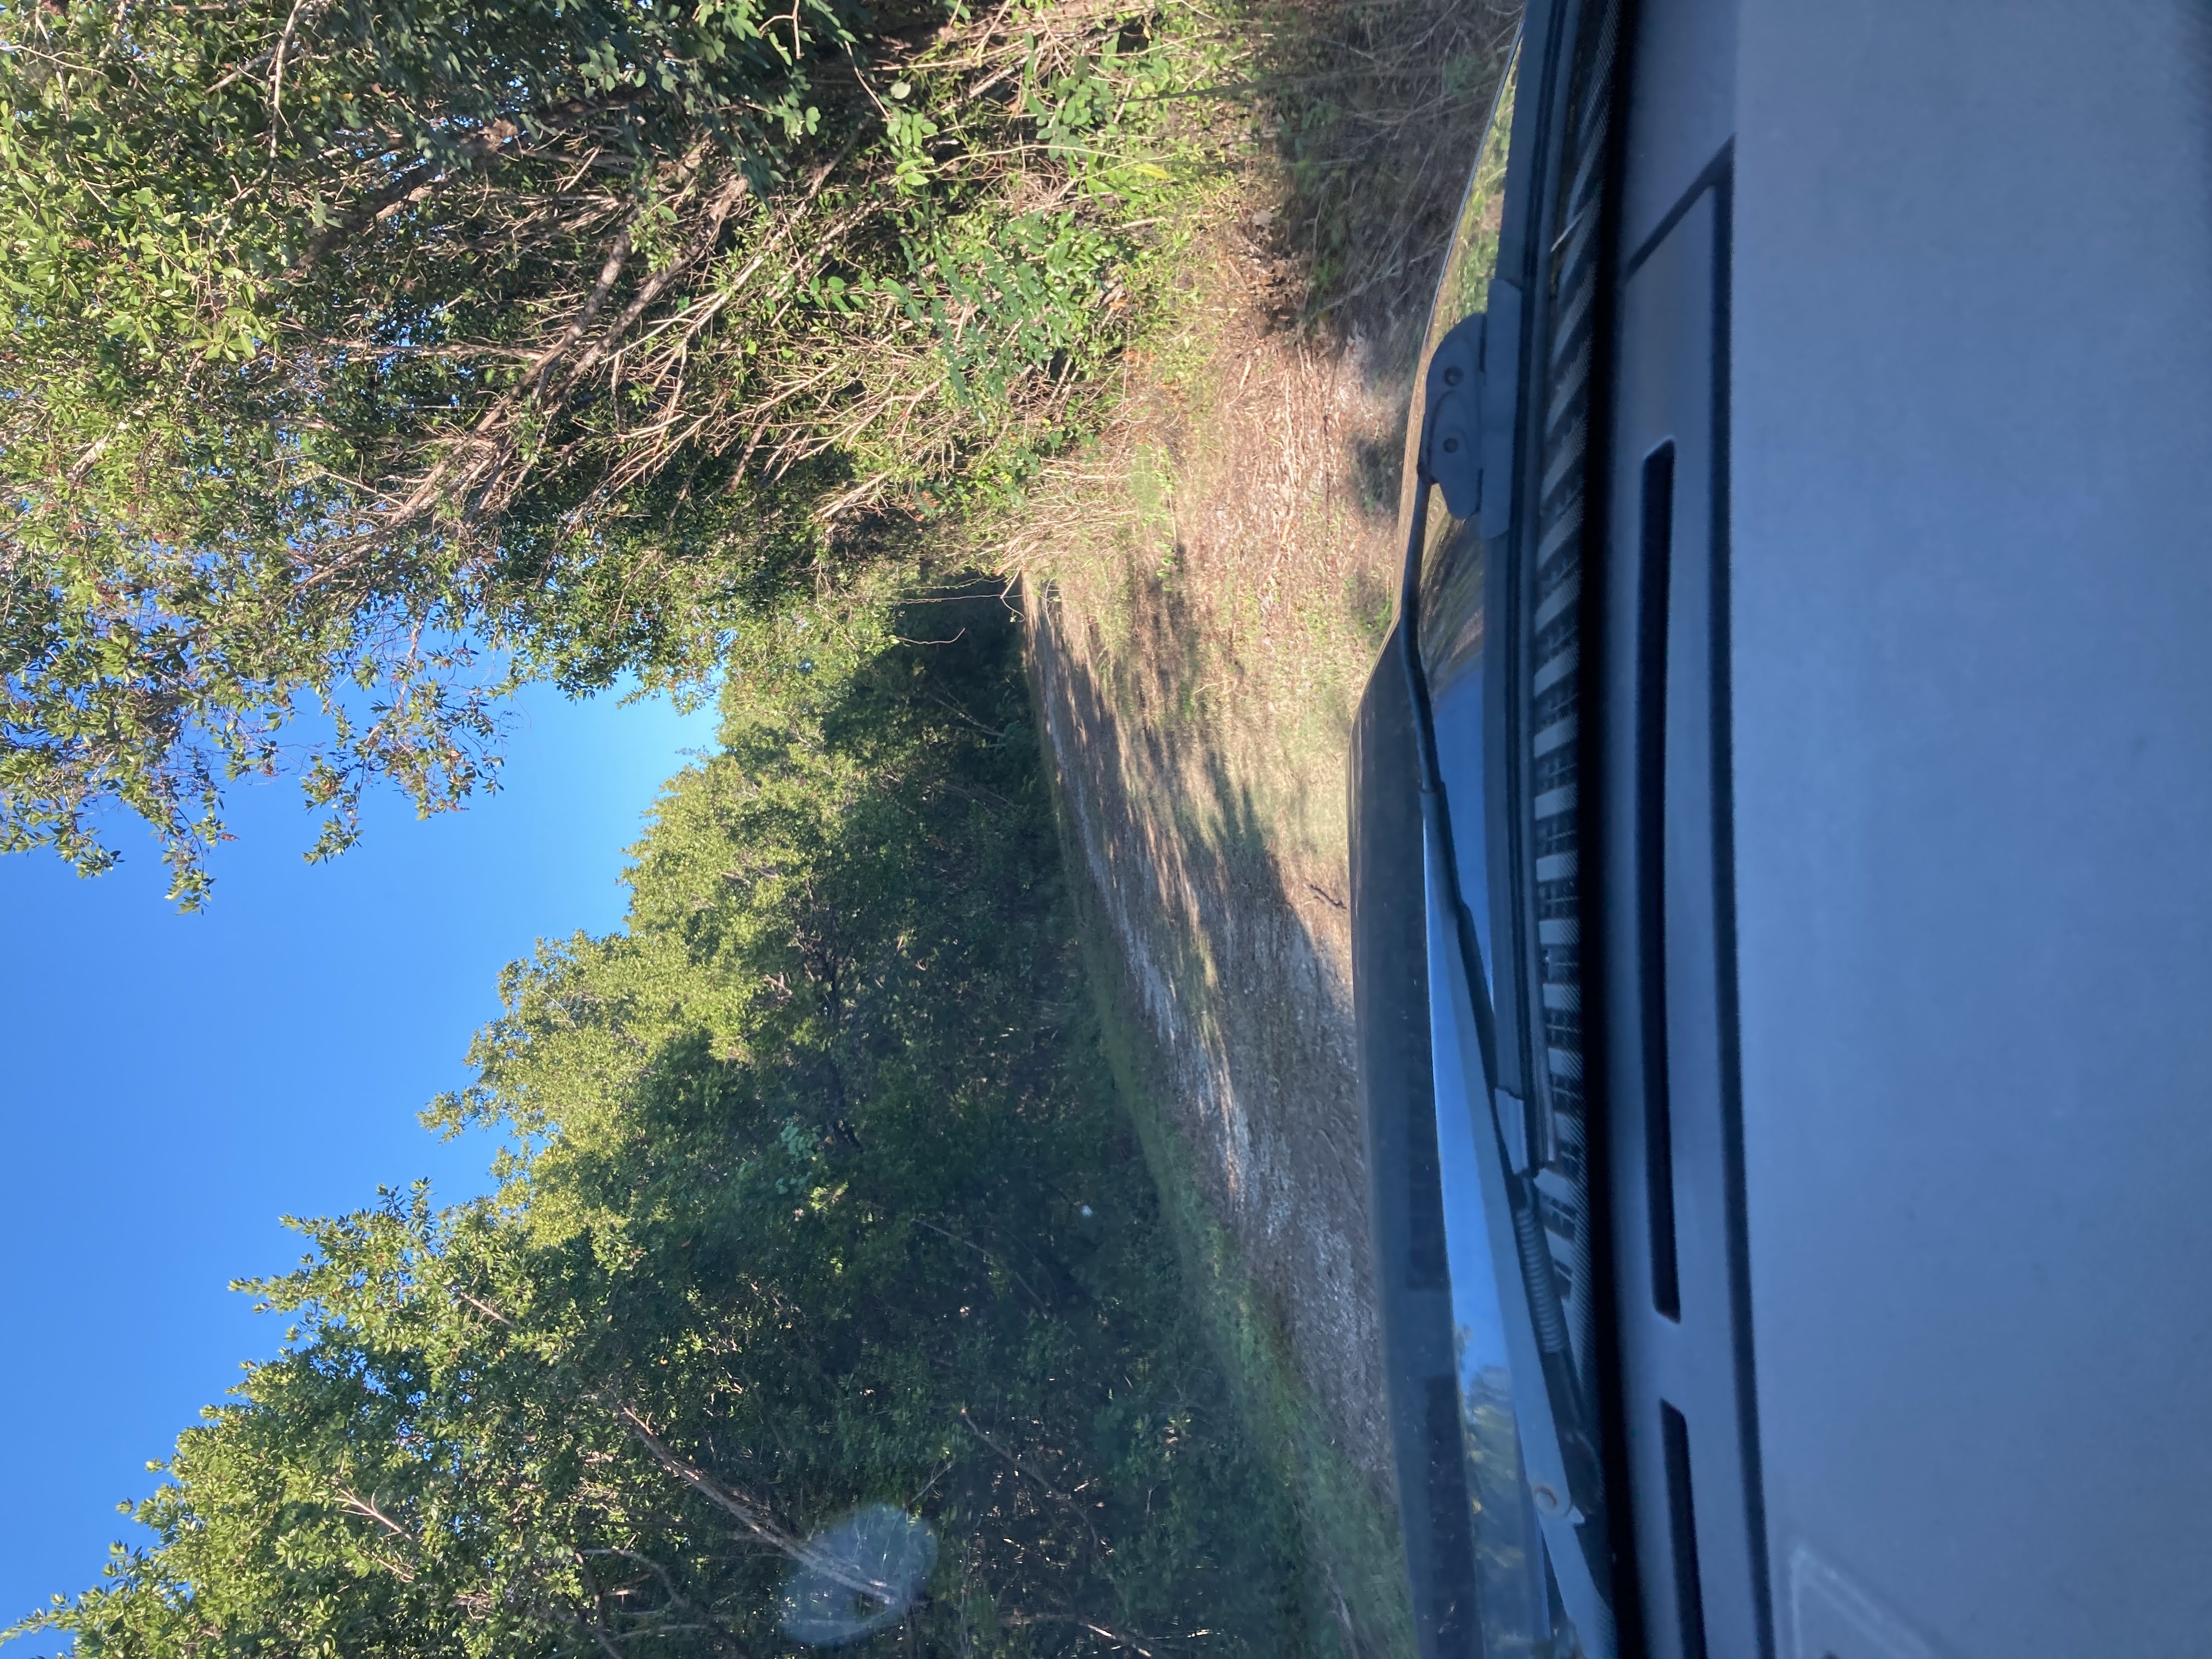
I have visions of driving 38 miles down a typical campground road….

Drive to Bear Lake – this “road” ends at a “parking lot” and there was a rather overgrown trail that we did not hike.

One of the things I was worried about was the lack of water hook ups. We’ve camped with no sewage hookup and have a portable sewage tank in case we need to empty our black and/or gray tanks. However, using our potable water tank is something we’ve never done. In fact, the only time it had water in it was when Hurricane Irma was heading towards us and we filled it to weigh the camper down a bit and to have fresh water if we needed it. We didn’t, Irma was barely a category I when she got to us. The other concern was food…I was not interested in leaving the park to go grocery shopping (although we did….)! We (7 of us, 4 adults and 3 teenagers) were there for 5 nights and we didn’t run out of milk (that’s huge in our house!). We also didn’t run out of water. We filled our tank when we got to the campground and it lasted us the whole week (we actually had water leftover). We had bottled water for drinking and cooking so the potable water was mostly for washing dishes/hands and flushing the toilet. There were cold showers at the campground so we used those.

Sunrise in the Everglades
Sunrise at Flamingo Campground

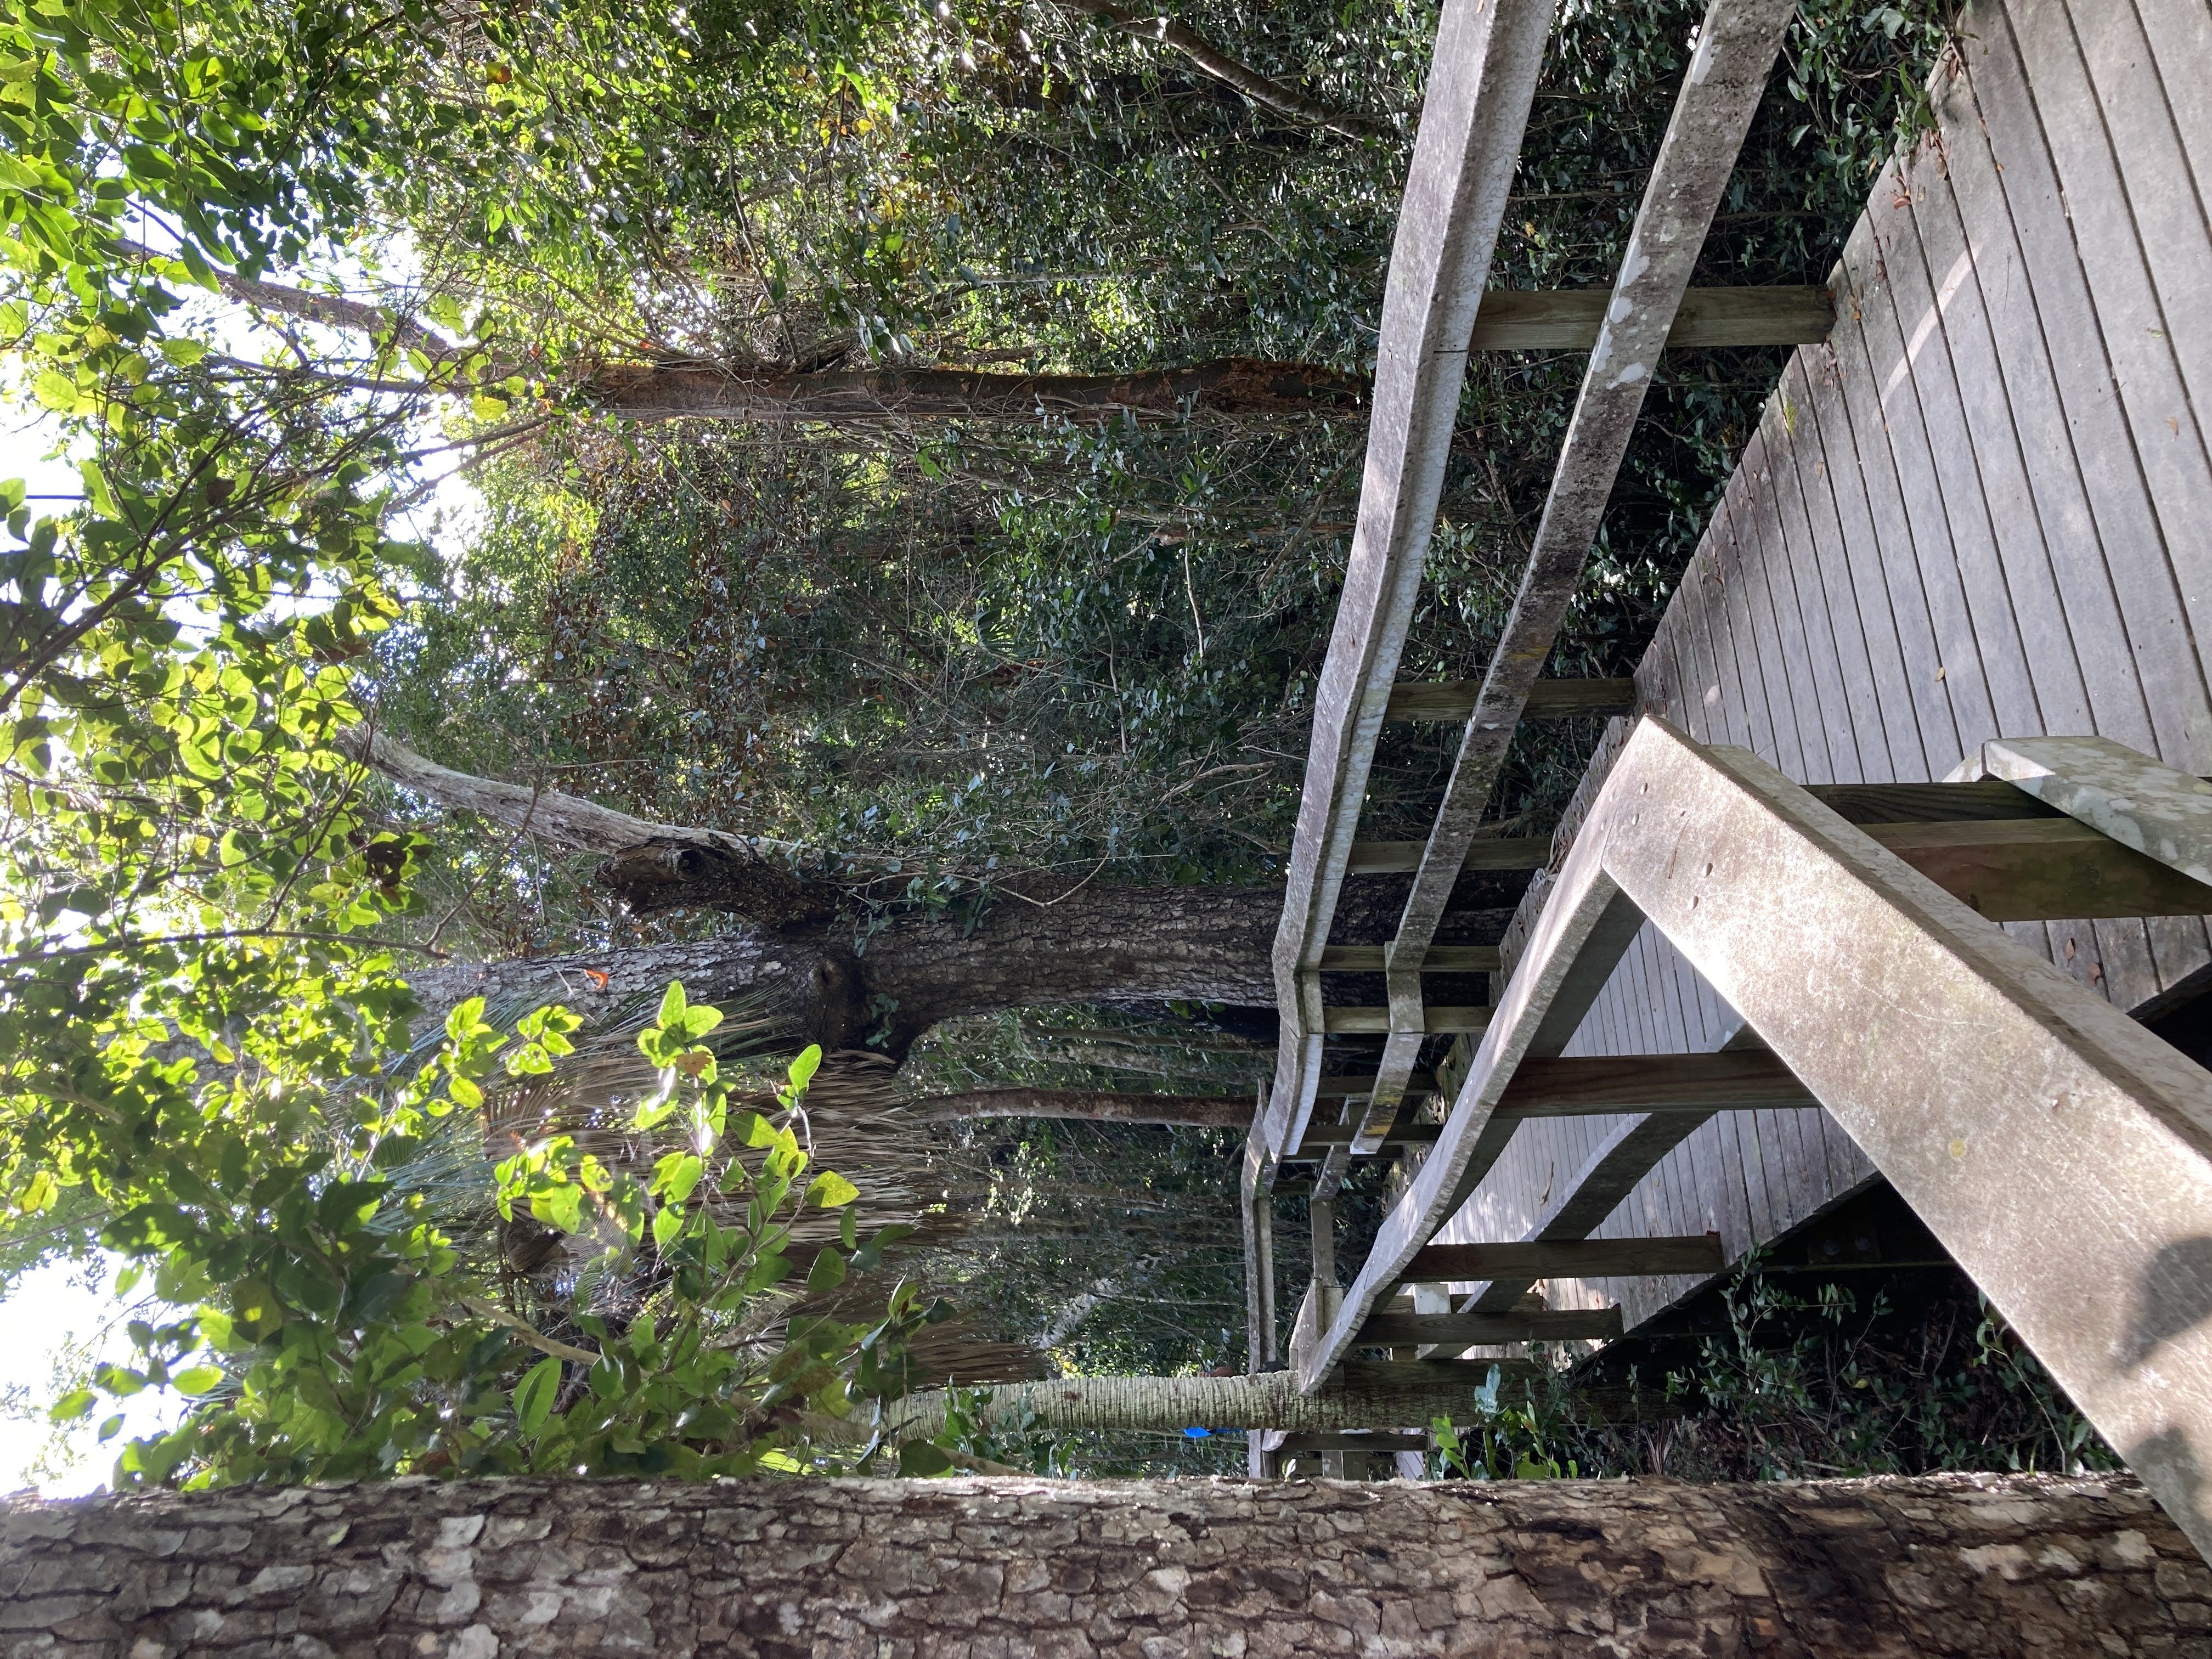
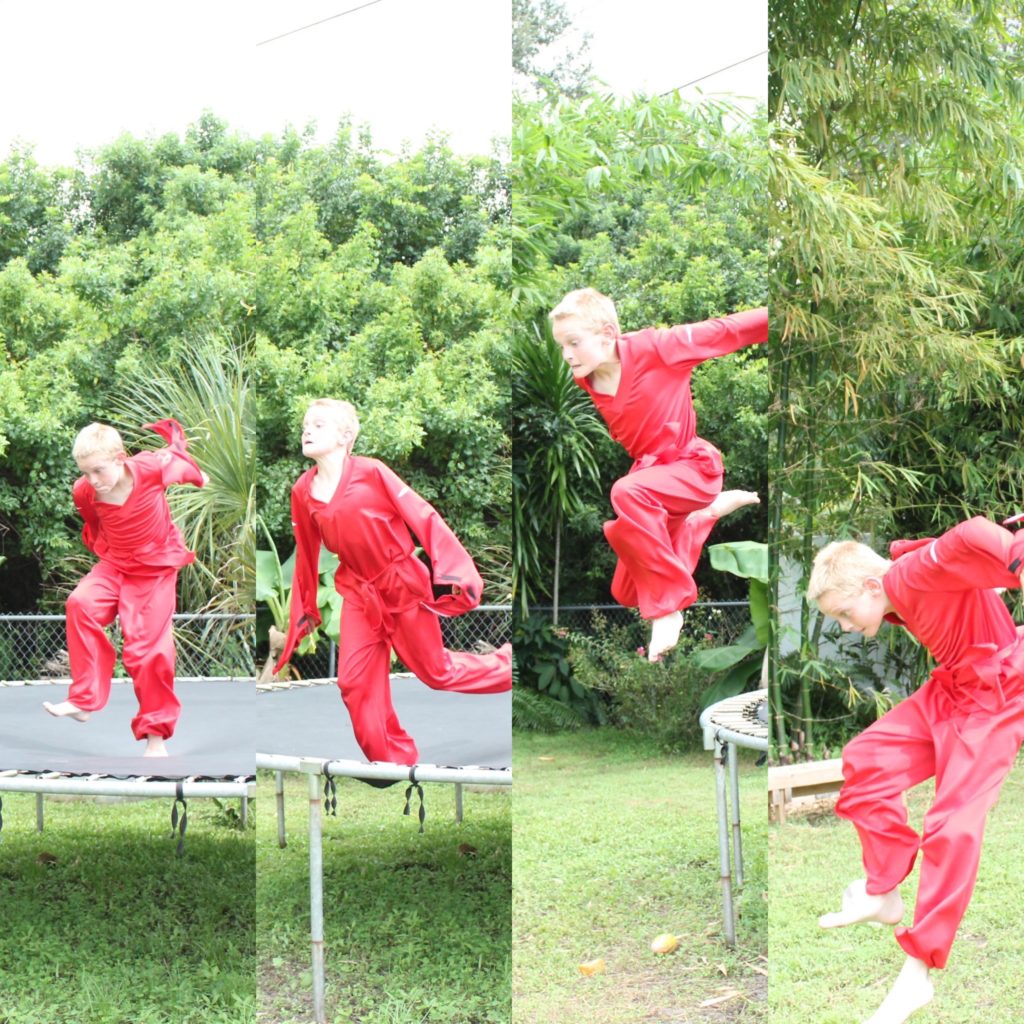
The campground itself was great! The sites were huge and it was peaceful being so far from civilization! We stayed in the T-Loop, which has electric in some sites. We have Verizon Wireless and we lost service about 9 miles from the campground. That was fine – we knew beforehand that cell service was iffy and we warned our teenagers!

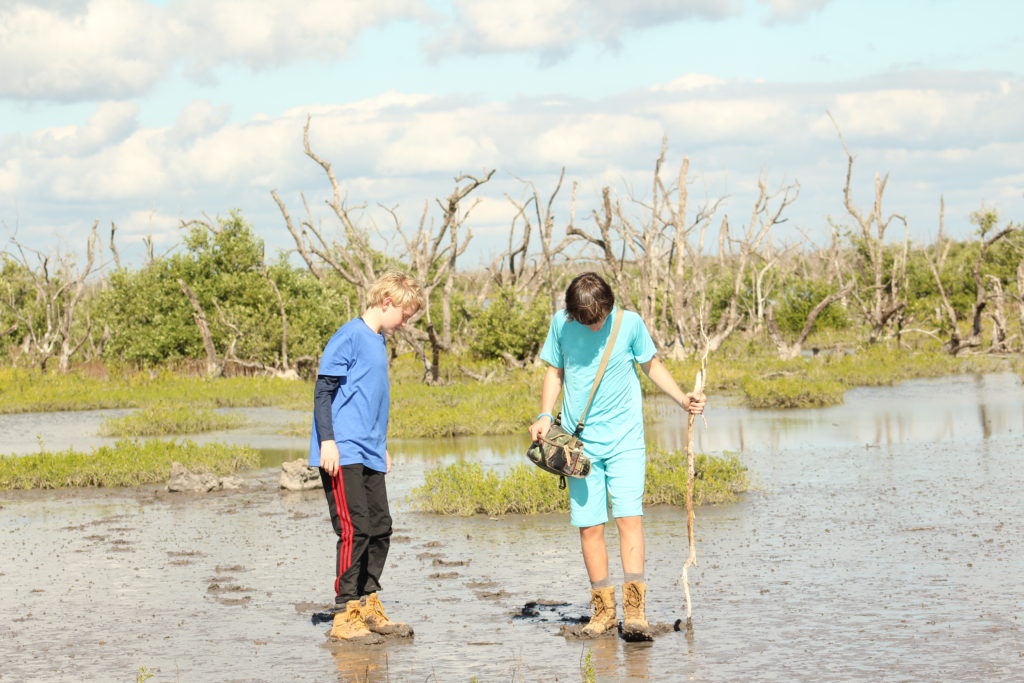
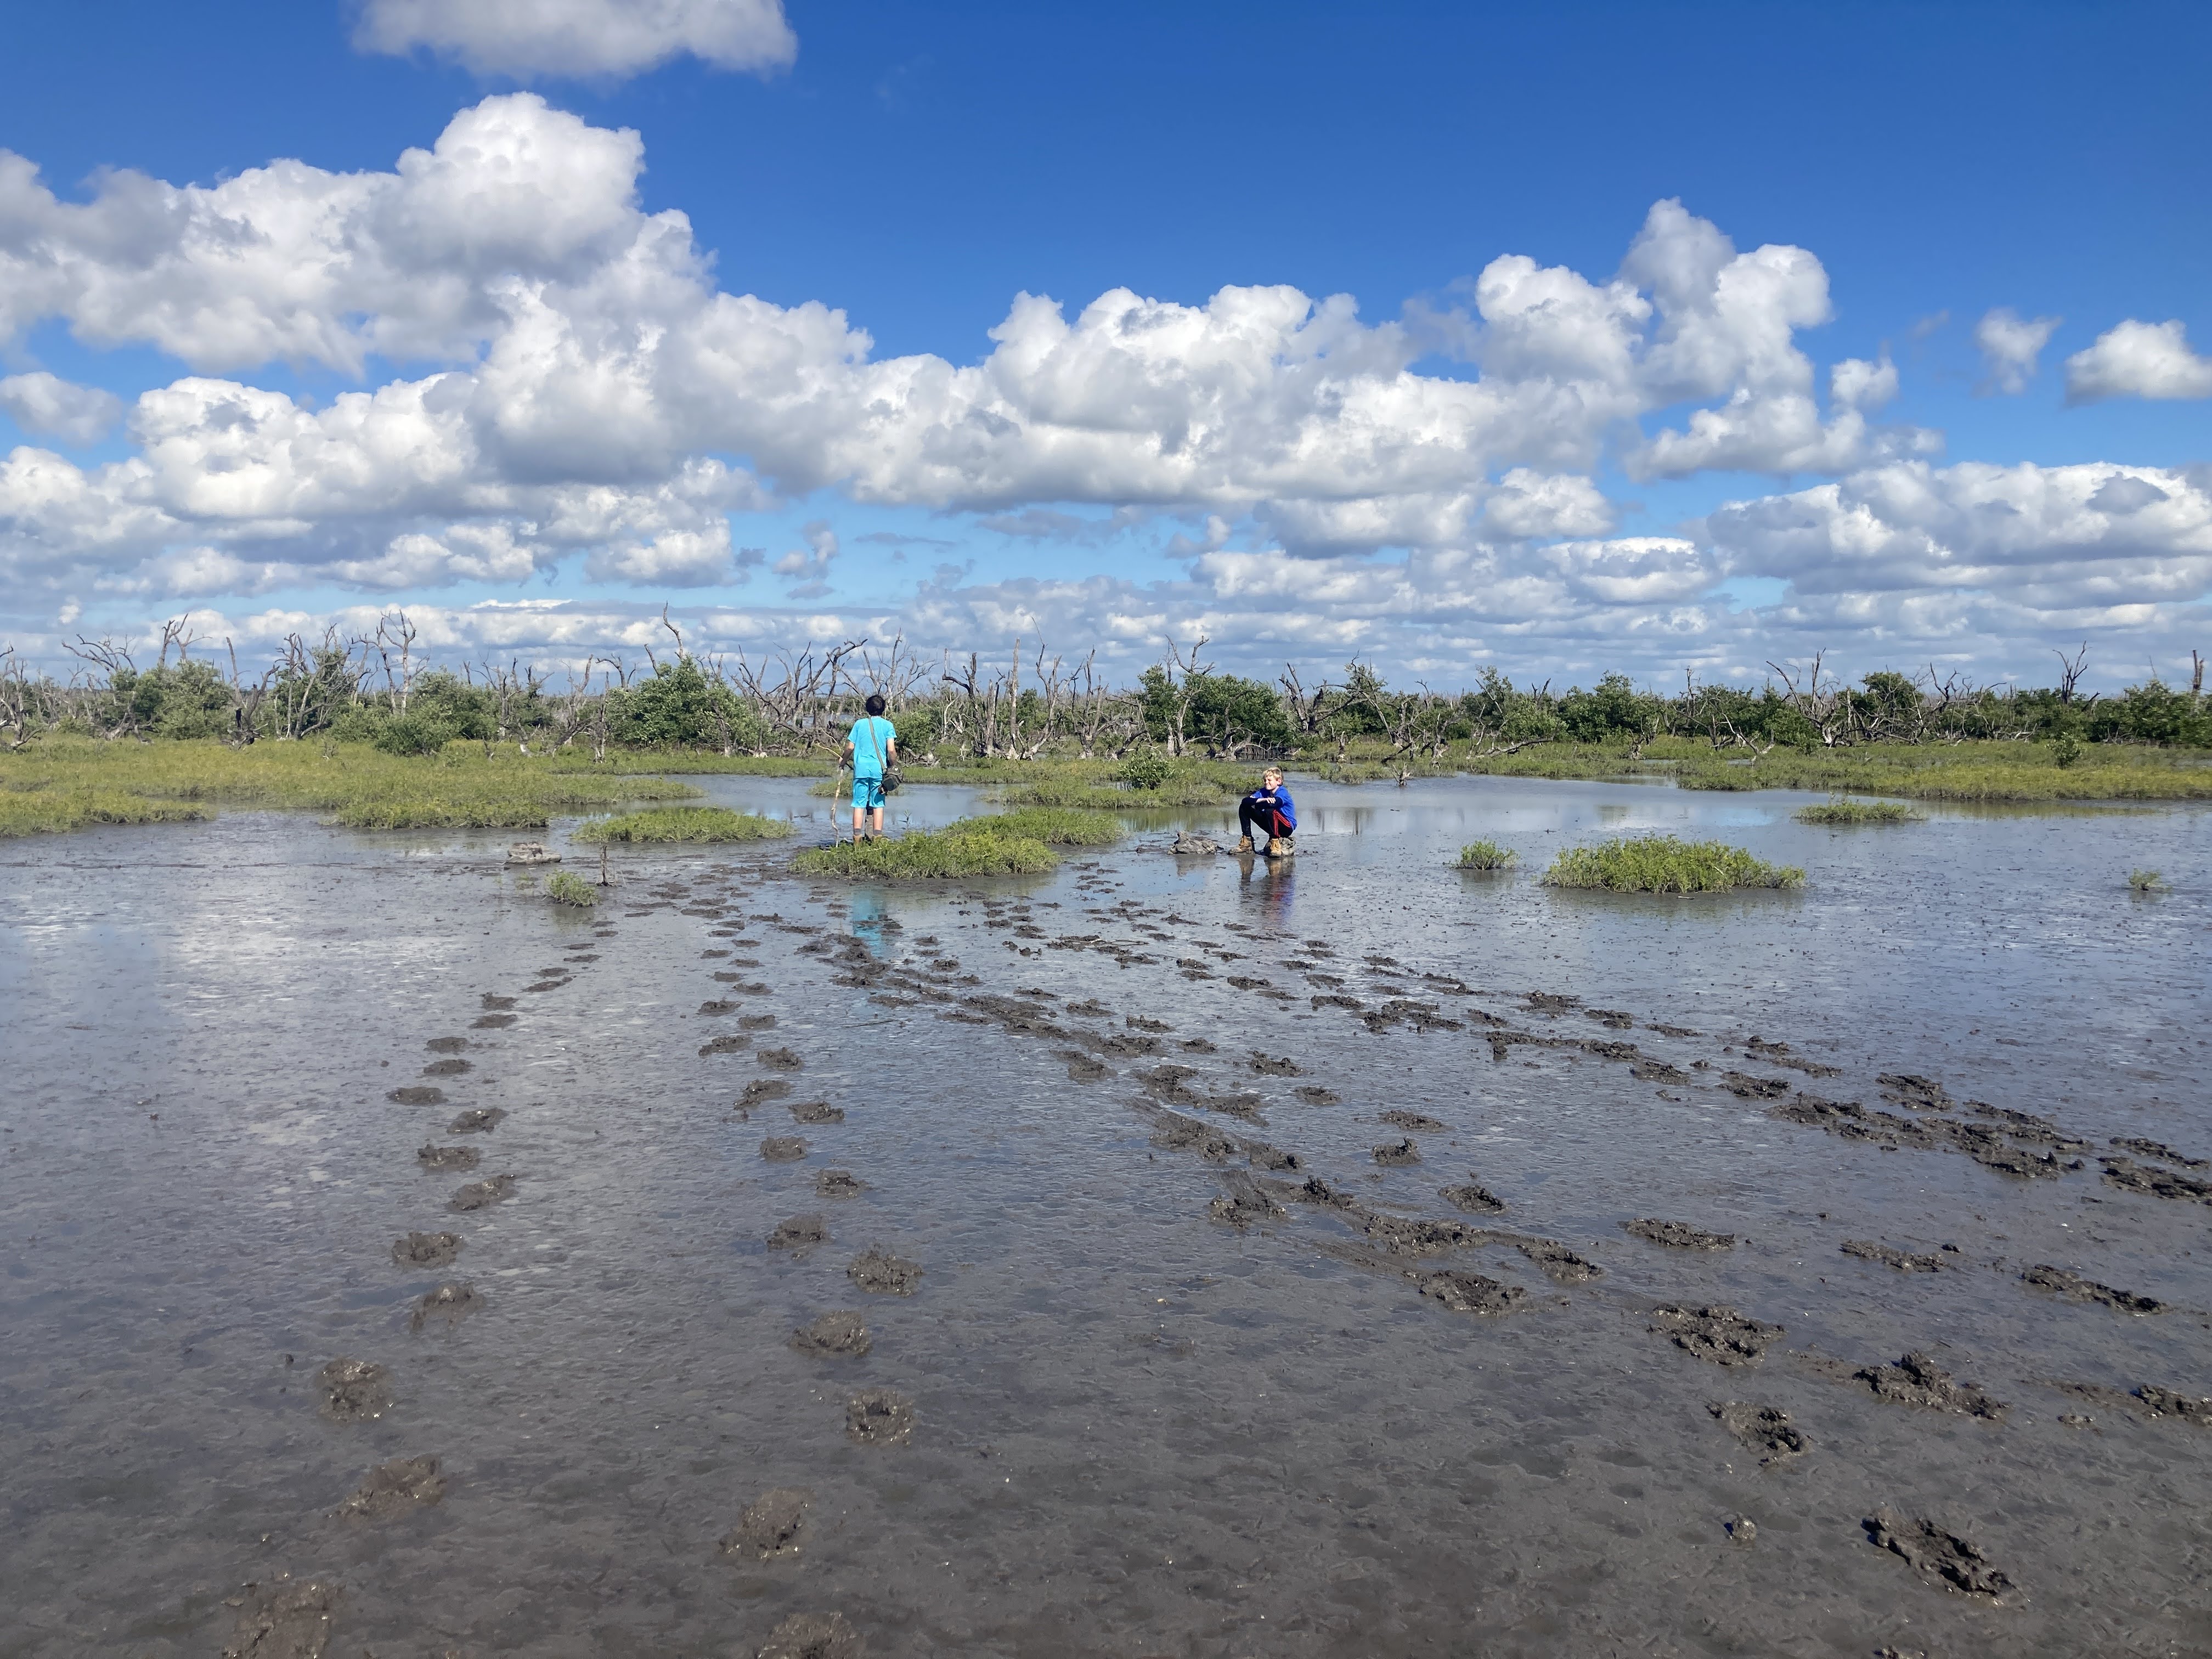
One day, we decided to hike to the ghost town of Flamingo. According to what we’d read, it was about 4 miles from the campground and there was a trail…one that isn’t currently maintained (which we didn’t know ahead of time).

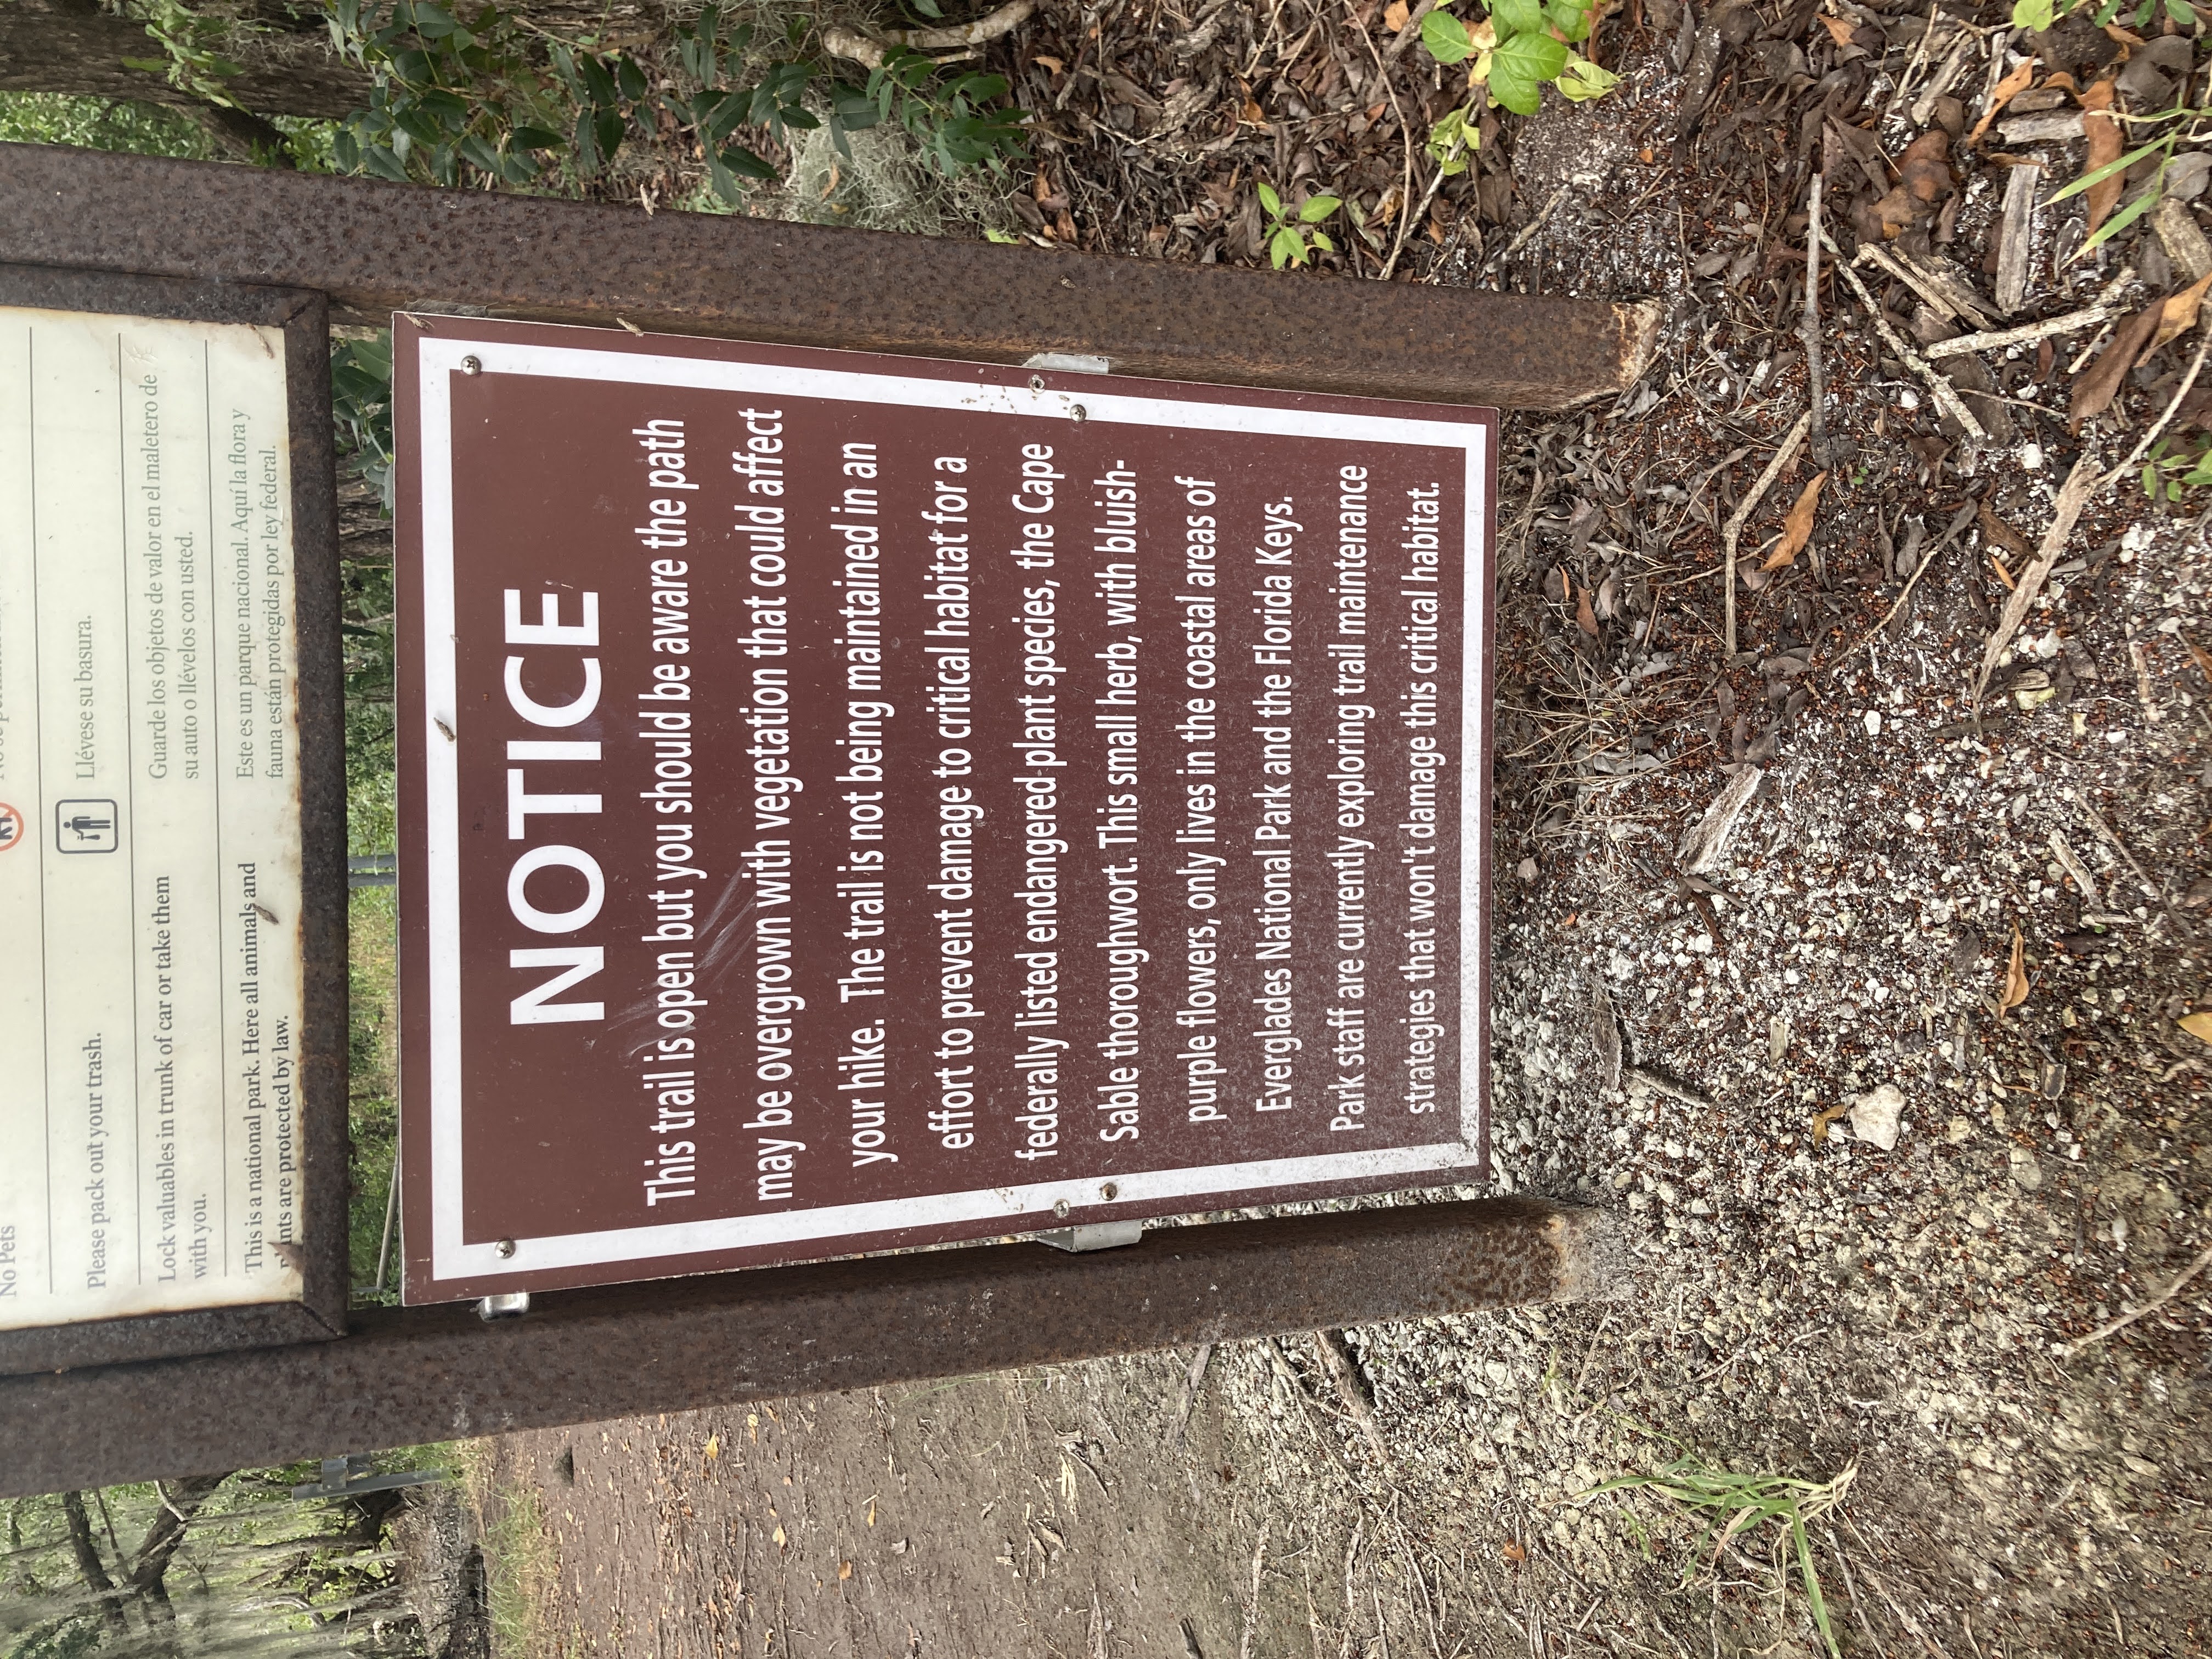
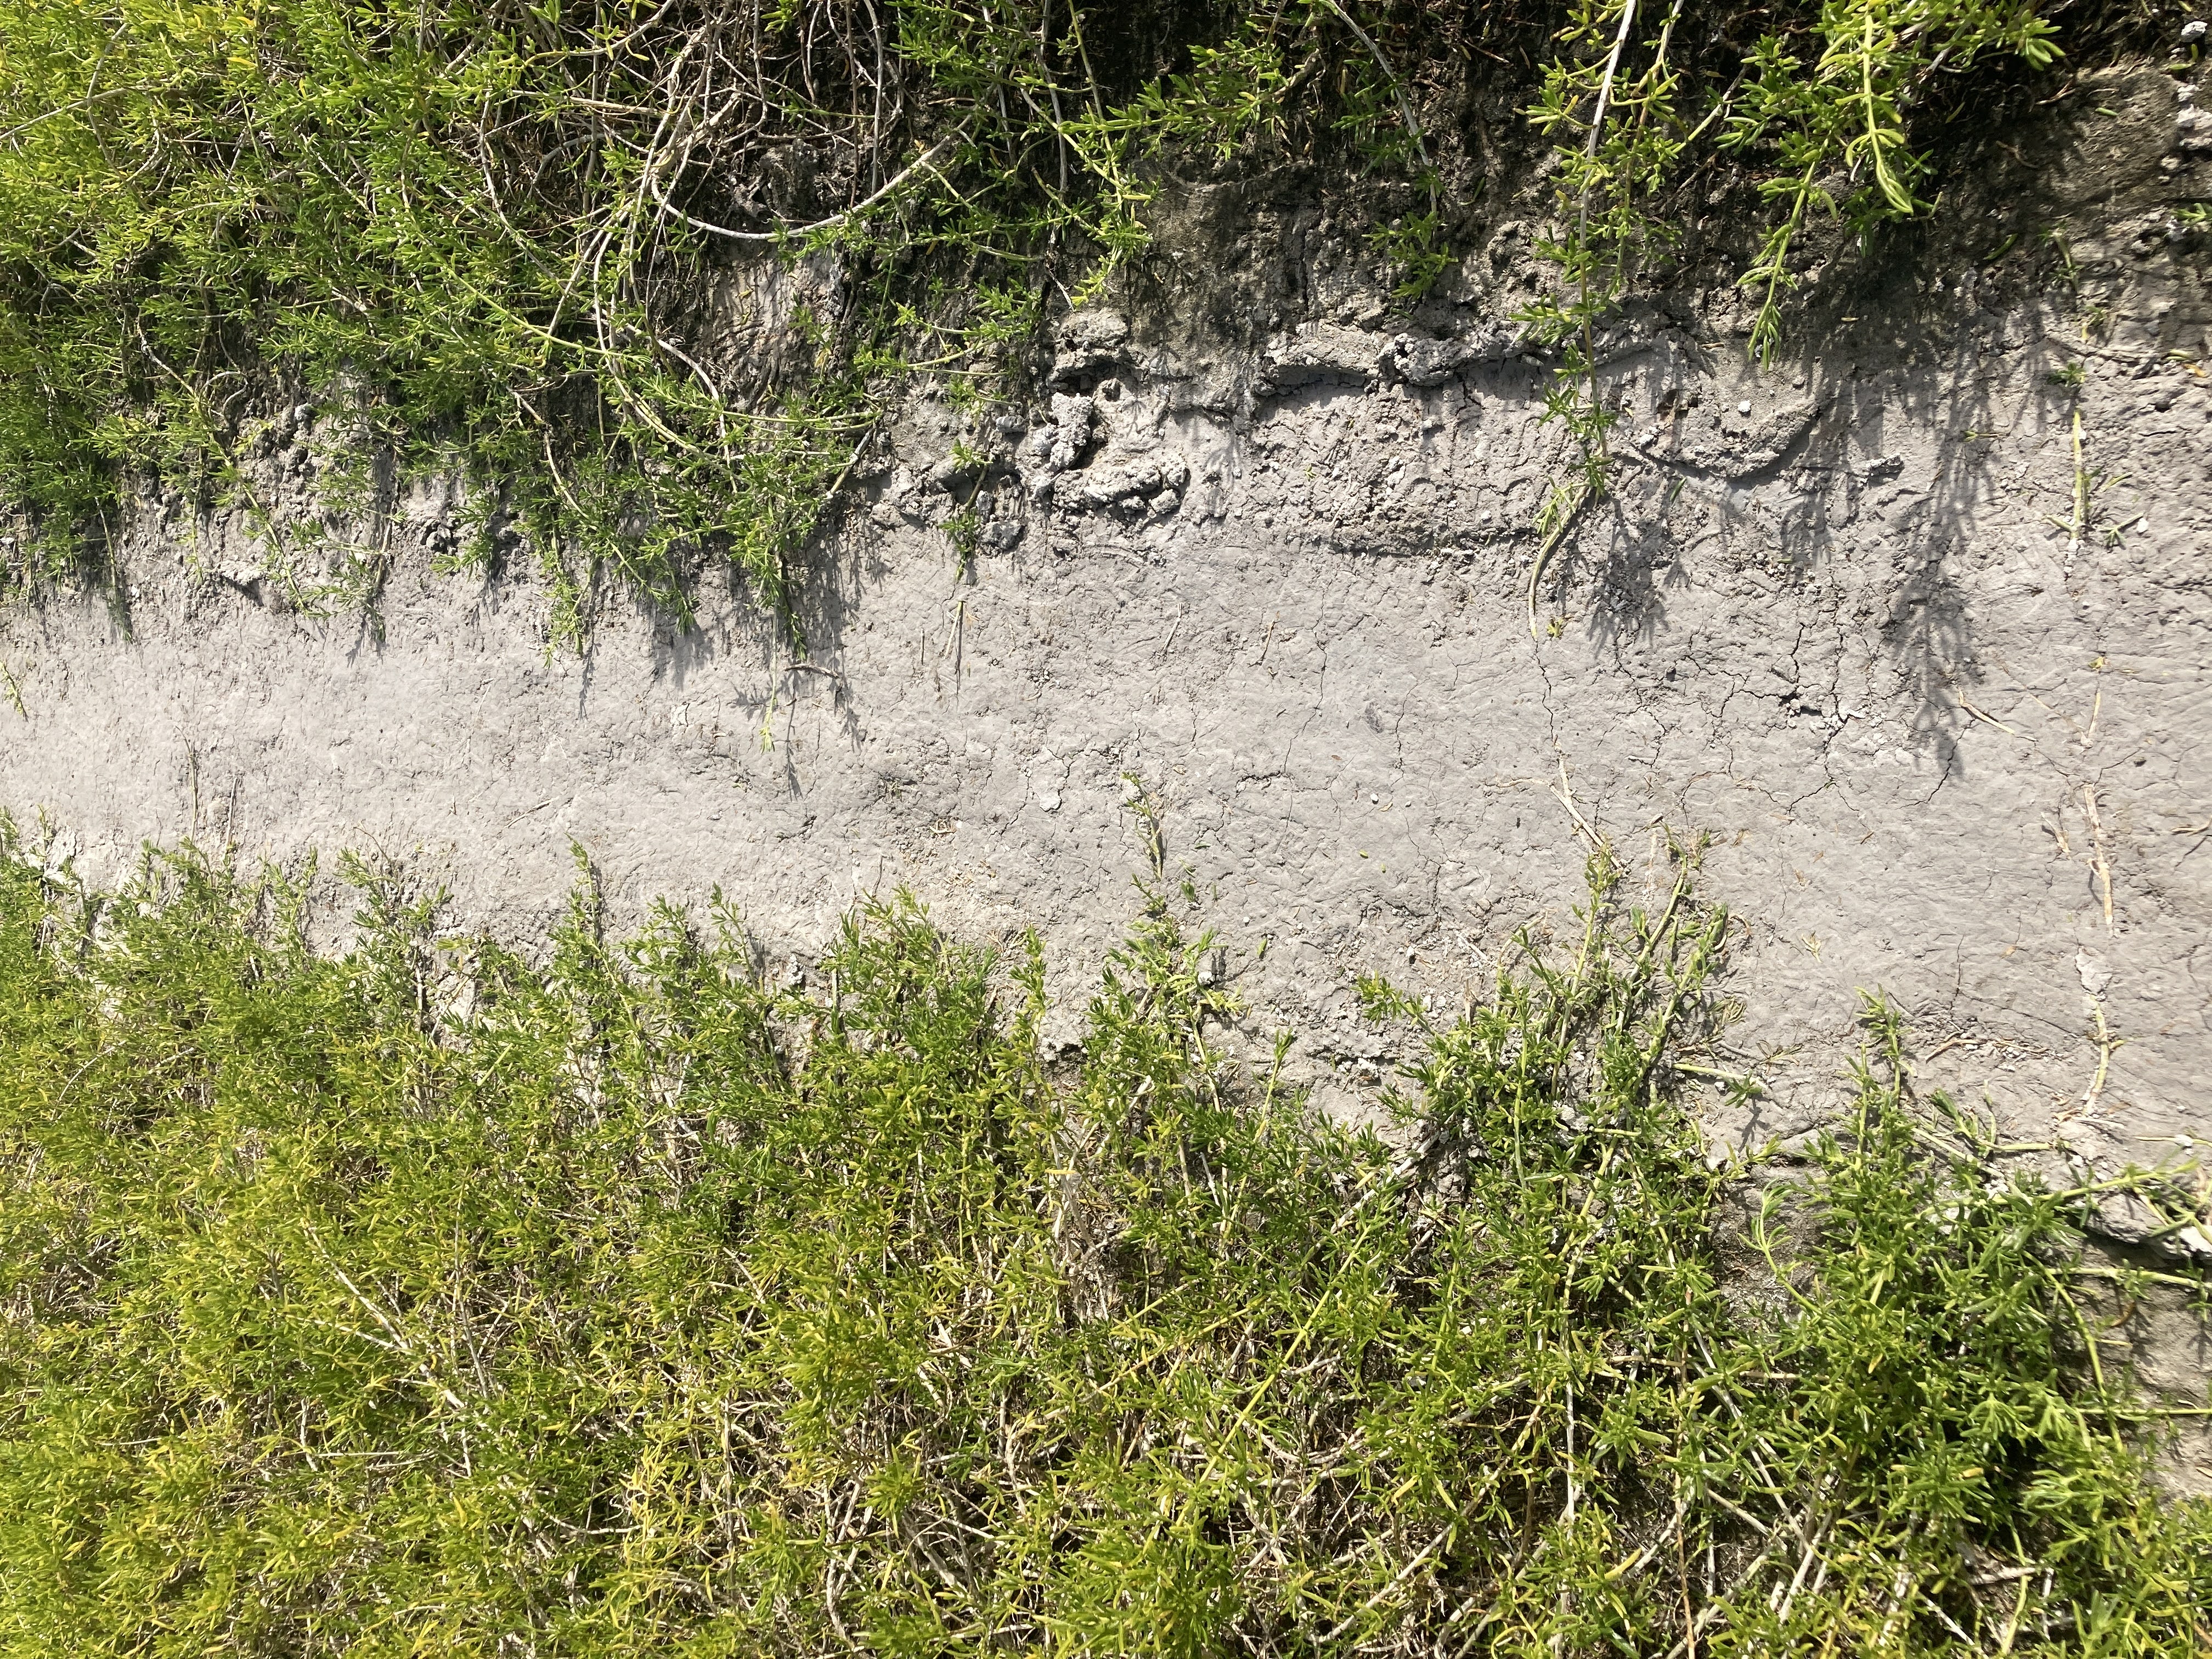
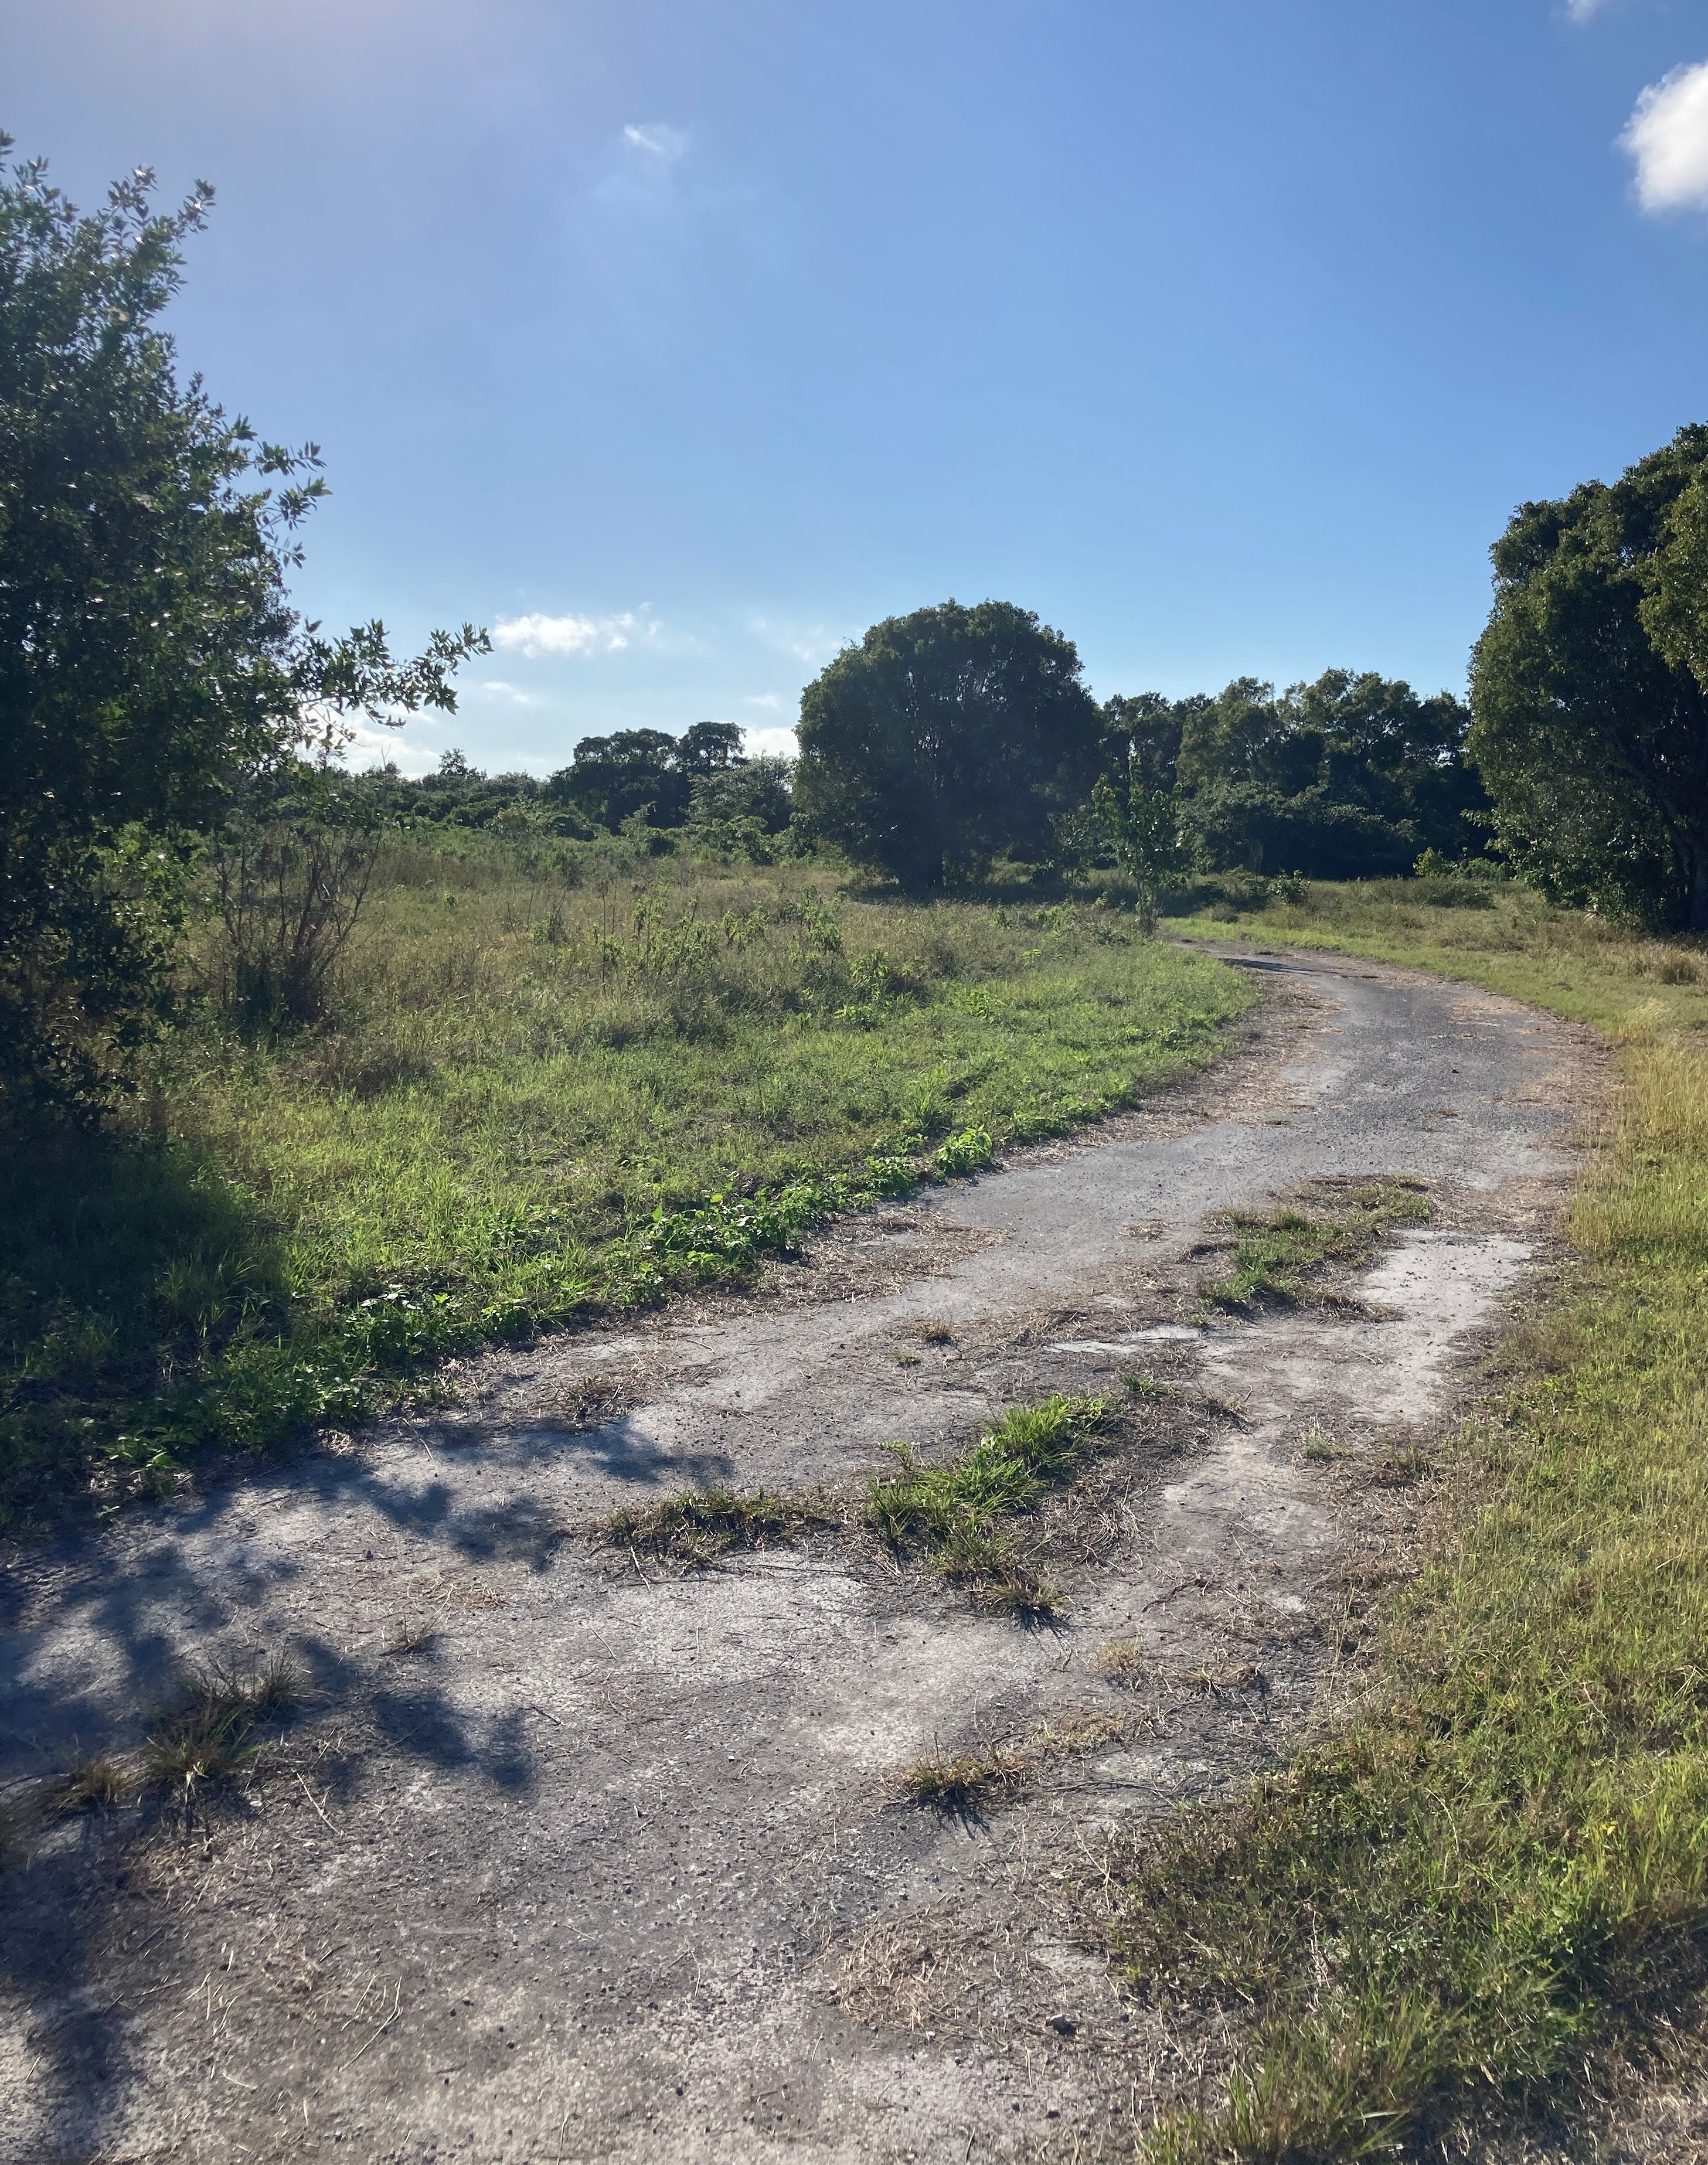
The hike there really wasn’t too bad. The path started out fairly wide.

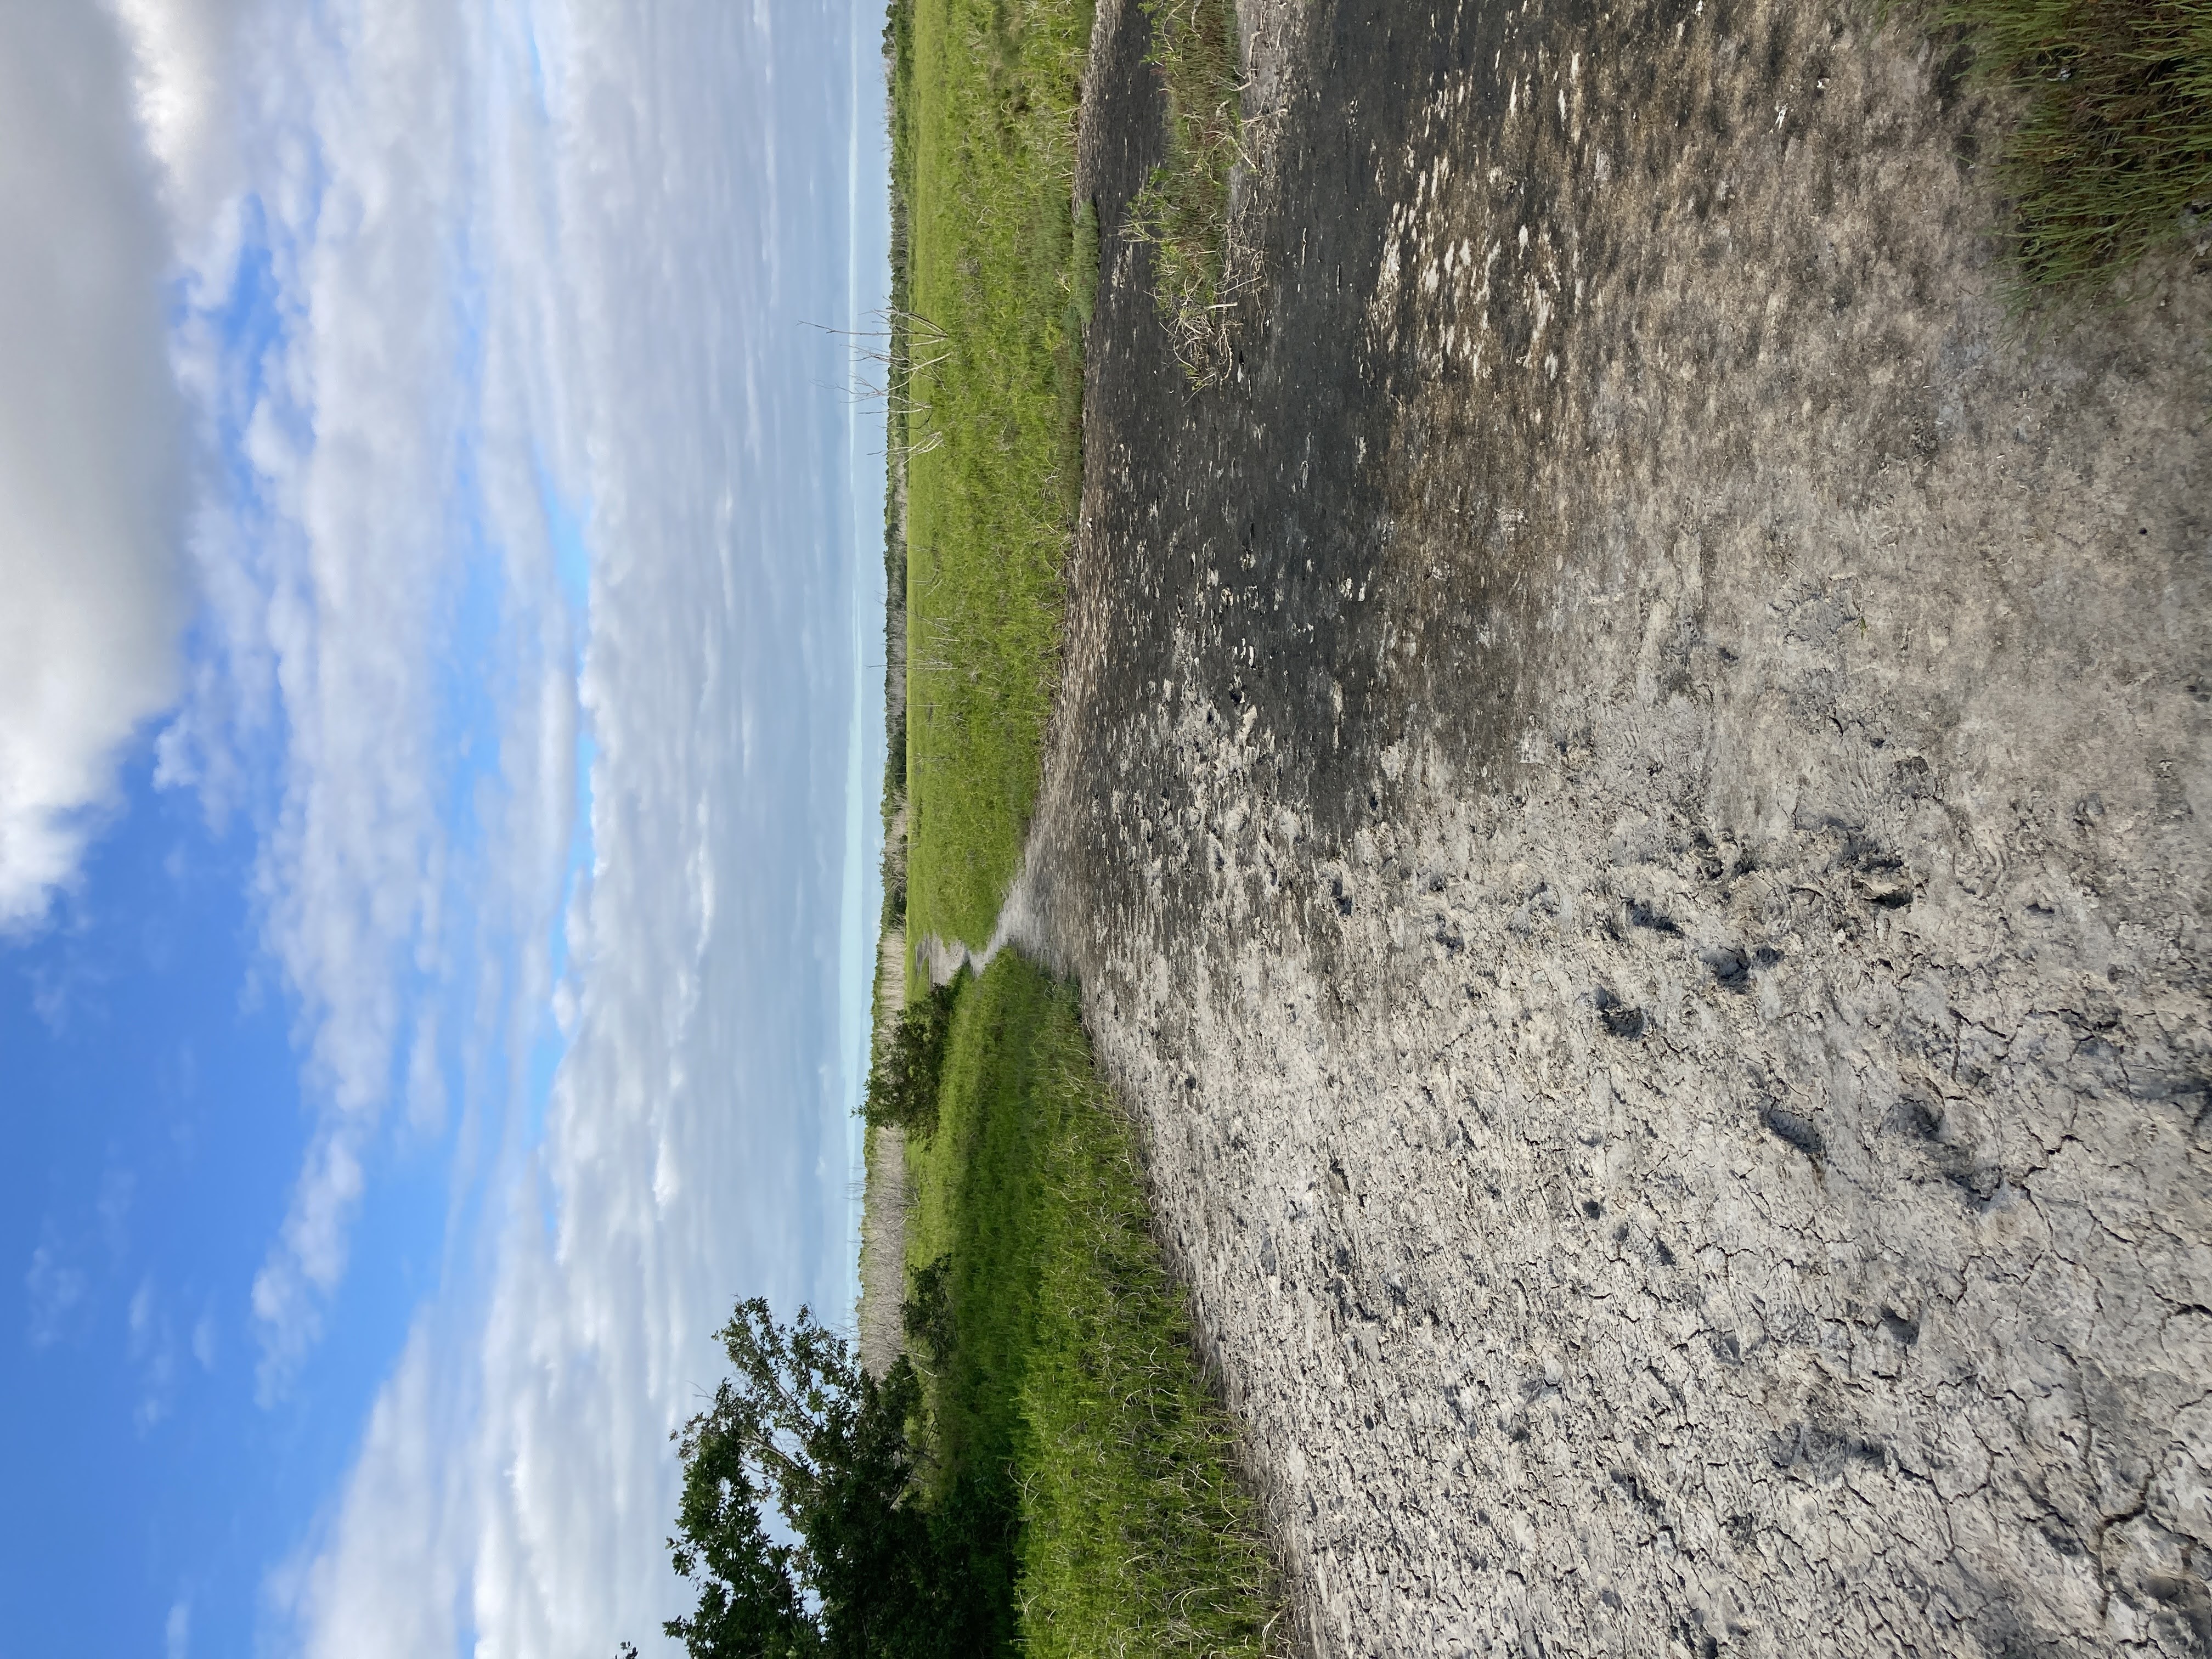
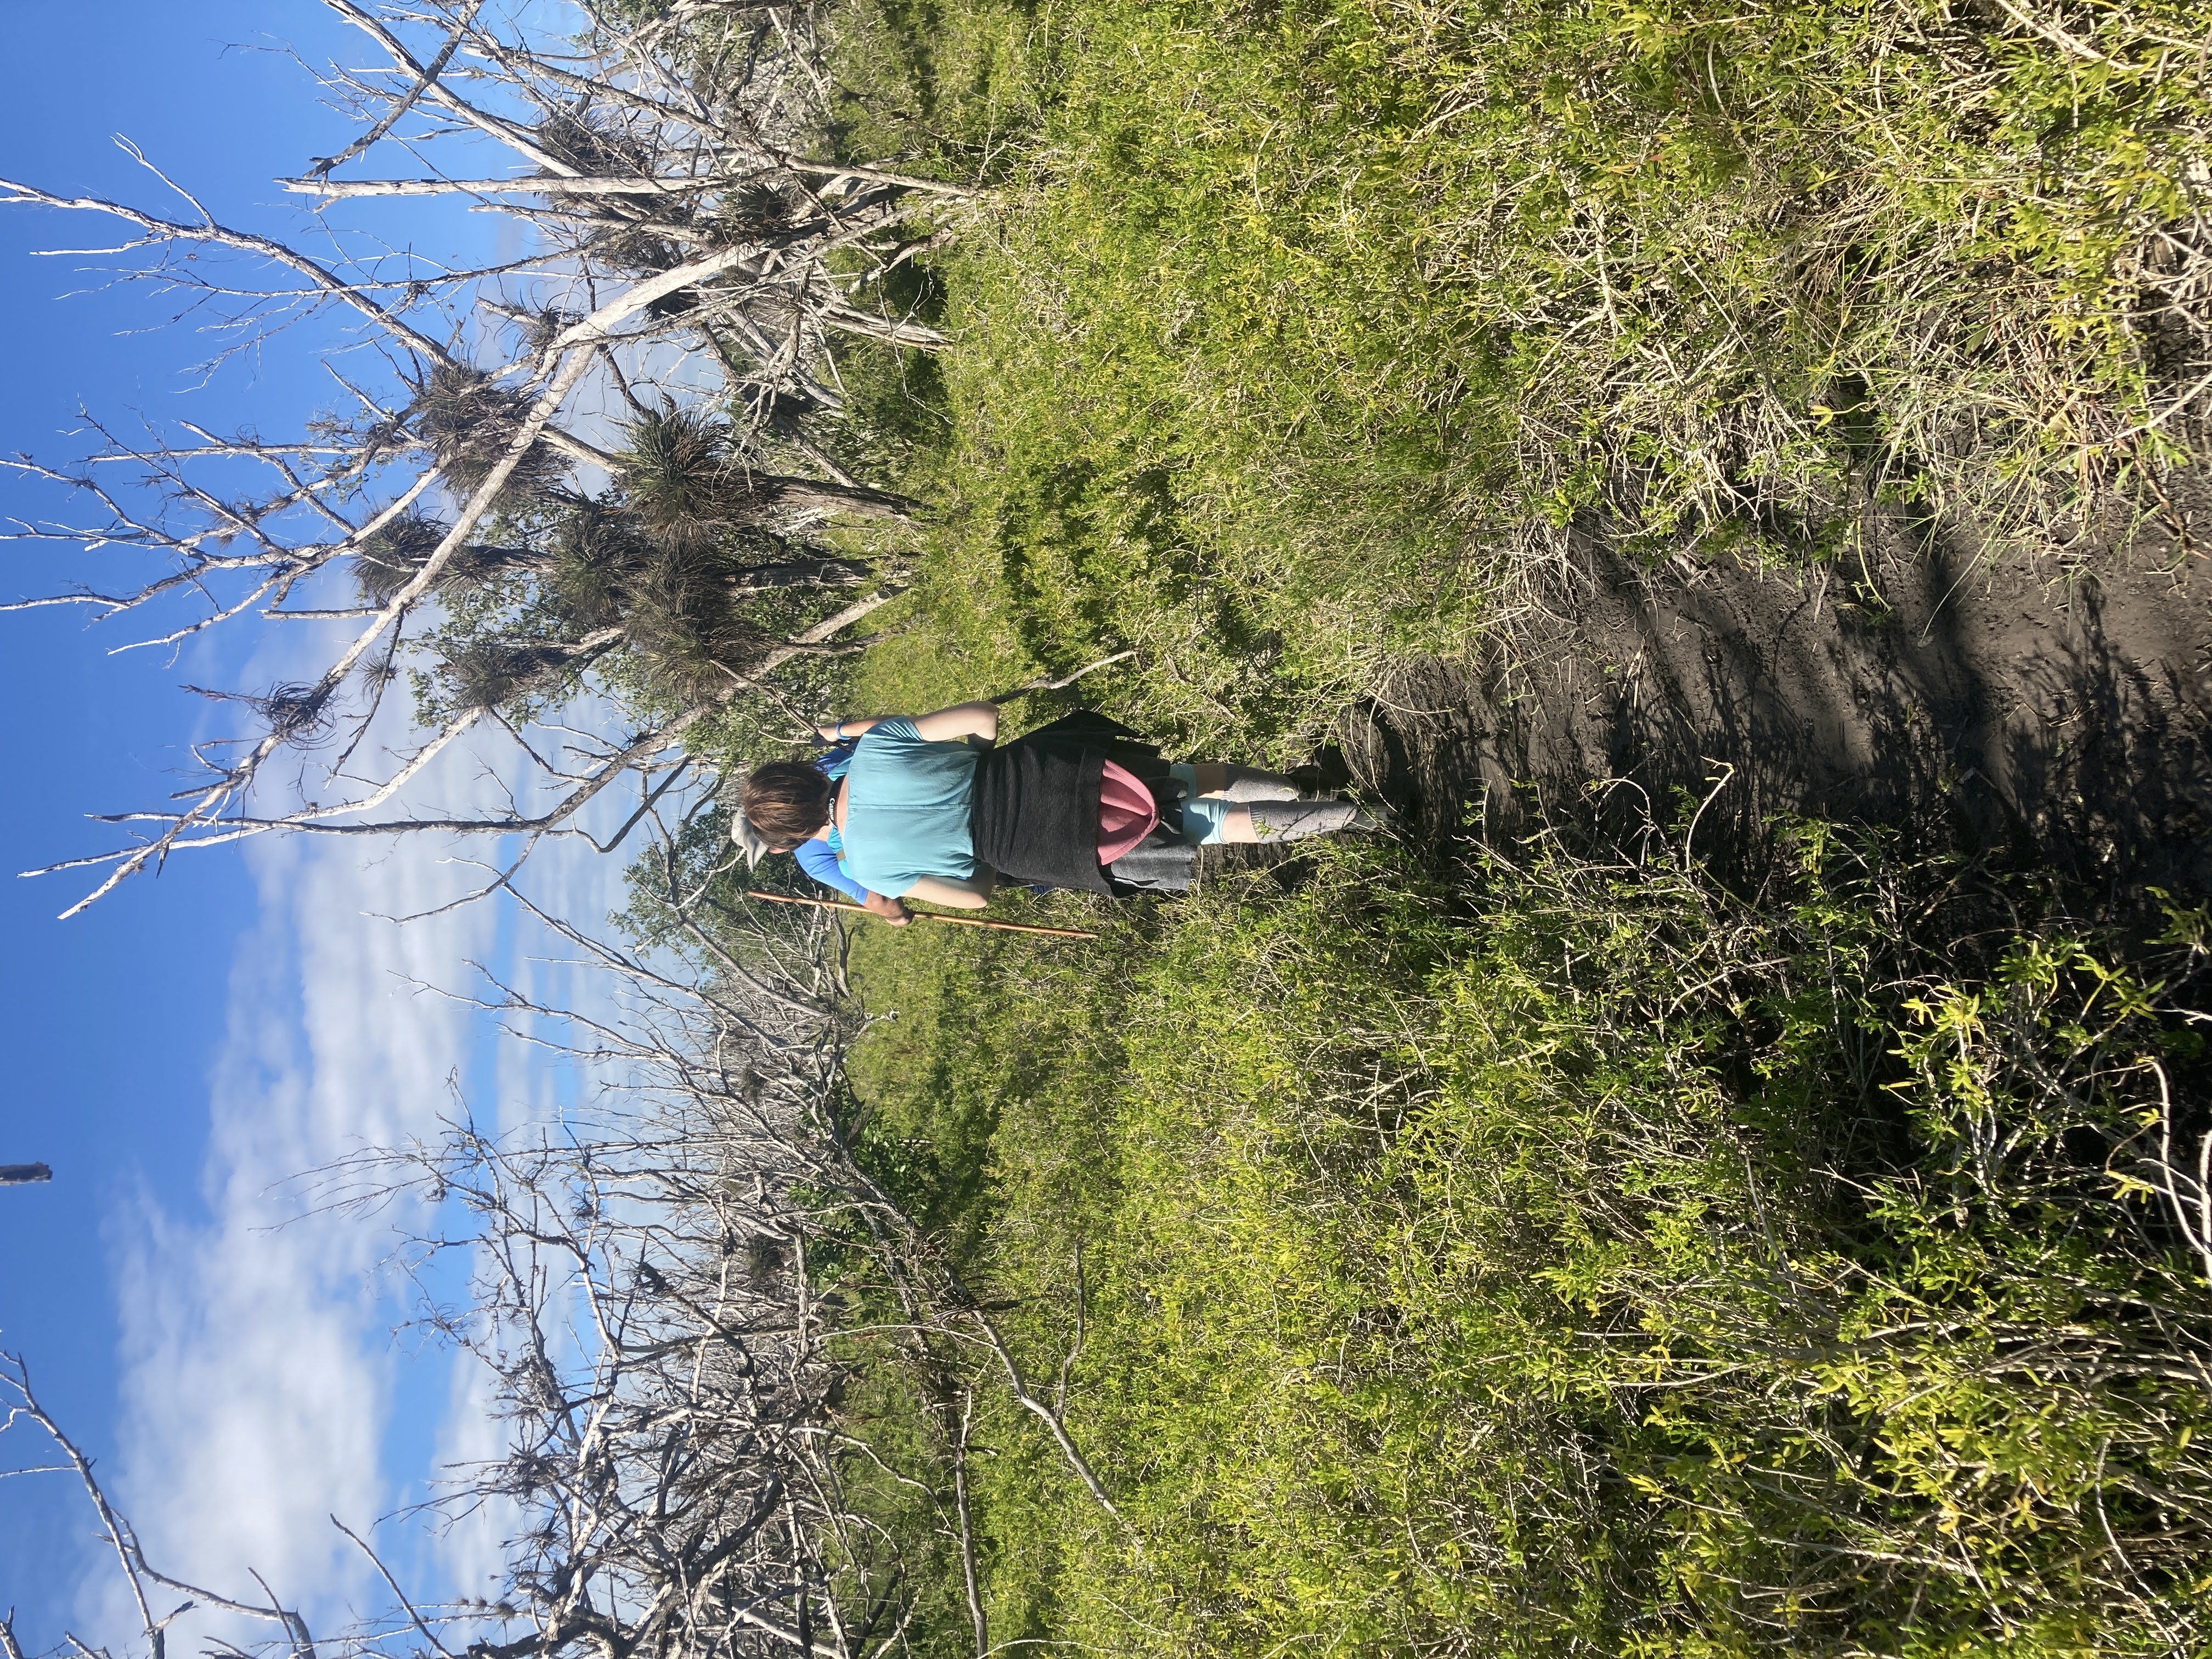
Then it narrowed down and stayed this way for most of the hike.

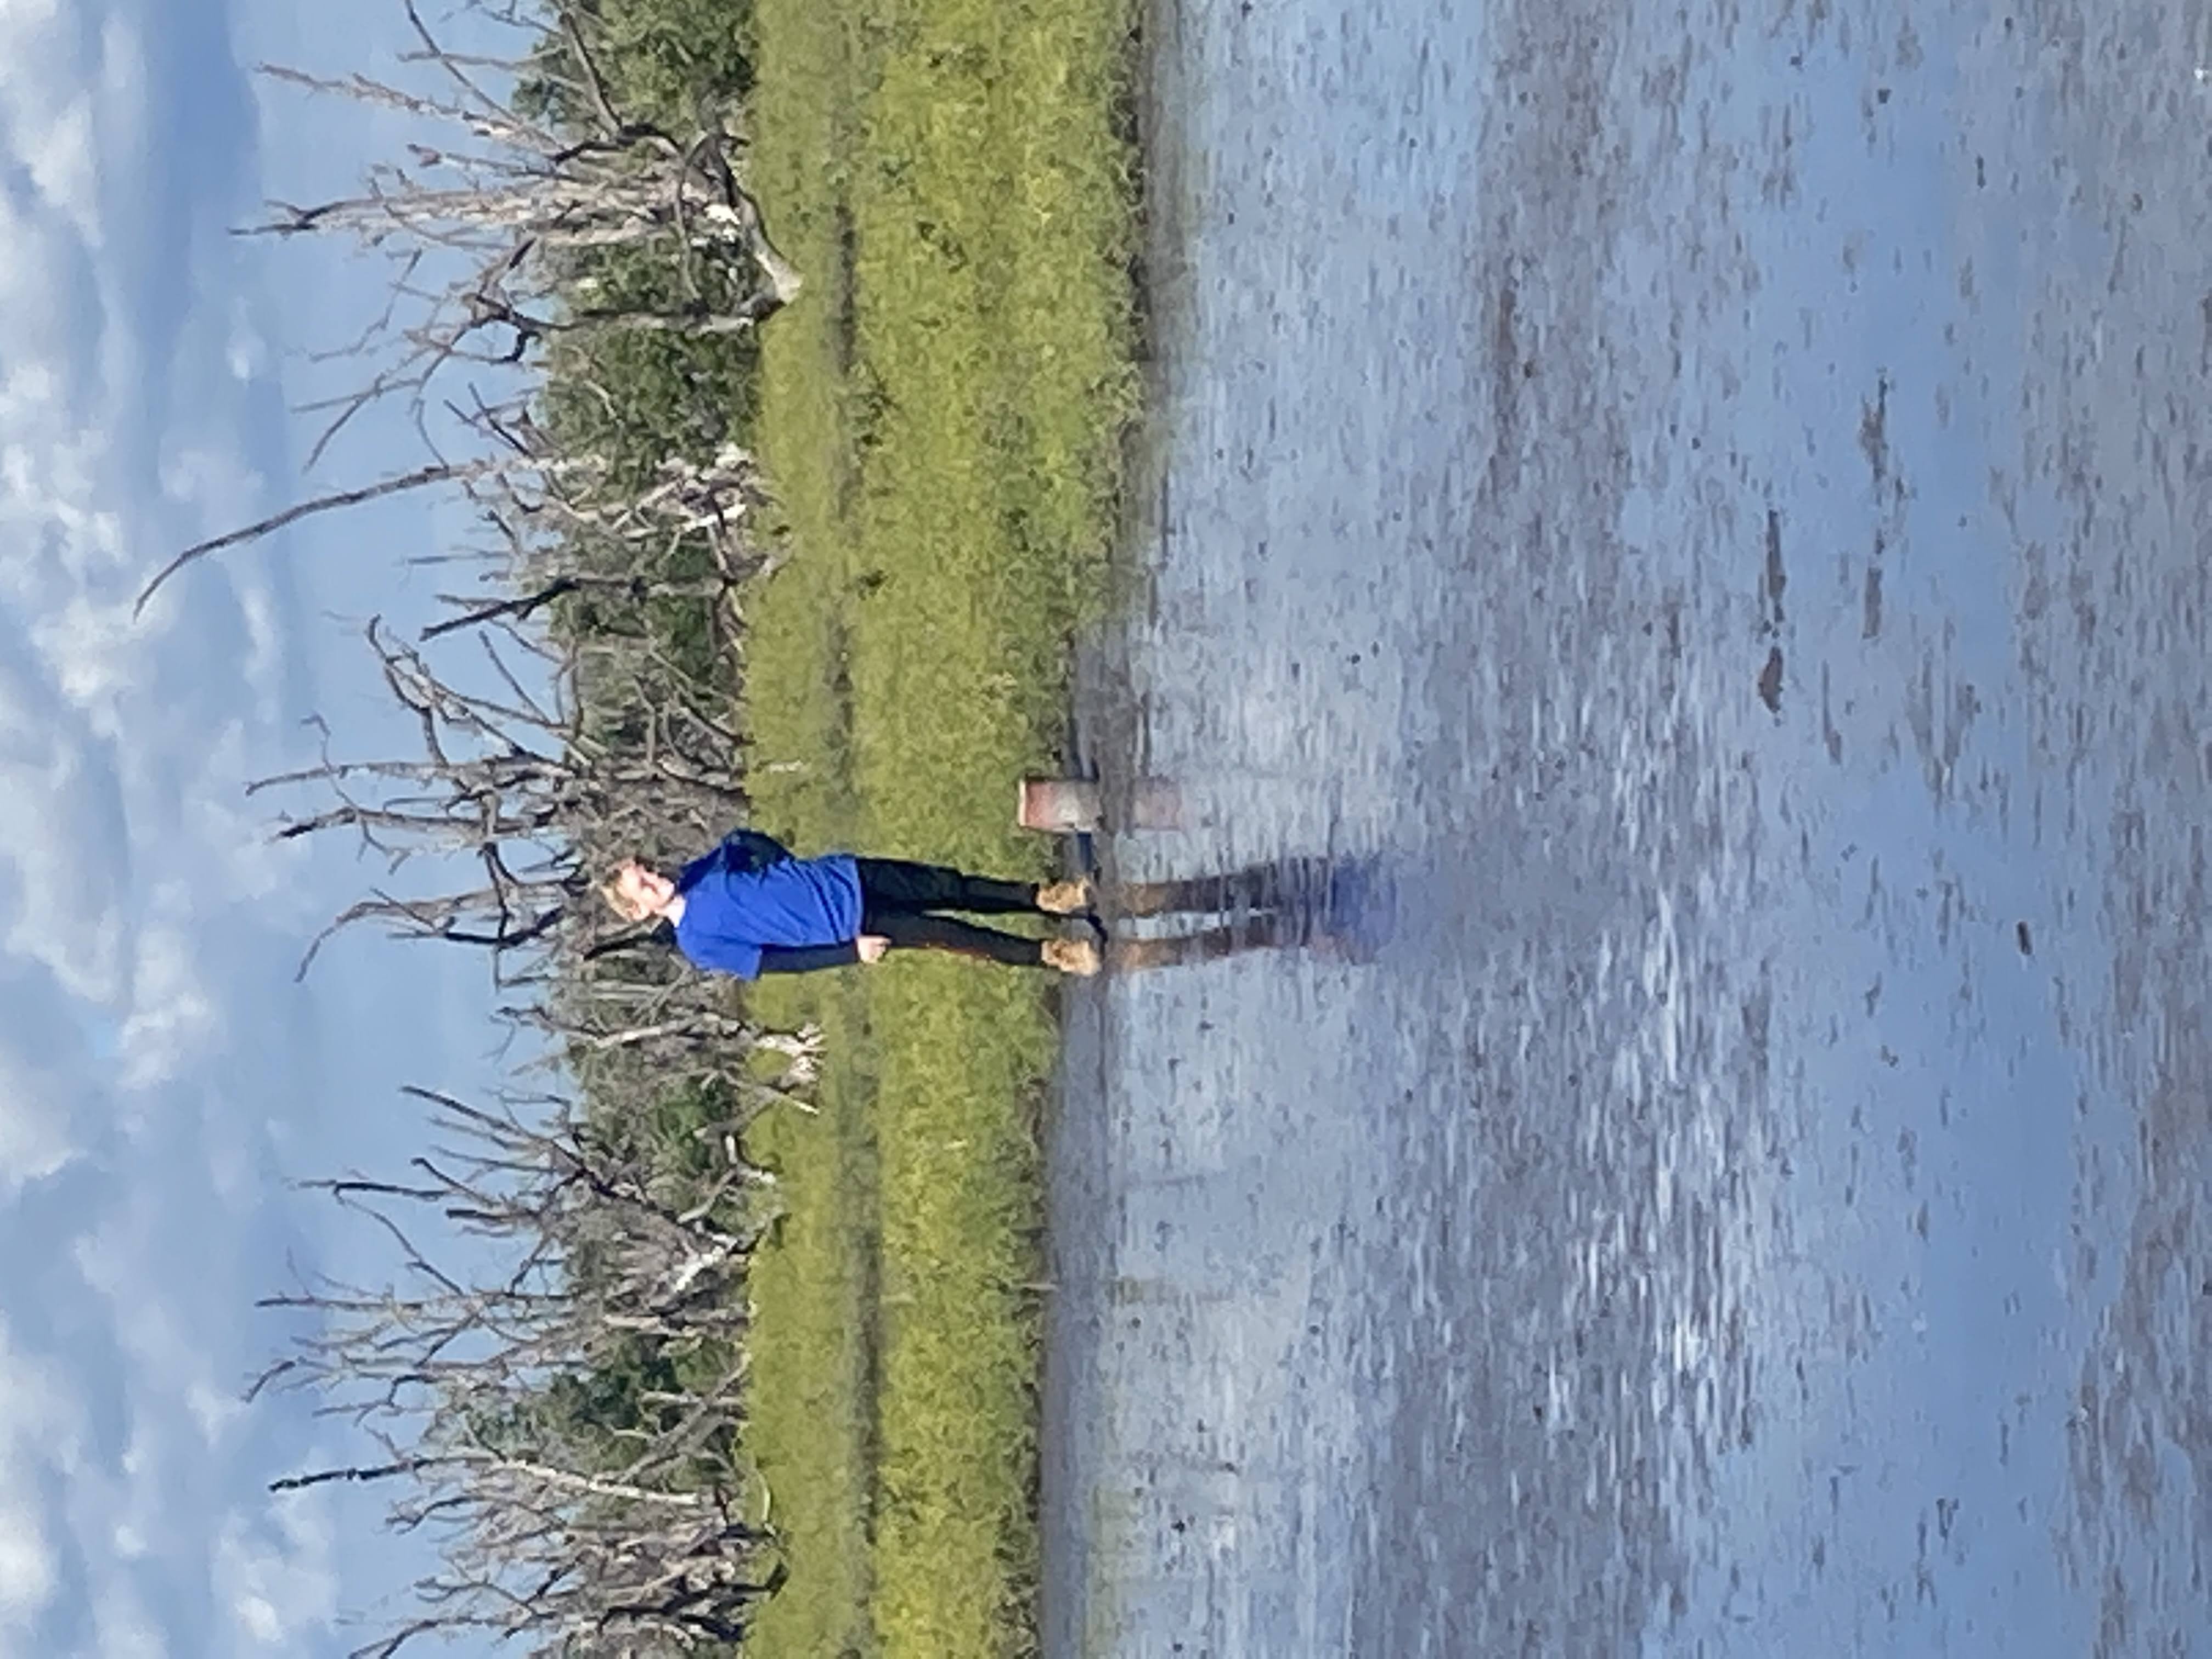
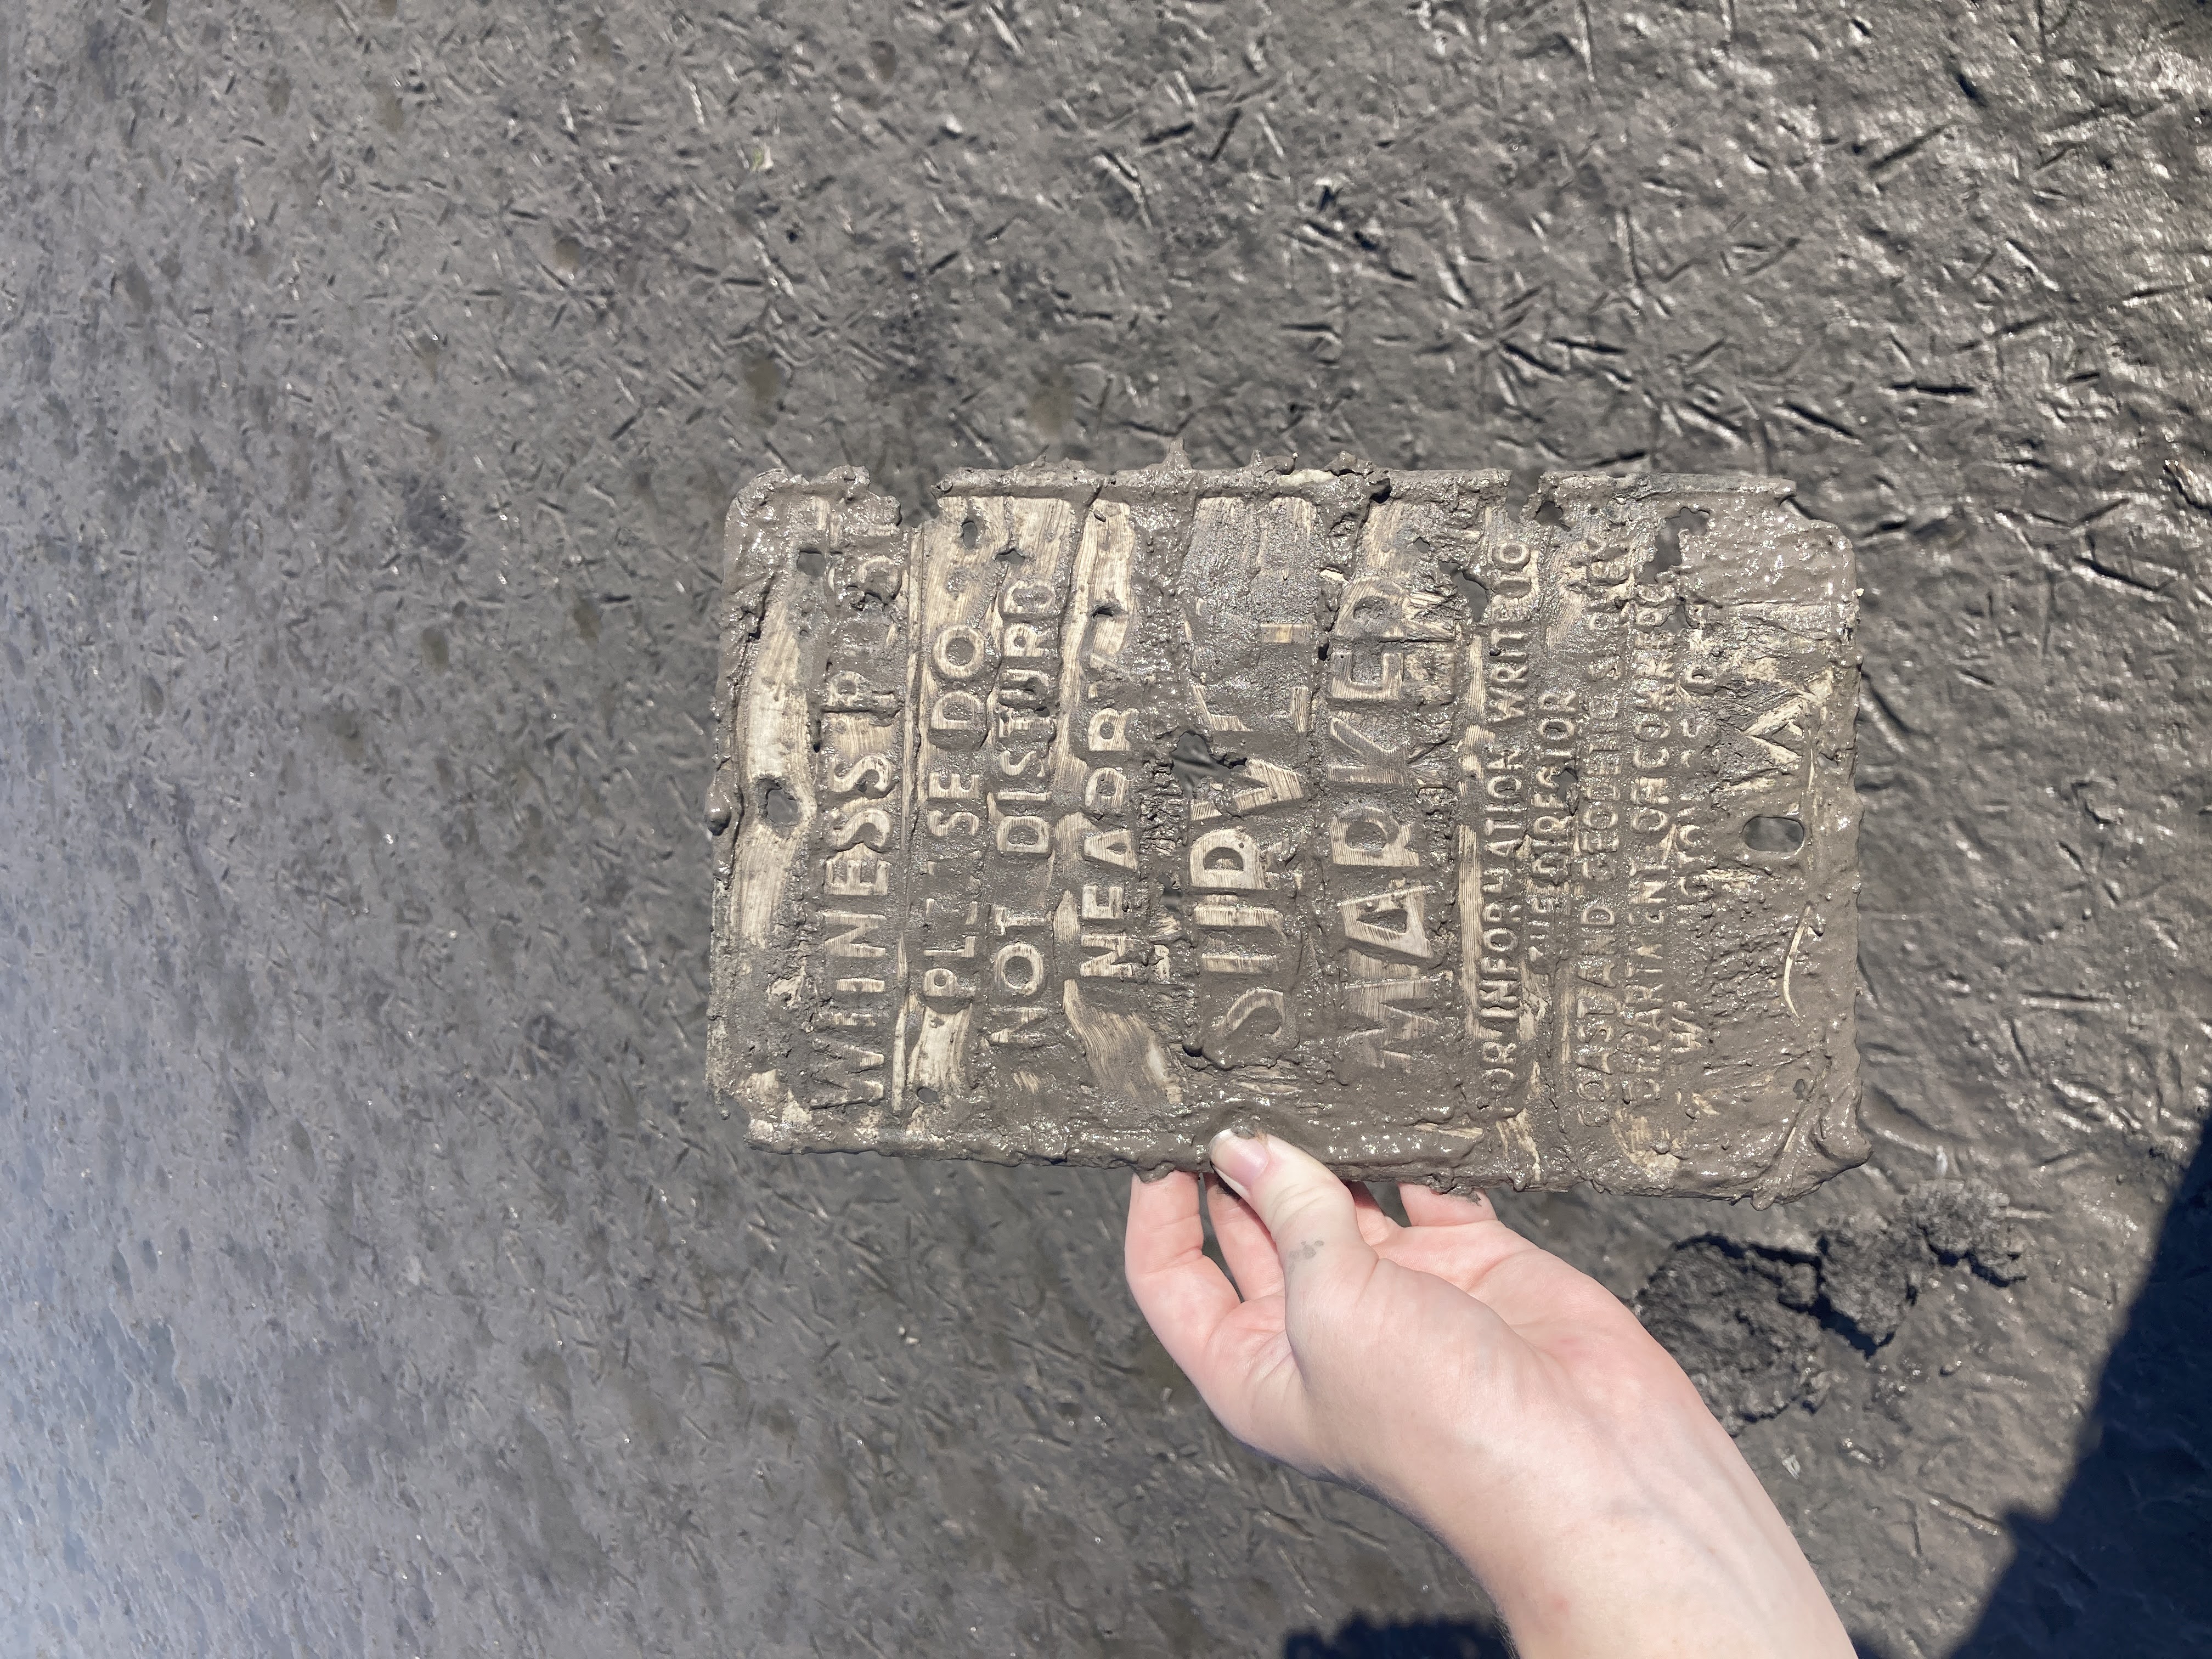
We hiked out until we found the survey marker. Some place out there is a flag pole and some old walls, but we were ready to head back!

The survey marker for the original town of Flamingo.
We found this on the ground….we propped it up on the nearby post where we assume it was supposed to be.
It was pretty wet even though it hasn’t rained in a while. Our boys were glad they wore hiking boots!
Original town of Flamingo site.

On the way back, the sun was out and had dried all the dew. These plants (picklewort?) seemed soft on the way, but on the way back the constant brushing against our legs got to be painful!

We also discovered that the campground used to be much bigger! Currently there are two loops – A and T plus a tent camping area near the bay. There was also a B and C loop at one time prior to a hurricane (I’m not sure which one). They are pretty overgrown now although you can still see the roads and the bath houses are still there.

Overgrown campground loop

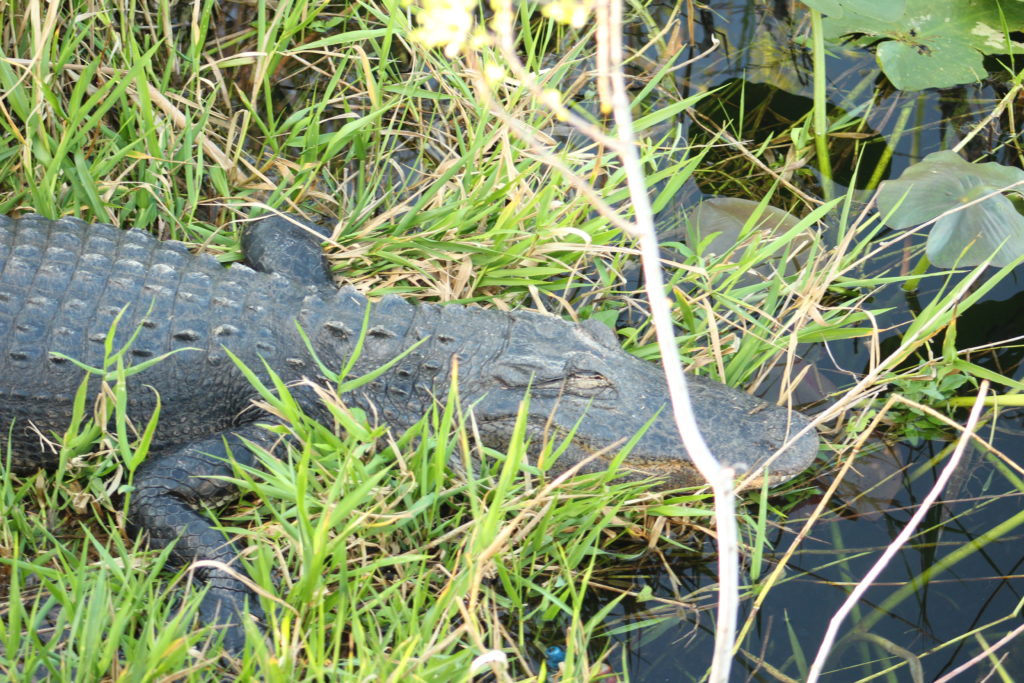
There was so much to do there! We checked out the visitor’s center, hiked almost all the trails, and kind of wished we had brought our kayaks (I’m iffy about kayaking with gators, and there’s crocs in the Everglades!).

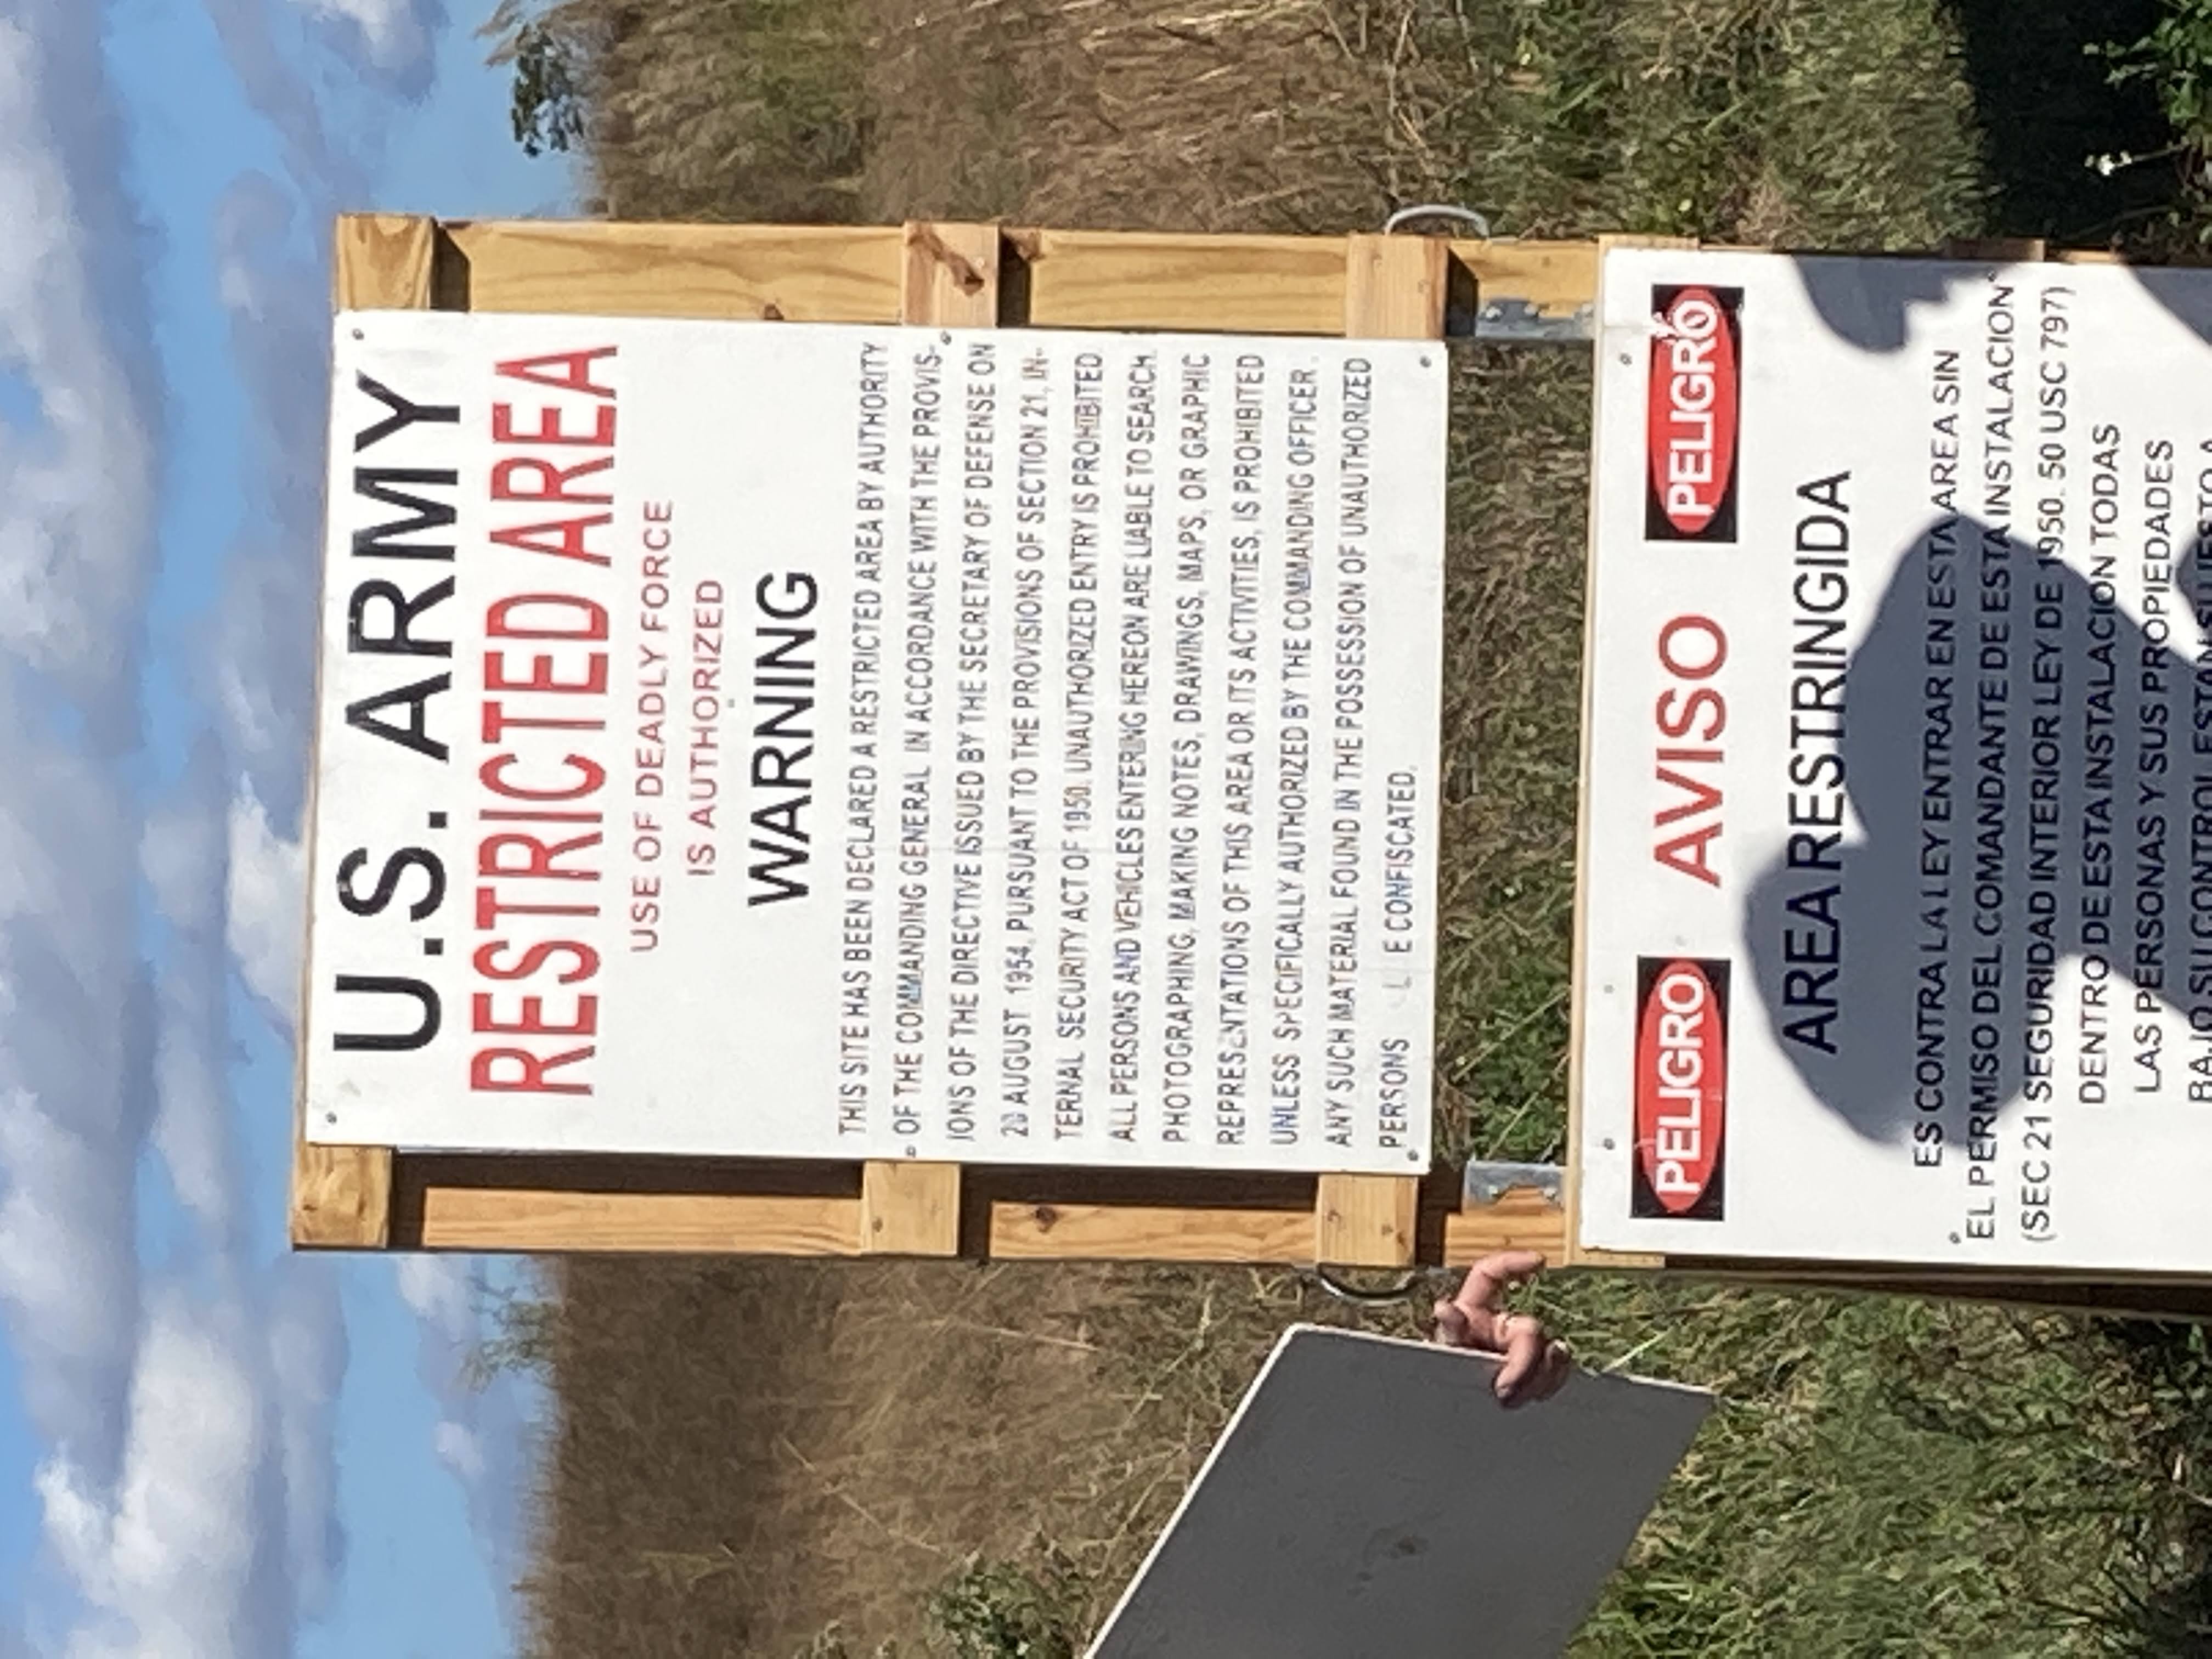
We went on the Nike missile base tour one afternoon. It’s history brought to life!

A replica of the original sign.
We’re always on the lookout for alligators.

Pattern Review: Spencer Robe by Made for Mermaids

I recently made the Spencer robe by Made for Mermaids which is part of their Lounge and Lace collection. This robe is perfect for boys or girls and comes with lots of options as usual.

Living in Florida means we don’t need a lot of heavy, warm clothes, but my kids still like robes. This one can be made from lightweight knit material and is perfect for warmer weather. If you live somewhere cooler, it can be made from heavier knits like fleece.

This robe is super comfy – perfect for relaxing and curling up with the electronic device of your choice.

Pockets are a must for any kids clothing item and robes are no exception!

This is the long length which comes just to the knees. The short length just covers the bum.

I chose to add the bear (so it’s got a panda feel for my panda loving boy) ears. There are also options for kitty ears, dino spikes, and a unicorn horn. If you don’t want any ears, you can just do a simple hood or skip the hood altogether and do a shawl collar.

The Spencer robe is also available for men and women.

Individually – $9.00 each
www.madeformermaids.com/spencer
www.madeformermaids.com/womensspencer
www.madeformermaids.com/mensspencer

Kids and Women Bundle $18

www.madeformermaids.com/spencerbundle

Women and Men Bundle $18
www.madeformermaids.com/spencerbundle2

Kids, Women and Men Bundle $27
www.madeformermaids.com/spencerbundle3

Fan-Folded Leaves

IMG_1480[1]This fan-folded leaves craft was from Better Homes & Gardens several years ago.  The first time I did it was with a group of elementary age kids.  I simplified it some because it involved painting and I didn’t want to get into that with little kids just yet.  🙂  I printed out the pattern and then photocopied it onto red, yellow, and orange construction paper (you could cut out the pattern and then trace it onto paper if you’re just doing it with your kids.  I was doing it with a large group of kids).  I’ve learned that kids didn’t like to trace and I spent a lot of time tracing their patterns for them.  I thought they would be asking for help cutting, but they did surprisingly well!  Each kid had time to make two or three leaves (depending on how well they focused on the task at hand).

Anyway, first make the fan folds on the long edge (hot dog folds).

IMG_1481[1]
Then open it back up and fold the paper in half the other way (a hamburger fold – anybody else have kids that were taught this way?).  Make sure that they fold it the right way otherwise you’ll end up with a very odd looking leaf and a confused kid.
IMG_1483[1]

Keep it folded in half and cut out the leaf.
IMG_1484[1]
Then, open it back up and redo the fan folds.
IMG_1485[1]
Fold it in half so the long edges of the leaf meet. Glue (or tape or staple) the long edges together and voila, leaf.
IMG_1486[1]

The great thing about this is it doesn’t matter how you make the fan folds.  Big, little, a mix, it all works and makes the leaves unique.

DIY Inuyasha Halloween Cosplay Costume

*This post contains affiliate links.

My tween/teens have been watching a lot of animes lately and one of them is Inuyasha. My daughter decided she wanted to make an Inuyasha costume for her youngest brother for his birthday. Plus, it will double as a Halloween costume.

InuyashaFrontSword

She only bought two things – the wig (although she did try to make one with white yarn – it just proved too time consuming) and the katana (Tetsusaiga in it’s smaller form). We were hoping to find one at Dollar Tree, but no such luck. Maybe when it’s closer to Halloween season.

Inuyasha necklace

The necklace was made from oven bake clay. We found a one pound block at WalMart for around $6. The beads are about 1″ in diameter and she used a large needle to make a hole through them prior to baking. Make sure that they bake long enough! The first ones apparently didn’t and then after they were painted they stayed tacky. The teeth have nothing on them. We tried ModPodge, but it stayed super sticky so those got remade too. She threaded the necklace on a piece of fishing line. The necklace is heavy so we will make a cloth sleeve to go around the string at the back so it doesn’t hurt his neck. It will be hidden by the wig.

Inuyasha dog ears

We used a scrap of white craft foam to make the dog ears. Cut a slit in the bottom of the ears and then hot melt glue the edges to help them stay in a curved shape. The fuzz is white and pink yarn that was pulled apart and then hot melt glued to the ears. The ears were then hot melt glued to the clear headband (also bought at WalMart).

Inuyasha full costume front view

The pants and shirt were made from some fabric we found at, you guessed it, WalMart. It’s similar to this one. The one we used is heavier, but any knit fabric with some drape will work. The pattern came from several different patterns that I mashed together. The pants can be made using a pajama pants pattern. There’s a free one available in youth and adult sizes. They need to be baggy and a bit long. Putting elastic around the ankles helps give them the needed volume while keeping them from being tripped over. The pants will sag over the elastic and it won’t be seen.

Inuyasha ankles with elastic

The shirt was a bit more complicated. I used this pattern because it was one I had, however, any v-neck shirt will work. The shirt is cut big and the side seams are straight (my pattern has the side seams tapered in, but I wanted a baggy look). I cut the sleeves at an angle so they get bigger at the wrist instead of smaller.

The sleeves have a small white spot (a tear, maybe?) midway between the elbow and the shoulder. This is easiest to do before you sew up the sleeves. I folded the sleeves in half and cut a 3″ slit that was less than 1/2″ wide in the center. I then sewed a scrap of white fabric to the inside of the sleeve.

The black around the sleeve hems is a scrap of black fabric cut into strips about 1/2″ x 3″. I zigzag stitched them on, but you could probably glue them on too. The belt is 2″ wide and 7′ long.

Inuyasha Back with Tetsusaiga

I think the piece that we are proudest of is the Tetsusaiga! The hardest part was getting the shape right. Once we had that, everything else was relatively easy. Because we wanted the sword to be lightweight, but also not flexible we used 1″ rigid foam board (we got ours from Home Depot). It’s covered with craft foam. We bought a 2mm sheet at JoAnns (I think it was 24″x40″ and was around $10 on sale – there are almost always coupons available if it isn’t on sale). We were able to cut both pieces out of it. We cut them about 2″ too big so that there was room to glue them together around the edges and then trimmed off the excess. The whole thing is painted silver.

The handle is a 1/2″ dowel about 16″ long. We drilled a hole into the rigid foam board and put some super glue on the dowel and pushed it into the foam. The dowel is then covered with craft foam and then wrapped with strips of black fabric.

The fluff around the handle is yarn that was separated into strands and then tied in bunches and hot melt glued to the sword. It also helps hide the edge that isn’t finished.

Do you have any questions? Let me know in the comments. Happy sewing!

*This post contains affiliate links. See my disclosure policy for more details.

Scribble Art

Scribble Art
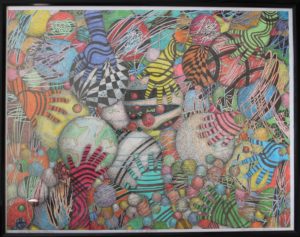
Looking for an idea to keep your kids (or you) occupied for a bit this week?  This was an art project from several years ago, but it would be a fun family art project.  All you need is some paper – whatever size you want, a pencil, and something to color with (markers or colored pencils would probably work best).

My idea for art class this week was based on something I loved doing as a kid – making scribbles and then coloring them in.  My father-in-law did the above drawing.  It has my daughters hands traced in it as well as her scribbles which he then incorporated into the design.  I certainly didn’t expect this caliber of art from elementary students, but perhaps I should have explained the scribble part better.  A lot of what they did was just scribble-color the whole page.

I envisioned something more like this:
IMG_1557[1]

My kids kind of got the idea.
IMG_1558[1] IMG_1559[1]

It was a fun and easy craft requiring no preparation and no special items.

Did you ever do scribble drawings?  What was your favorite artsy thing to do as a kid?  Do you still enjoy it?

Looking for more ideas?  Check out my other art ideas.

  • 1
  • 2
  • 3
  • …
  • 43
  • Next Page »

Hi, I'm Mona - wife, mom, teacher, seamstress, blogger. This is my home on the web. Read More…

Categories

Copyright © 2026 · The Marianne Theme By Blogelina · Built on the Genesis Framework

Copyright © 2026 · The Marianne on Genesis Framework · WordPress · Log in