 I’m working on a series of posts about adjusting clothing to fit. To see all of them click here – How to Sew.
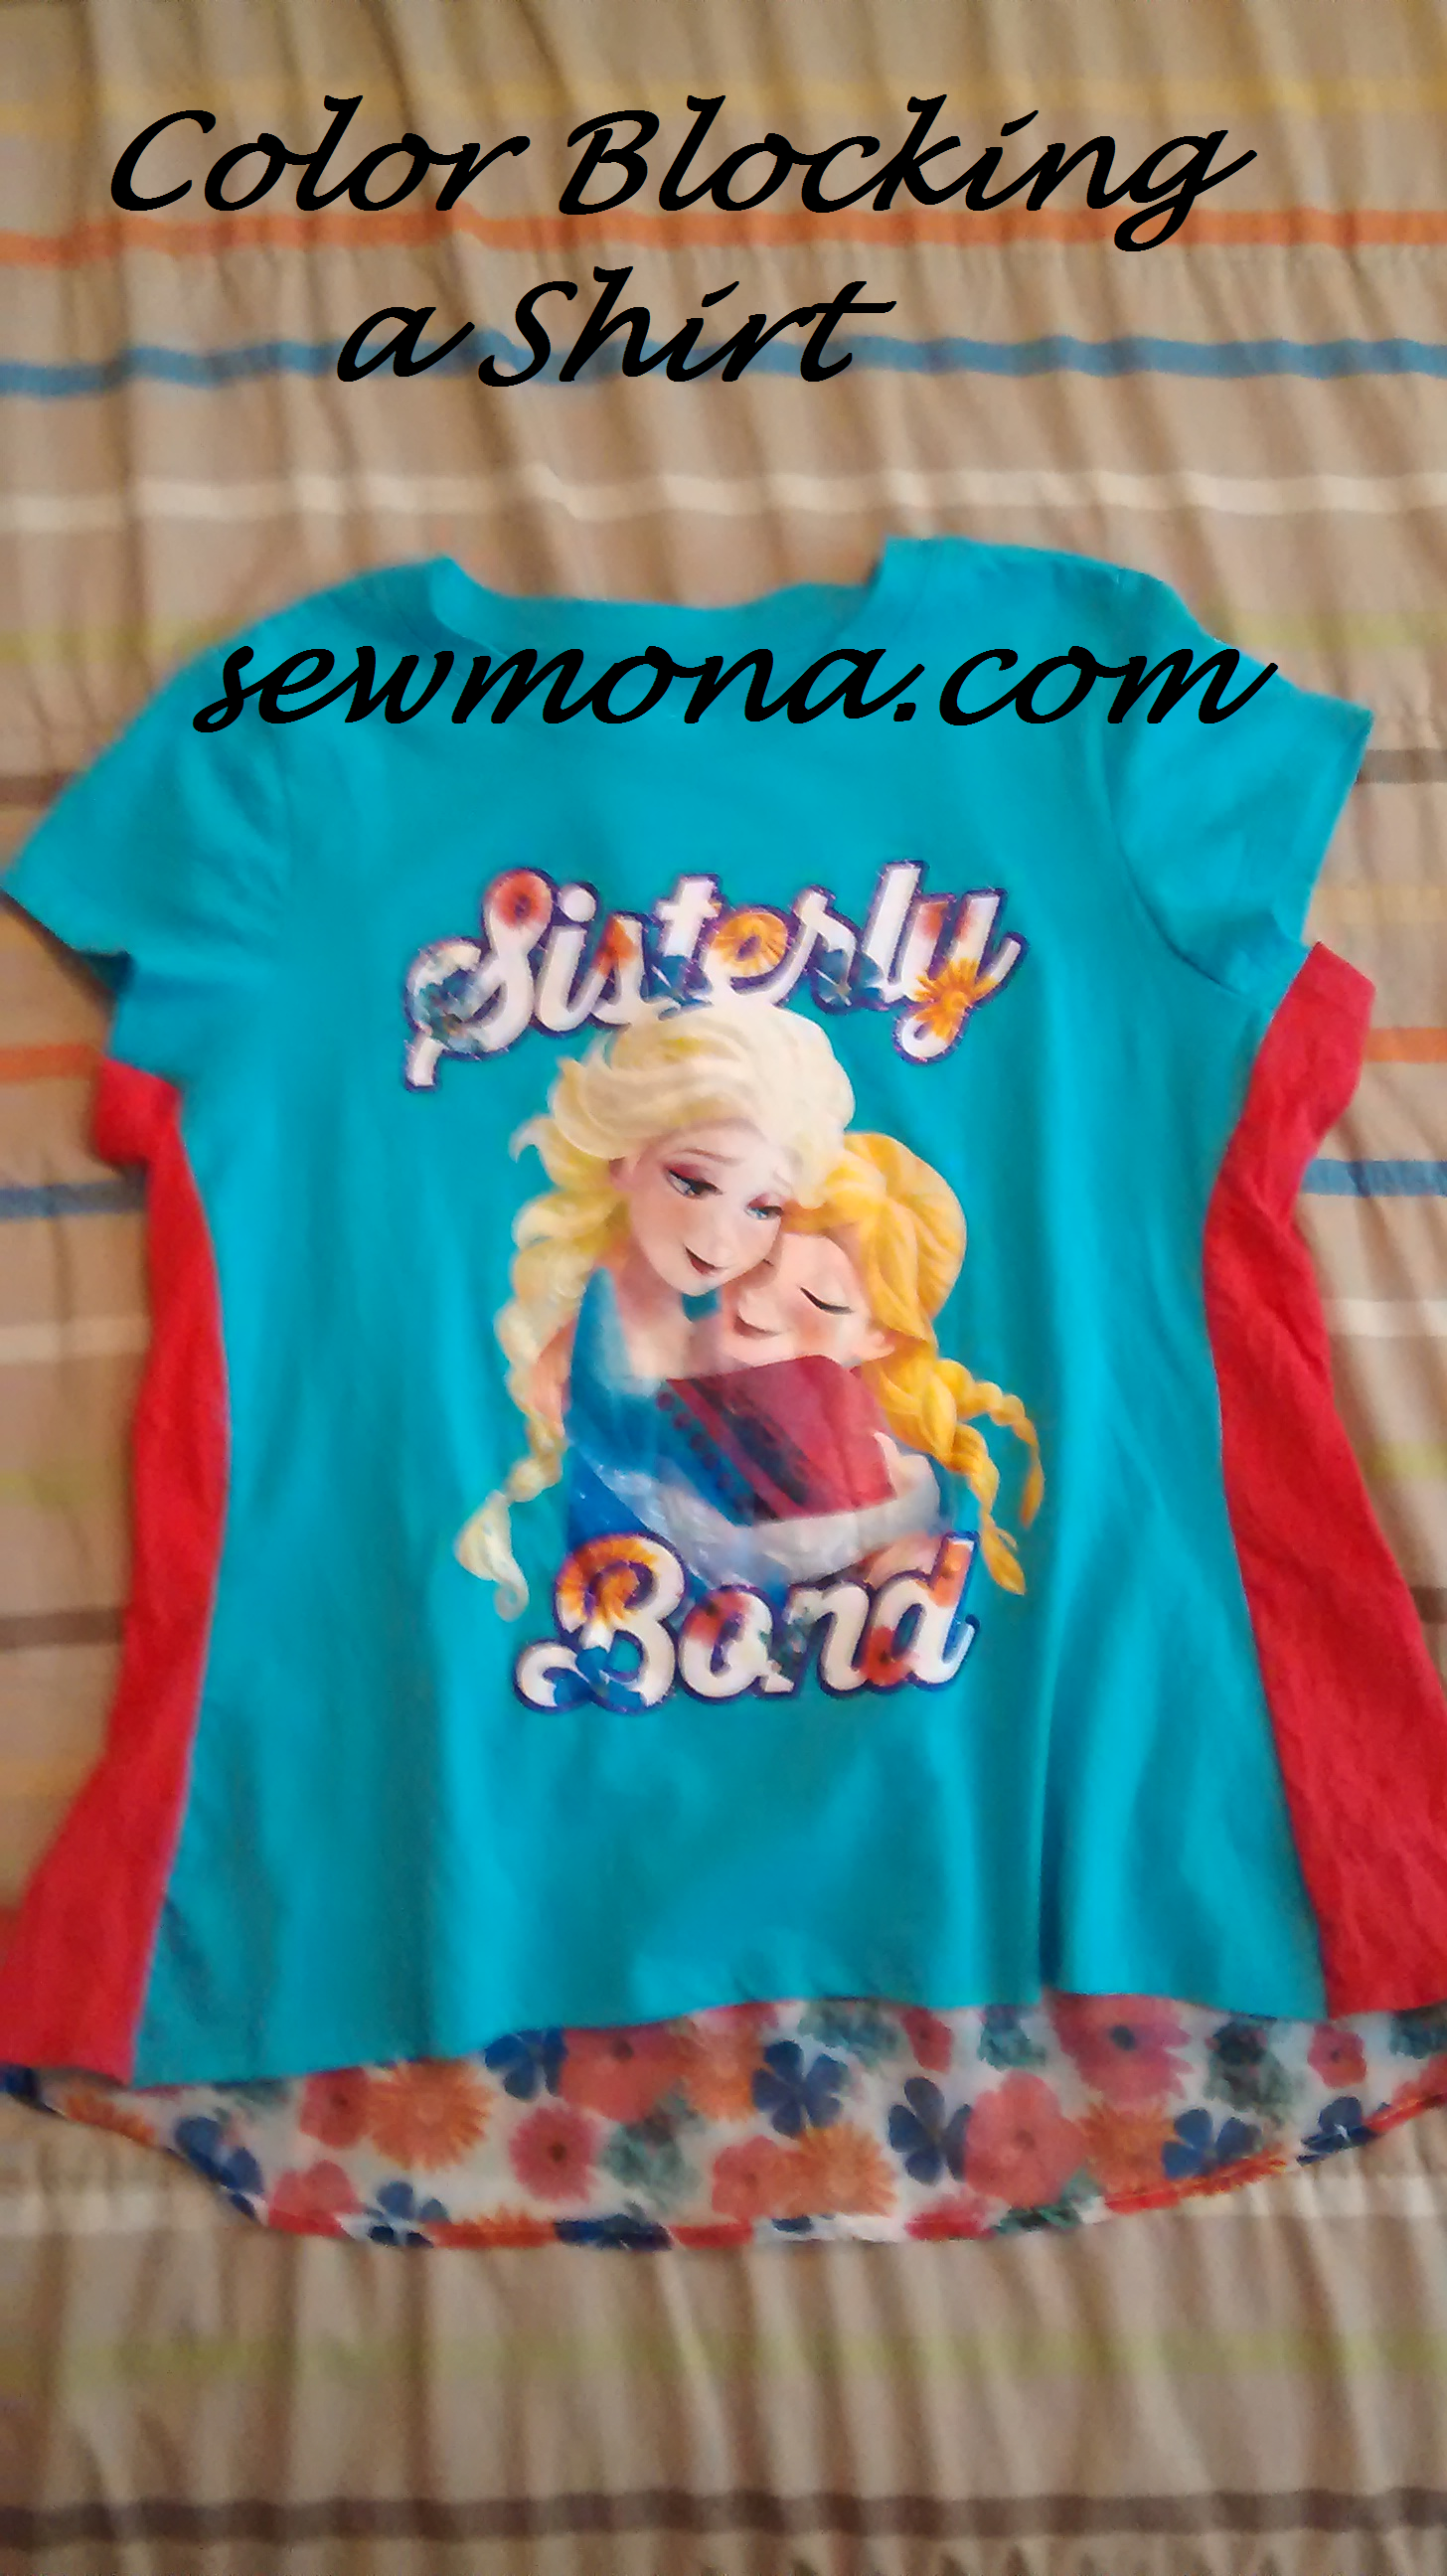
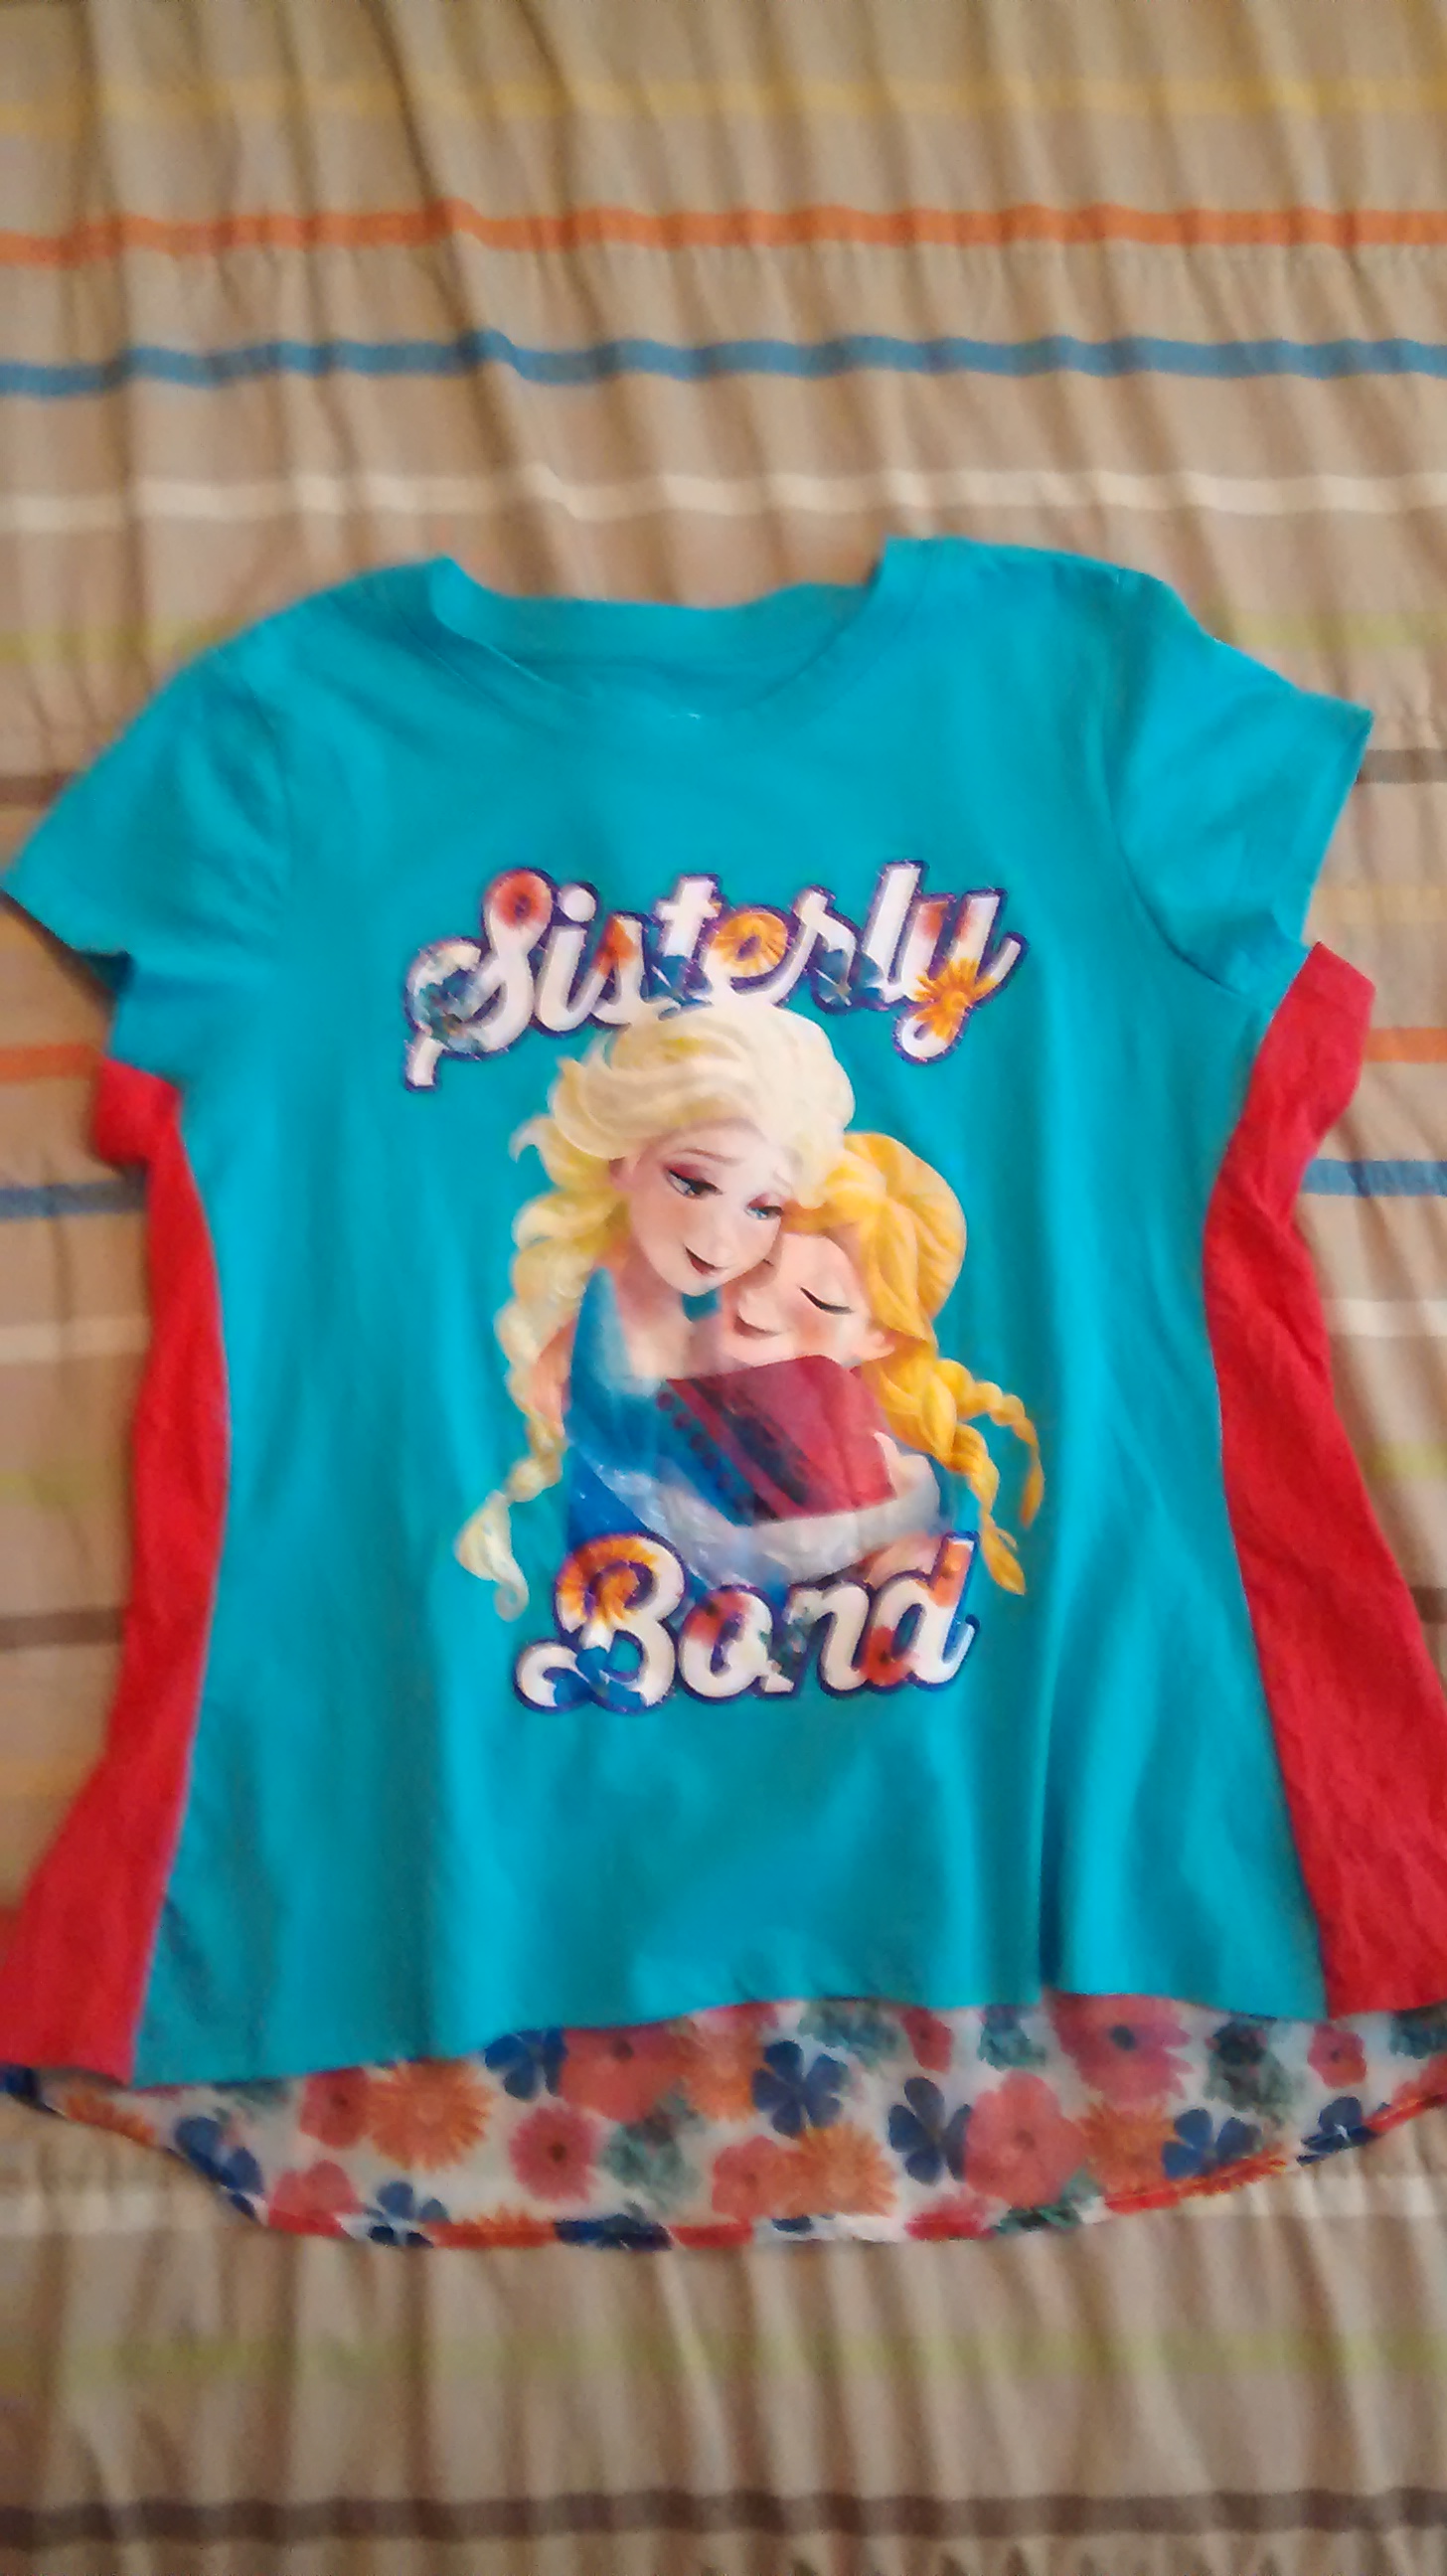
Did you ever find the perfect shirt, only it wasn’t the right size? Maybe you bought matching shirts for kids and then they weren’t the right size. Maybe you found the perfect shirt at your local thrift store and but it was a little too small. Maybe it’s a favorite shirt that’s shrunk a bit. No matter, you can use color blocking to make it fit again.
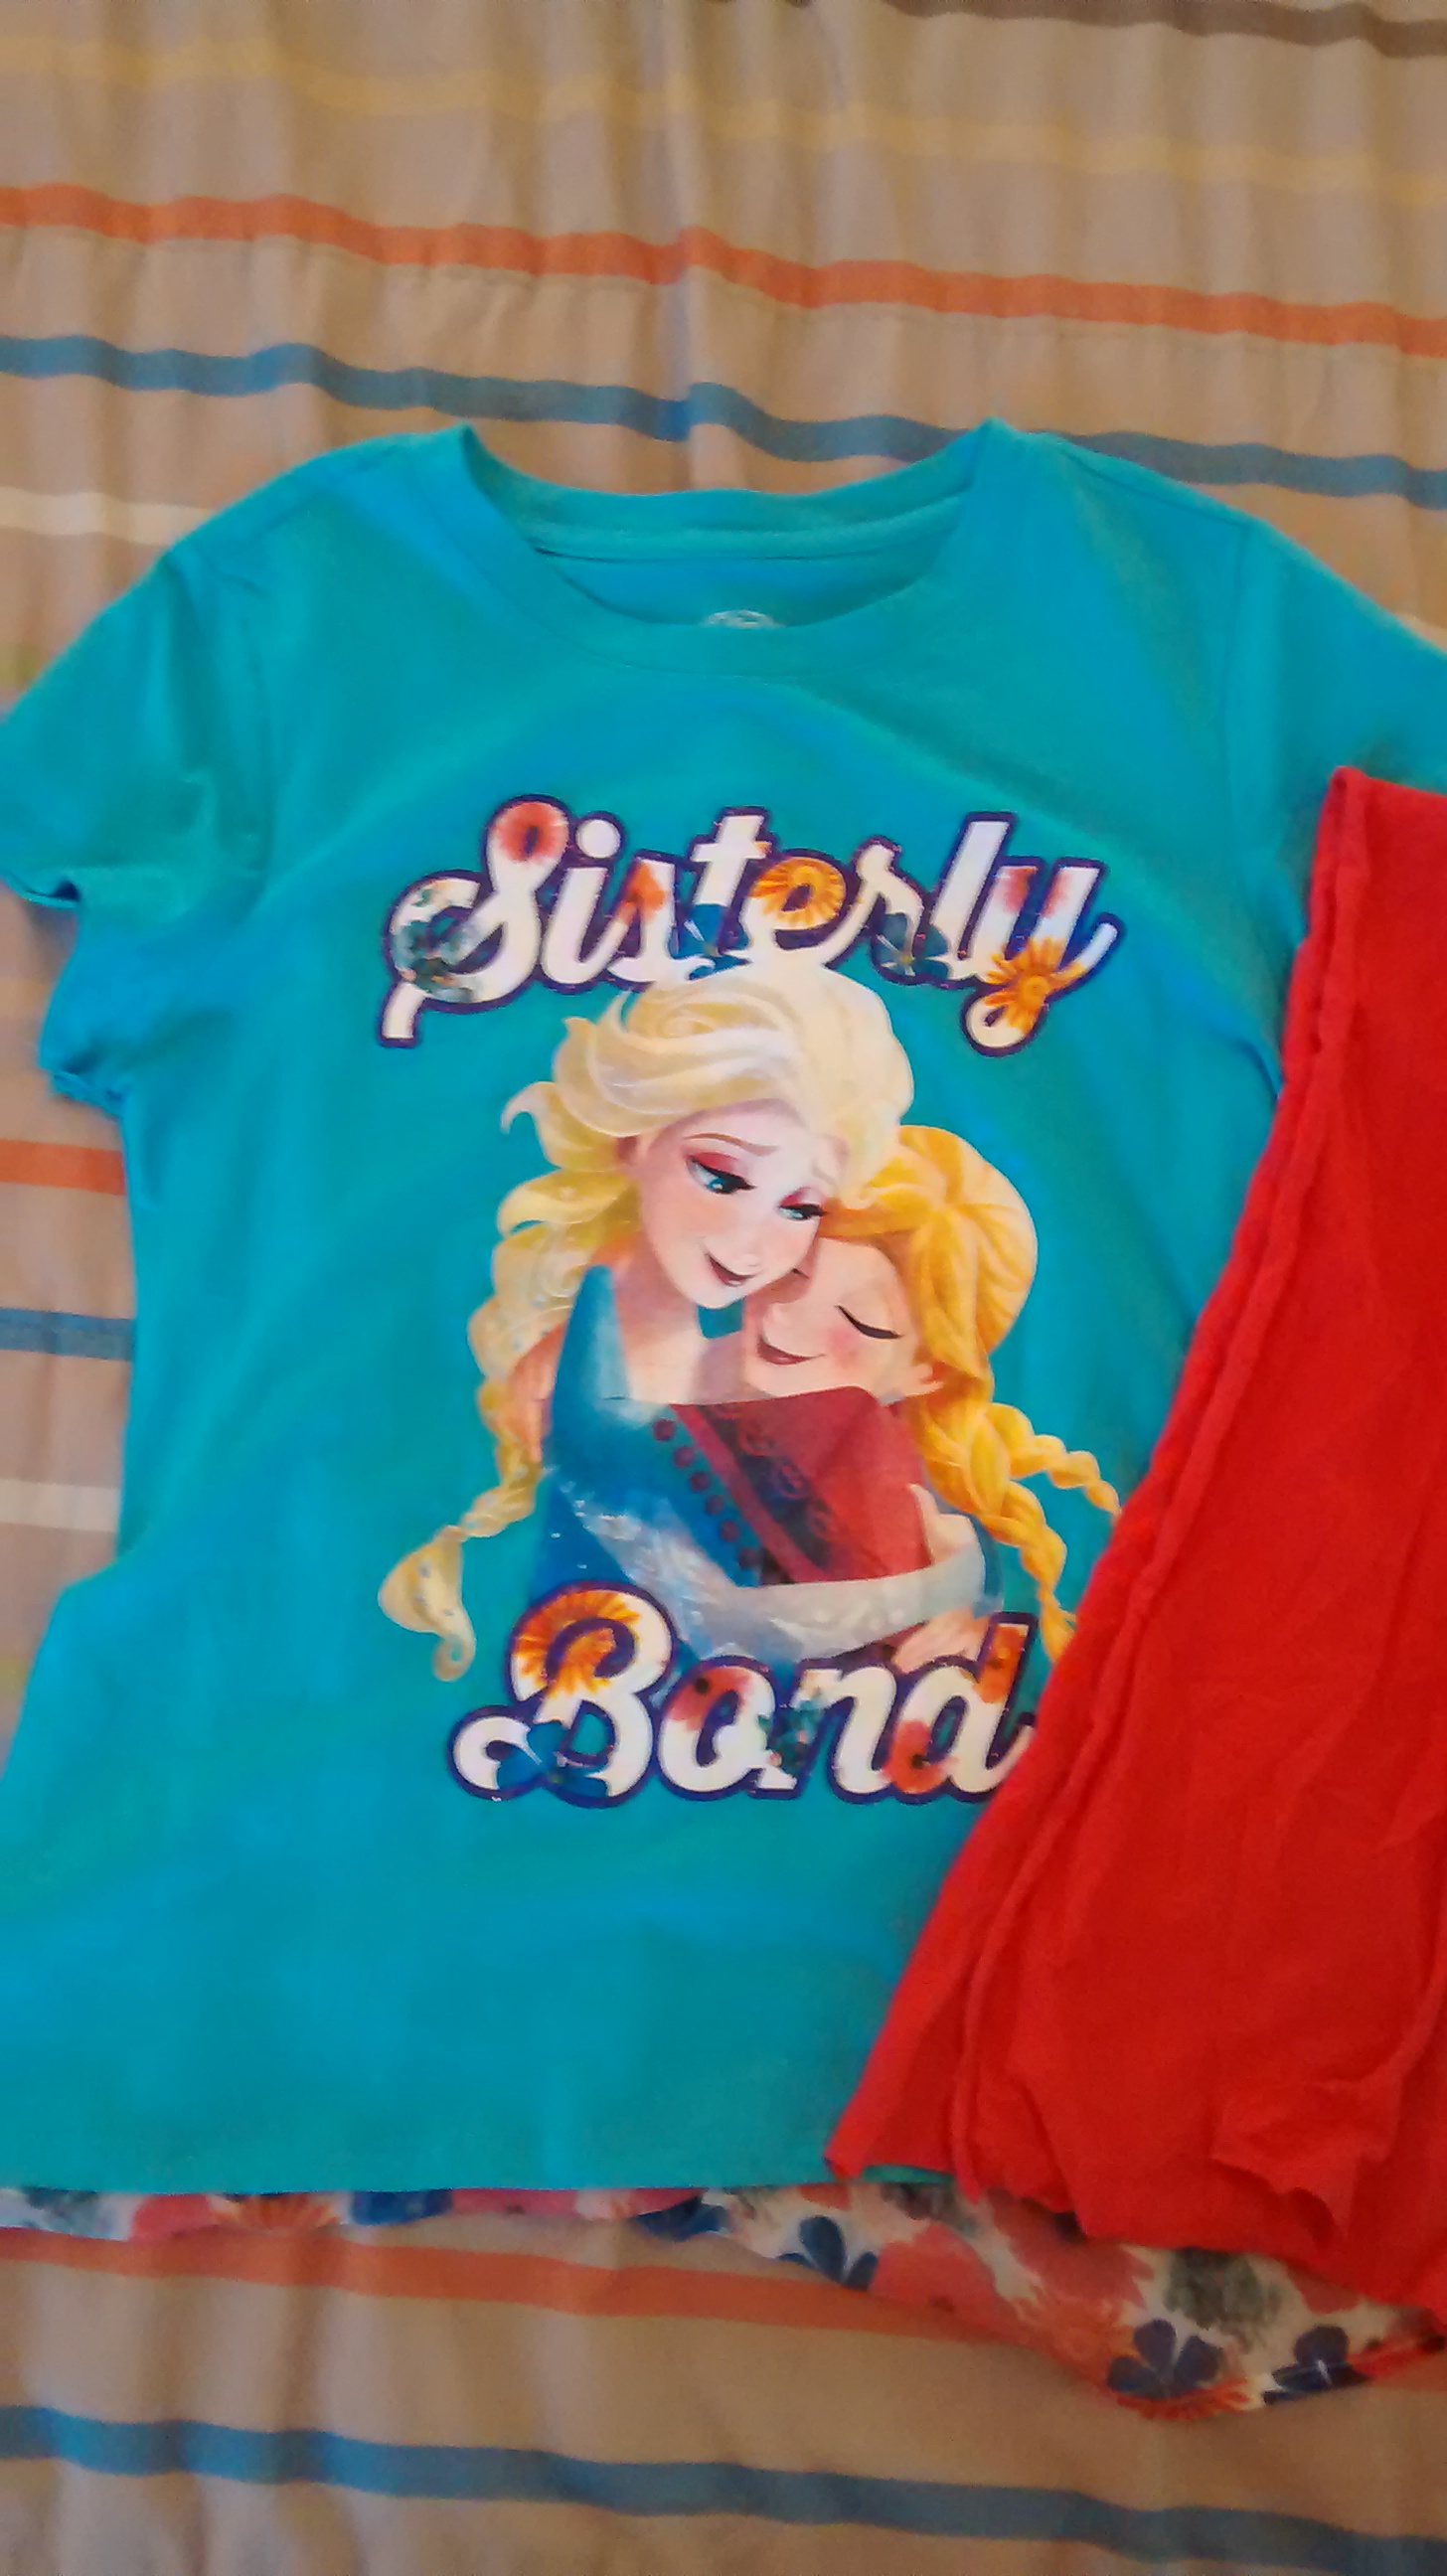
All you need is a coordinating material scrap that’s about the same weight as the shirt you’re fixing. For this shirt, I choose a plain color because there were already some prints going on. If it’s a solid color shirt, you could add a fun print.
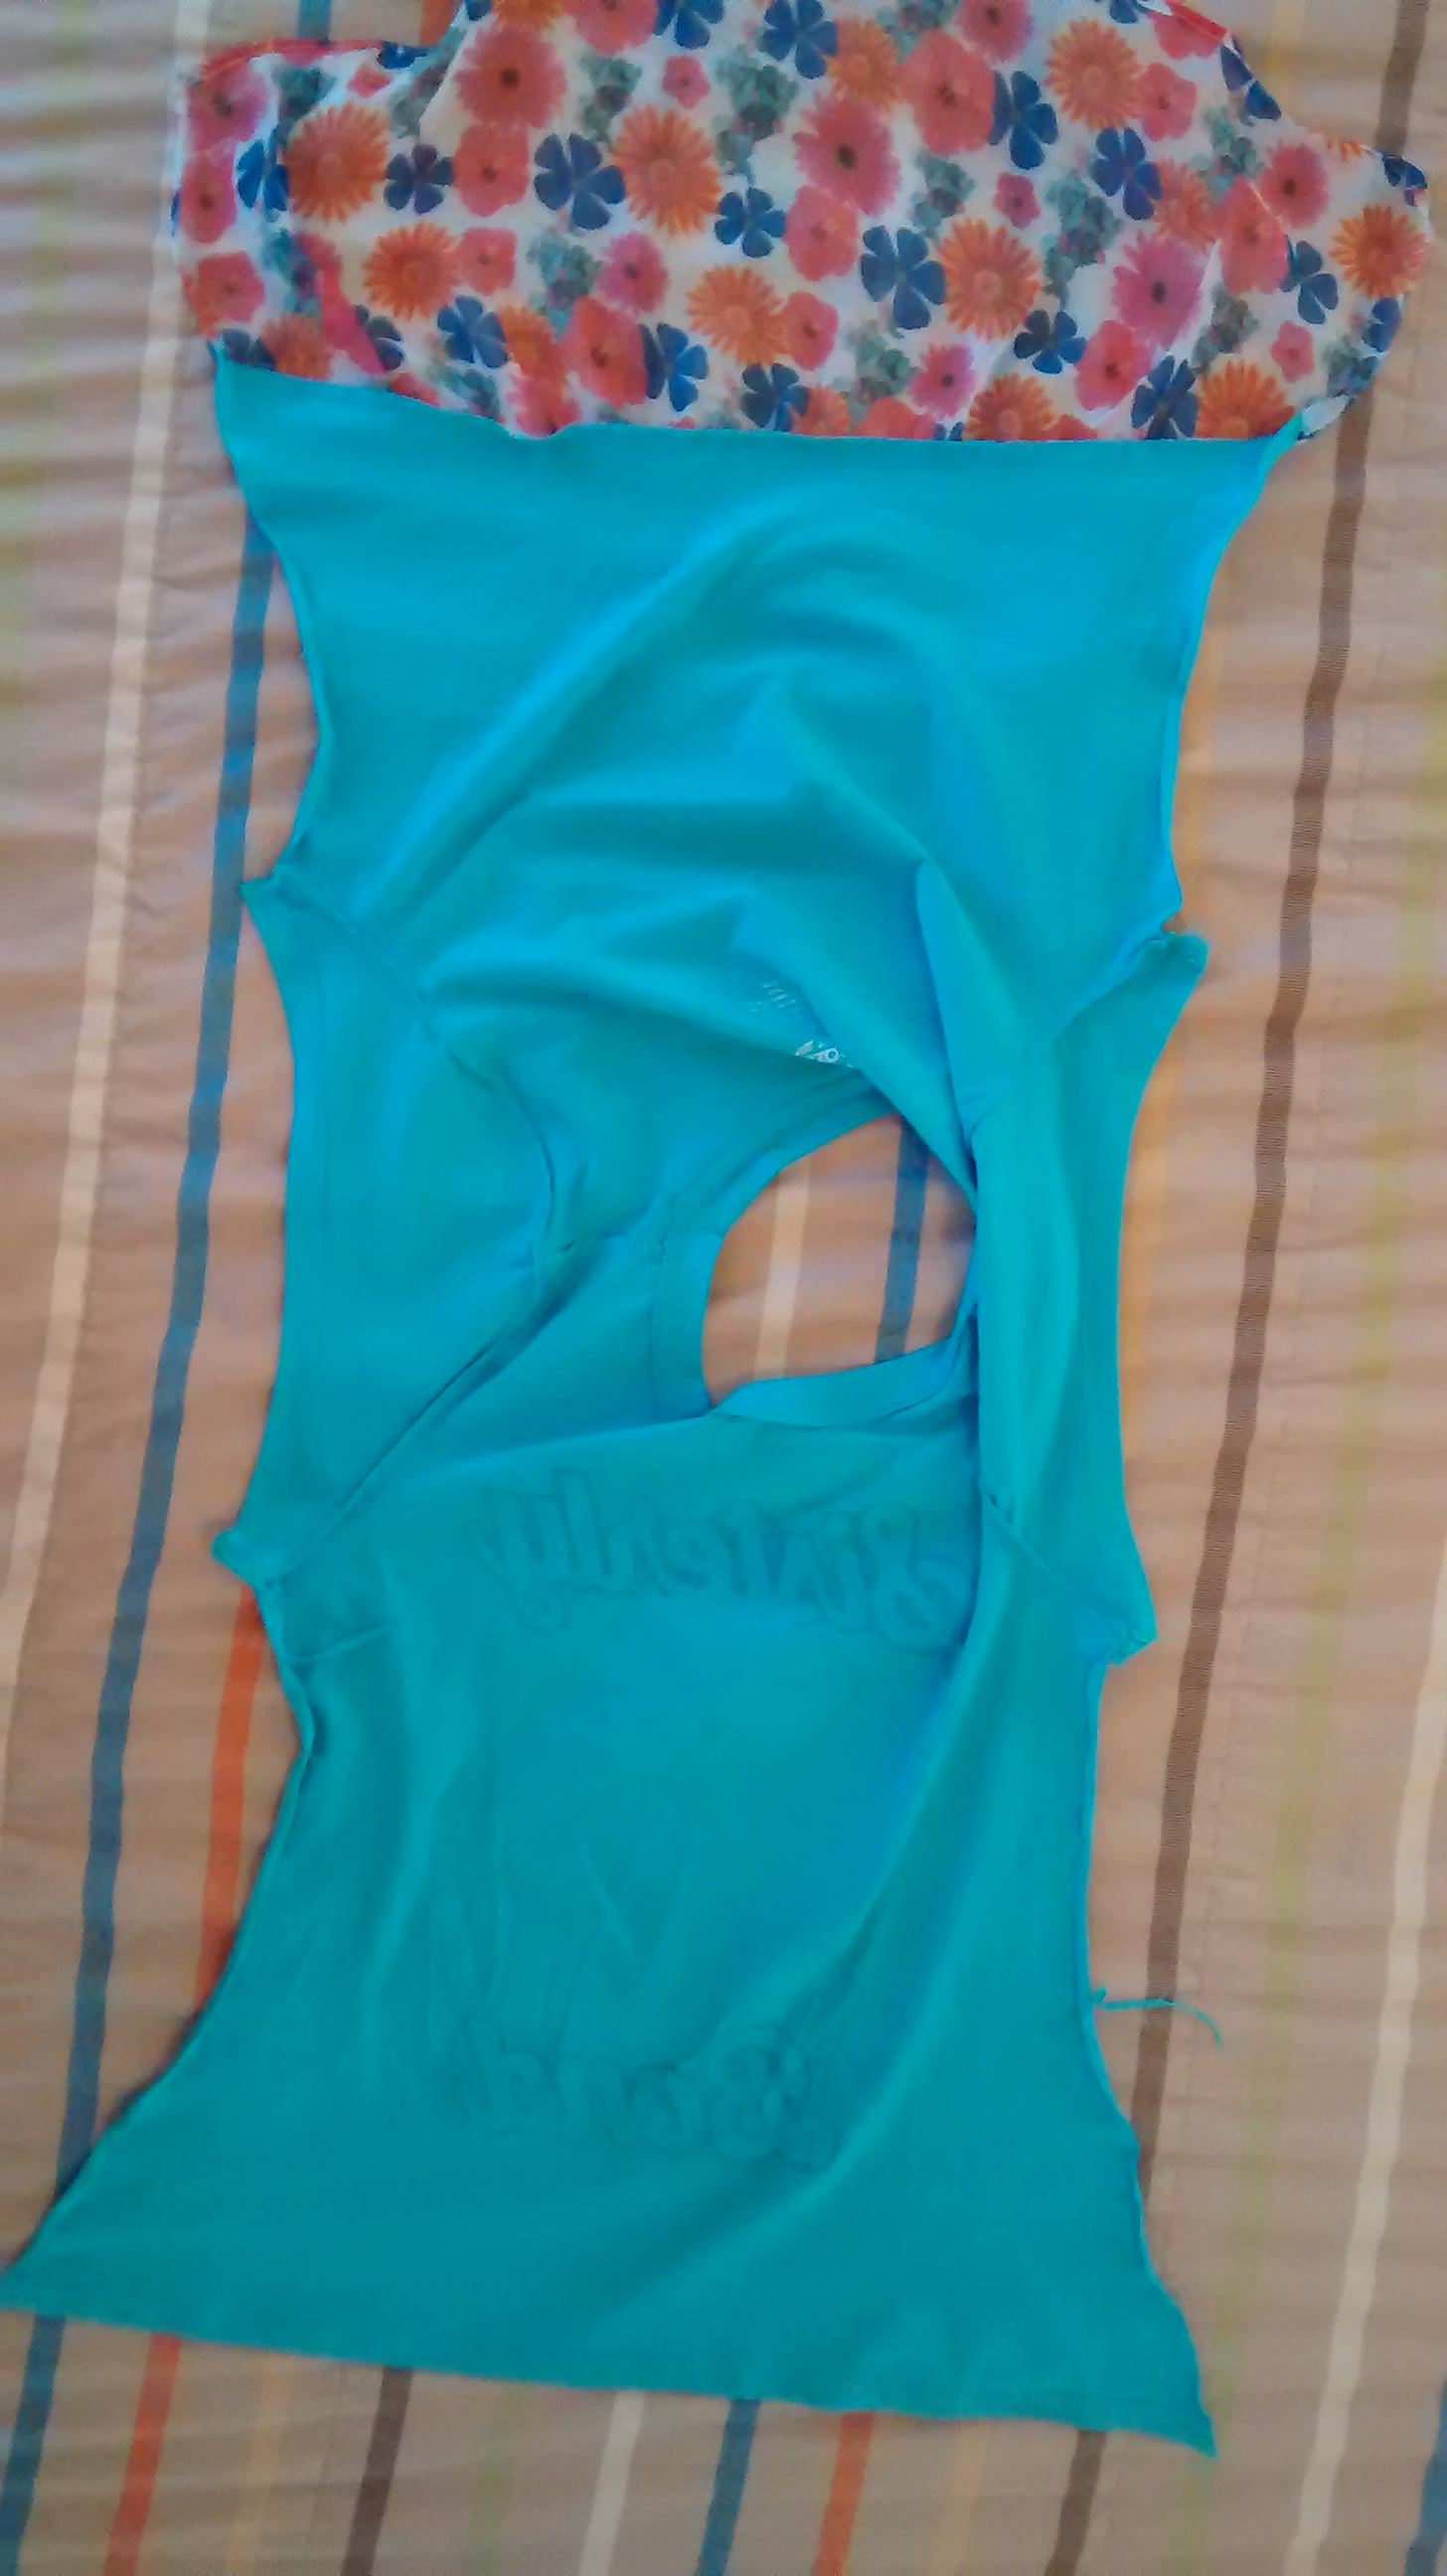
First, take apart the side seams. If you don’t want to rip the seams out, you can cut very close to either side of the seams and remove the seam. Do it all the way up the side and down the arm.
Cut two strips of your material to the length of the side & arm. Don’t forget to add a little bit for the hems on either end and make them wide enough to allow for the seam allowance. I added 1.5 inches to the length and about an inch to the width. Hem the short ends – I made sure the hems matched up to the hems on the shirt so the sleeve hem was a narrow hem and the shirt hem was a little wider.

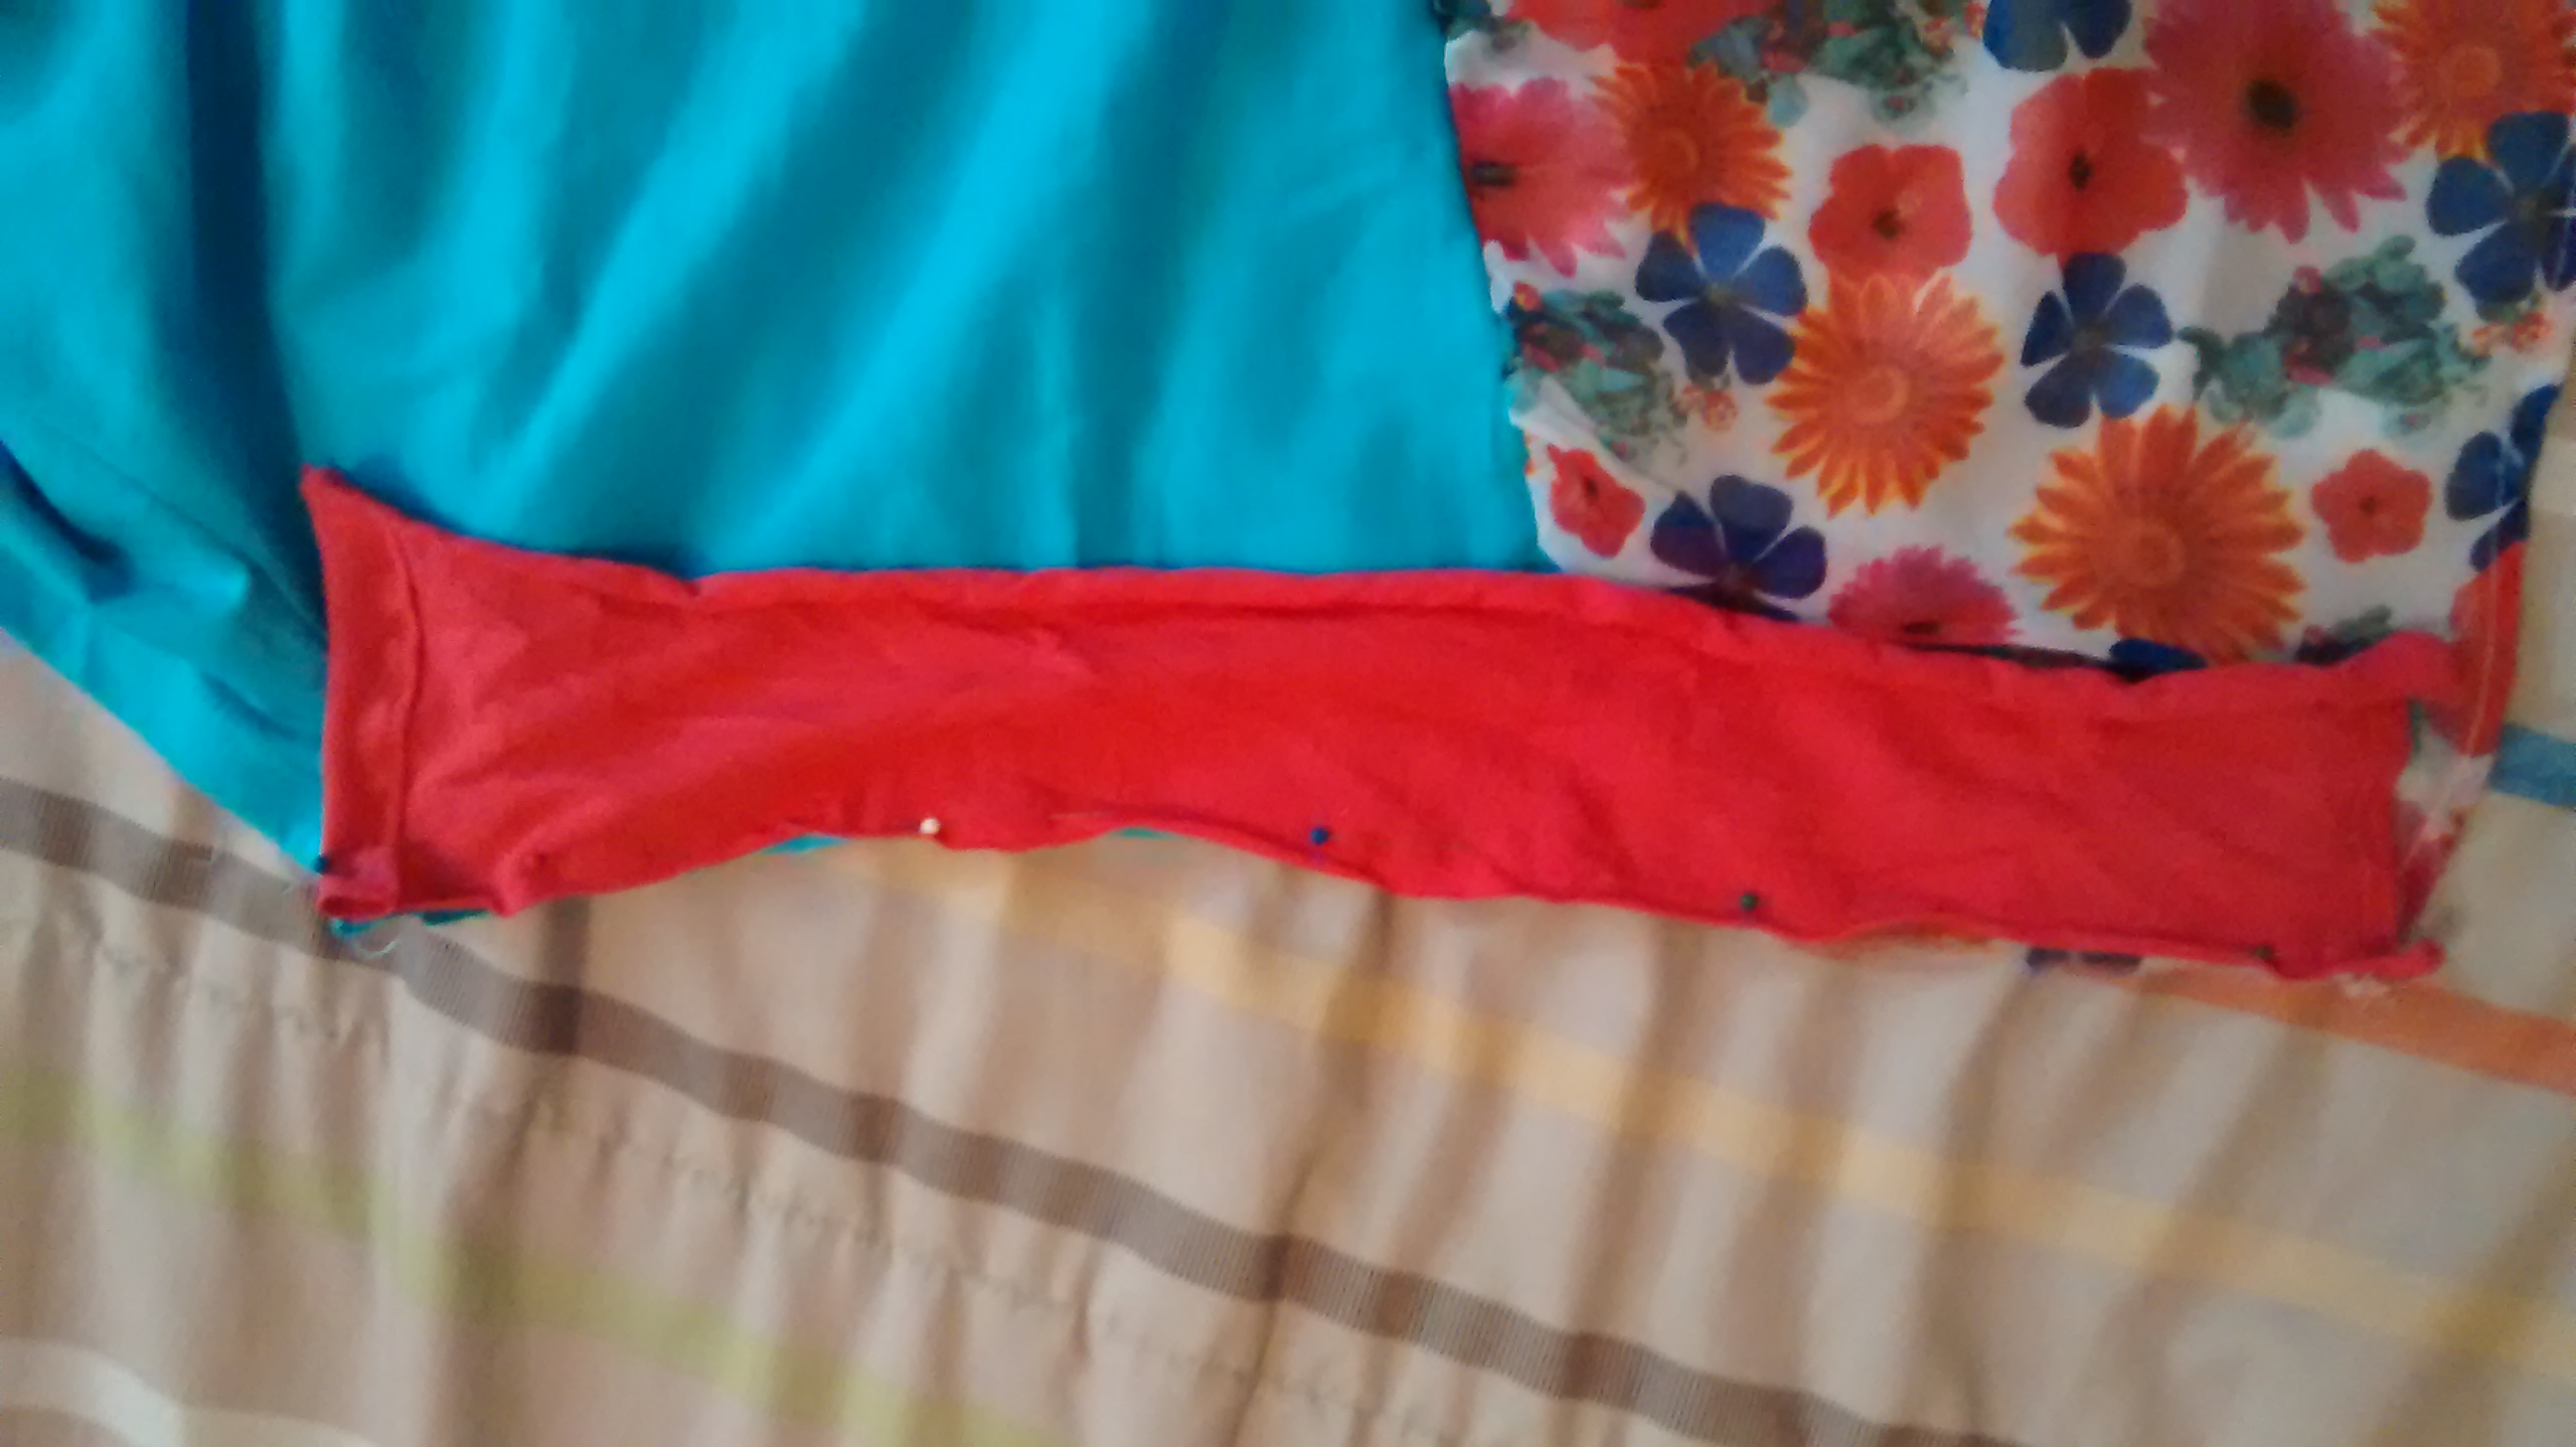
Pin the hemmed pieces to the sides making sure your hems are at the right end. Sew the seams.
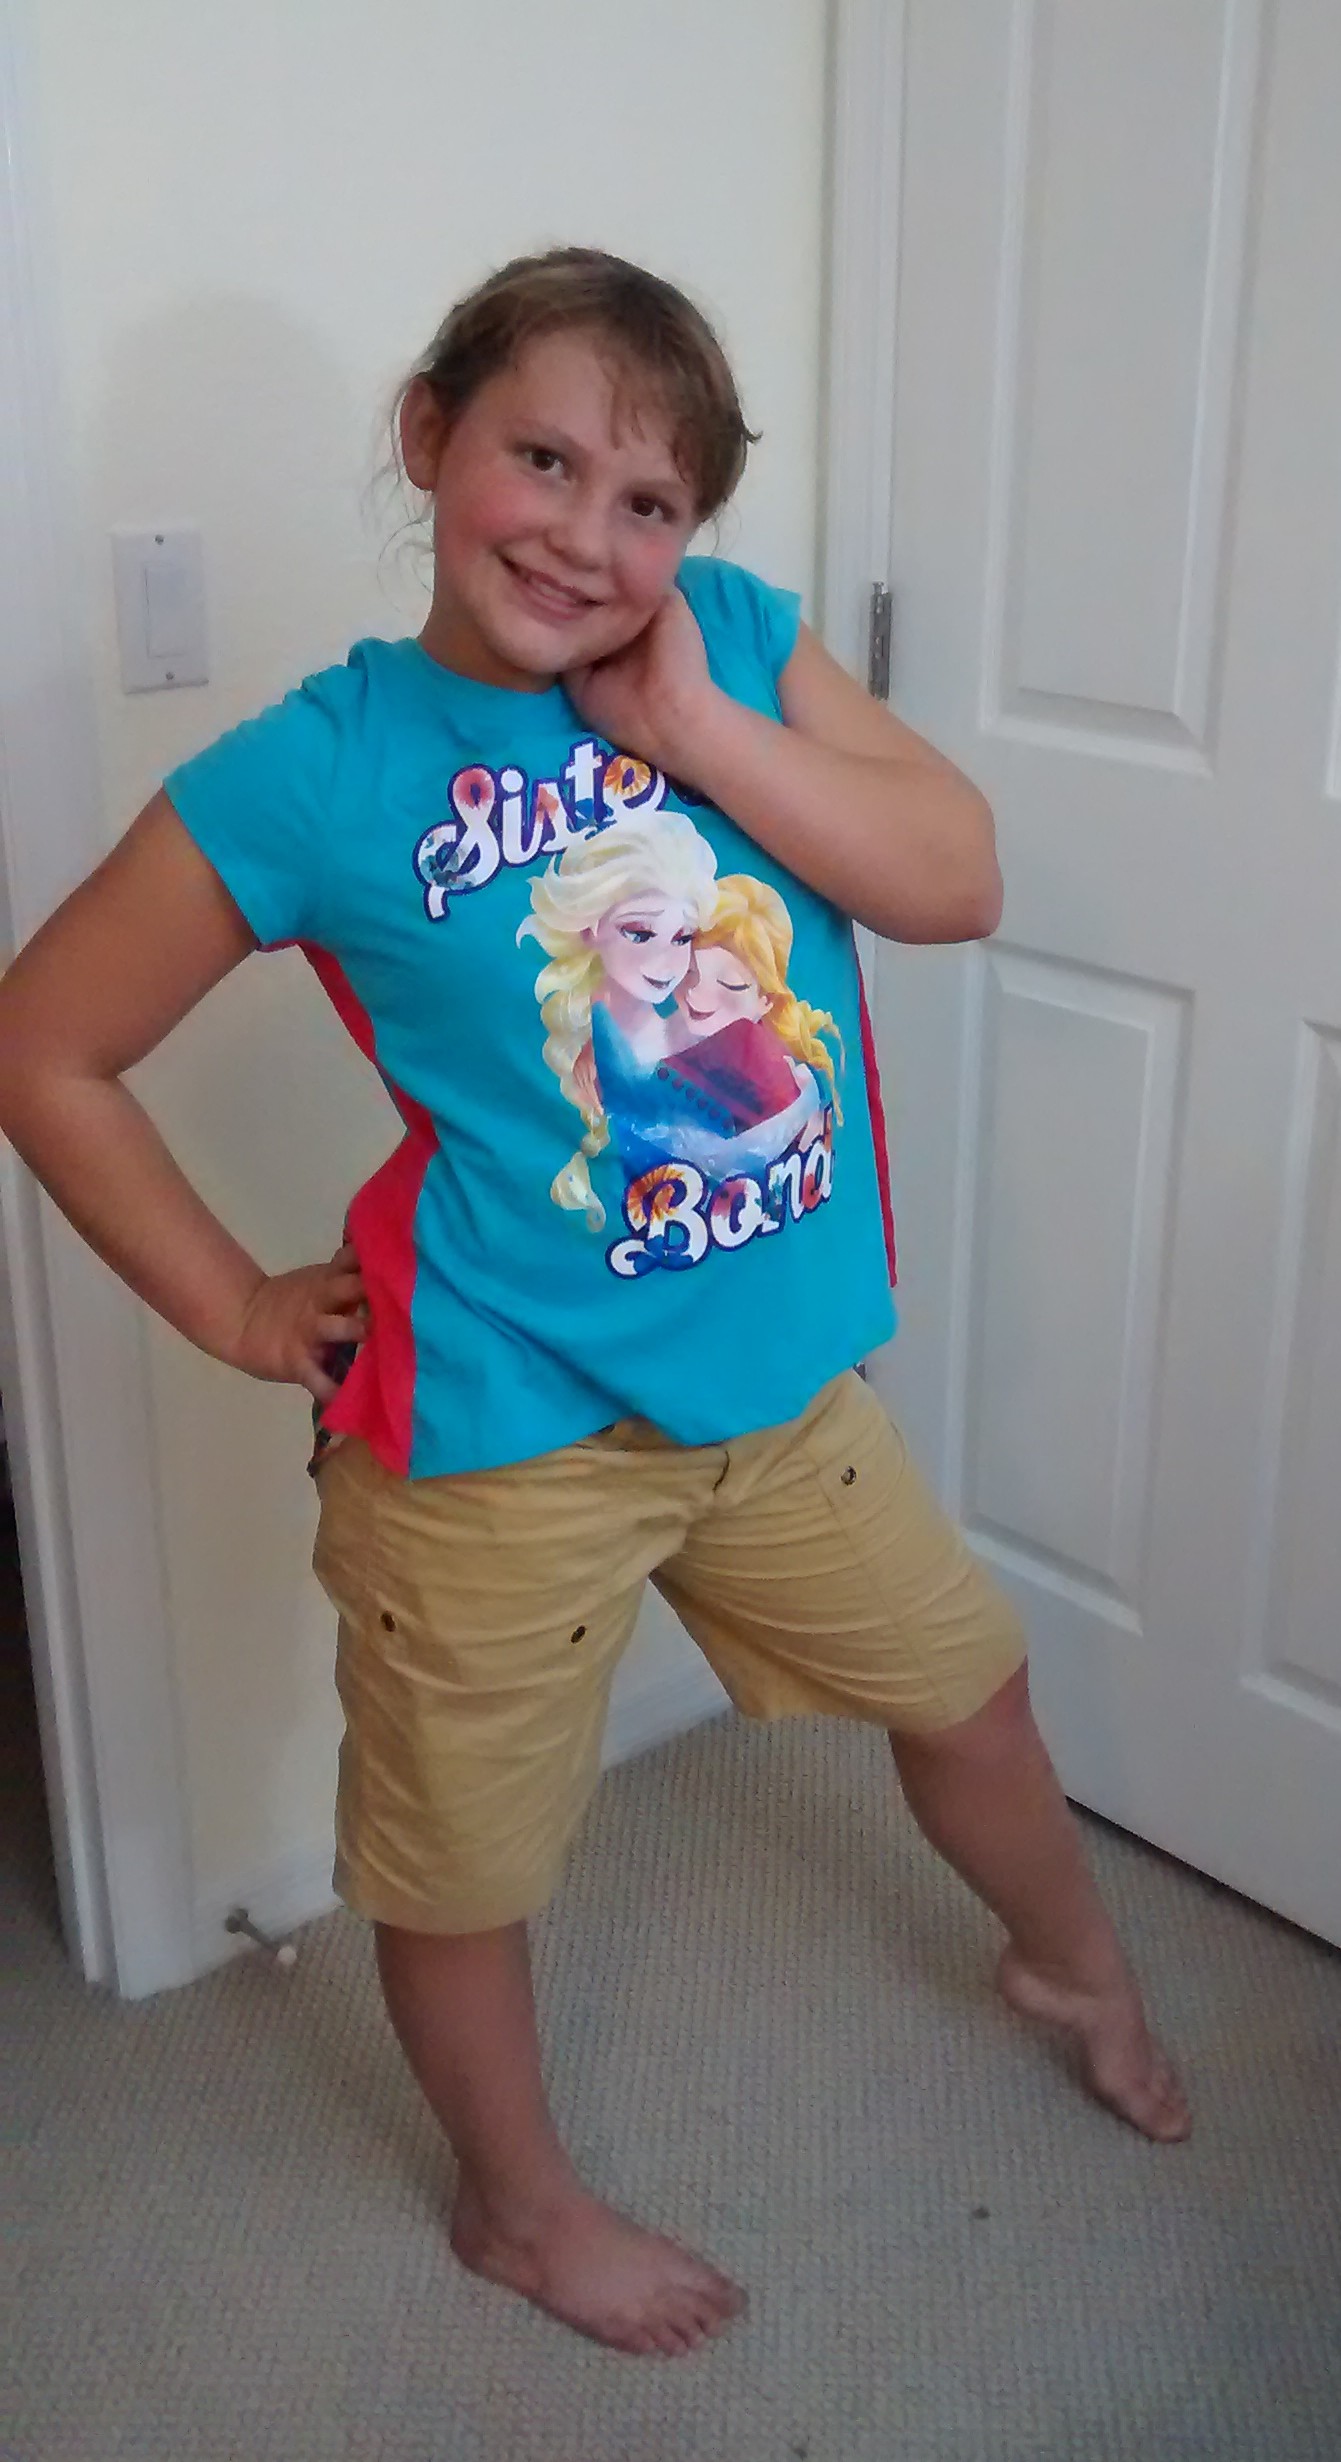
Turn it right side out and admire your work. It’s really an easy project – less than an hour…probably less than 30 minutes if you choose to just cut the seams out.
Have your model try on the shirt.
[…] blocked the bottom and used the same material for the neckline. I love the way it came out! Color blocking is super easy! When I cut the print piece, I added an inch to the top (the straight edge) for the […]