SewMona

A slice of my Florida life

  • Sewing
    • SewMona on Etsy
    • Clothes
      • Boys
      • Girls
      • Men
      • Women
    • Pattern Reviews
    • How to Sew
  • Camping
    • Florida Campgrounds
  • Recipes
  • Crafts
  • DIY
  • About

Making Pants Into Capris

Pants to Capris

I recently bought two pairs of pants at Goodwill. I needed some “new” work pants. I tried them on and was sure one pair would work. The other pair I wasn’t sure about – they seemed just a tad too short – like maybe an inch or so. After I got them home and washed them, I tried them on again. They just aren’t quite long enough for my taste. So, since there’s nothing wrong with them, I’m going to turn them into capris.

Short Pants
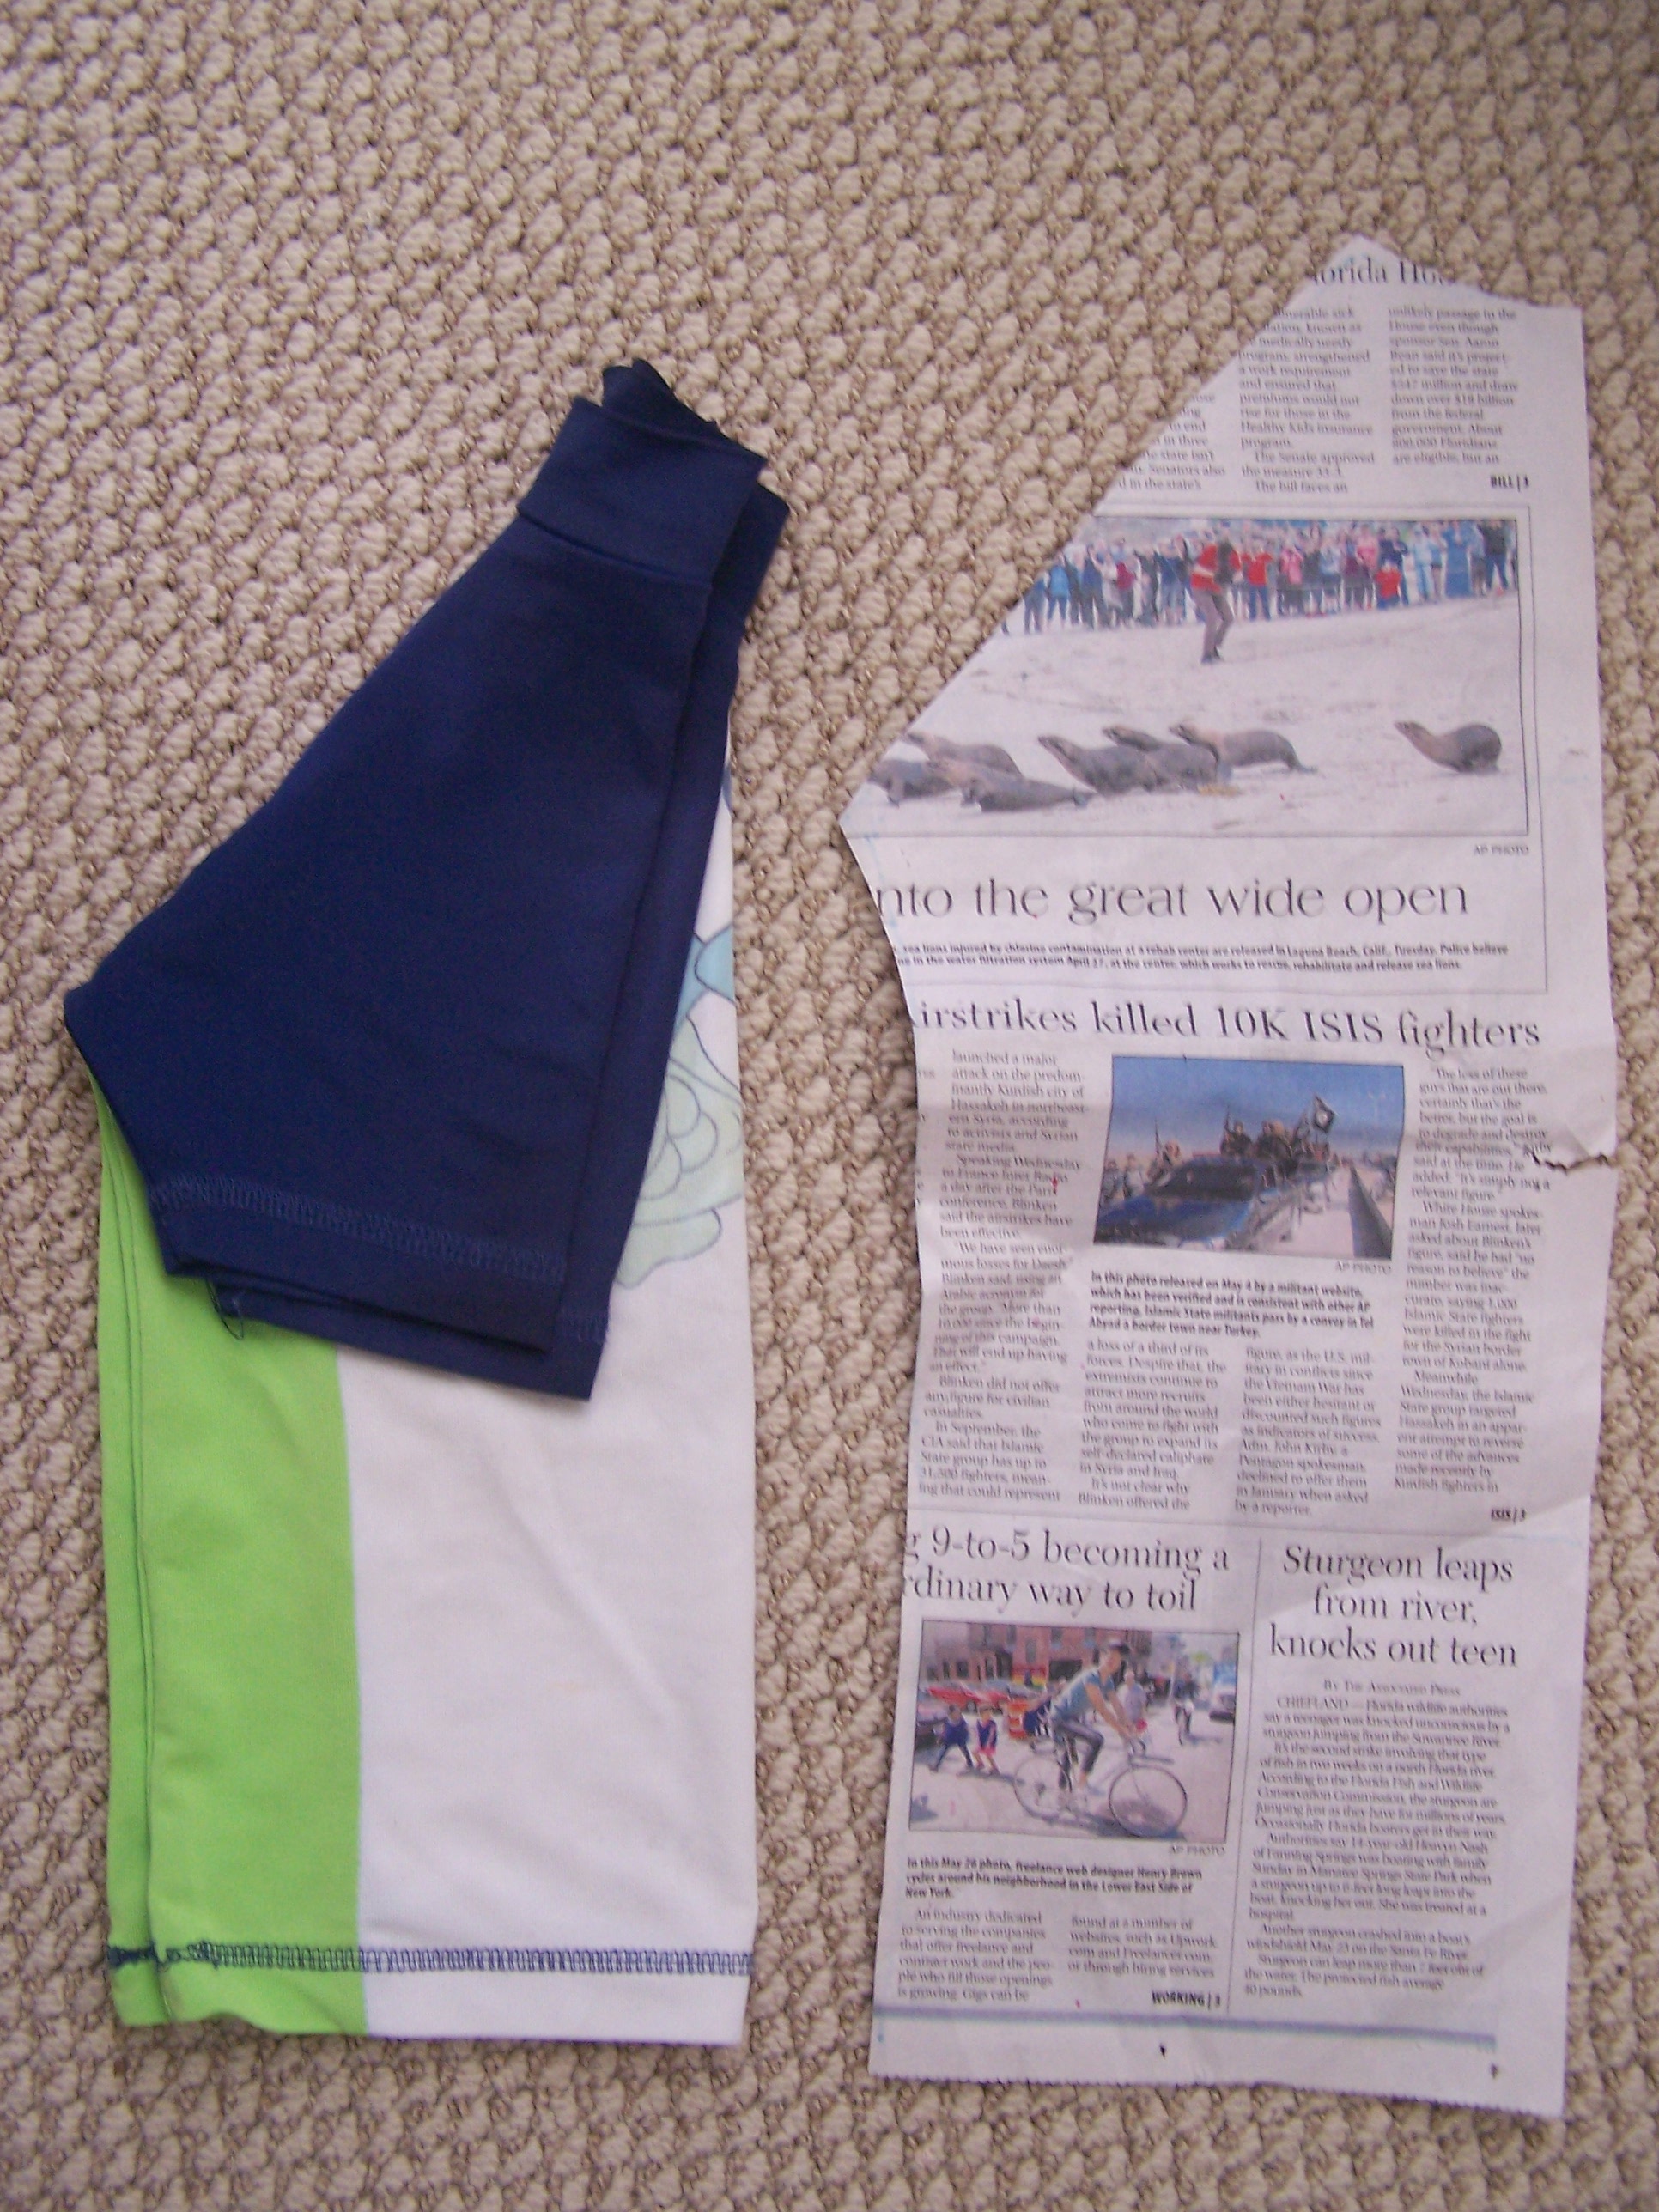
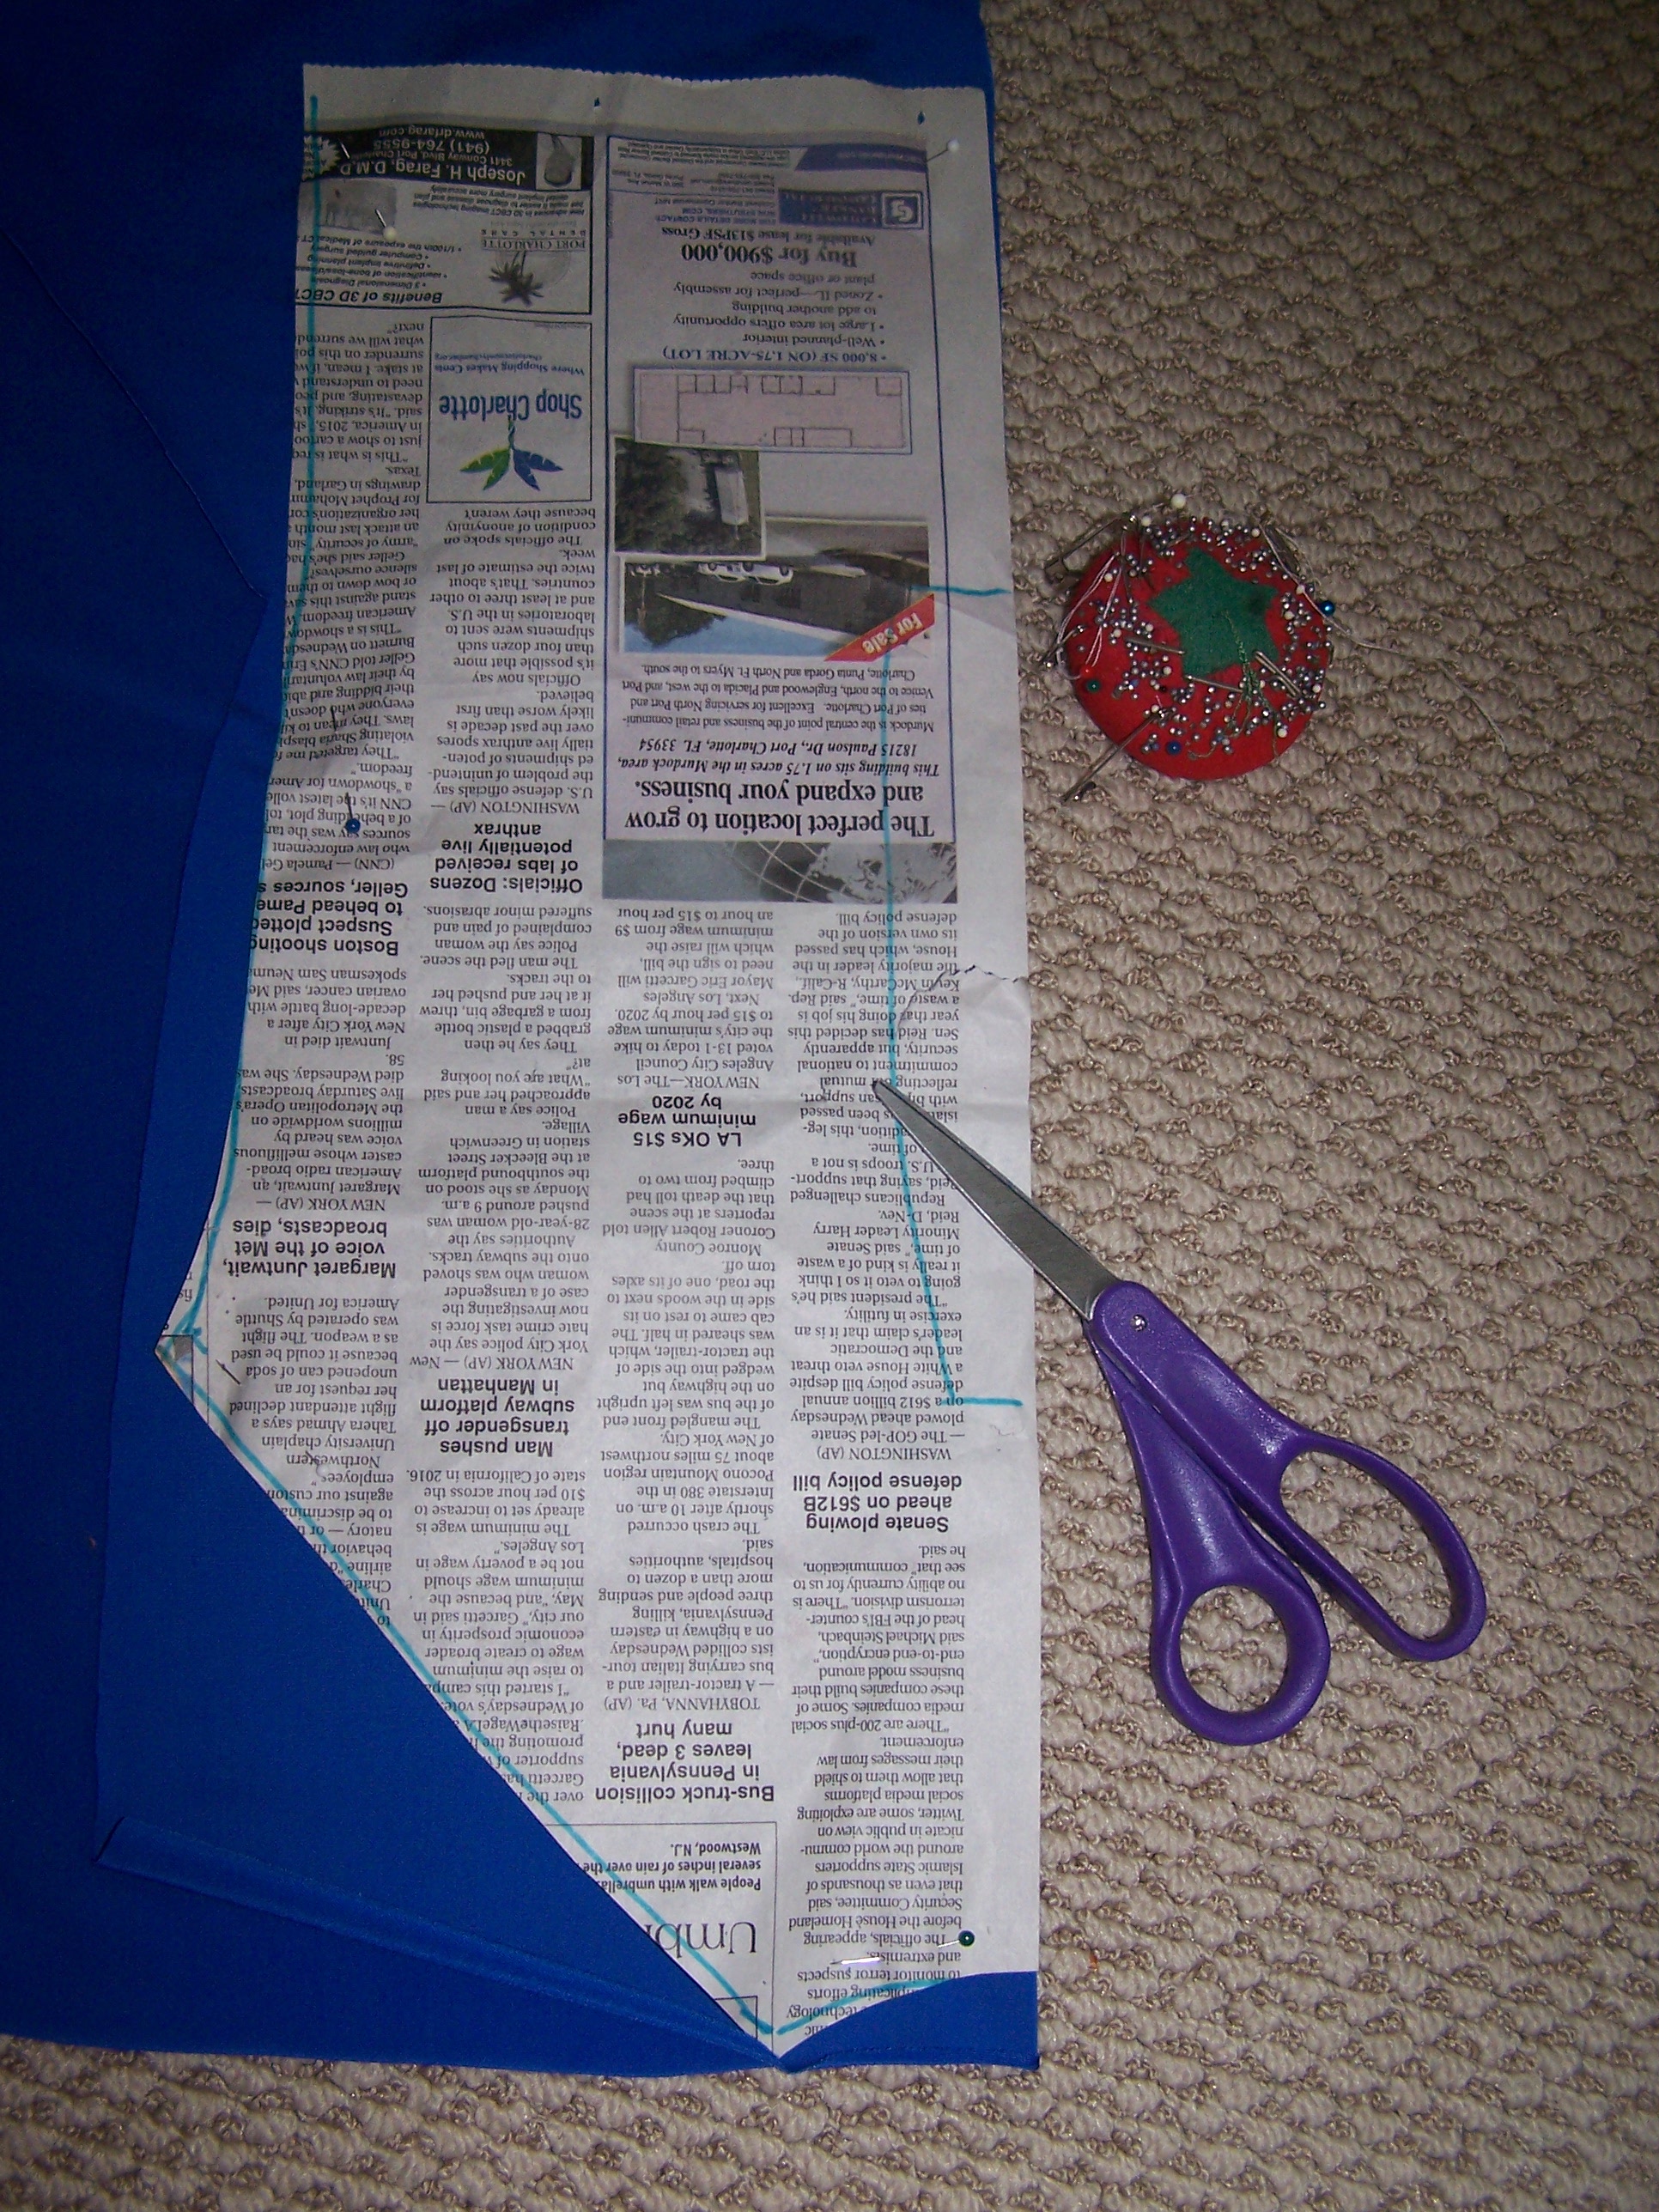
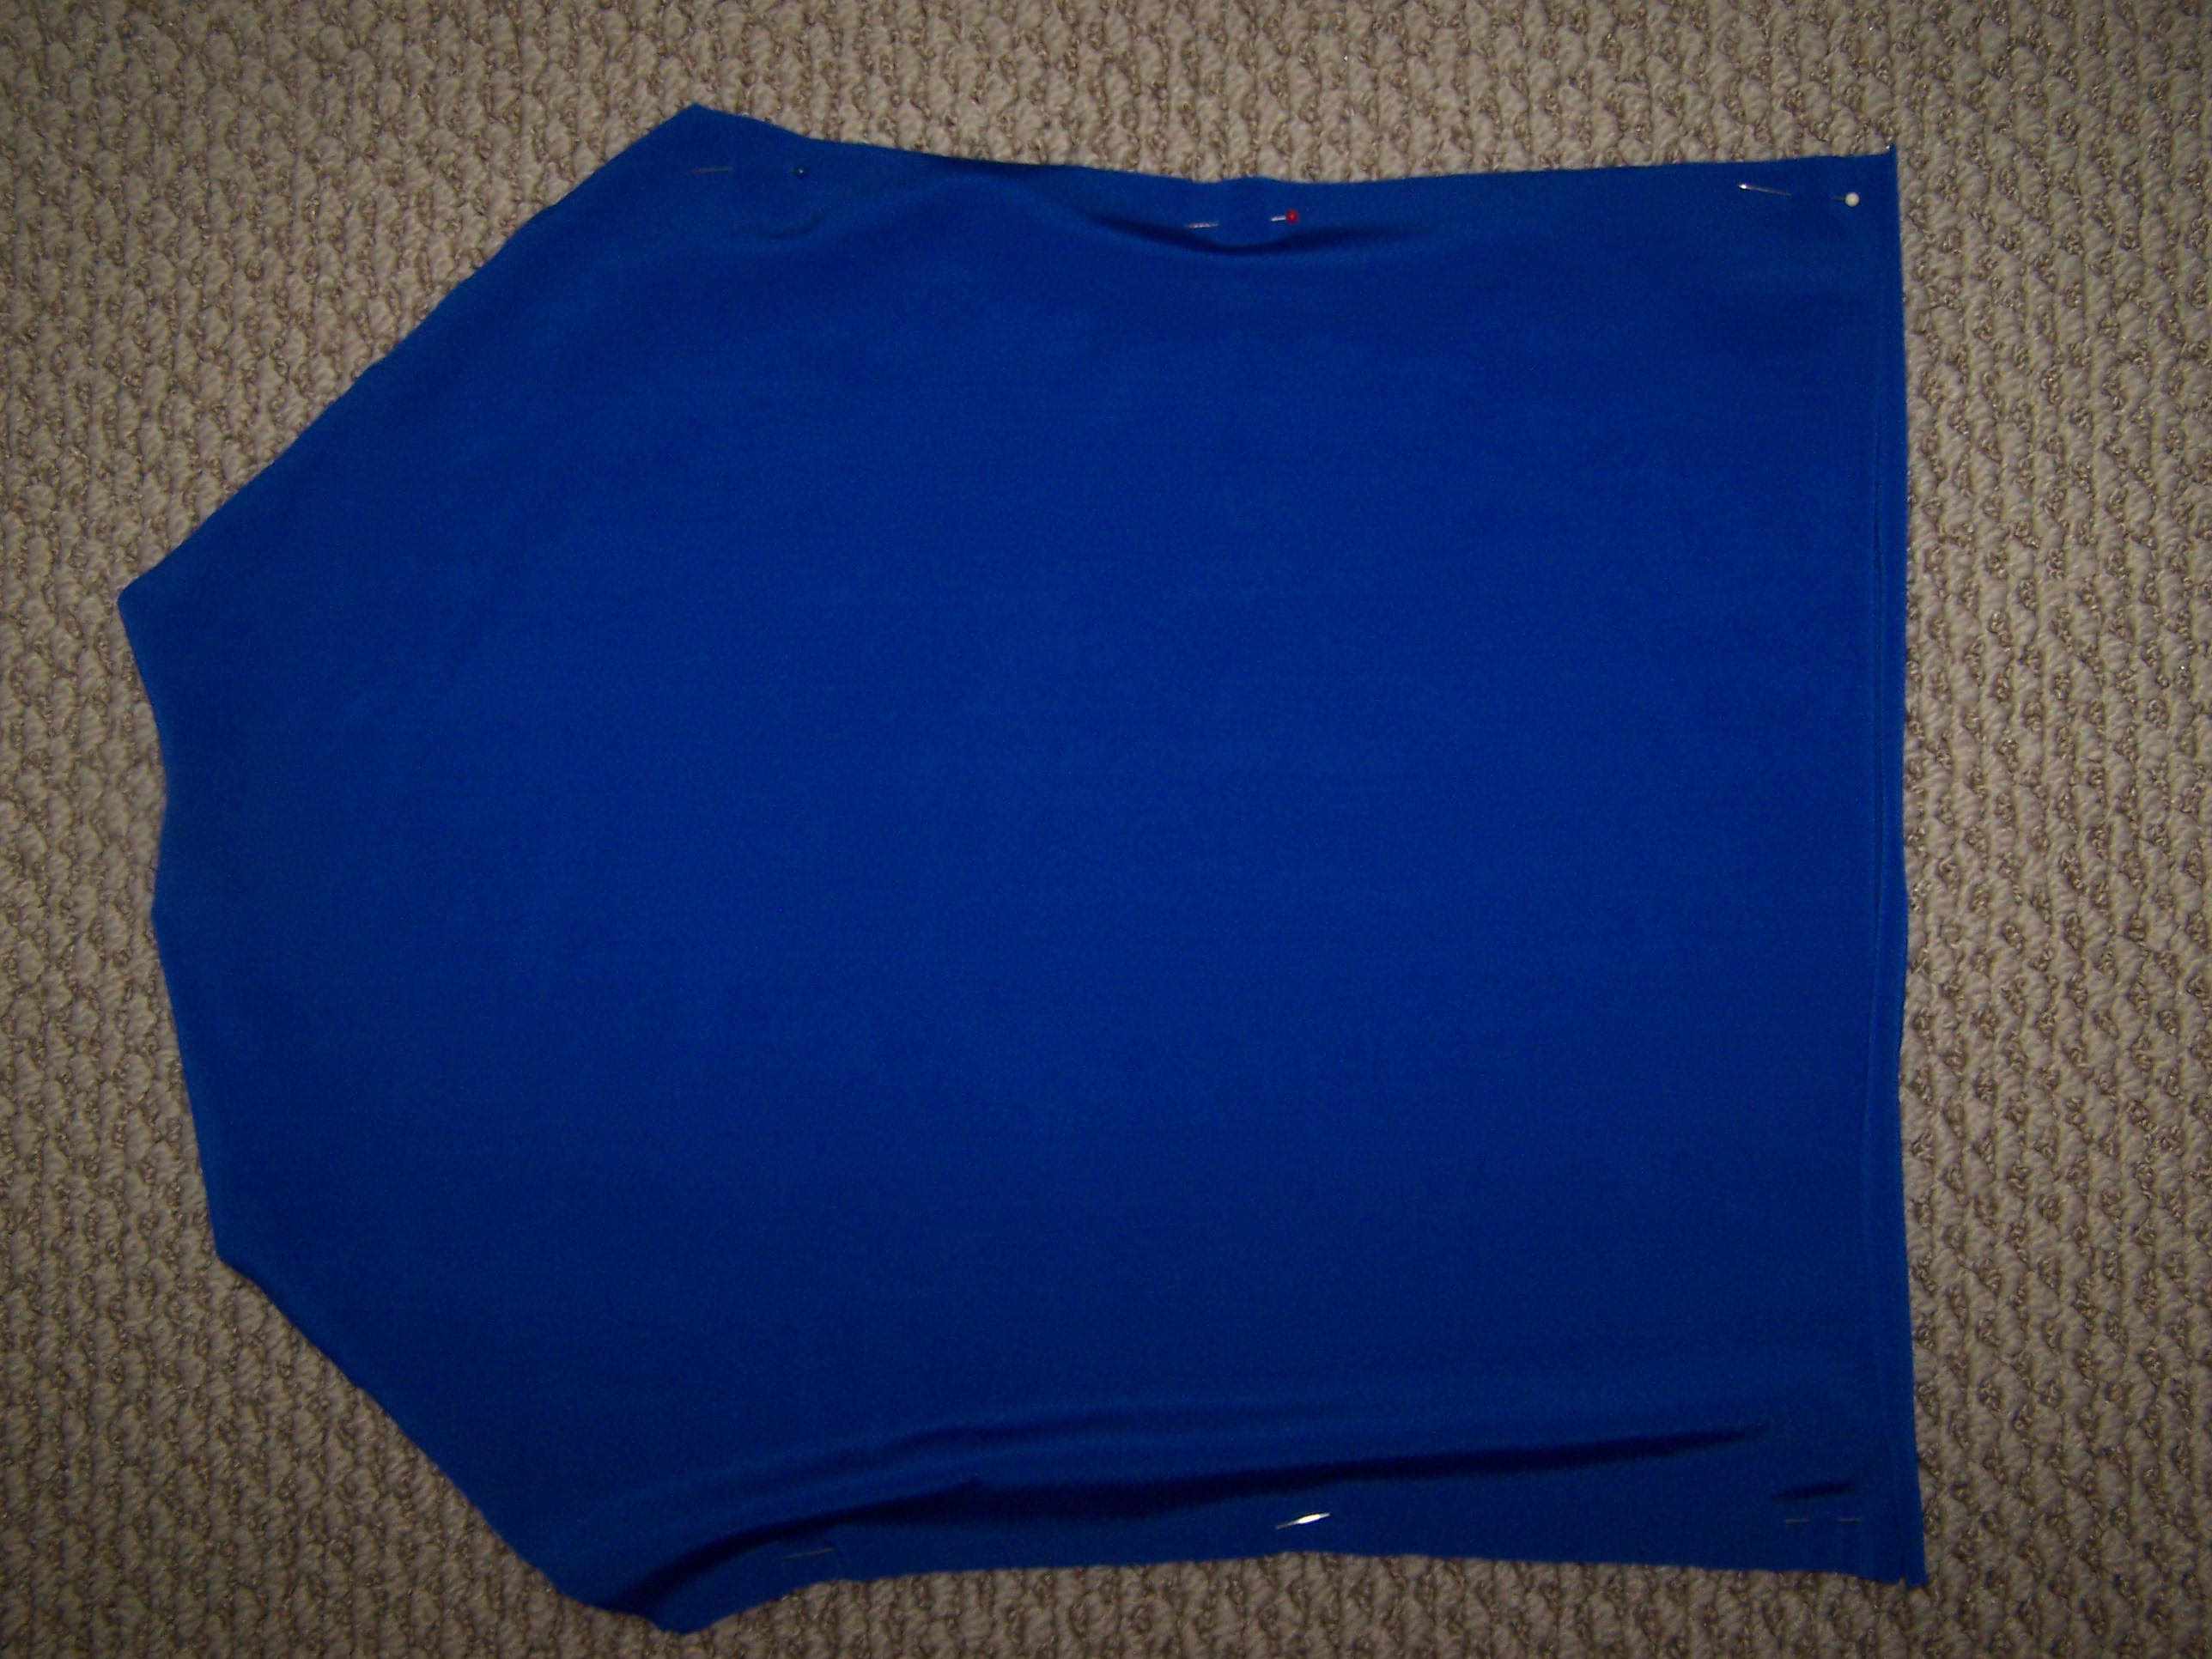
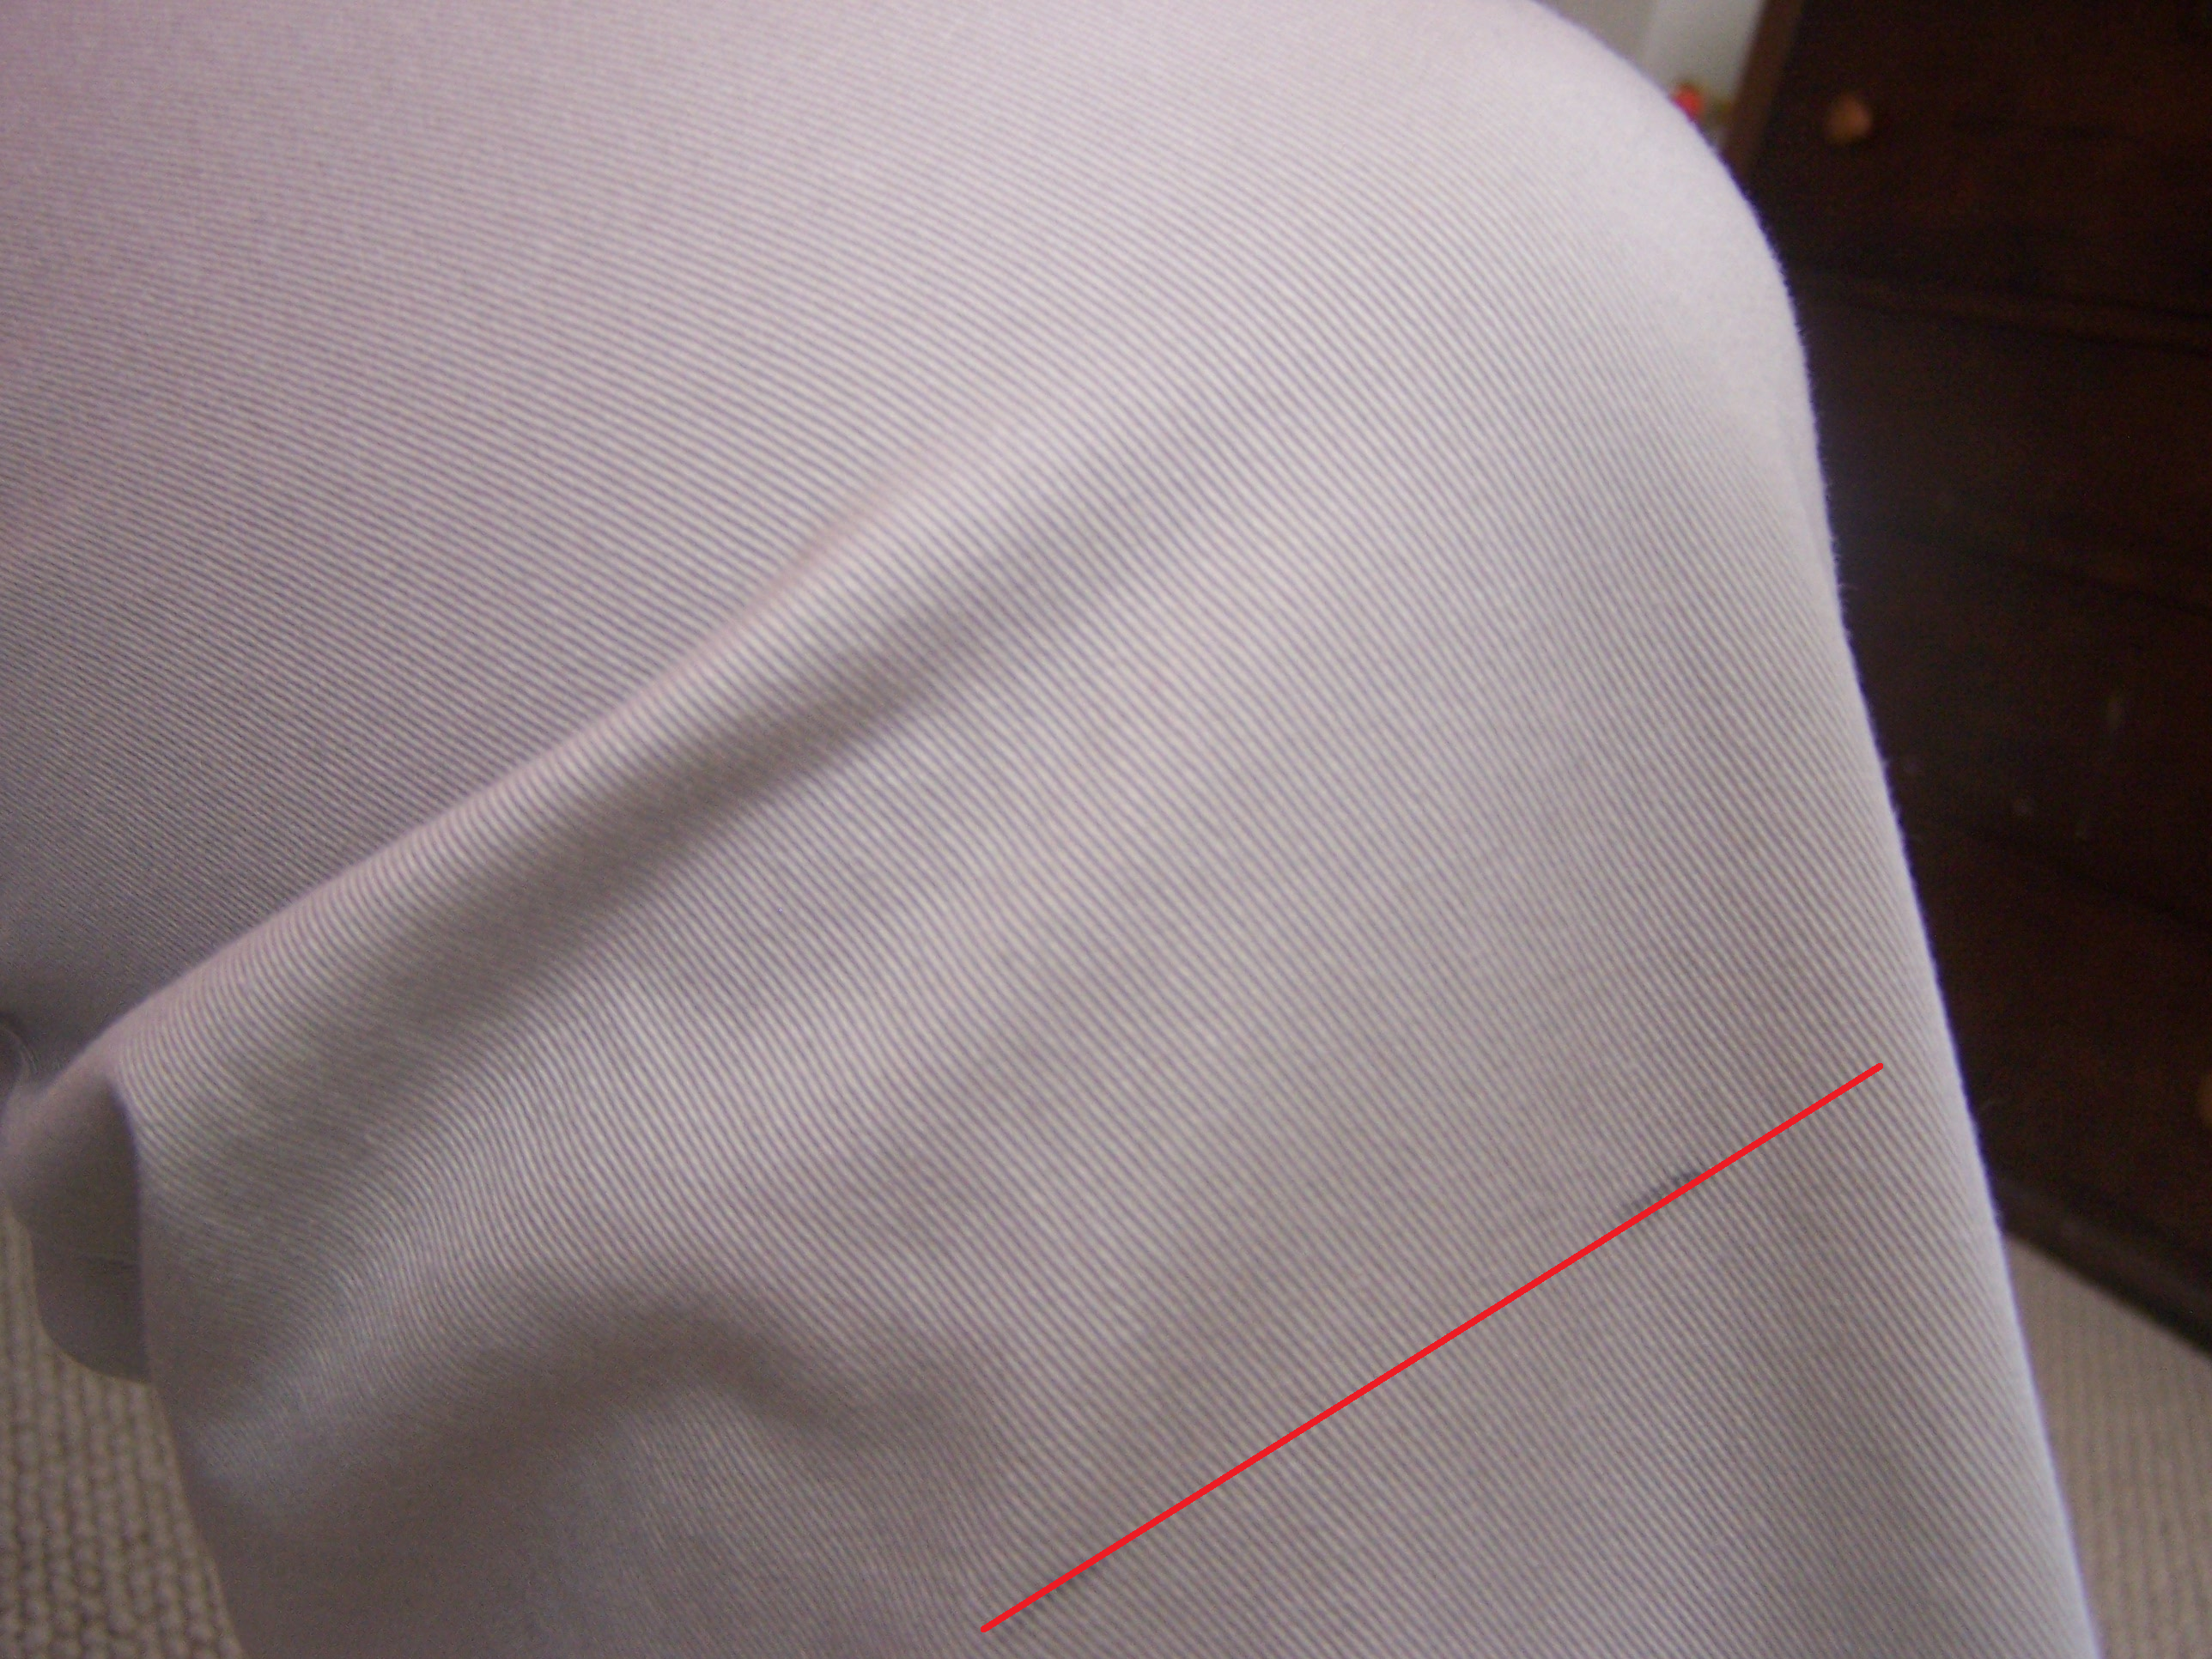
I tried them on and marked how long I want them to be.

Short Pants Marked

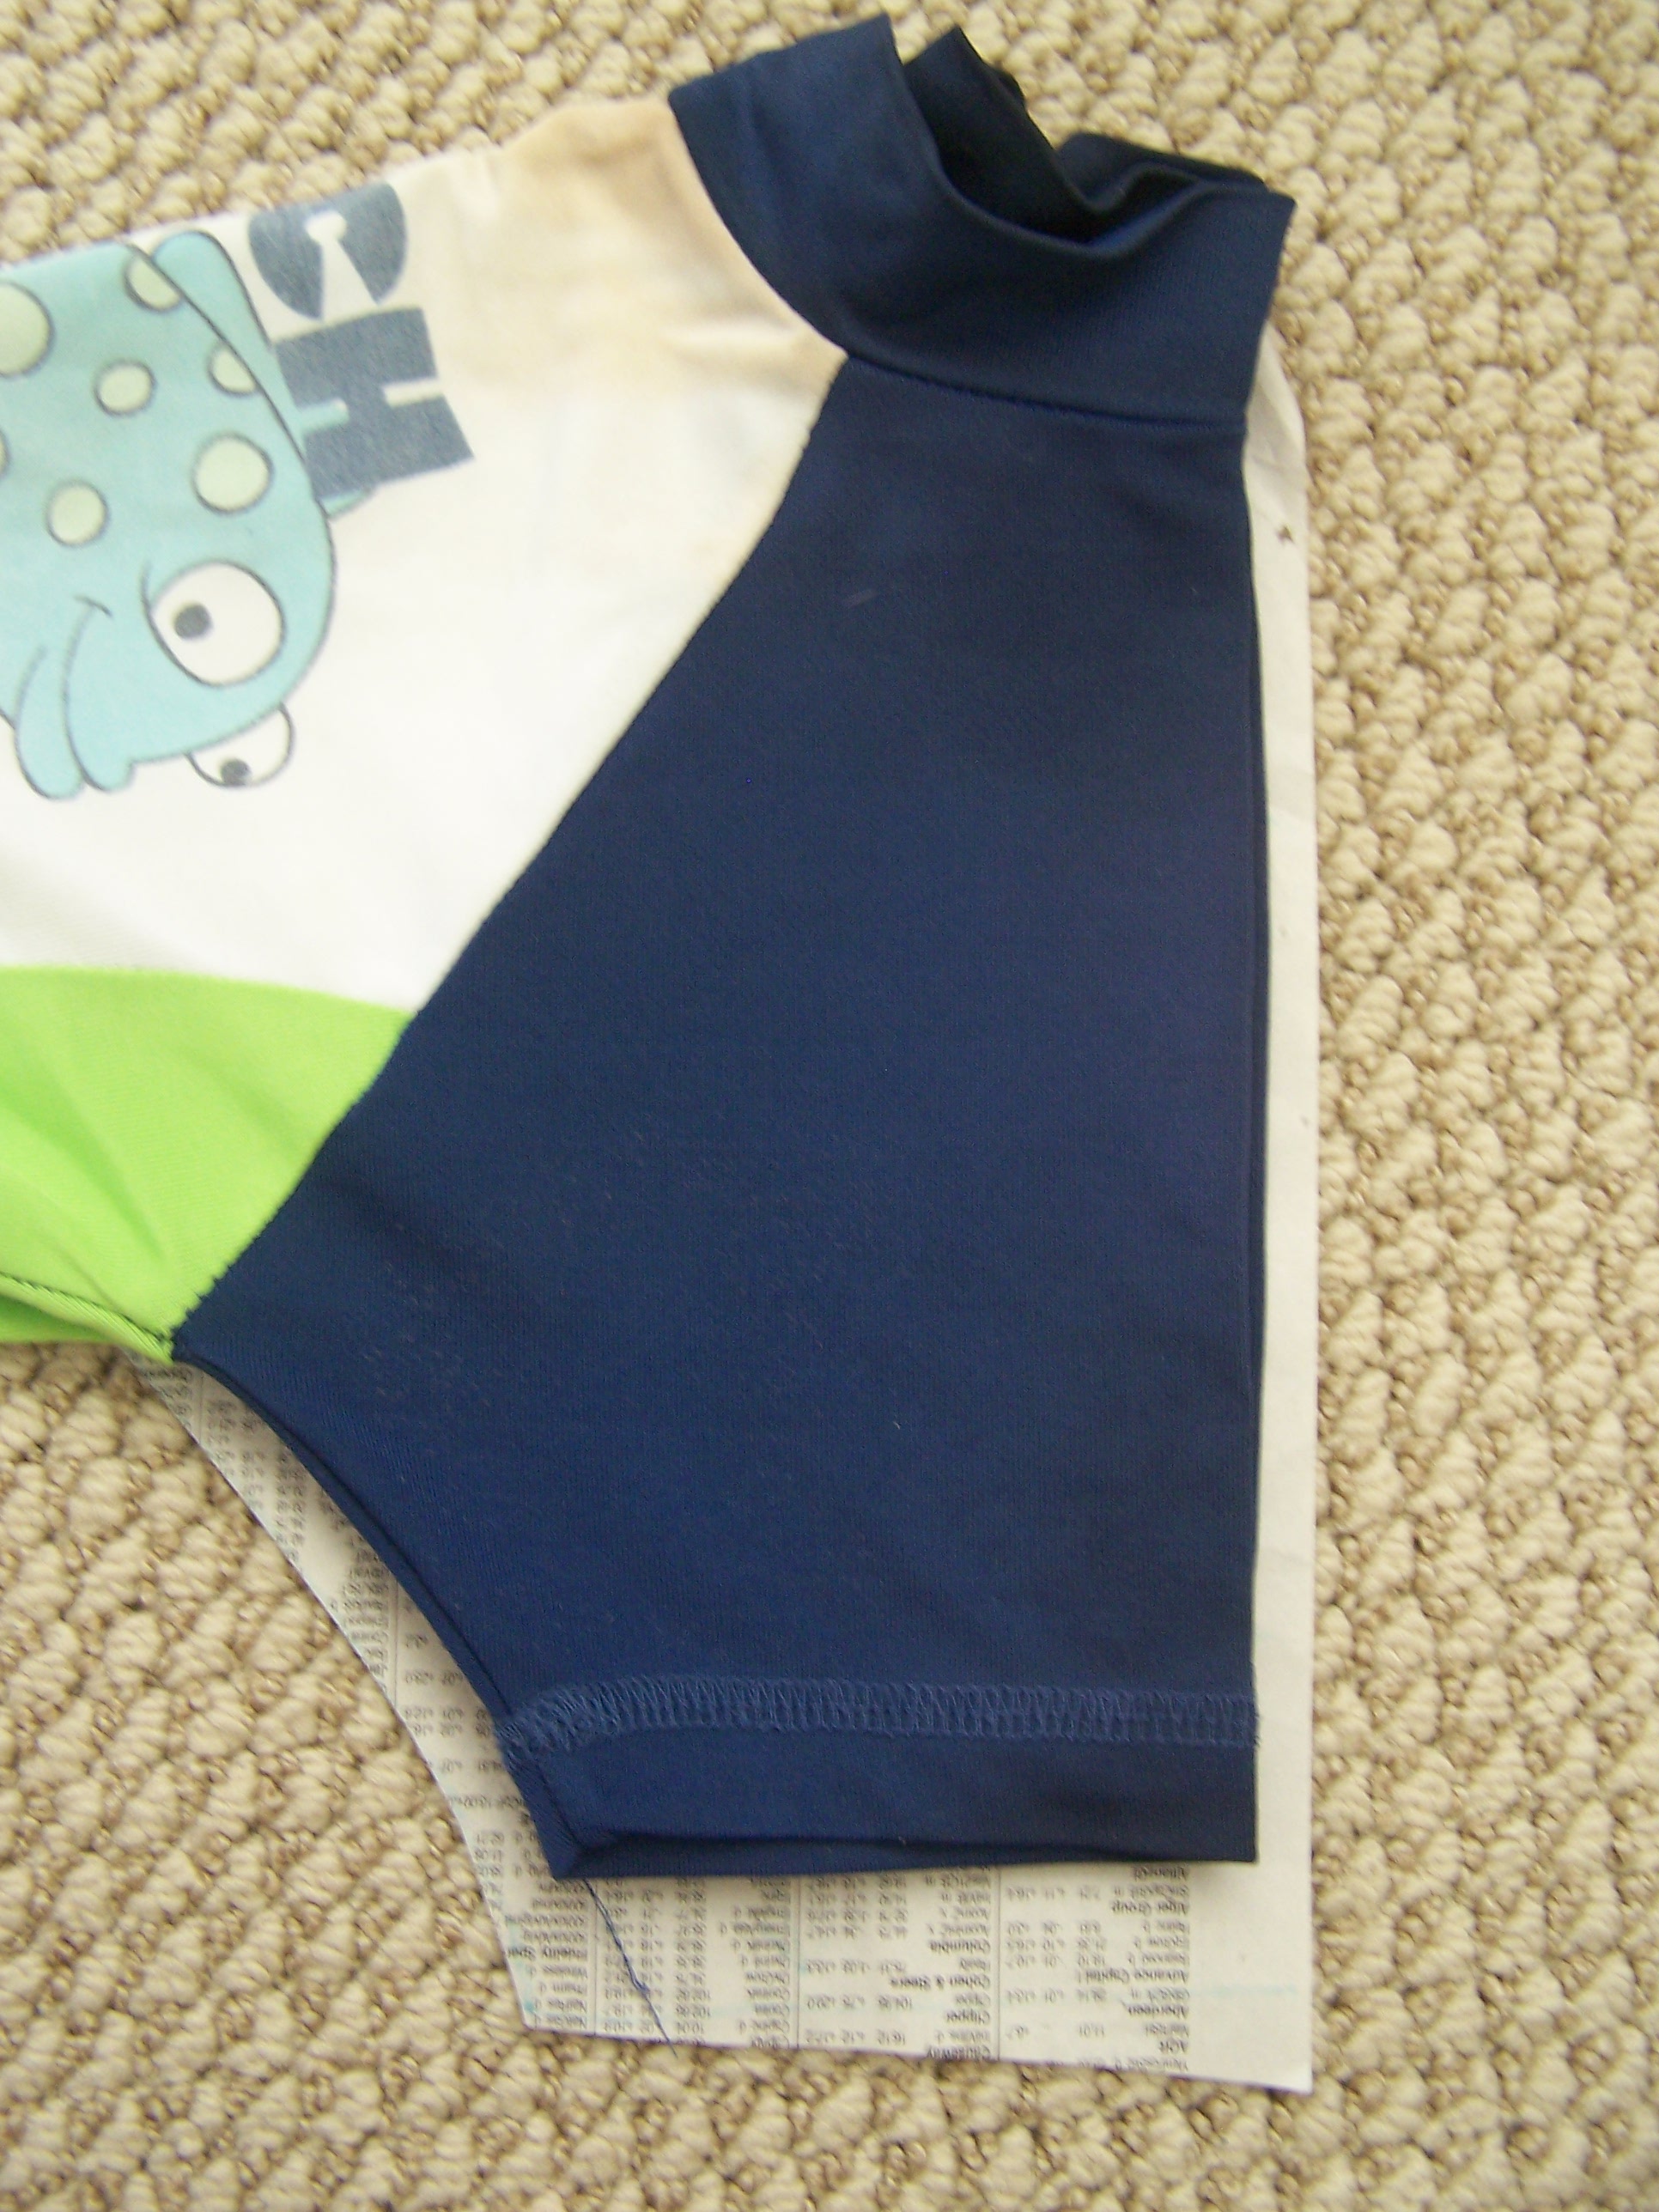
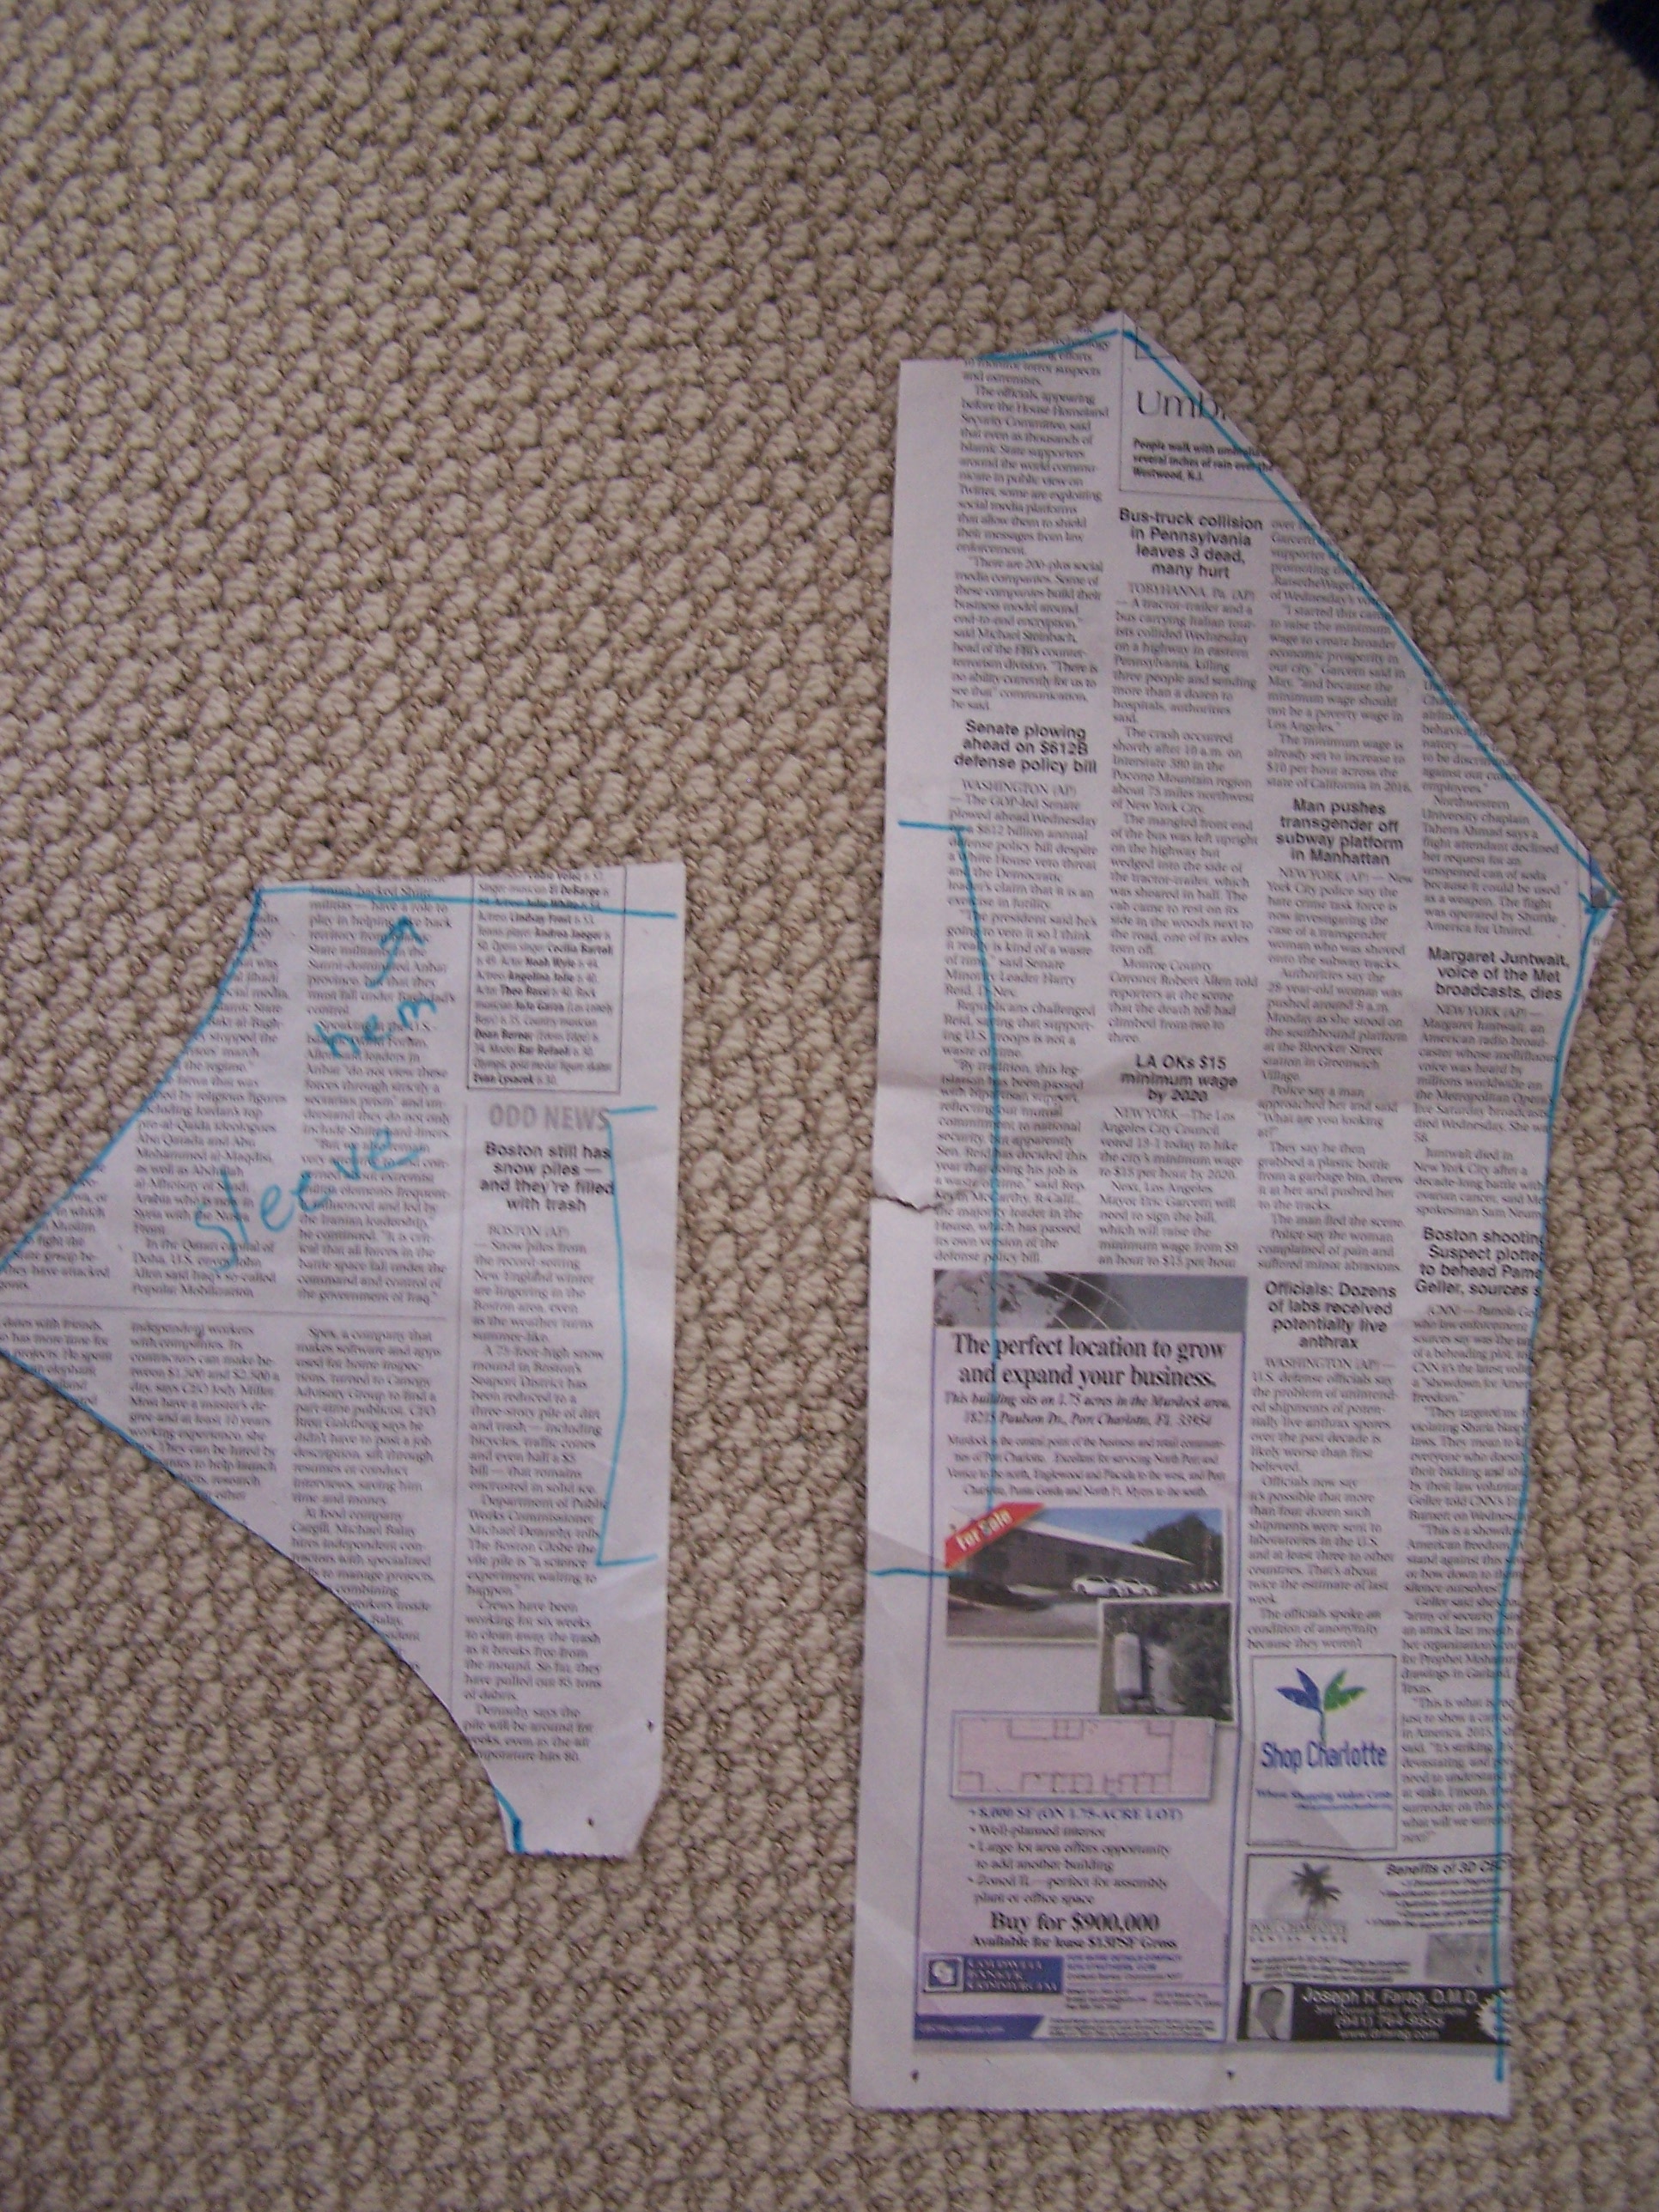
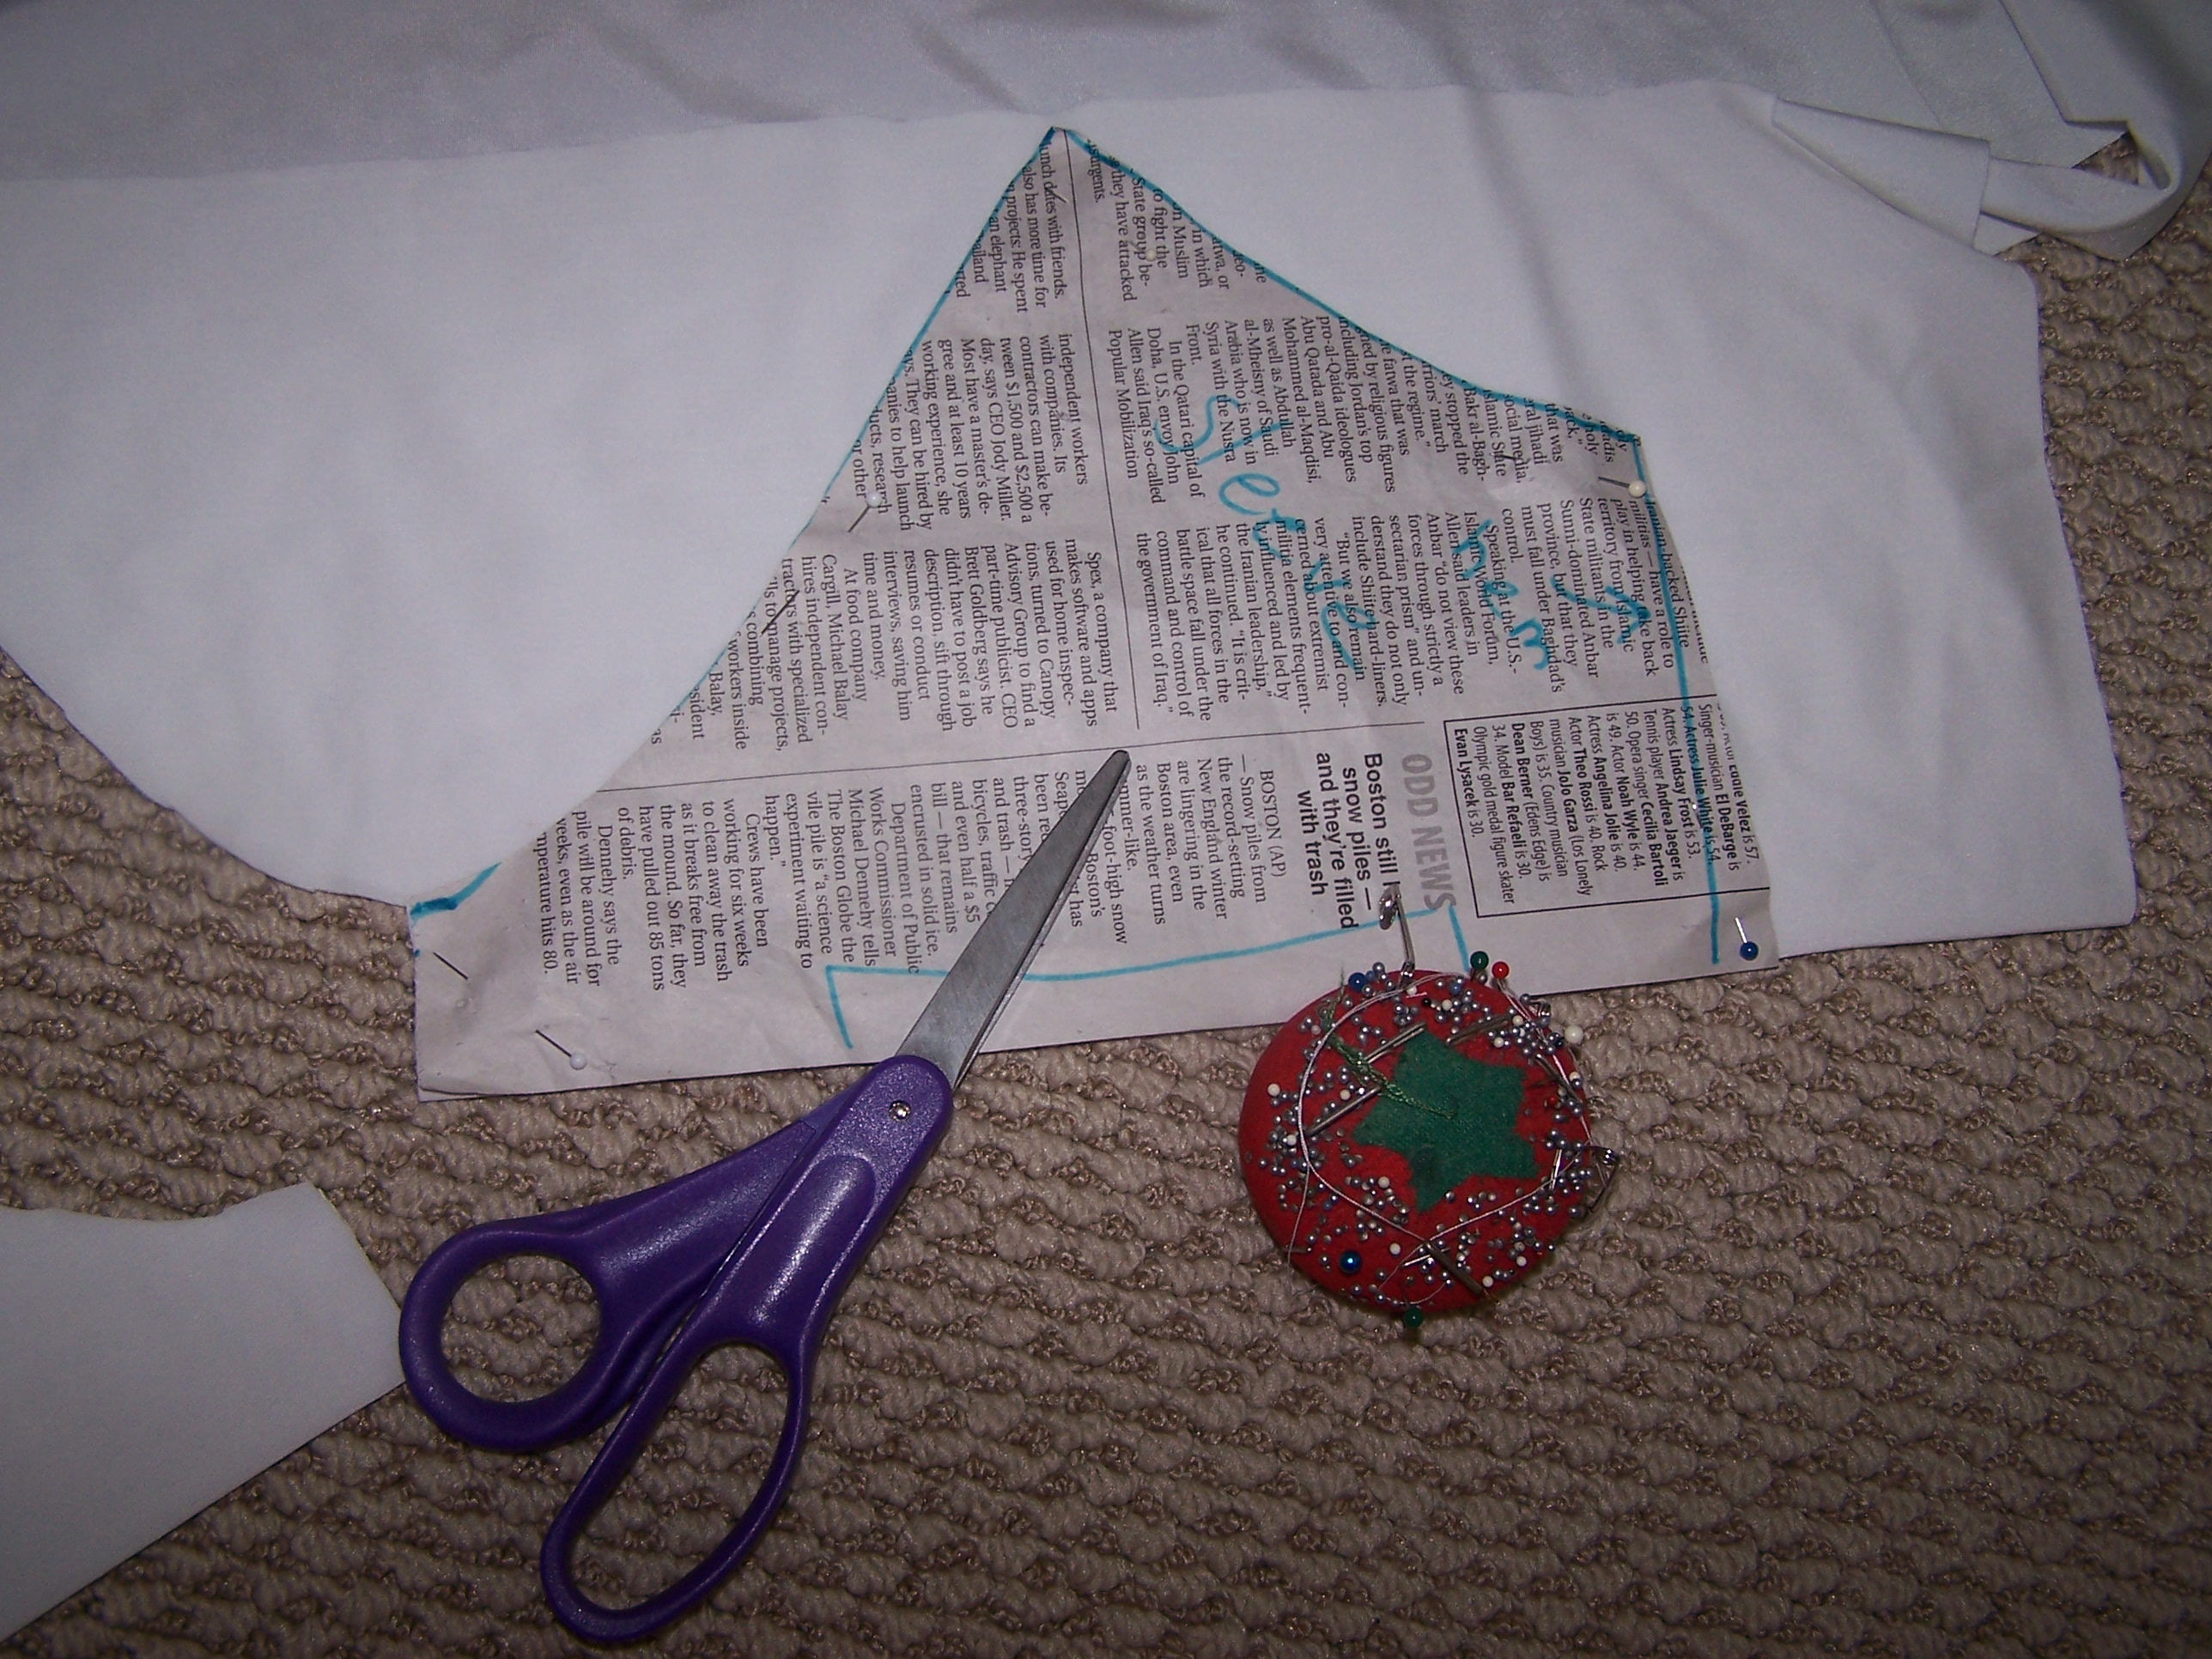
Then, cut them remembering to leave an inch for the hem.  I used the first leg as a pattern to mark where to cut the second one.

Legs Cut

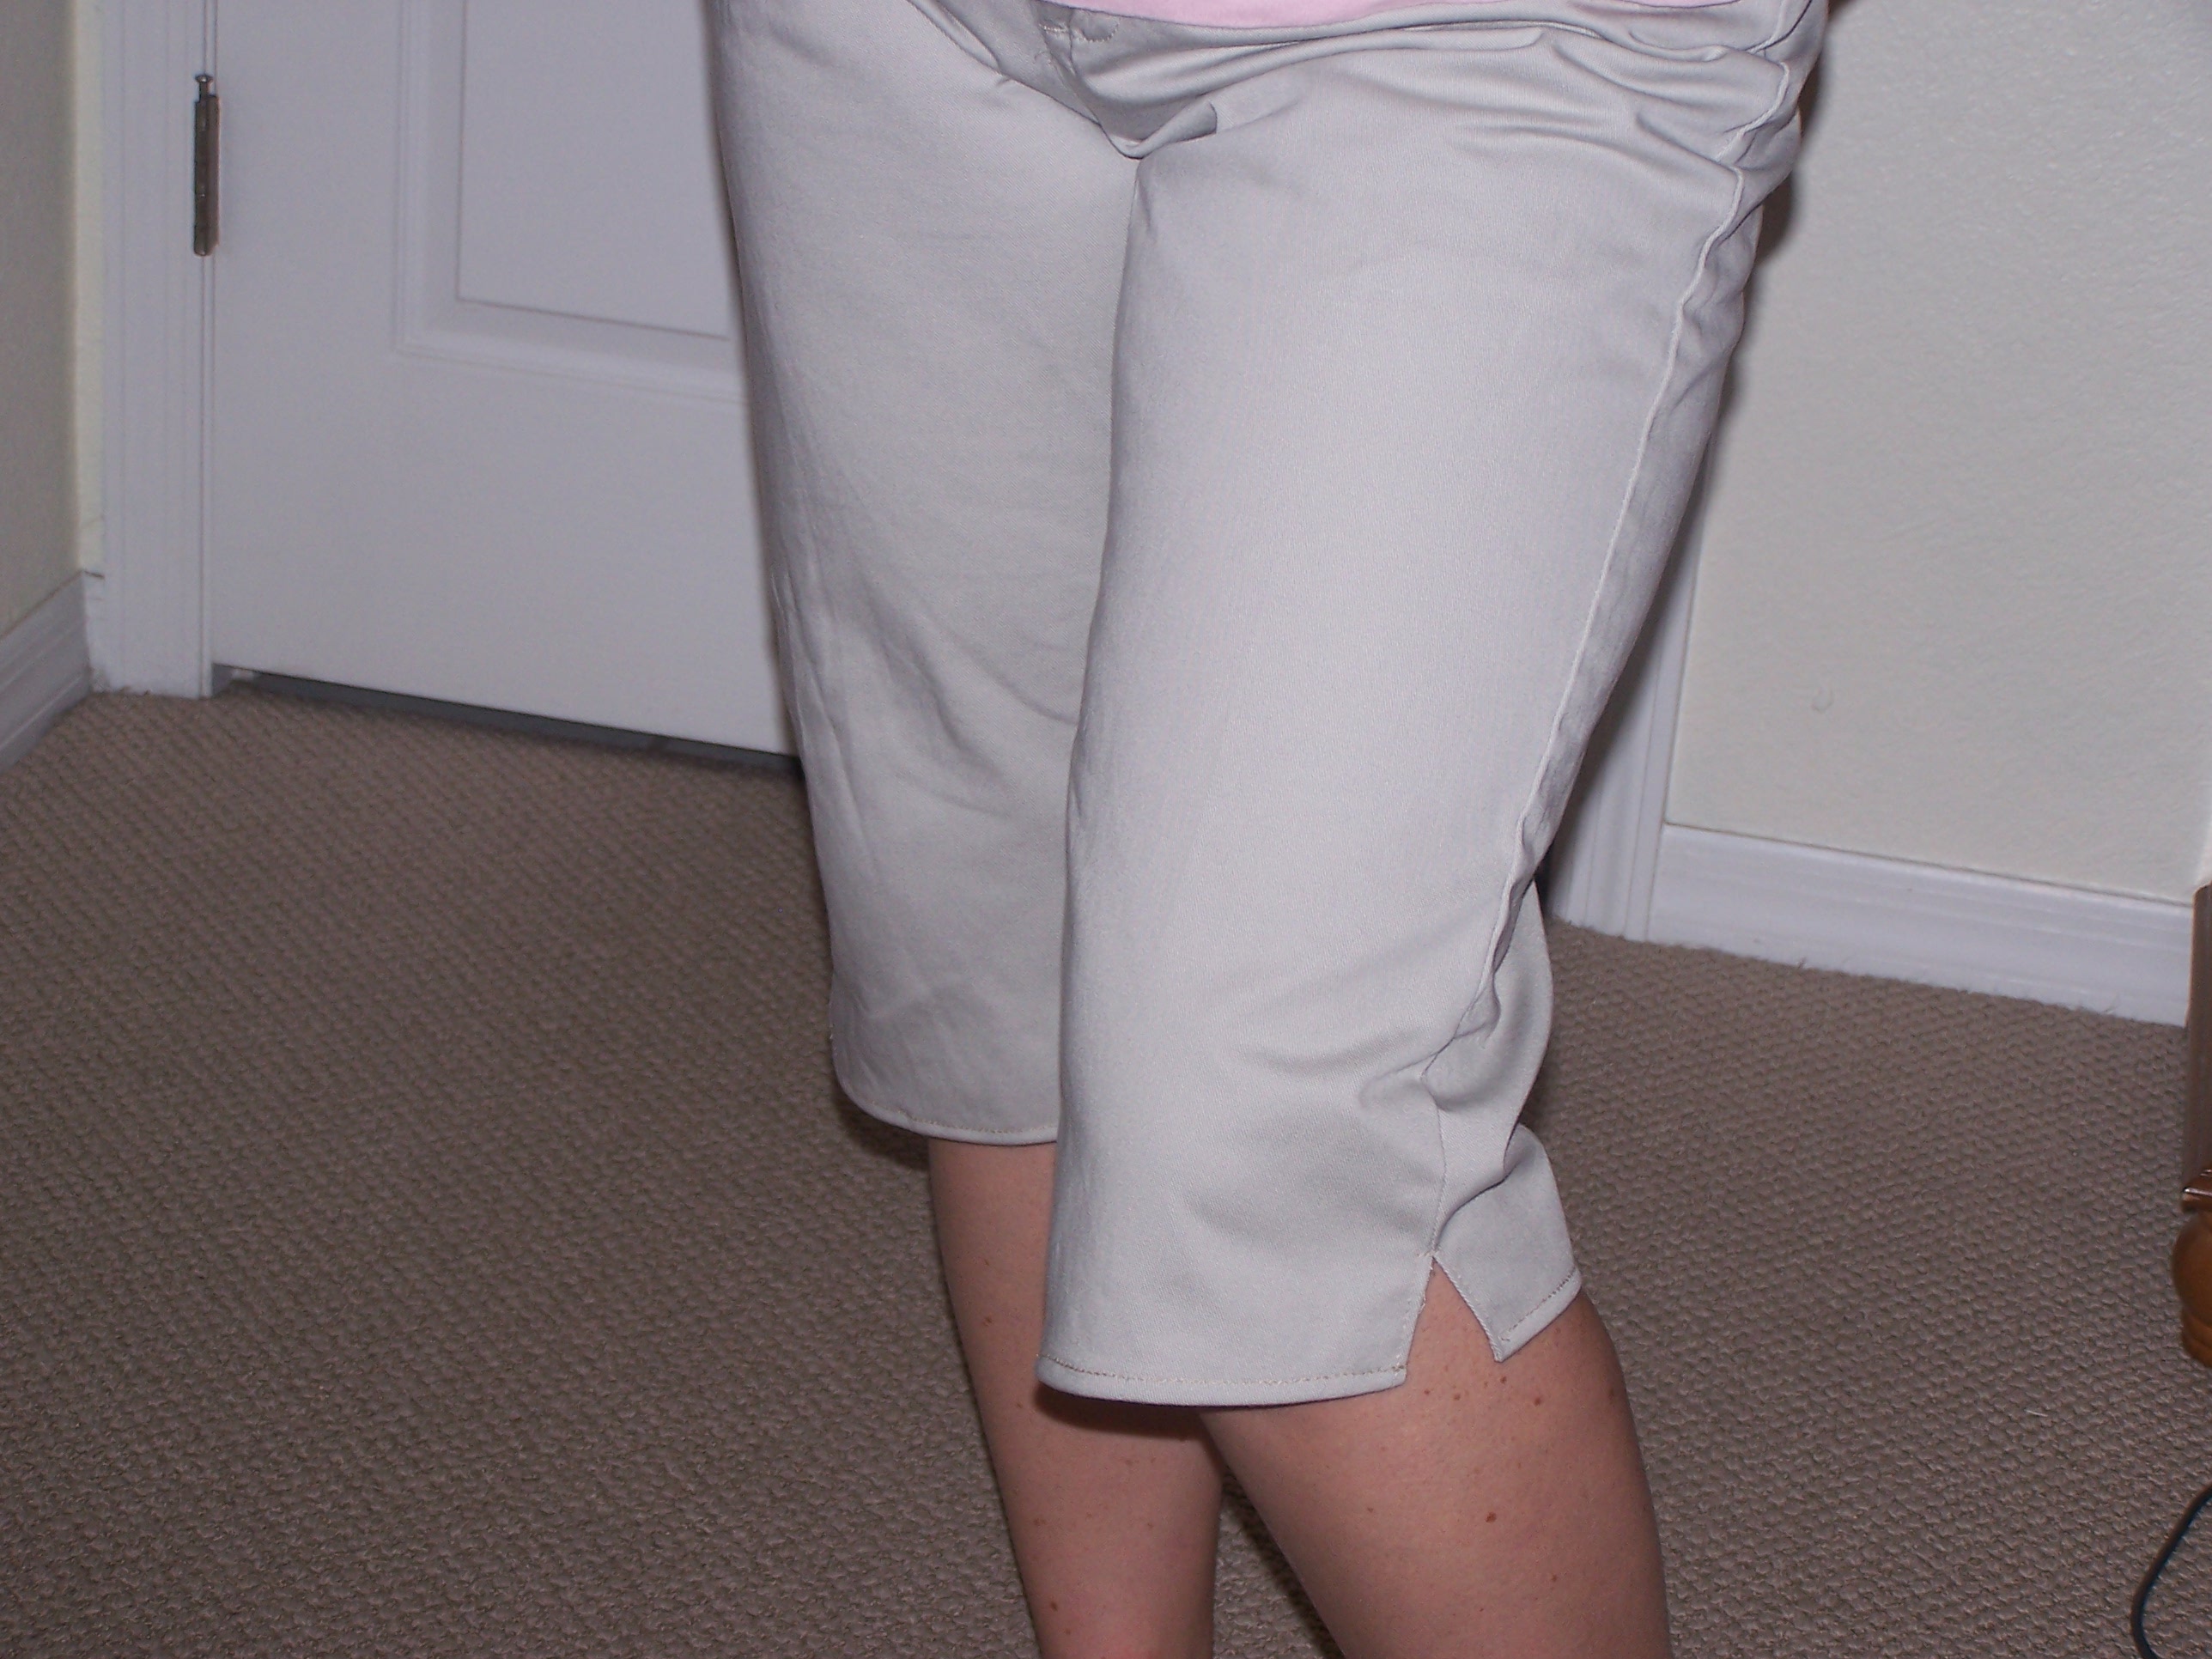
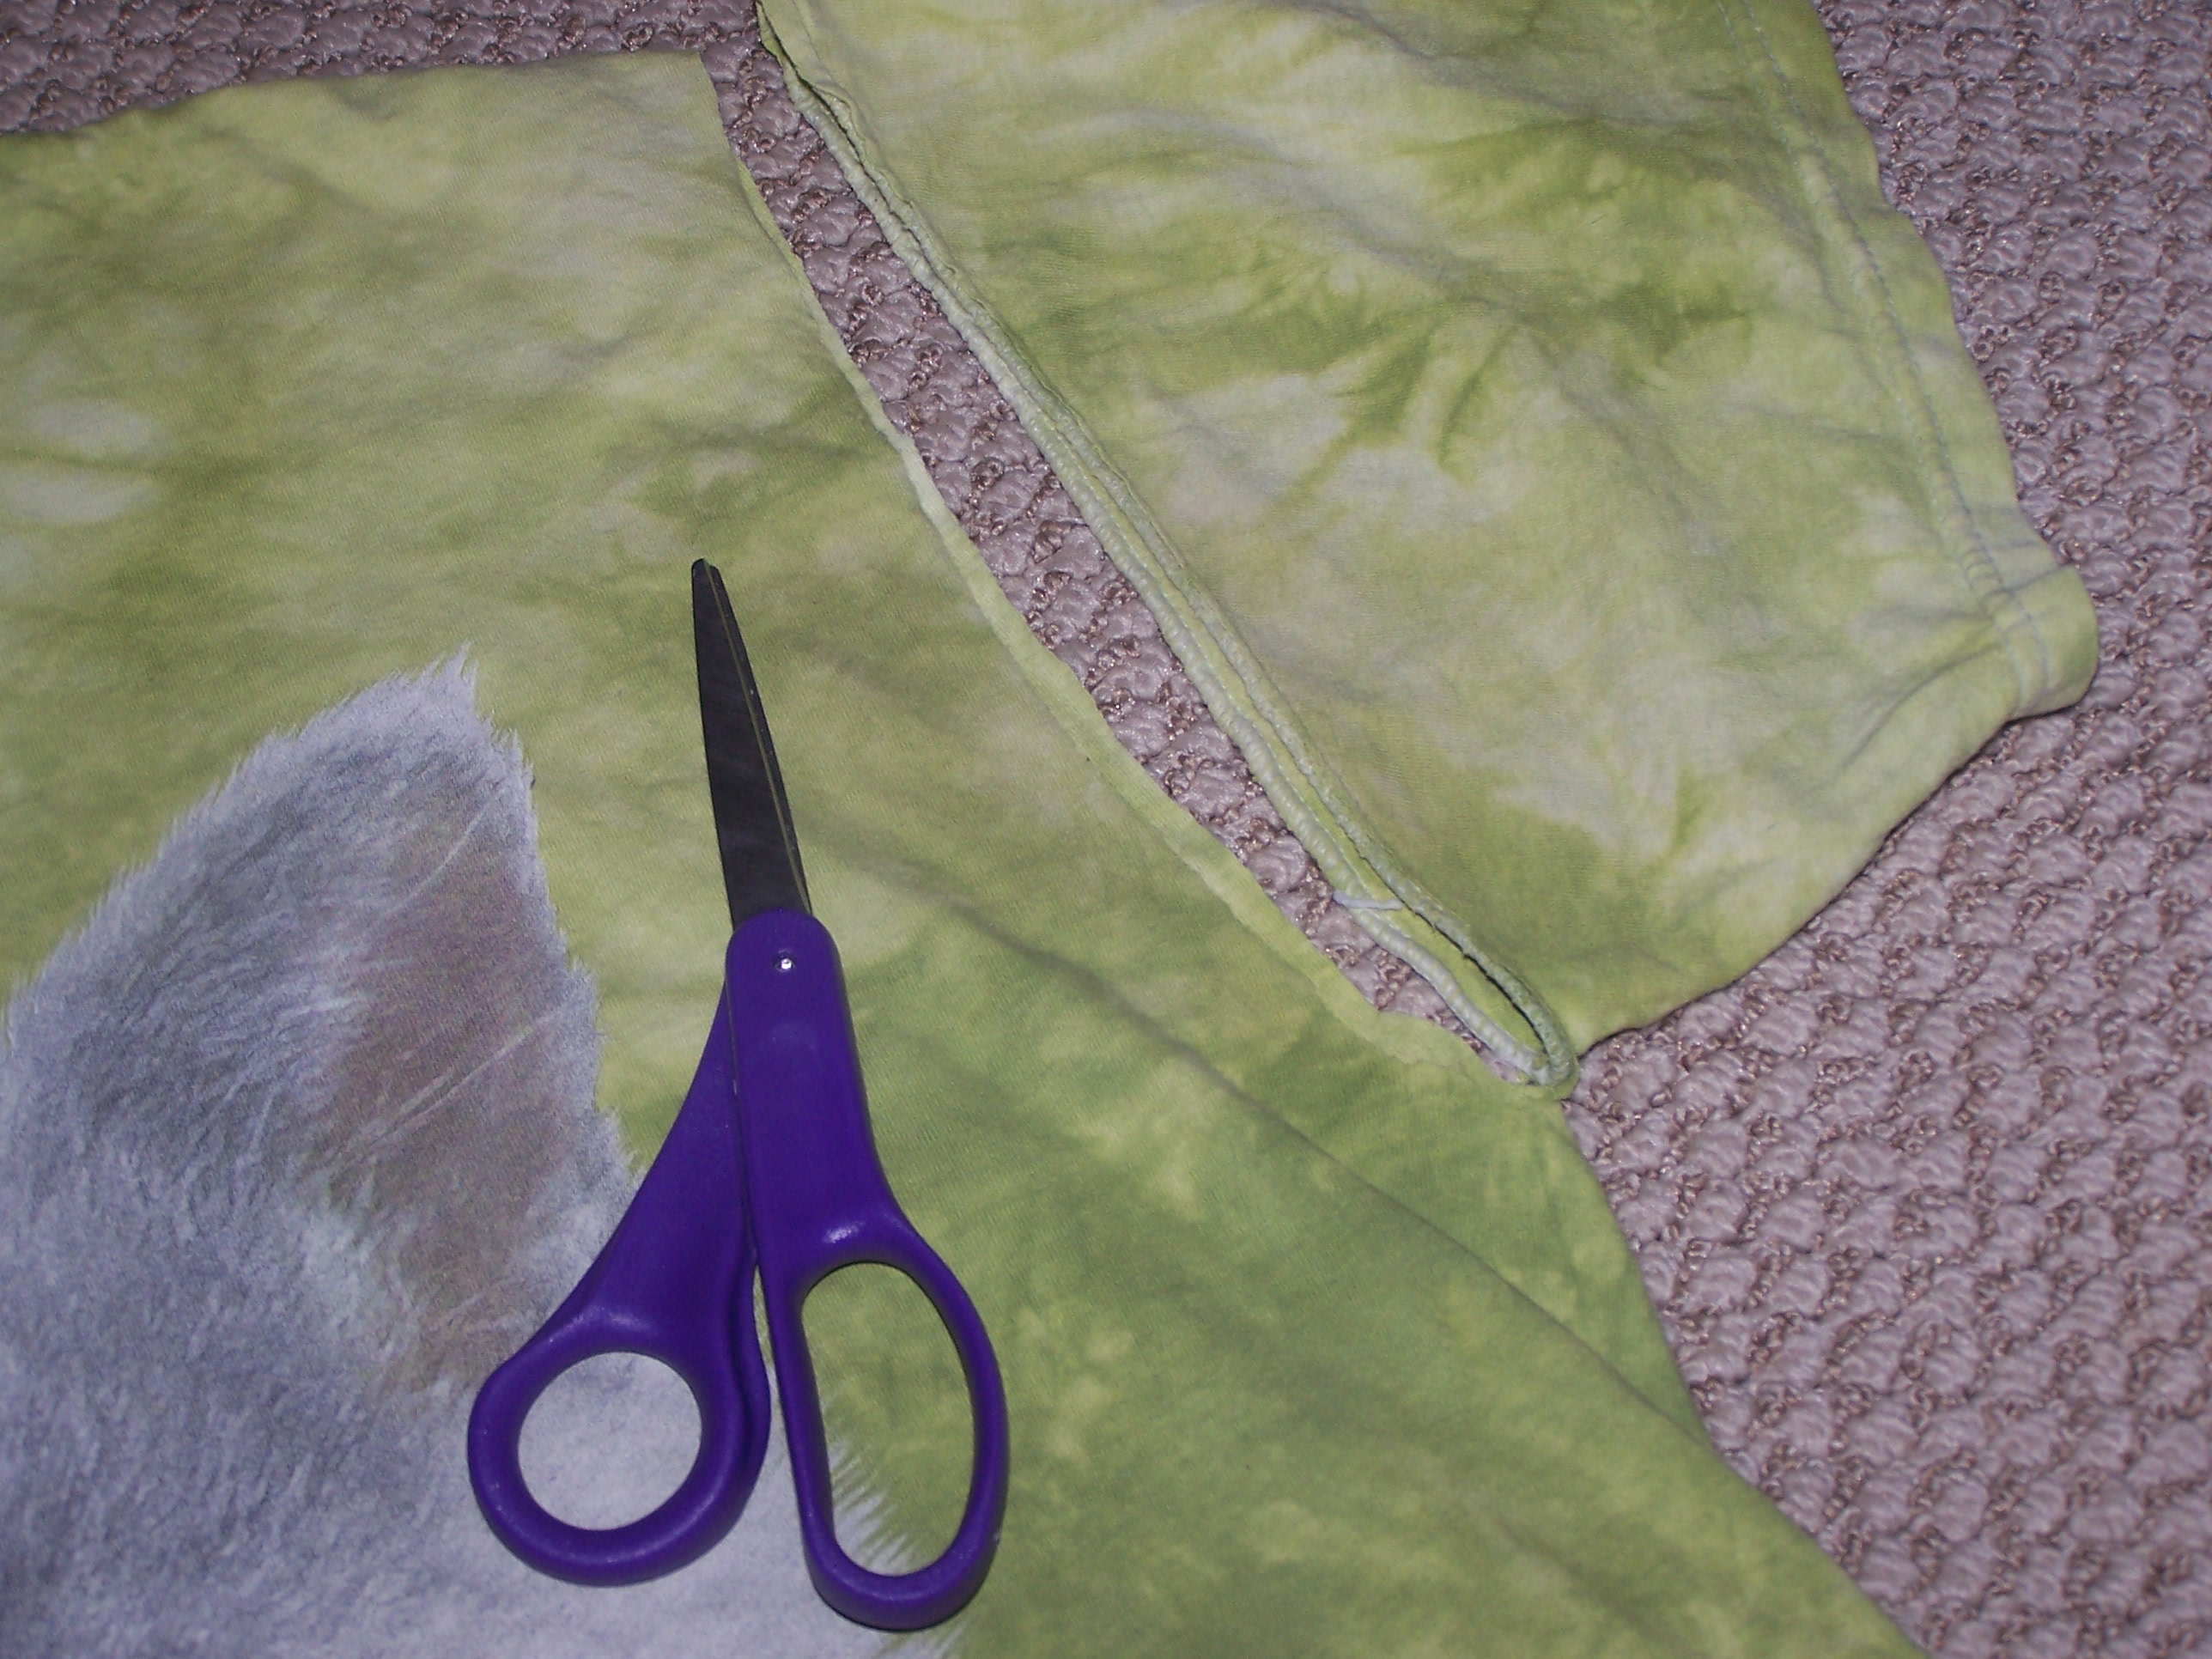
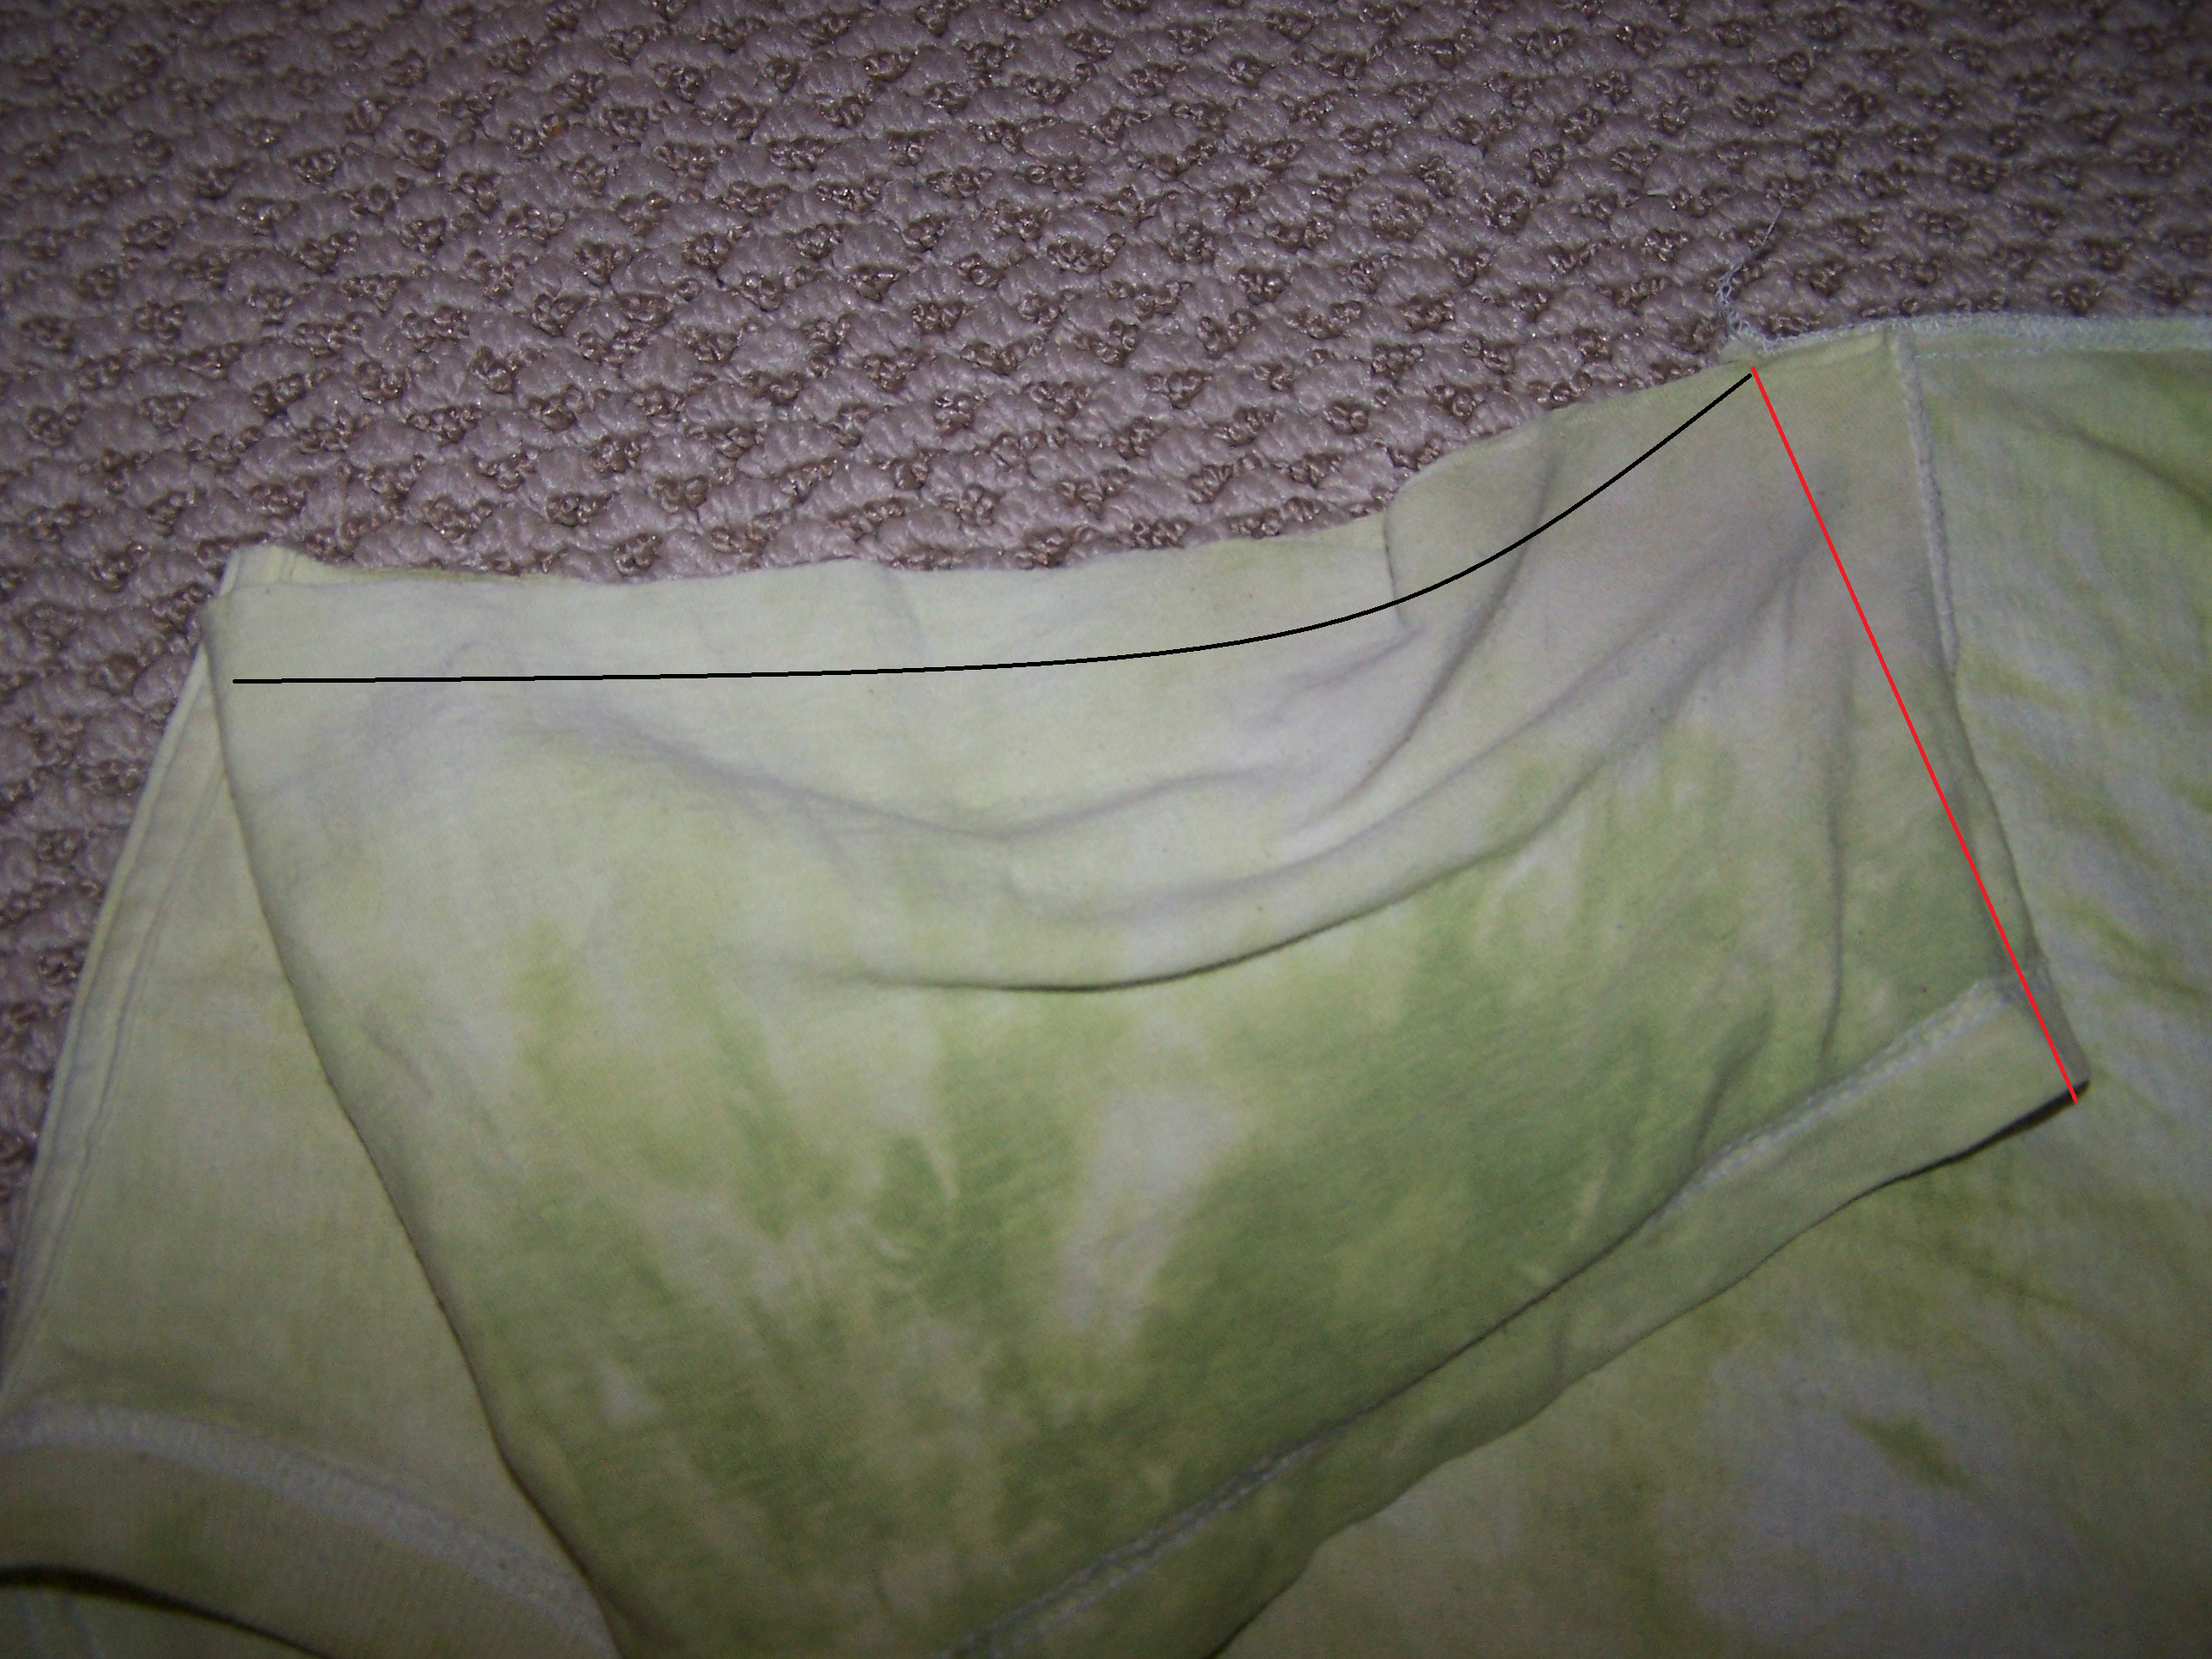
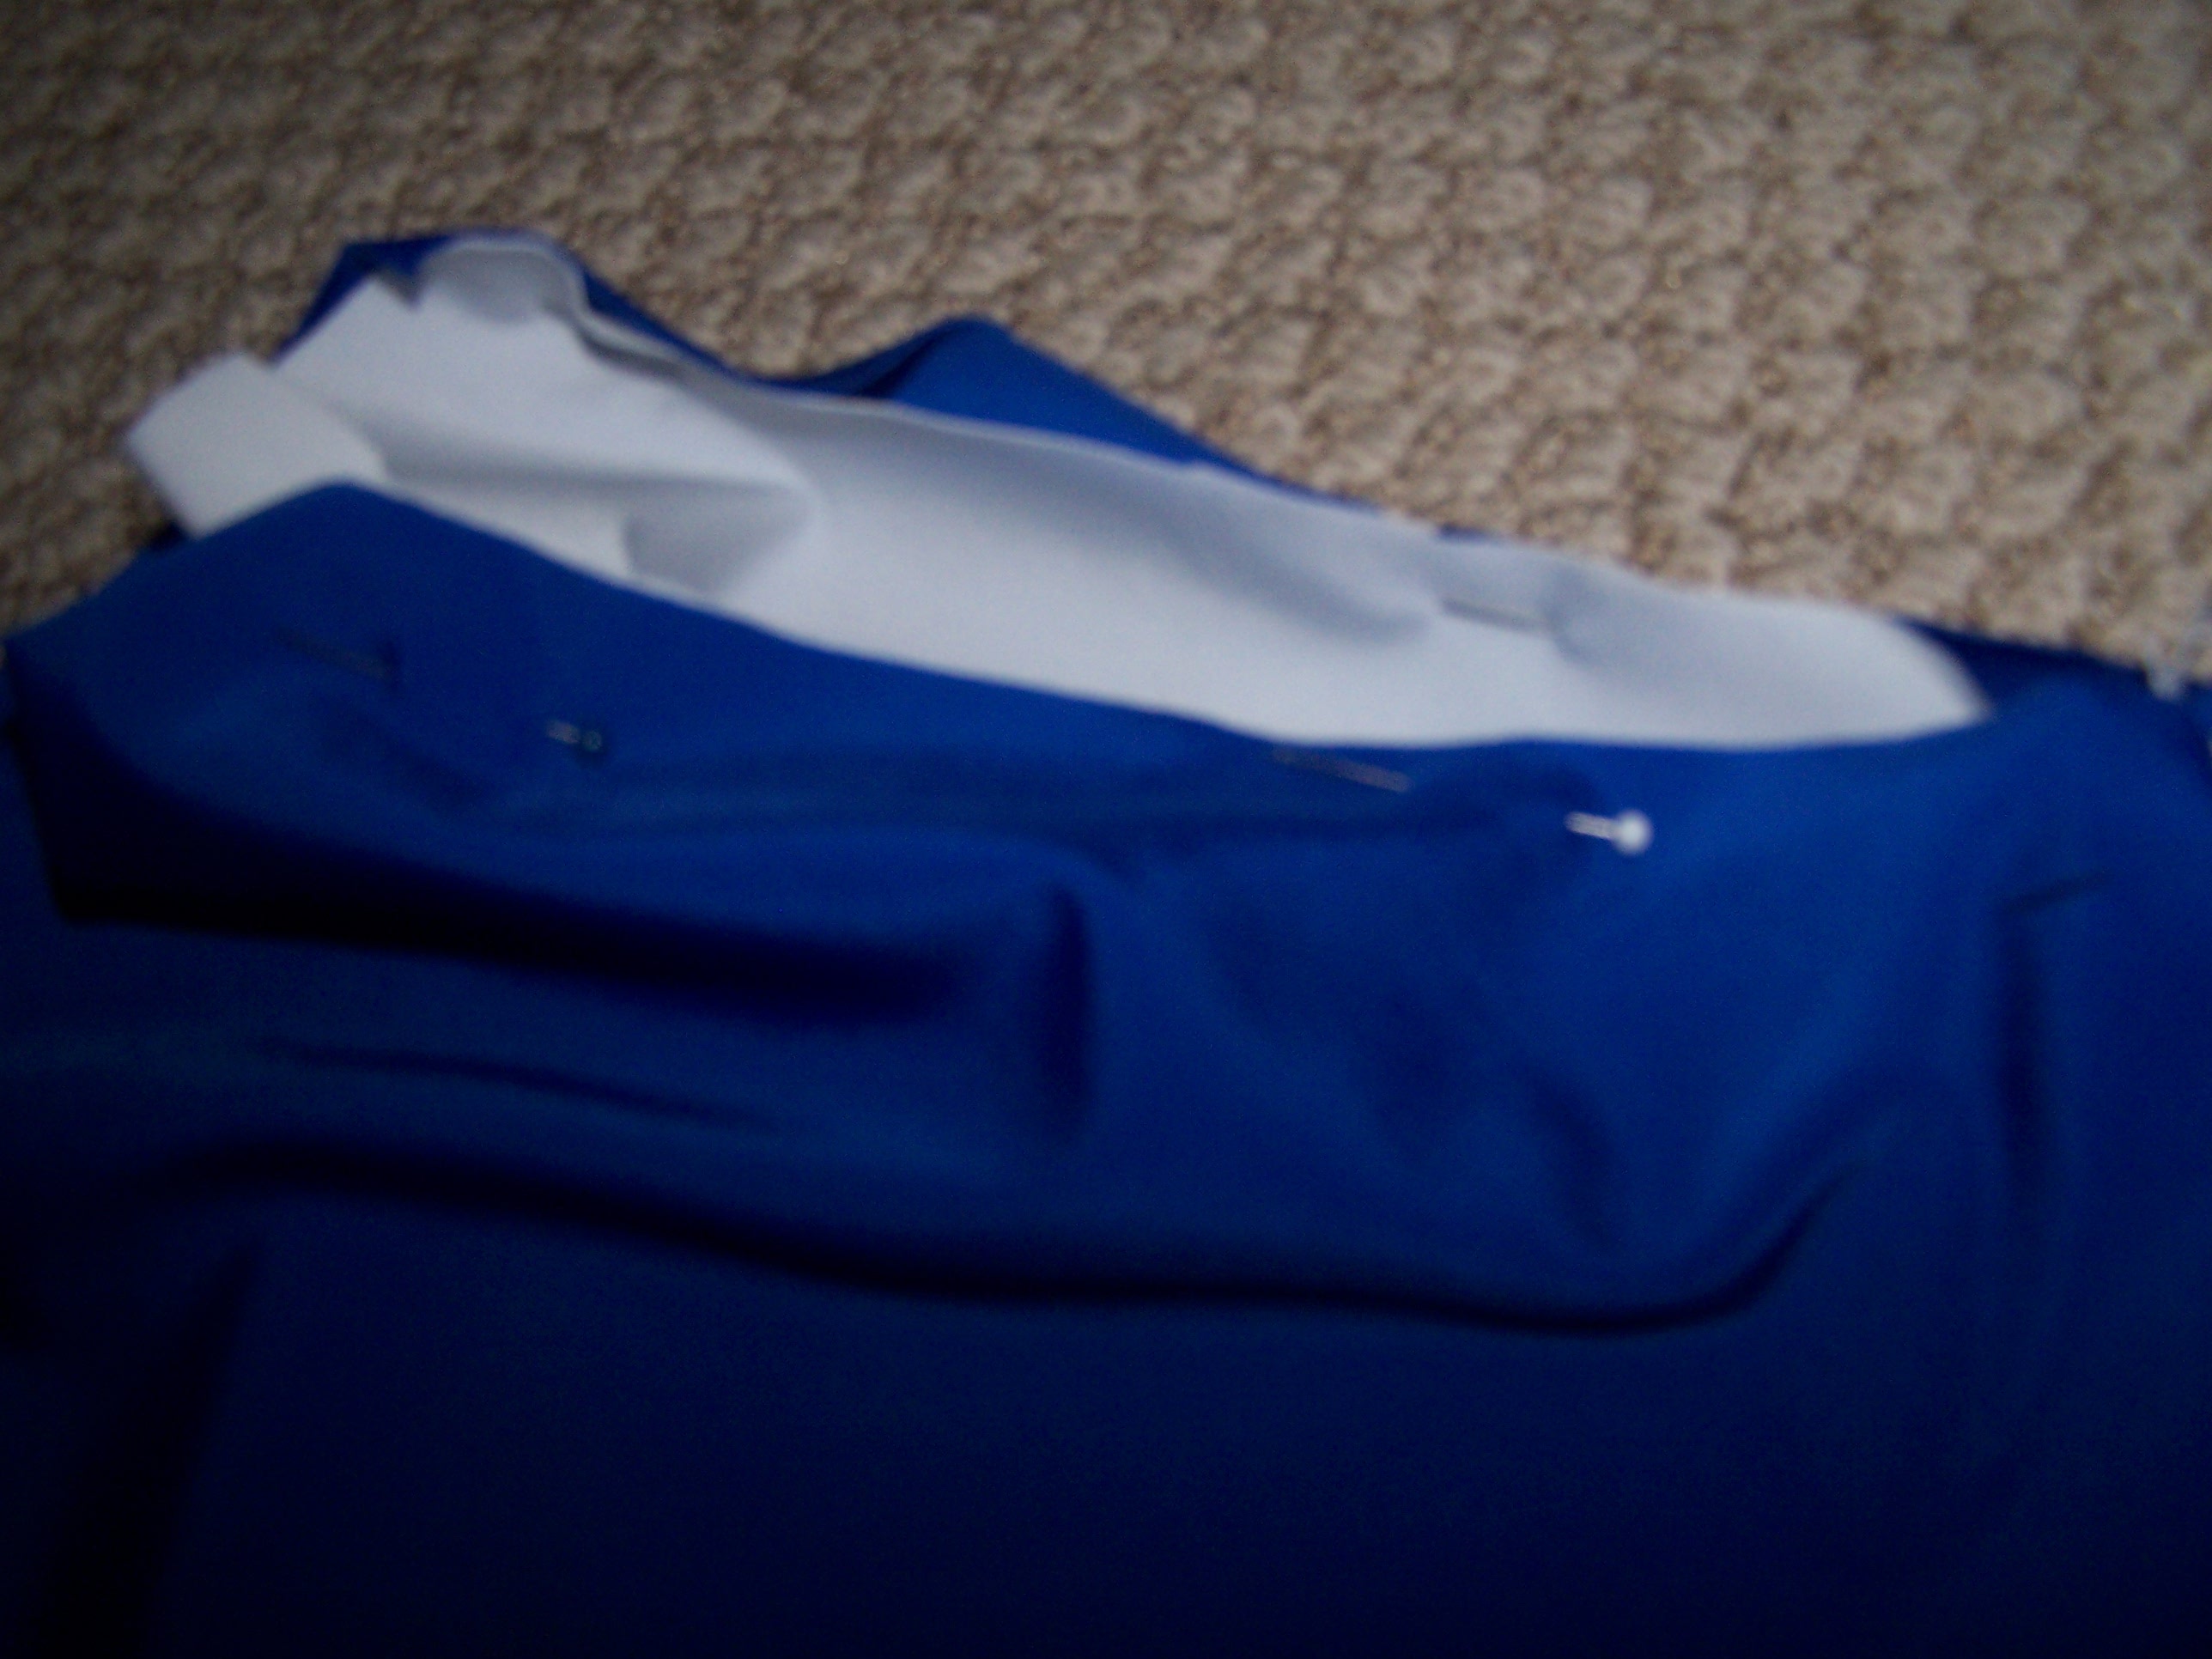
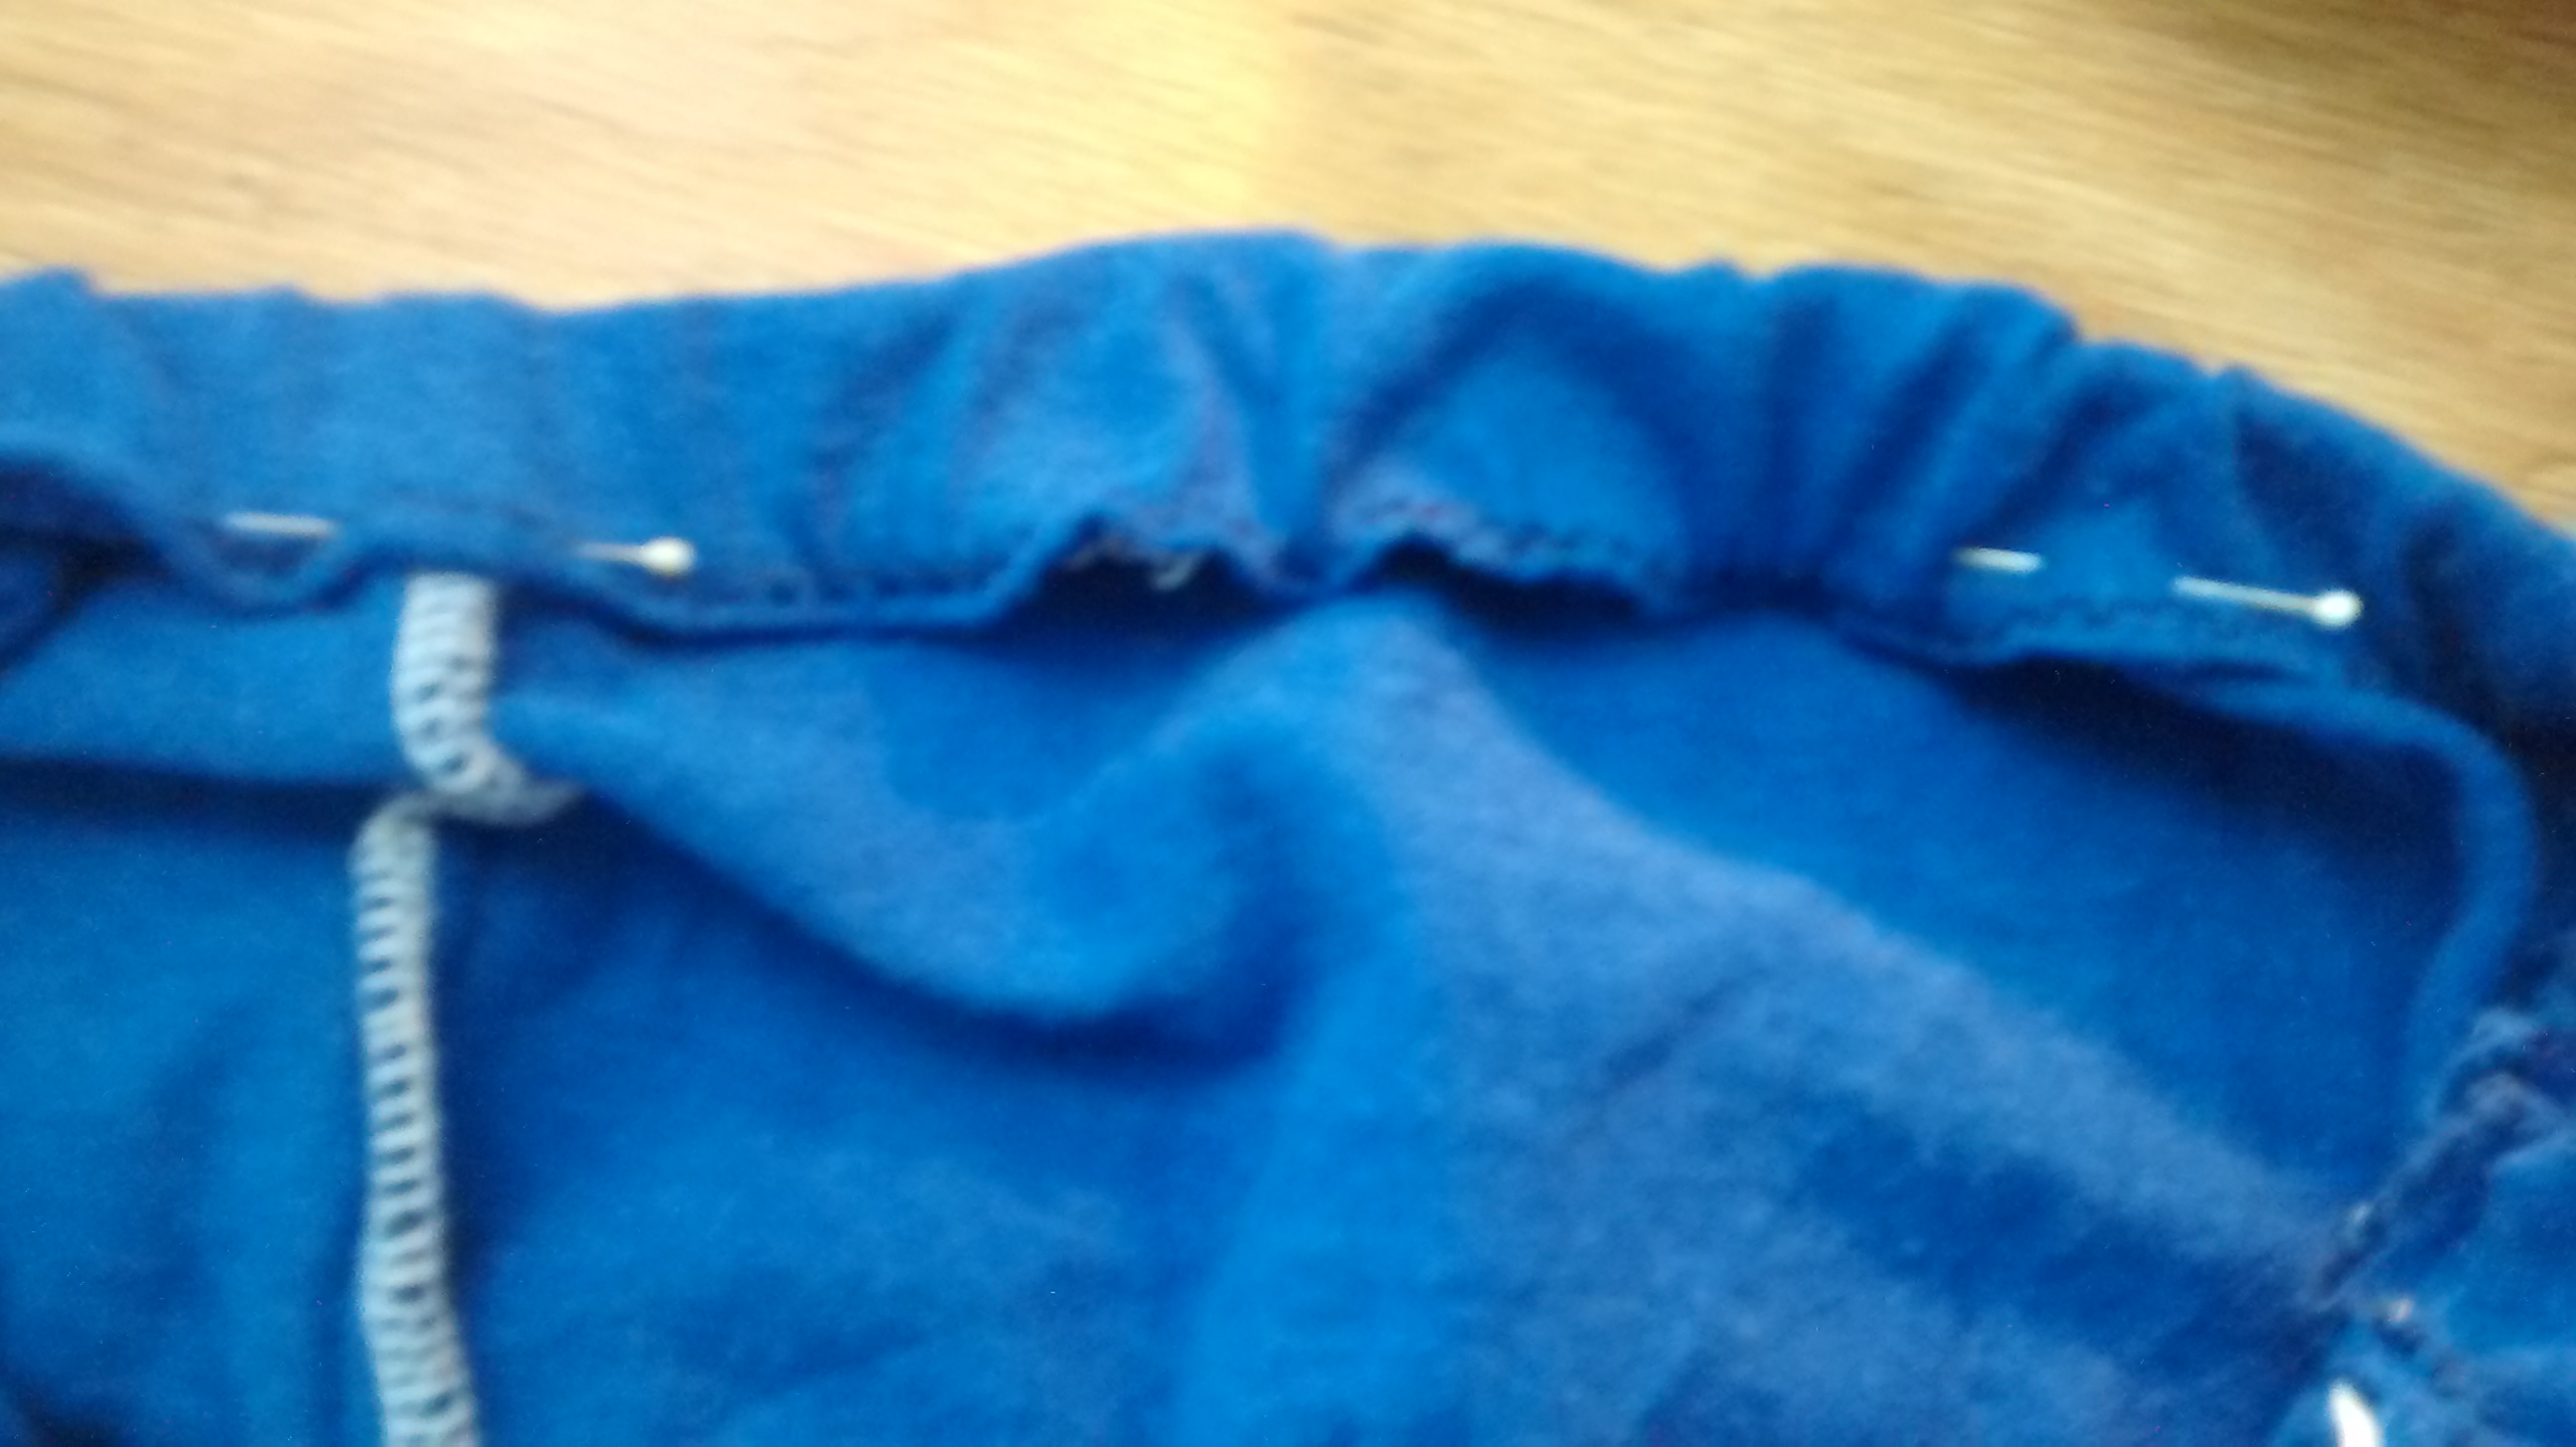
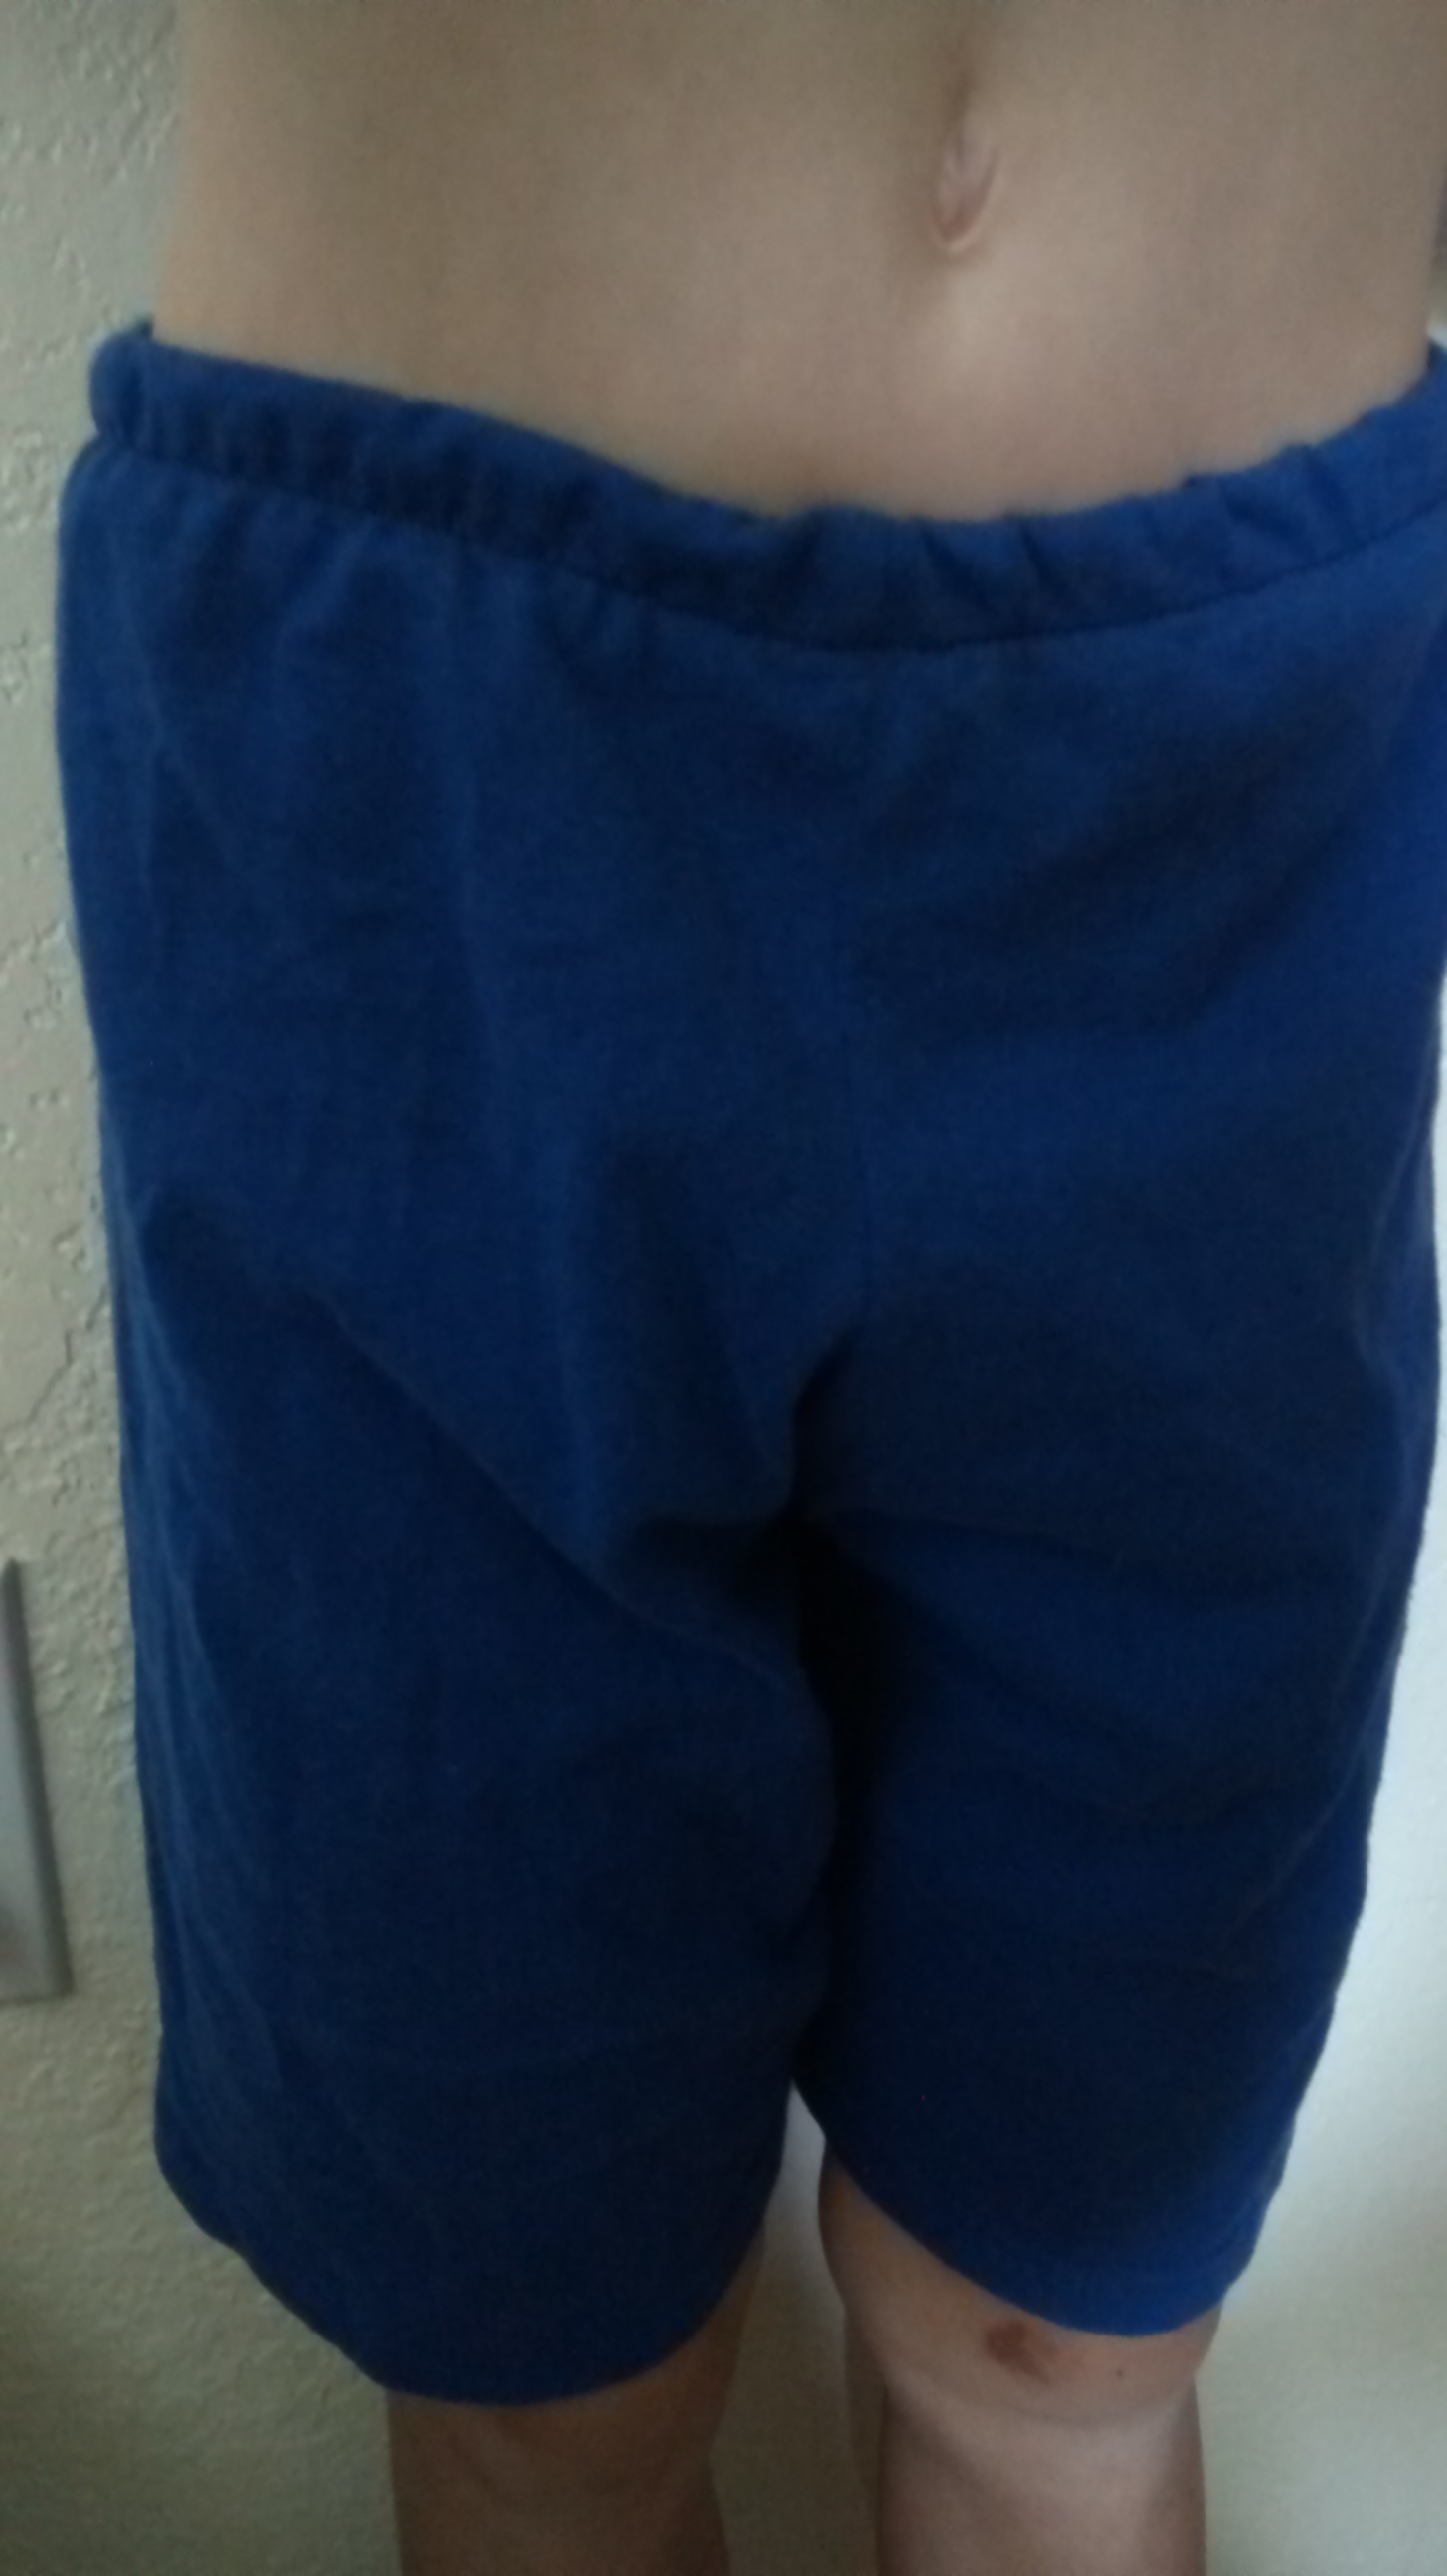
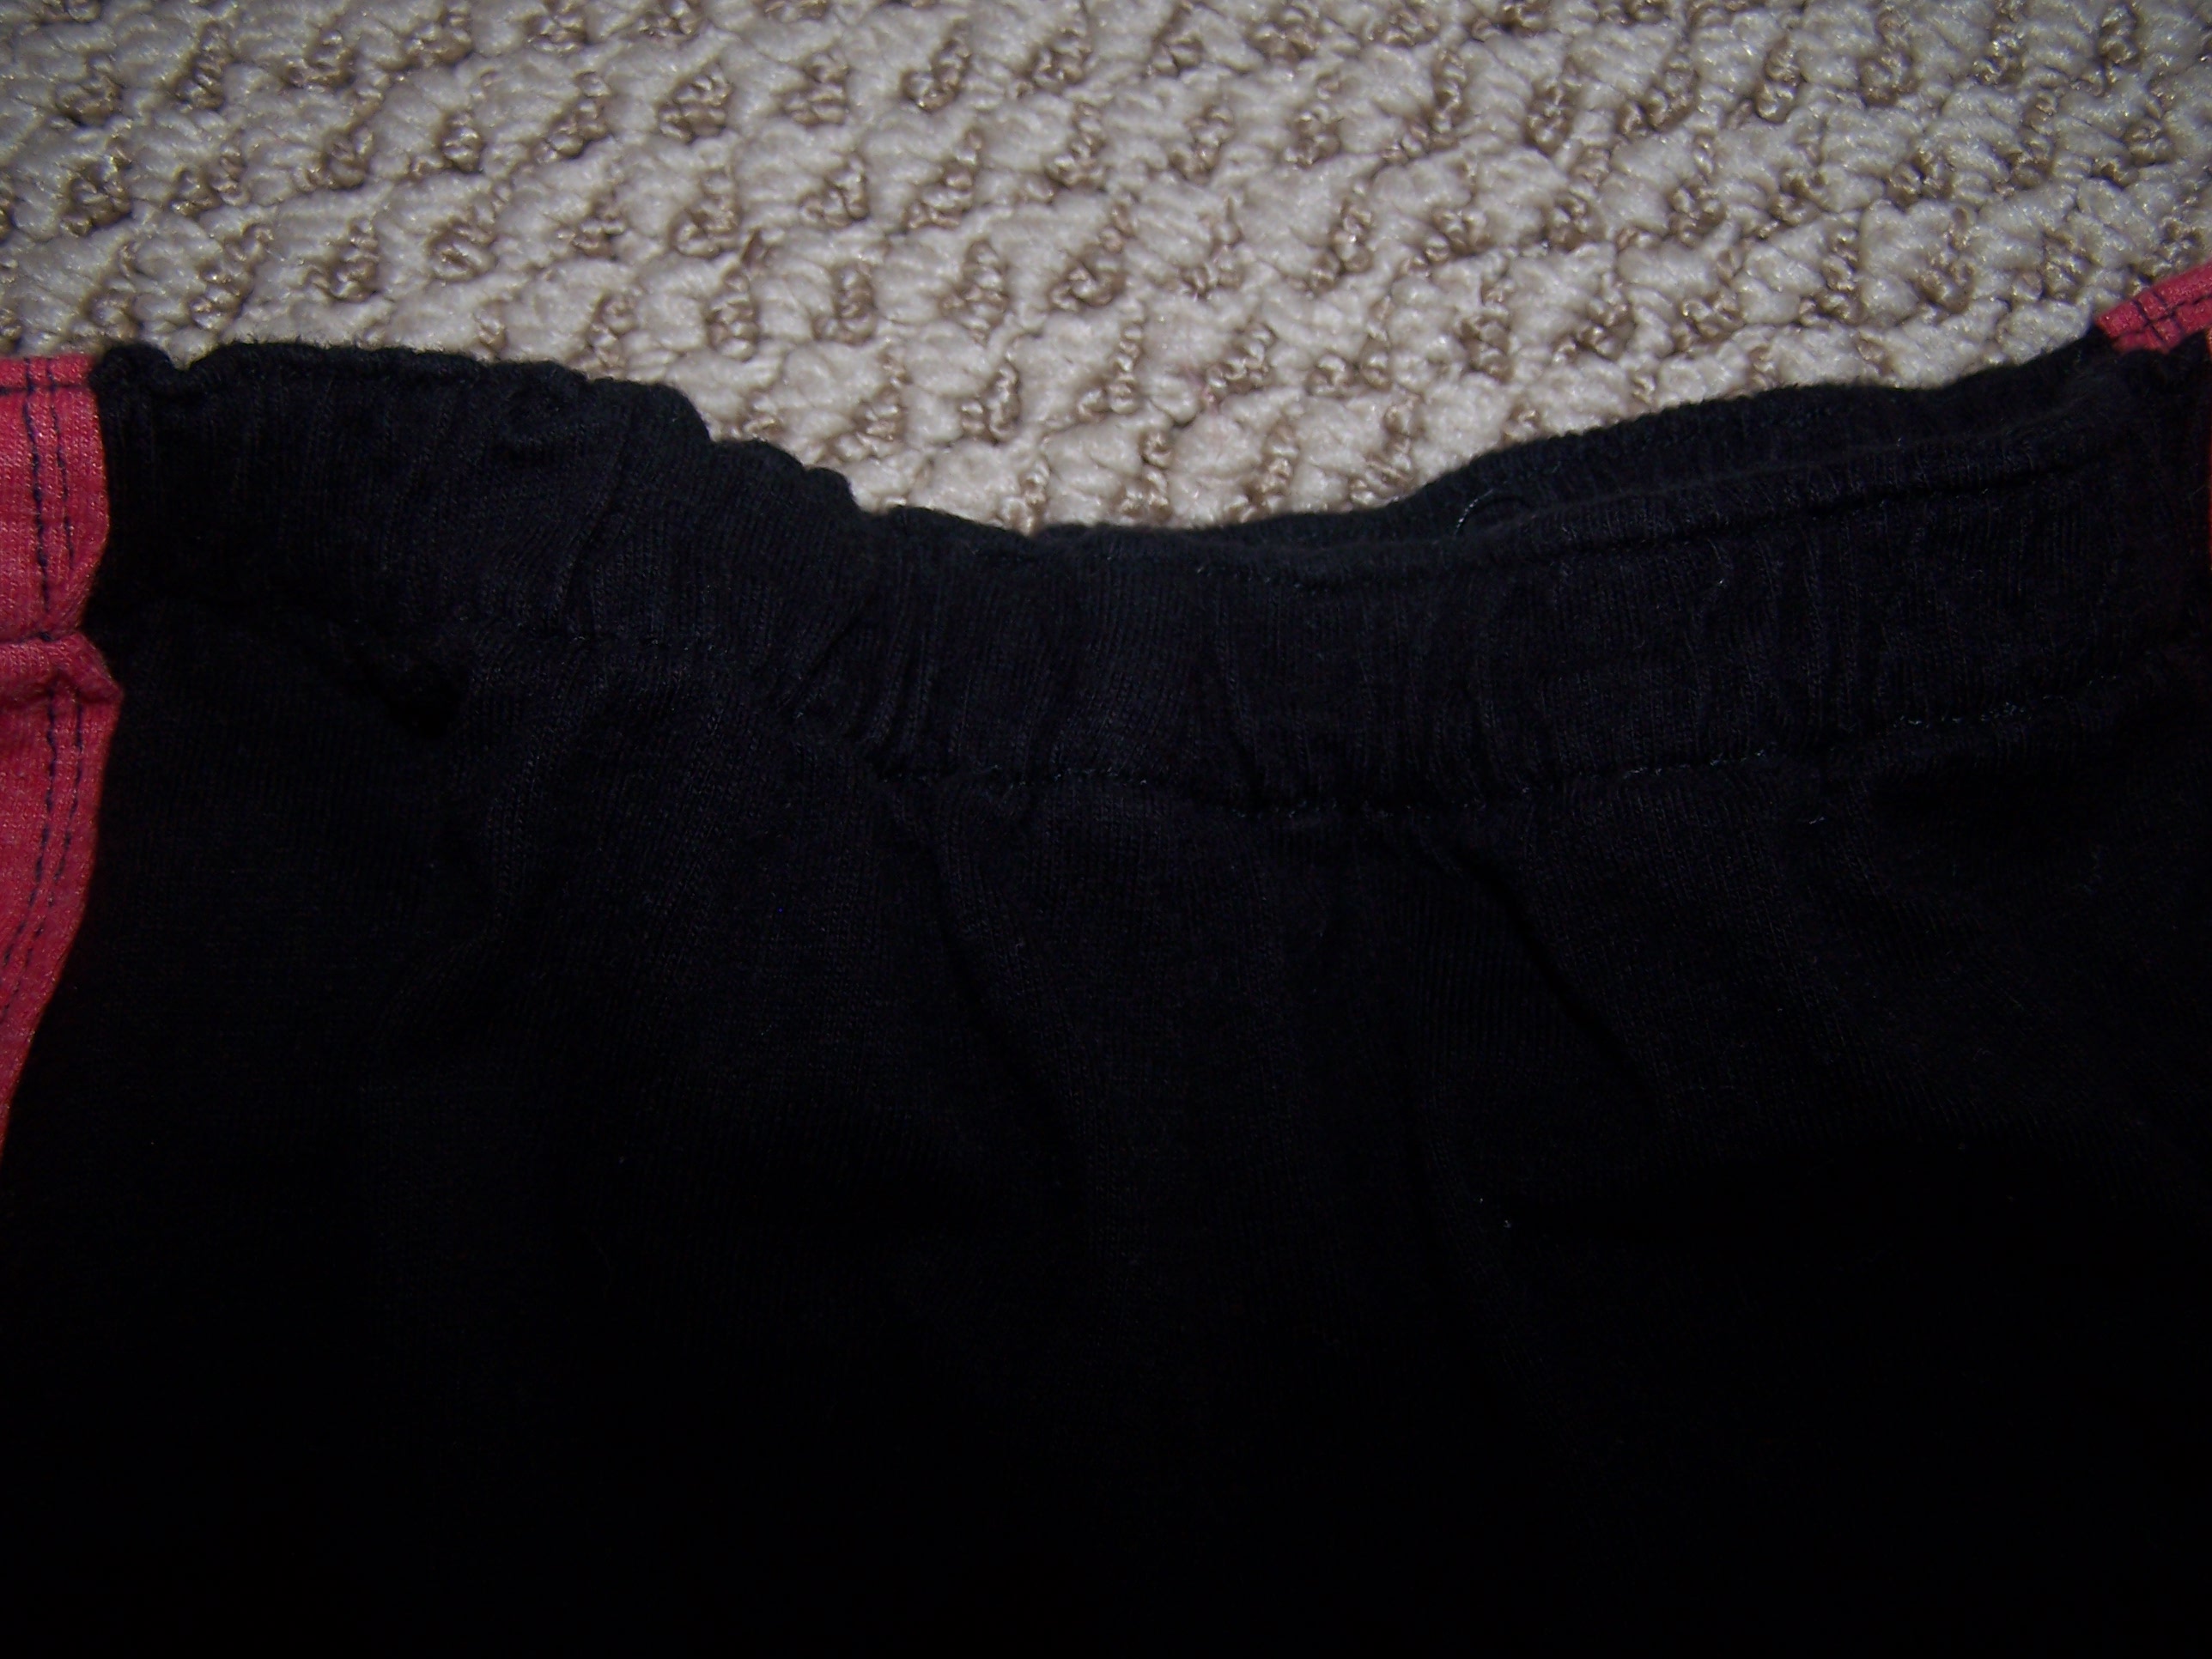
I wanted to have a small slit on the side, so I opened up the outside seam about 3″ on each side.  If you don’t want a slit, skip to the last step to hem your capris.

Open Up Side Seam

Open Seam

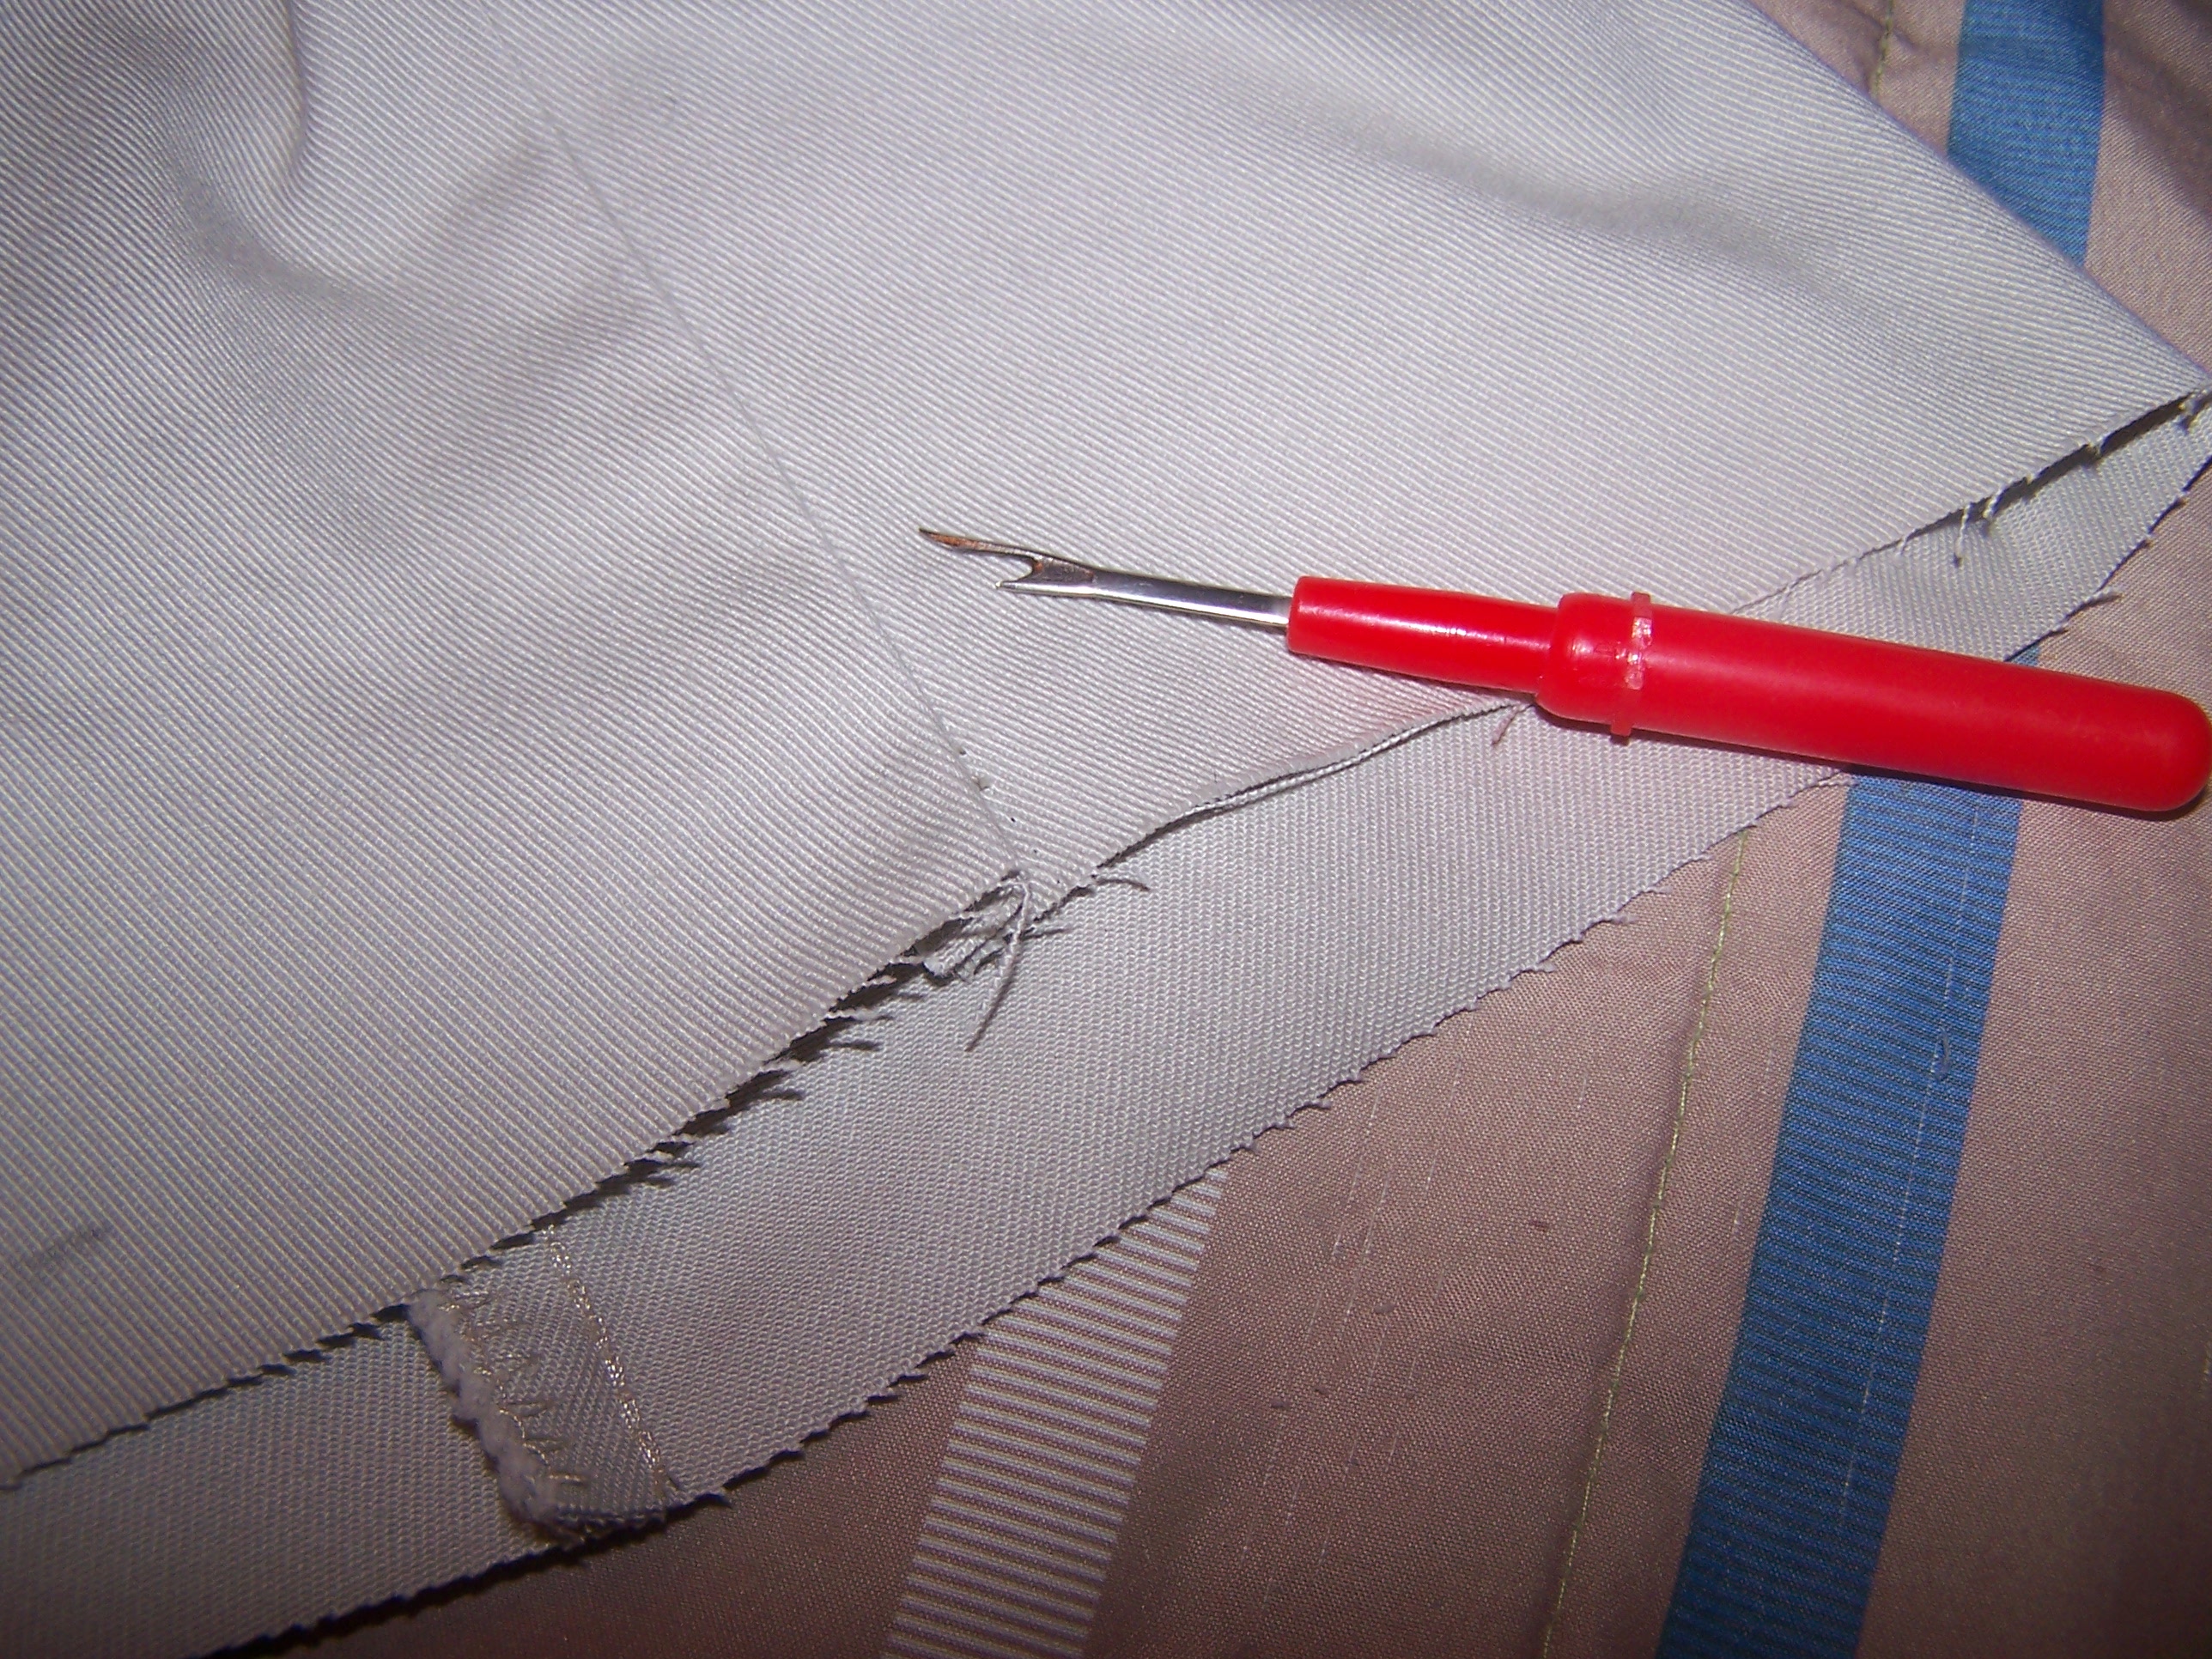
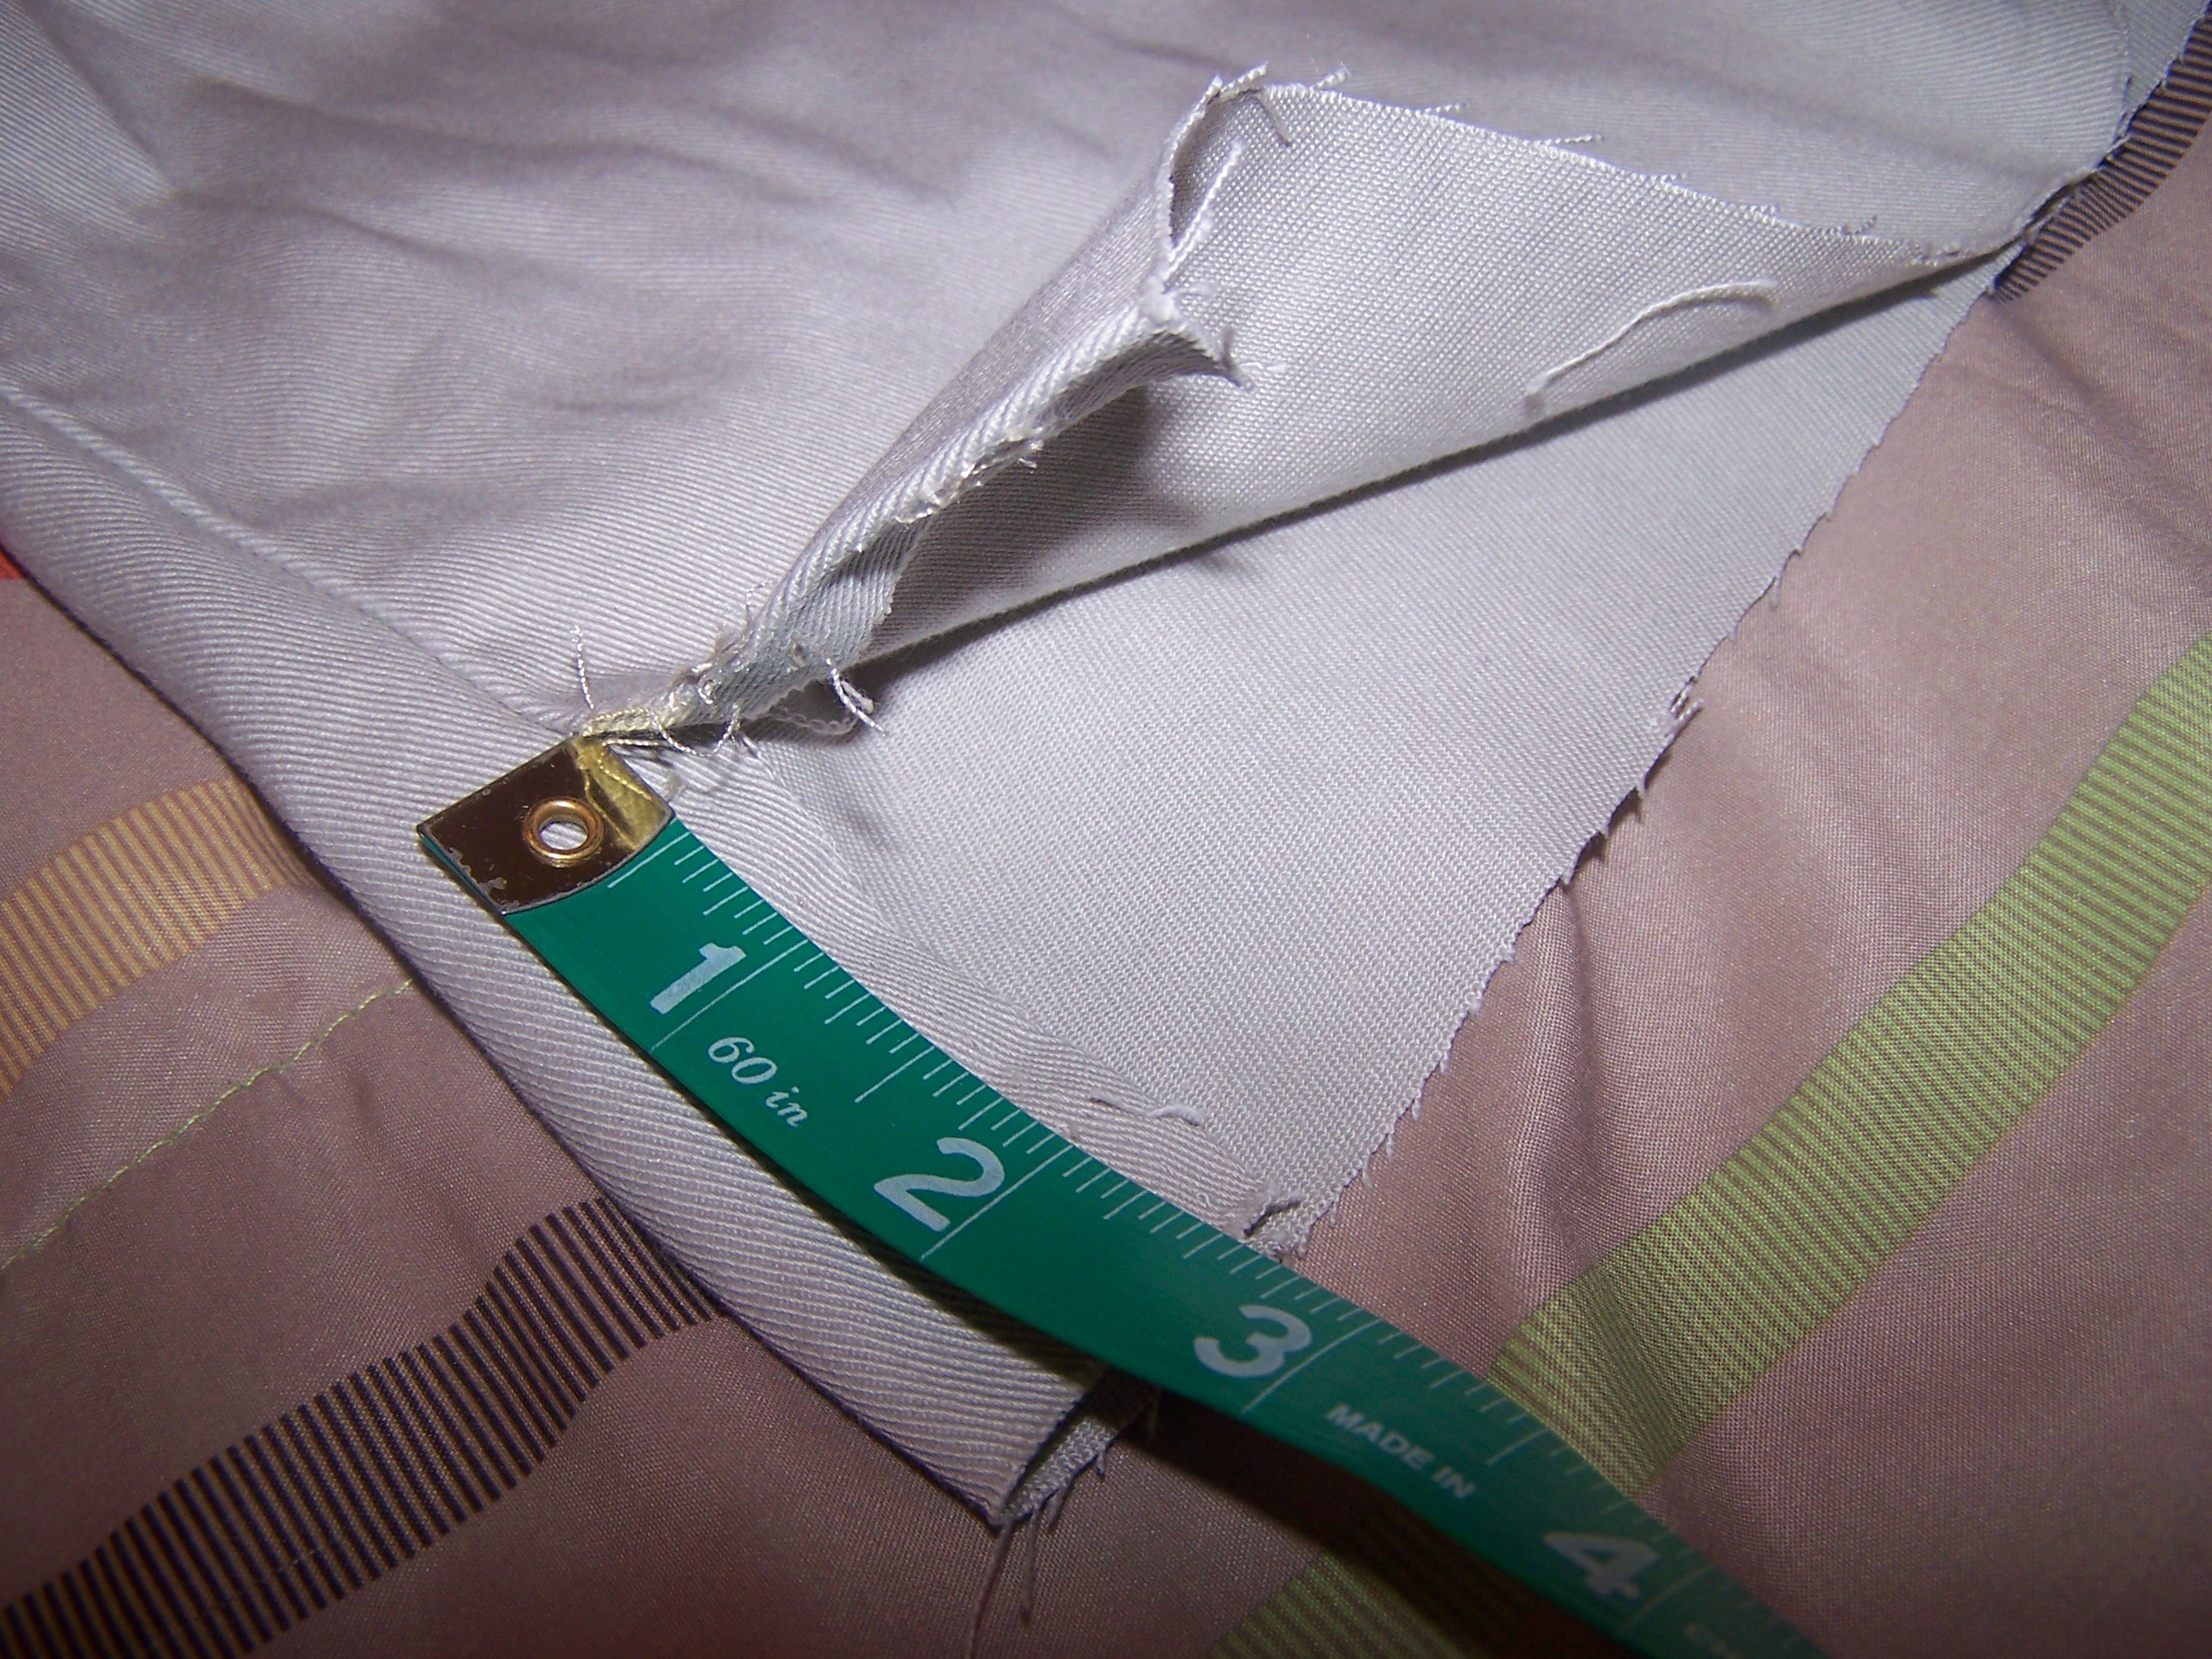
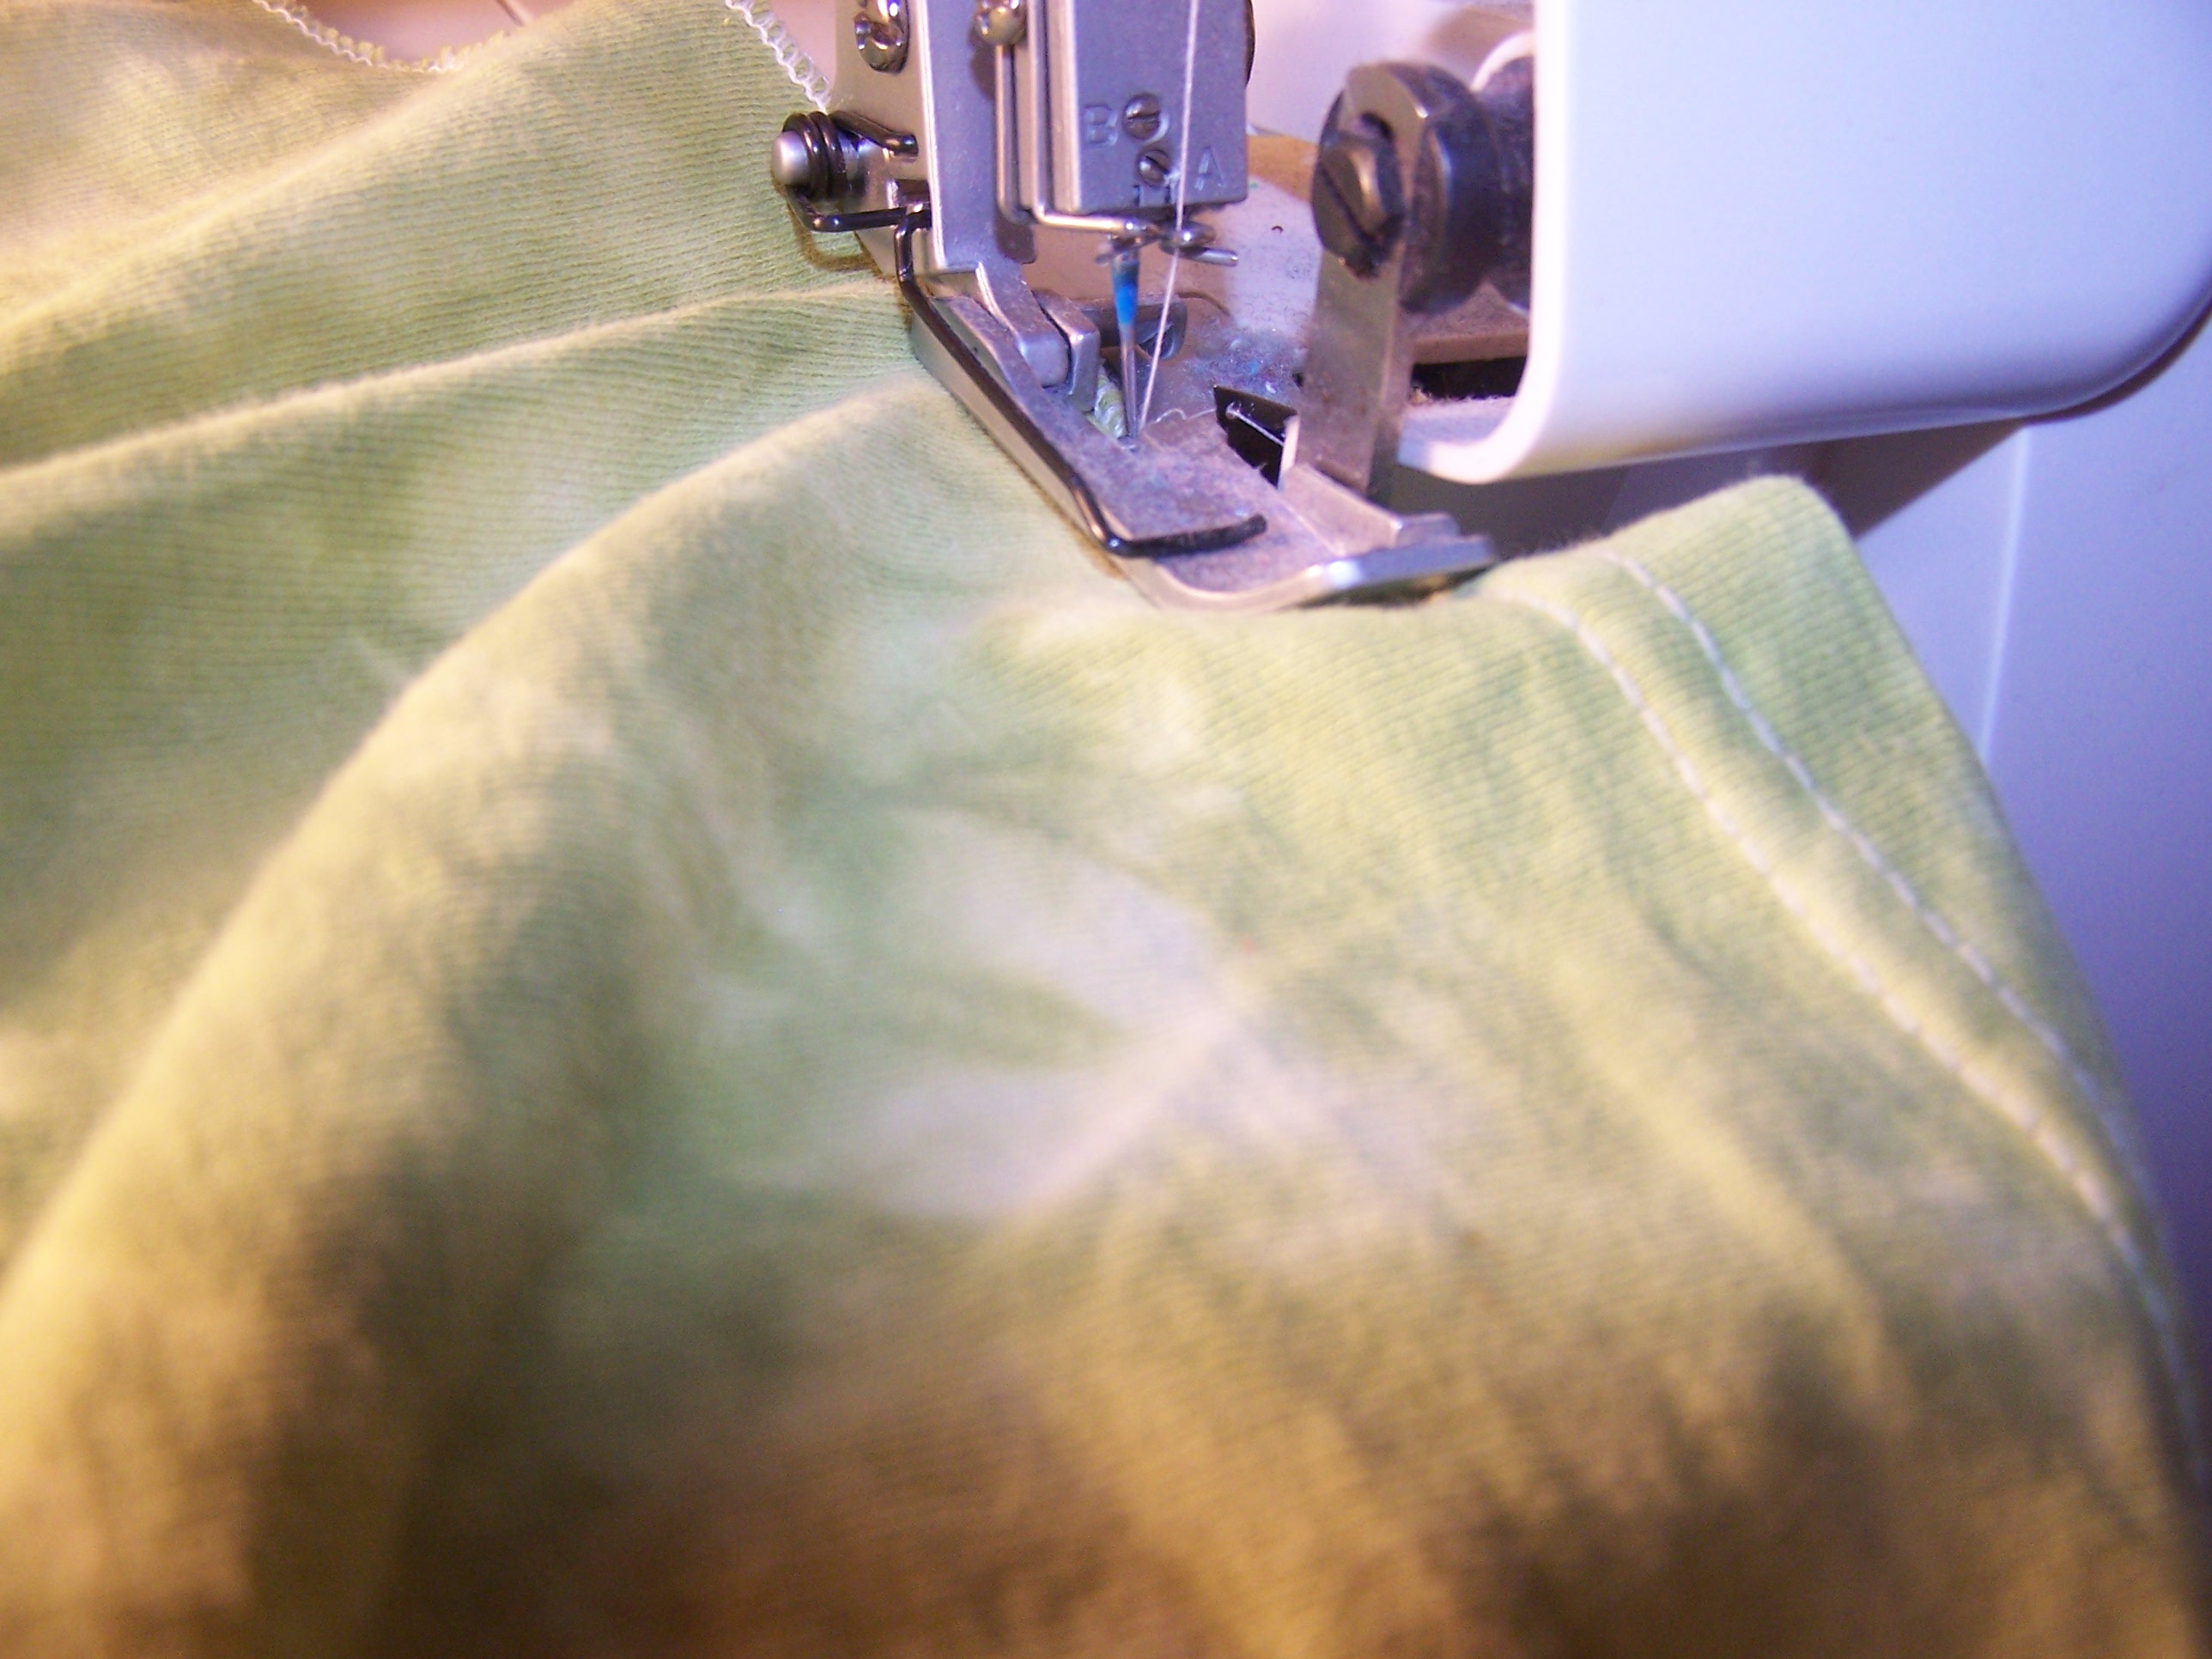
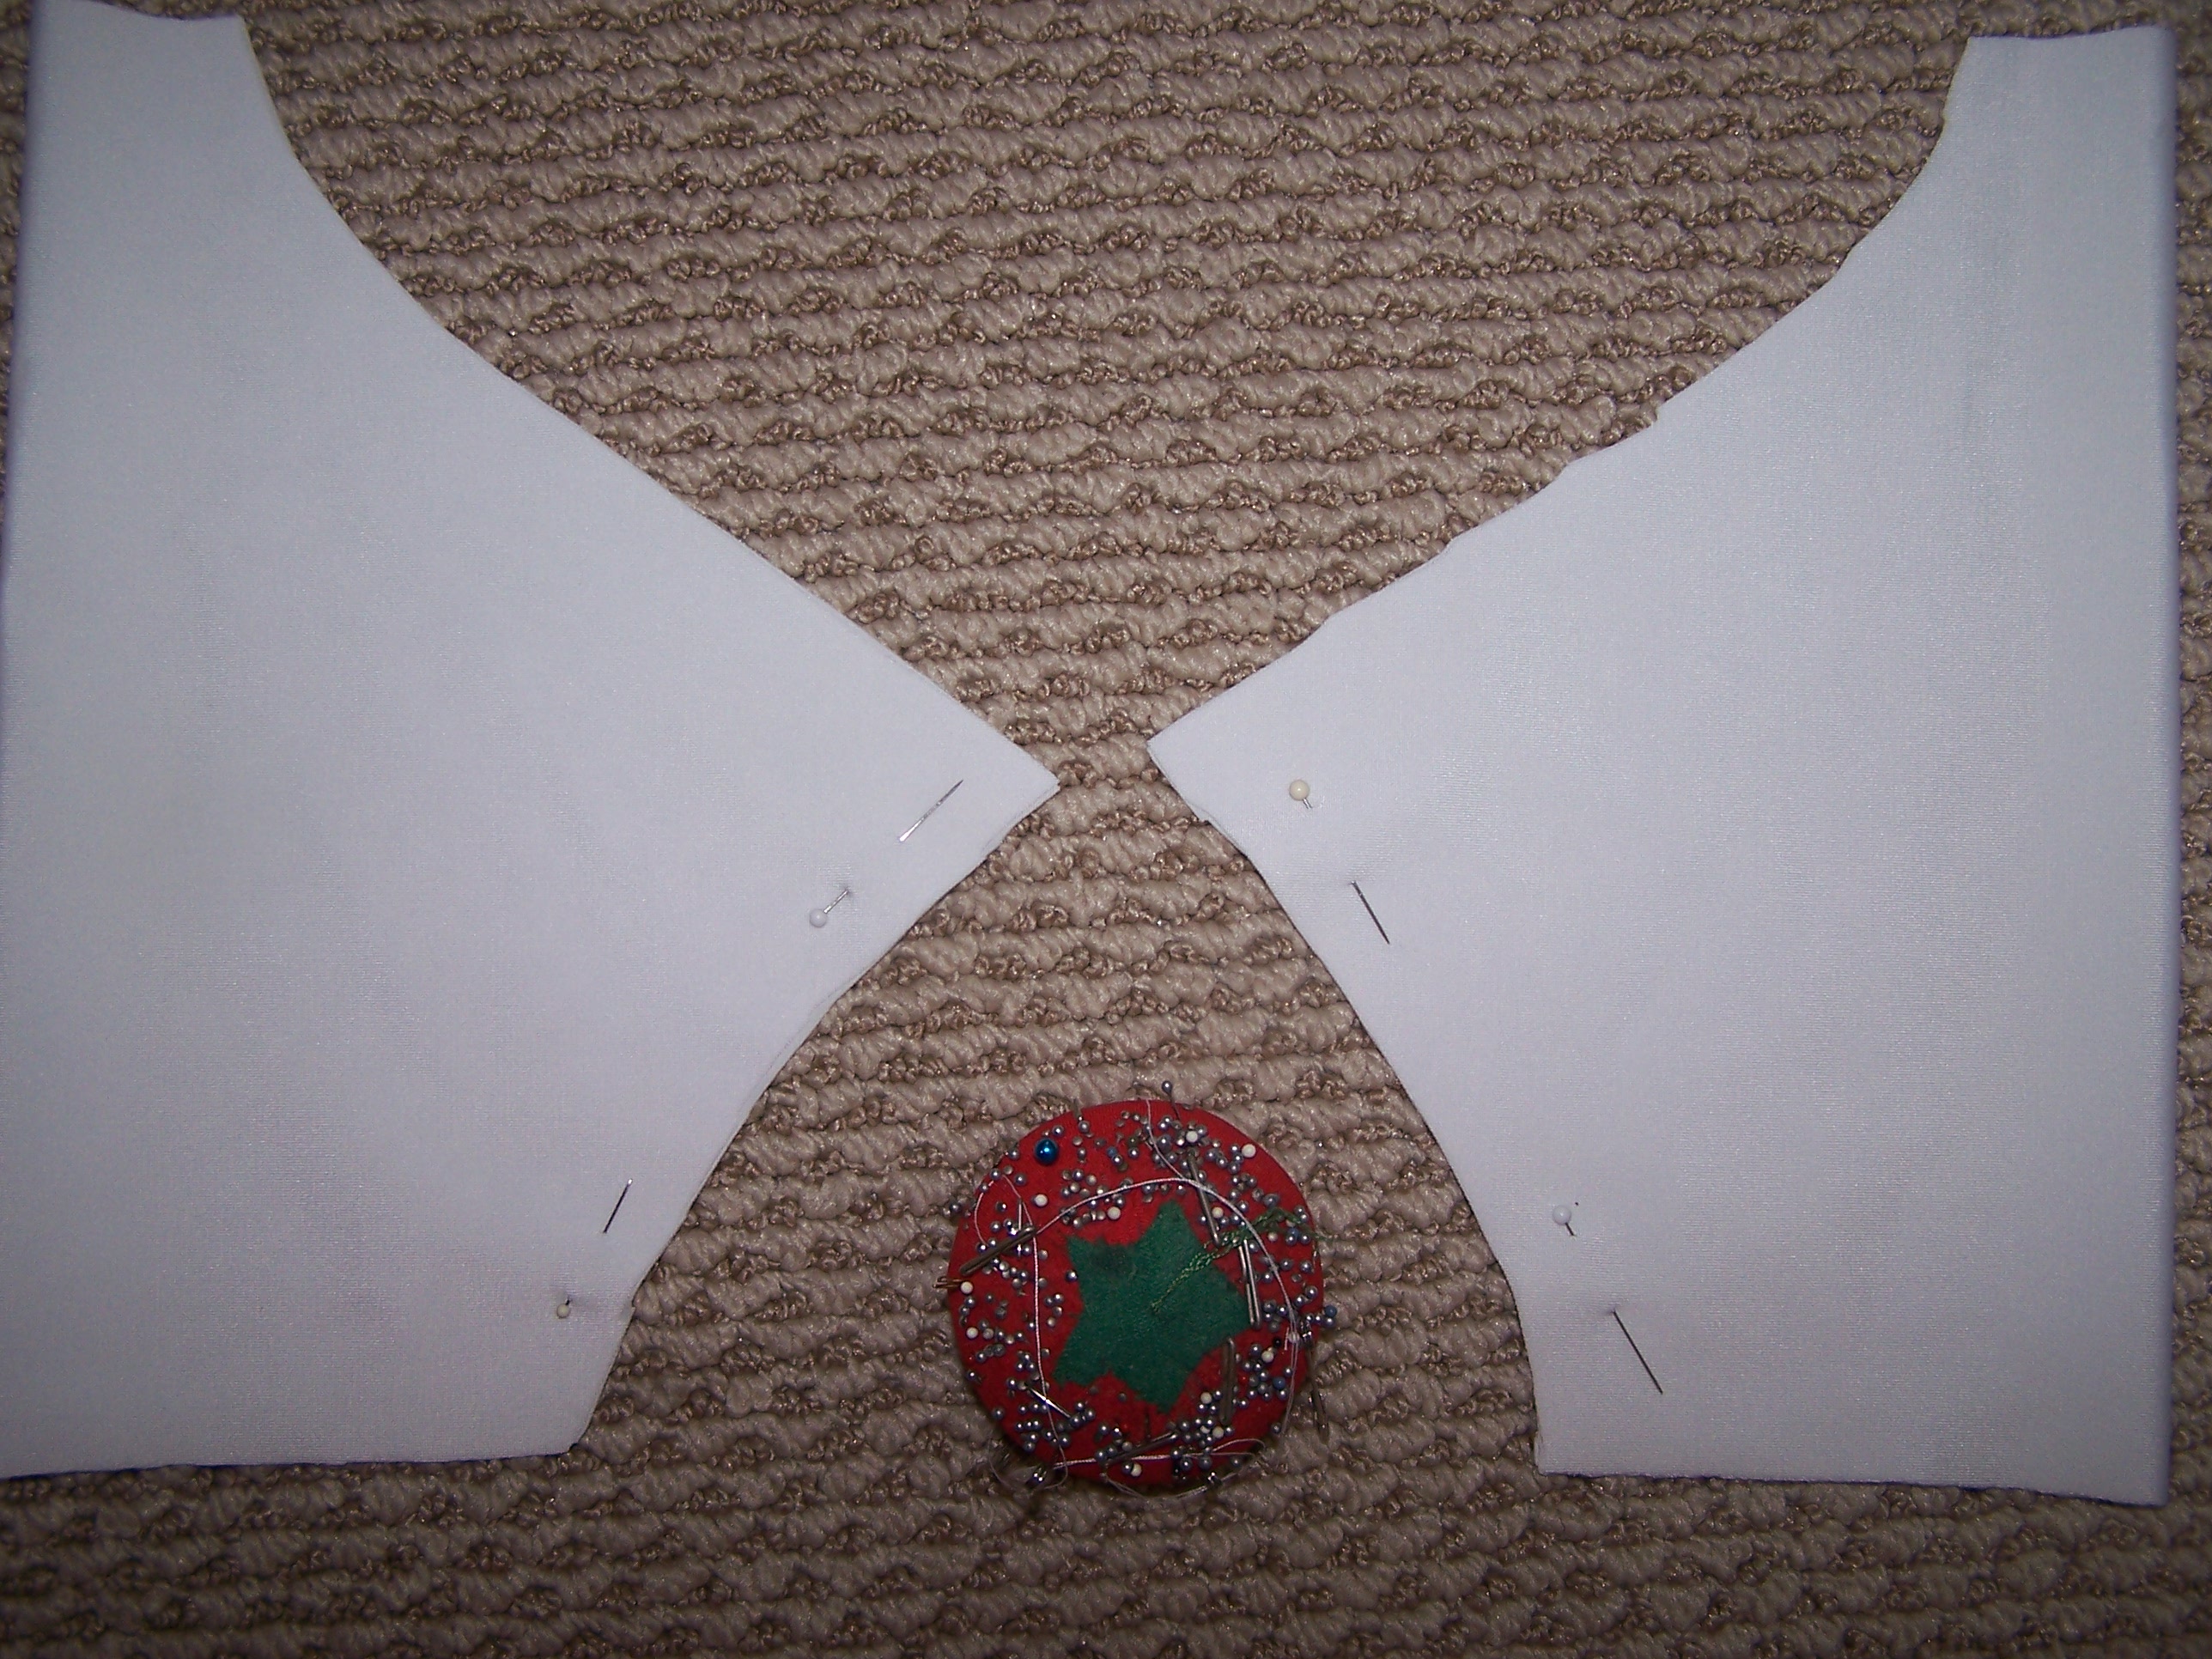
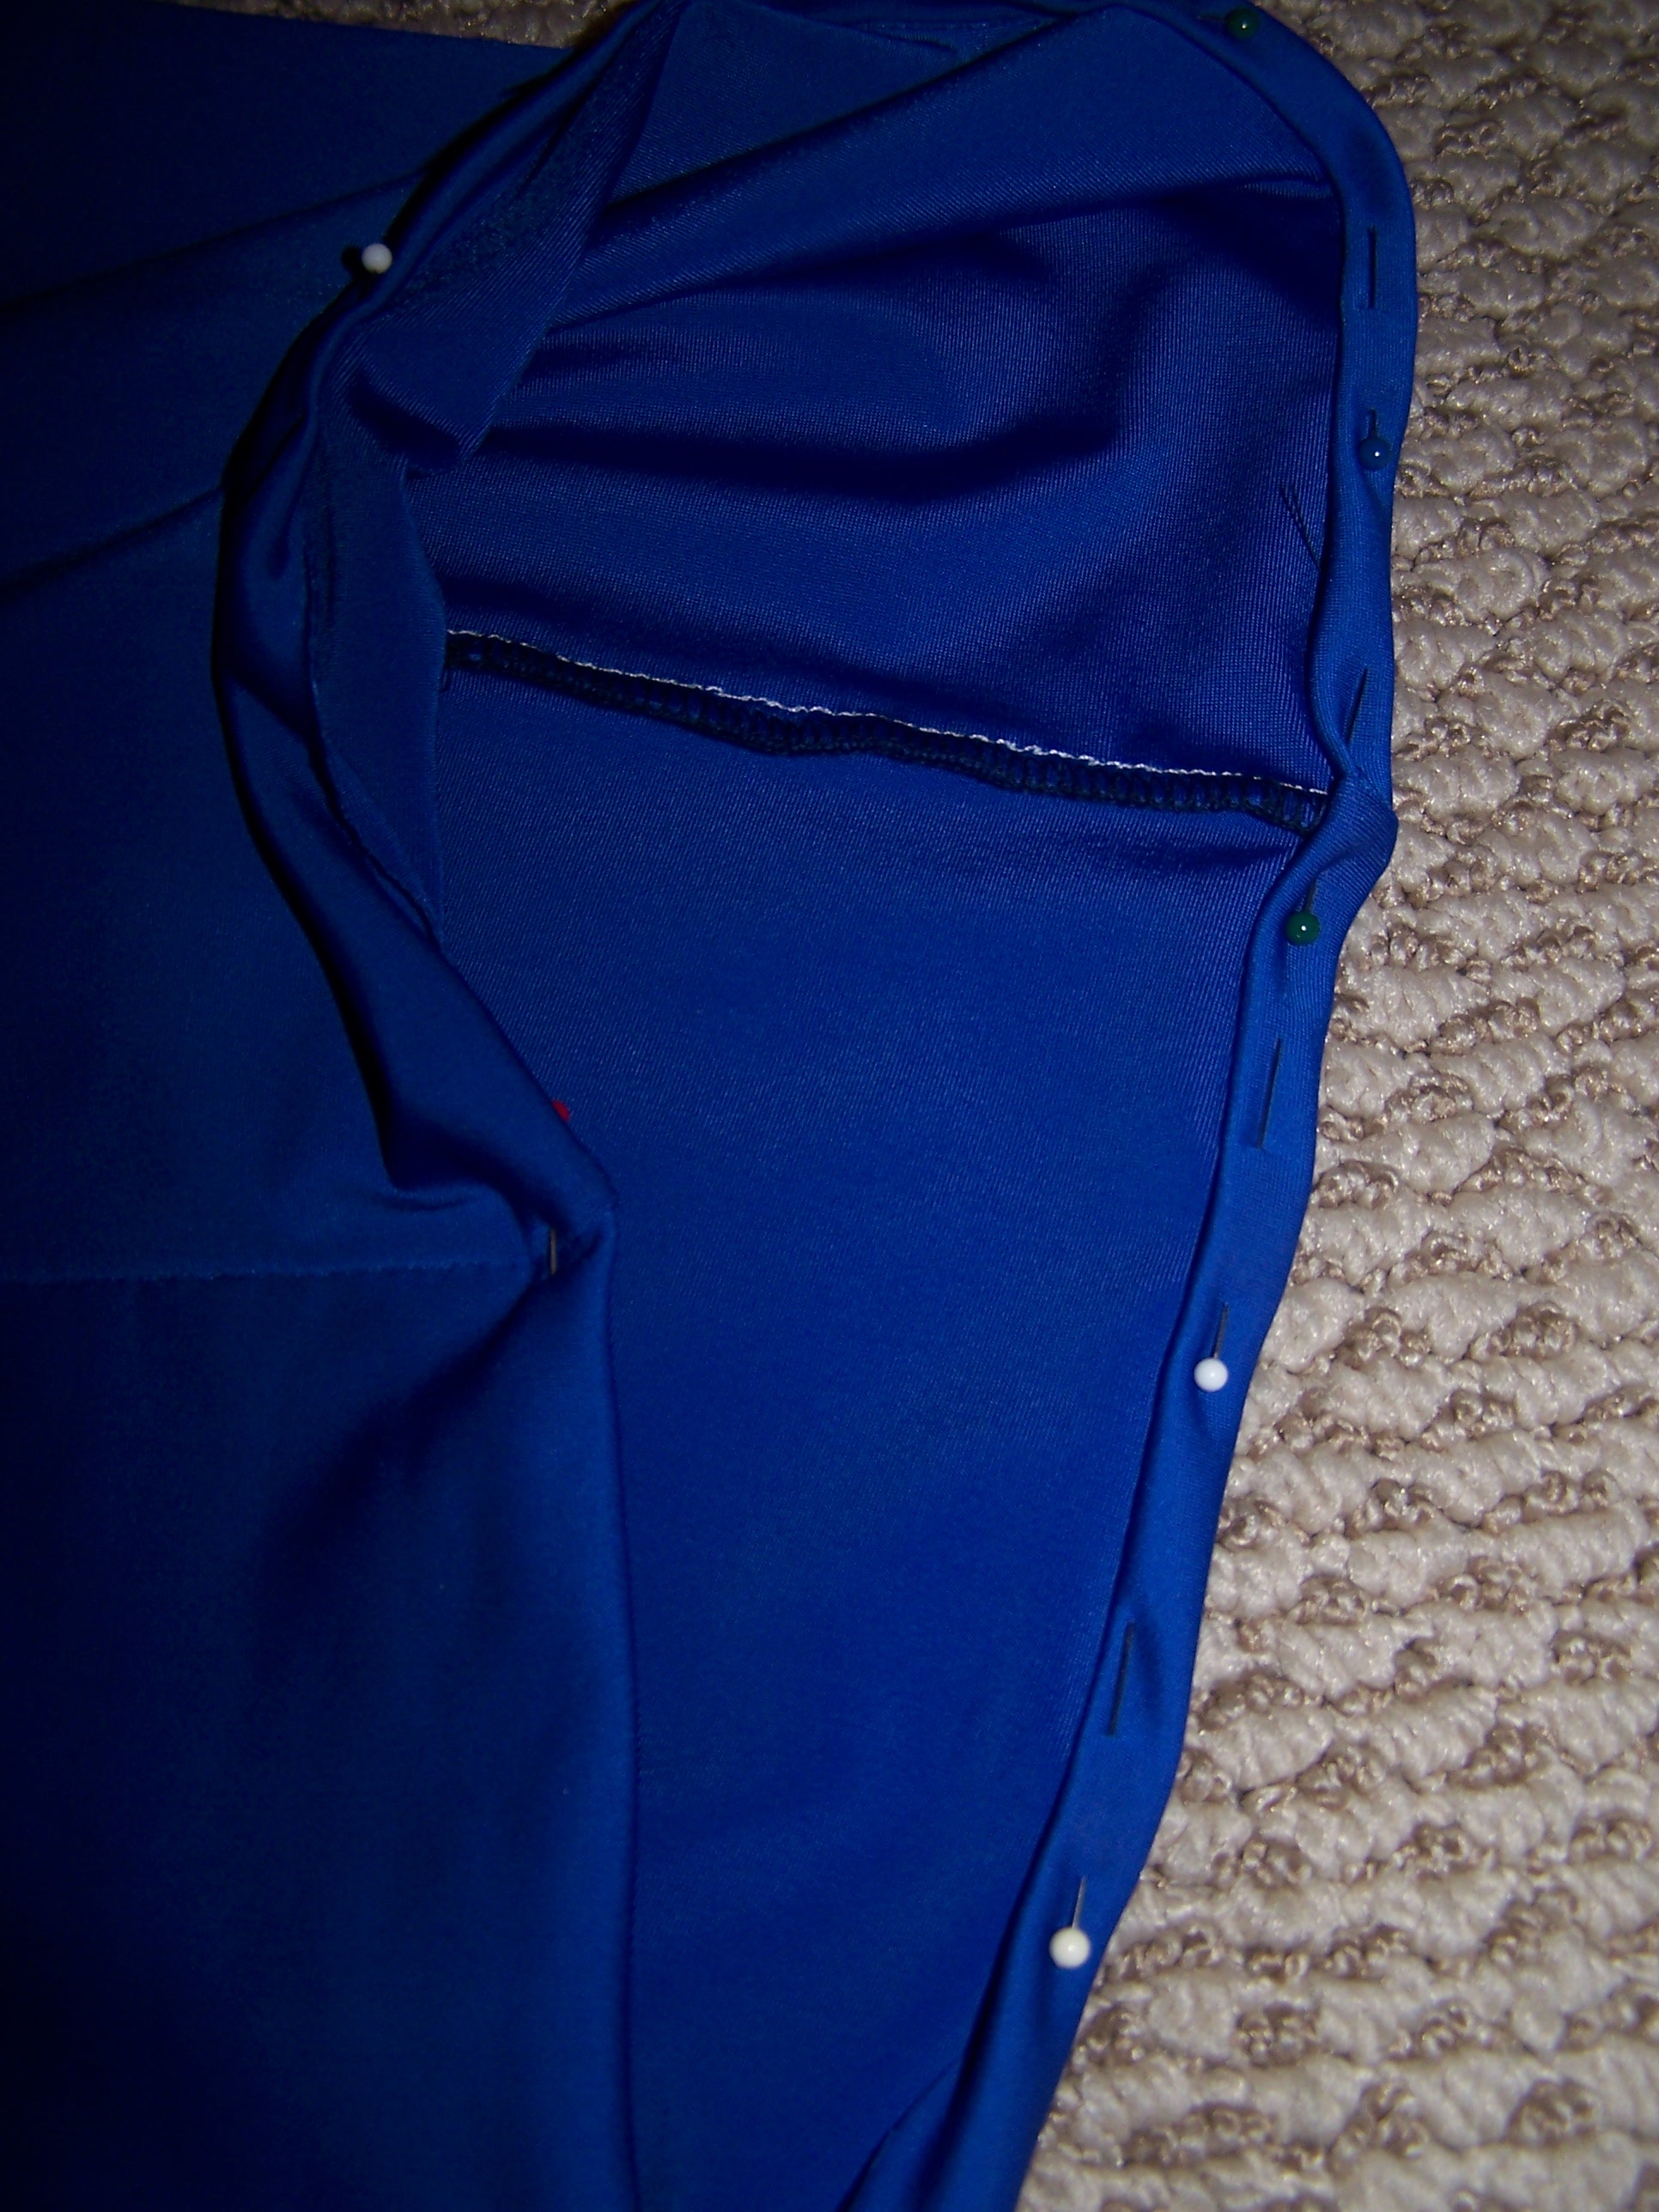
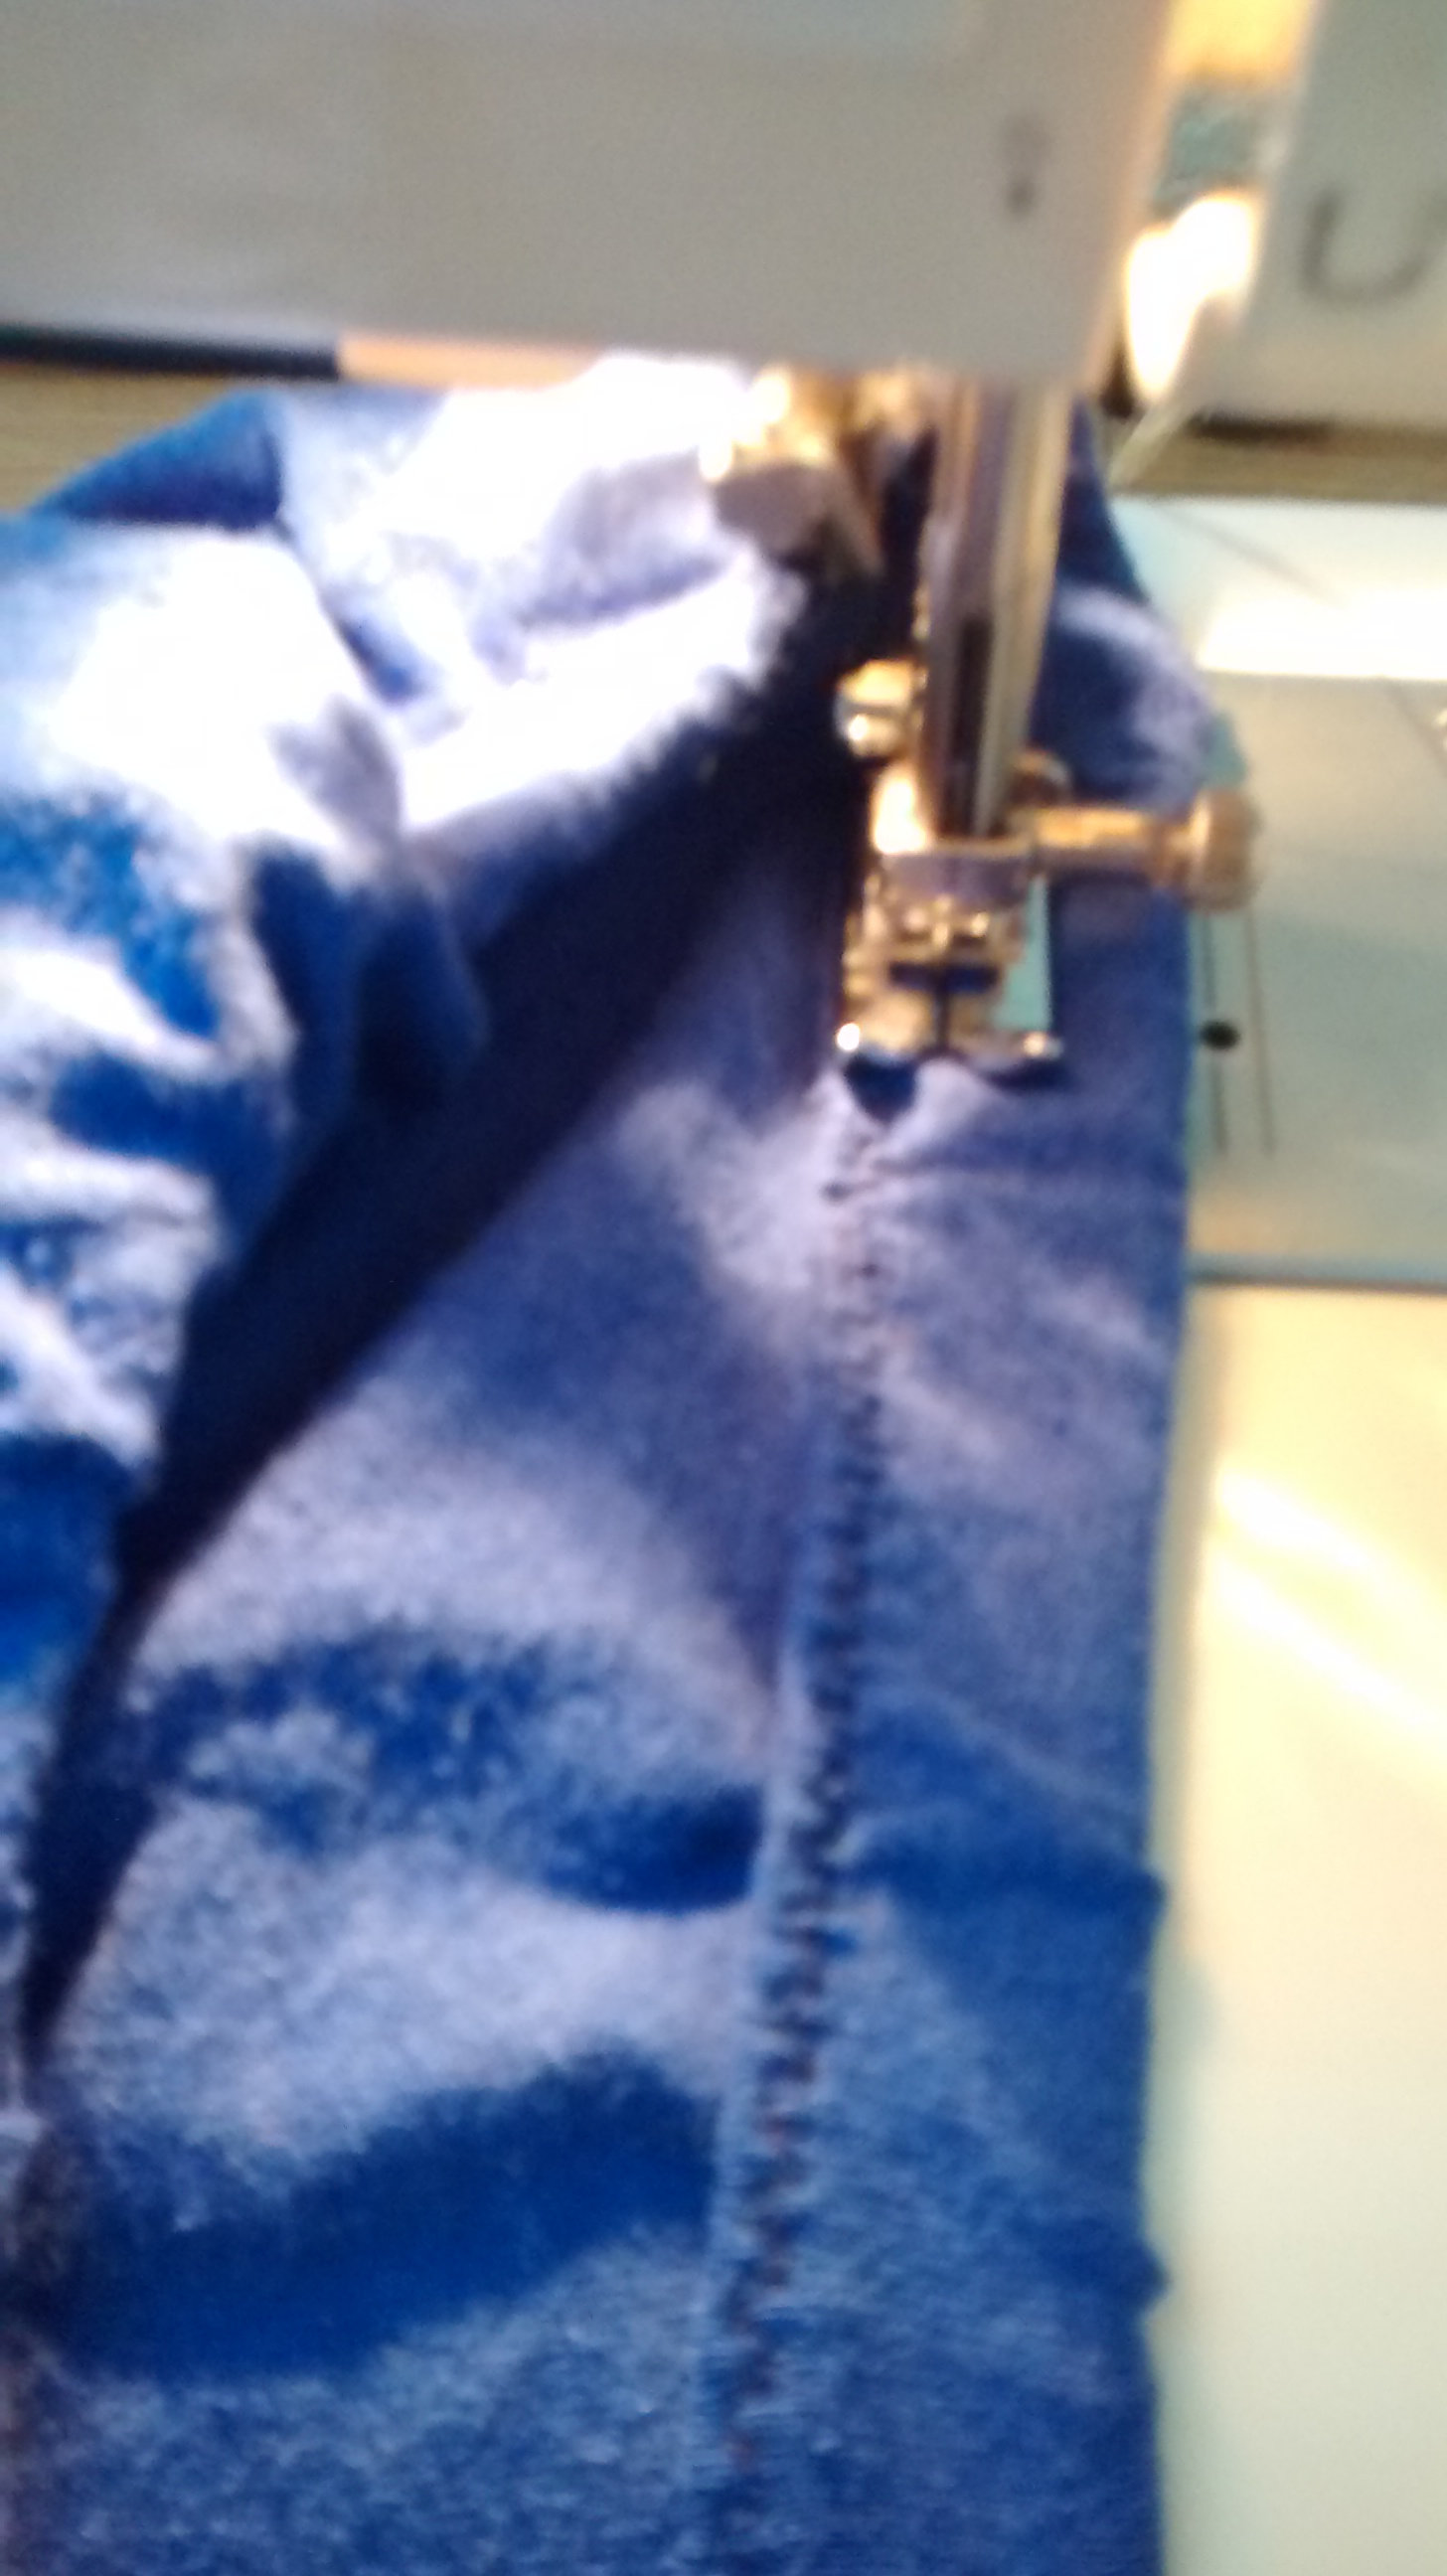
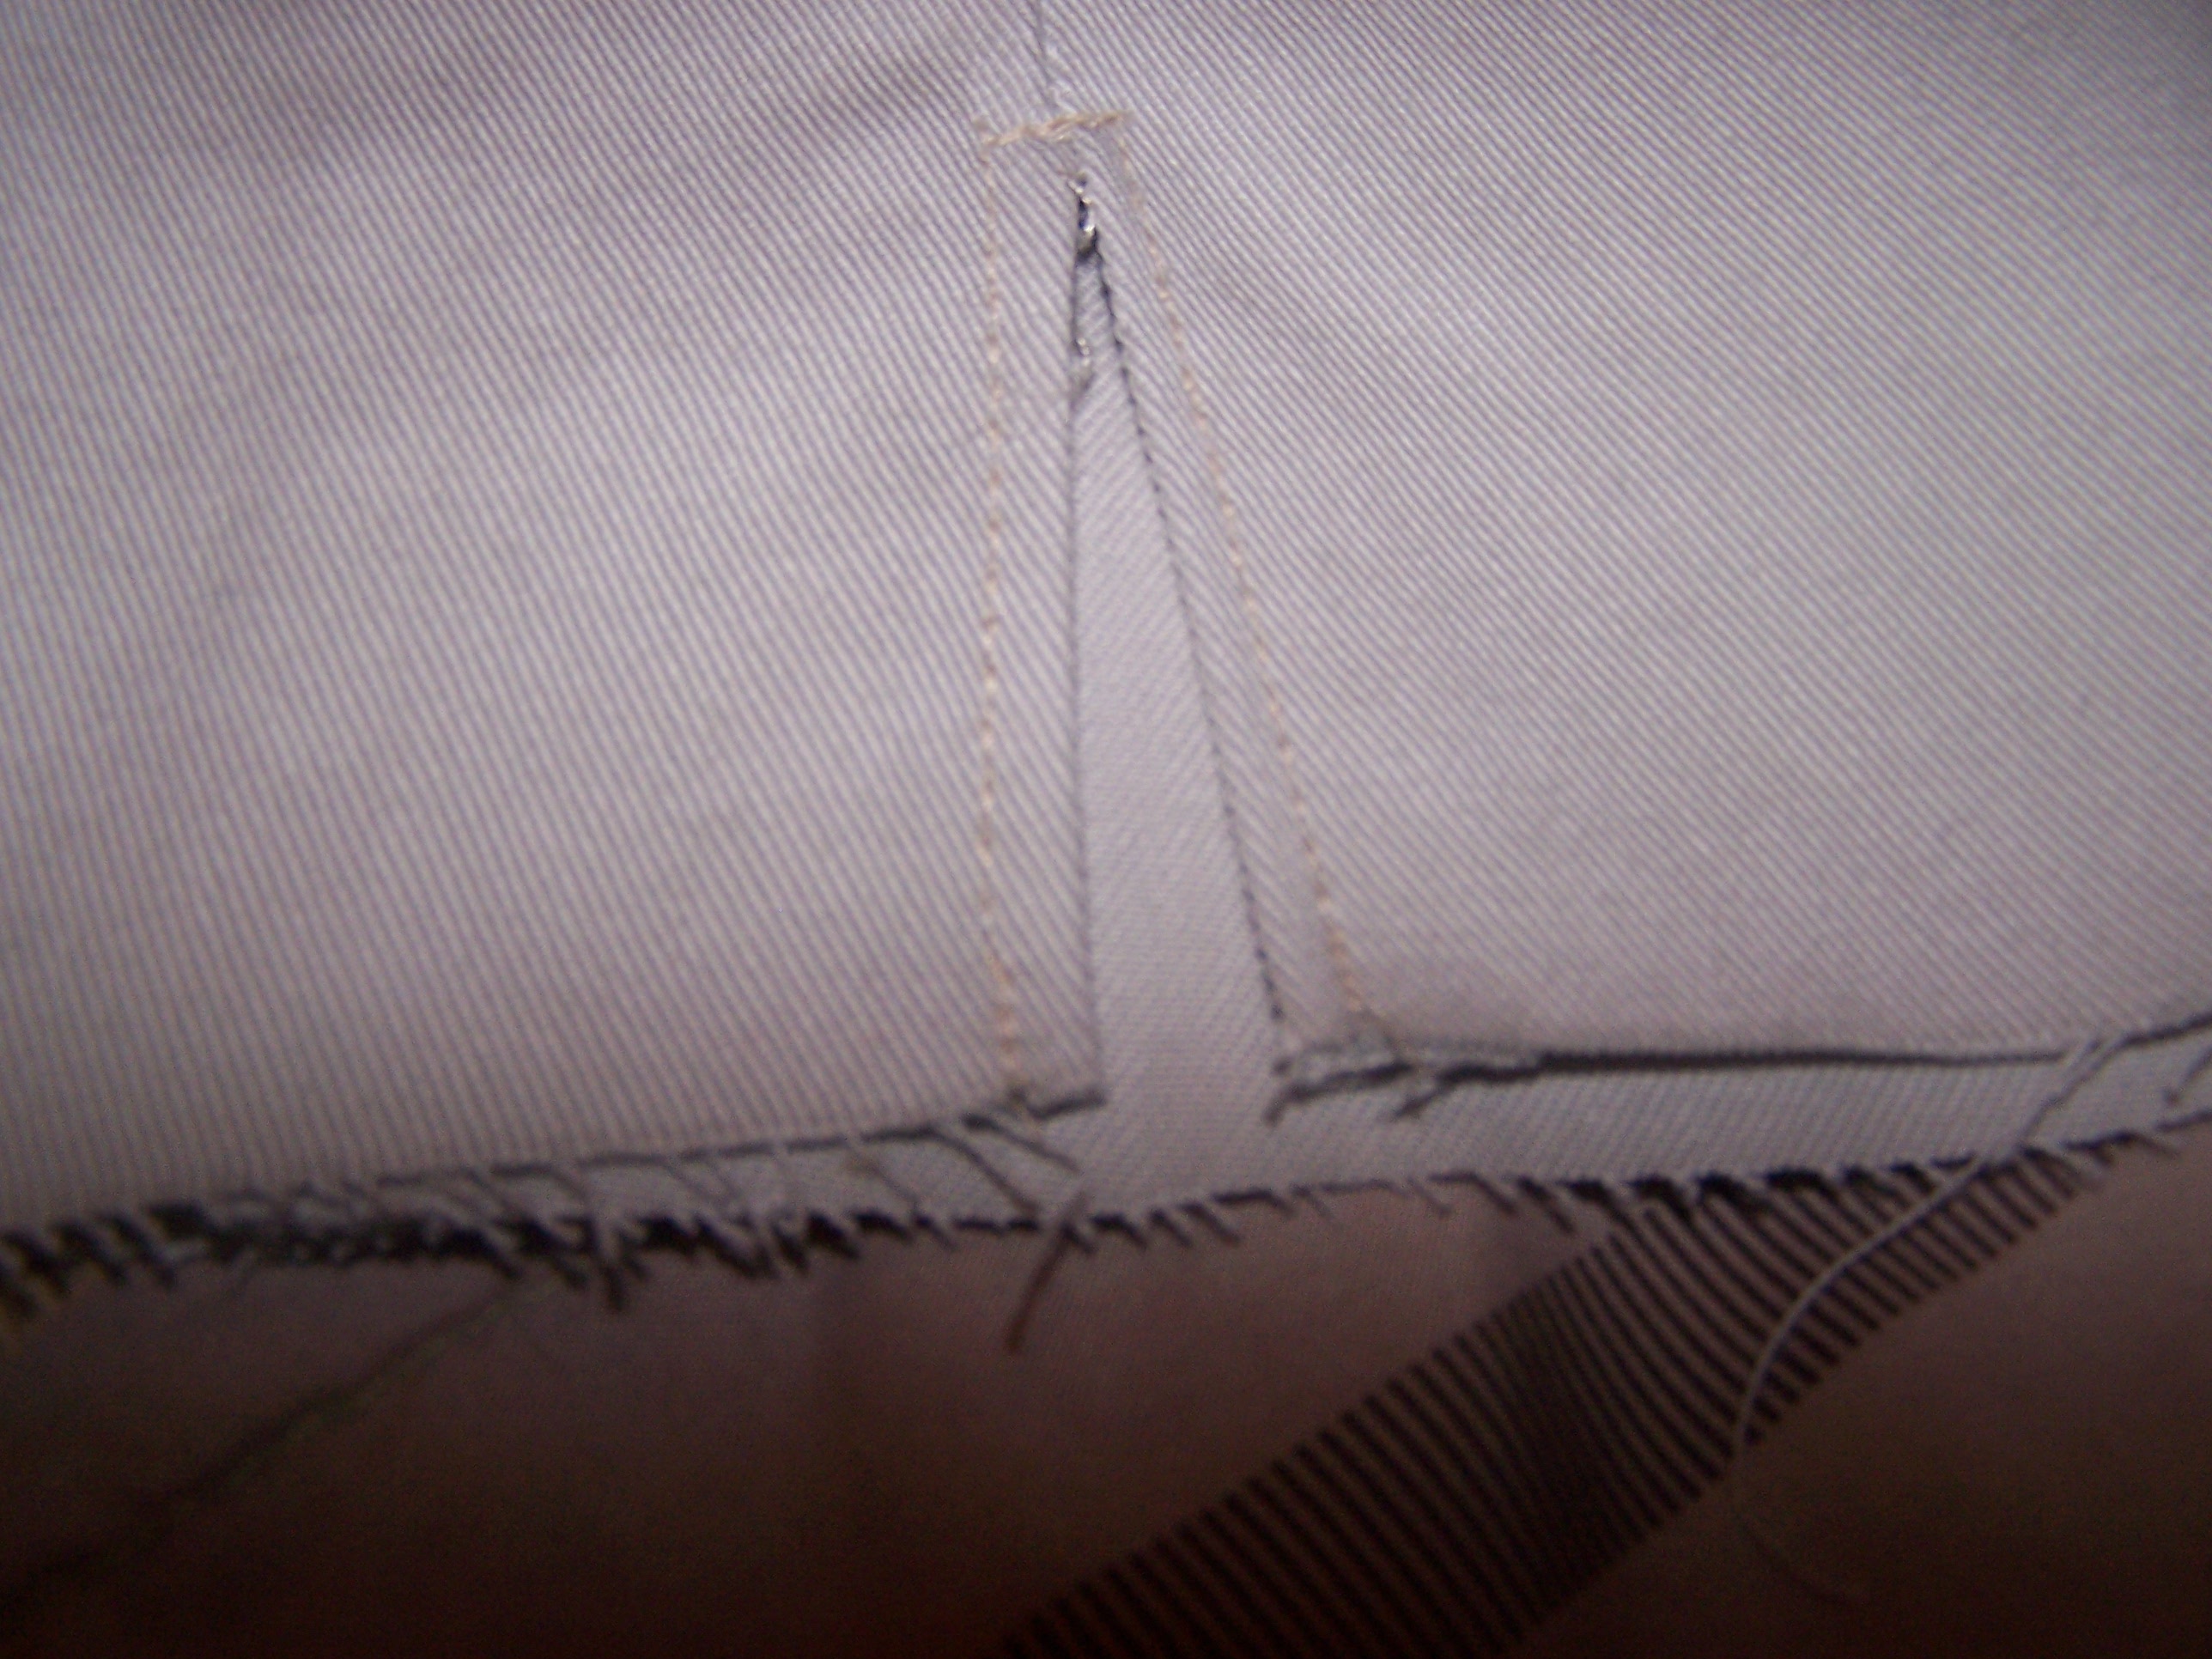
Sew around the edge of the slit.  If the seams are serged, you may need to undo some of the serging so that the seam will lay flat at the top of the slit.

Sew Edges of Slit

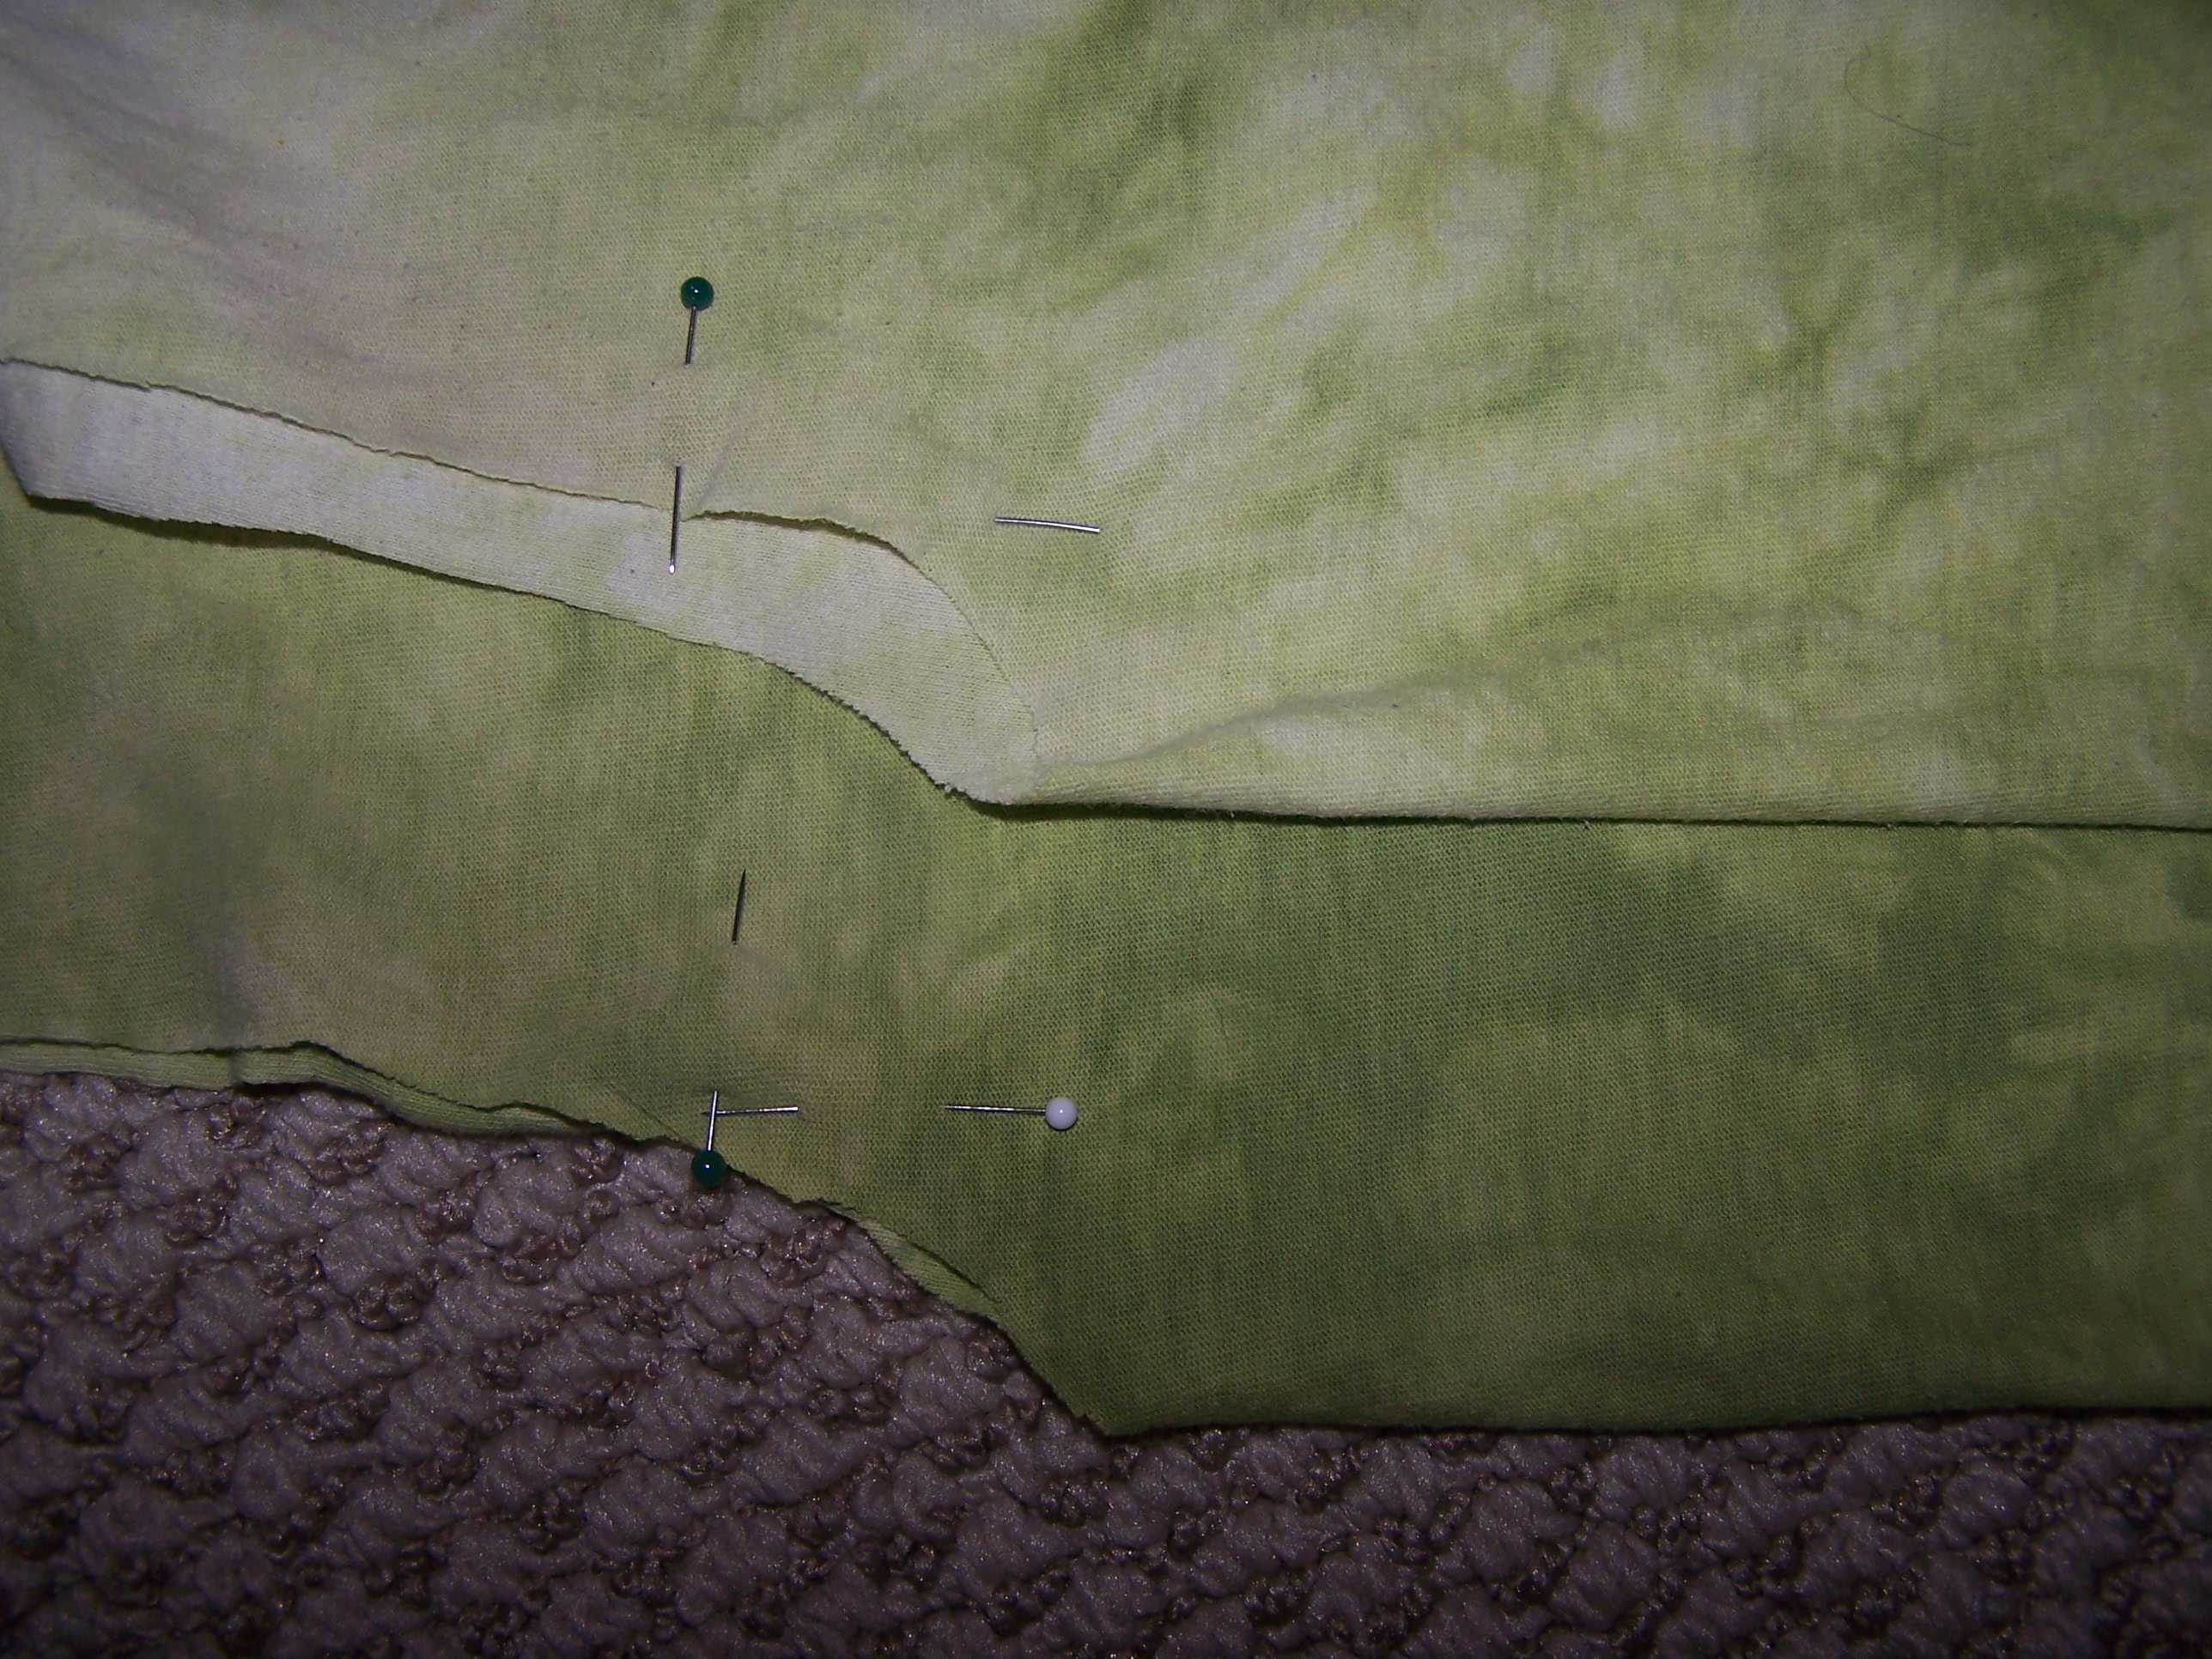
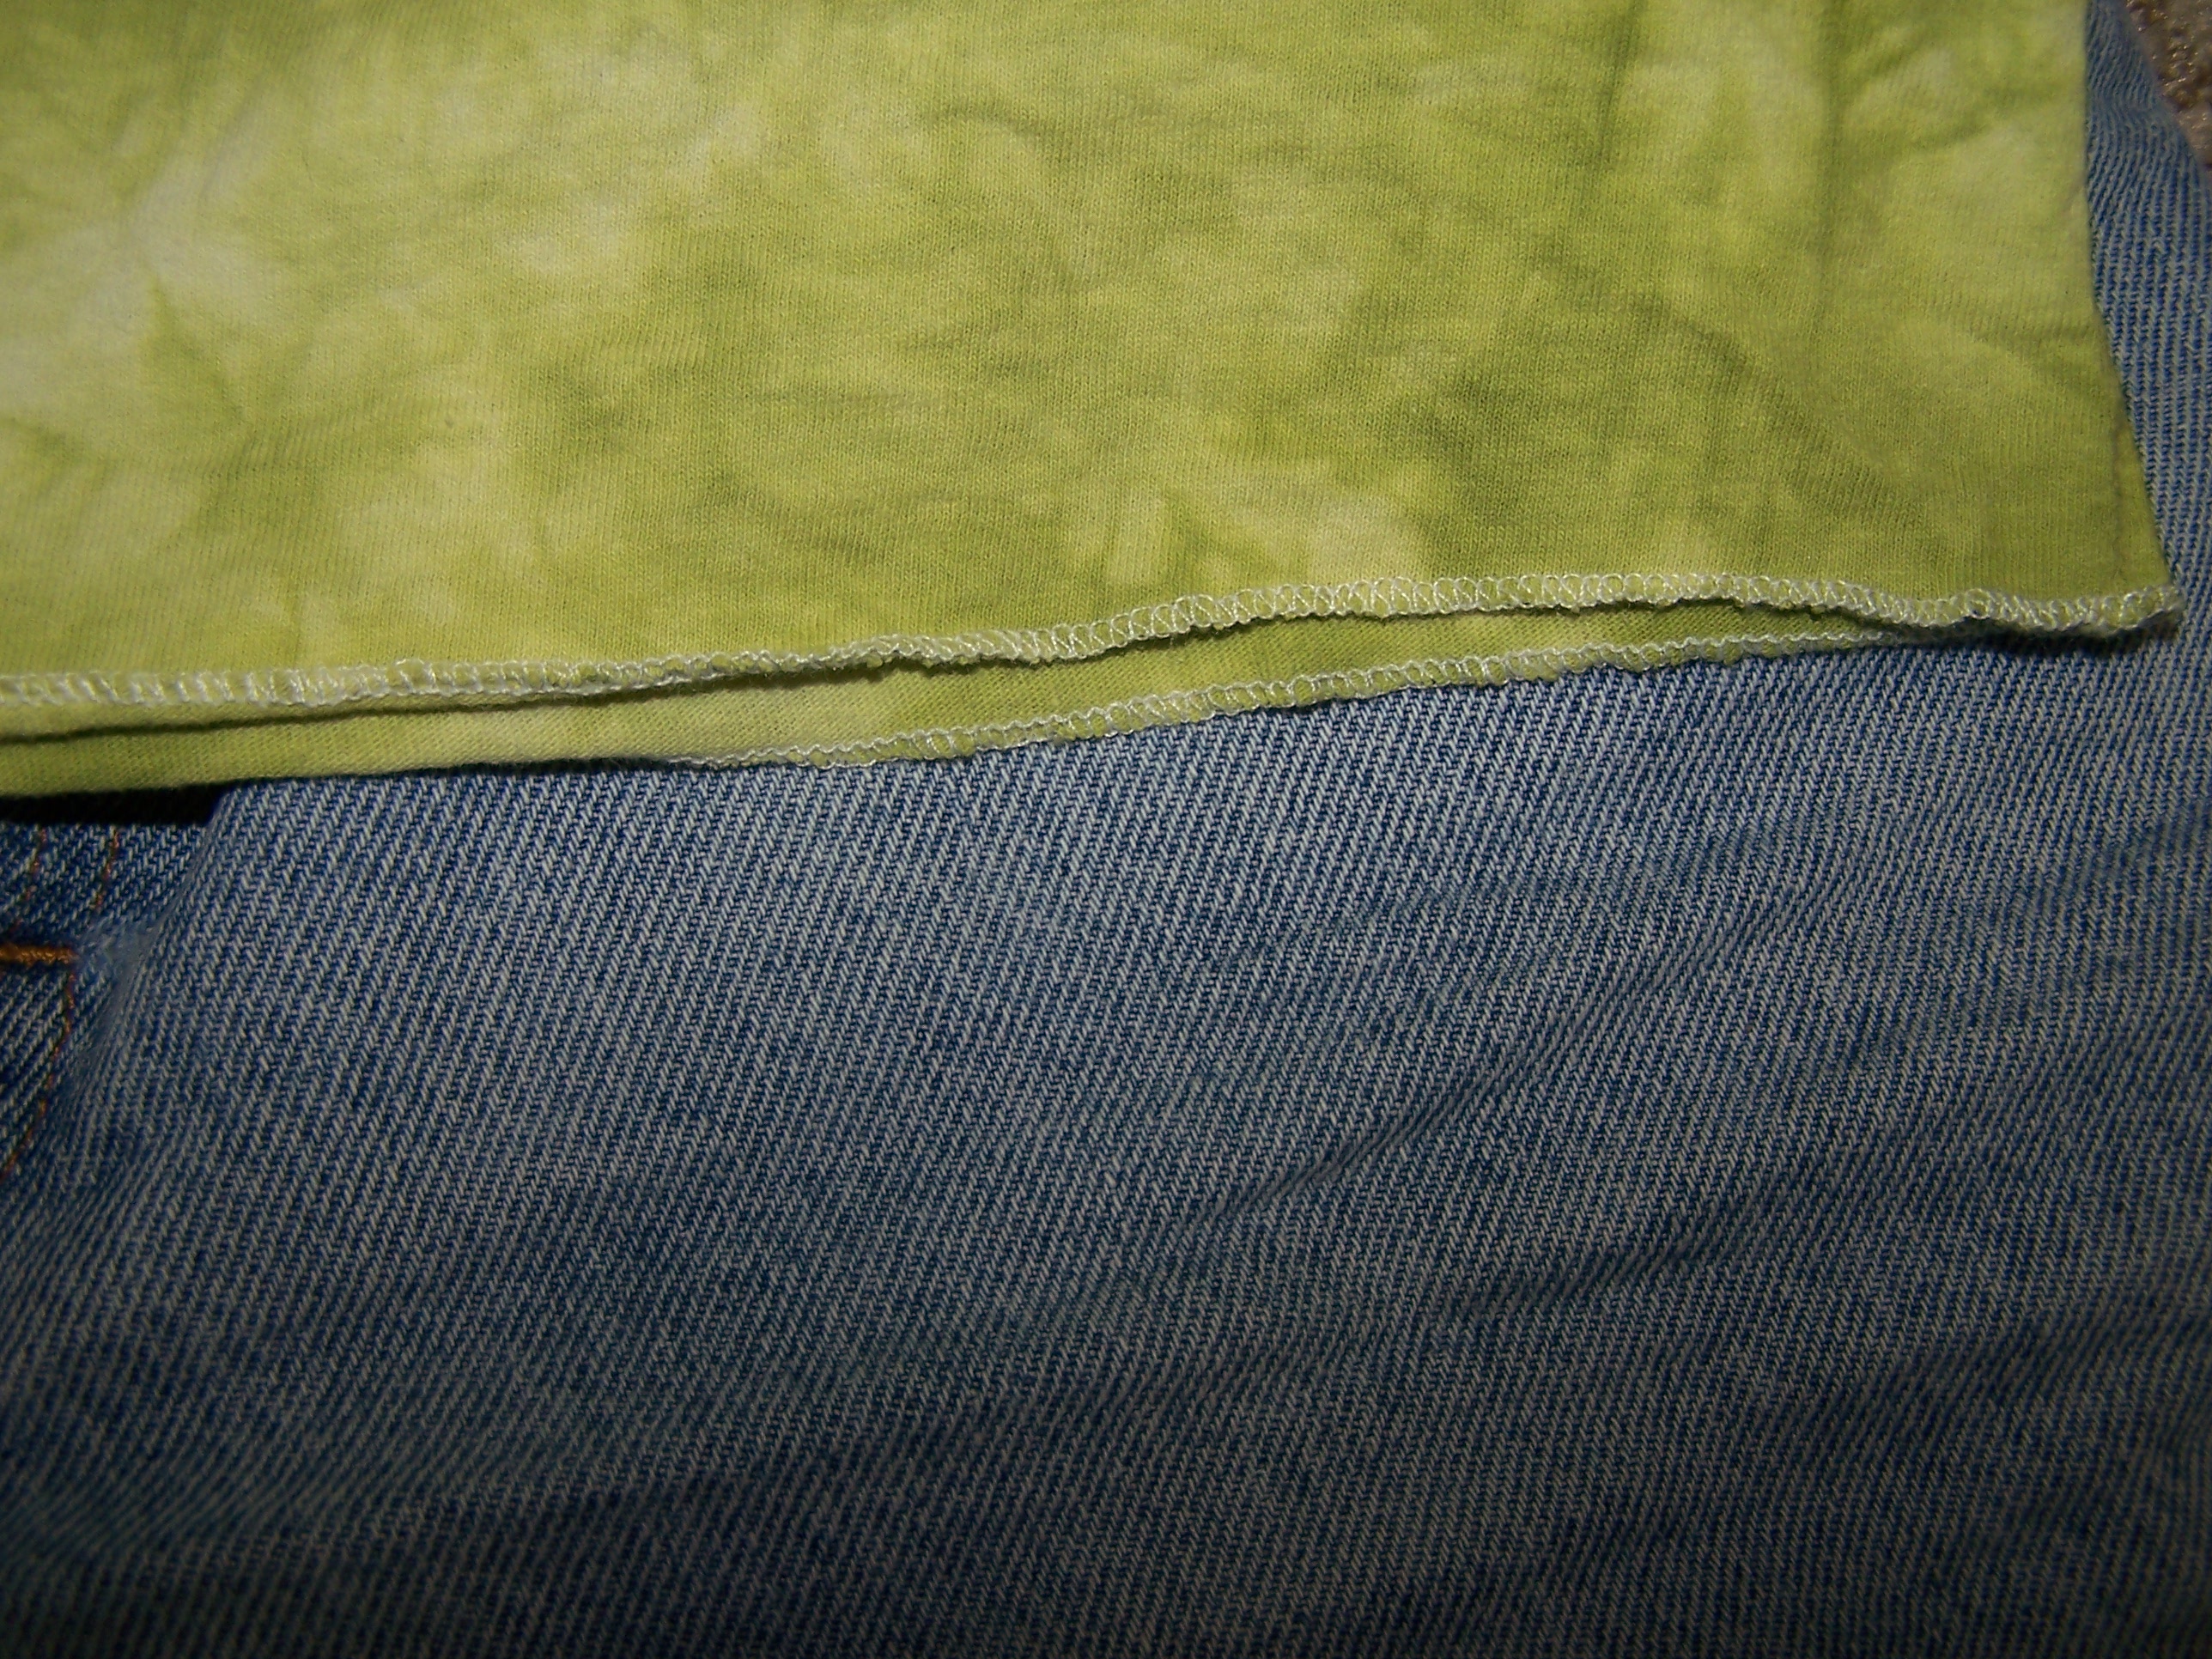
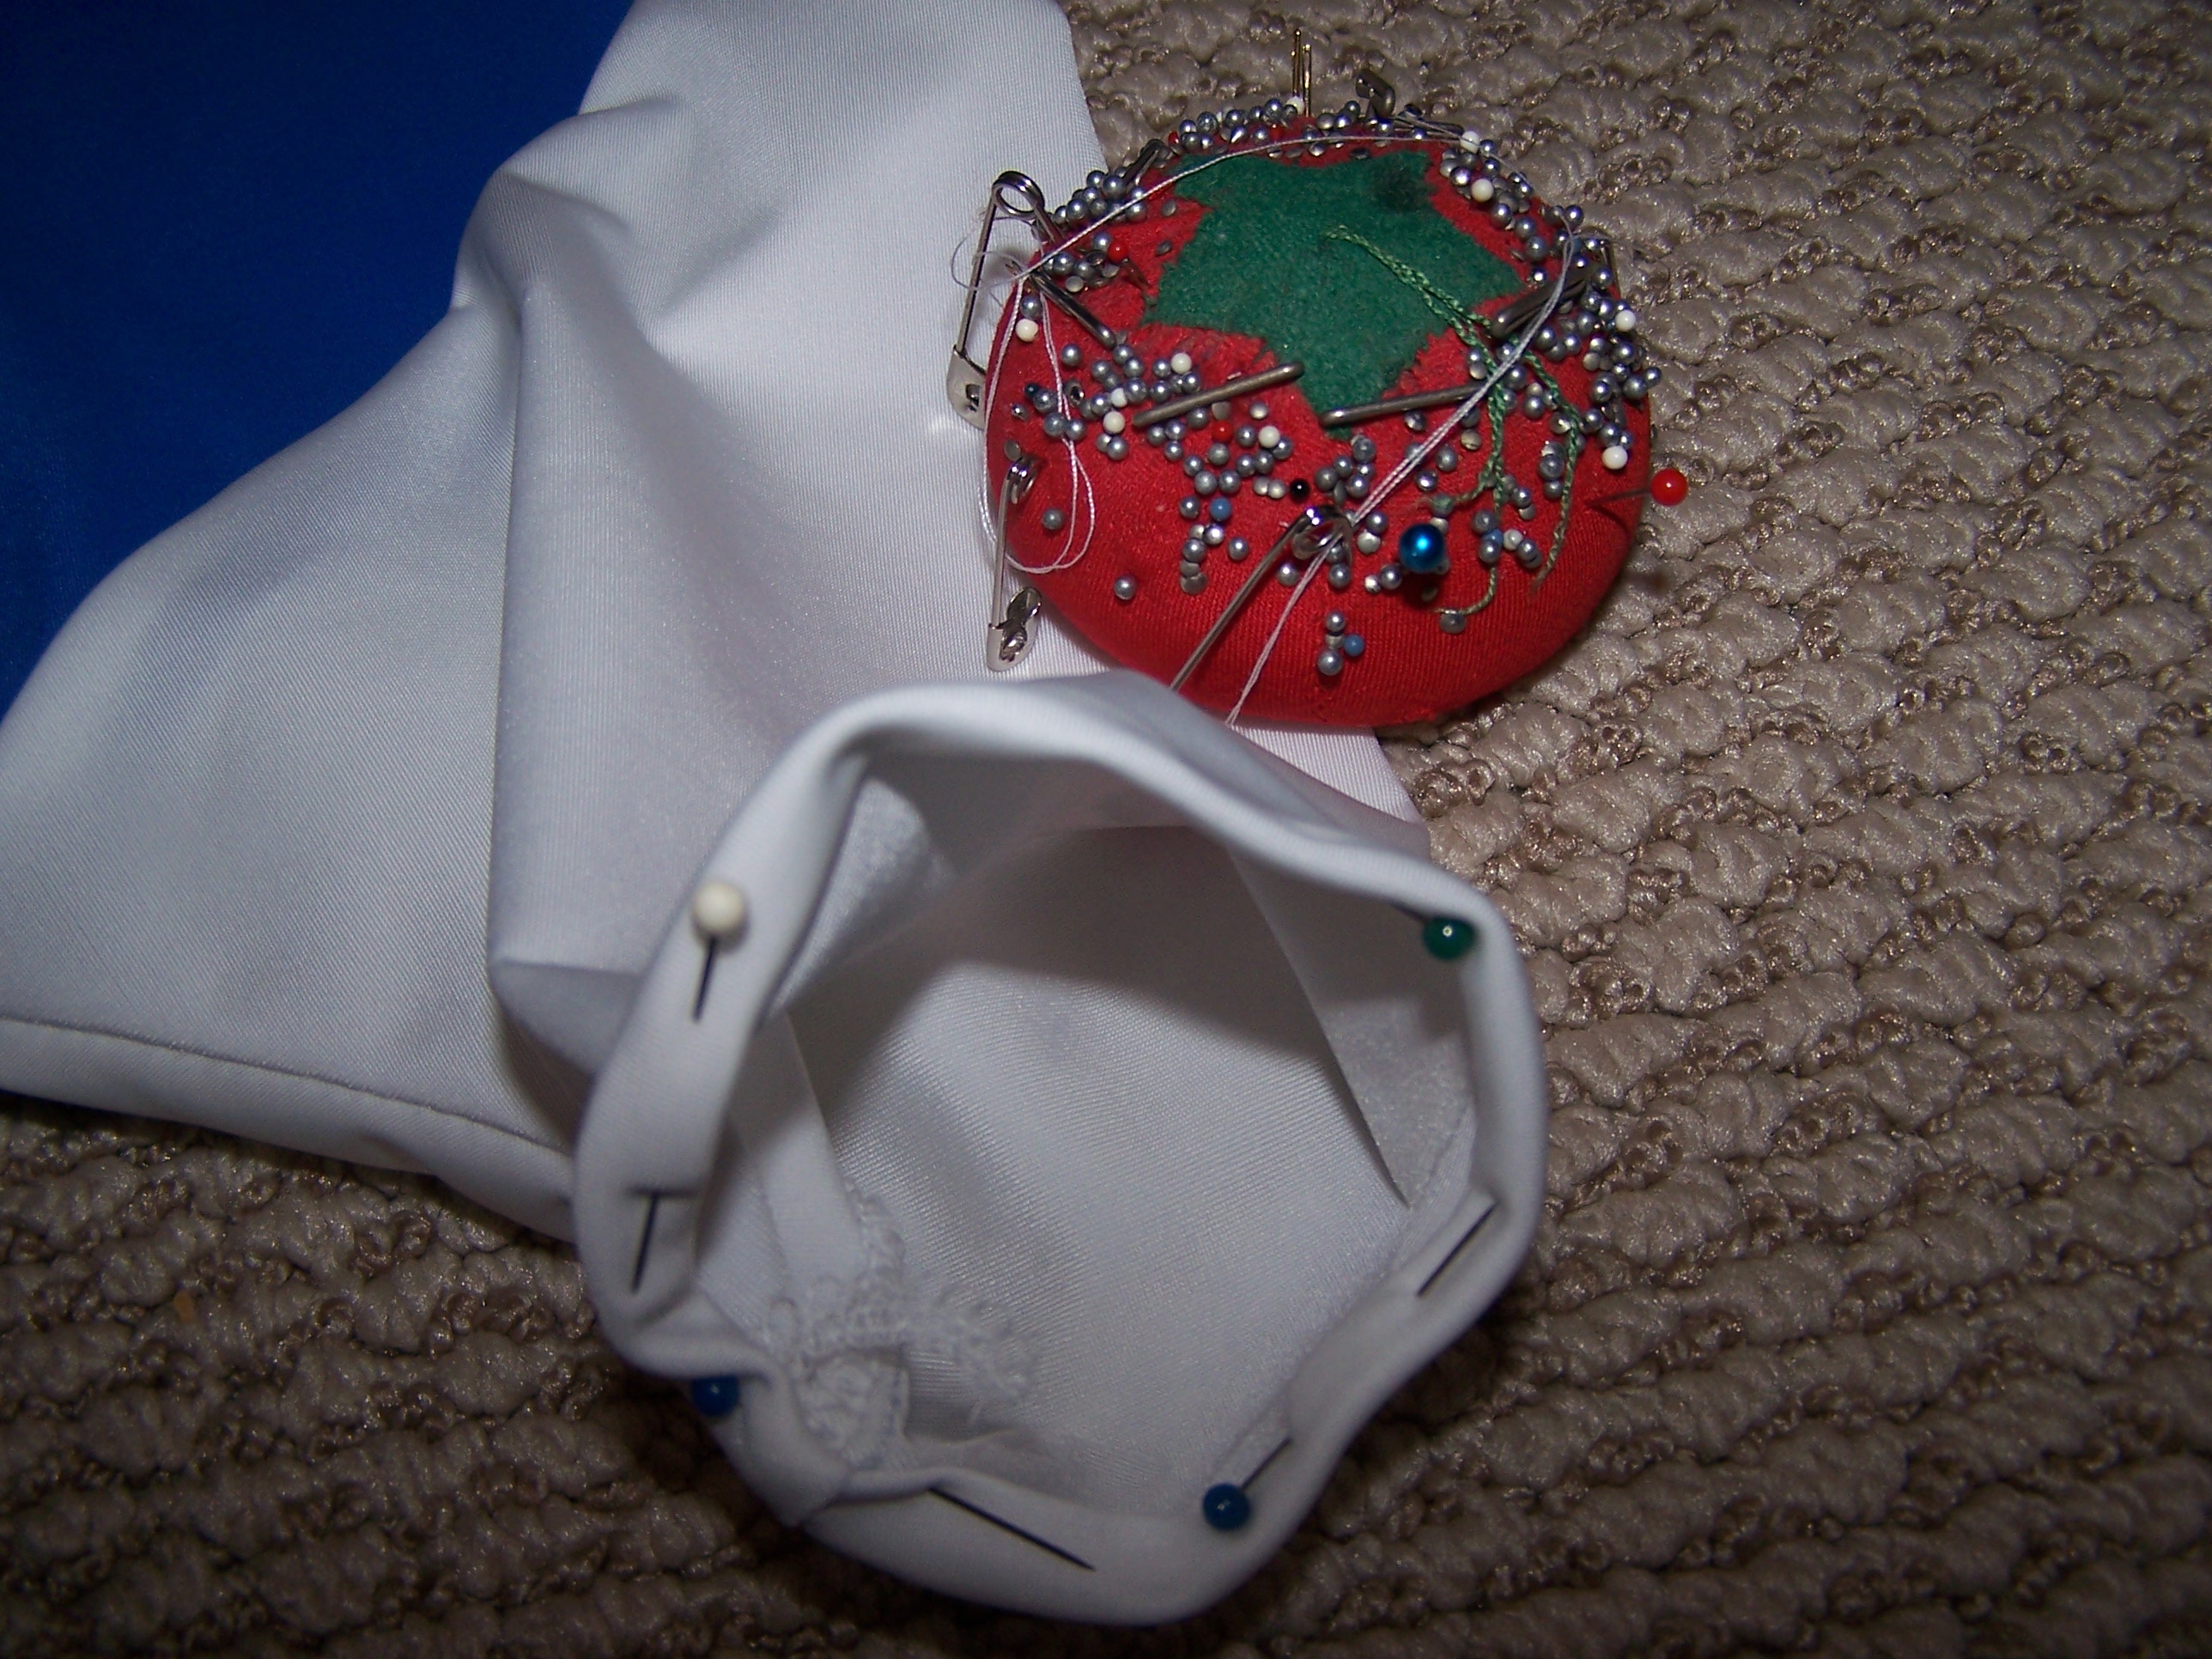
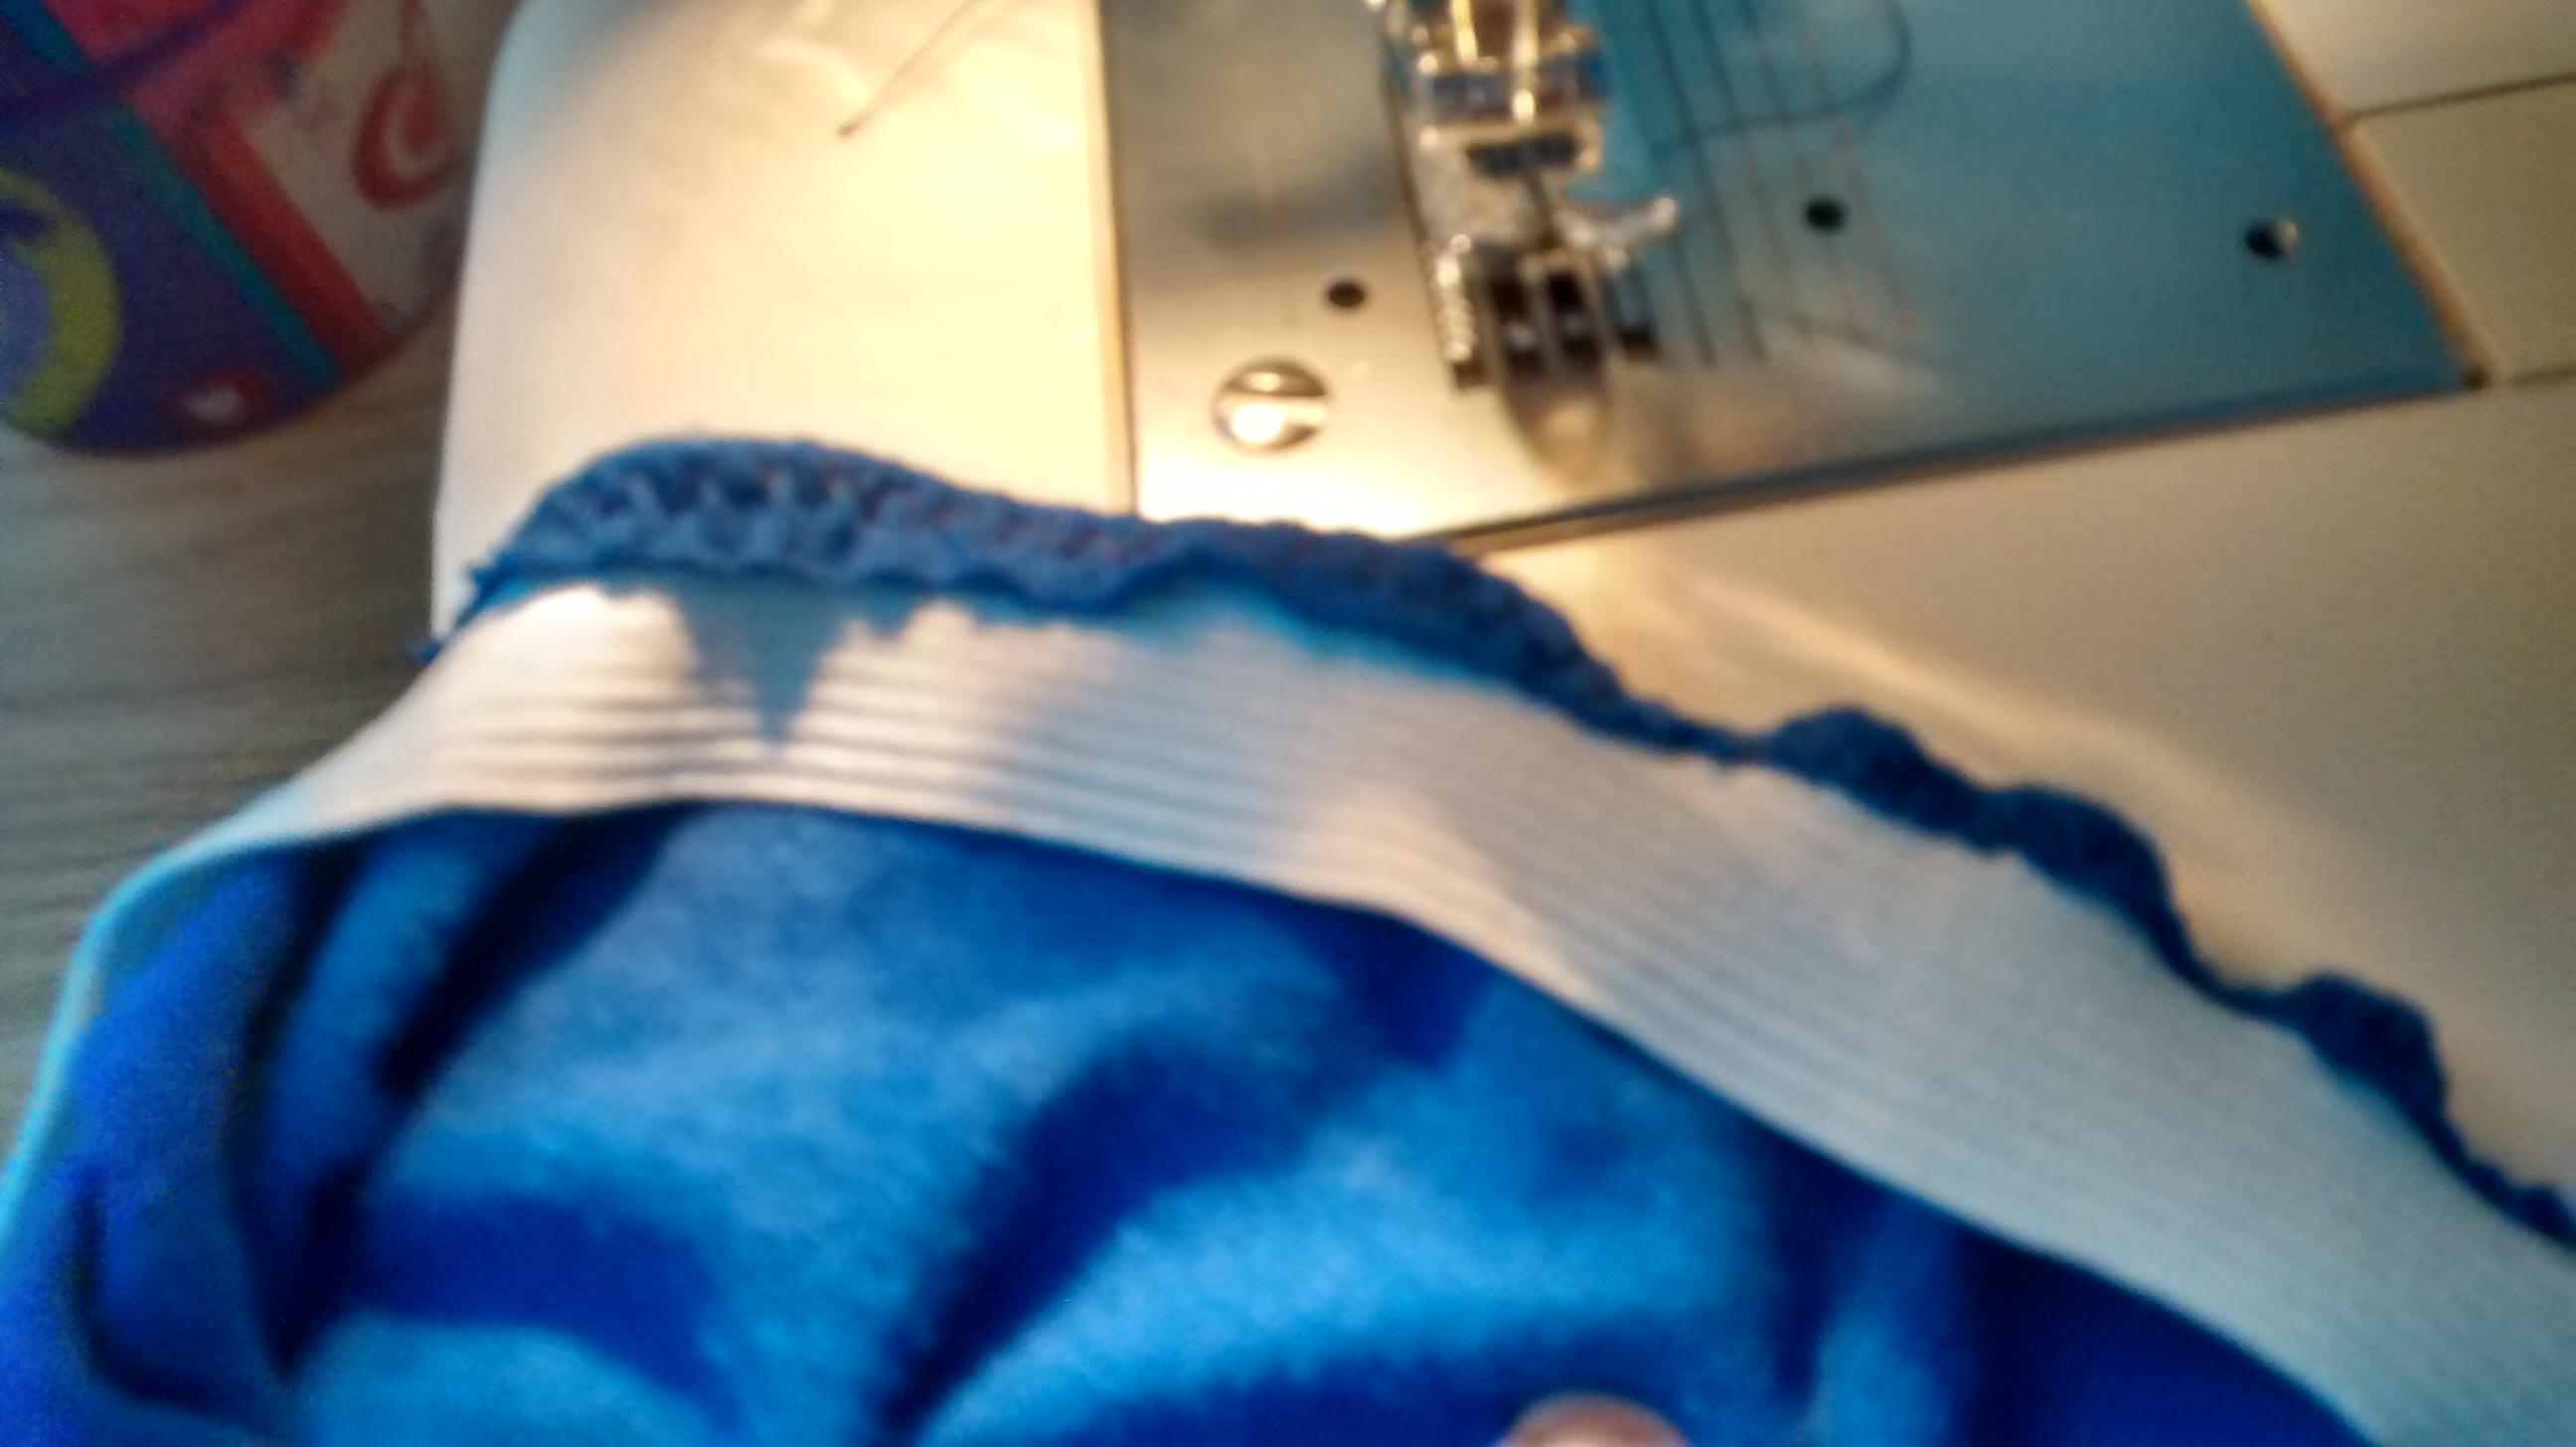
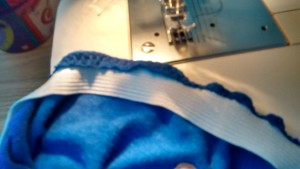
Turn under 1/4″ on the hem and press.  Then turn under another 3/4″ and press.  Stitich close to fold.  If you want, stitch again 1/8″ from first seam or use you twin needle.

Turn Hem Under Twice and Hem

Enjoy your “new” capris!

Finished Capris


Five Tips for Using Your Serger

Five Tips for Using A Serger

This post contain affiliate links.

I bought my serger a couple years ago on Black Friday at JoAnn’s.  I wasn’t sure about it at the time – I’d never used one before and I had no way of trying one out.  There was a definite learning curve, but I’m very happy with it and I’ve a learned a couple things along the way.  I will say that I probably don’t use my serger the way most people do.  I sew all of my seams with my regular machine and then serge them.  In my mind, this makes the seams more secure.  I also usually only use three threads.  If I used four, knit seams might be secure with just a serged seam.

1.  Learn to thread it, but don’t make it harder than it is.  The first time I threaded my serger, I had to have the book open to the directions and it took me forever to get it right!  My serger seems to be very particular about how the threads are lined up initially and so there’s an order to threading.  Take you time, do it in order and you should be fine.

SpecialOrderToThread

Please ignore the fuzzy mess…I probably should’ve cleaned it before I took the picture!

2.  When you stop in the middle of a seam, keep your needle down.  Just like when you’re sewing with a regular machine, you always need to put your needle down so your material doesn’t wander.

3.  Hold the thread when you start.  Again, when you start sewing with your regular machine, you usually hold the threads back out of the way.  When you start serging, hold the threads back and even pull them gently as you start.  That way the threads don’t bunch up at the beginning of your seam.

4.  Corners aren’t as hard as you think.  Take a few minutes to practice on a scrap.  I found that outside corners are much easier than inside corners.  This is where #2 comes in – if you have to stop mid-corner and adjust your material, make sure your needle is down.  Just like anything else, the more you do it, the easier it gets.

5.  Maintain it – learn how to oil it!  Clean it – regularly.

Maintaining Your Serger is Important

What tip would you add?

This post contains affiliate links.  See my disclosure policy for more information.

Making A T-Shirt Into A Better Fitting T Shirt

I have a lot of t-shirts that I love, but here in Florida it tends to be too hot for loose, baggy t-shirts.  They’re just too long – too much extra material that makes them too warm.  One of my favorites is my kitty shirt.  I’ve had it for years (maybe 8 yrs!) and the kitten on it reminds me of one of our cats when she was little.  So, I want to wear it, but I don’t love the fit anymore.  I decided it would be very easy to make it more Florida summer friendly.  I’ll resize it a bit and then remake the sleeves.

I know it doesn’t look that big, but the shoulders hang off as t-shirts frequently do and it just felt too big.

Oversized T-Shirt Before Mods

See all the extra material on the shoulder?

I want to get rid of that so it’s more like a fitted t-shirt…but not too fitted.

Baggy Shoulders

I’m following pretty much the same steps as I did here.  First up is cutting off the sleeves.  Cut close to the seam and don’t cut into the sleeve because I’m going to reuse it.

Cutting Off The Sleeve

This t-shirt didn’t have side seams so I had to create them. I marked how far up I wanted the side seam to come and then I sewed down the sides tapering out towards the bottom since I didn’t want to take in the width to much.  After trying it on (several times) and resewing a bit, I was happy with the fit.

Mark Side Seams

Next I marked how I wanted to the new armhole shape (armscye) to look.  Remember some of it was sewn as part of the new side seams so I had to make it a little bit bigger and take off some of the shoulder so the seam would sit properly.  I tried the shirt on, drew a line, cut it, cut the other side to match, tried it, trimmed a bit, tried it on…you get the idea.  Eventually I was happy with where the it sat.  Just remember that a little bit will be taken up by the seam allowance.

Marking New Armhole

Then, the sleeves need to be adjust so they fit the new armhole.  Line the sleeve up and mark where the new underarm seam needs to be.  In my picture it’s the red line.  The black line is where the armhole seam will be.  I sewed the underarm seam at an angle because I didn’t want it to be too tight.

Sleeve Seam

Pin the sleeve seam making sure to line up the underarm seam with the side seam.  Sew the sleeve back in.

Pinned Sleeve Seam

I wanted to shorten the sleeves a bit so I tried the shirt on (again!) and marked where I wanted the hem.  I used the rolled hem feature on my serger.  Then, to make it look more like it came that way I also did a rolled hem on the bottom too.  I serged just above the existing hem.

Rolled Hem on Sleeves and Hem

Rolled Hem

Rolled hem – I think it’s perfect for a casual shirt like a t-shirt.

Rolled Sleeve Hem

Rolled hem on the sleeve – a little less bulky – perfect for the summer.

Now try it on one last time!
Finished T-Shirt

Drafting A Pattern

Old Swim Shirt*This post contains affiliate links.

Most times when I want to make something I dig out a paper pattern that’s close to what I want (or if I’m lucky, exactly what I want) and go from there.  I’ve mashed patterns together with some success.  Occasionally I’ll use a PDF pattern from one of my favorite shops (currently Peek-a-Boo Pattern Shop and Seamingly Smitten).  Sometimes, though I already have an item that’s exactly what I want so I use it to make a pattern.  In this case, I want to make new rash guard shirts for my boys.  Their current ones are a little (maybe a lot!) stretched out and getting thin.  I’m not sure the UV protection is still there.  I found UV fabric at Rockywoods.  While I was waiting for my fabric, I worked on my pattern.  I wanted to make them like the shirts they currently have – raglan style.  I use newspaper or brown packing paper for making patterns.

Fold the shirt in half and fold the sleeves in so they aren’t in the way.  Trace around the outside making sure you add a seam allowance (usually 5/8″).  If you want to make the shirt a little bigger you could add another 1/2″ – 5/8″.  Going up more than one size can get tricky.

Shirt Body Pattern

Fold the sleeve in half. Trace around the sleeve too – don’t forget the seam allowance.

Sleeve Pattern

I usually label my pieces so I don’t get confused later – for some reason I couldn’t keep it straight in my head which end of the sleeve was the bottom so I labeled it.  The sleeve piece is actually upside down in my picture (see? confused!) – the hem is at the top.  The two long edges that are facing each other go on the fold so I drew brackets on them (similar to what paper patterns have).

T-shirt Pattern Pieces

I made a test shirt out of an old t-shirt to test the fit before I cut into my good material.  He was happy with the fit and so was I.  For the neck binding on this one, I used a piece of the neck binding from the old shirt.

Test Shirt

 Then it was time to cut into my good material.  I’m always nervous – once you start, there’s no going back.

Cutting Out Shirt Body

Cutting Out Sleeves

It’s actually a very quick sew-up.  Sew the underarm seams.

Pin Underarm Seams

Sew up the side seams.

Sew Side Seams

Pin and sew the sleeves in place.

Pin Sleeve In

Hem the bottom.

Hem botton

Hem the sleeves.

Hem Sleeve

Attach the neck binding and top stitch if desired.

Attach Neck Binding

Voila!  A finished swim shirt.  My little guy was pretty happy – he’s wearing it even though we aren’t going swimming today…or maybe he just doesn’t want to change again.

Finished Swim Shirt

*This post contains affiliate links.  See my disclosure policy for more details.

Making An Outfit from T-Shirts

Outfit From T-Shirts

My son found an angry bird shirt in the old shirt pile and wanted it remade to fit him.  That’s easy enough.  I took the sides in and shortened the hem up.  I cut binding from the shirt to hem the armholes.  He loves it!

Finished Angry Bird Shirt

My daughter pointed out to me that it looks like he has no arms. As my son is less than thrilled with modeling for me, this will have to do.

Then I had quite a bit of t-shirt leftover.  What to do?  Add some decoration to a pair of shorts made from another t-shirt!

Shorts TrimmedI had made him a pair of black shorts and carefully positioned the logo at the hemline.  I cut two strips of the angry bird t-shirt scraps 3″-4″ wide and the length of the shorts.  I sewed them on using my double needle (before hemming or doing the waistband).

TShirt Emblem

I did the waistband differently than I normally do.  Normally I just put the elastic through a casing.  This time I sewed the elastic to the waistband.  First I sewed the ends of the elastic together.  Then I marked fourths on the elastic.Sewn and Marked Elastic

Then I pinned it to the shorts matching up the pins and the seams.  I folded 1/4″ over the elastic and sewed it down with a zig zag.  Stretch gently as you sew.

Sewing Elastic
Now the elastic can’t go anywhere – no twisting, no weird bunching.
Sewn Elastic

 Fold the waistband down and pin it.

Fold Waistband Down

Carefully stretch and sew down the elastic.

Sew Down Elastic and Waistband

For this pair I only sewed one time.  They’re perfect for gym shorts.

Finished Waistband

If you want to, you can sew around the waistband a second time 1/4″ from the top.

Shorts Elastic

What else could you make from a t-shirt that is ready for upcycling?

  • « Previous Page
  • 1
  • …
  • 4
  • 5
  • 6
  • 7
  • 8
  • …
  • 11
  • Next Page »

Hi, I'm Mona - wife, mom, teacher, seamstress, blogger. This is my home on the web. Read More…

Categories

Copyright © 2026 · The Marianne Theme By Blogelina · Built on the Genesis Framework

Copyright © 2026 · The Marianne on Genesis Framework · WordPress · Log in