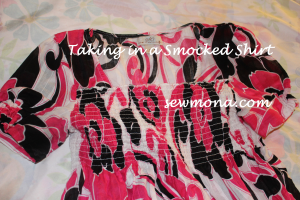
I’m working on a series of posts about adjusting clothing to fit. To see all of them click here – How to Sew.
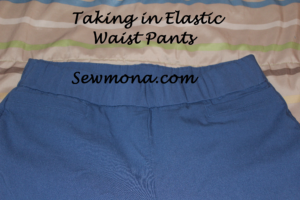
My mom recently gave me a pair of capris that didn’t fit her real well (apparently they did until they met the dryer). She thought they might fit me. They are a nice slightly stretchy pair of blue capris. They fit me perfectly except for the waist – it was just slightly too big and gaped in all the wrong places – not good for a kindergarten teacher who needs to be able to move around.
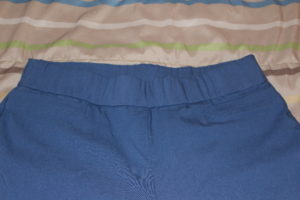
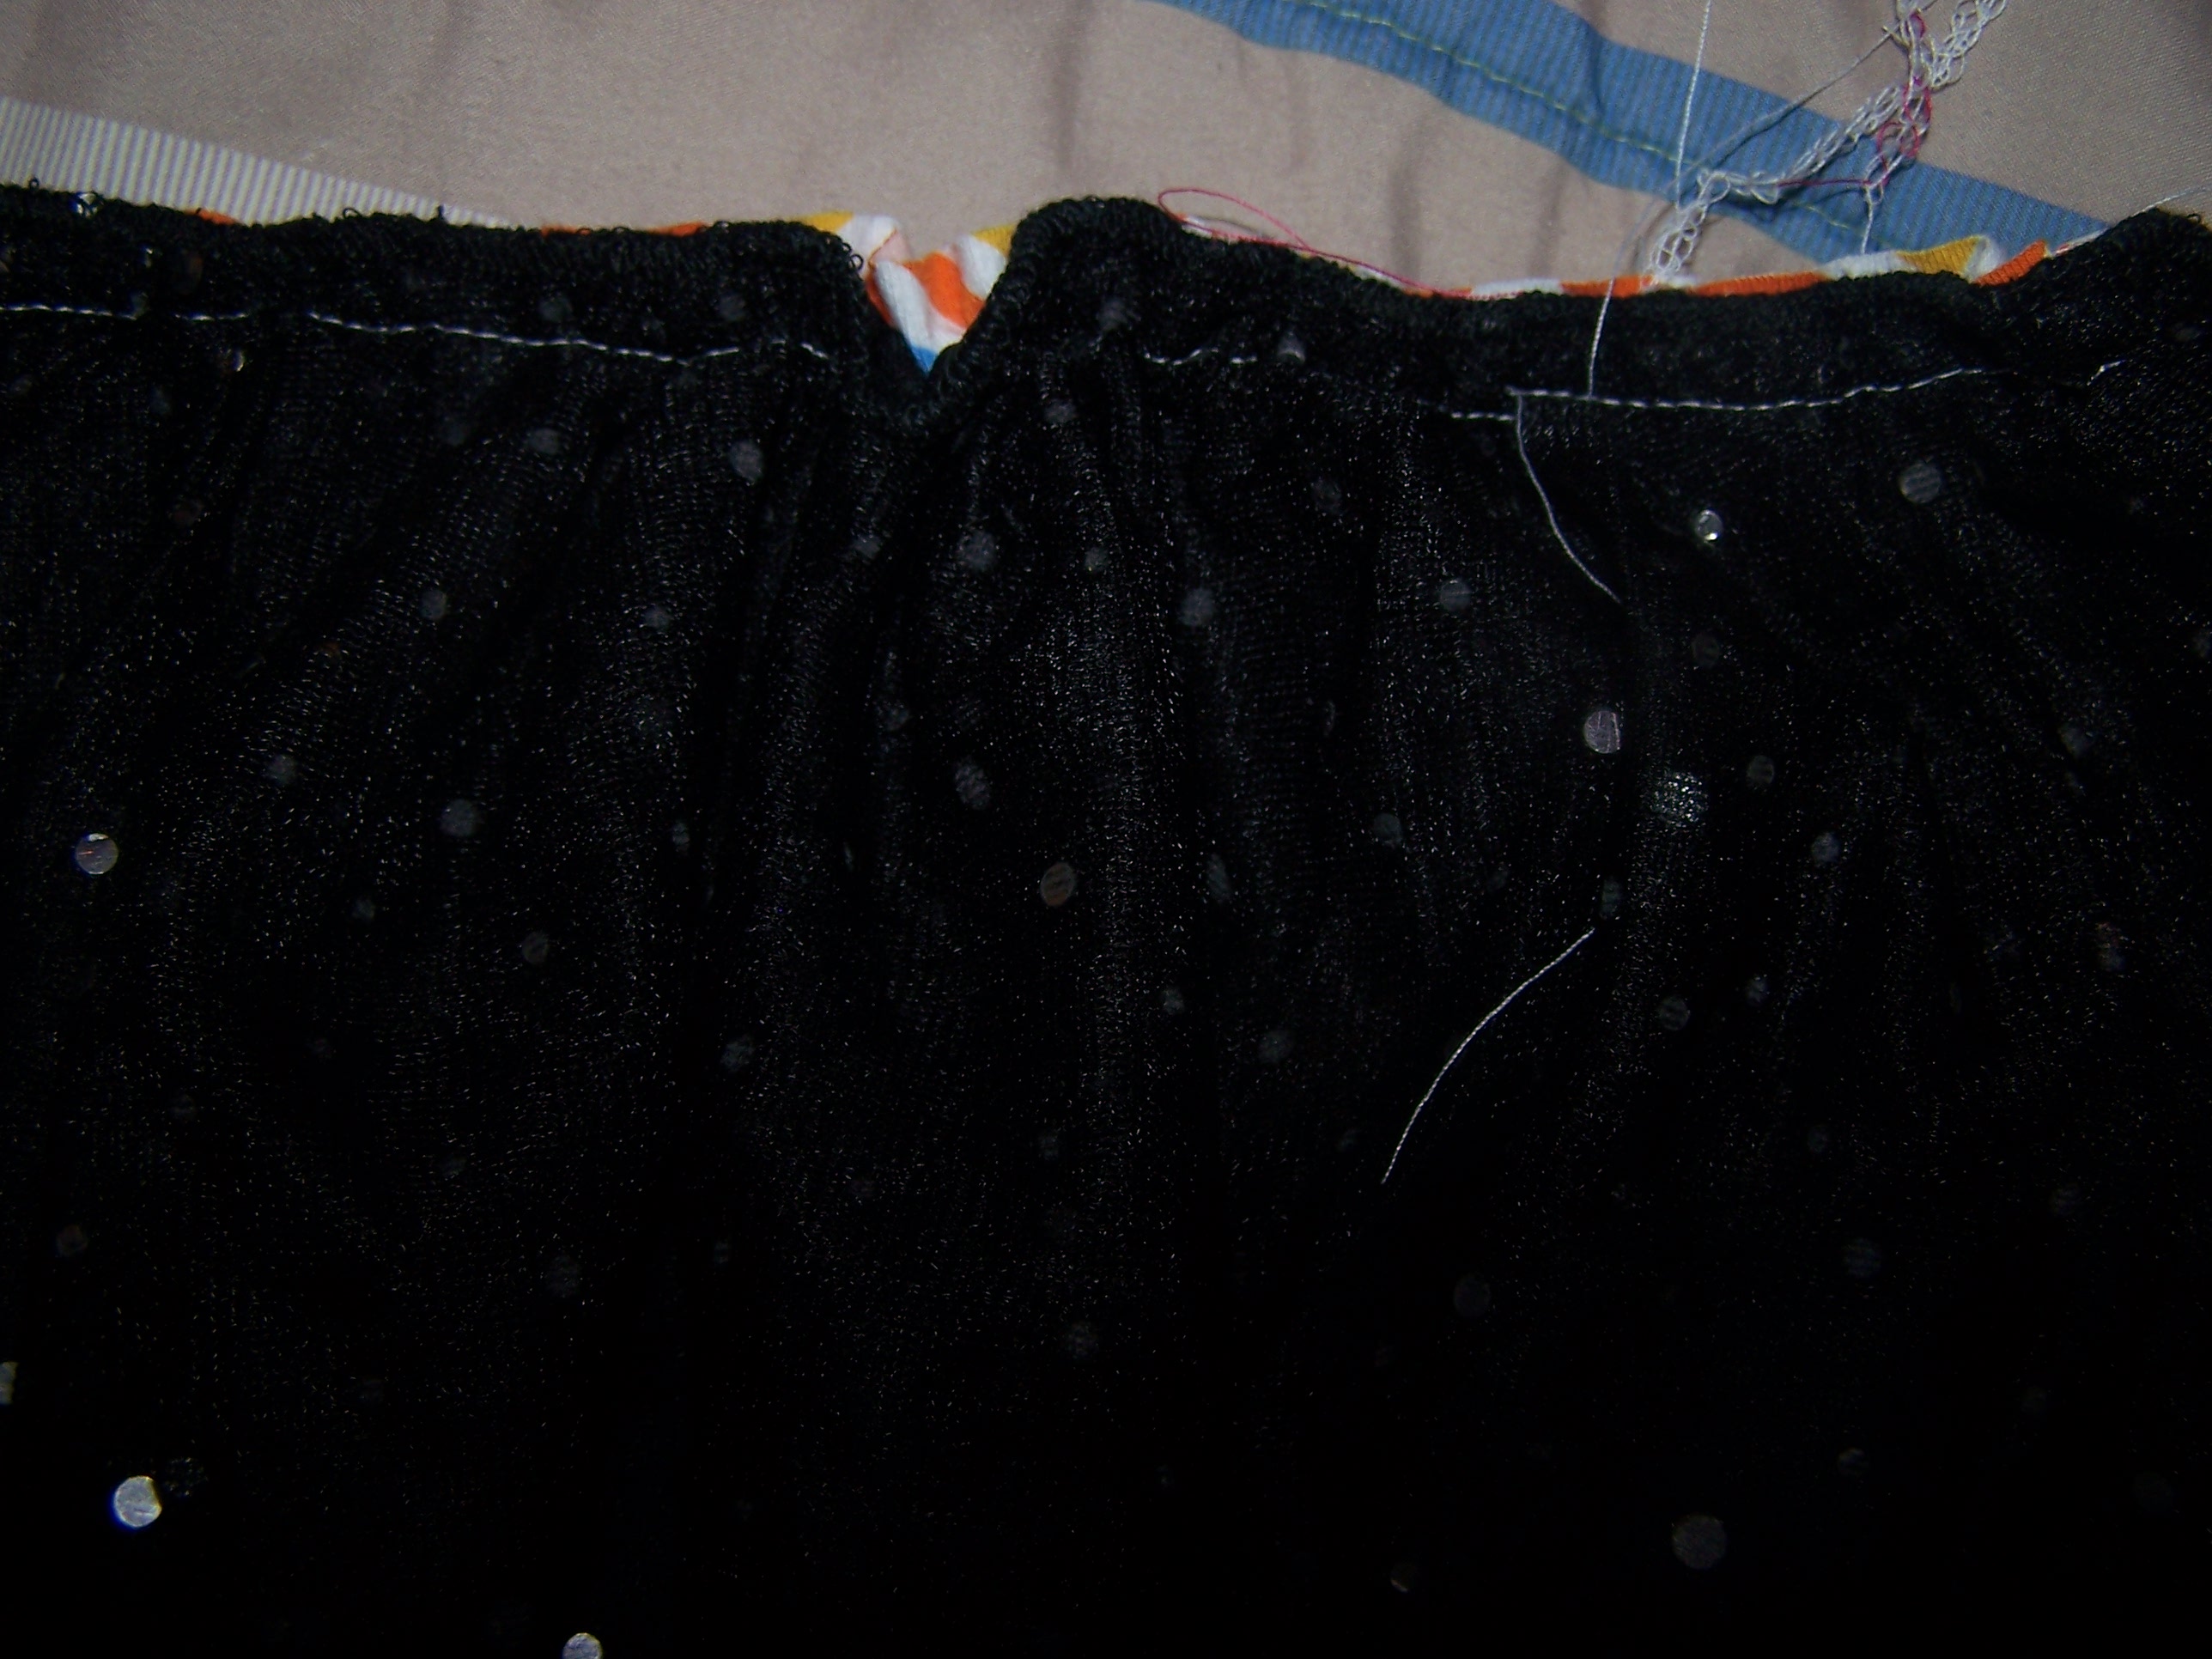
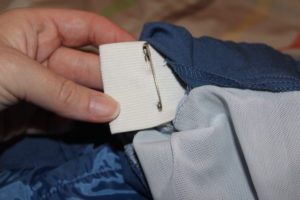
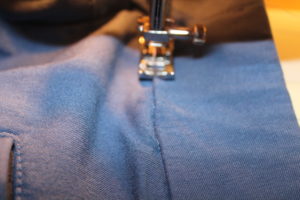
To fix an elastic waist, you need to open up the seam, cut the elastic, resew it, and then close up the seam. Easy enough, right? First, look at the waistband to see how the elastic is put in. On this pair, the elastic is sewn to the capris at the sides.
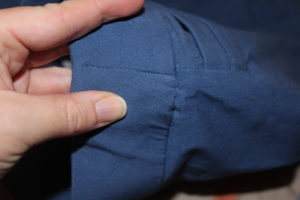
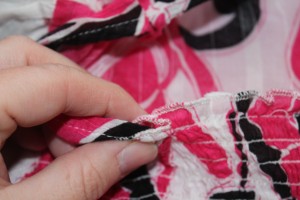
See the stitching between my fingers? That’s tacking the elastic down. It helps make sure the stretch is even and helps the elastic not to fold in half.
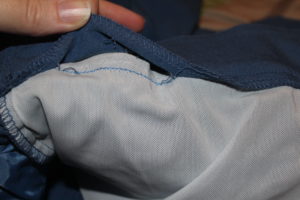
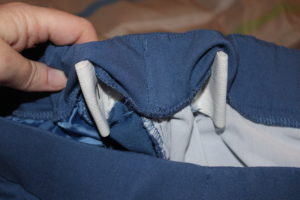
To get to the elastic, you will need to remove some of the waistband stitches. Because the elastic is tacked down at the sides and because I don’t want to rip out the stitches through the elastic, I’ll rip open a small piece on each side of the side seam. If your elastic isn’t tacked down, you’ll only need one opening.
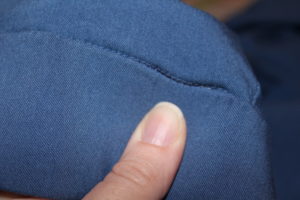
This is the stitching you will need to remove.
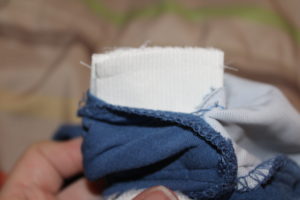
The opening only needs to be about 2 inches – enough to pull the elastic out and tighten it.
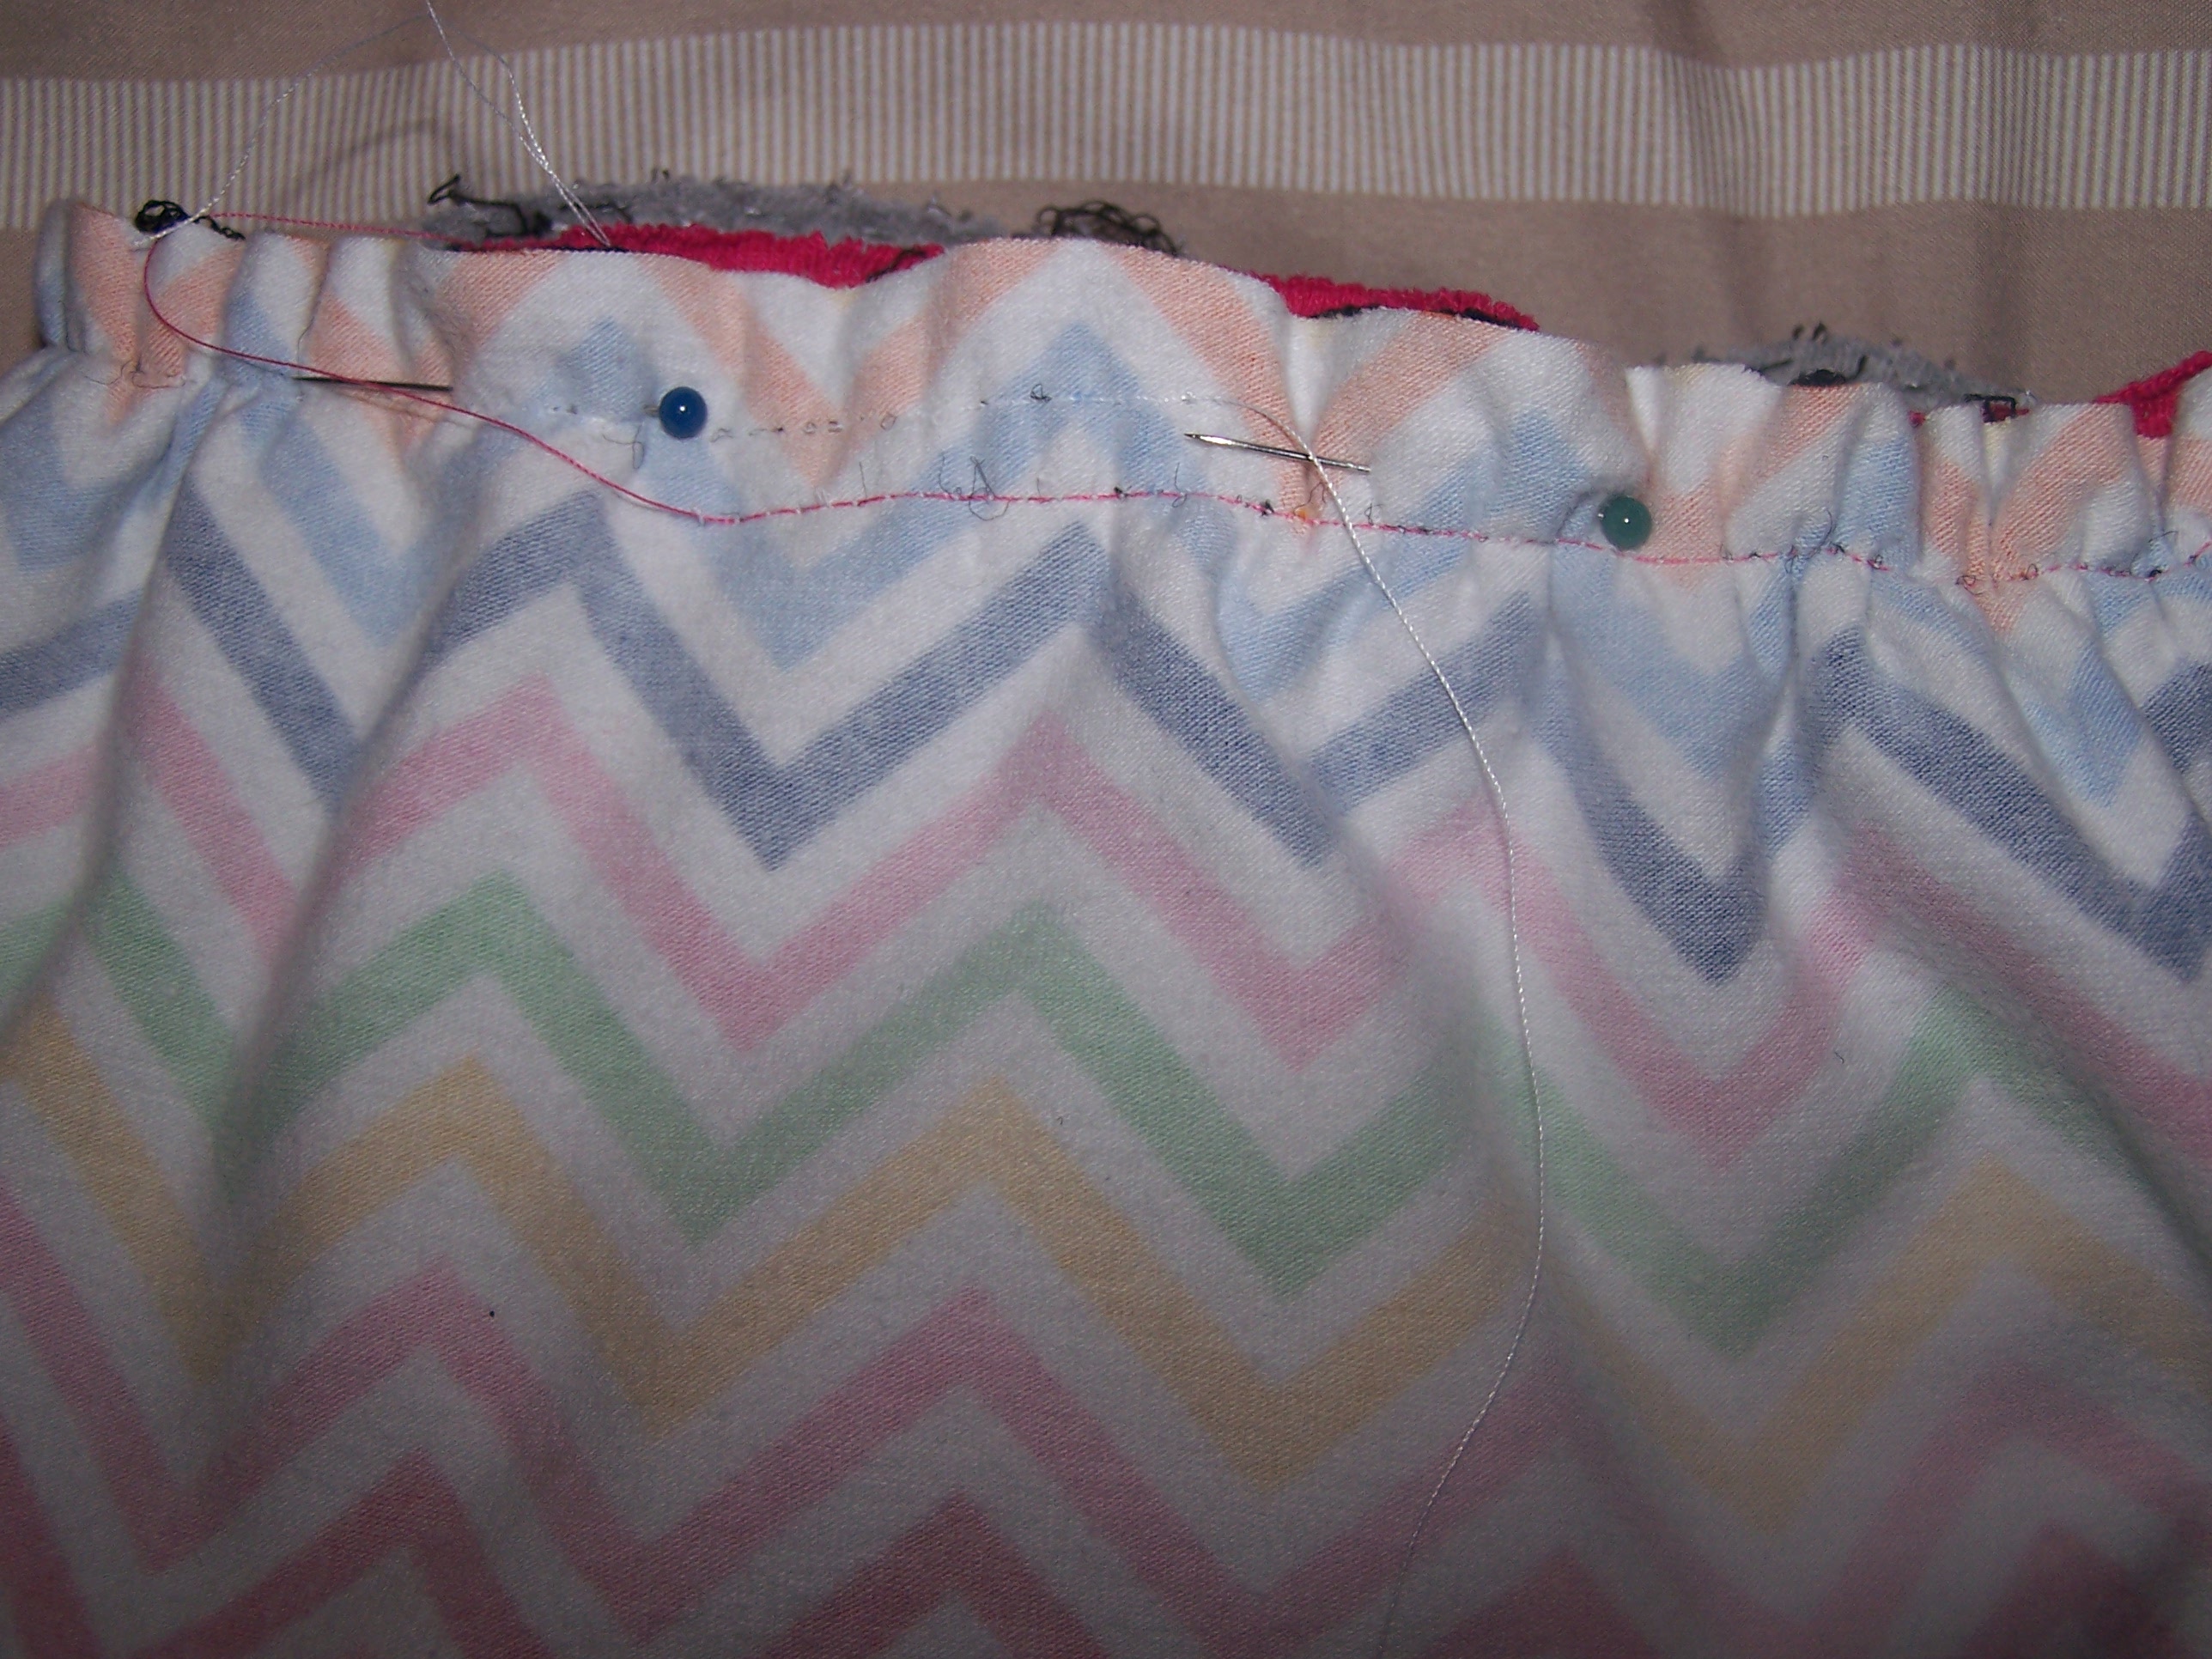
Pull the elastic out through the openings and pin it to the desired tightness. Make sure to tighten the front and back equally if the elastic is tacked down. Try them on to be sure they fit.
Double check that you’ve tightened the elastic evenly in the front and back if it’s tacked at the sides.
Make sure the elastic is pinned evenly in front and back.
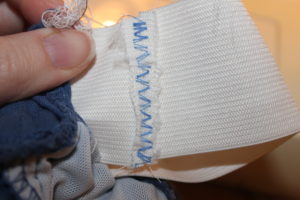
Once you’ve tried them on and are sure you like the fit, sew the elastic together where you pinned it. Use a ball point needle and either a stretch stitch (I use a triple stretch stitch) or a zigzag to avoid having a tangle of thread. Trim the extra elastic close to your stitching – leave about 1/4″.
Spread the seam flat and using a wide zigzag stitch, sew it down. This will prevent a bulky place in the waistband.
Tuck the elastic back in the waistband and fold the fabric back down. Carefully sew it back down. In this case, I did what is called stitch in the ditch. I sewed in the seam made when the waistband was attached to the capris. This stitching is barely visible when finished. You do need to take your time doing it so that it looks neat when you’re done.
The finished stitch in the ditch doesn’t show much.
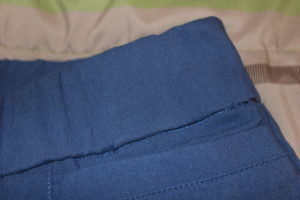
Finished capris – the elastic is evenly stretched between the front and back.