 *This post contains affiliate links.
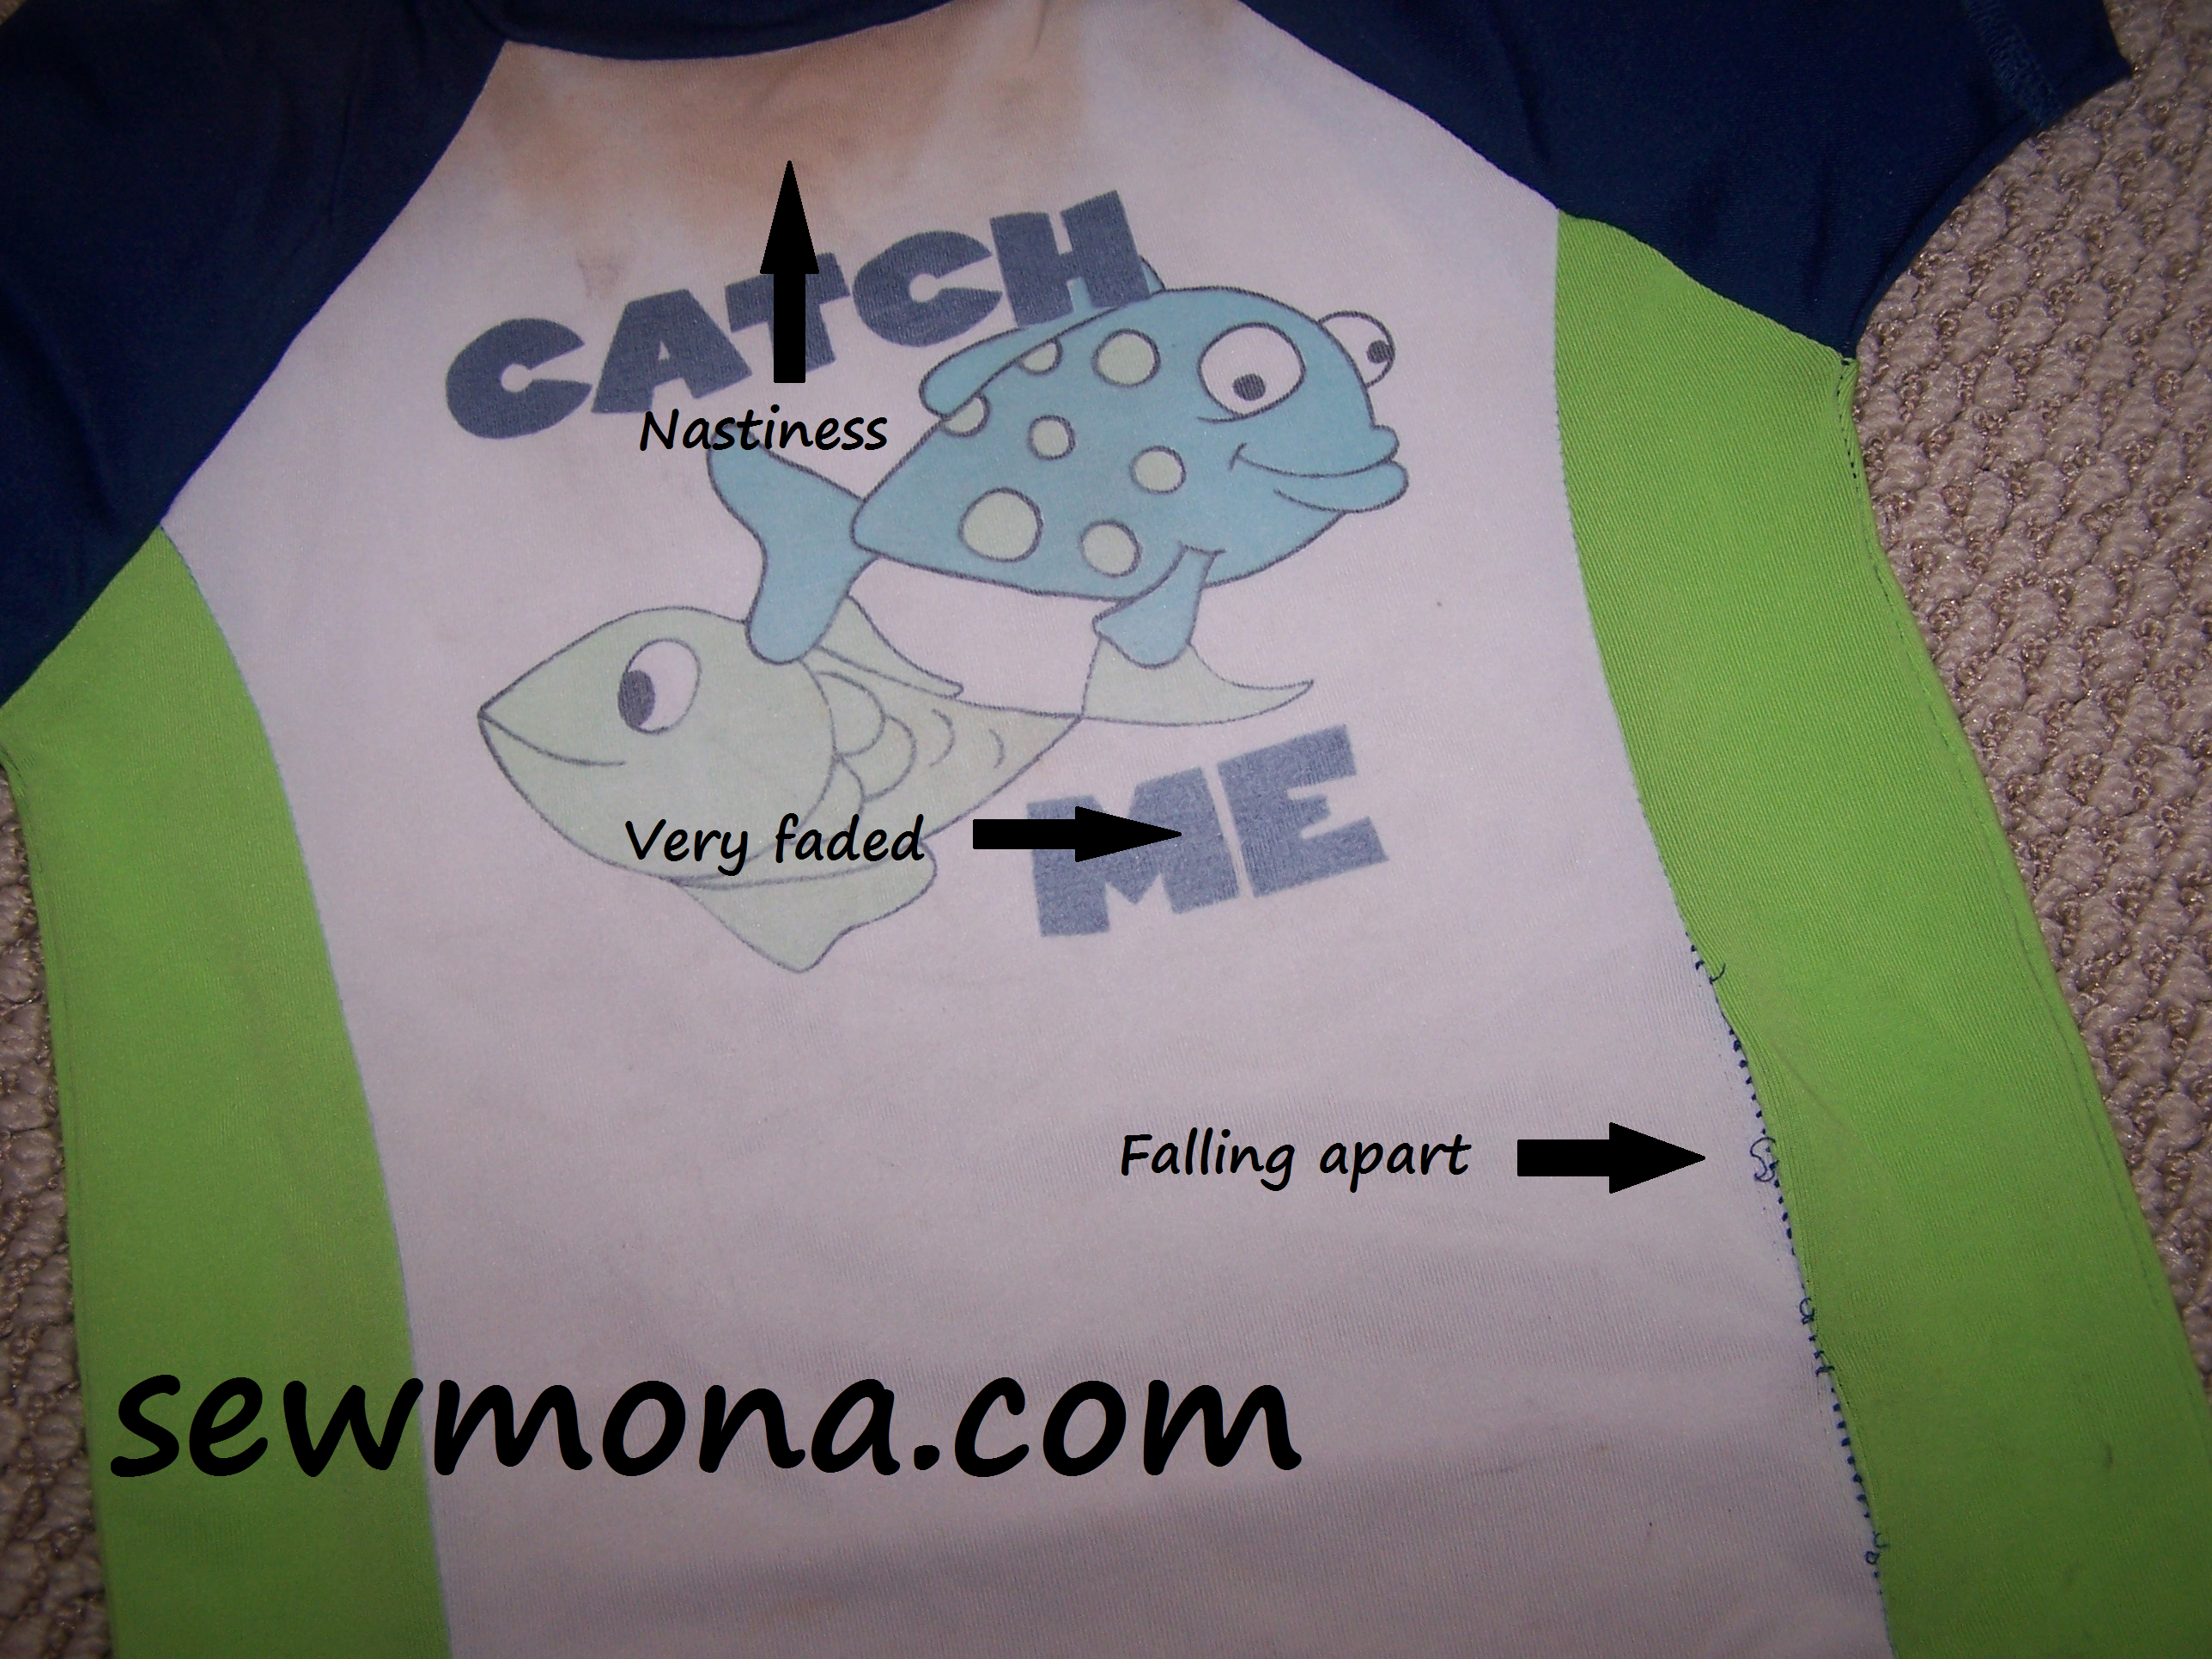
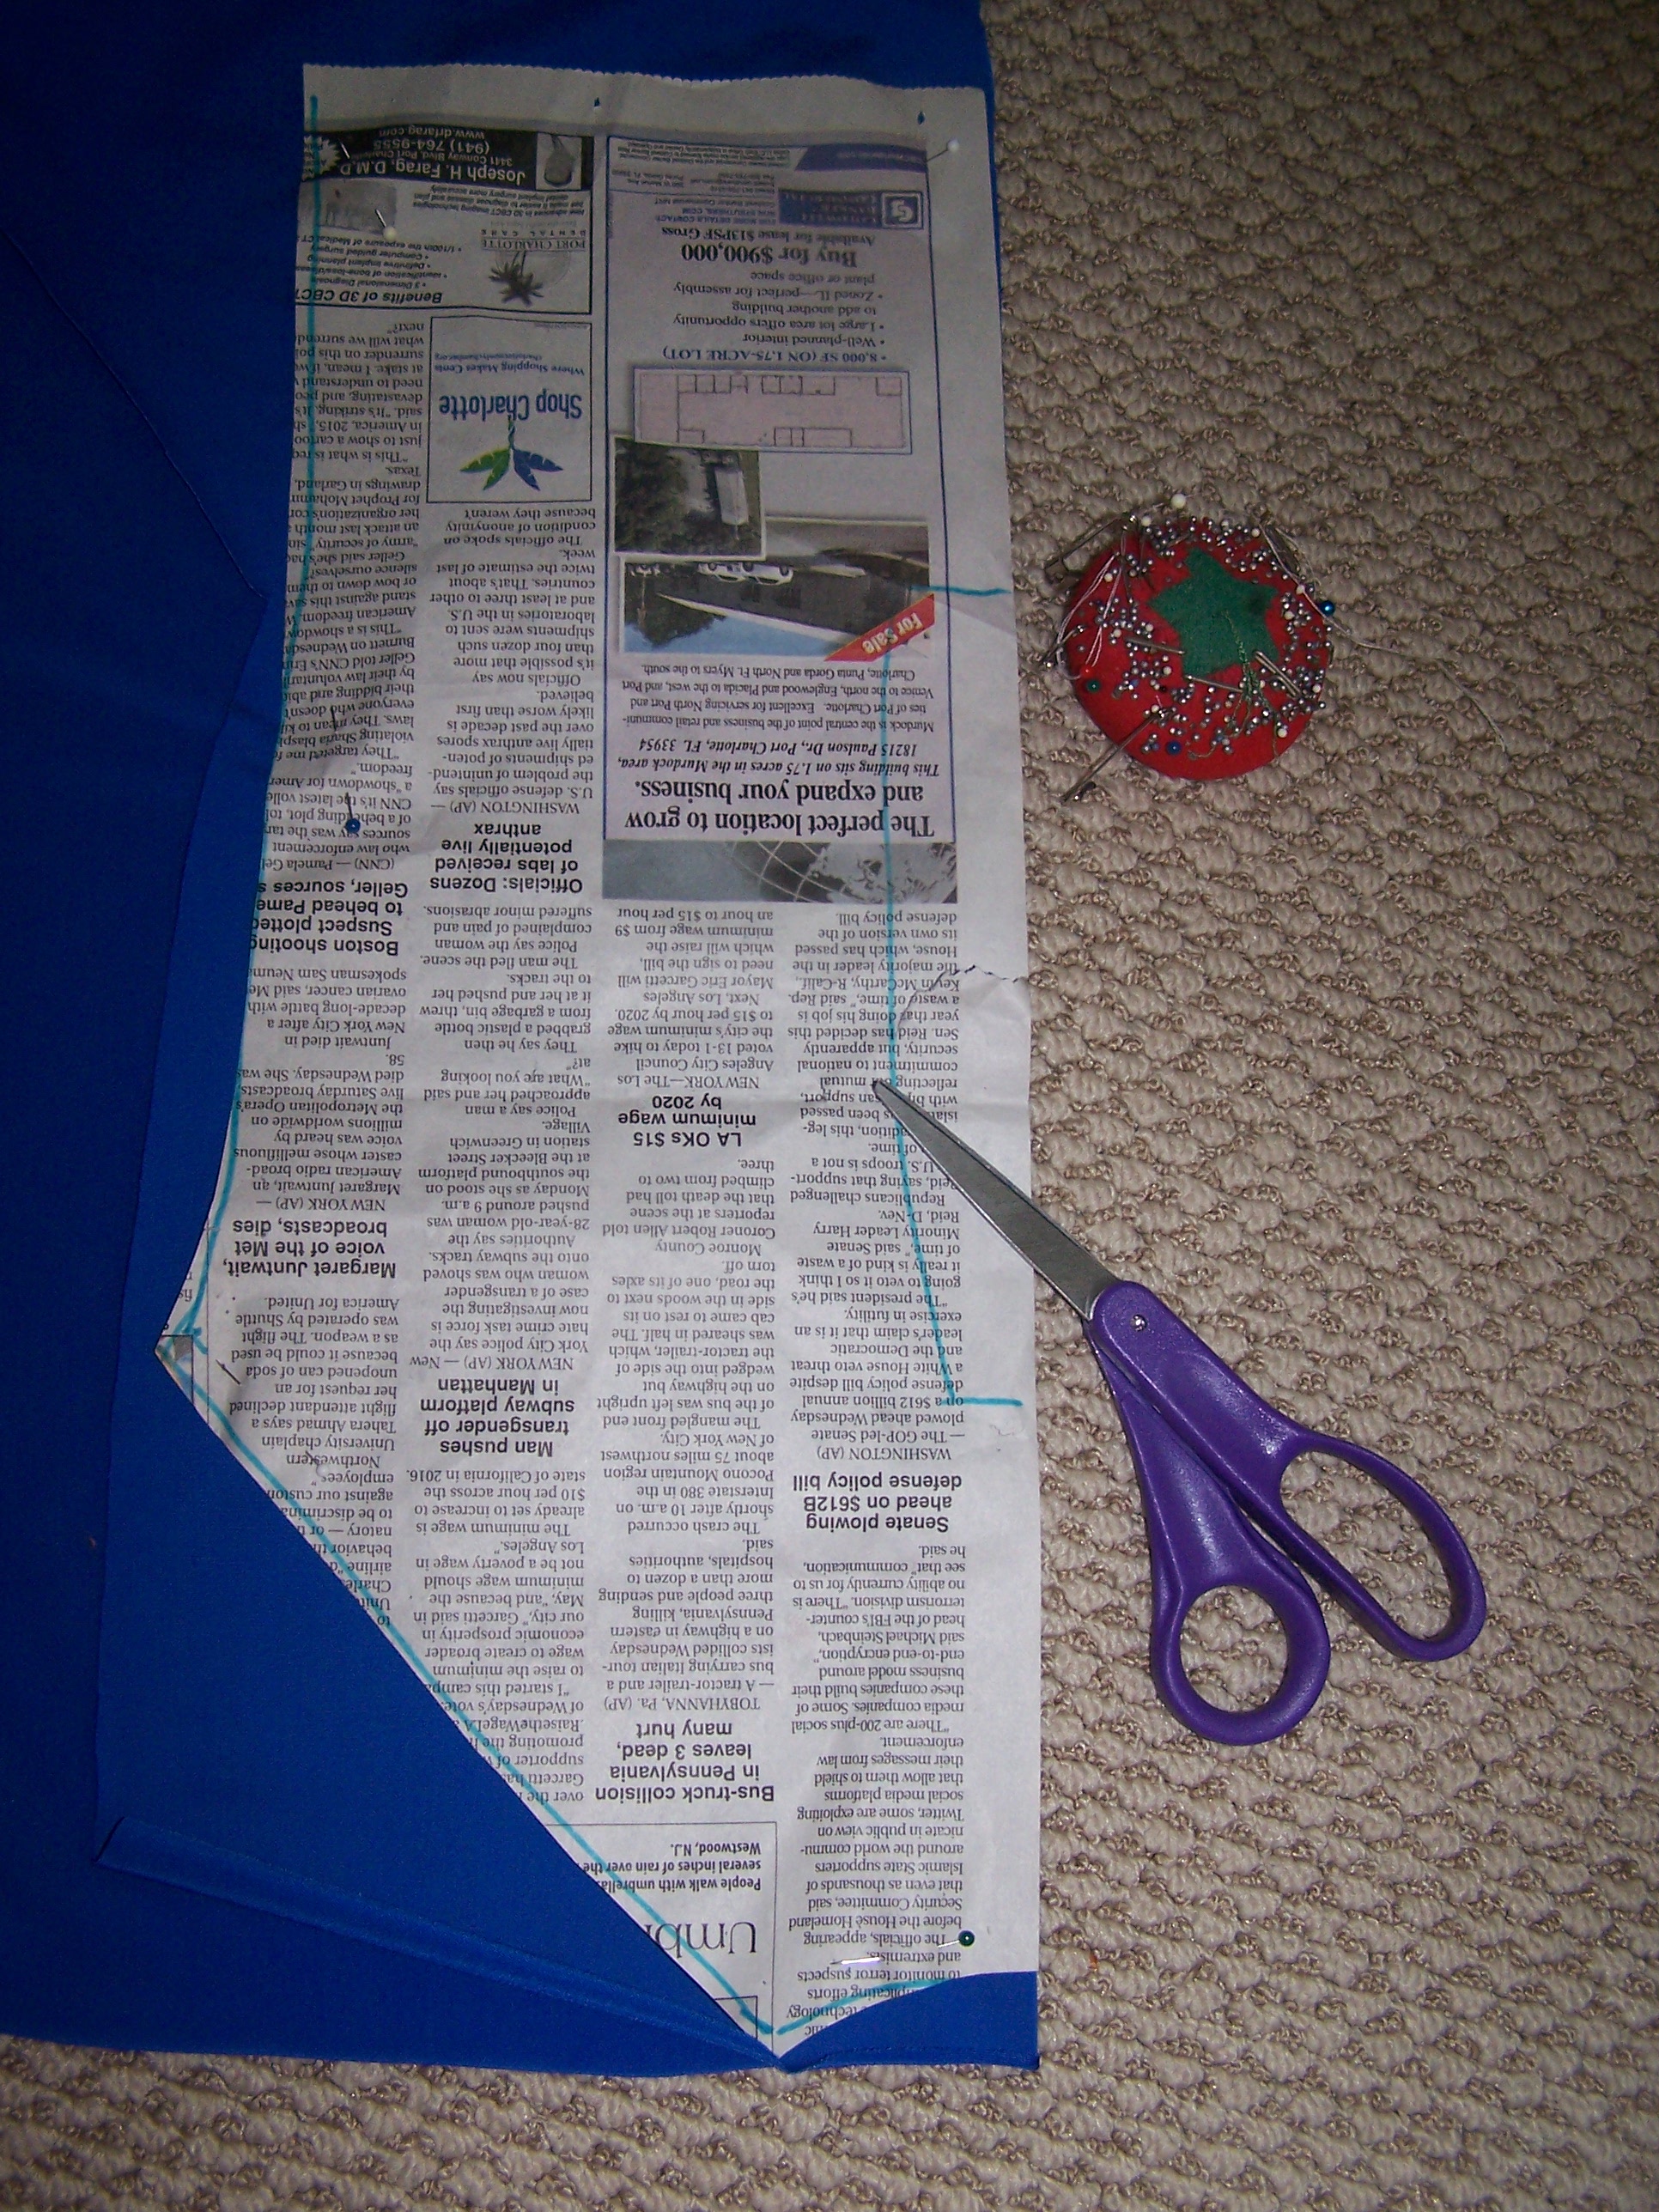
Most times when I want to make something I dig out a paper pattern that’s close to what I want (or if I’m lucky, exactly what I want) and go from there. I’ve mashed patterns together with some success. Occasionally I’ll use a PDF pattern from one of my favorite shops (currently Peek-a-Boo Pattern Shop and Seamingly Smitten). Sometimes, though I already have an item that’s exactly what I want so I use it to make a pattern. In this case, I want to make new rash guard shirts for my boys. Their current ones are a little (maybe a lot!) stretched out and getting thin. I’m not sure the UV protection is still there. I found UV fabric at Rockywoods. While I was waiting for my fabric, I worked on my pattern. I wanted to make them like the shirts they currently have – raglan style. I use newspaper or brown packing paper for making patterns.
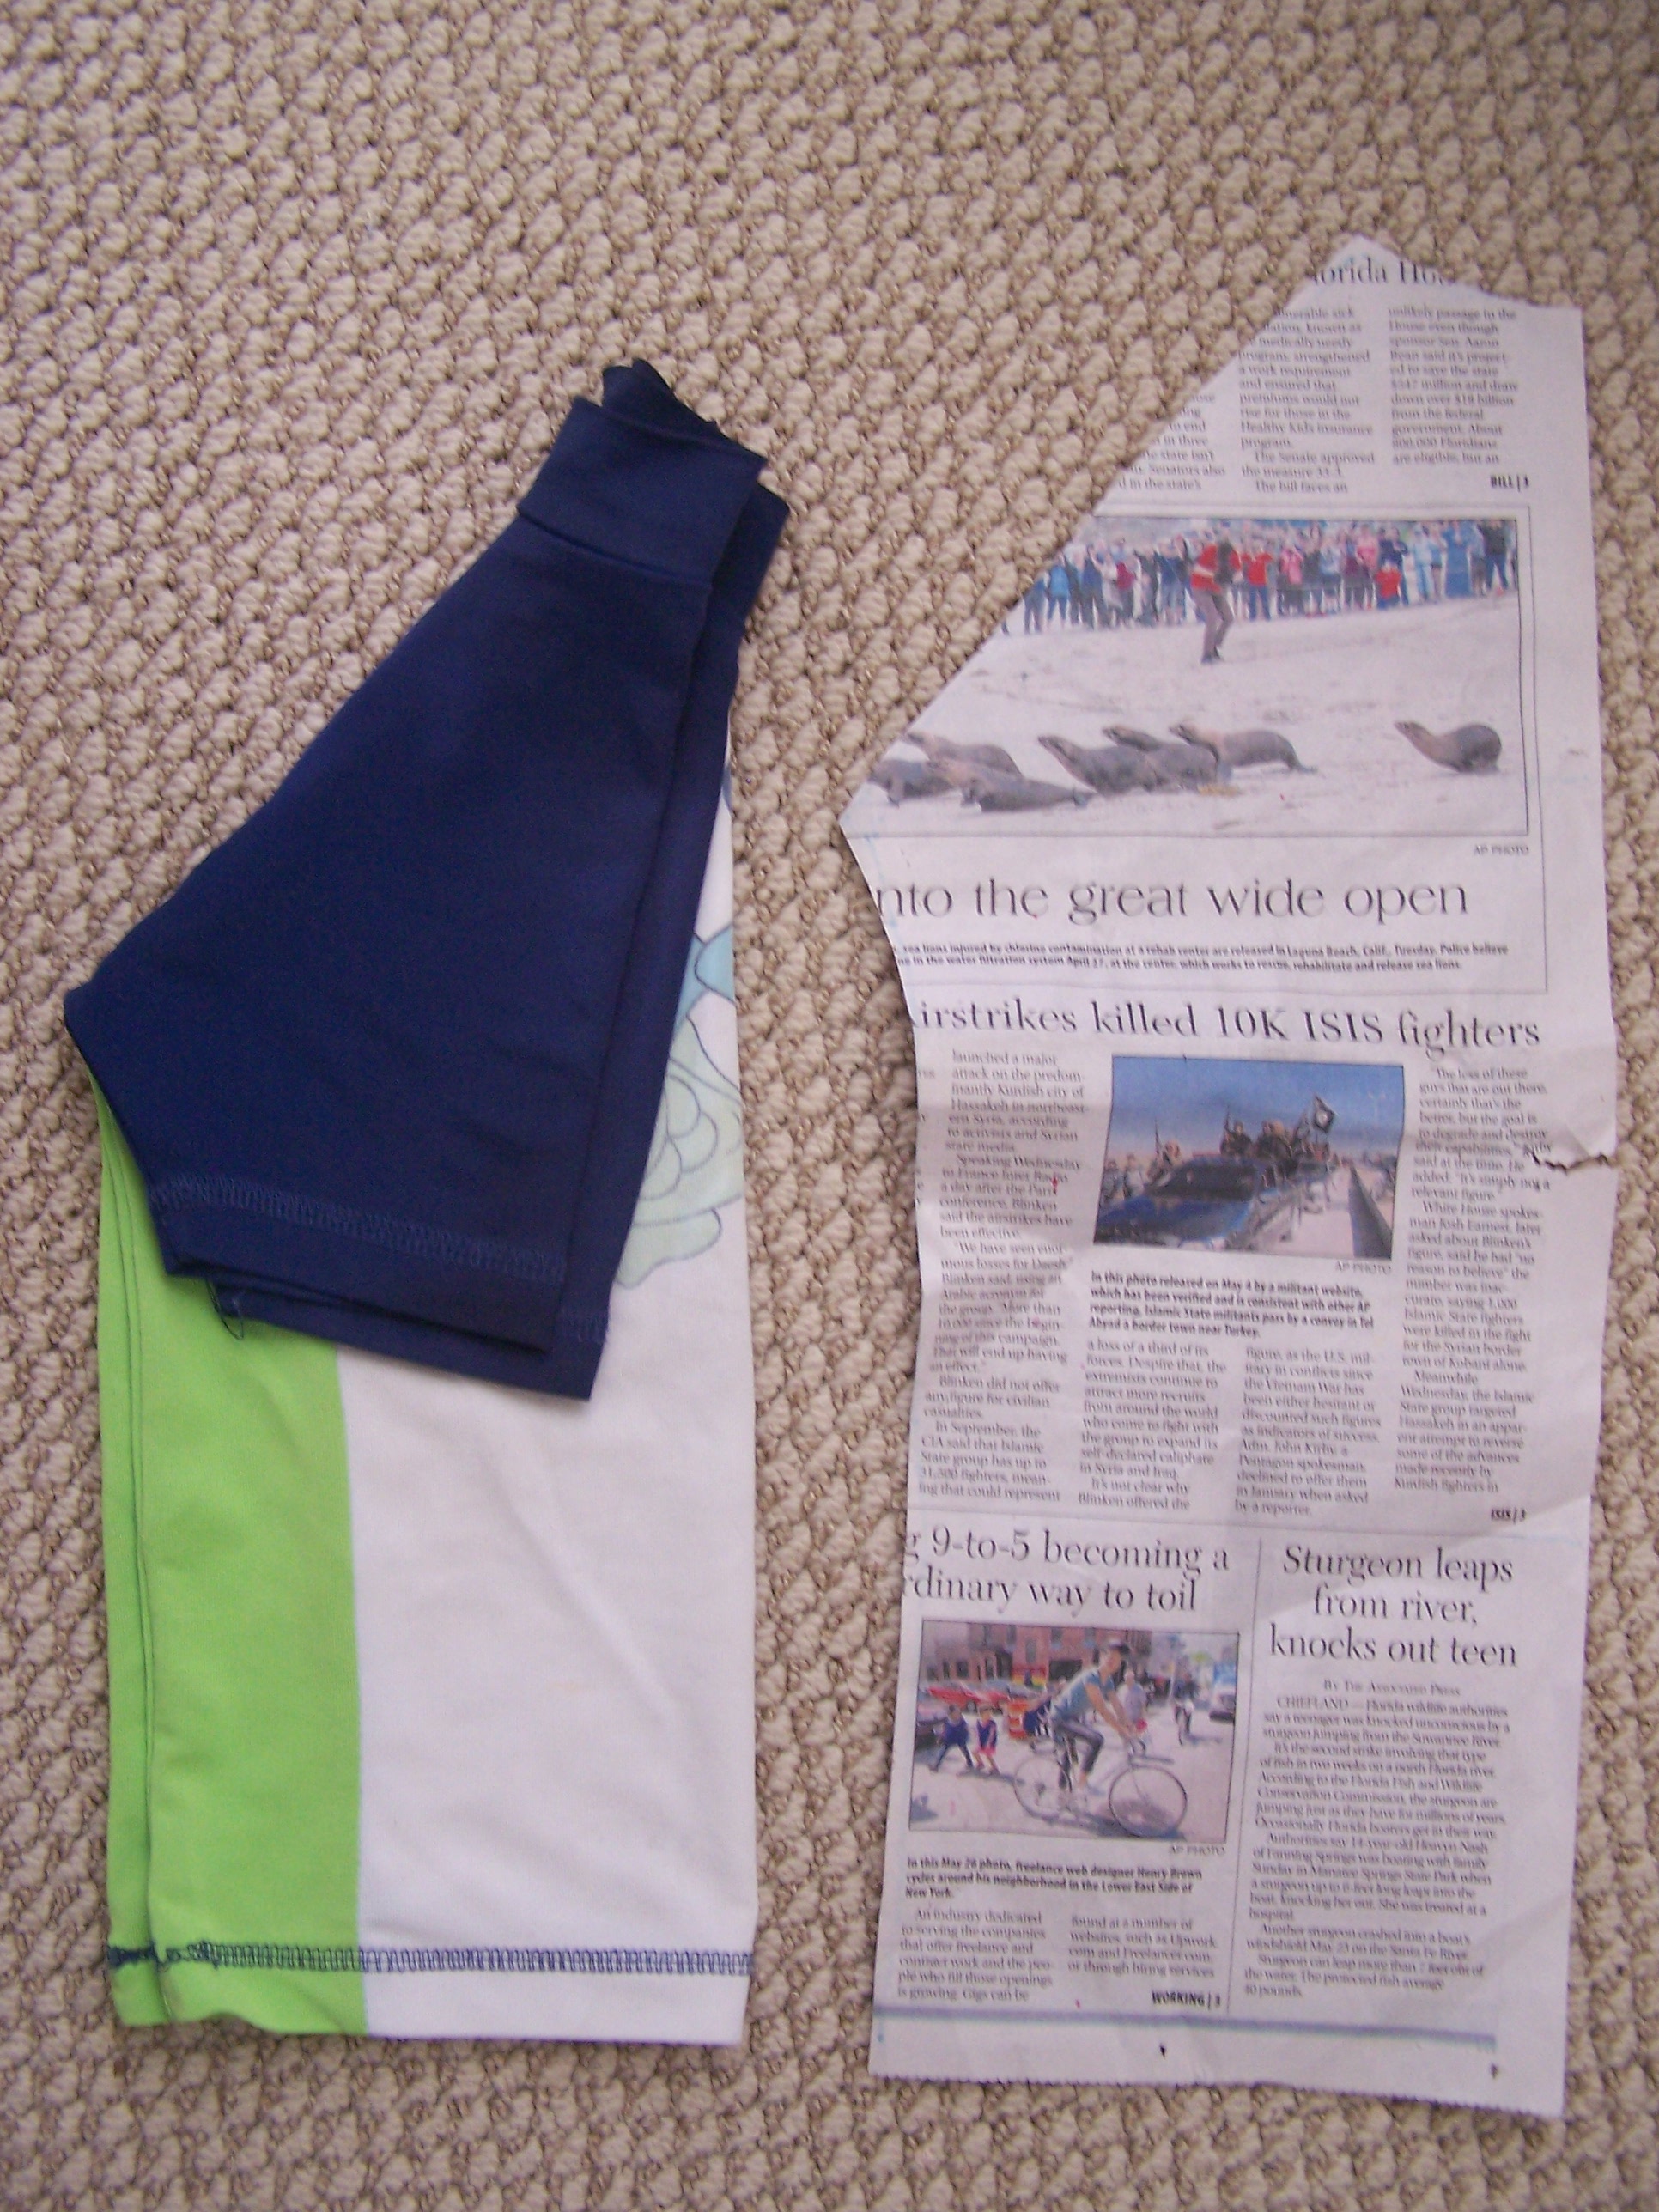
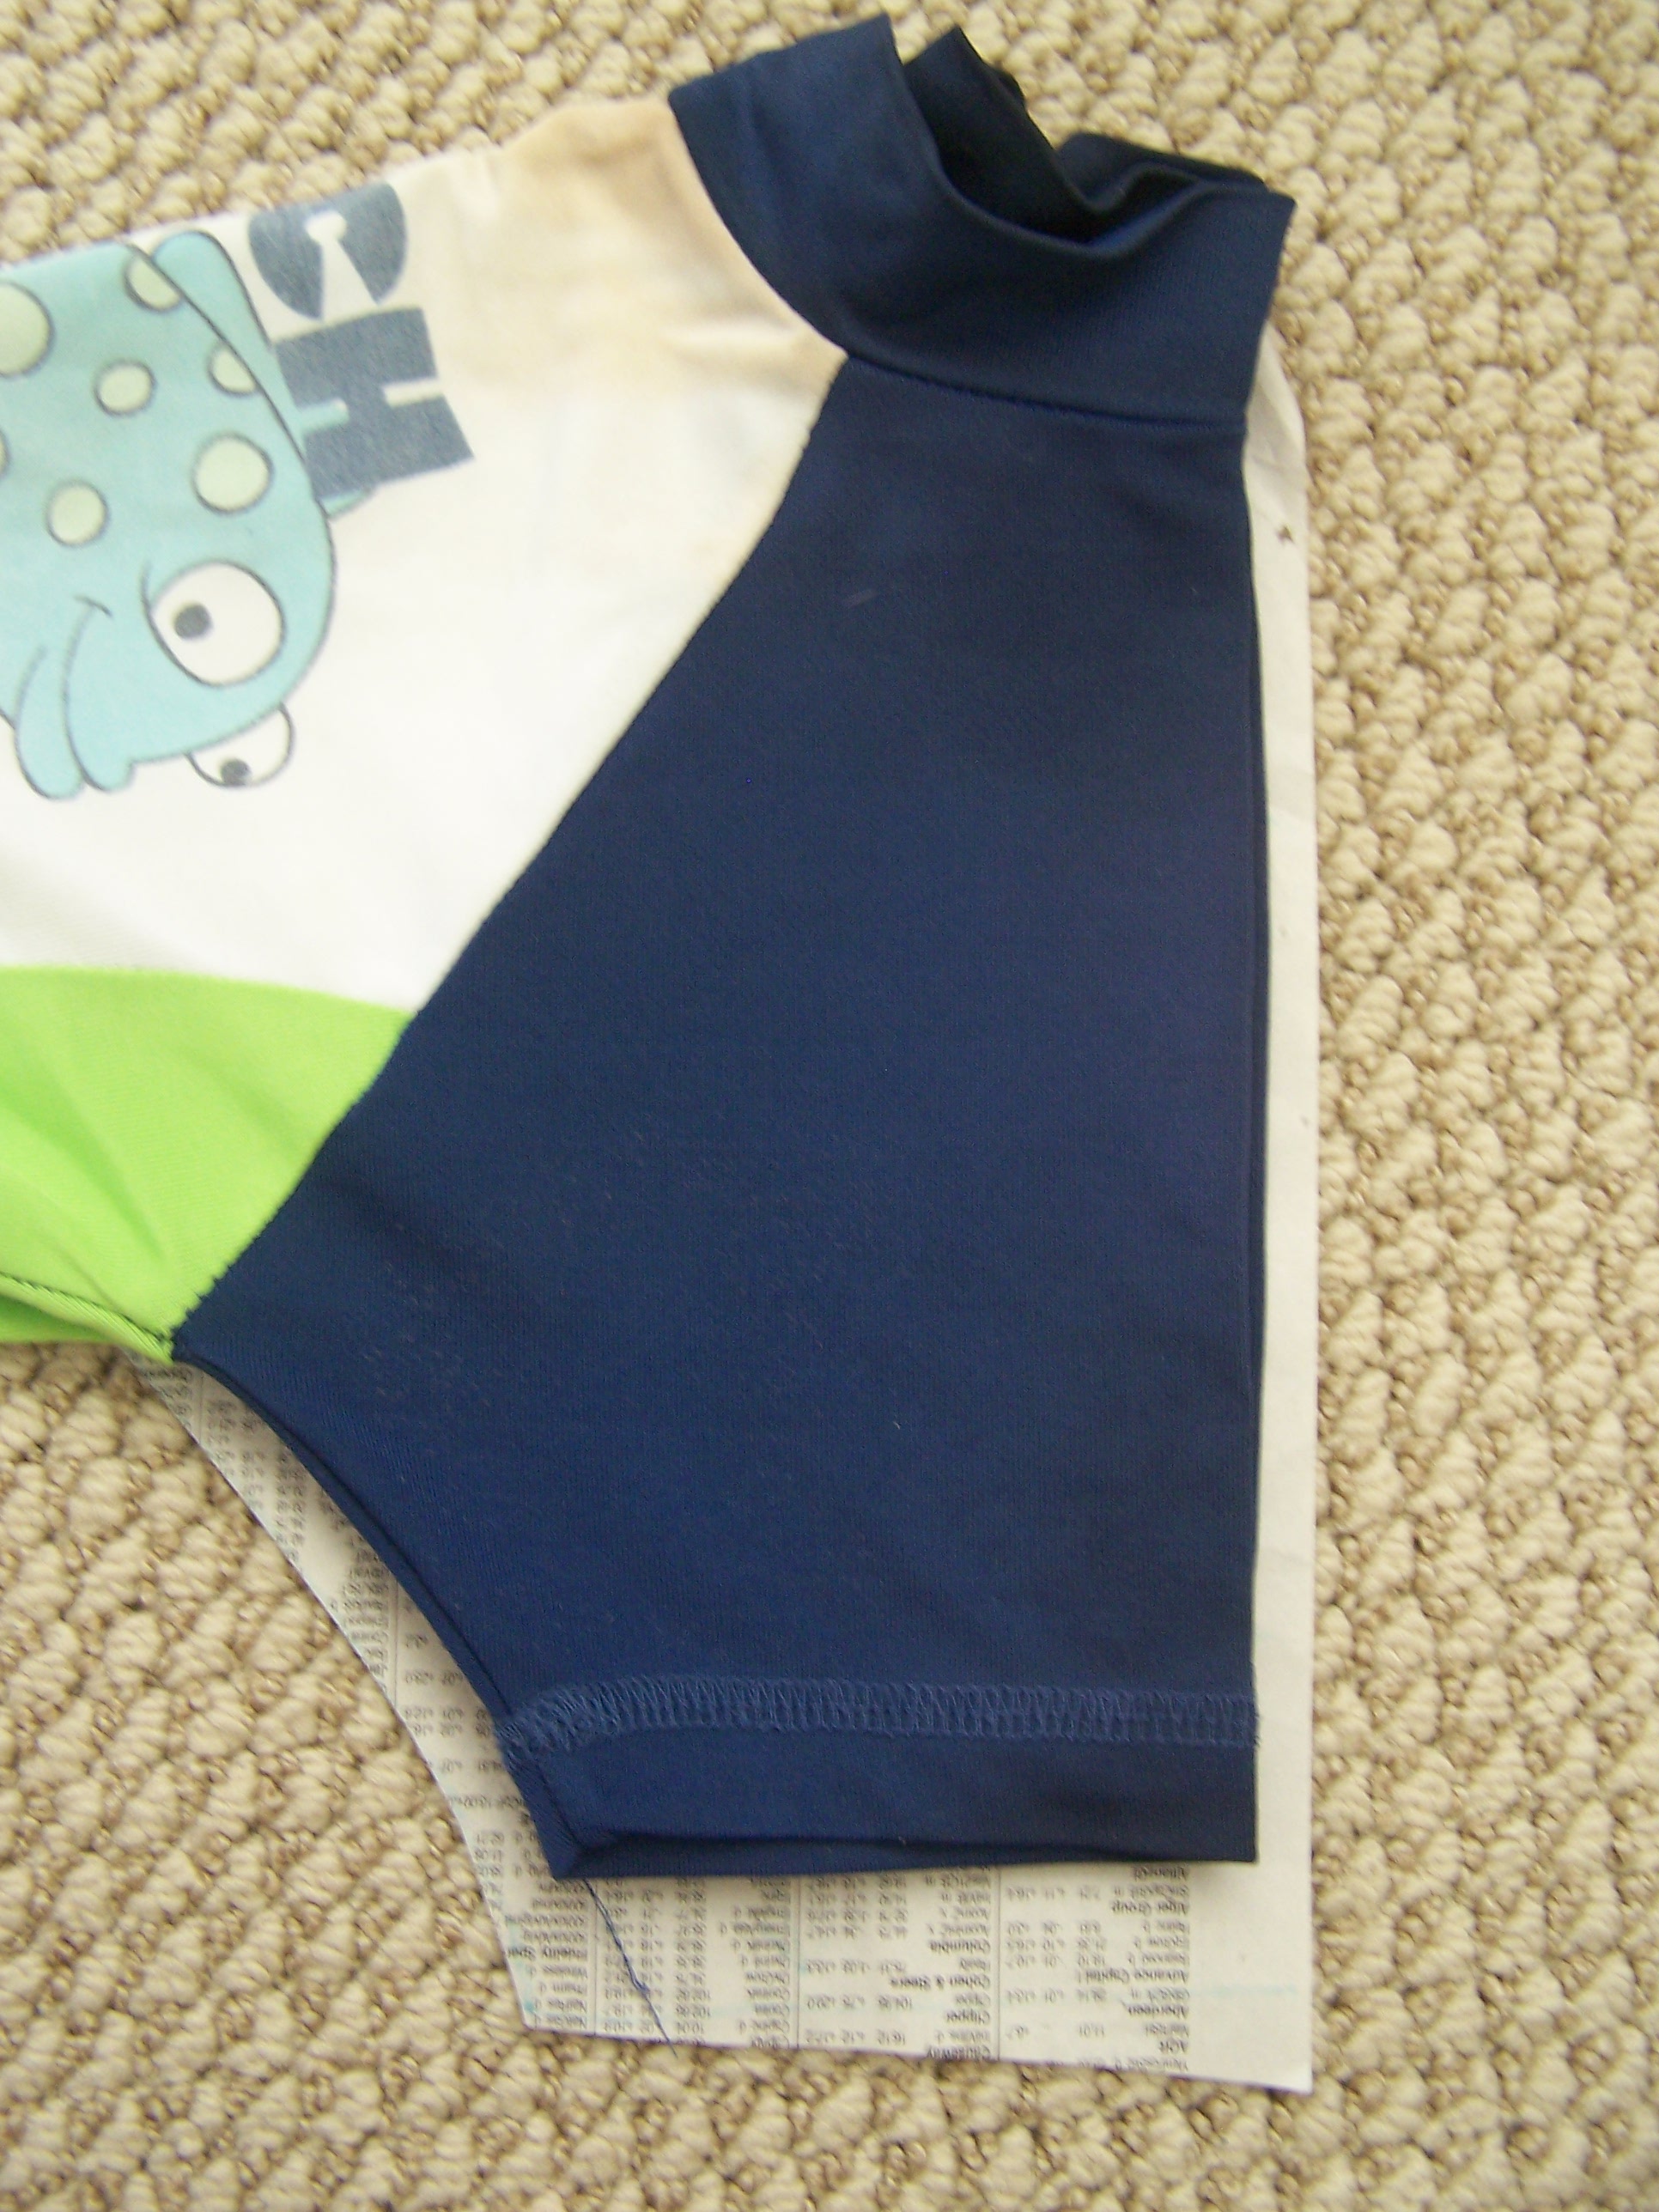
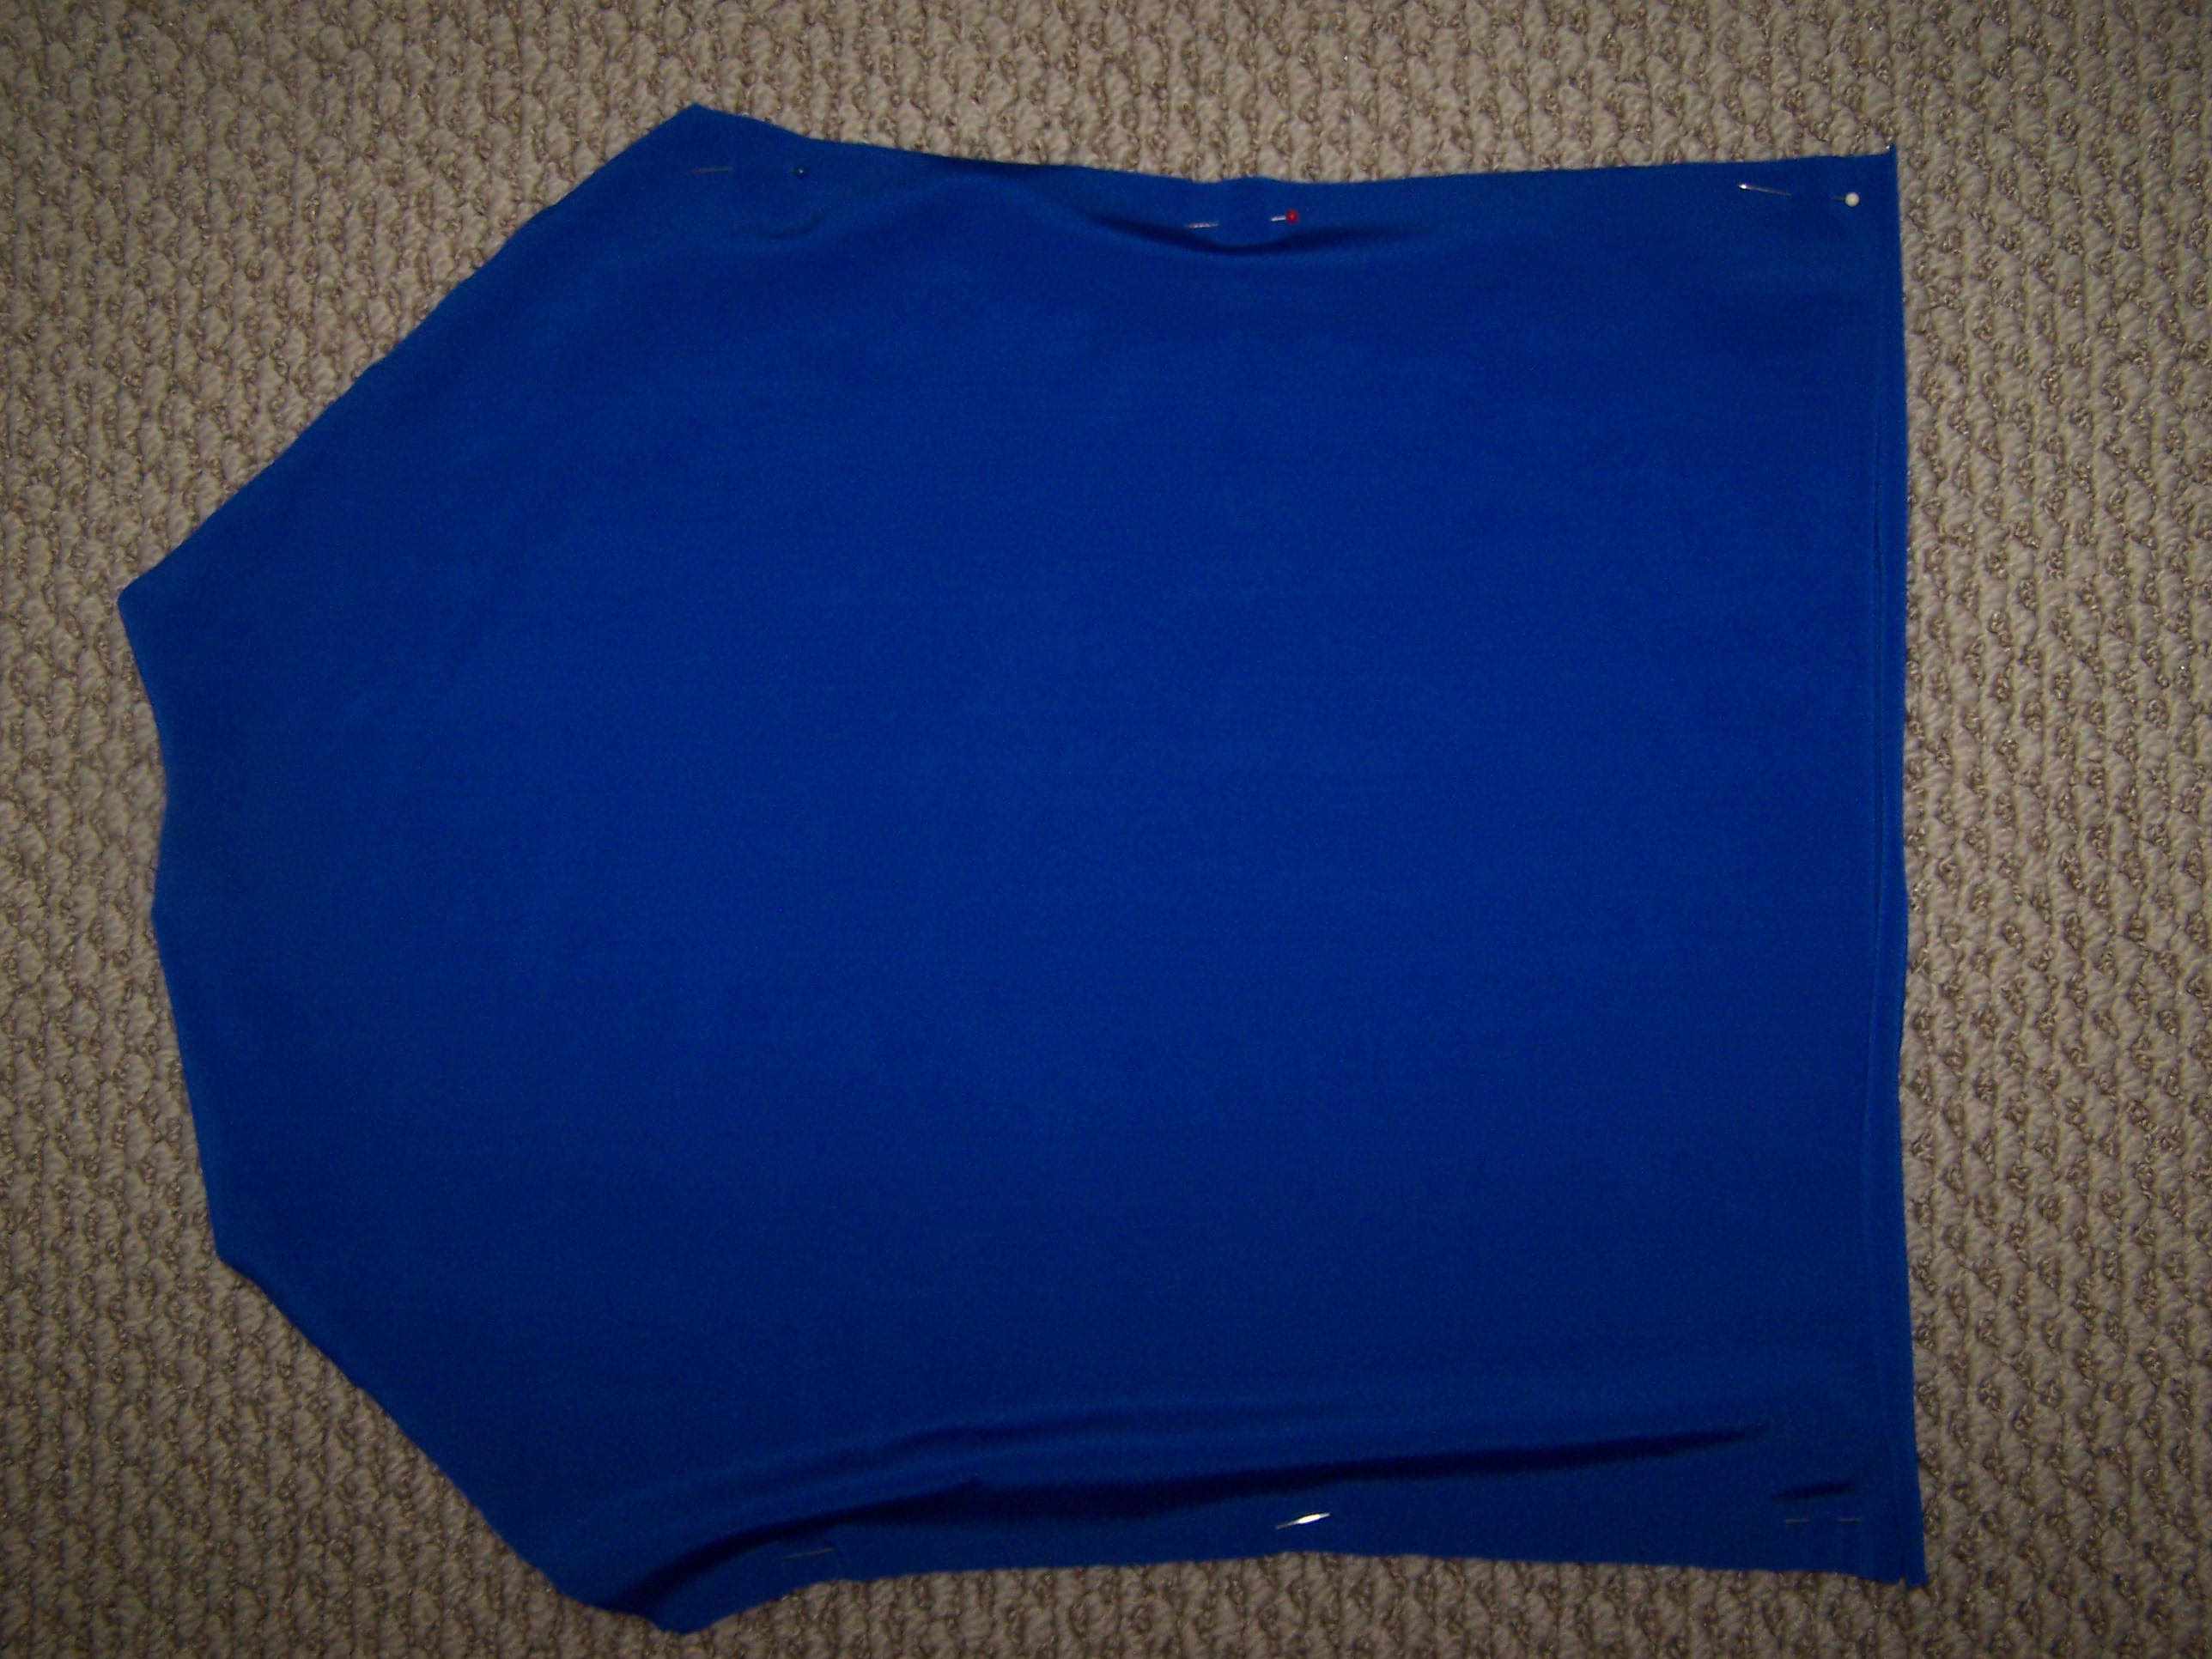
Fold the shirt in half and fold the sleeves in so they aren’t in the way. Trace around the outside making sure you add a seam allowance (usually 5/8″). If you want to make the shirt a little bigger you could add another 1/2″ – 5/8″. Going up more than one size can get tricky.
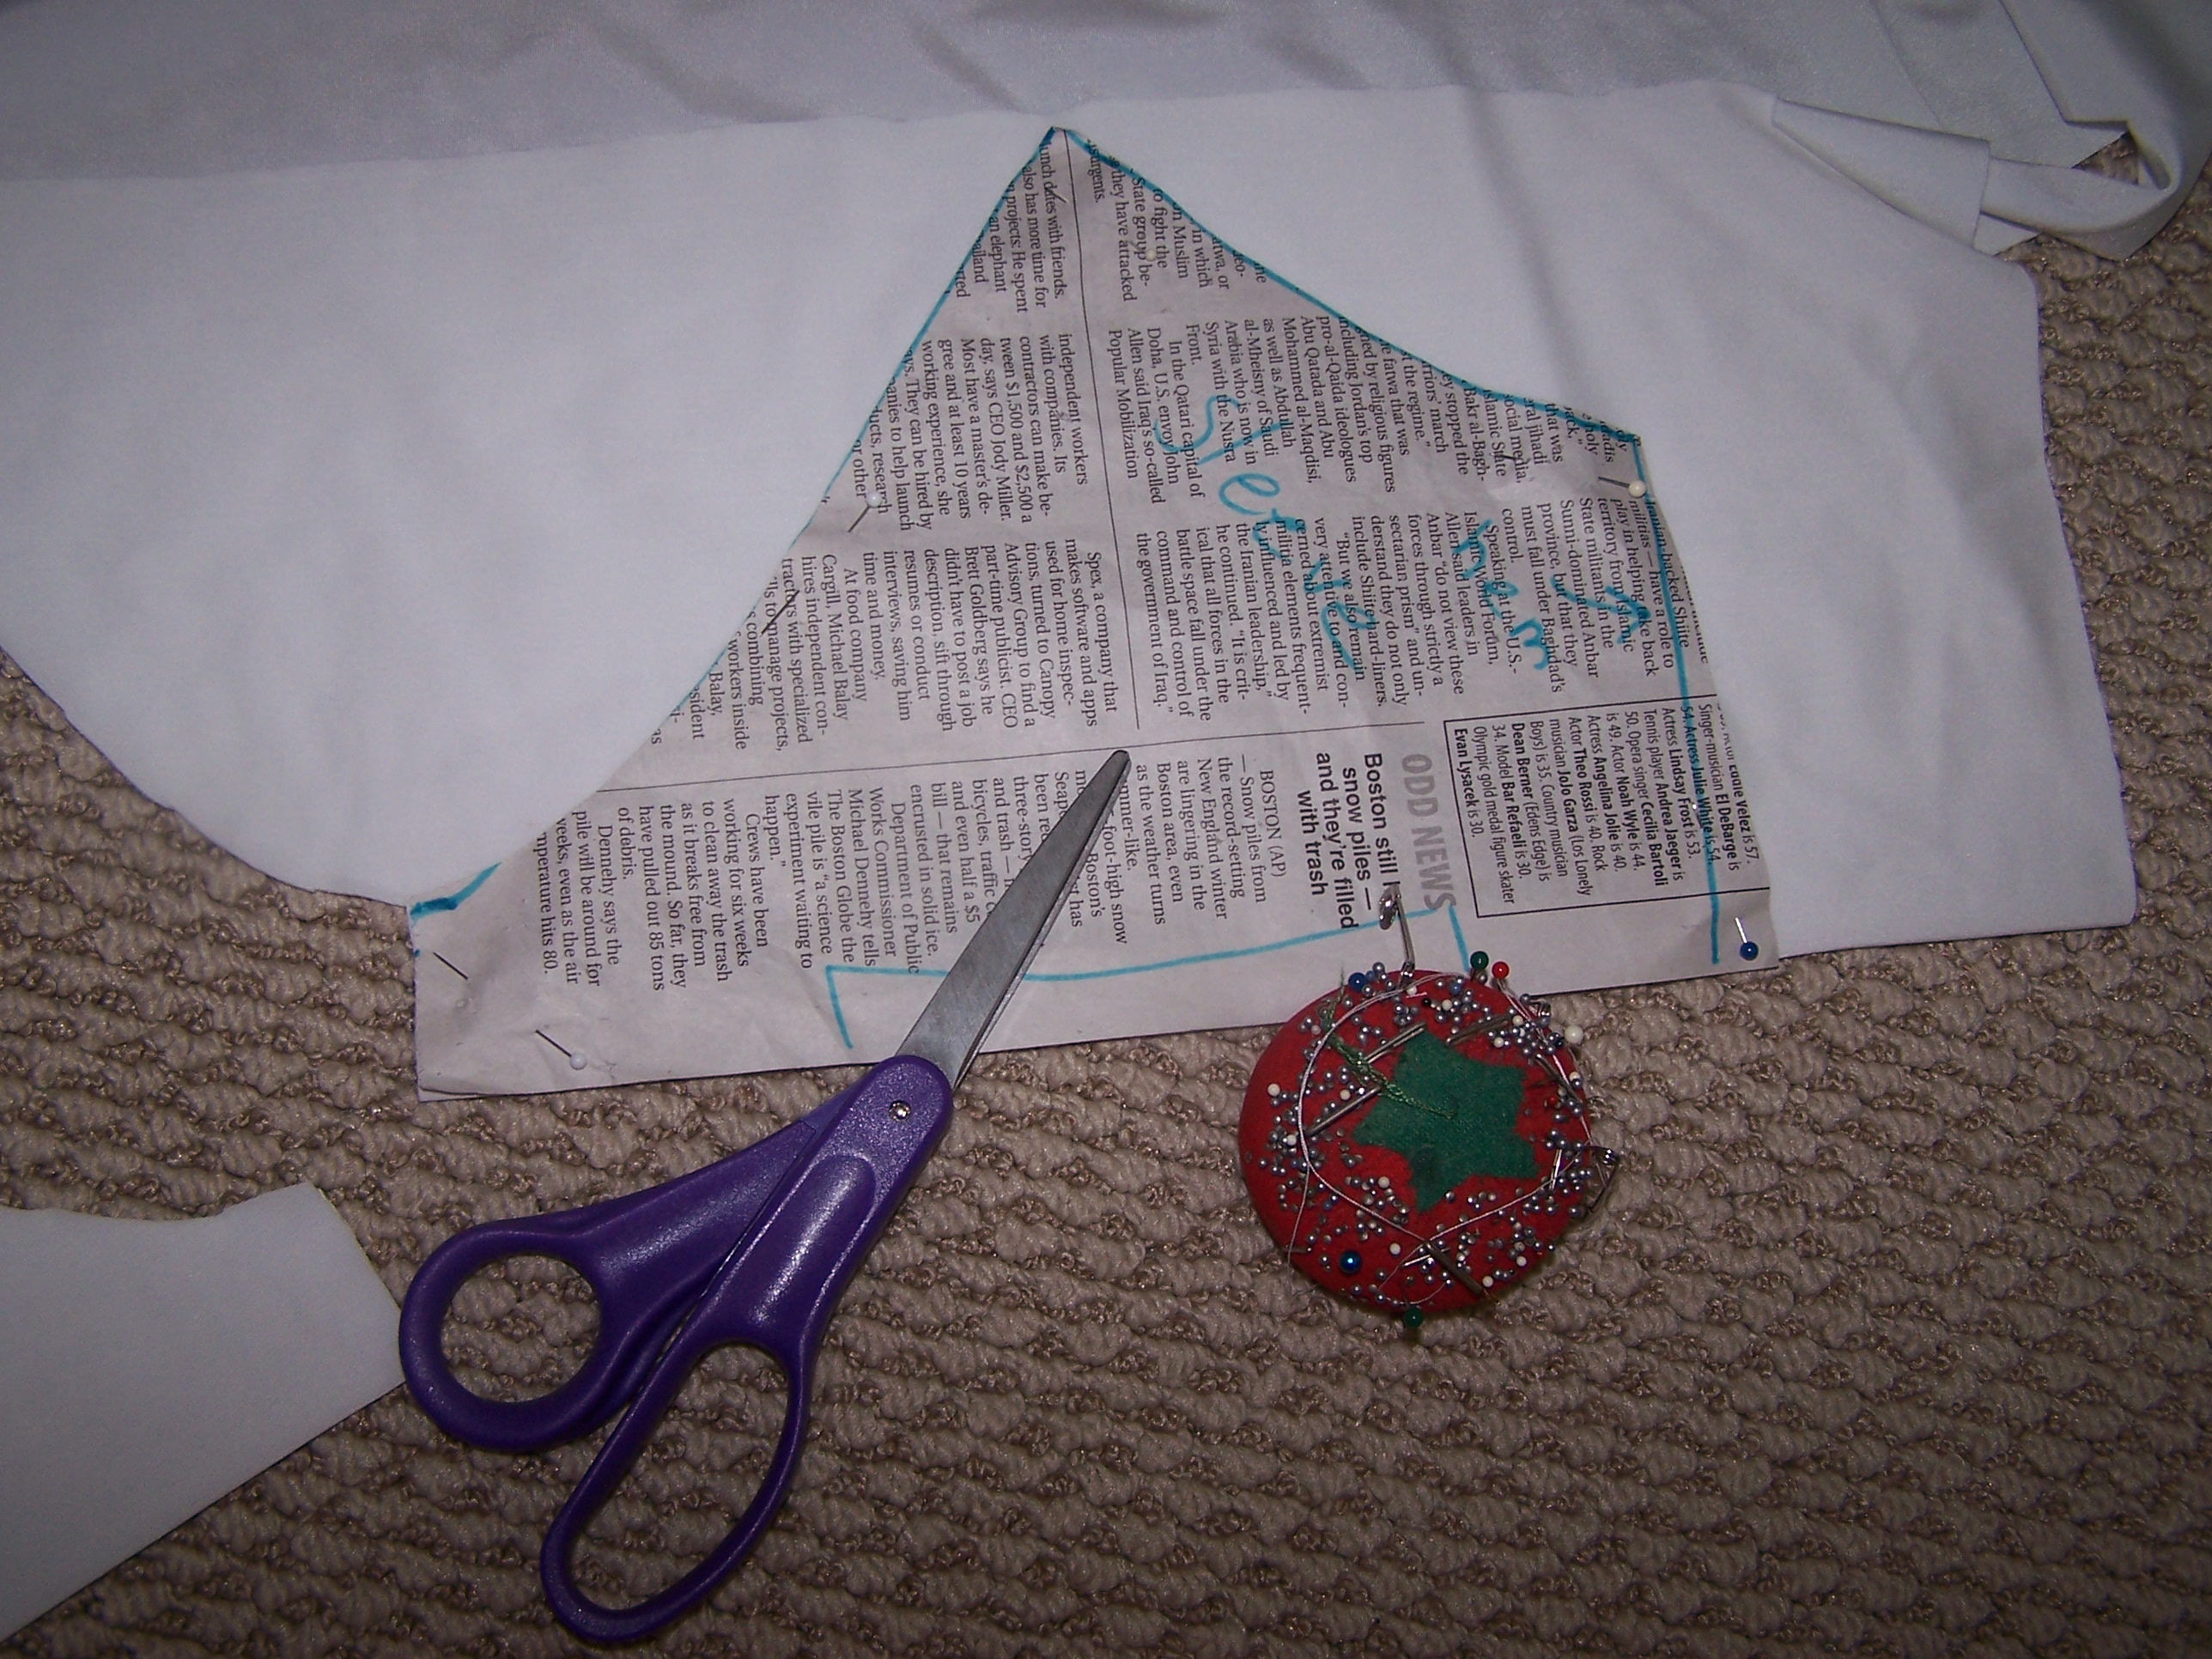
Fold the sleeve in half. Trace around the sleeve too – don’t forget the seam allowance.
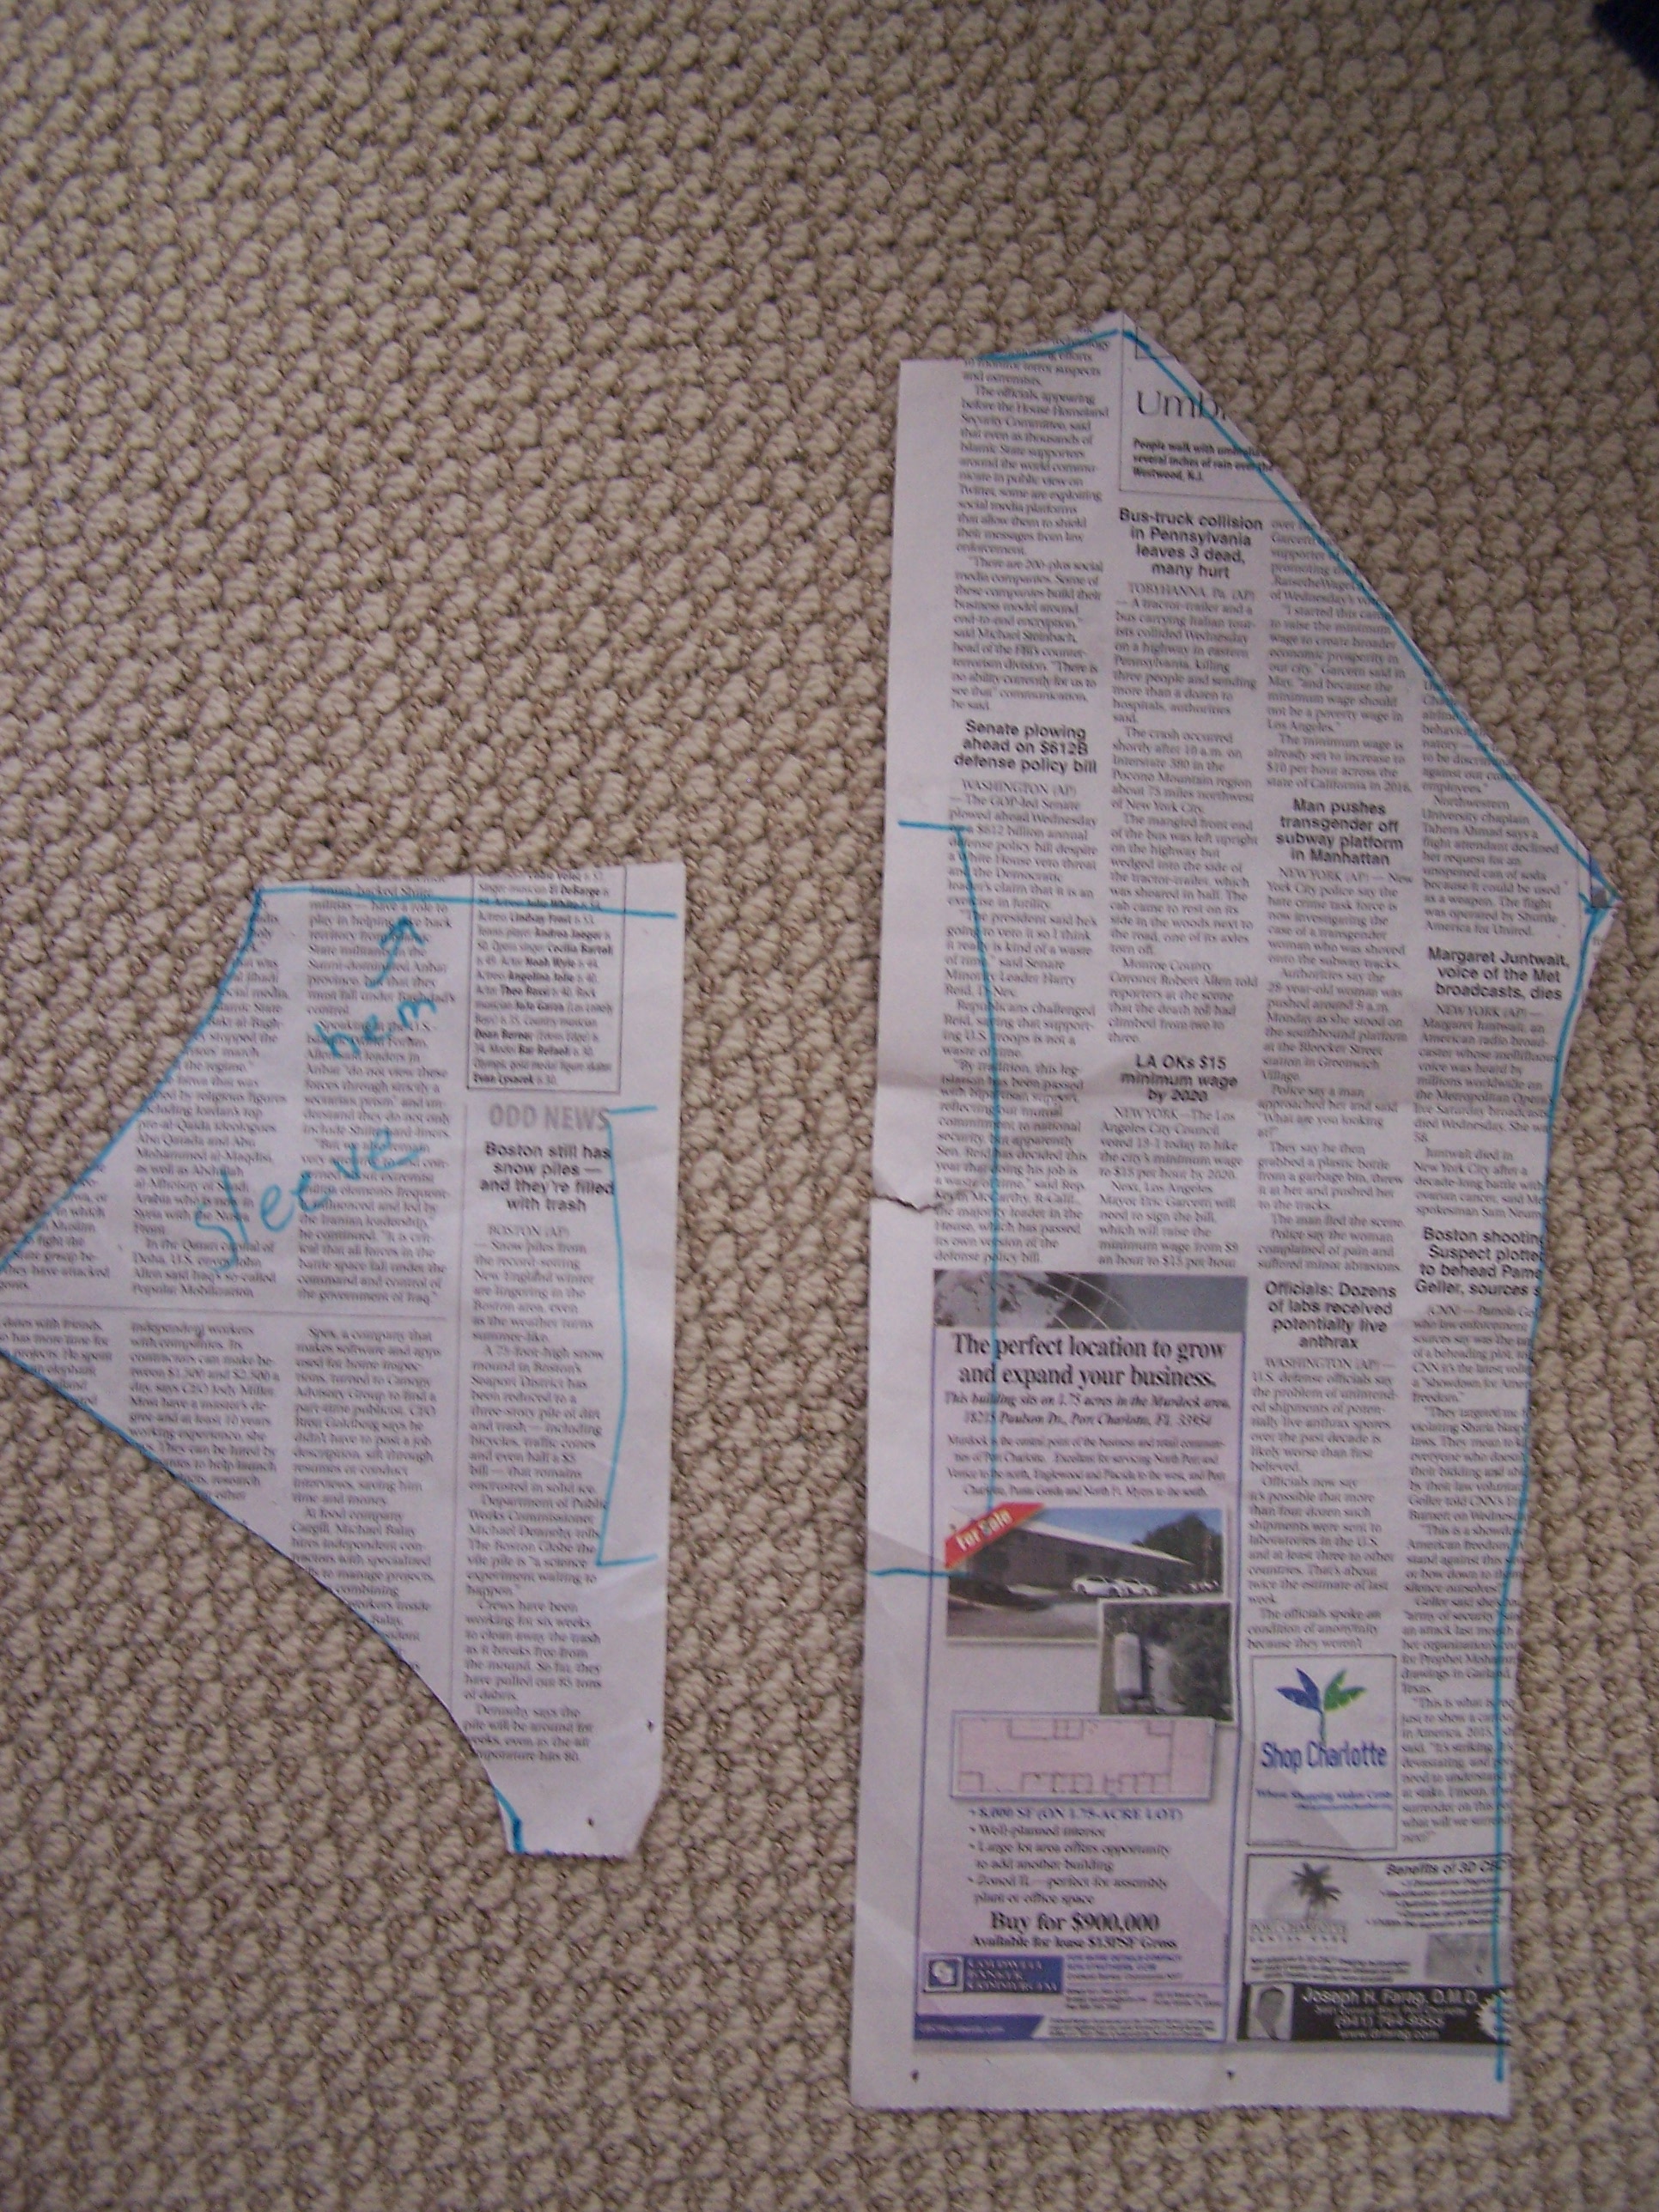
I usually label my pieces so I don’t get confused later – for some reason I couldn’t keep it straight in my head which end of the sleeve was the bottom so I labeled it. The sleeve piece is actually upside down in my picture (see? confused!) – the hem is at the top. The two long edges that are facing each other go on the fold so I drew brackets on them (similar to what paper patterns have).
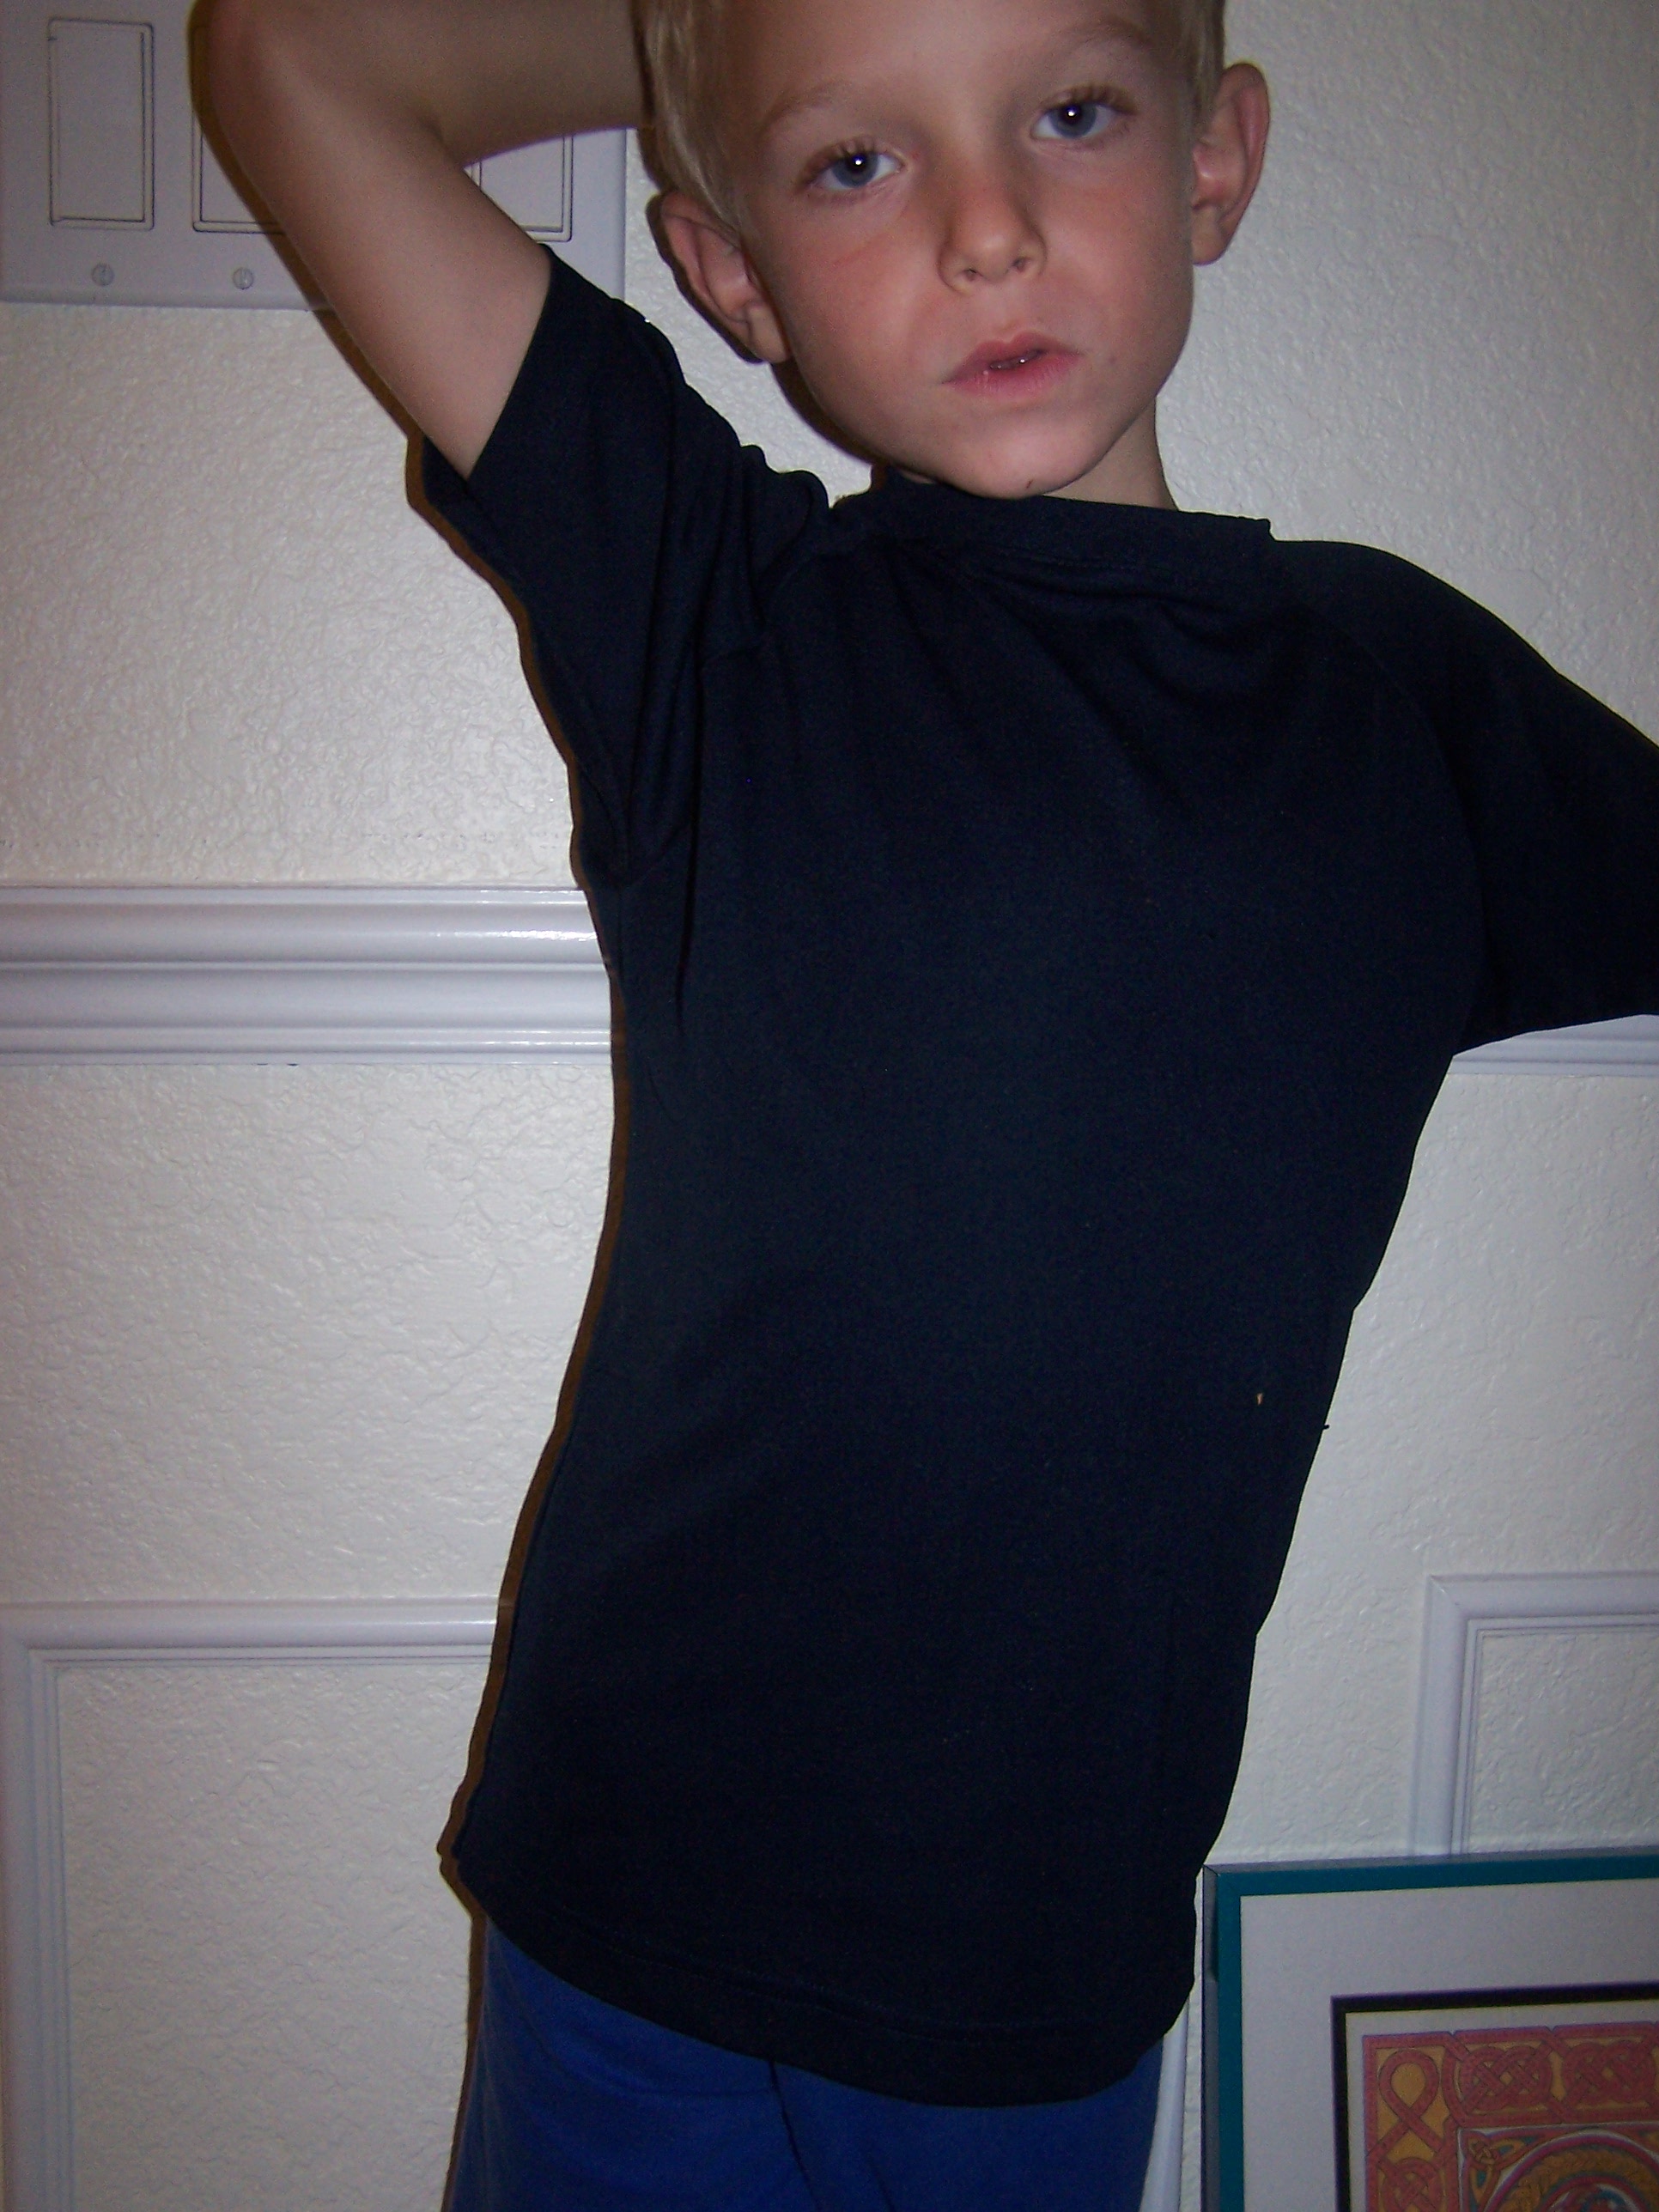
I made a test shirt out of an old t-shirt to test the fit before I cut into my good material. He was happy with the fit and so was I. For the neck binding on this one, I used a piece of the neck binding from the old shirt.
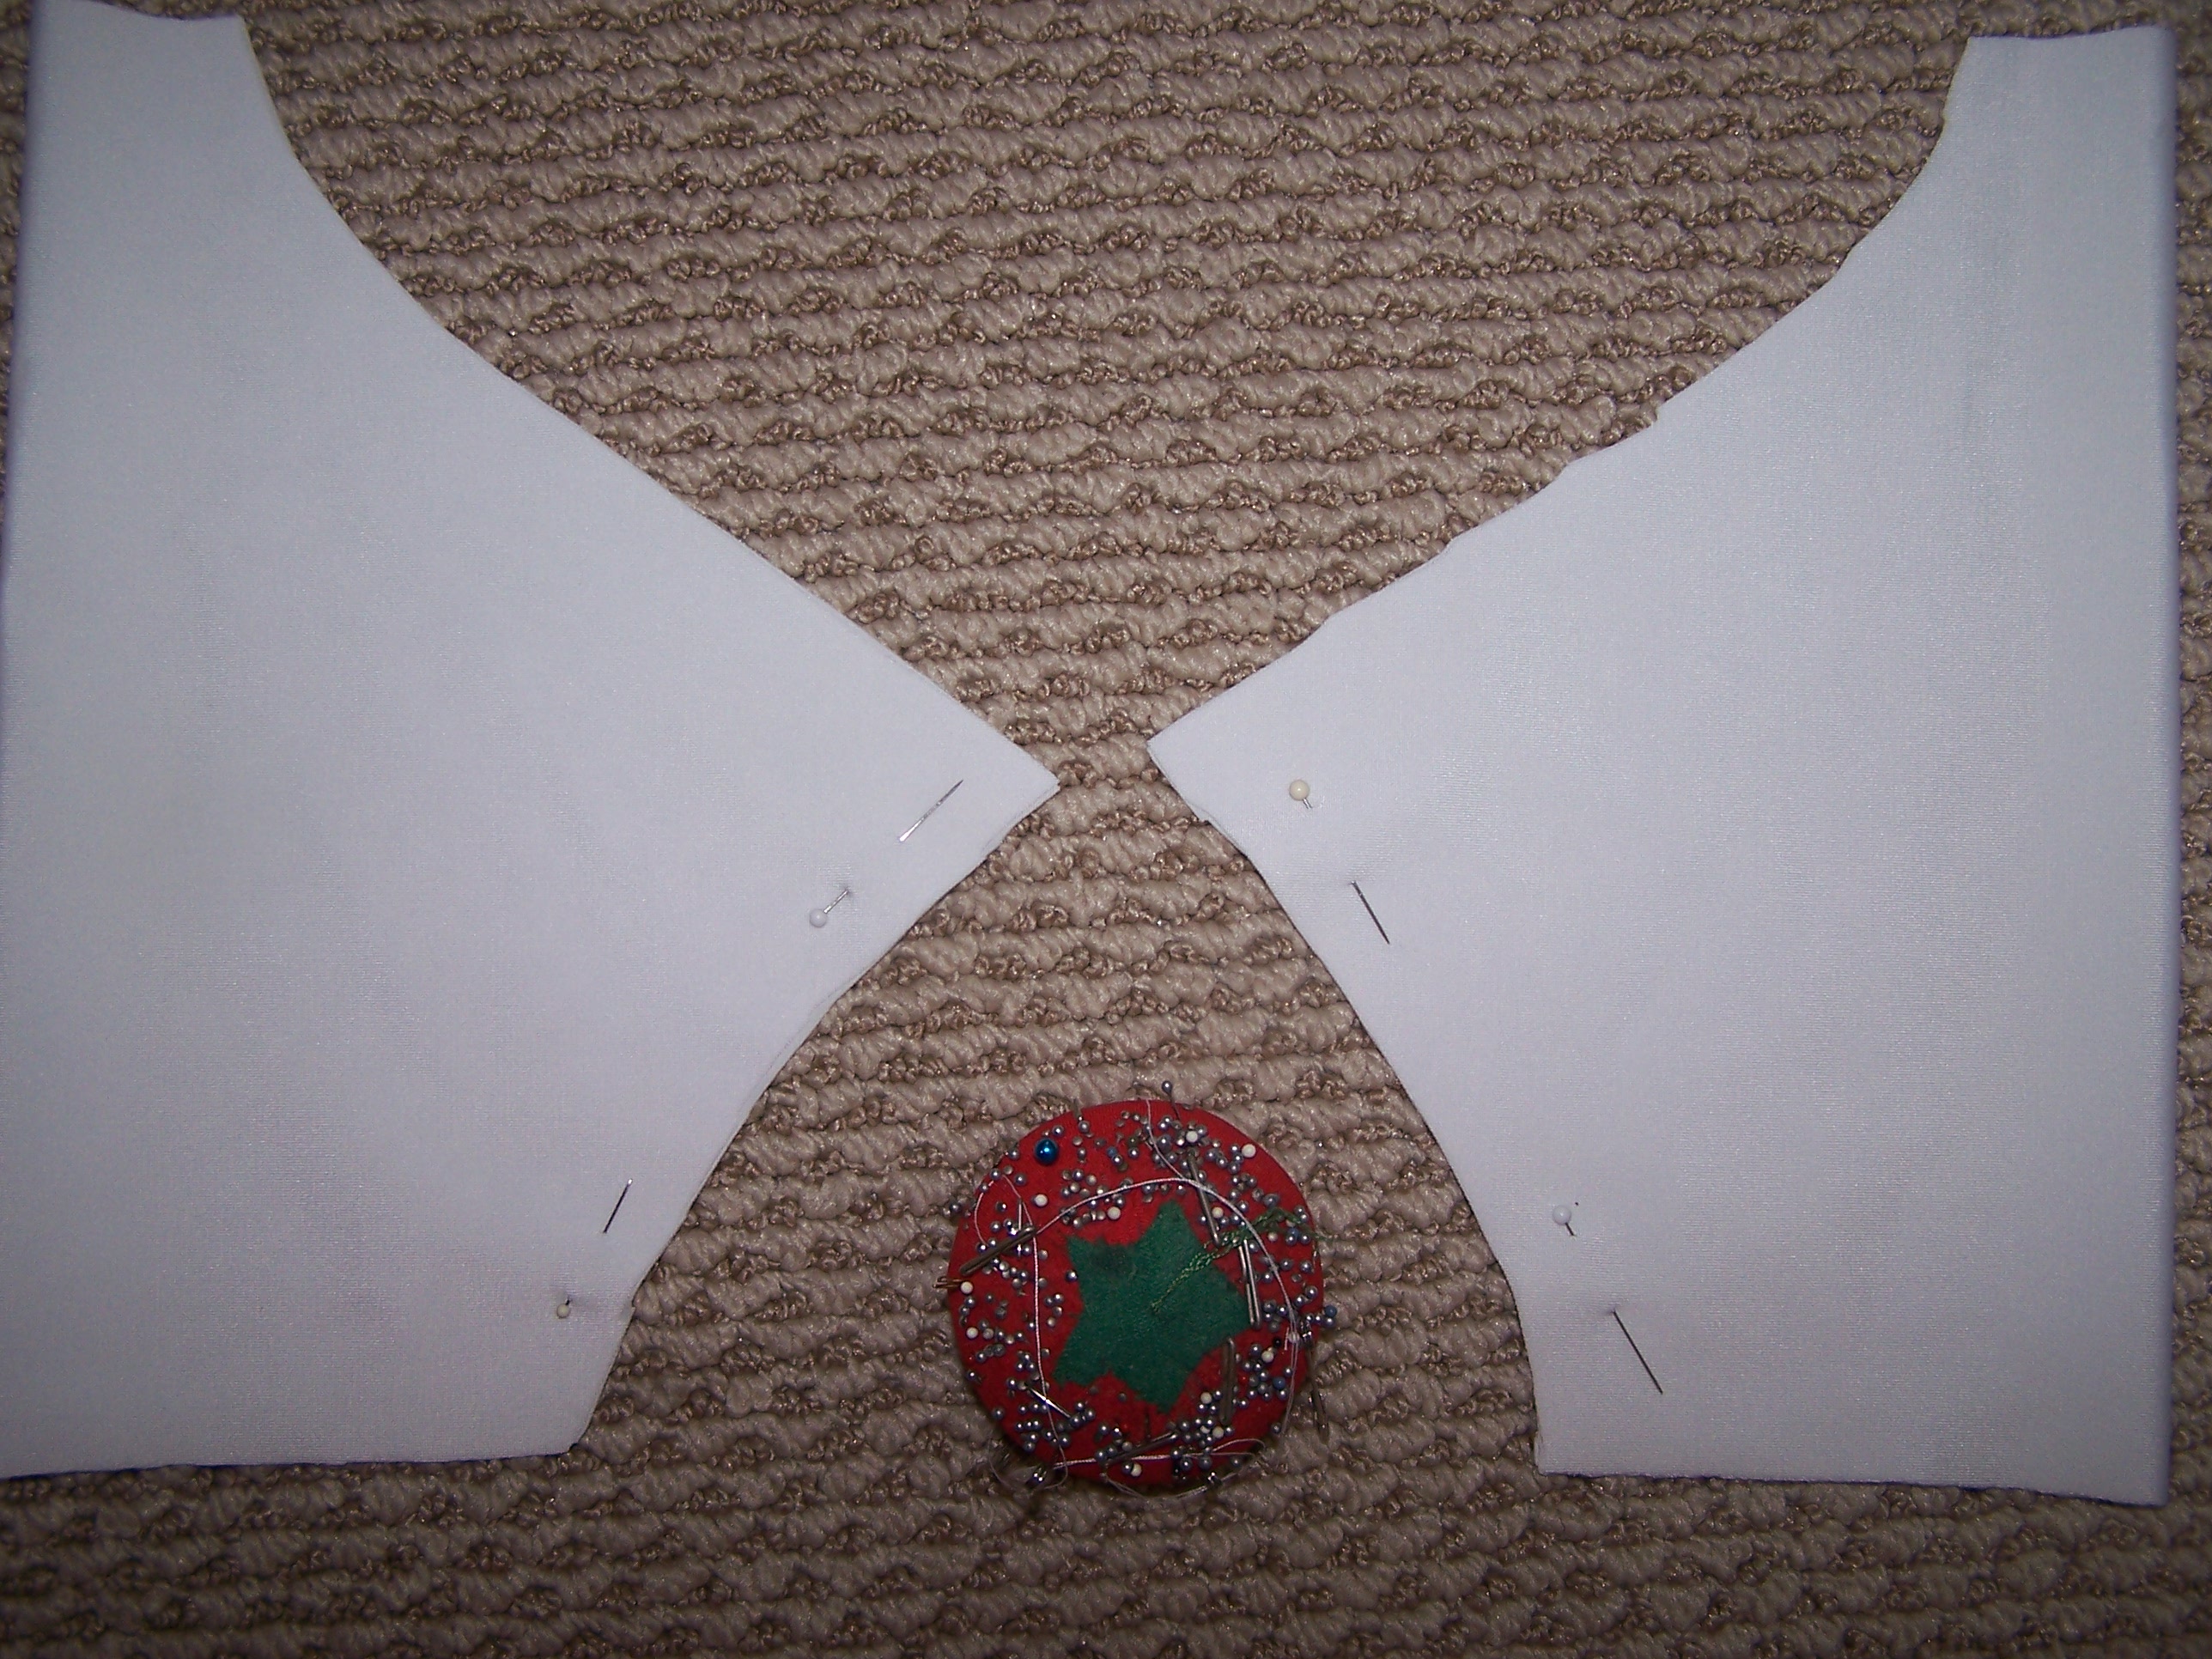
Then it was time to cut into my good material. I’m always nervous – once you start, there’s no going back.
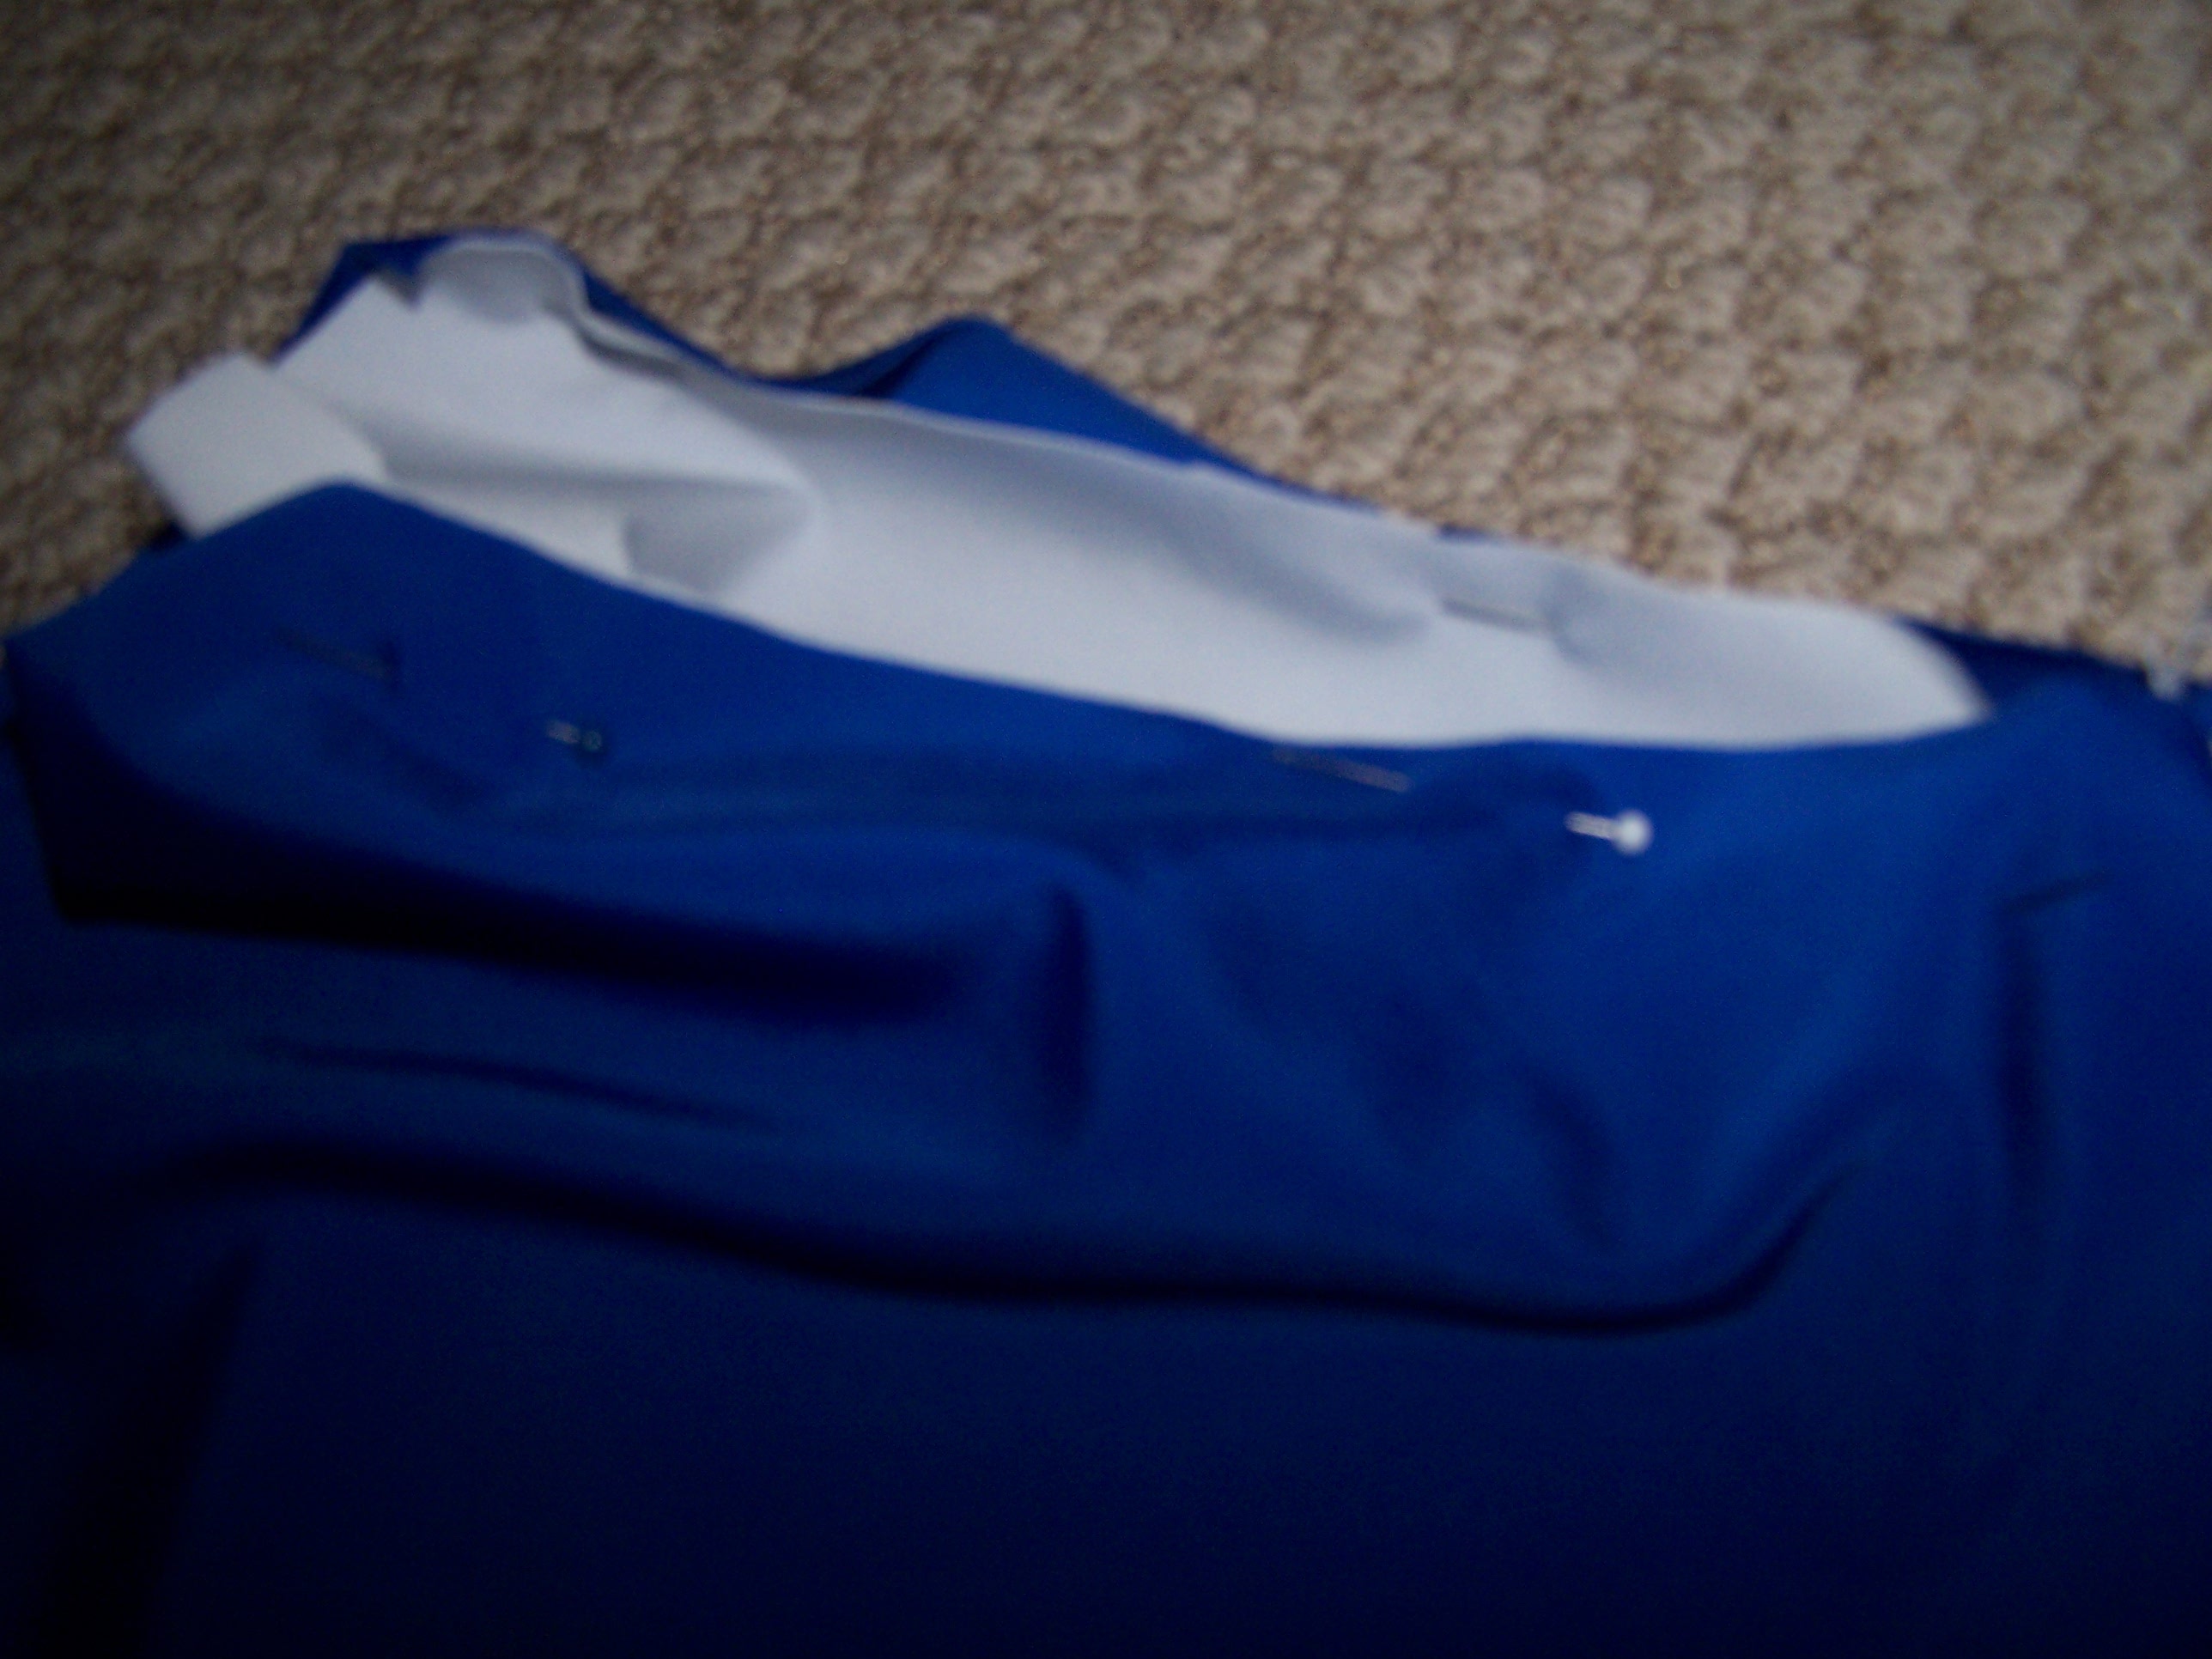
It’s actually a very quick sew-up. Sew the underarm seams.
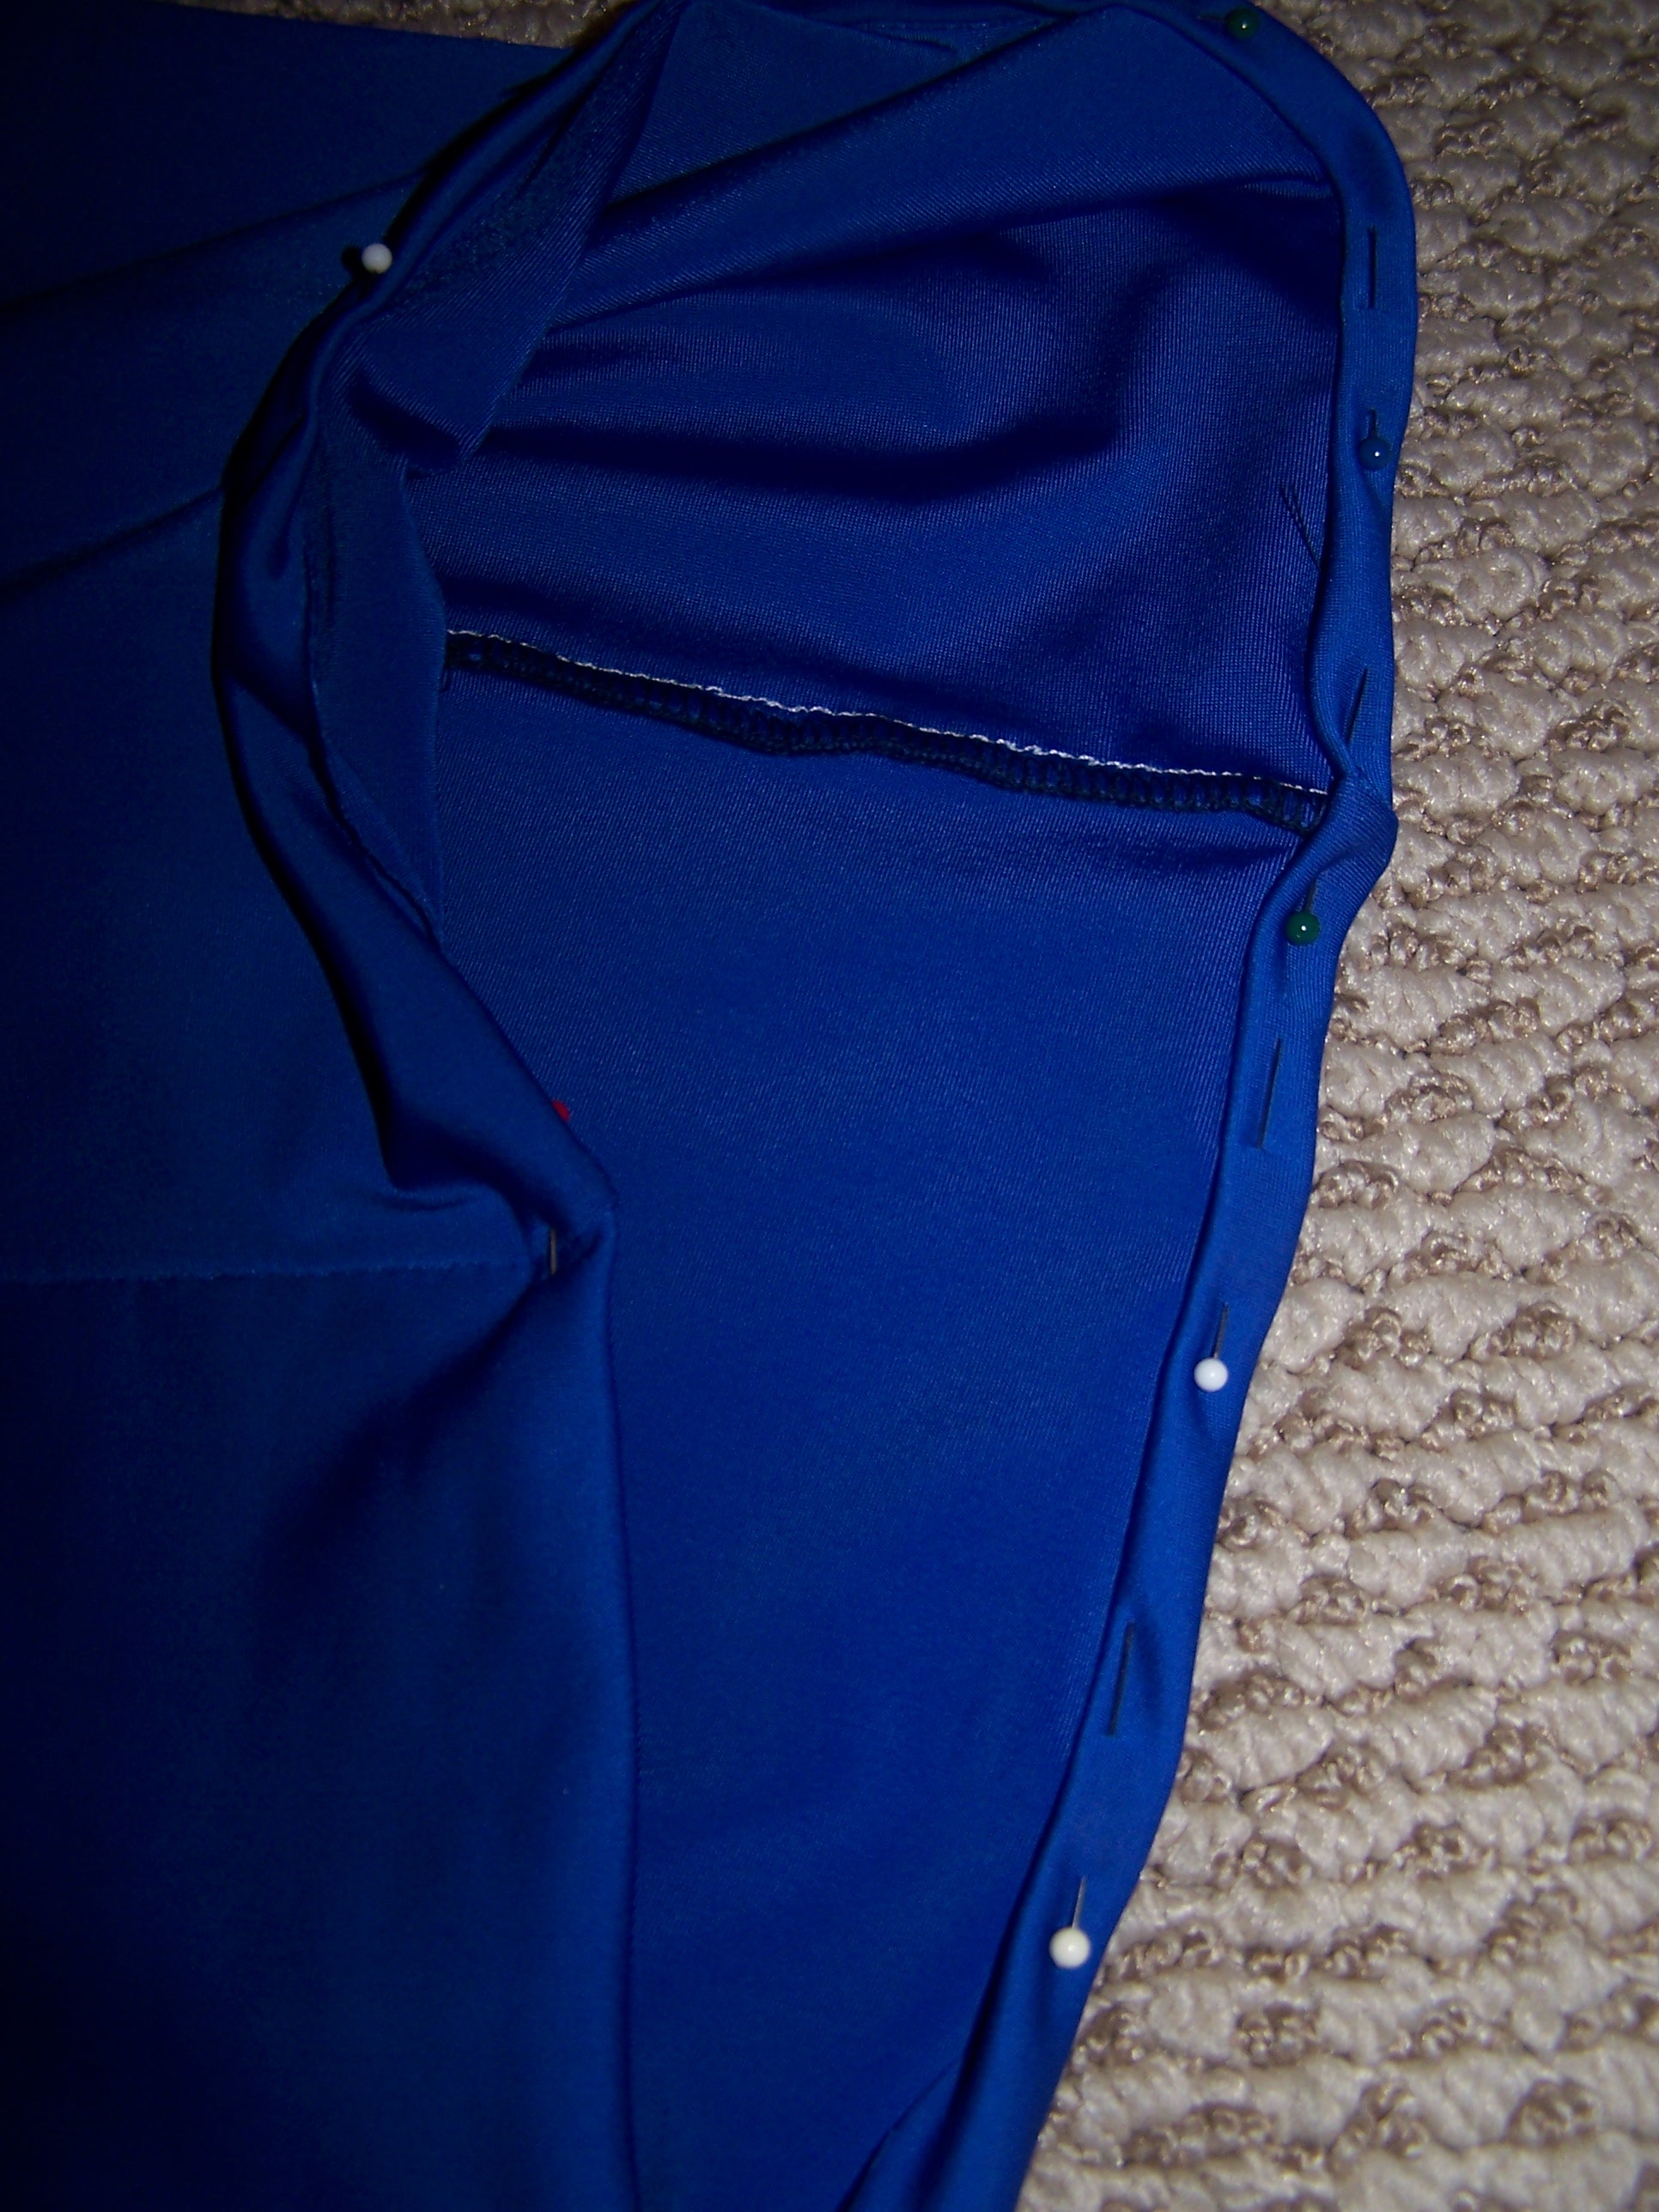
Sew up the side seams.
Pin and sew the sleeves in place.
Hem the bottom.
Hem the sleeves.
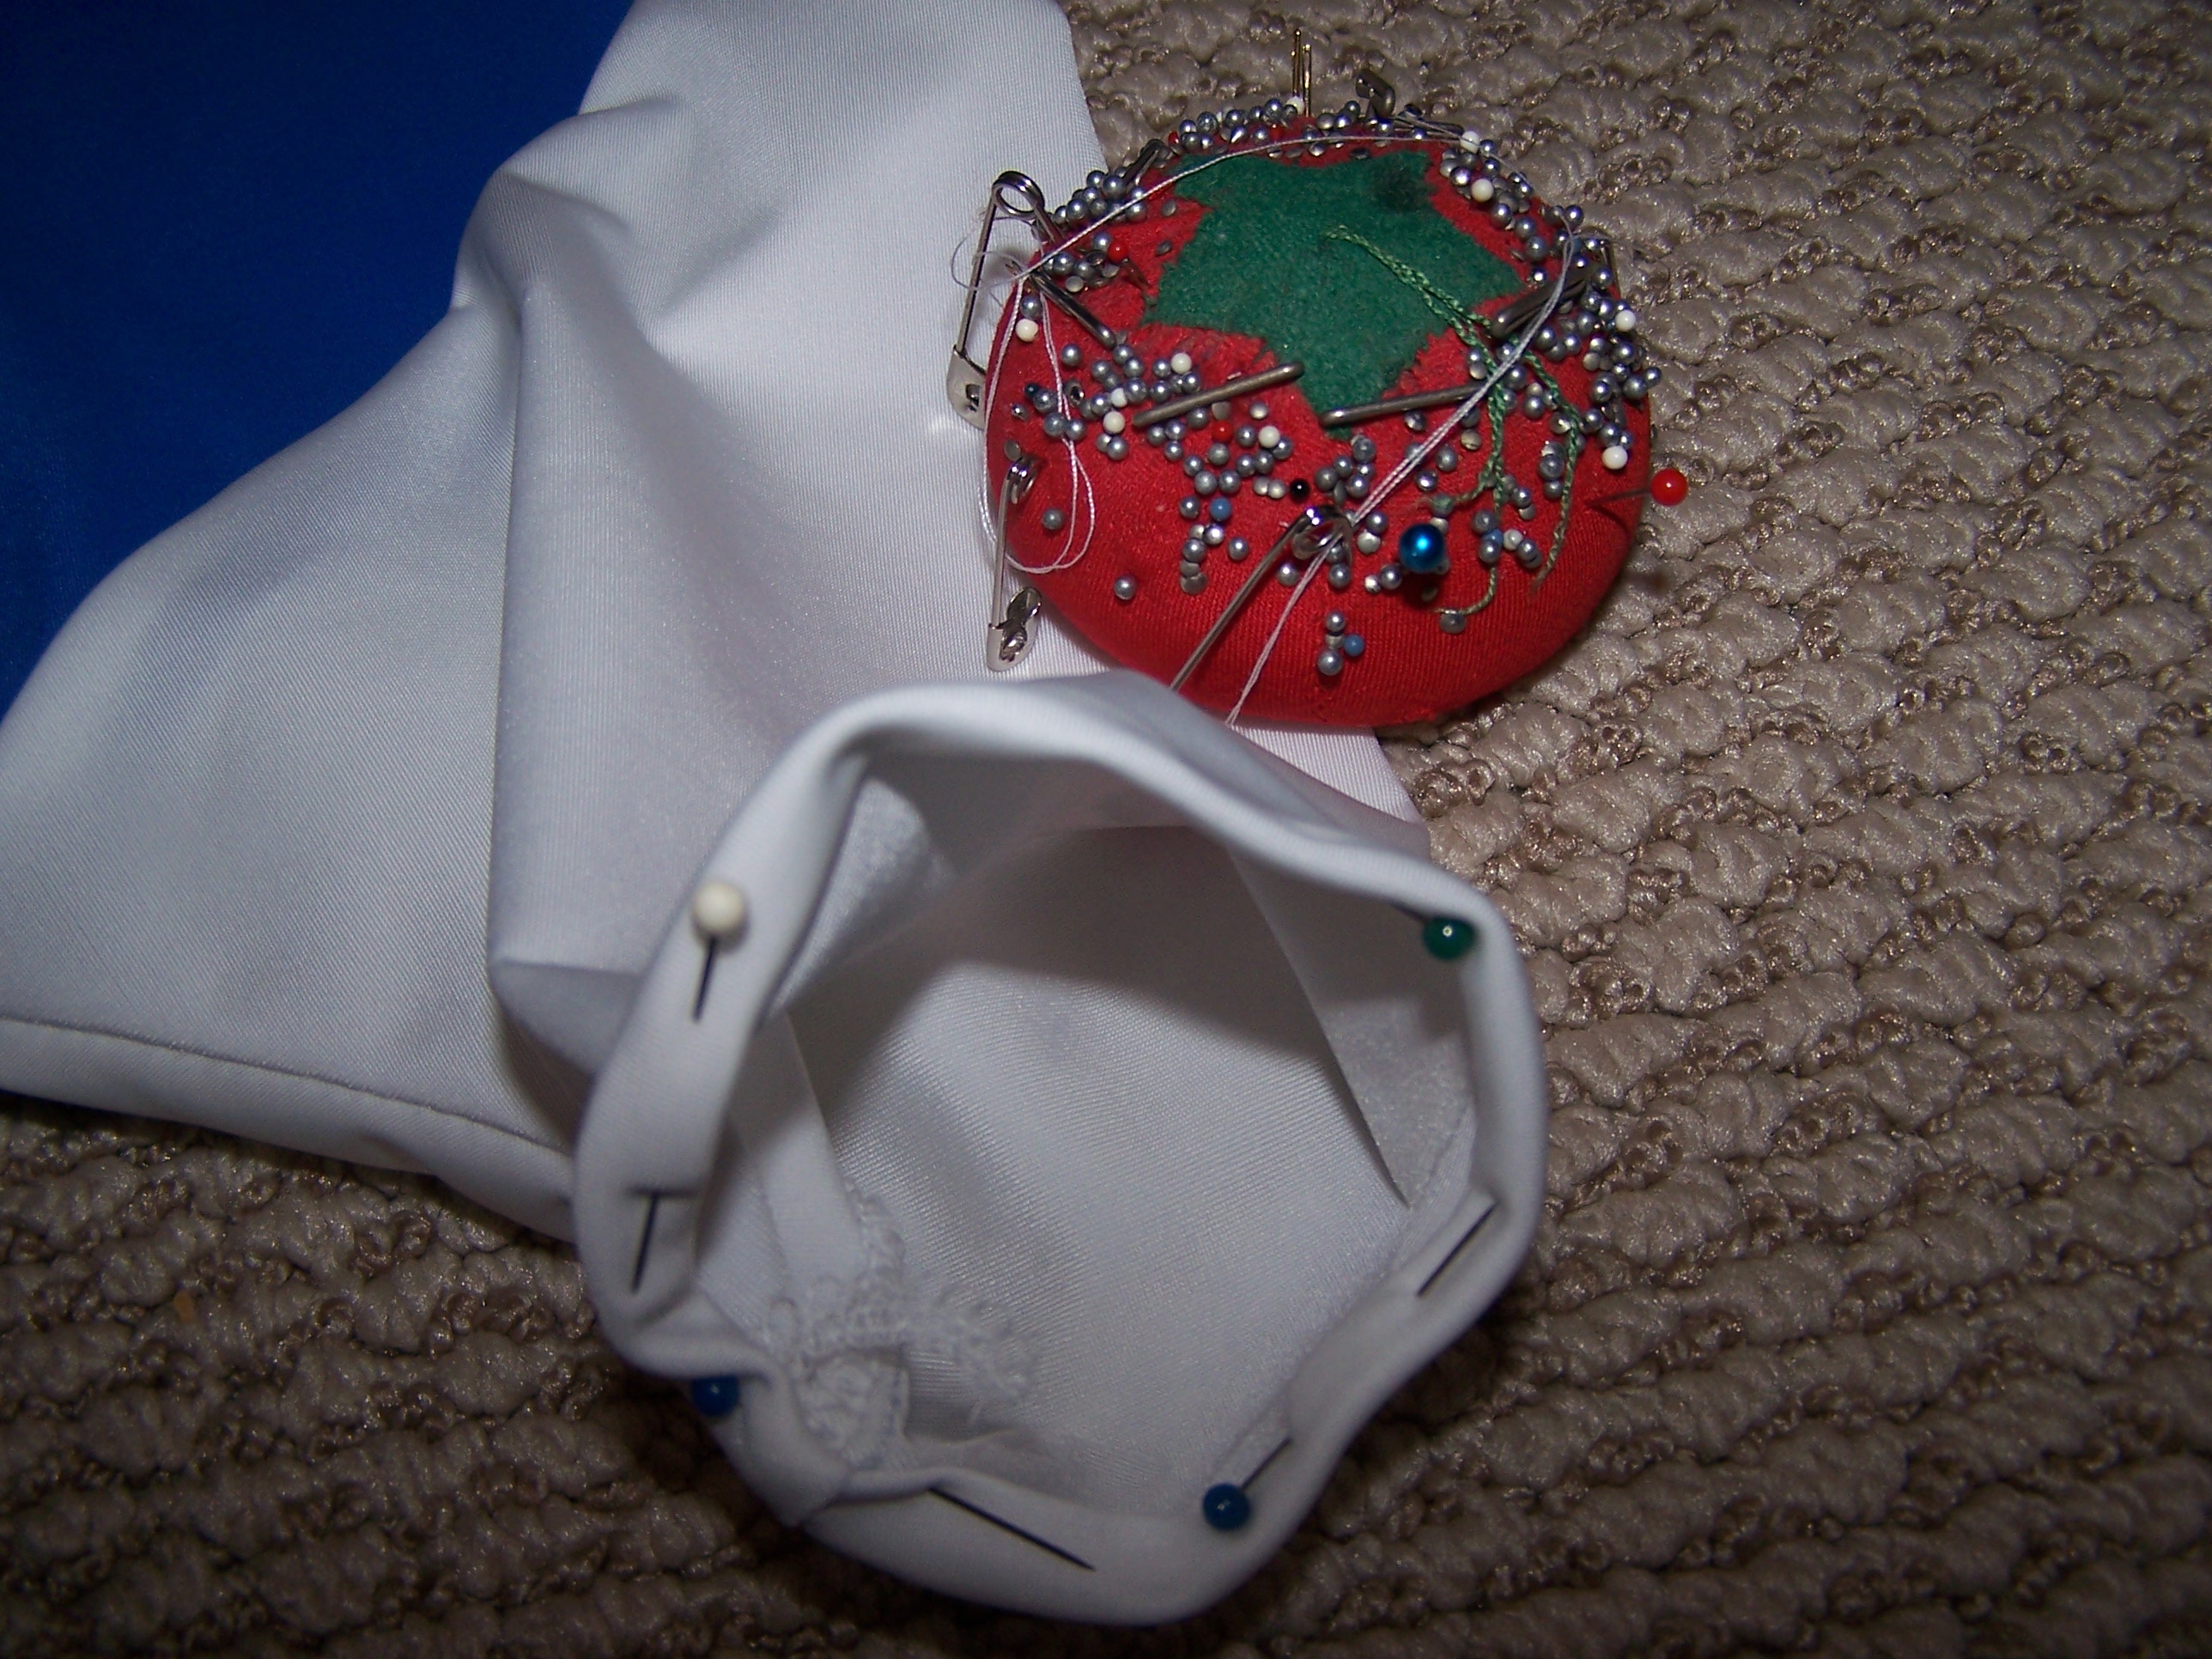
Attach the neck binding and top stitch if desired.

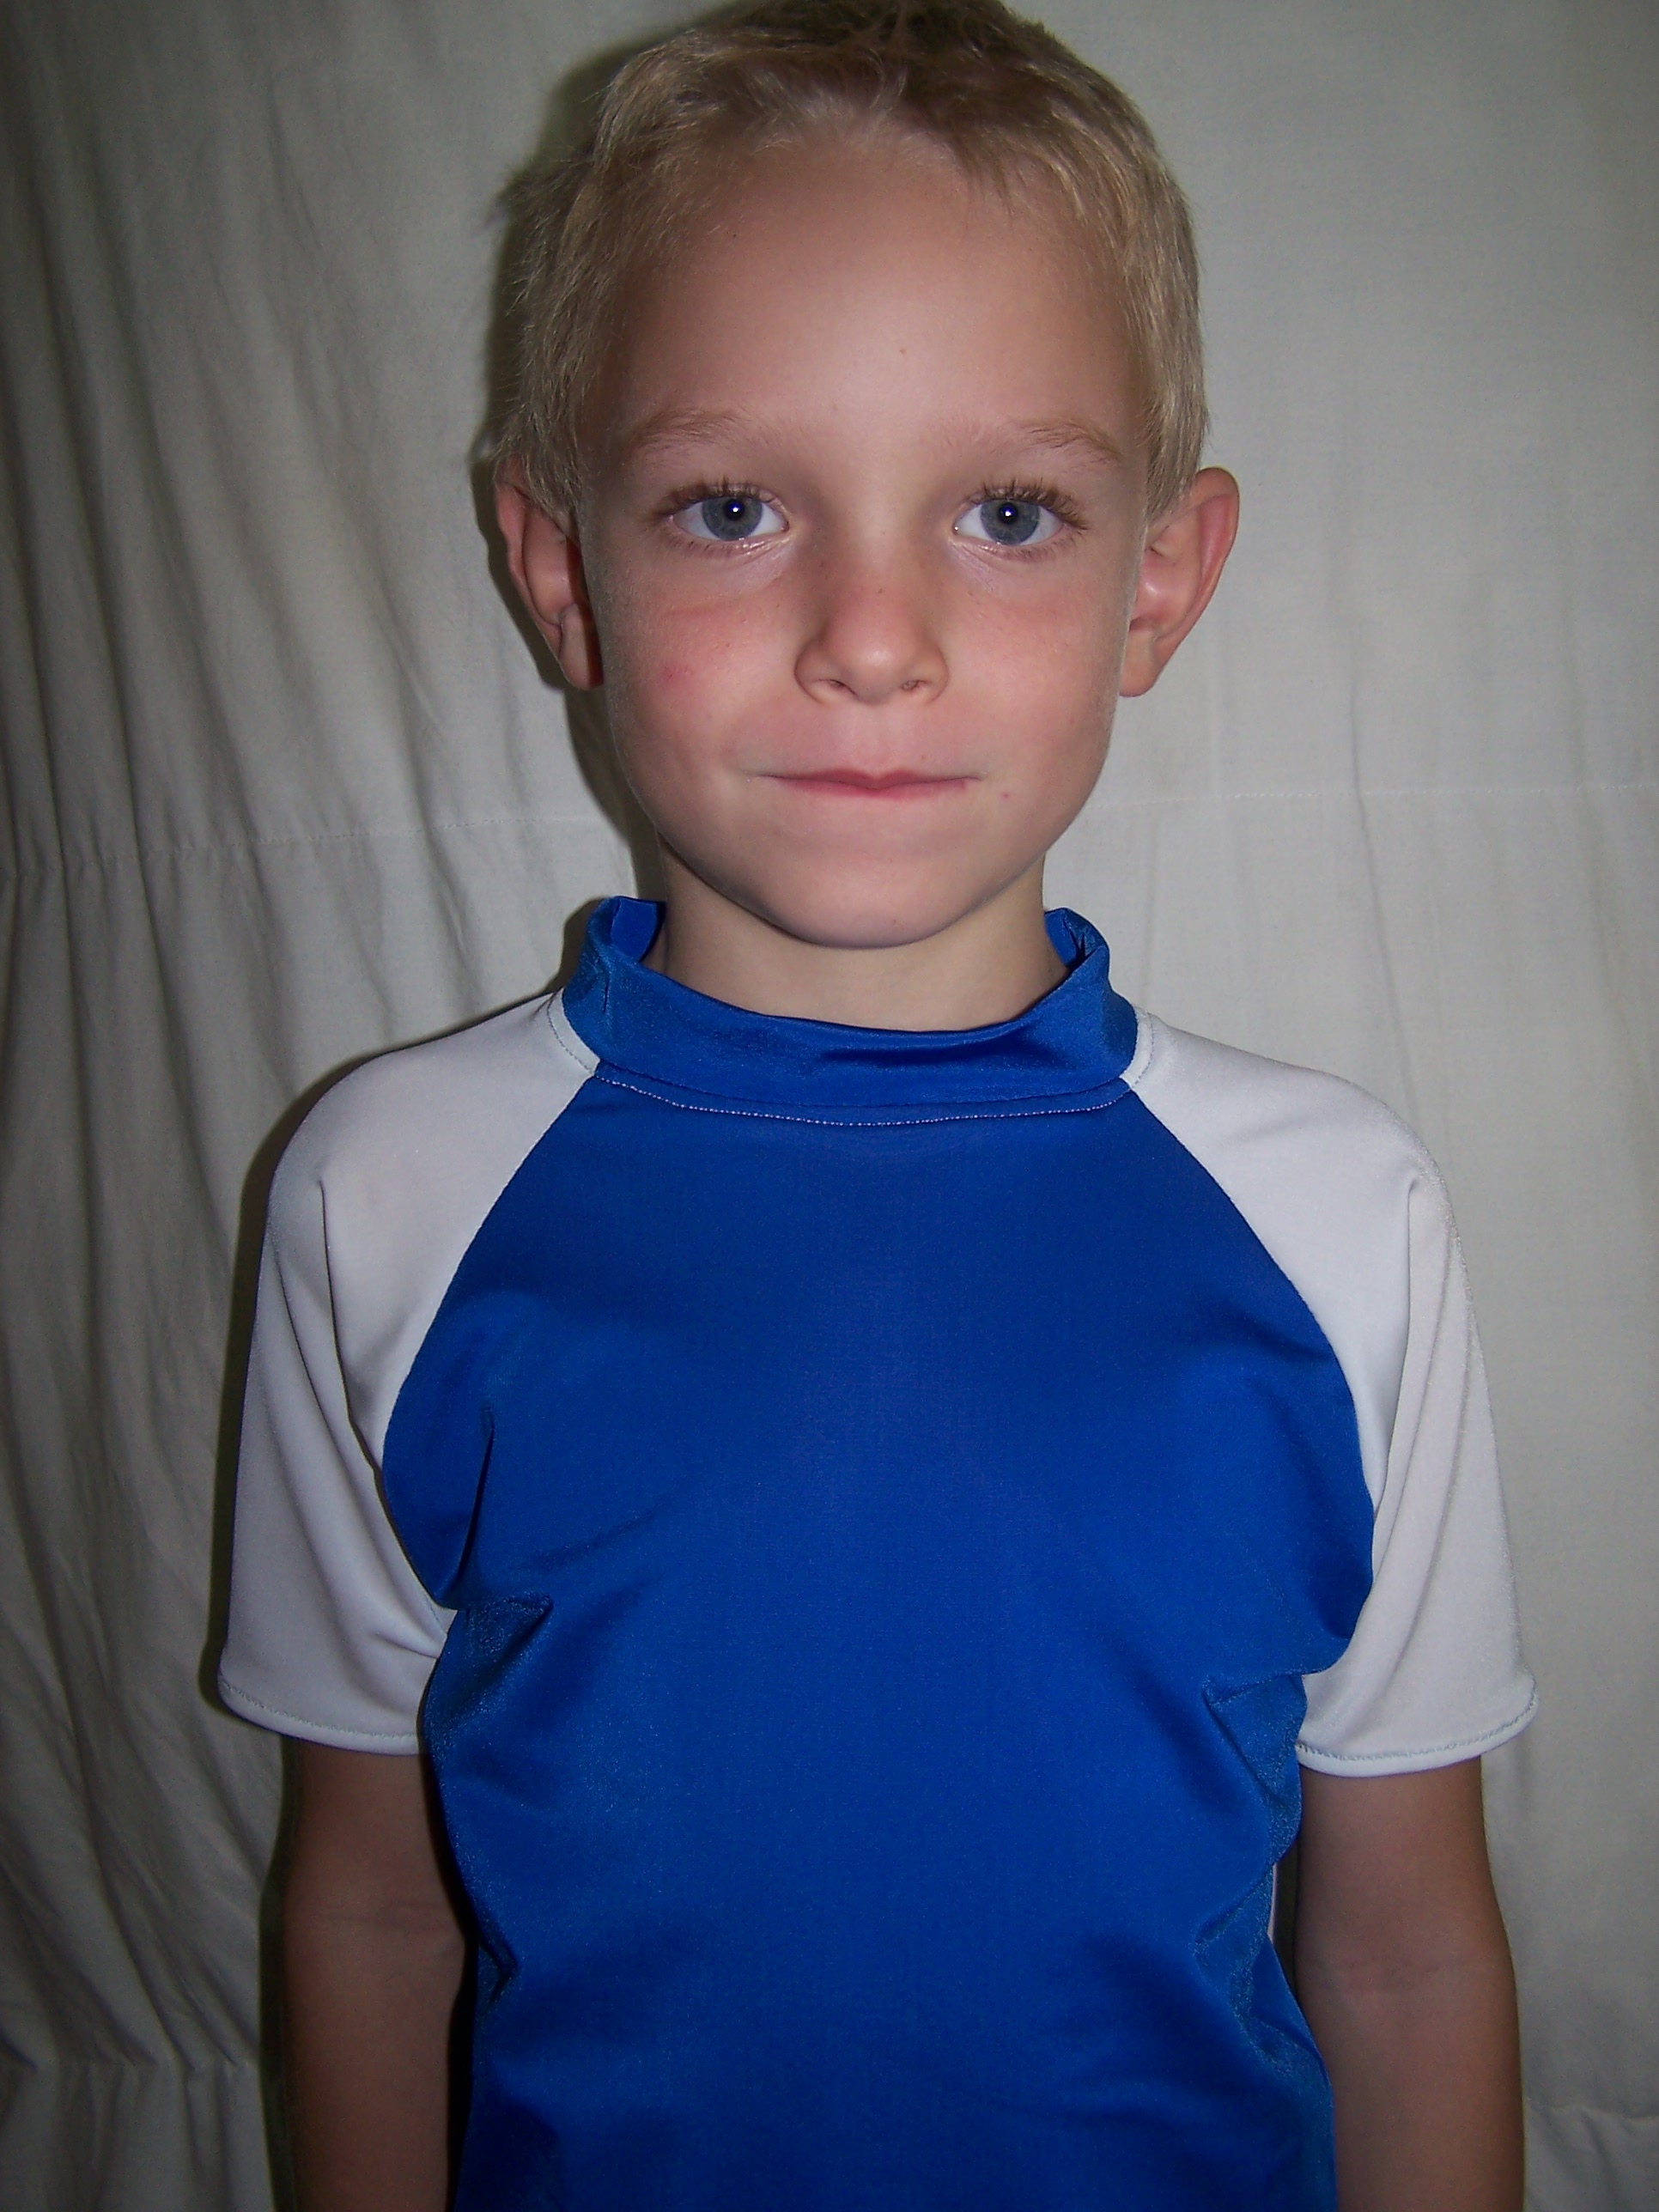
Voila! A finished swim shirt. My little guy was pretty happy – he’s wearing it even though we aren’t going swimming today…or maybe he just doesn’t want to change again.
*This post contains affiliate links. See my disclosure policy for more details.