
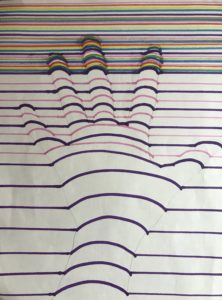
I saw this idea on Pinterest and had to try it. I was surprised at how easy it was and that it really worked! Simply lightly trace your hand and wrist onto a piece of white paper. Pick two or three different colors for your lines. I used markers for mine and think they work better than crayons or colored pencils. Draw a straight line until you get to your tracing, then make a curved line. It’s easy when you start, but when you get to your fingers, be careful that you make your curved line just in the fingers and a straight line between them.
I started by drawing straight lines with a ruler. I space them out a bit. Then I connect them with a curved line. Then I use another color and draw straight lines in between the first set. Connect them with a curved line too. If I want a super neat look, I use a ruler for the whole thing.
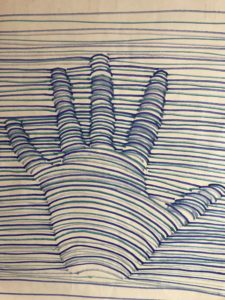
You don’t have to use a lot of colors. It works just as well with only 3 or 4. As long as your lines are semi-straight, it will work.
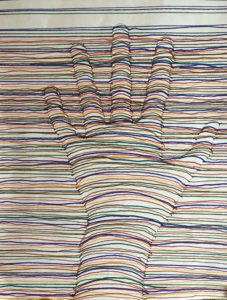
Using a rainbow of colors will work well too!
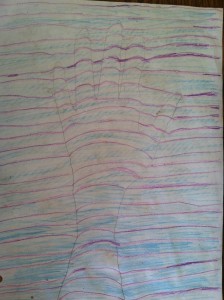
I don’t think the colored pencils and crayons worked as well.
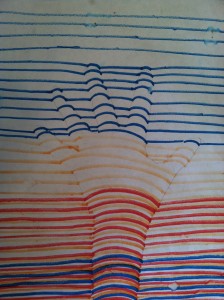
Even with just a few lines, the hand starts to pop off the page.
As soon as you get lines up the whole hand, you can really see the hand popping off the page! I tried this with the art class I teach and it worked well for the older kids (say 10+). Younger kids aren’t as careful about the straight and curved lines and don’t have the patience to do the whole hand.
Leave a Reply