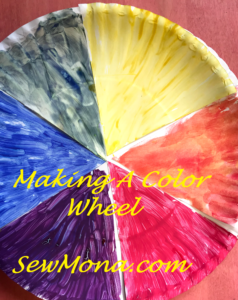
Part of my “real job” is teaching art to K-8th grade. We started off the year with a simple color wheel – not much creativity required, but they seemed to enjoy the finger painting. All you need are some tempera paints (preferably washable!), glue, paper plates, some wet paper towels (for cleaning fingers between colors), and a piece of foil.

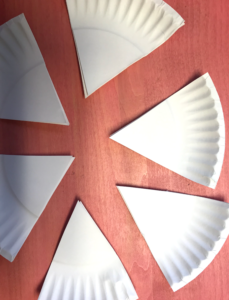
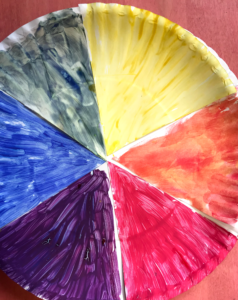
For each kid, you will need two paper plates. Cut one of them into six pieces. The other one will be for assembling the color wheel.
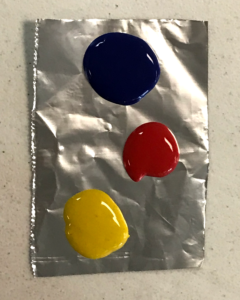
For the younger kids (K-2), I made it super easy for them. I put the required paint on each piece – red, blue, yellow, and then red/yellow, red/blue, and blue/yellow. All they had to do was spread the paint for the primary colors and mix the paint right on the piece for the secondary colors. For grades 3-5, I put the paint on a piece of foil so they had to do all the work. I did have to explain that they couldn’t get the colors mixed on the foil – they needed to keep the colors pure and mix them on the pieces.
As they painted the pieces, I explained how the primary colors mix to make the secondary colors and showed them how to put them in order on their color wheel.
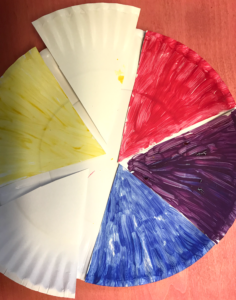
After the pieces dry, glue them to the other plate.
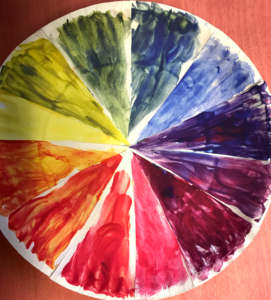
To make this a little more challenging for the 6-8 graders, I cut the plates into 12 pieces. After they painted the primary and secondary colors, I had them mix a primary with a secondary – so mix red with orange to make red-orange, mix yellow with orange to make yellow-orange, mix blue with purple to make blue-purple, etc (blue-green, red-purple, and yellow-green). These colors are called intermediate colors or tertiary colors. They may need some help getting them all arranged on the paper plate. I tried to make sure they placed each piece as they painted it. It can be hard to tell the secondary and tertiary colors apart.
This lesson is based on the Rainbow Pie lesson.
Leave a Reply