SewMona

A slice of my Florida life

  • Sewing
    • SewMona on Etsy
    • Clothes
      • Boys
      • Girls
      • Men
      • Women
    • Pattern Reviews
    • How to Sew
  • Camping
    • Florida Campgrounds
  • Recipes
  • Crafts
  • DIY
  • About

Kayaking Adventures – John Pennekamp and Indian Key

*This post contains affiliate links.
Paddling towards Indian Key

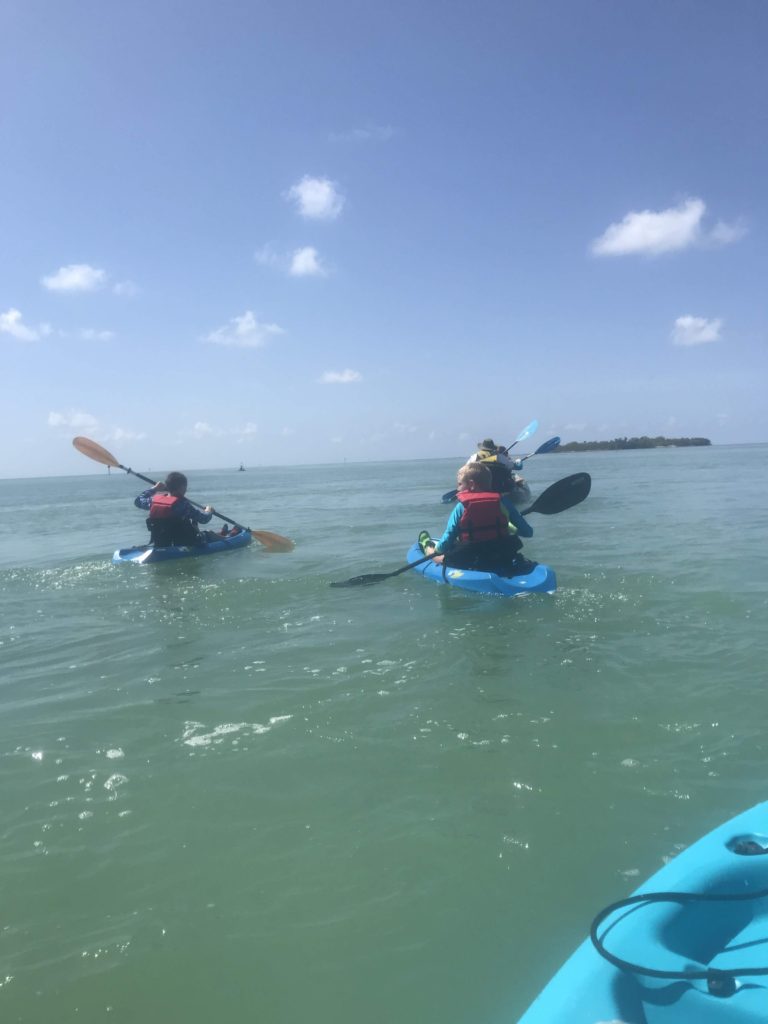
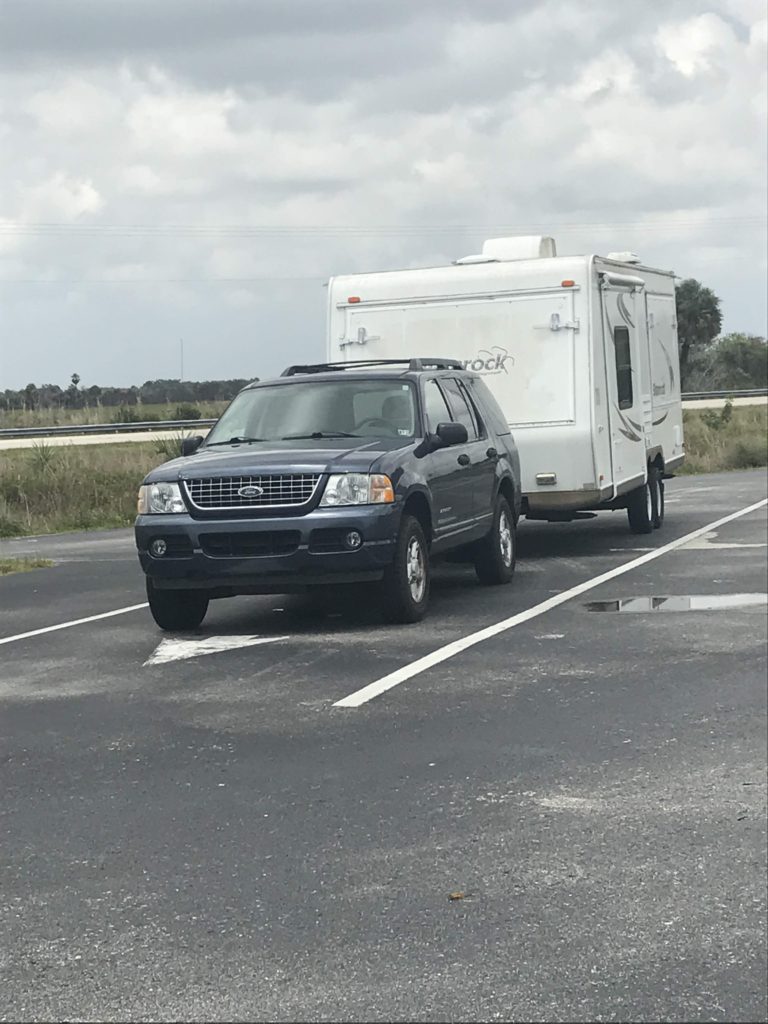
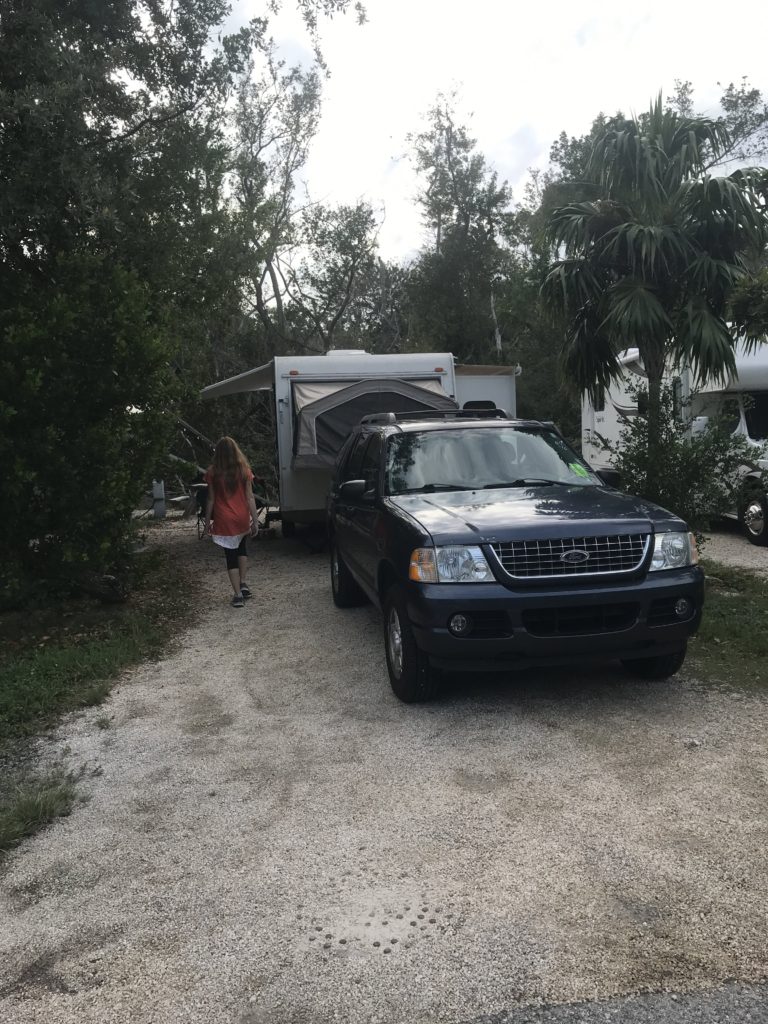
One of the things we’ve recently started doing (recent being in the last two years or so), is kayaking. We figured out how to take them with us in the camper. Because our camper has beds that fold out, we are able to slide the kayaks in from one end and they fit in the open space. We also put the two smaller kayaks in the very back of the camper standing up (bungeed in place).

Kayaks in camper

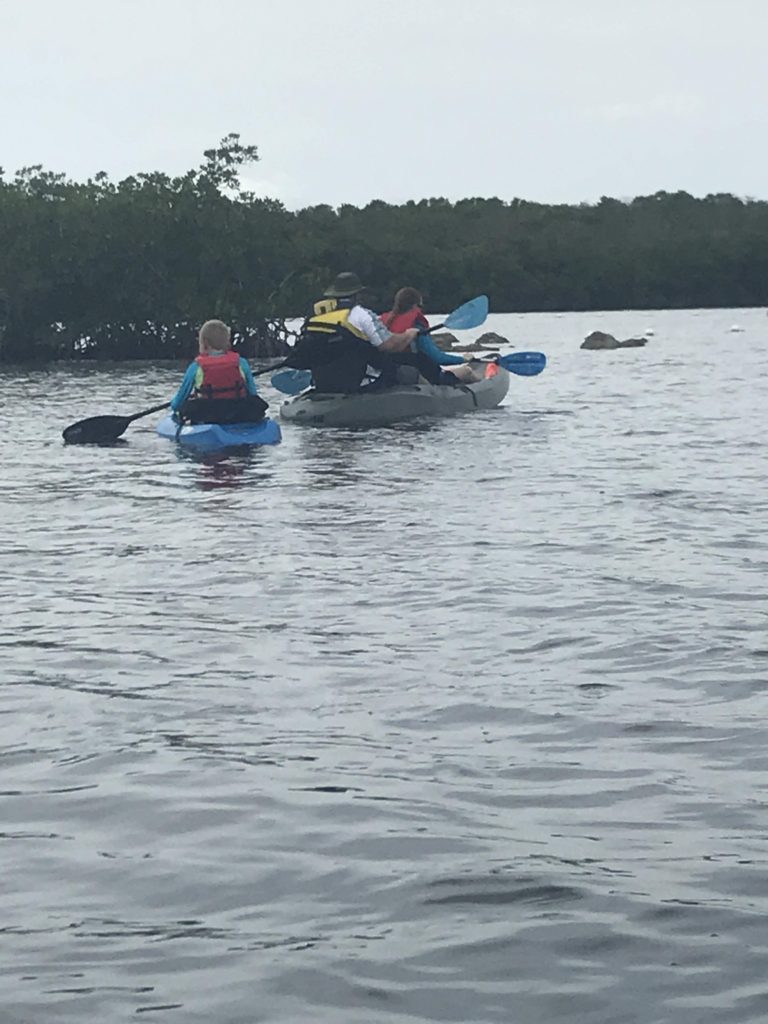
Our big green kayak is a three person kayak, but we normally only put two in it. Three’s definitely a crowd! I have my own one person kayak so I normally carry all the stuff (water, snacks, etc). We bought both of them used.

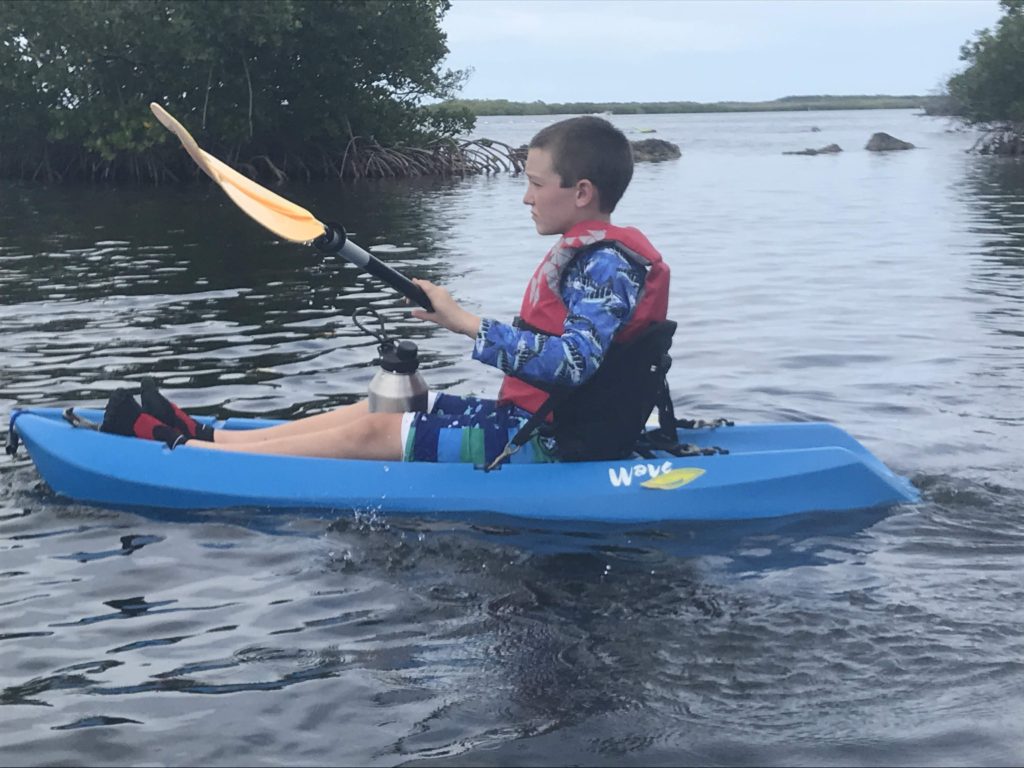
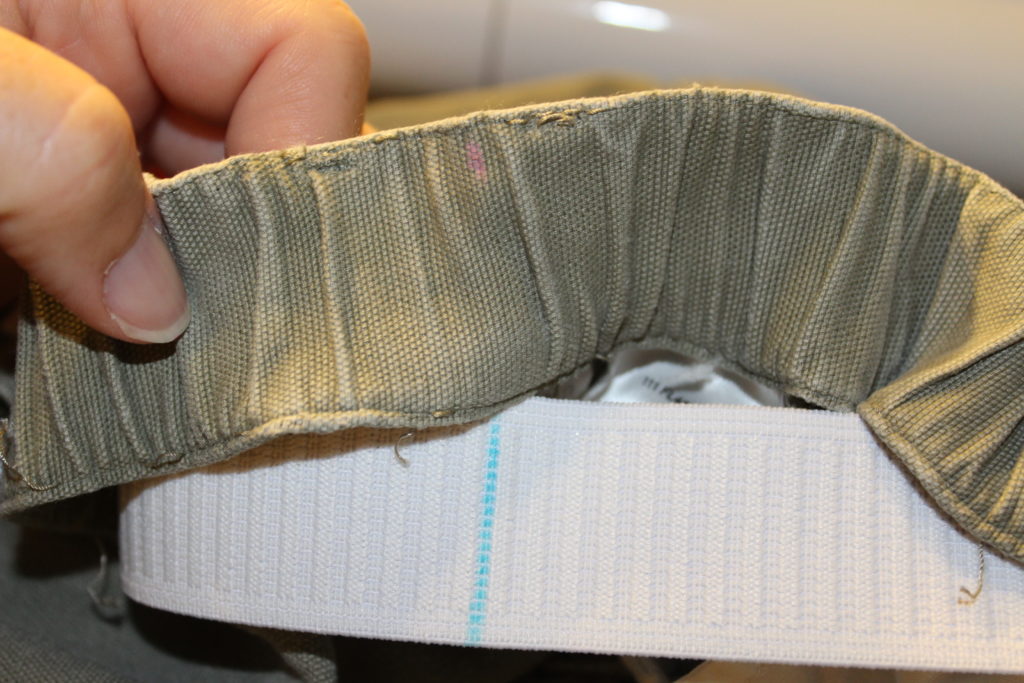
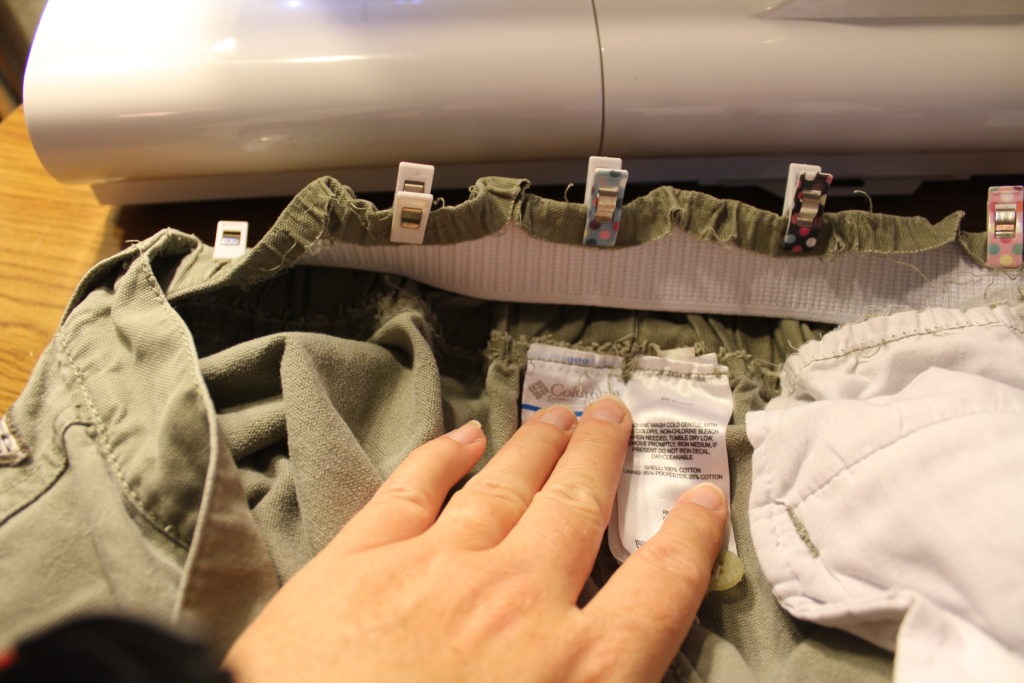
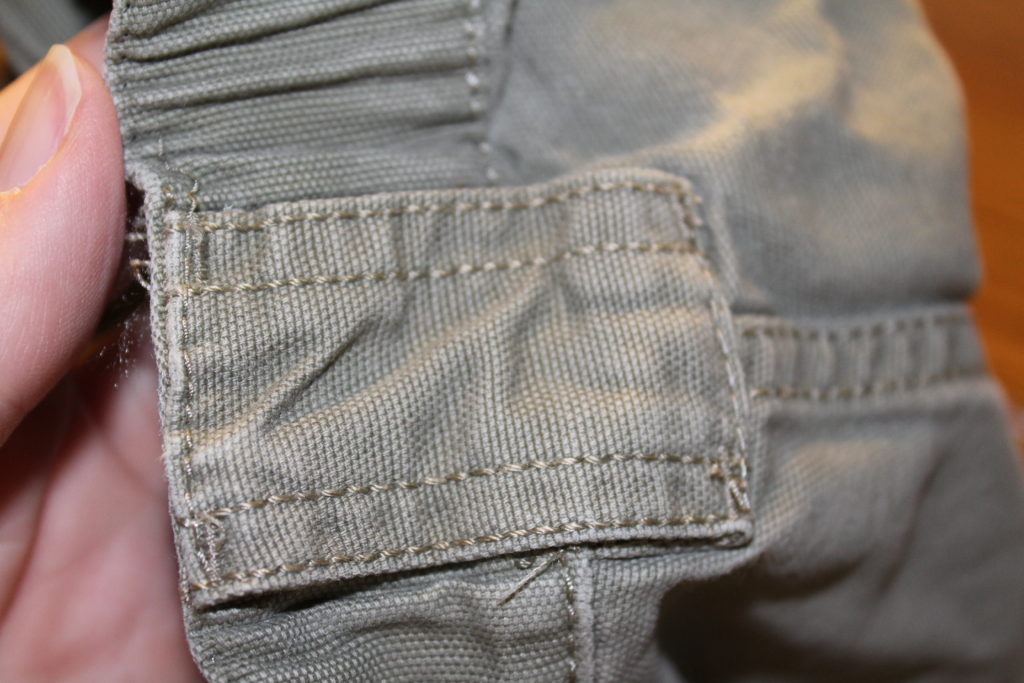
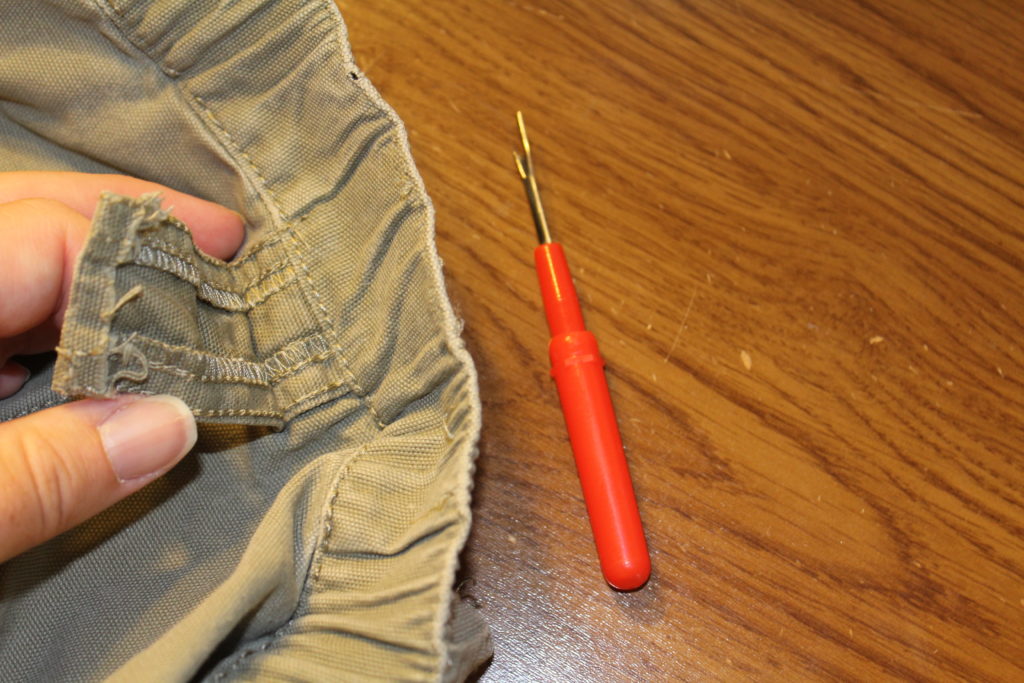
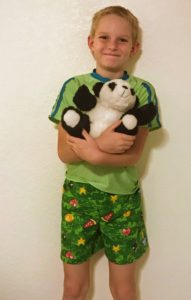
We have two of these 6 foot kayaks (which we bought new) that are perfect for our boys. If they get too tired, we loop a rope through the handle at the front and pull them along for a bit. As they’ve gotten more experience, we haven’t had to pull them as much. These little kayaks didn’t have hooks for seats and the boys biggest complaint was the lack of a seat. I found some clips and rivets online and they were super easy to install. The seats were also bought online.

I watched these seats until they went on sale – I paid $27 for them.

These are the loops I bought. Please note that you will need a rivet tool to install these.

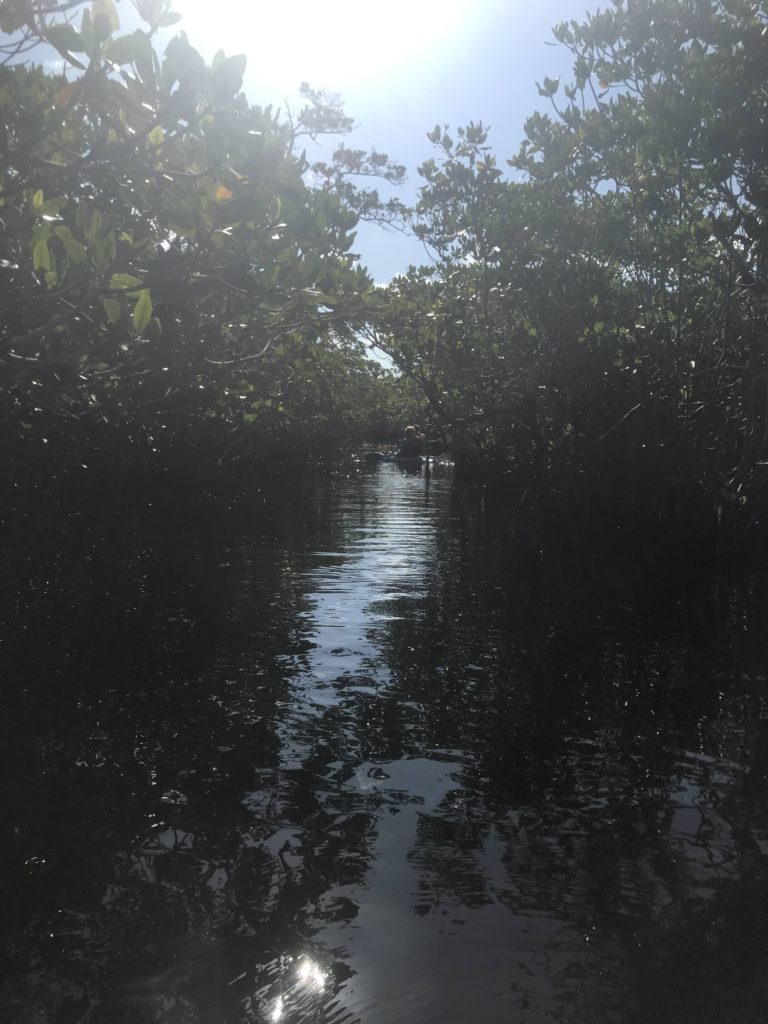
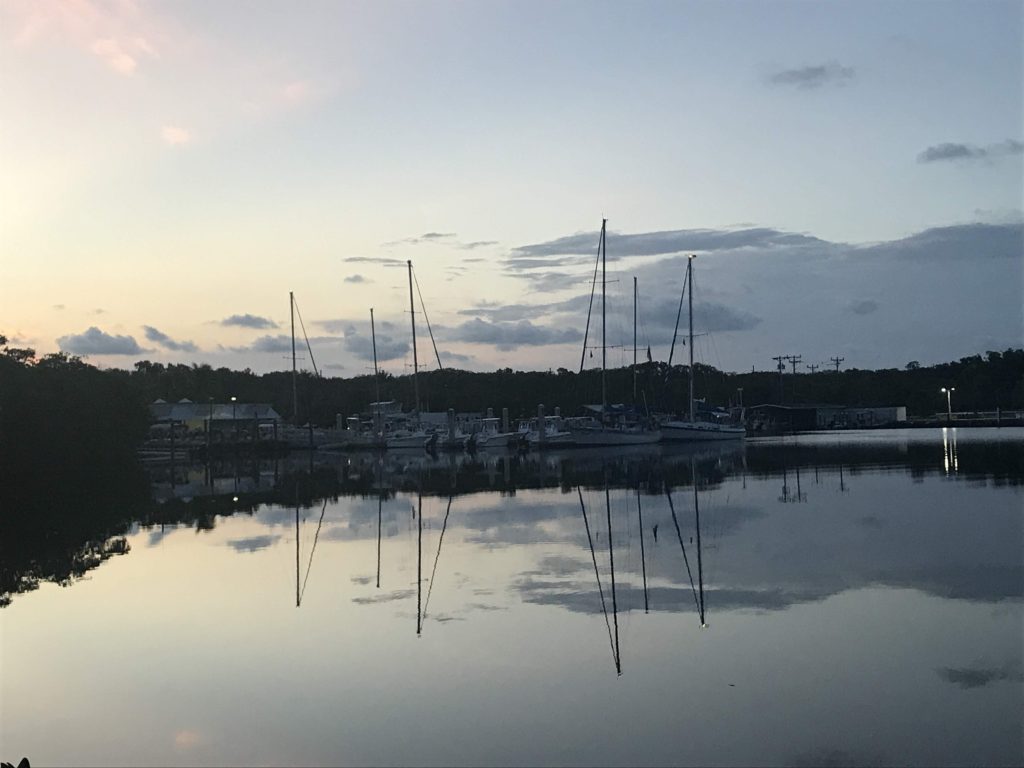
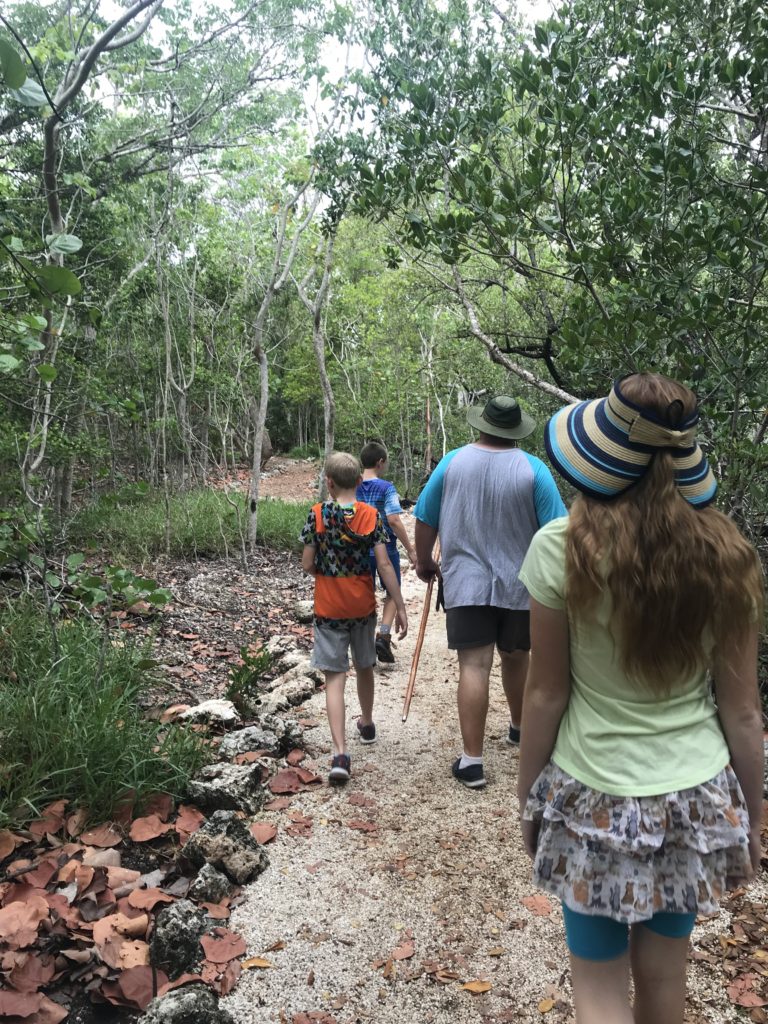
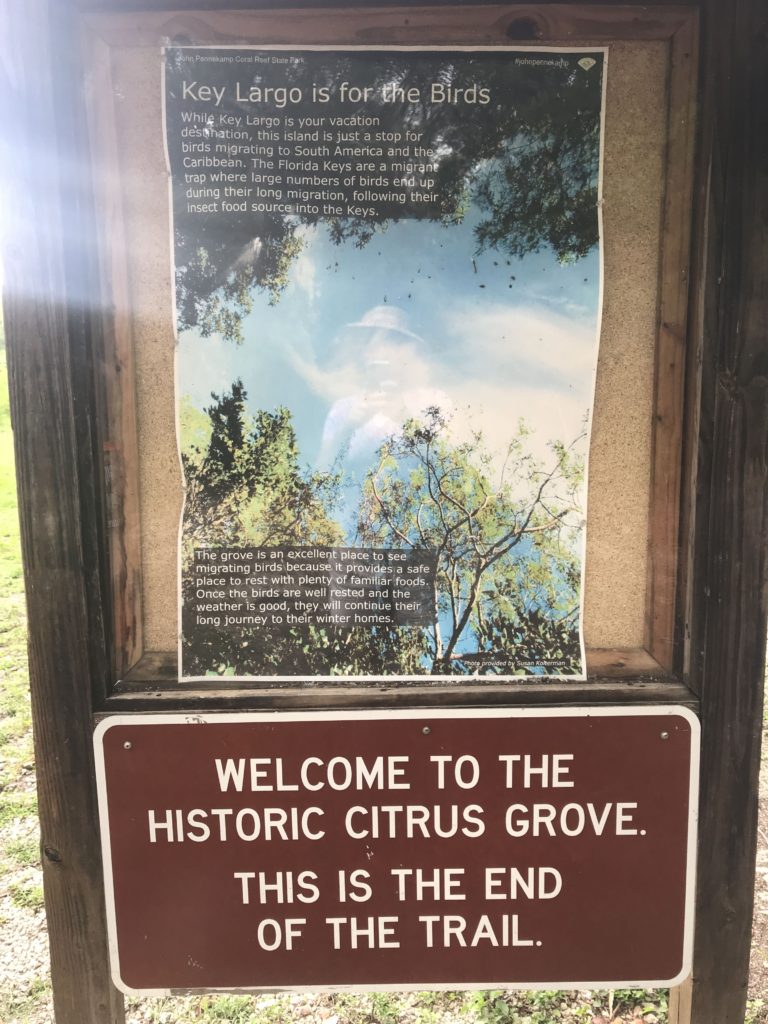
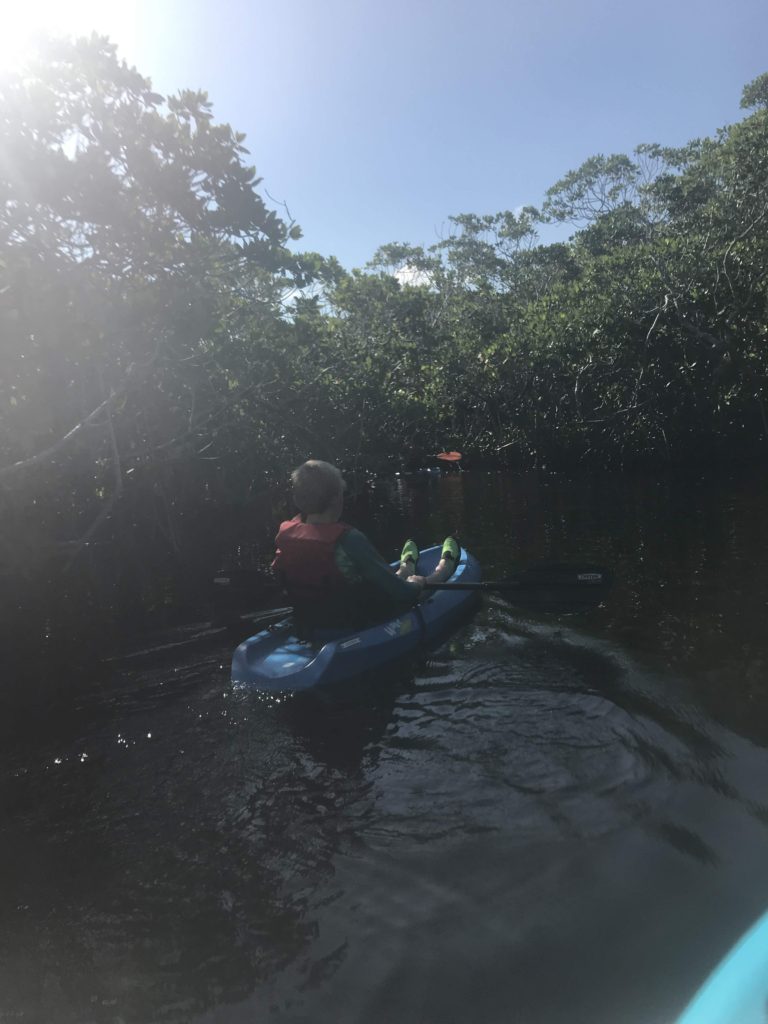
The mangrove tunnels at John Pennekamp were fun to explore although some of them were a bit narrow!

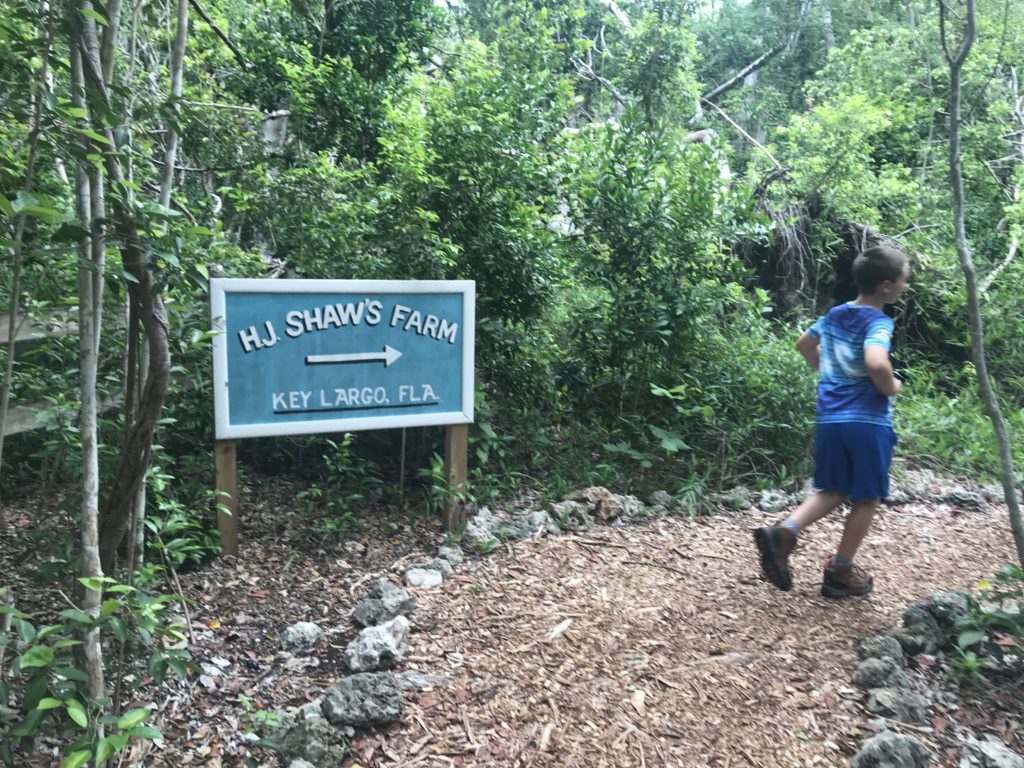
One thing I’m always intrigued by is abandoned/closed things (buildings, trails, towns, whatever) and at John Pennekamp there’s a trail that’s been closed for several years. It’s called the Mangrove trail and you can only walk a couple steps down the boardwalk before you’re met with a gate and a sign that says it’s closed. The written literature says that it’s closed while they repair it, but we asked a park ranger once and it seems that it’s permanently closed. Of course that just adds to my curiosity. I’m not willing to ignore signs and do anything illegal, but I was very curious as to why it was closed.

End of Magrove Trail

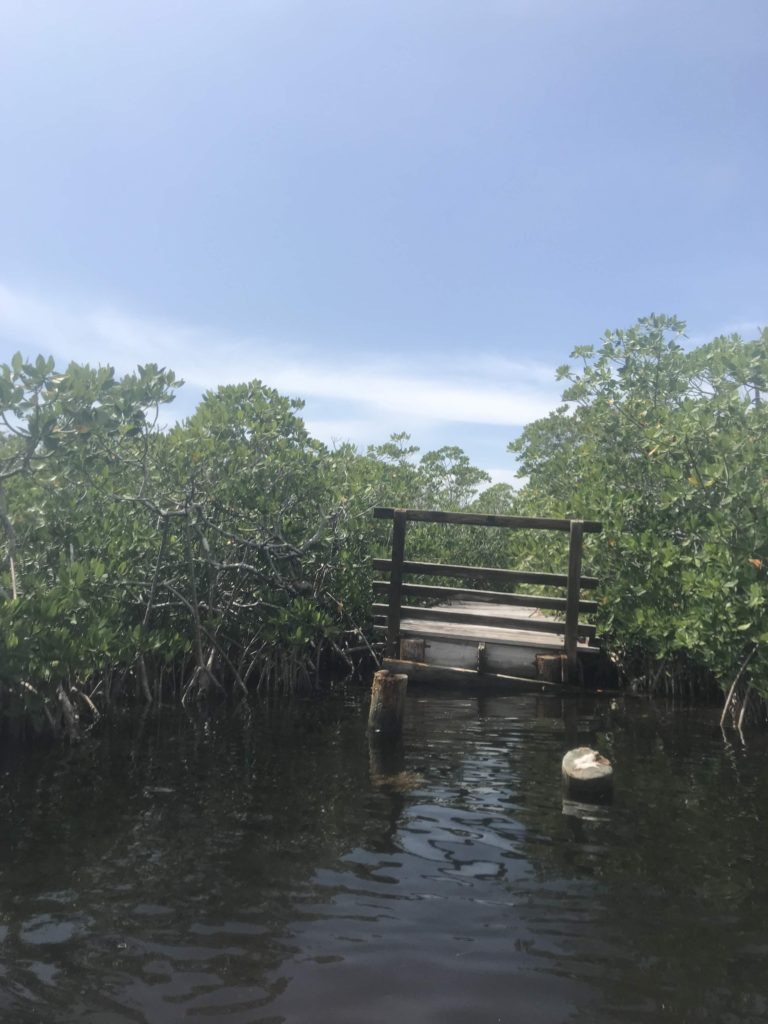
On our kayaking travels around the park, we checked out an area that we thought would take us near the mangrove trail. We found the trail, or what was left of it!

Leftover Mangrove Trail

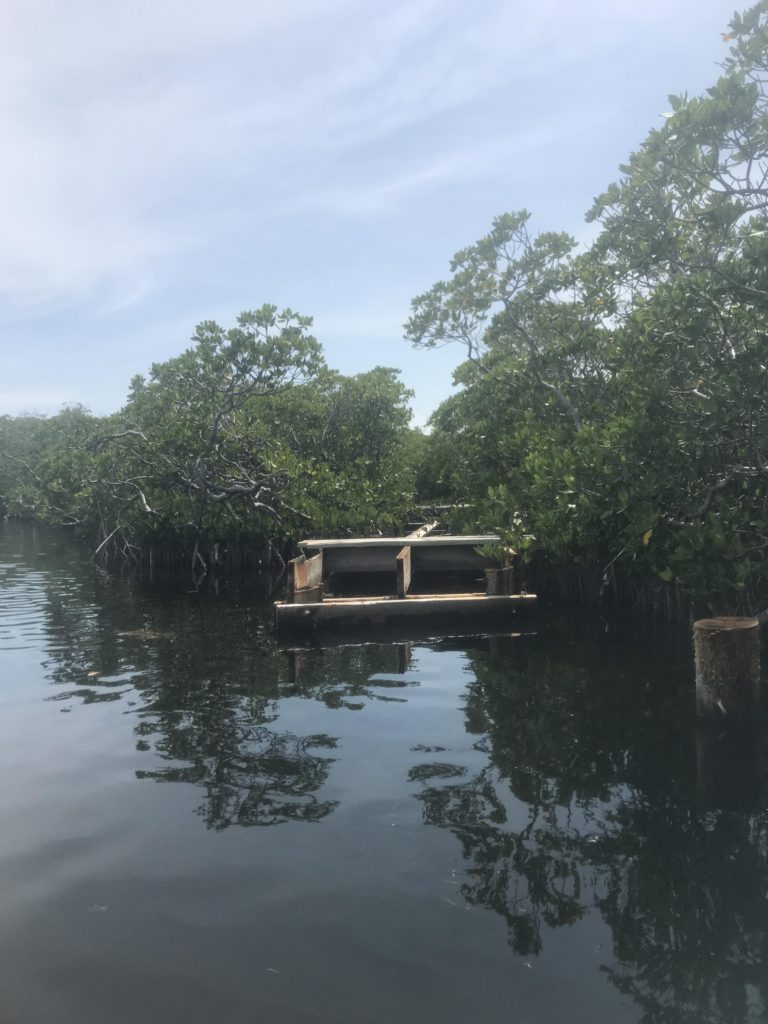
It was pretty clear why the trail was closed!

Mangrove Trail Lookout

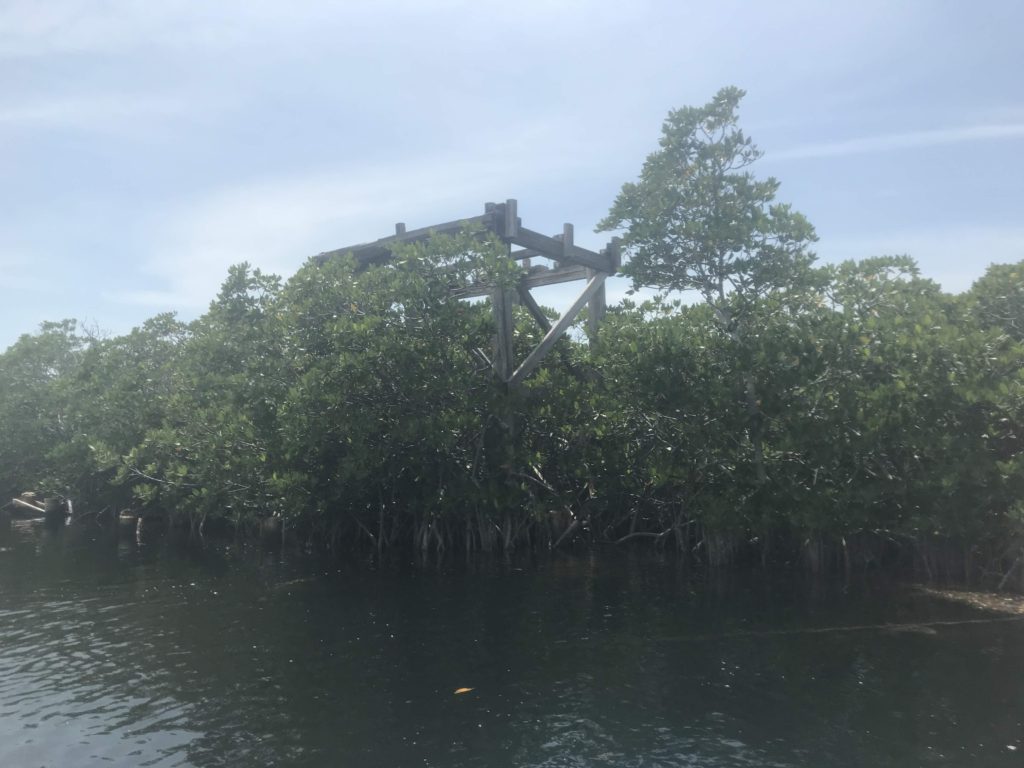
It was damaged by a hurricane and a large portion of the boardwalk washed away. I can’t imagine the effort it would take to rebuild it!

MangroveTrailWalkway

Being told it’s closed for repairs is one thing. Actually seeing what’s left of it is so much different! For now my curiosity is satisfied. On to the next kayaking adventure – Indian Key Historic State Park.

Paddling to the bridge towards Indian Key

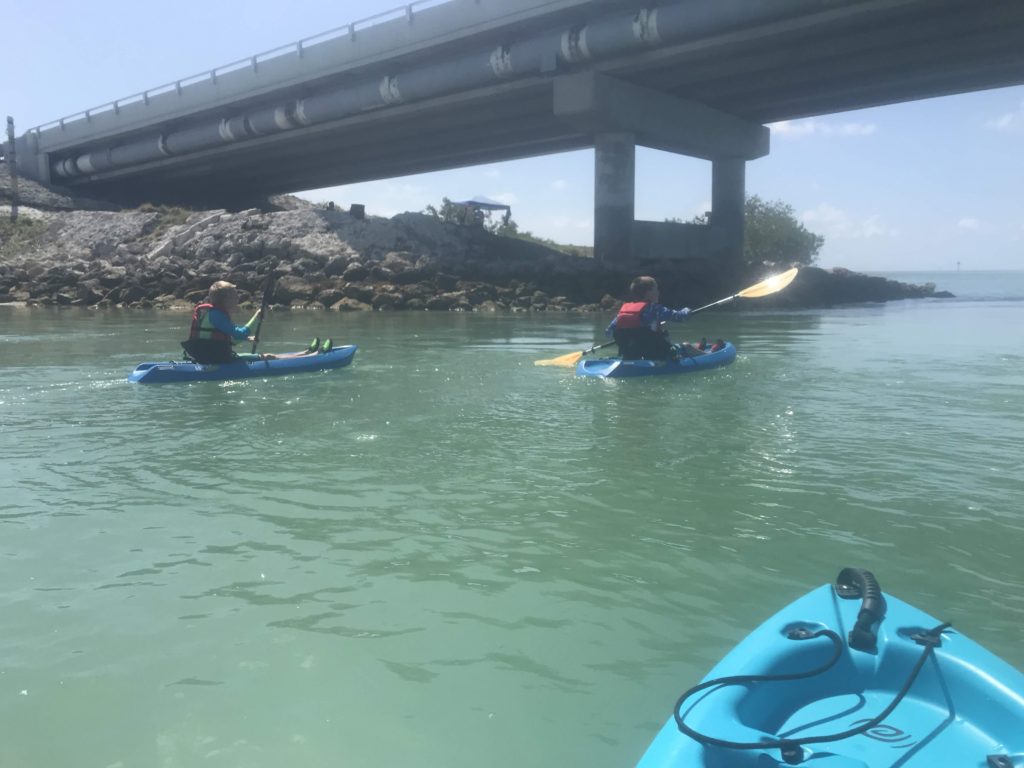
According to our geocaching app, Indian Key is about 1/2 mile from the launch point. That seemed like a doable distance – it was a clear day, the water was smooth.

Paddling under the bridge toward Indian Key

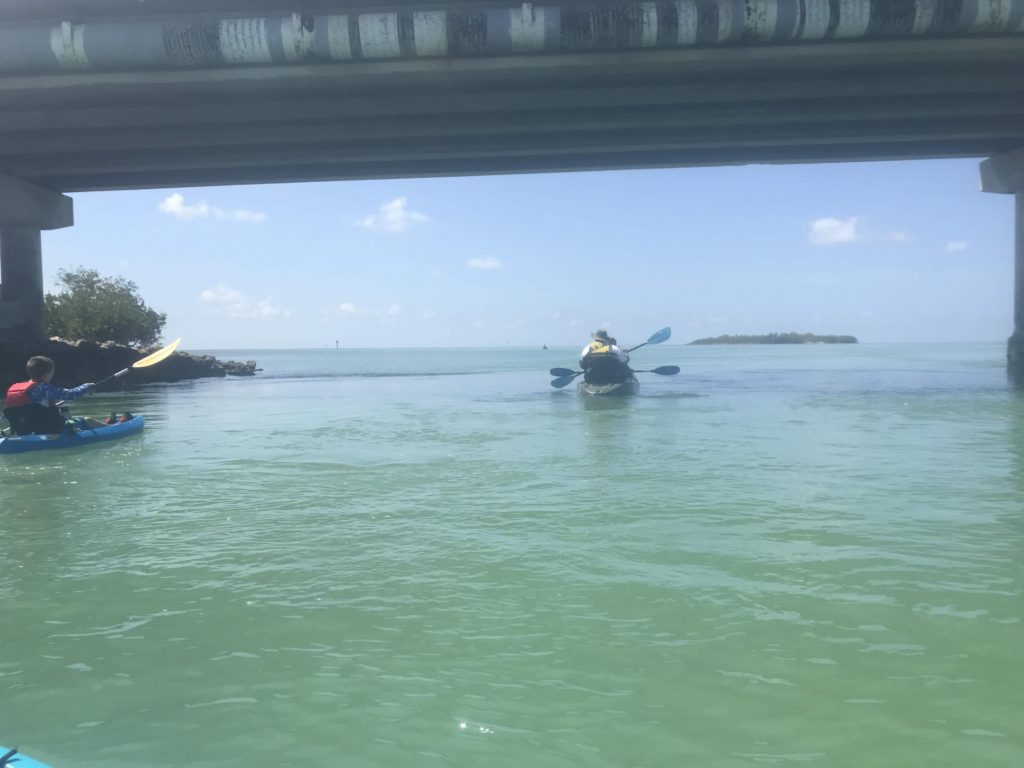
We paddled under the bridge and into the boat channel. For me that’s always the worst part, especially in open water (when we’re paddling around smaller bodies of water, the boat channels aren’t as deep or wide). We quickly paddled across it and then slowed down to enjoy the sea life.

Paddling towards Indian Key

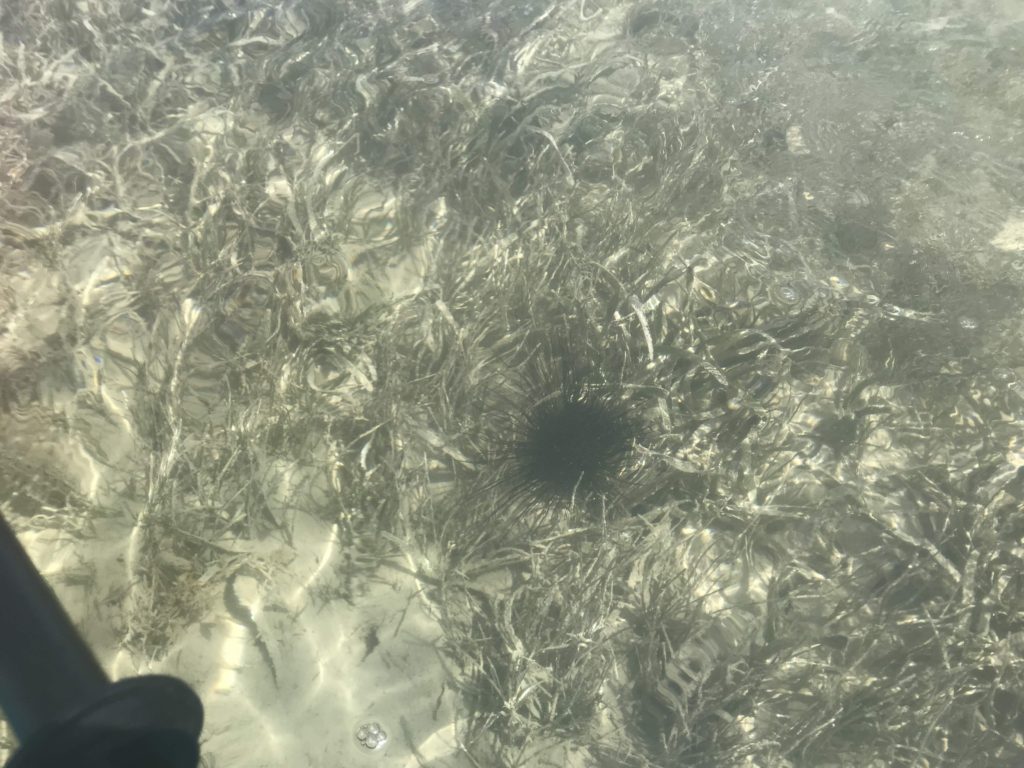
My youngest was super excited to spot this sea urchin.

Sea Urchin on the way to Indian Key Historic State Park

Our easy paddle quickly became hard when we realized that it was low tide! We struggled through some really low areas where our bigger kayaks were dragging and then just when we thought we had made it, we noticed a sign that said the area was protected and you couldn’t land there. The kayak landing was around to the right of the island. The sign was leaning back and we couldn’t see it until we were ready to pull up the kayaks. The ground was so soft – like sink to your knees soft! We finally managed to drag, I mean paddle our way around to the kayak landing.

Welcome to Indian Key Historic State Park

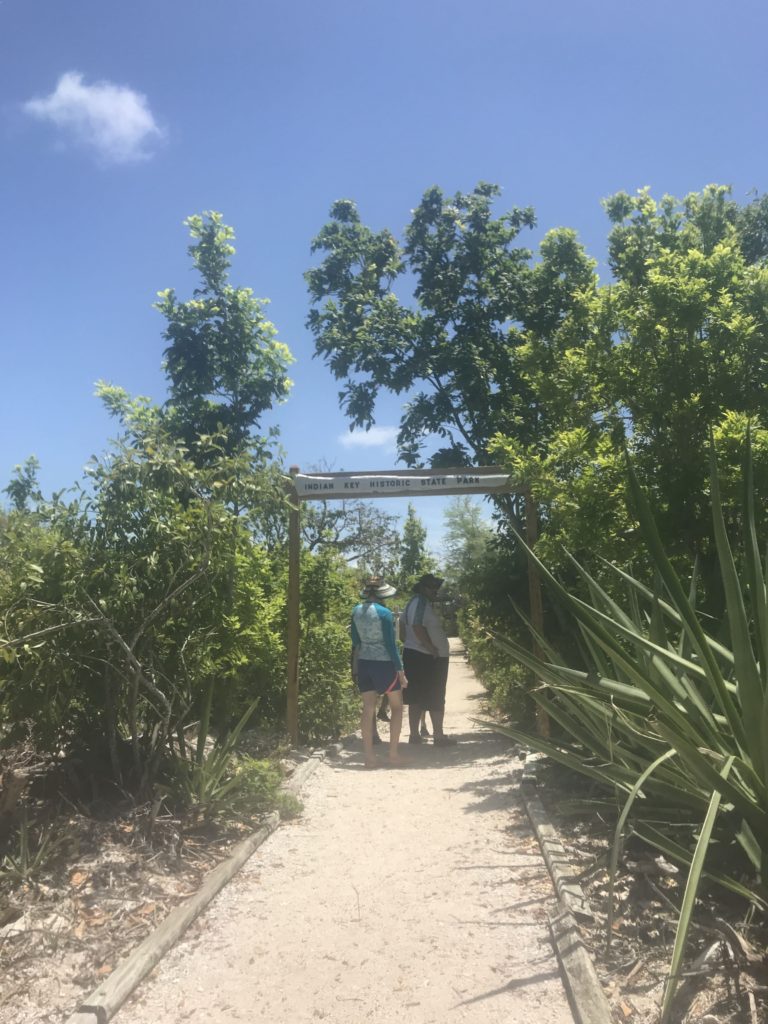
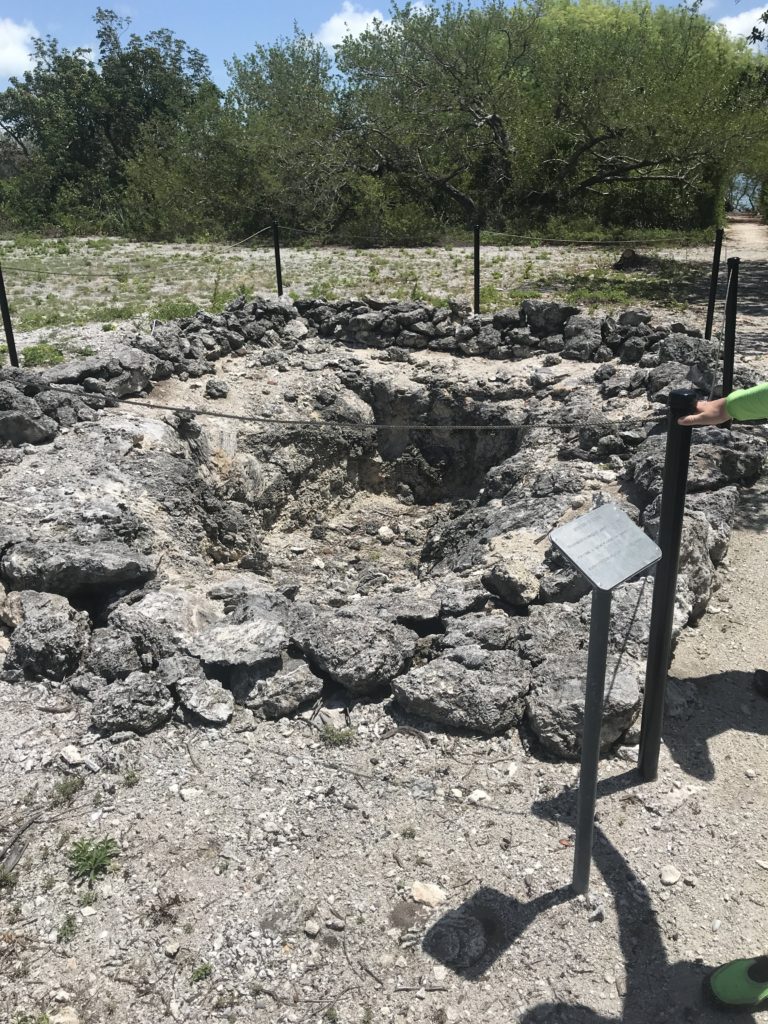
After catching our breath, we set out to explore. Indian Key was home to Jacob Housman who was a wrecker in the early 1800’s.

Housman House Indian Key
Housman House Plot

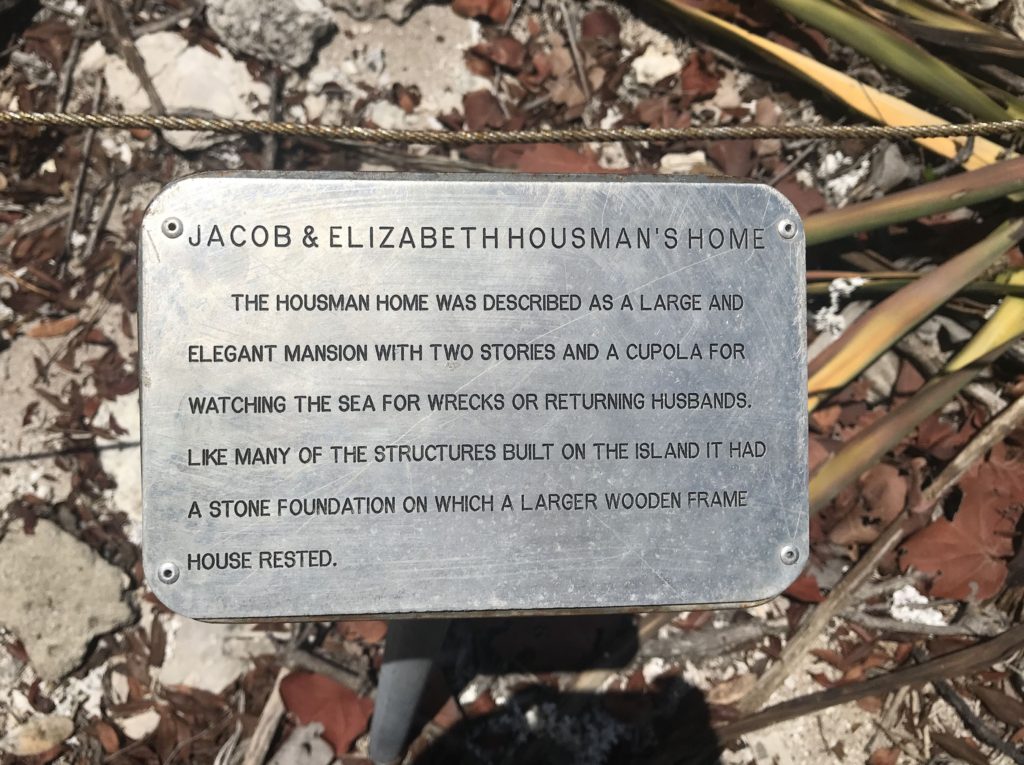
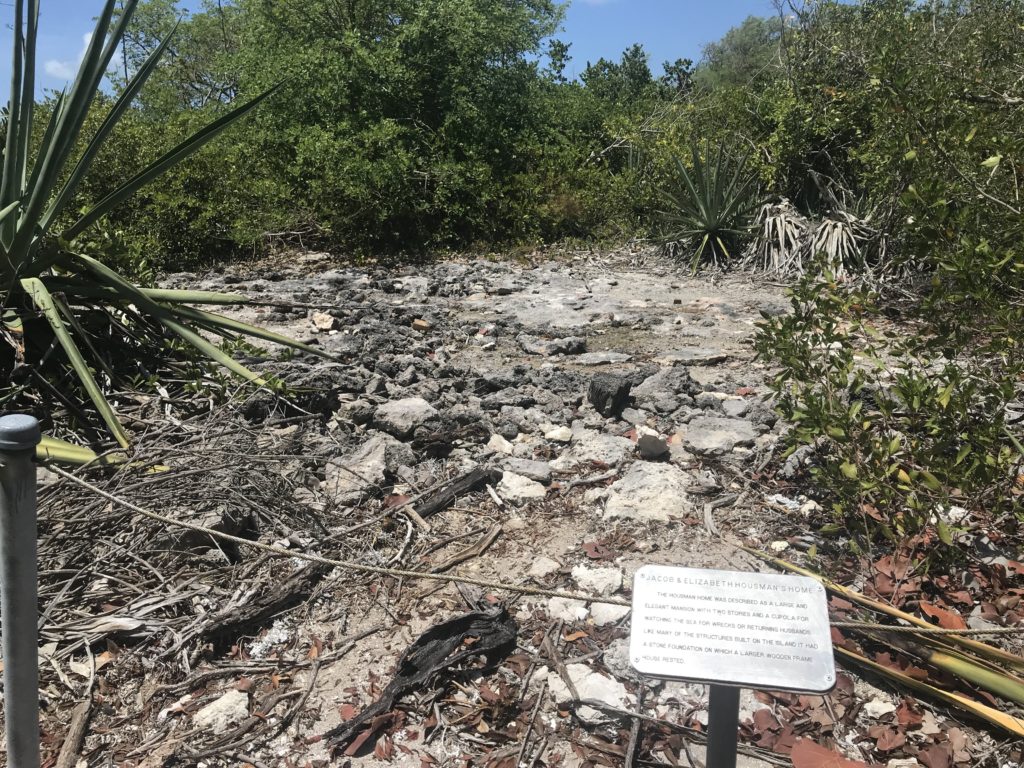
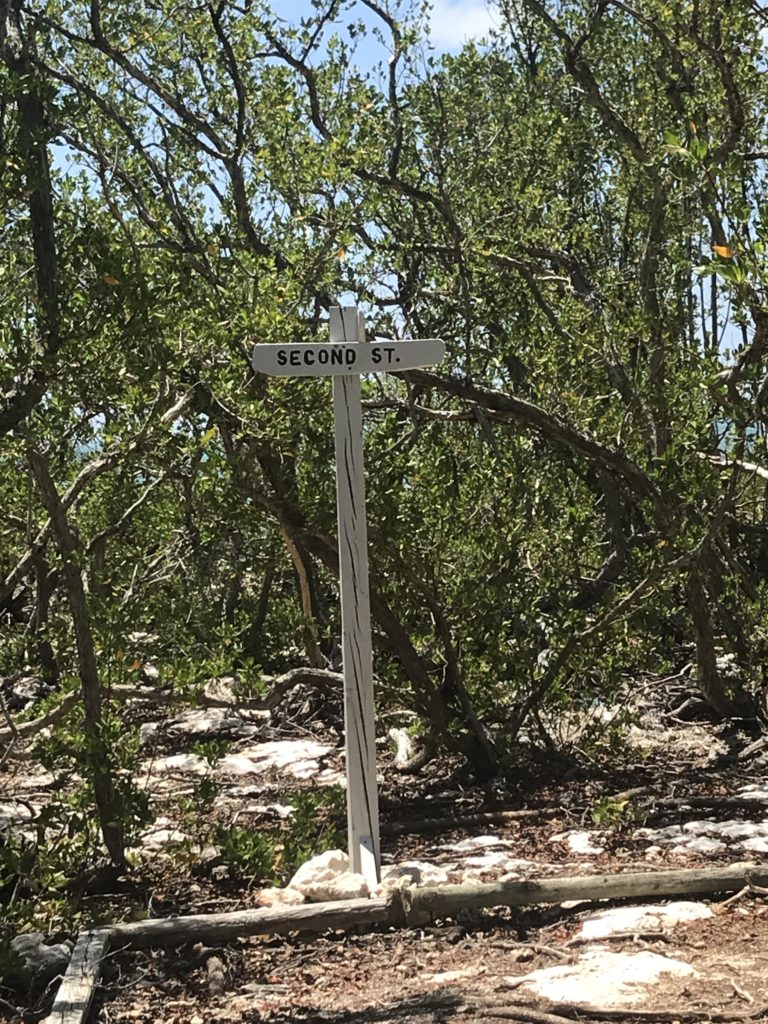
The island was laid out with streets and landmarks identified similar to what it would’ve been while it was inhabited.

Street Sign Indian Key Historic State Park

Imagine, a hotel on an island 1/2 mile off shore!

Tropical Hotel Indian Key Historic State Park

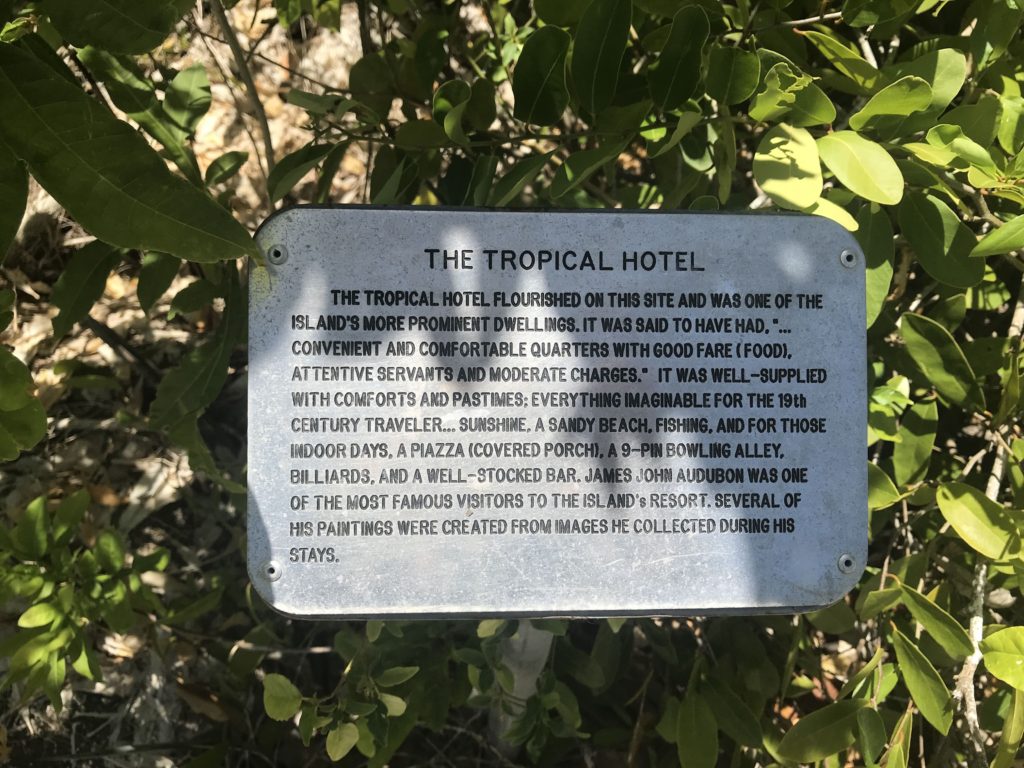
This was our favorite part of the island.

Mystery Feature Indian Key Historic State Park

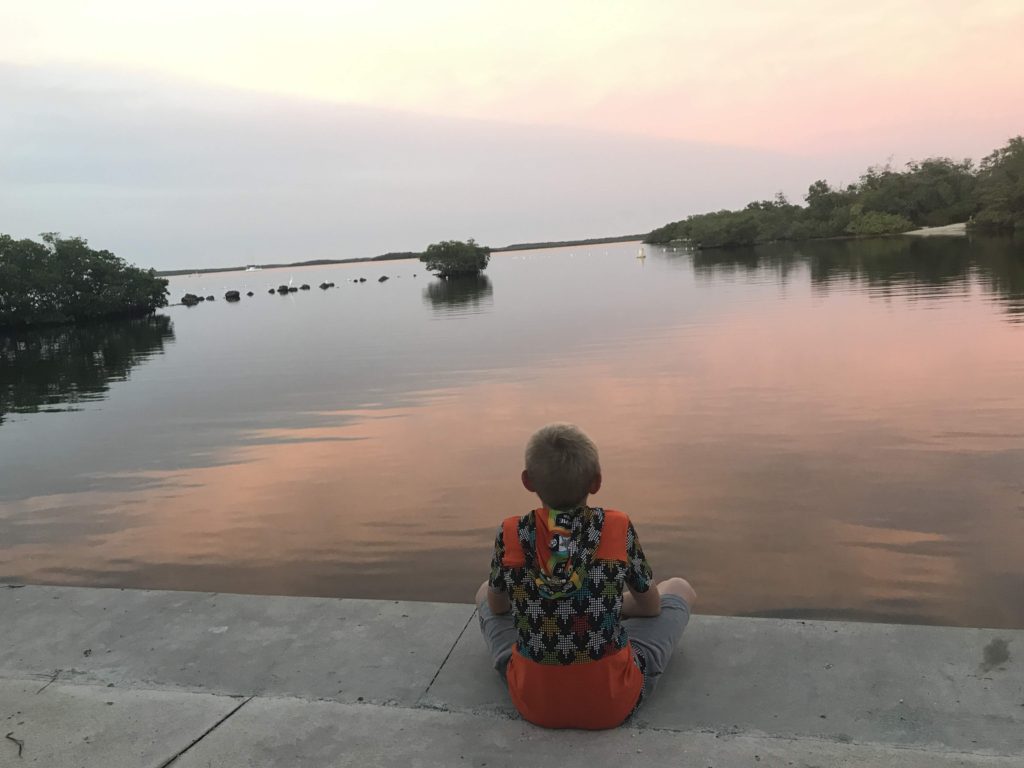
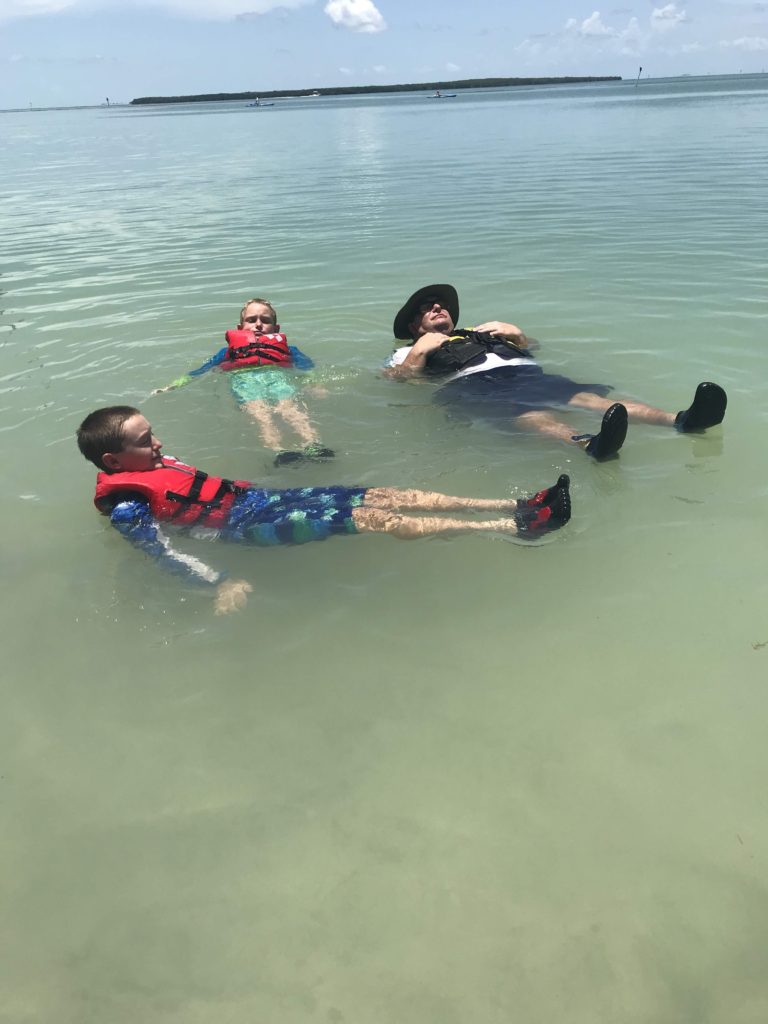
Kayaking back was much easier – the tide had come in a couple inches and that made all the difference! After we arrived back at our launch point, the guys decided to cool off before heading back to camp. The boys thought it was fun to float with their life jackets (plus it’s good for them to know that they really do work).

Testing out the life jackets

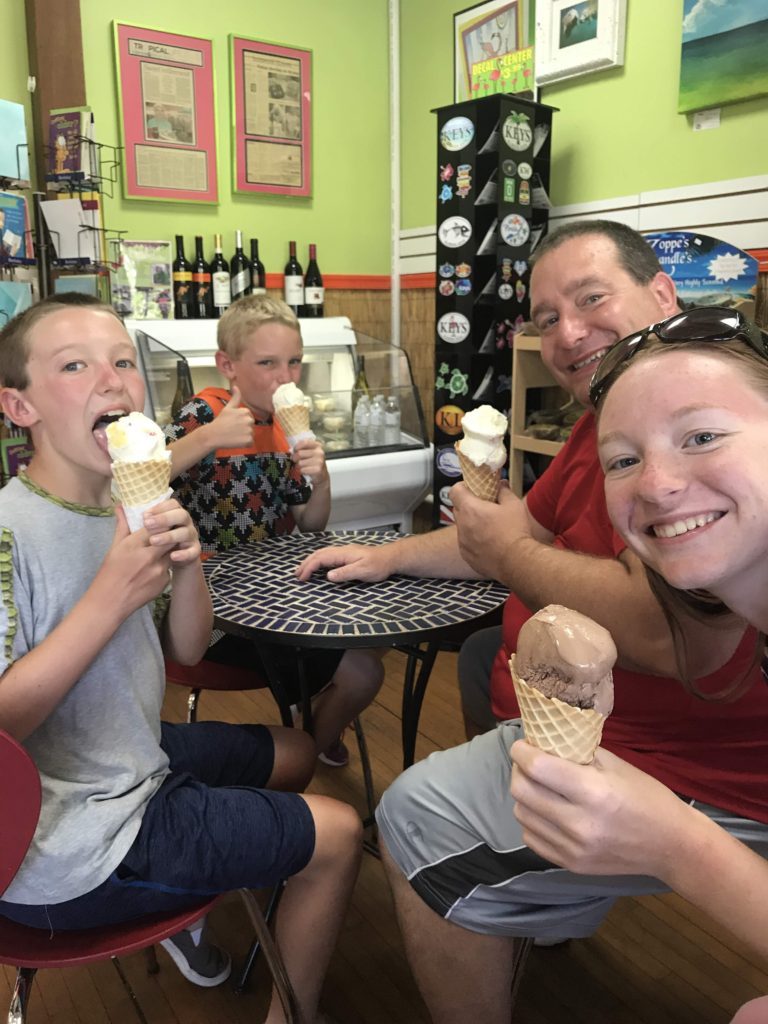
After all that hard work, ice cream was definitely a much needed reward!

Ice Cream at Key Largo Chocolates

Do you kayak? What was your best adventure?

*This post contains affiliate links.  See my disclosure policy for more details.

John Pennekamp/Key Largo Camping Trip

*This post contains affiliate links.

Several years ago we drove to Key West and made some stops along the way. One of them was John Pennekamp Coral Reef State Park. We were quite taken by it and quickly made reservations to camp there. We had such a good time that we planned to come back. Life conspired against us and here we are almost three years later and we’re just finally making it back there.

We took along our kayaks, goggles (no snorkels though), and our underwater camera (that we bought right after our last trip there…we also bought a floating strap for it). We left around 11:30 and planned to take our time driving across the state. We drove across on 41 which cuts through the Everglades. There are so many places to pull off, but with the camper behind us, I’m reluctant to pull off unless I’m sure I’m not going to get stuck. We did stop at the Big Cypress National Preserve visitor center. They had rv parking spots that were perfect for easy in, easy out, no backing up.

RV parking at Big Cypress Visitor Center

It’s funny how you forget little things, but when you see them again, you immediately remember. These lubbers were one of those things. My kids instantly remembered them and were fascinated by them…well, all except my daughter.

Lubber

We learned a lot about Big Cypress and the different habitats there. There are also plenty of photo ops at the visitor center.

Lots of photo ops at the visitor center

It was looking pretty stormy, so we decided to focus on getting across the state and only making a stop for gas when we got to a convenient station. Along the way there was a detour (which we knew about) and instead of following the detour signs, I listened to Siri. I’m not sure why – I had been following the detour signs, but for some reason when Siri said to turn, I did. Then I realized that I was supposed to be following road detour signs instead of listening to Siri. So, we got a tour of Homestead. Eventually we made it back to the right road, found a gas station, and continued on our way with no major problems.

Camp site at John Pennekamp

The campsites are long and narrow at John Pennekamp. We’ve been spoiled by the larger sites at other Florida state parks. However, we don’t plan to spend much time at our site, so it doesn’t matter.

FLoating in one of the swimming areas

There are a couple swim areas roped off. Last time we didn’t have anything for the kids to float on – although they can swim, we spent a good portion of time where it was over their heads and they tired out quickly. This time we took along a couple noodles and took turns holding on to them. It also makes looking at the plant/animal life easier since you don’t have to worry about staying above water. This time there was a lot a seagrass that had washed in and the water wasn’t nearly as clear. It didn’t slow us down. My boys still wanted to swim over the deep part (there’s a drop-off in the main swimming area and normally it’s pretty clear and you can see lots of fish).

My daughter is a cat person and was thrilled to discover a campground kitty. It was a little skittish and she didn’t get to pet it, but she did convince me to buy some treats at the store.

Campground kitty

Turns out campground kitty has some friends!

Campground kitties
campground kitty

There are two hiking trails that are open. The first one we checked out was the citrus grove trail. We loaded up on bug spray (they don’t spray for mosquitoes so they are ferocious!).

Hiking to the citrus grove

It’s a nice walk and ends at, you guessed it, a citrus grove. It is still maintained and some of the trees had fruit on them.

Citrus grove sign

We didn’t stay for long since the mosquitoes were out in force. We took a quick stroll around the grove and then beat feet back to the camper.

citrus grove

At the end of each day, we walked to the docks and the main swimming/concession area and enjoyed the peace, looked at the boats docked, and looked for fish.

Sunset John Pennekamp

Stay tuned for our kayaking adventures…

*This post contains affiliate links.  See my disclosure policy for more details.

How to Sew: Replacing Elastic in Shorts

Ever have a pair of shorts that you love, but the elastic in the waist looses it’s stretch? Well, I haven’t had these shorts long enough to love them (they were hand-me-downs), but I love the cargo style (hello pockets galore!) and knew that they would be comfy. They were a size too big, but that meant they would fit my hips and then I could just take a couple tucks in the waist to make them fit. After I tried them on I realized that the elastic in the back waist was shot!

Skipping ahead for a minute just so I can show you the elastic. Look how stretched out it is! No wonder the shorts were so loose!

stretched out elastic

Since these shorts were otherwise in great shape, I knew I wanted to try and fix them. The first step is to remove the old elastic. To do this I took out the seam at the bottom of the waistband

Of course the elastic was also sewn in along the top and it was sewn in along the fold at the bottom. So, I had to seam rip three seams total! Fortunately, it was pretty easy.

Check out the old elastic vs the new elastic! I cut the new elastic at about 80% of the length between the belt loops on either side of the center back. Then I clipped it in place and tried on the shorts just to be sure they were tight enough/not too tight. It’s very easy to adjust the length now! It’s frustrating to get all done and realize they still don’t fit.

To put in the new elastic, just reverse the process. First, I sewed the elastic to the waistband on either end.

I pushed the belt loop over just a bit and sewed the elastic in place. This way the seam will be hidden by the belt loop.

Sewing the elastic in place

To make sure that the elastic is evenly stretched, I mark the middle of the elastic with a highlighter. I also marked the middle of the waist with a pink fabric pencil.

Then I line them up and clip the elastic to the waistband

I sewed the elastic in place using a zigzag stitch since it won’t show from the outside. This way you aren’t trying to stretch the elastic evenly and sew the waistband back down at the same time.

At this point I realized that the center back belt loop was going to be in the way of sewing the waistband back in place.

I undid the top of the belt loop so I can easily fold it out the way.

Then I folded the waistband back into place and stitched it down with a straight stitch. I sewed it on the outside so that I could be sure I was staying on the original stitching line. I also redid the top stitching along the top of the waistband and sewed the center back belt loop back down.

Now my shorts stay put and I’m sure I’m going to love them because, again, pockets!

Sewing with Kids – Making Pajama Shorts Plus A Free Pattern

Walk the Plank Pajama Bottoms

*This post contains affiliate links.

I made the mistake of taking my youngest son with me to JoAnn’s one day (I’m sure he went along because we always stop at Starbucks afterwards!).  He found some woven (non-stretch) material that he really liked.  I had no clue what we would make with it, but I bought a yard for him.

He told me he wanted to make a sheath for his sword.  Boys! (picture a mom eye roll) I suggested that we could also make some pajama shorts for him and that maybe he could even help with the process – I would cut them out and then he could sew the two pieces together and then I would do the waist and hemming (I’m sure kids can hem, but my 10 y/o isn’t ready for that yet).

Sewing PJ Pants with kids

I knew that the Walk the Plank PJ Pants by Patterns for Pirates would be perfect and it’s free – no code, no joining a Facebook group, just hop on over and “buy” it.

Walk the Plank jammie shorts

I made his somewhere between short and knee length.  The short shorts I made for him previously were too short for him and the knee length were just too long to be comfy for sleeping.

Finished PJ Pants

He was so proud of himself!  Using Mom’s machine for the first time, learning to use clips instead of pins (which are so hard for kids!), and the final result is wearable.  That’s a win in my book!

Sewing PJ Pants with kids

For reference, here’s the short shorts length on him.  I feel like just a couple extra inches made a huge difference in how comfortable they are for sleeping and lounging.

Even though the directions don’t call for it, I sewed around the top of the waistband too – just about 1/4″ from the fold.  I think it adds a more finished look to the waist.

Waistband detail

I also made some Walk the Planks for my other two kids.  Besides short shorts and knee length, it also comes in pants length (or you can be like me – have them try them on before hemming and choose your length).   Both of these are knee length.

There’s also an adult version (I have not made this version) which is also free and includes men’s and women’s sizes.  You could make family pajama pants!

*This post contains affiliate links.  See my disclosure policy for more details.

Pattern Review: Slumberland Pajamas

*This post contains affiliate links.

I recently discovered Pickle Toe Patterns when I saw her tester call for the Moonstruck Skirt. I enjoyed testing for her, so when I saw another call for her newest pattern – the Slumberland Pajamas – I jumped at the chance.

The pattern includes both a nightgown and pants/shorts and a shirt with either long or short sleeves.

The shirt is a dolman style which means that the sleeves are part of the bodice. This makes the shirt/nightgown super easy! It’s just three pieces – front and back and then the neckband.

For the nightgown, I colorblocked it since I didn’t have enough of the purple bamboo spandex (from Mily Mae Fabrics – the bamboo spandex is sooo soft!). I also used the zigzag fabric for the neckband for a contrast. The night gown also comes in a shorter above knee option. Of course, you can always make it however long or short you like and hem it to your perfect length.

For my second pair, I used a french terry with two way stretch. It’s a bit heavier and probably too heavy for regular use here in SWFL. However, these will be perfect for when we go camping! I can walk to the bath house and feel like I’m decent and I won’t freeze – win, win! I made the pants length, but they can also be made in shorts or capri length. The waist also has options for high, mid, and low rise.

I came up a little short on the sleeves, so I did a bit of colorblocking. The sleeves would have been plenty long for me without the colorblocking, but since it was my first pair I wanted to follow the pattern exactly. For my next pair, I’ll probably cut the sleeves a bit shorter. These come almost to my elbow and my preference is much shorter.

One of the things I really like about the shirt is that it’s longer. Nothing is more annoying to me than a shirt that isn’t long enough!

The Slumberland pattern is on sale now through Friday May 24. Get your pattern and then join the sew-along on facebook.

*This post contains affiliate links. See my disclosure policy for more details.

  • « Previous Page
  • 1
  • …
  • 3
  • 4
  • 5
  • 6
  • 7
  • …
  • 43
  • Next Page »

Hi, I'm Mona - wife, mom, teacher, seamstress, blogger. This is my home on the web. Read More…

Categories

Copyright © 2026 · The Marianne Theme By Blogelina · Built on the Genesis Framework

Copyright © 2026 · The Marianne on Genesis Framework · WordPress · Log in