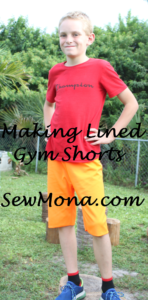
SewMona

A slice of my Florida life

  • Sewing
    • SewMona on Etsy
    • Clothes
      • Boys
      • Girls
      • Men
      • Women
    • Pattern Reviews
    • How to Sew
  • Camping
    • Florida Campgrounds
  • Recipes
  • Crafts
  • DIY
  • About

Pattern Hack – Making Lined Gym Shorts plus a Free Pattern

Making Lined Gym Shorts
*This post contains affiliate links.

Have you seen gym shorts that have two layers?  Usually a light knit underlayer and then a stretchy mesh kind of top layer?  Well, I decided that it can’t be that hard to make them without buying a special pattern.  Guess what?  I was right!  My boys have both been wanting new gym shorts – the kind with just elastic, no tie waists.

Elastic waistband

I ordered some fabric from Amazon (yes, they really do sell everything!).  It was a little thin so it was perfect for my experiment.  I’m using the Tupelo shorts pattern by Sew Like My Mom which is free, by the way, and comes in sizes 12M – 16!

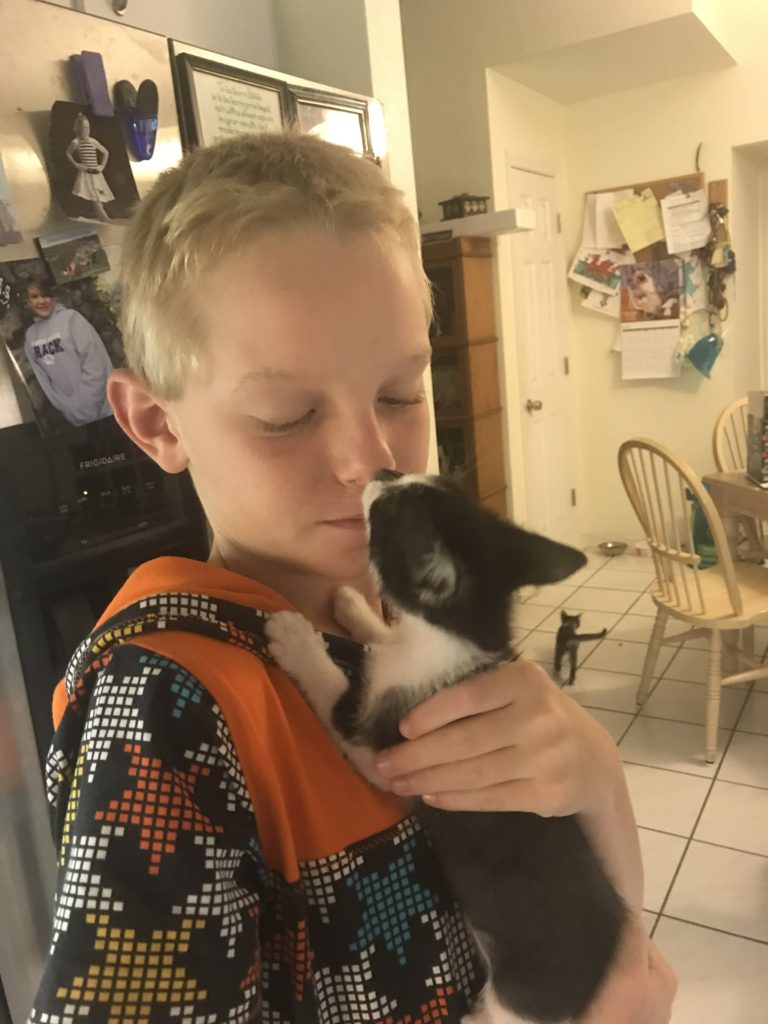
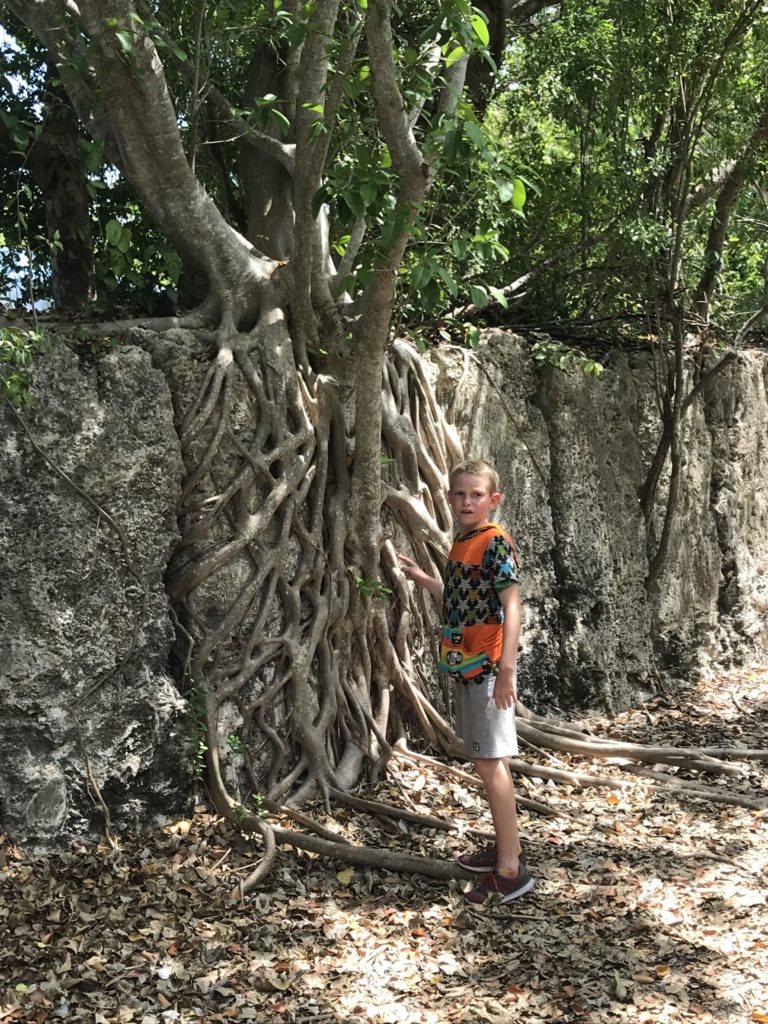
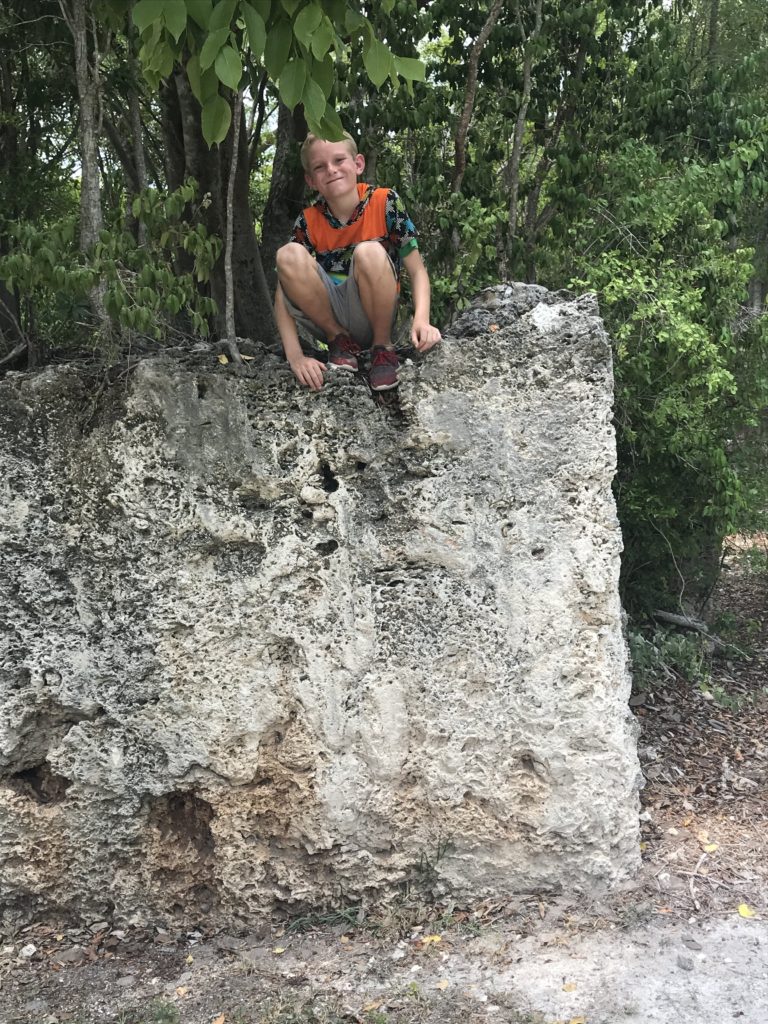
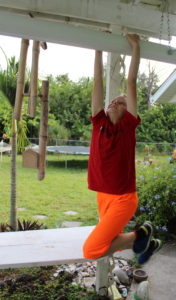
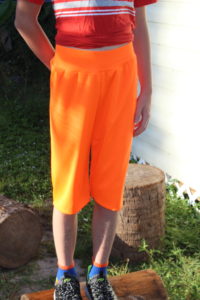
This is my wannabe ninja putting his shorts to the test.

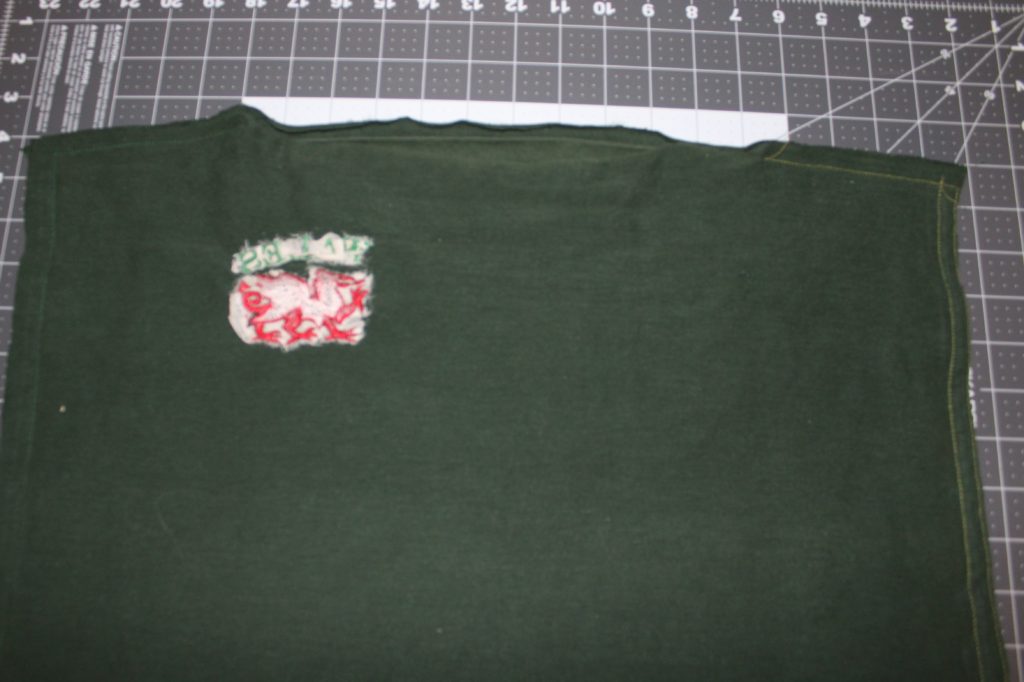
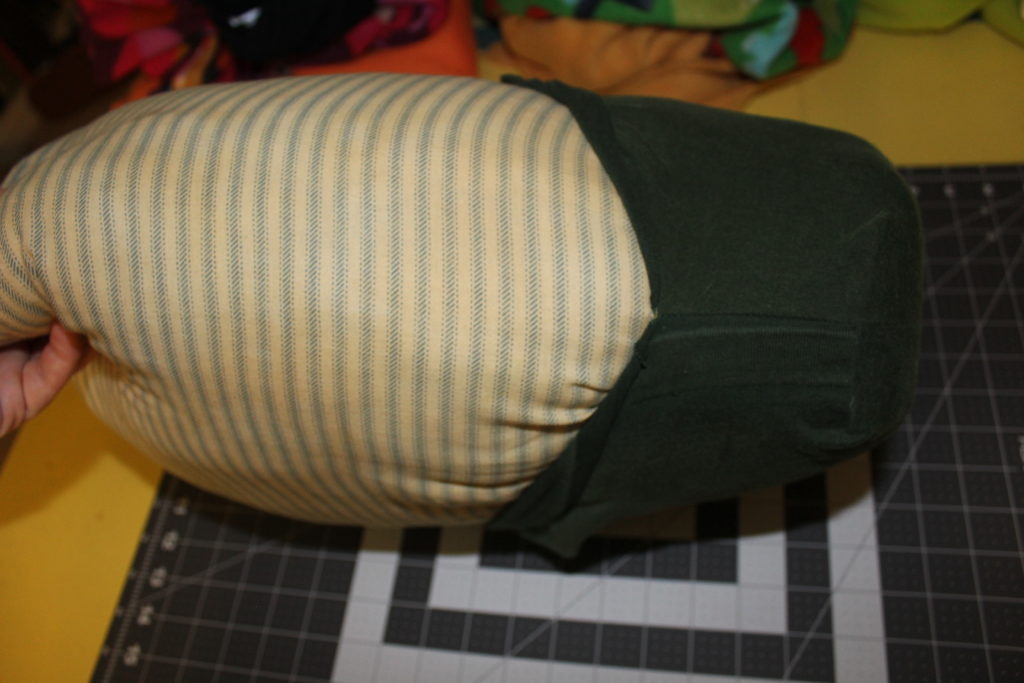
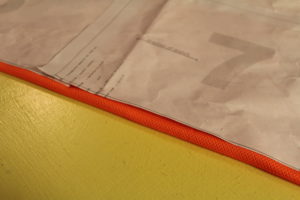
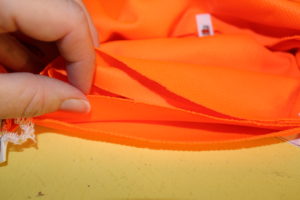
For the first pair, I used a double layer of the orange.  I folded the fabric the “wrong” way because I wanted the fold to be at the hem of the shorts.  Instead of folding the fabric with the selvages together (so it’s half the width), I folded the fabric and kept the selvages on either side (so it’s half the length).

Place hem on the fold.

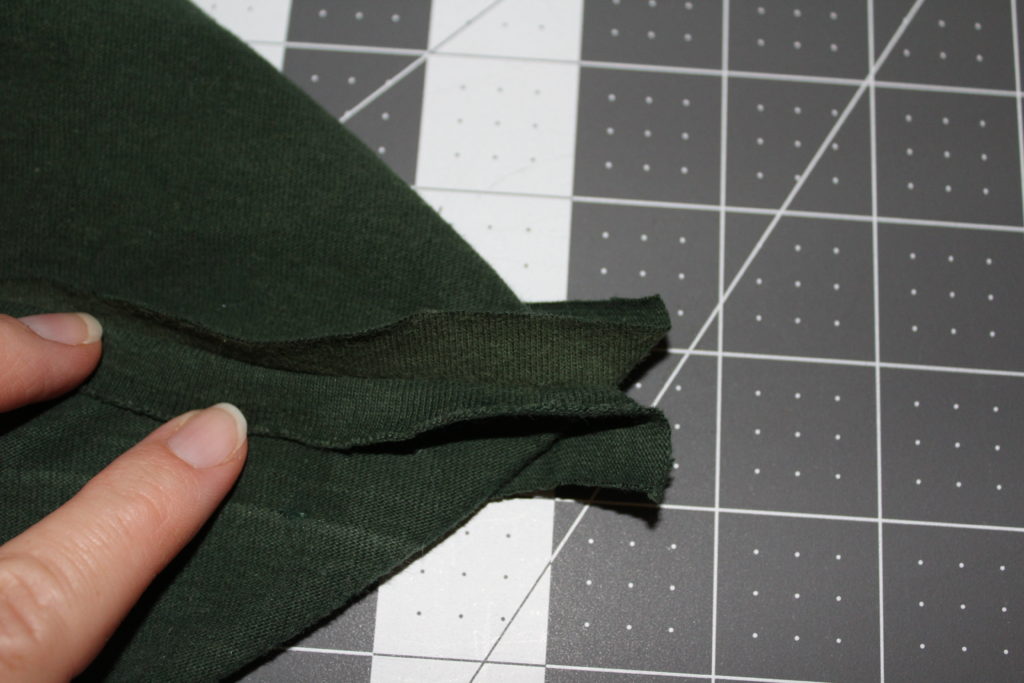
Keep the pieces folded and treat each one as one piece.  If it helps, you can baste the raw edges together.  Sew the center front seam and the center back seam.  You will be sewing through 4 layers of fabric.

Line up all the layers to sew.

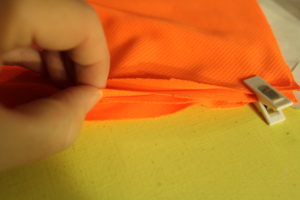
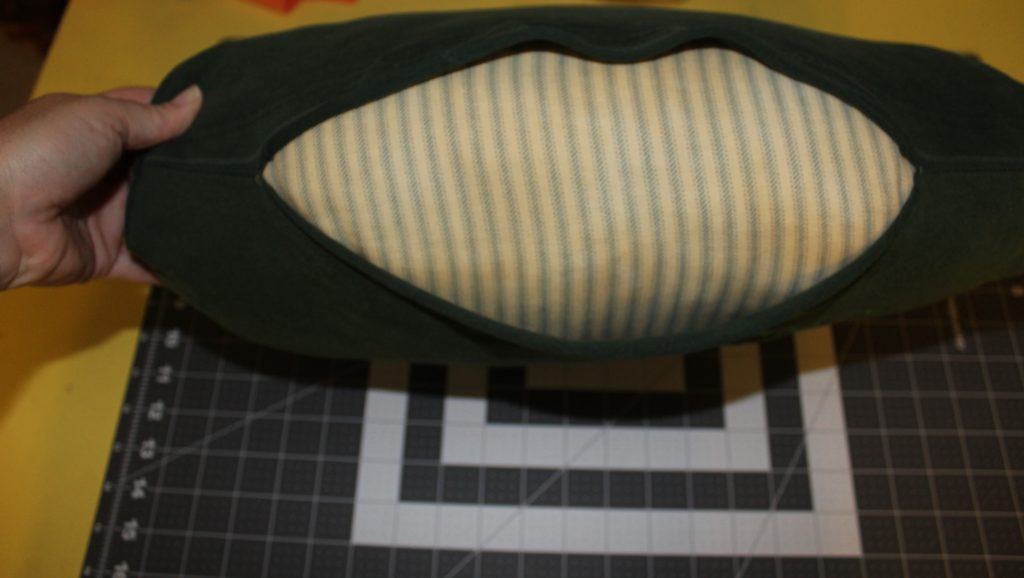
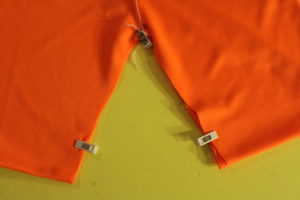
Then clip the inseam together and sew that as well.

Clip the inseam together

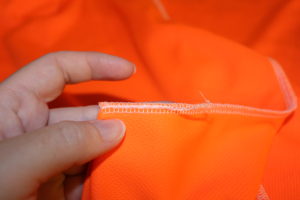
Because there is no need to hem them, you will need to tuck in the tails from serging.

Tuck in serger tail

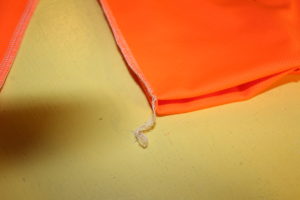
Thread the tail into a large eye needle and pull it into the serger stitches.

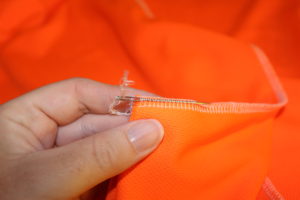
Now it won’t be visible from the right side.

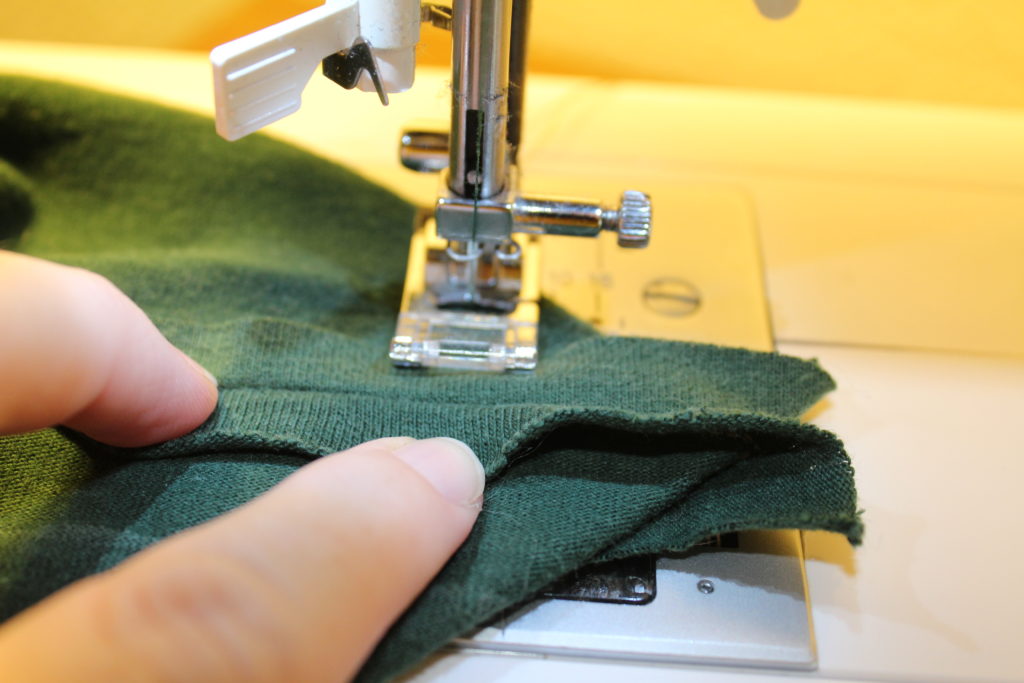
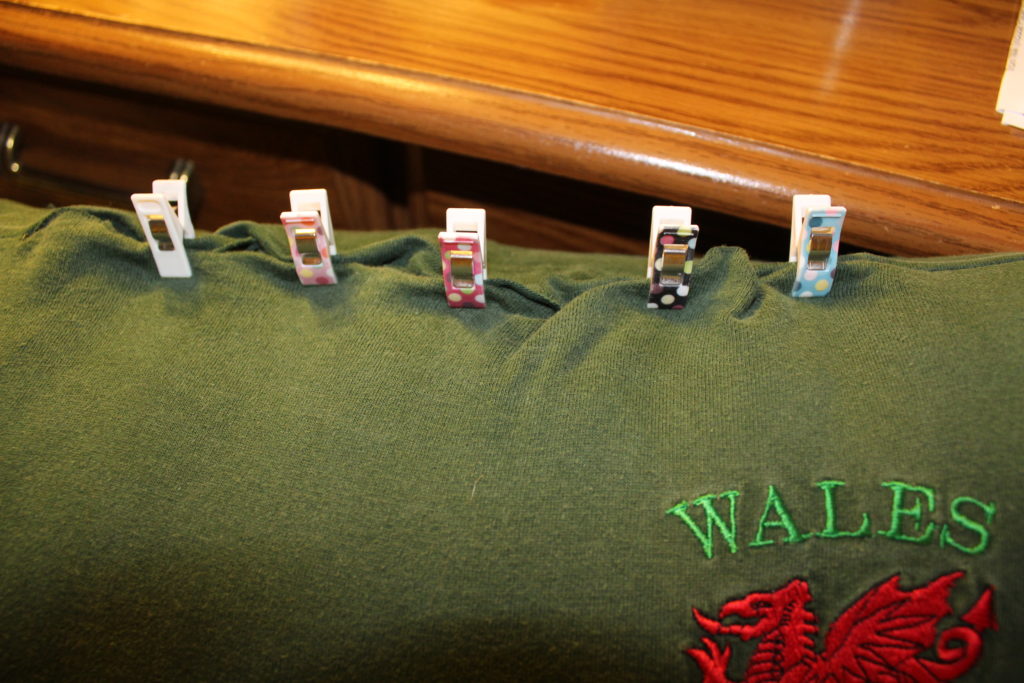
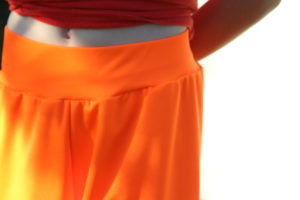
Next, attach the waistband per the instructions in the pattern.  Just remember that you will be sewing through 4 layers of fabric rather than three.  Also, because my fabric doesn’t have very good stretch/recovery, I used 1.5″ elastic.  I measured it to fit my son’s waist, zigzagged the ends together and put it in the waistband before attaching it.

Attach waistband

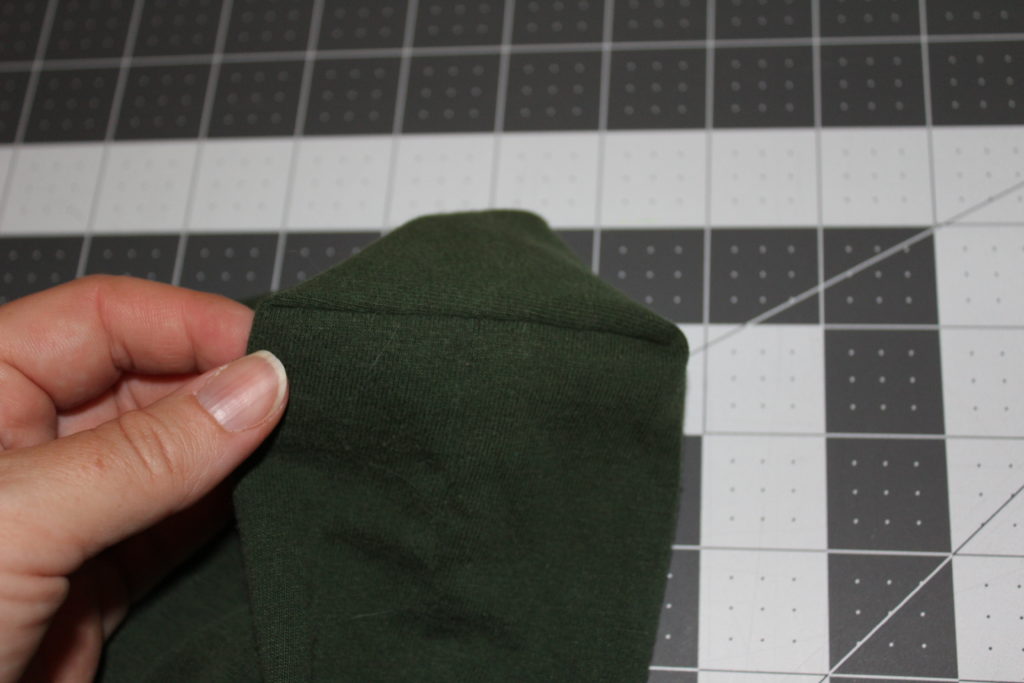
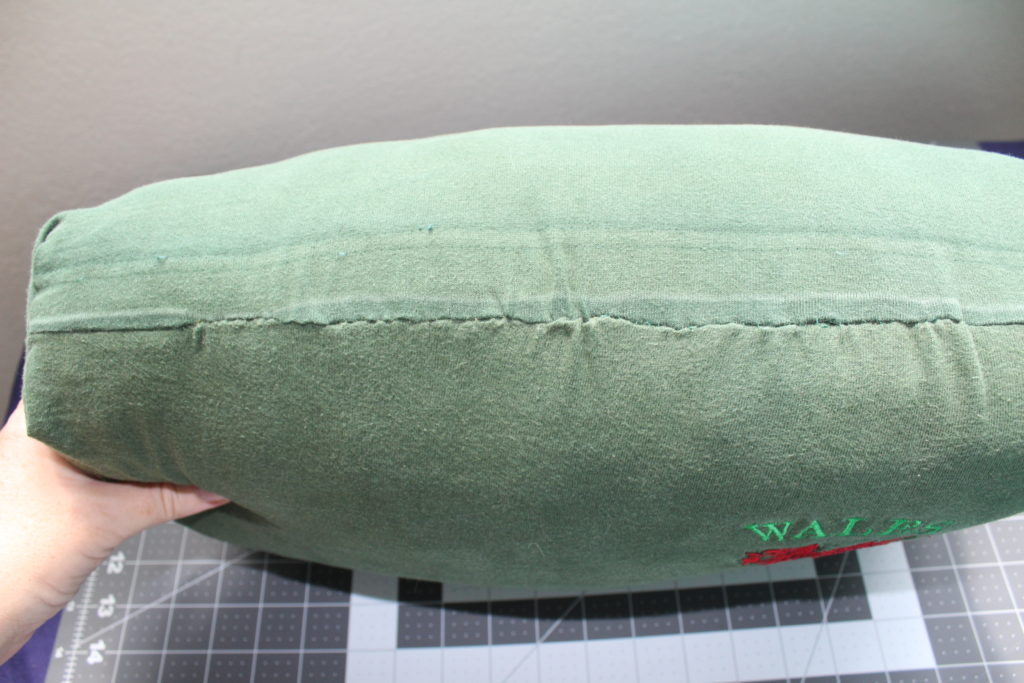
Because the hem was cut on the fold, there’s no need for hemming!  If you wanted it to look hemmed, you could sew a line of stitching around the bottom 1/4″ from the fold, use your twin needle, or zigzag (one of my current favorite ways to hem sports type clothing).

No need to hem because they're cut on the fold

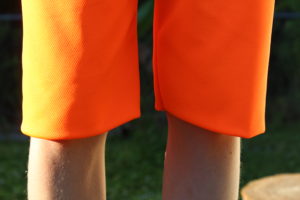
The neon orange is one of his favorite colors (actually, any neon is good with him).

*This post contains affiliate links.  See my disclosure policy for more details.

Upcycling T-shirts into Pillows

My husband had these shirts that he really likes but they were just too hot to wear in SWFL. He hated to get rid of them and definitely didn’t want to throw them out. They sat in my pile of stuff to do something with for quite a while (probably close to two years!).

Last November, I bought some new pillows on Black Friday to replace our flat pillows. I washed and dried the old pillows and then added them to my pile of stuff to do something with sometime. Then, I had an “a-ha” moment and knew what to do with the shirts and pillows – make pillows for the sofa.

I measured the pillow (folded in half) and then measured the shirt. Happily the pillow would fit in a case made of the front of the shirt. For a smaller shirt, you would need to use the front and back.

Sew around both sides and then 3-4 inches across them top on each side so you have an opening to turn it right side out.

To square the corners, I flattened the corner by matching the seams and then sewing across it a couple inches down.

Next, stuff the pillow into the case.

The last step is to close up the opening. I normally do everything I can to avoid hand sewing, but this is one of those cases where it just can’t be helped if you want a neat finish.

Tuck the raw edges in and clip or pin the opening shut.

A quick demonstration of how I close up the pillow.

Admire your new pillows.

Fostering Itty Bitty Kitties

One of the things we’ve done in the past is foster kittens (and a dog, once). We took an unplanned break for a little over a year…for whatever reason we didn’t hear from our local humane society. Then, in April we got a call asking if we would be willing to foster 3 2-week old kittens. Of course I said yes! Look how tiny they are!

New Itty Bitty Black Kitties

Can they be any cuter? So tiny!

Little Black Kitten

These kittens needed to be fed about every 4 hours. Just like having a newborn baby!

Bottle feeding kitten

All three of my kids were eager to help feed them! I would prepare the bottles and they would take turns. My teenage daughter frequently got up with me in the night to feed them – such a big help especially since we had to be up early to get ready for school.

It was neat to watch them grow – from wobbly little kittens who kind of staggered around and mostly would eat and sleep. Oh, and did I mention – kittens don’t pee and poop on their own. Normally momma cat would lick their bottoms to make them go…so, besides middle of the night feedings, we also had to wipe them with a damp cloth to help them.

Three little black kittens

About two weeks into our fostering, we got a wonderful call – a mamma cat had been brought back in by another foster. If we were willing to try, we could see if she would accept our foster kittens. We were definitely willing! Peaches made a great surrogate momma cat!

PeachesAndKittens

It was so nice to not have to get up in the night to feed them, plus she was a sweet cat.

Peaches and Kittens Napping

Under her care, they slowly grew.

Growing Kittens

They became playful little things! Climbing and chasing everything.

Black Kittens Playing

Eventually came the day they were old enough and big enough to be spayed/neutered and then put up for adoption. It’s always a happy/sad day for us. We’re sad to see them go, but we know that we’ve helped them be well socialized little kitties who are ready for their forever home. Plus, taking care of kittens is a lot of work and we were ready for a break.

Not a very long break though – they had more itty bitty kitties that needed fostering. We had to wait until school was out for the summer to get them. The last few days of school always seem to drag….now they seemed to drag even more! Finally, the last day came and on our way home, we stopped and picked up our next batch of foster kitties.

Feather in a Hand

These guys also had to be fed about every 4 hours. Fortunately we didn’t have to get up for school, so middle of the night feedings weren’t so bad.

Feeding Chief

The little black kitties lived in our daughter’s room. That worked, except kittens are messy. They’re just learning to use a litter box and frequently choose other places to go. To avoid a repeat, these kitties stayed on the lanai during the day and then spent the night in her room.

Kittens in a Basket

They loved being out there! They could bask in the sun all day. Plus, we put some fun toys out for them like this cardboard carpet roll.

Kitten in a tube

We would find them curled up asleep in random places like on the corner of an afghan.

Kitten curled up on the corner of an afghan.

It’s amazing how fast they grow!

We don’t realize how much they’ve grown, until we compare pictures!

Feather big enough to be adopted

Kitten crashes are so cute! They just go and go until they can’t.

Kitten crashes are so cute!

Because the kittens were on our lanai and much more visible to our resident cat (as opposed to being in a separate room where he can’t see them), we decided to try introducing them. We really didn’t know what to expect. Our cat is a male (fixed, but still…). He surprised us! He gave the kittens baths, was tolerant of their constant attempts to play with his tail, and even played with them a bit.

FooFoo became a surrogate kitty-dad

All to soon it was time to say good bye.

Saying good-bye is never easy, but I always remind my kids that by taking care of the kittens and loving them, we helped make them adoptable.

Windley Key Fossil Reef Geological State Par

On our recent camping trip to Key Largo, we took a day to check out Windley Key Fossil Reef Geological State Park (say that ten times fast!). It is a former quarry that provided stone for Henry Flager’s Overseas Railroad in the early 1900s. Then it was used to produce Keystone (decorative stone). There are five trails that are numbered and there’s a tour guide book that you read as you go.

Self guided tours come with a tour book that's numbered
Our tour guide

Even though some of the trails are shady, it was still really hot hiking in the Florida summer! We brought water with us plus we refilled our bottles everytime the trails took us close to the ranger station.

The depth of the coral was amazing! In some places it was almost 8 feet!

The equipment they used to work here is pretty impressive!

This is black ironwood. We were amazed at how hard it is – can you imagine trying to lift a board made with this?! 80 pounds/square foot!

We “climbed” all the way to 18 feet above sea level!

What boy doesn’t love climbing a coral wall?

Leftover Keystone pieces

The leftover pieces of Keystone are huge!

It was $2.50/person to get in which was totally worth it! They are closed on Tuesday and Wednesday. Find more information here.

How to Sew: Sewing With Knits

Sewing with Knits

*This post contains affiliate links.

Recently I’ve seen a lot of people in different groups commenting that they’re unsure of sewing with knits.  Sewing with knits opens up a whole new world of fabric and patterns!

Here are five tips to help you get started sewing with knits:

  • Always use a ballpoint needle – a ballpoint needle pushes between the threads in the fabric rather than trying to poke through them and creating holes.  I use either a 90/14 or 75/11 (the lighter/thinner the fabric, the smaller needle number you need).
  • You don’t need a serger – sure it makes a nice professional looking finished seam, but seriously, who’s going to see your seams??  I sewed for years without a serger.  Actually, it wasn’t until I opened my etsy shop that I even considered buying one.  A basic machine with a zig zag or stretch stitch will work just fine.
  • Clips are your friend – this is not the time to try and get by with just a couple clips.  Use clips, lots of clips.  I like them even better than pins and I find them easier to use.
  • It takes practice – just like when you first started sewing, you didn’t make a wedding dress!  The same goes for learning to work with a new material.  Pick an easy pattern (this is one of the easiest I’ve made – a dolman t-shirt or a maxi skirt – plus they’re both free) and some cheapy fabric (think clearance at your favorite fabric store).  When you’re ready for good fabric, check out this website – her fabric is sew nice!  Raspberry Creek also has great quality knits!
  • Finally, take your time – Don’t sit down to sew your new project when you’re pressed for time!  Pick a time when you can focus on what you’re doing.

Do you like sewing with knits?  What’s your favorite tip?

*This post contains affiliate links.  See my disclosure policy for more details.

  • « Previous Page
  • 1
  • 2
  • 3
  • 4
  • 5
  • 6
  • …
  • 43
  • Next Page »

Hi, I'm Mona - wife, mom, teacher, seamstress, blogger. This is my home on the web. Read More…

Categories

Copyright © 2026 · The Marianne Theme By Blogelina · Built on the Genesis Framework

Copyright © 2026 · The Marianne on Genesis Framework · WordPress · Log in