SewMona

A slice of my Florida life

  • Sewing
    • SewMona on Etsy
    • Clothes
      • Boys
      • Girls
      • Men
      • Women
    • Pattern Reviews
    • How to Sew
  • Camping
    • Florida Campgrounds
  • Recipes
  • Crafts
  • DIY
  • About

Longing For Paris – Book Review

Longing For Paris DreamsThis post contains affiliate links.

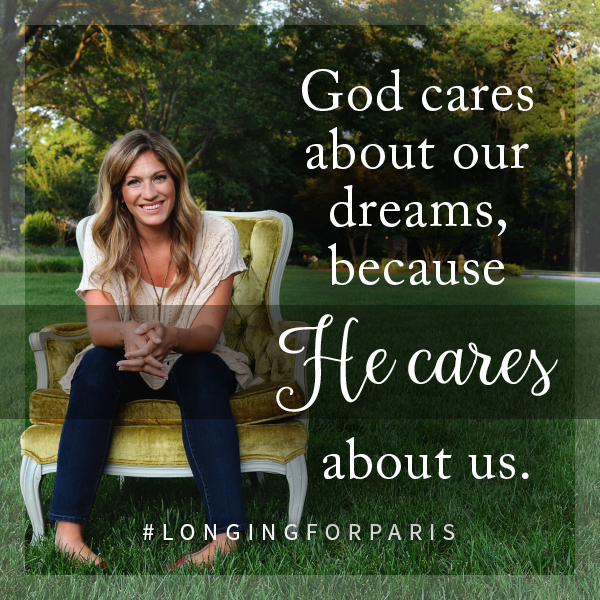
I was honored to be chosen to receive a preview copy of Longing for Paris: One Woman’s Search for Joy, Beauty, and AdventureRight Where She Is by Sarah Mae.  I love the title because it expresses how I feel so often!  I love my life – husband, three kids, four cats – but I frequently find myself waiting for the next big thing to happen.  Not Paris – I’ve never dreamed of going there, it’s not on my bucket list, it’s not even someplace I’ve ever considered going. I tend to get bored with everyday life.  I’m always looking for the next thing – moving to Florida, fostering kittens, moving again (that’s another post), camping.  Just day-to-day life?  Bor-ing.  I don’t want to feel that way, but I know that my middle child feels that way too.  He’s always asking when we’re going on our next adventure and every adventure gets compared to this time we went hiking in the PA State Game Lands near our house looking for Robinson Falls, a waterfall that I had read about in a magazine.

I had read an article about several waterfalls in western PA and thought it would be neat to check them out.  Robinson Falls happened to be the closest so that’s why I picked it.  Well, I missed the part of the article that said it’s for the truly intrepid.  Oops!!  The kids were 6, 4, and 20 months at the time.  It was a somewhat spontaneous decision to go that day.  Looking back, I’m sure my middle child doesn’t remember that he barely made it – by the time we got back to the car he was almost asleep on his feet.  He doesn’t remember that his feet were soaked from wading through two streams.  He remembers the fun parts.

I dream of owning the empty lots behind us so my kids can have more room to explore.

I dream of having chickens (even though my husband tells me they’re horrible creatures to take care of).

I dream of selling everything and living in a camper (not our current pop-up) for a year (as a side note – I’m living vicariously through Take That Exit).

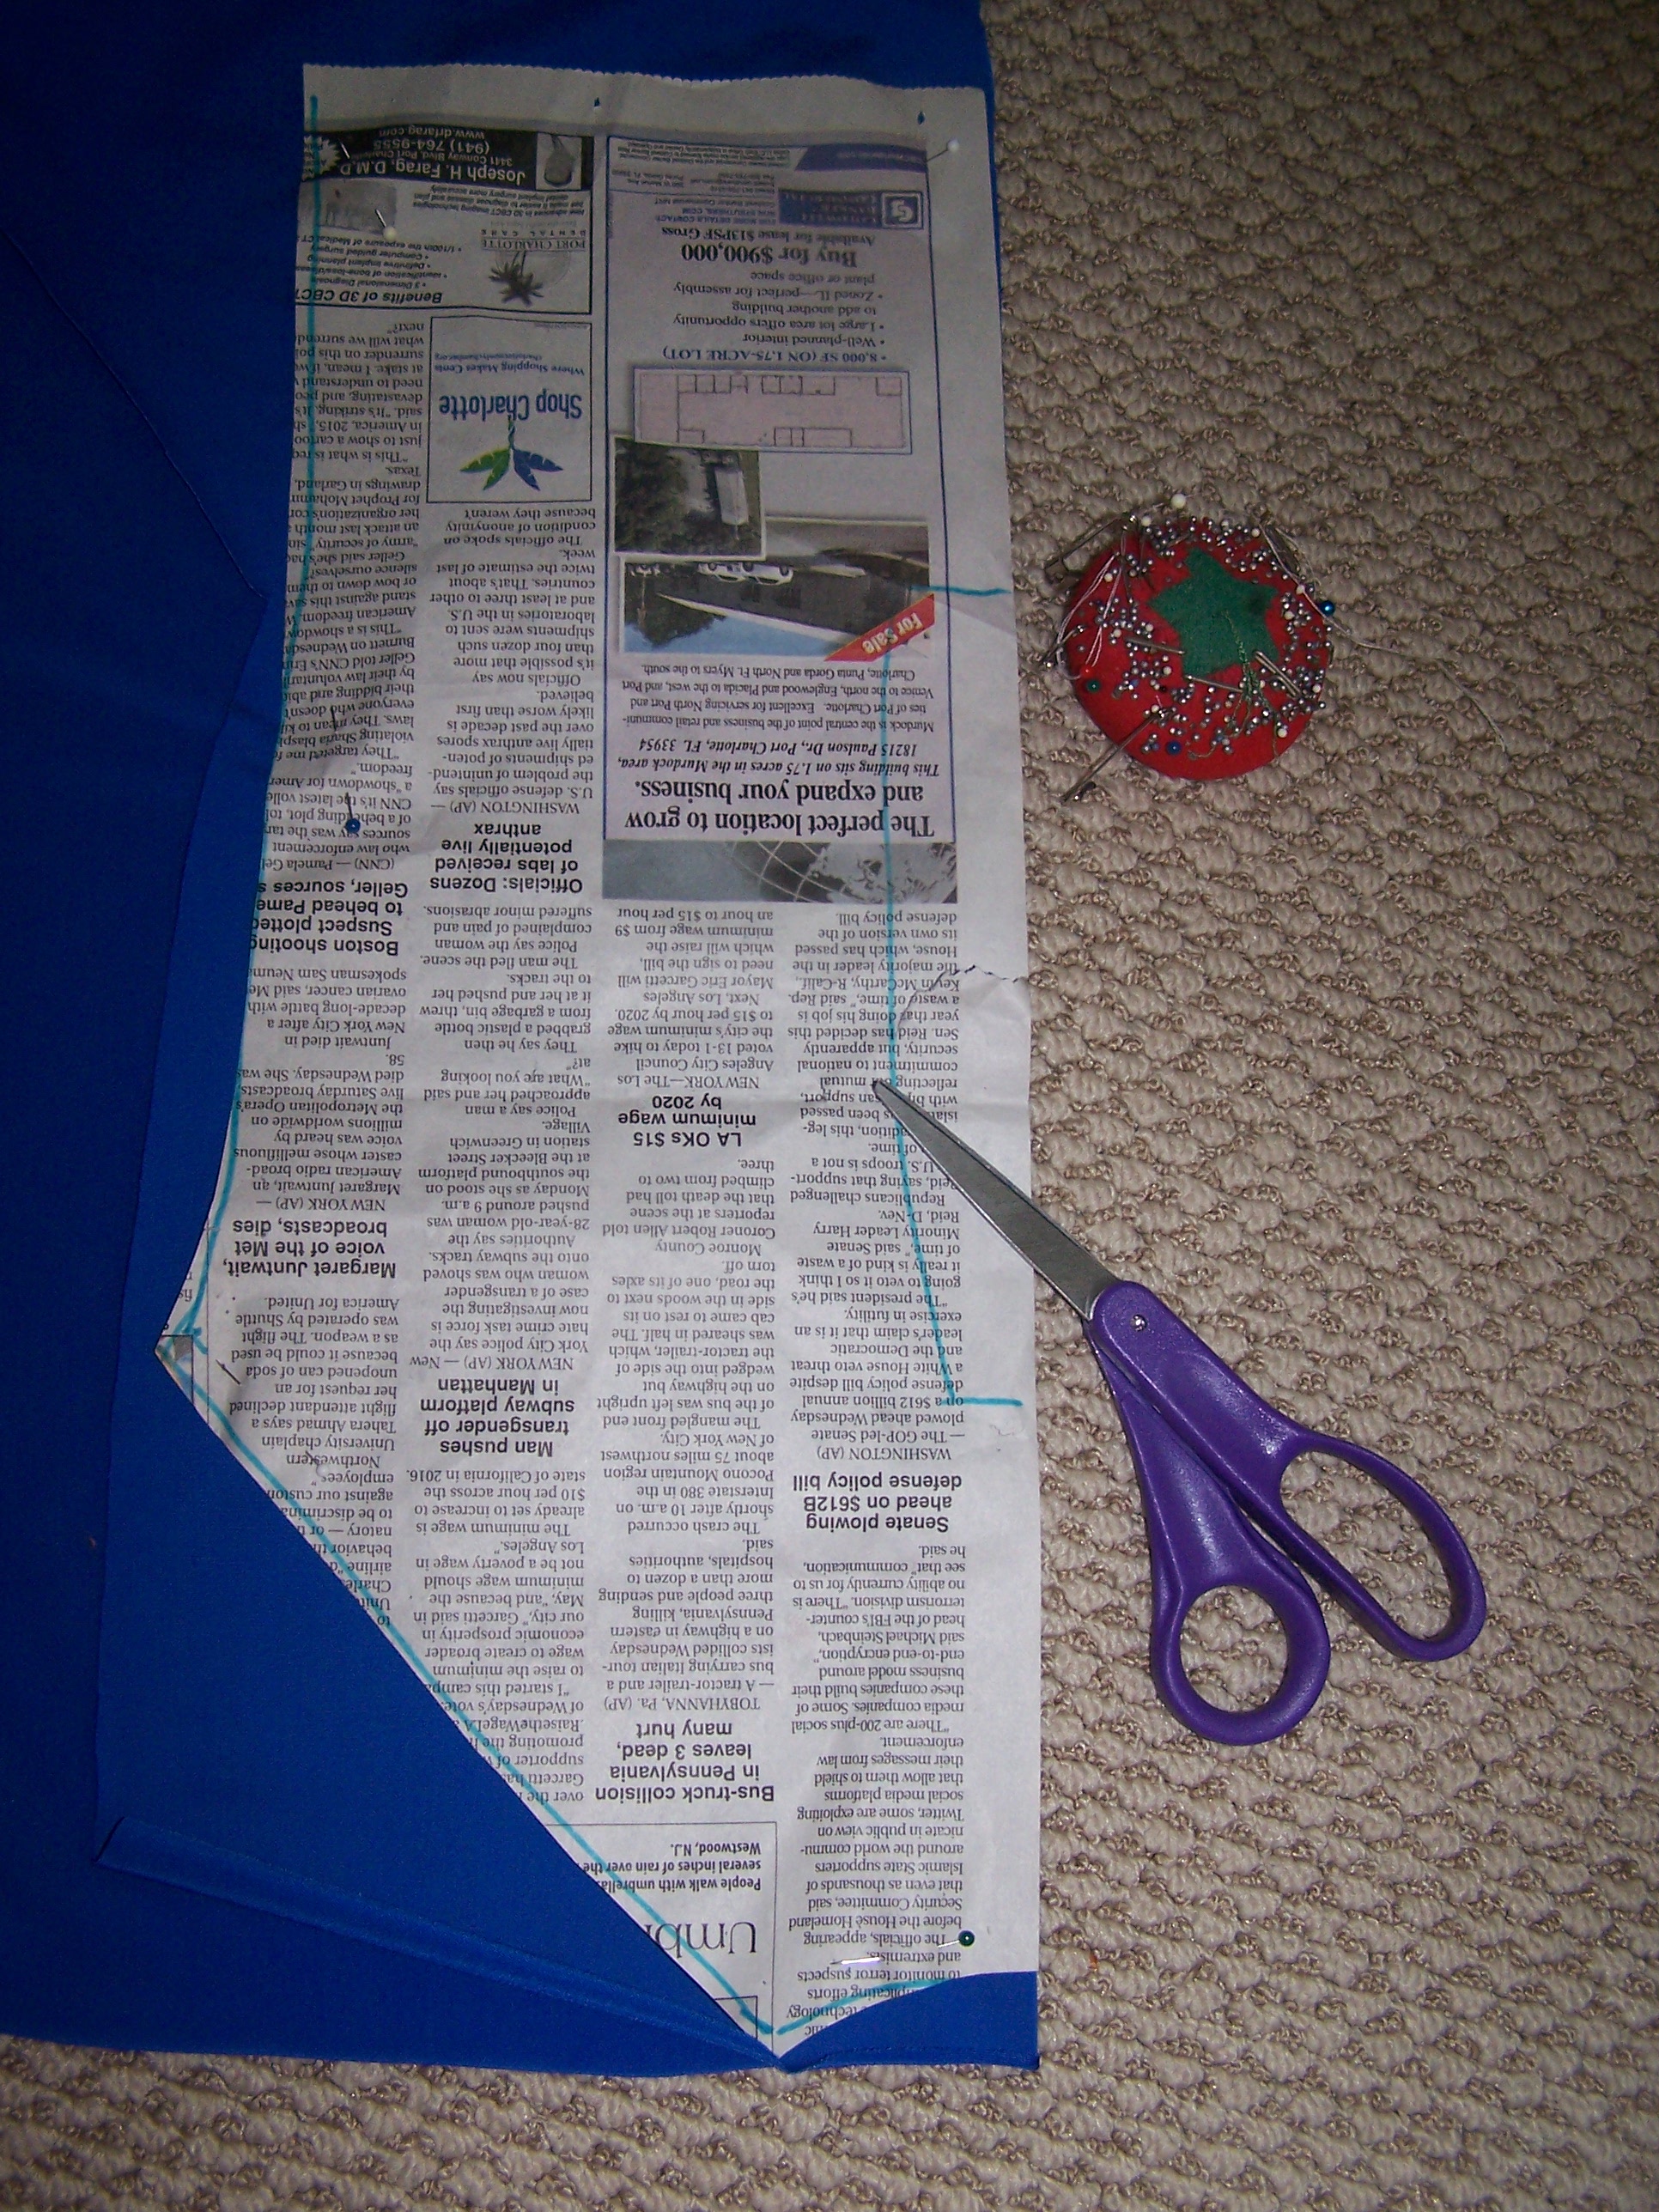
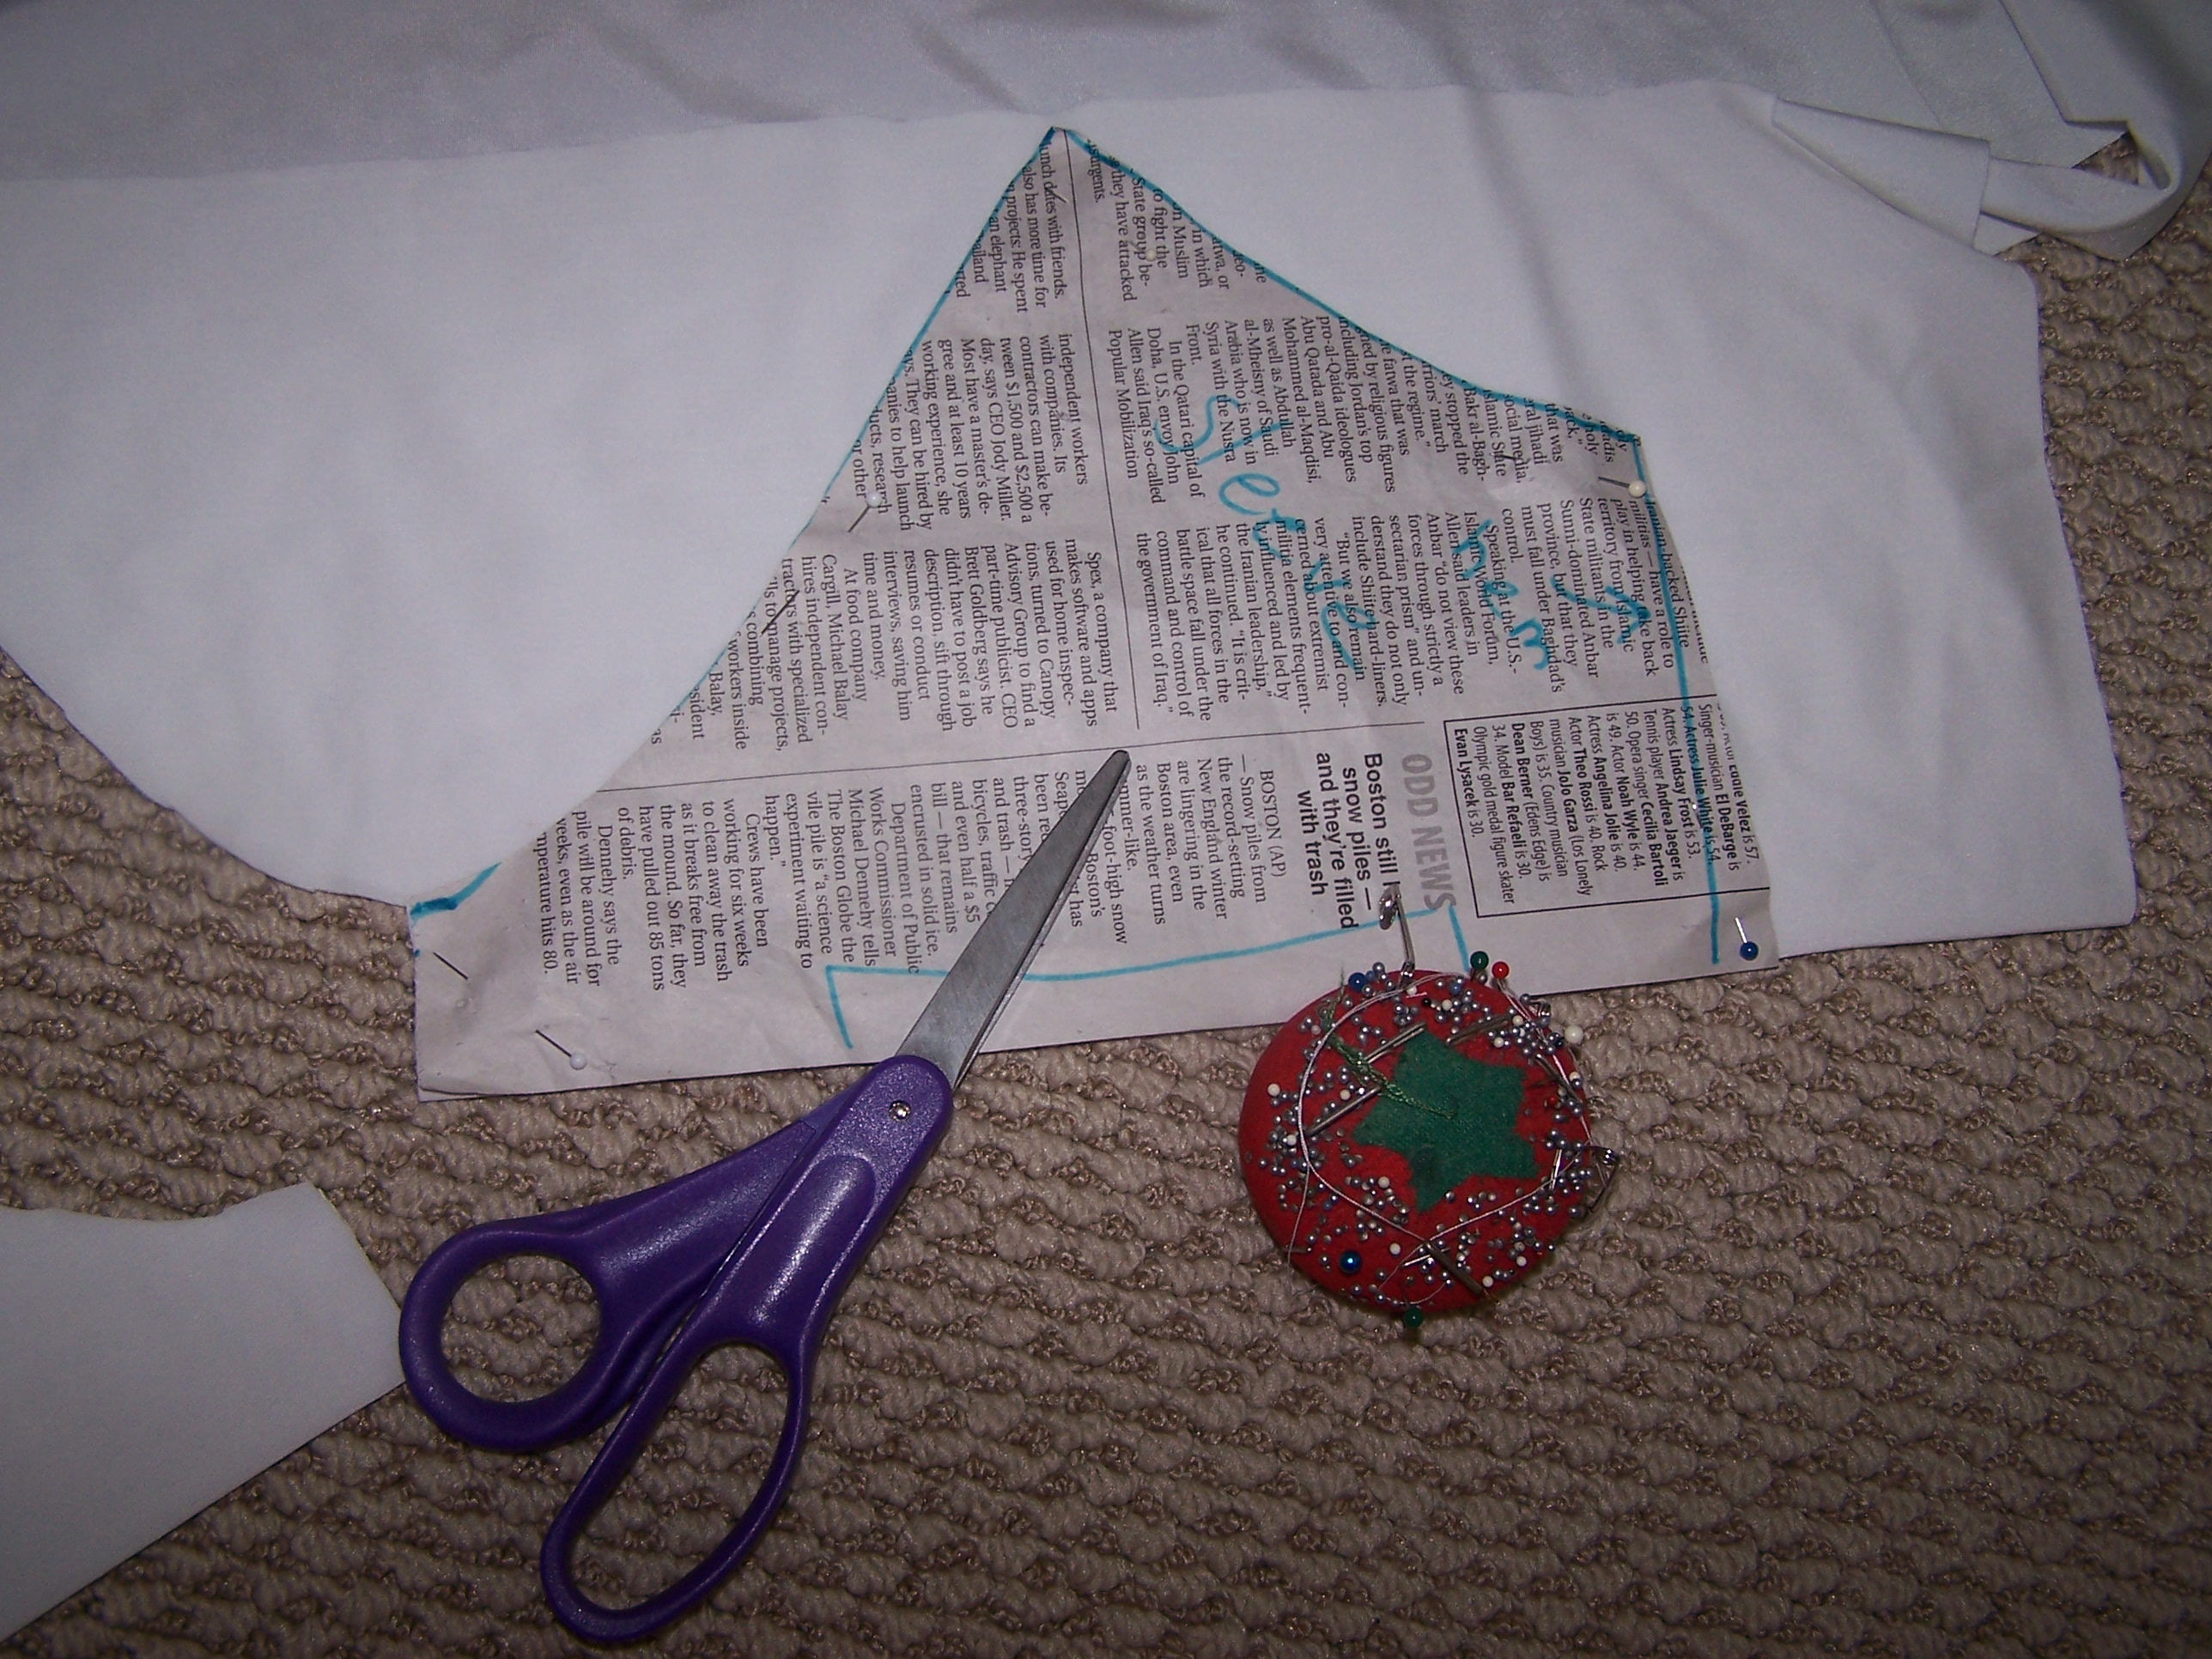
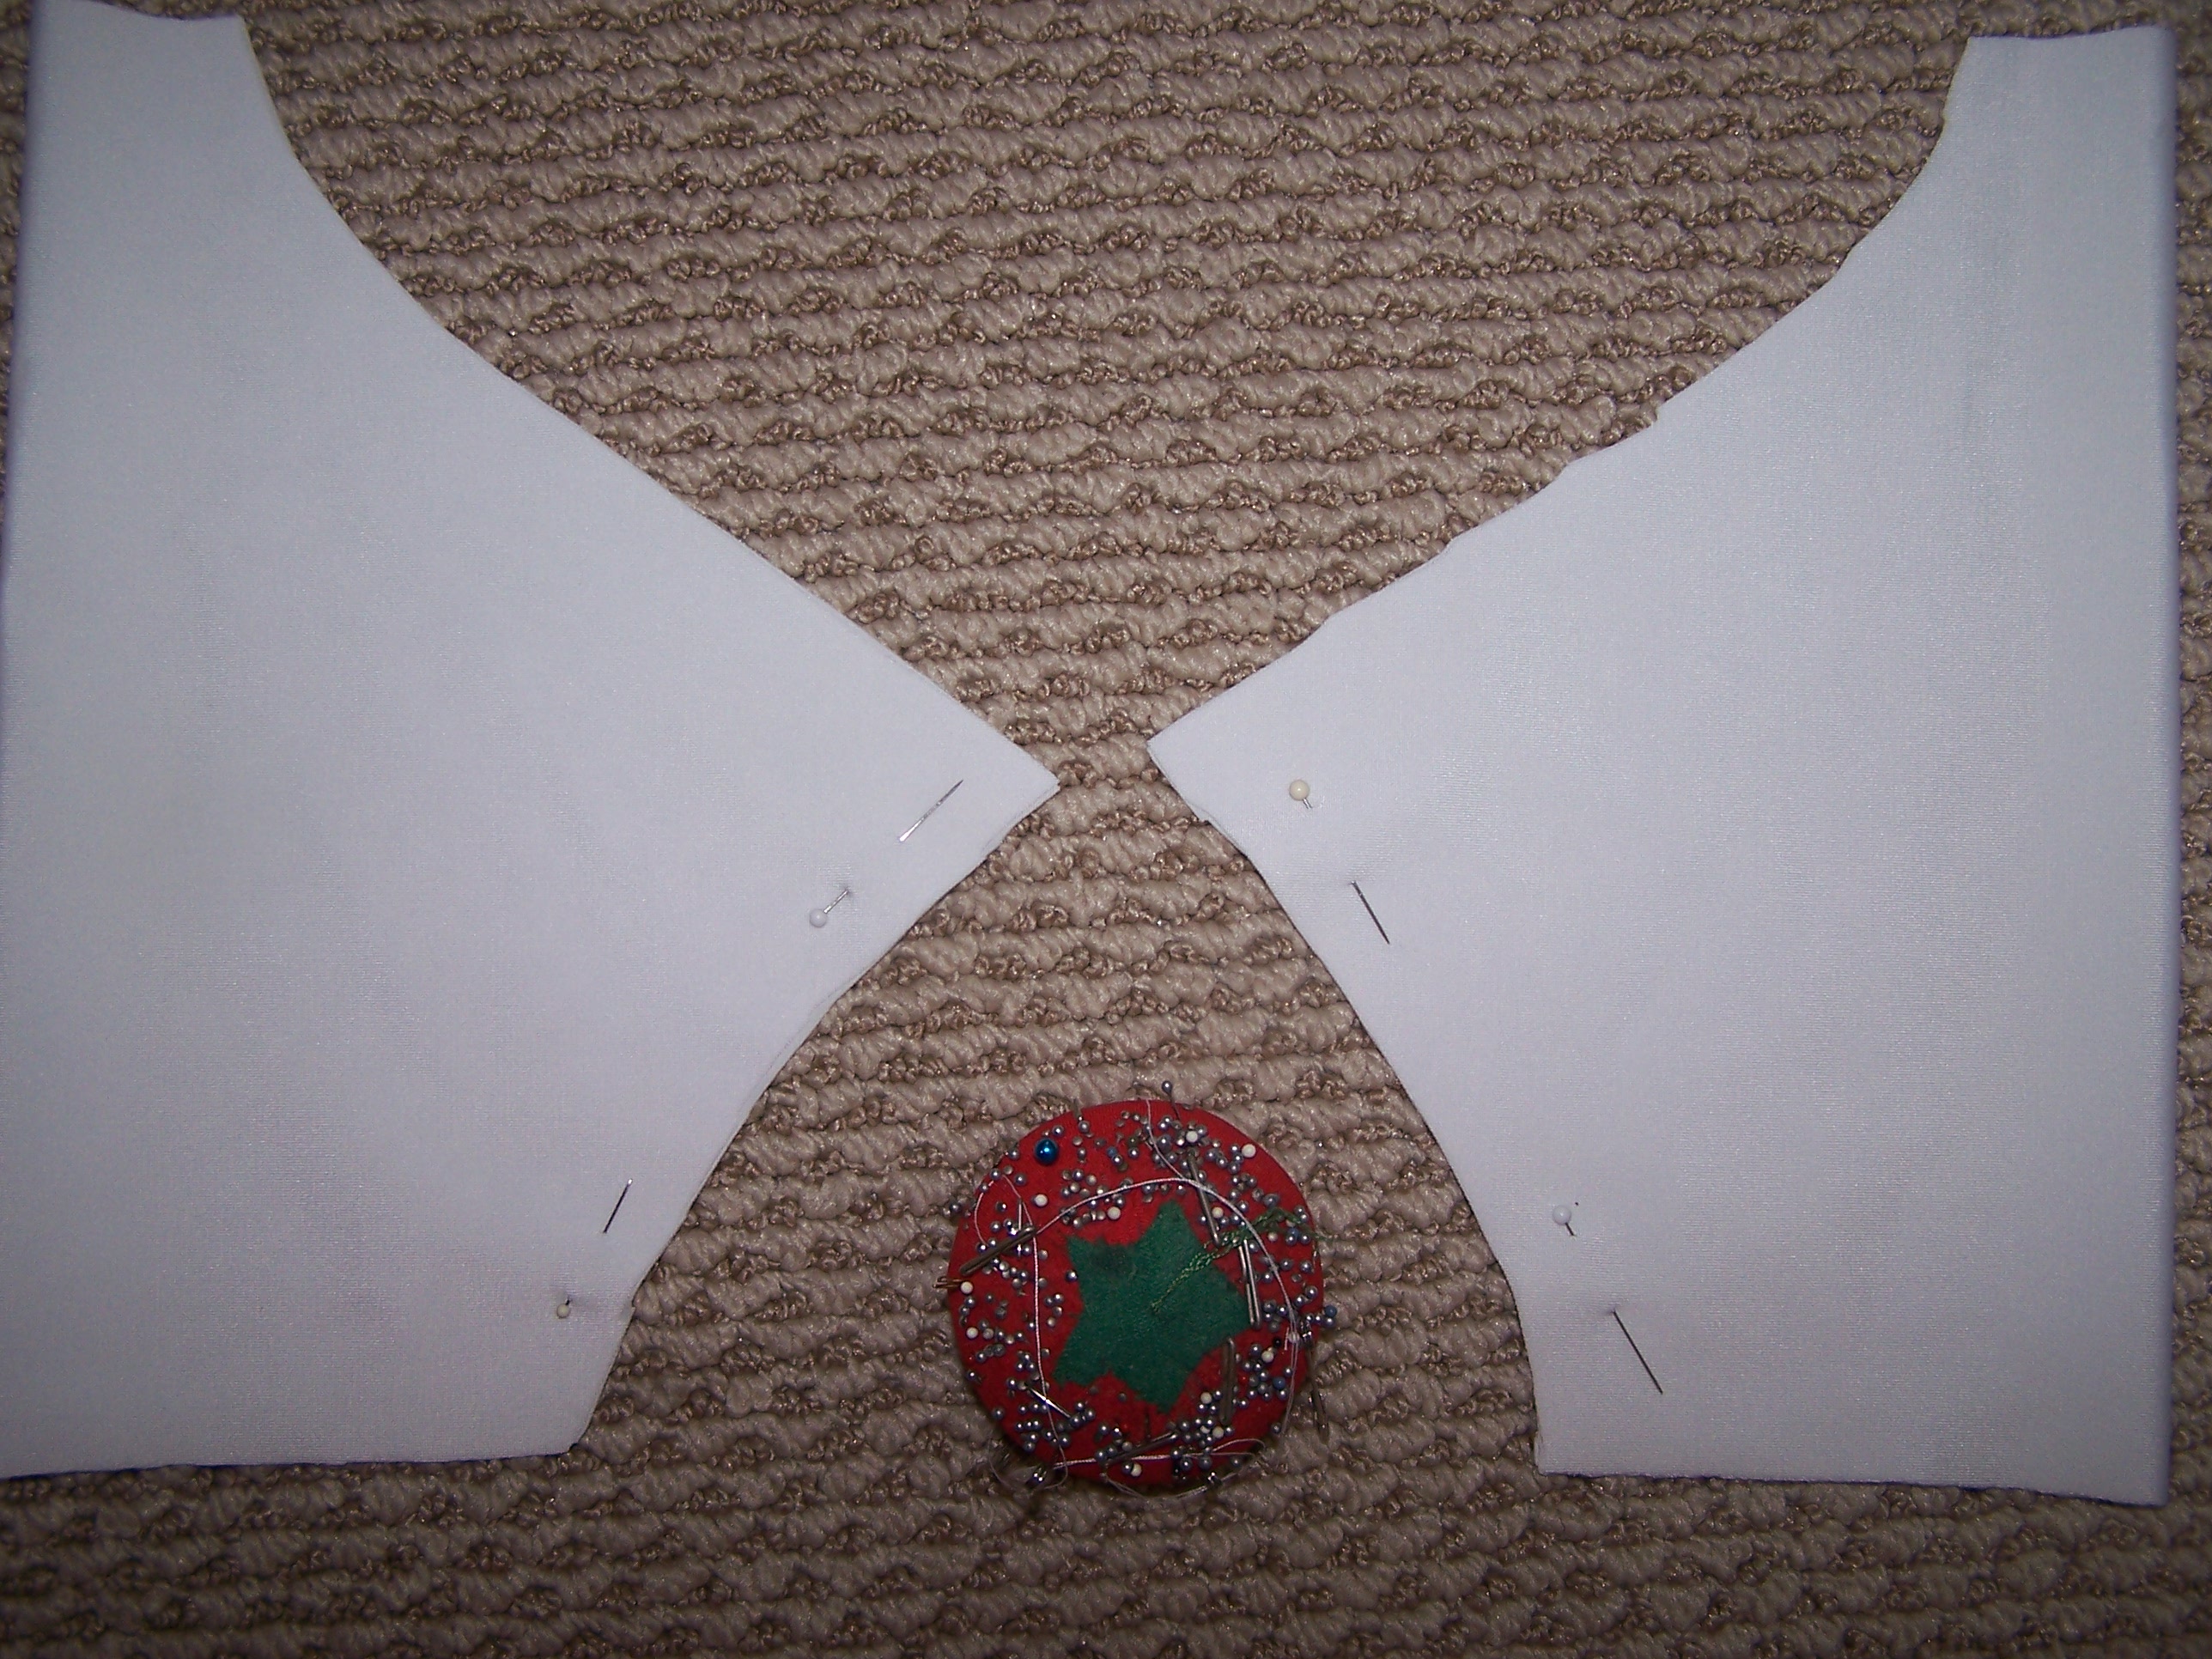
I dream of an etsy shop that provides a livable income.

I dream of a blog that provides a livable income.

I have lots of dreams (obviously), but they don’t all fit together.  I can’t sell everything to live in a camper if I want chickens or extra lots.  My etsy shop requires a sewing room which doesn’t work with living in a camper, but traveling the US in a camper sounds very adventurous!  What am I to do with all these dreams?  God cares about my dreams, but I need to give them over to him.  Sarah says, “where we go wrong is when we hold so tightly to our dreams that we neglect to fully trust God with them” and then,  “The other trouble we run into with our dreams is when we take our very good dreams and try to walk them out before their time, which can bring frustration and/or neglect to our families or where God has us.”

So, dream, dream BIG, but make sure you hand them over to God and let Him guide you.

Buy the book – it’s currently only $8.37!!

 This post contains affiliate links.  See my disclosure policy.


Drafting A Pattern

Old Swim Shirt*This post contains affiliate links.

Most times when I want to make something I dig out a paper pattern that’s close to what I want (or if I’m lucky, exactly what I want) and go from there.  I’ve mashed patterns together with some success.  Occasionally I’ll use a PDF pattern from one of my favorite shops (currently Peek-a-Boo Pattern Shop and Seamingly Smitten).  Sometimes, though I already have an item that’s exactly what I want so I use it to make a pattern.  In this case, I want to make new rash guard shirts for my boys.  Their current ones are a little (maybe a lot!) stretched out and getting thin.  I’m not sure the UV protection is still there.  I found UV fabric at Rockywoods.  While I was waiting for my fabric, I worked on my pattern.  I wanted to make them like the shirts they currently have – raglan style.  I use newspaper or brown packing paper for making patterns.

Fold the shirt in half and fold the sleeves in so they aren’t in the way.  Trace around the outside making sure you add a seam allowance (usually 5/8″).  If you want to make the shirt a little bigger you could add another 1/2″ – 5/8″.  Going up more than one size can get tricky.

Shirt Body Pattern

Fold the sleeve in half. Trace around the sleeve too – don’t forget the seam allowance.

Sleeve Pattern

I usually label my pieces so I don’t get confused later – for some reason I couldn’t keep it straight in my head which end of the sleeve was the bottom so I labeled it.  The sleeve piece is actually upside down in my picture (see? confused!) – the hem is at the top.  The two long edges that are facing each other go on the fold so I drew brackets on them (similar to what paper patterns have).

T-shirt Pattern Pieces

I made a test shirt out of an old t-shirt to test the fit before I cut into my good material.  He was happy with the fit and so was I.  For the neck binding on this one, I used a piece of the neck binding from the old shirt.

Test Shirt

 Then it was time to cut into my good material.  I’m always nervous – once you start, there’s no going back.

Cutting Out Shirt Body

Cutting Out Sleeves

It’s actually a very quick sew-up.  Sew the underarm seams.

Pin Underarm Seams

Sew up the side seams.

Sew Side Seams

Pin and sew the sleeves in place.

Pin Sleeve In

Hem the bottom.

Hem botton

Hem the sleeves.

Hem Sleeve

Attach the neck binding and top stitch if desired.

Attach Neck Binding

Voila!  A finished swim shirt.  My little guy was pretty happy – he’s wearing it even though we aren’t going swimming today…or maybe he just doesn’t want to change again.

Finished Swim Shirt

*This post contains affiliate links.  See my disclosure policy for more details.

Using Applesauce for Eggs plus M&M Cookie Recipe

M&M Cookies Recipe using applesauce

I recently bought four bags of M&Ms because there was a free movie ticket rebate…which I think I mailed in too late.  *sigh*  Anyway, I figured I should use them before we just munch through all of them!  I wanted to make M&M cookies, but my recipe called for two eggs…and I only had three – two of which I needed for breakfast the next day and I did NOT want to run to the store for just eggs!  So, I decided to improvise.  I had some plain applesauce that needed to be used up and I’ve used it making other things (meatloaf, for instance) and the flavor didn’t come through, so I tried it….they were really good!  So good that I decided to make another batch.  I didn’t tell anyone about the applesauce either!  If you’re like me and taste the cookie dough as you mix, it will taste a little applesaucey, but after the cookies bake, you’ll never know.

1/2 C Butter
1/4 C Oil
1 C Brown Sugar
1/2 C White Sugar
2 Eggs (or 1/3 C Applesauce)
2 1/4 C Flour
1 t Baking Soda
1 t Salt
1 1/2 C M&M’s (or a whole bag)

Blend butter/oil and sugars.  Add vanilla & eggs  (or applesauce) and mix.  Add remaining dry ingredients and mix well.  Stir in 1 cup M&Ms.  Drop by teaspoon to ungreased cookie sheet.  Decorate top with remaining M&Ms.  Bake at 375 for 10-12 minutes.


Enjoy!  And don’t mention the applesauce! 😉

M&M Cookies

Homemade Ant Killer

Homemade Ant KillerThis post contains affiliate links.

Shortly after we moved to Florida, we noticed lots of tiny ants in damp spots around the house – near the kitchen sink and in the bathrooms.  We would see trails of them and even though we would kill the ones we could see (by stomping on them), they never really went away.  The previous tenants had left behind a bottle of Terro which we used.  We would put some on a piece of paper and leave it near where we were seeing ants. However, when I started finding them in the cupboards, I didn’t know what to do, so we called in the pros.  It was nice not having to worry about critters in the house – if we found one we could simple call the pest control company and they would send a guy out to take care of the problem (they came quarterly to do checks and we got free callbacks anytime we saw bugs).  The only problem was that it was costing us money.  Money that I was sure we didn’t need to be spending.  They were tiny little ghost ants.  Surely there was a way to get rid of them that didn’t involve paying someone else.  A little research turned up several recipes.

Ant Trail

See all those little black dots? Those are ants. All along the edge of the carpet too.

They all involved sugar and borax and since I had both, I mixed some up.  It took less than 5 minutes and I had an effective, cheap ant killer

I dripped the ant food along the outside of our lanai.

Ants Treated Outside

The ants were crawling all along the outside of our lanai.  You can see them starting to gather around the drip of ant food.

We used to put the food inside wherever we were seeing ants and it did work.  The ants would clear up.  However, it seems like that would call more ants in, right?

More Treated Ants

More ants gathering up the food.

At some point we got smart and started putting the food outside.  You have to find an ant – just one – to spread the word.  Then they seem to come from all around, but at least they’re not calling more into your house!  It may take several weeks to wipe out the entire nest (colony?).
Treated Ants Again

Just keep treating them and eventually they’ll be gone. Treated Ants

Recipe

1 C Sugar

1/2 C Water

1 T Borax

Mix together in a small saucepan and heat to boiling.  Boil until everything is dissolved – just a couple minutes.  Pour it into a glass jar (I used a pickle jar).  When you need some, just pour a little out either on a plastic lid (like a water bottle or yogurt lid) or on the ground if you’re doing it outside.


Homemade Ant Food Stored in Glass Jar

This post contains affiliate links.  See my disclosure policy.

Homemade Dishwasher Soap

Homemade Dishwasher Soap Ingredients

I’ve been wanting to try making dishwasher soap for a while and finally got around to buying the necessary ingredients.  There are a lot of recipes out there, but I went with simple – Borax, washing soda, coarse salt, and citric acid.  All items that can be found at your local store.  I paid about $9 for everything but the Borax (which I already had).  Borax is around $4 for a box.

The citric acid came in a 7.5 oz container which is almost one cup.  So, I doubled the recipe (the original used 1/2 cup citric acid) because why just make a little bit when you’re testing something, right?  Since I doubled it, it didn’t fit in my handy peanut butter jar.  So, I had to rummage for another container.  This one doesn’t seal very well so as soon as I use some up, I’m going to transfer it.  If there’s a next time, I’ll only make a single batch.

It was really quite easy!  Just dump all the ingredients together, stir them a bit, and it’s ready to use.

All Ingredients Mixed Detergent

Dishwasher Soap Ready to UseRecipe

1/2 C Citric Acid

1/2 C Coarse Salt

1 C Washing Soda

1 C Borax

Use 1 T per load.

When I figure out how much it cost to make it, I get about $2.45 for a single batch or about $.05/T.  I’m not sure it’s any cheaper than the Palmolive Eco gel I normally buy.

What about you – do you make your own or buy it?  Why?

Update – I didn’t like this as much as I wanted. It may be that because it wasn’t in an airtight container, it clumped up and made it hard to use. It wasn’t really any cheaper than my normal detergent so I never made it again.

  • « Previous Page
  • 1
  • …
  • 19
  • 20
  • 21
  • 22
  • 23
  • …
  • 43
  • Next Page »

Hi, I'm Mona - wife, mom, teacher, seamstress, blogger. This is my home on the web. Read More…

Categories

Copyright © 2026 · The Marianne Theme By Blogelina · Built on the Genesis Framework

Copyright © 2026 · The Marianne on Genesis Framework · WordPress · Log in