SewMona

A slice of my Florida life

  • Sewing
    • SewMona on Etsy
    • Clothes
      • Boys
      • Girls
      • Men
      • Women
    • Pattern Reviews
    • How to Sew
  • Camping
    • Florida Campgrounds
  • Recipes
  • Crafts
  • DIY
  • About

How To Sew: Shortening 3/4 Sleeves

How to sew shorten sleeves

I’m working on a series of posts about adjusting clothing to fit.  To see all of them click here – How to Sew.

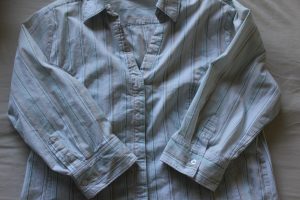
I’ve had this shirt for several years now.  I really like it, but I’ve only worn it a handful of times.  Why?  It has 3/4 length sleeves with a button cuff.  I’m not sure who thought that would be comfortable, but it isn’t!  The sleeve can’t slide up and down my arm.  No matter how I move my arm, the sleeve stays right there – half way between my elbow and my wrist.  It means the rest of the shirt pulls up whenever I reach.  I’m not into showing off my midriff and it’s just plain uncomfortable.  So, it mostly sits in my closet.  Why have I kept it?  Well, I do like the style & the print.  It’s also nice material with 3% spandex so it has a little give to it.

Button Up Shirt with 3/4 Length Sleeves

The other day, I wanted to wear it, but as soon as I put it on, I remembered why I don’t.

Button Cuff Doesn't Let Sleeve Slide

The sleeve can’t slide past my elbow. Very annoying!

Plus, now that I live in Florida, I don’t have much need for anything beyond short sleeves.  I’m not sure why I didn’t think of it sooner – I’ve shortened a lot of hubby’s dress shirt sleeves.  It’s so easy!

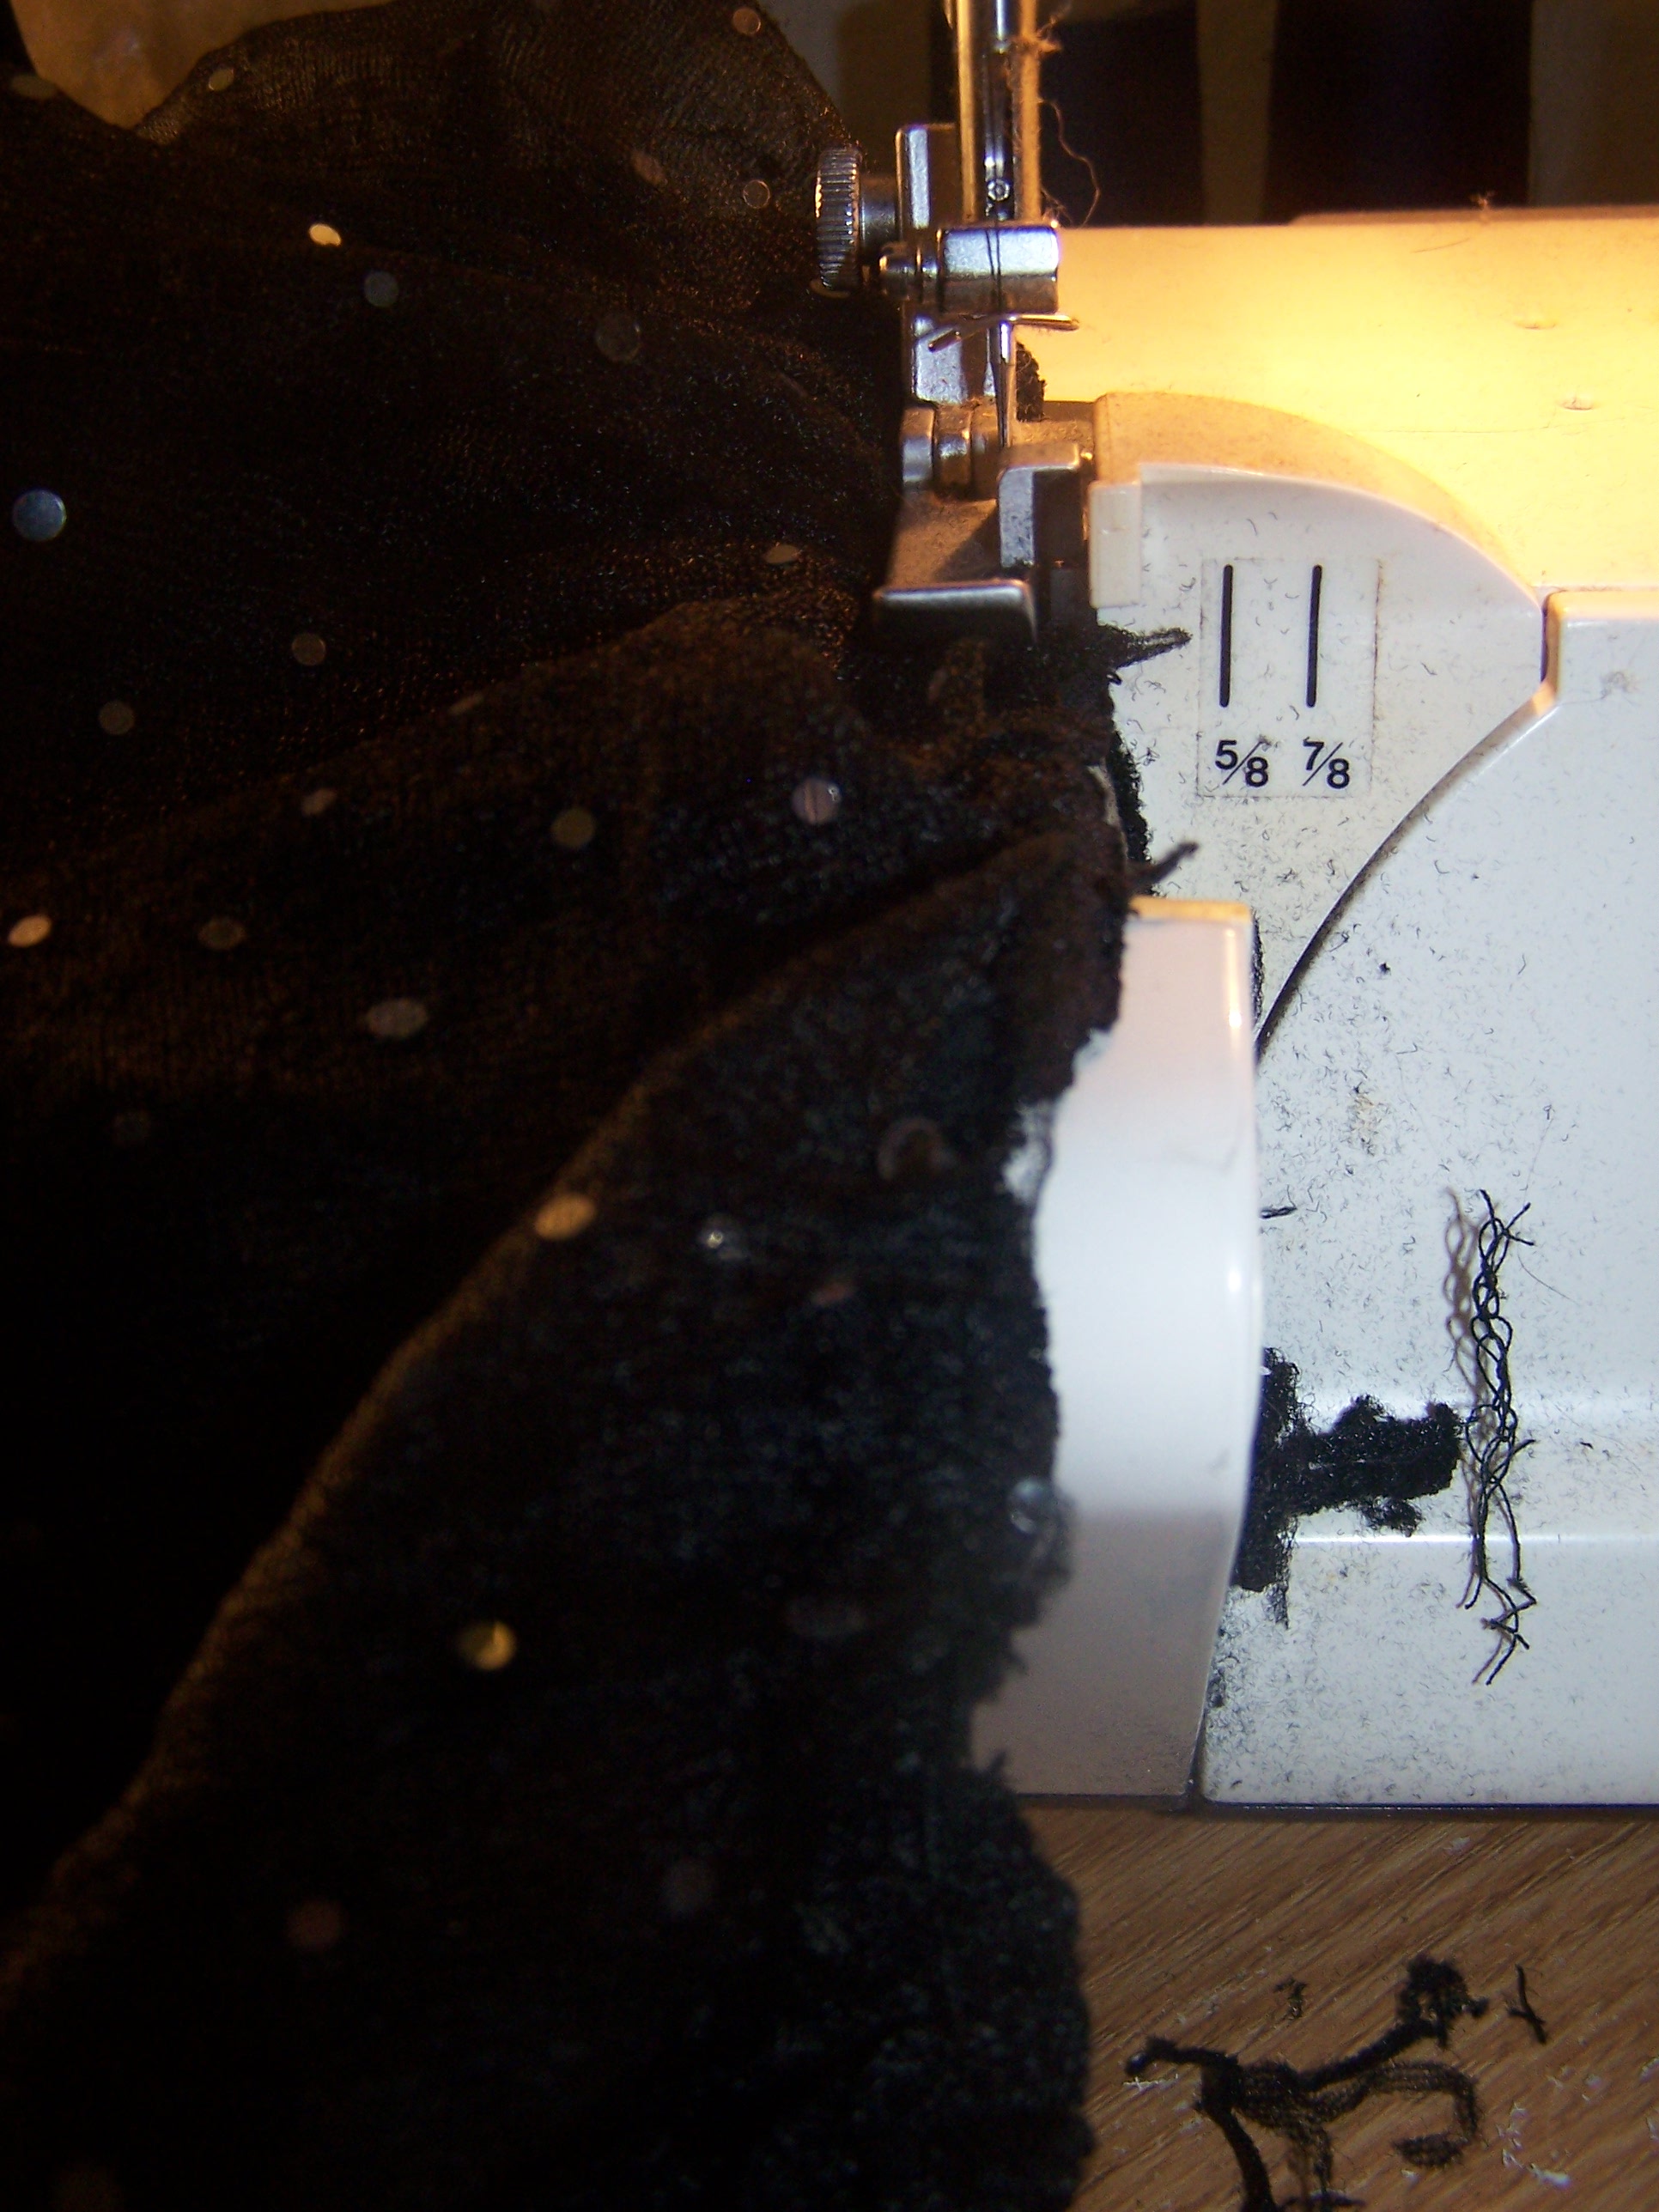
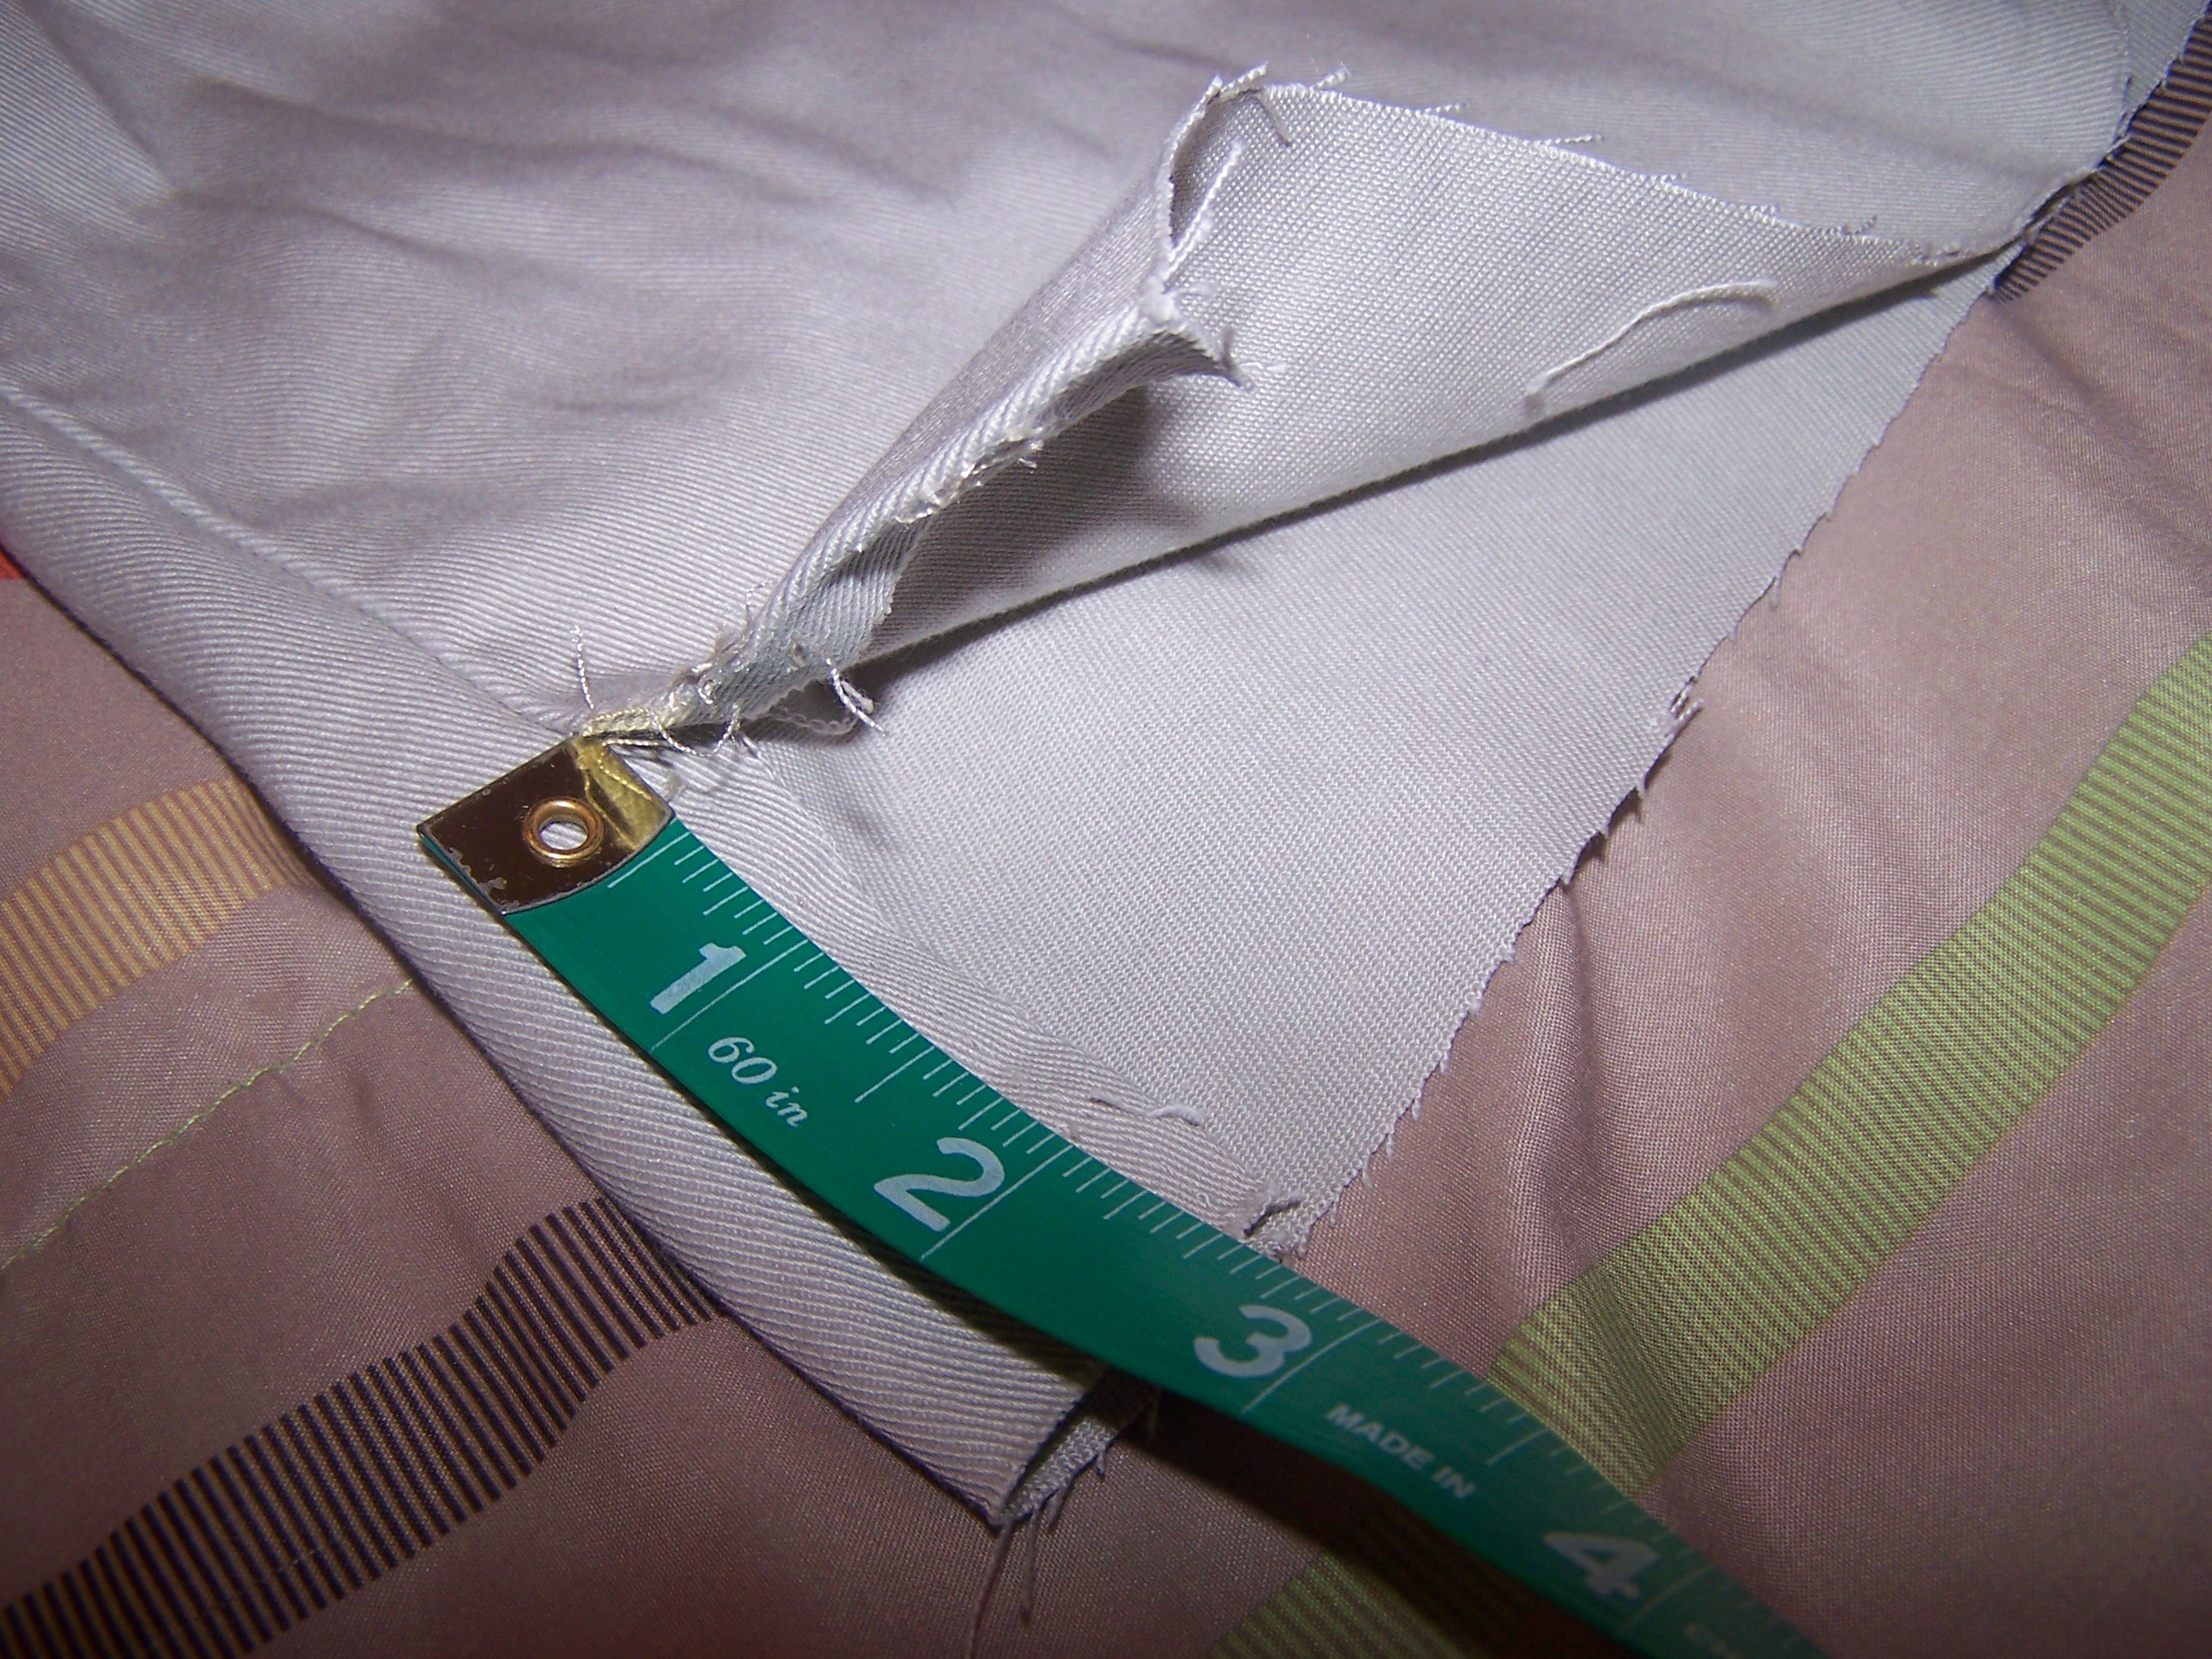
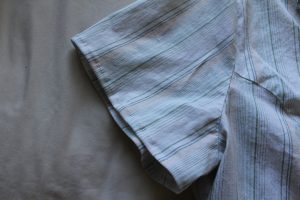
Cut the sleeve off at the desired length plus 1/2″ for the hem.Cut Sleeve Off

Using the cut-off as a pattern, cut the other sleeve to match.Cut Other Sleeve to Match

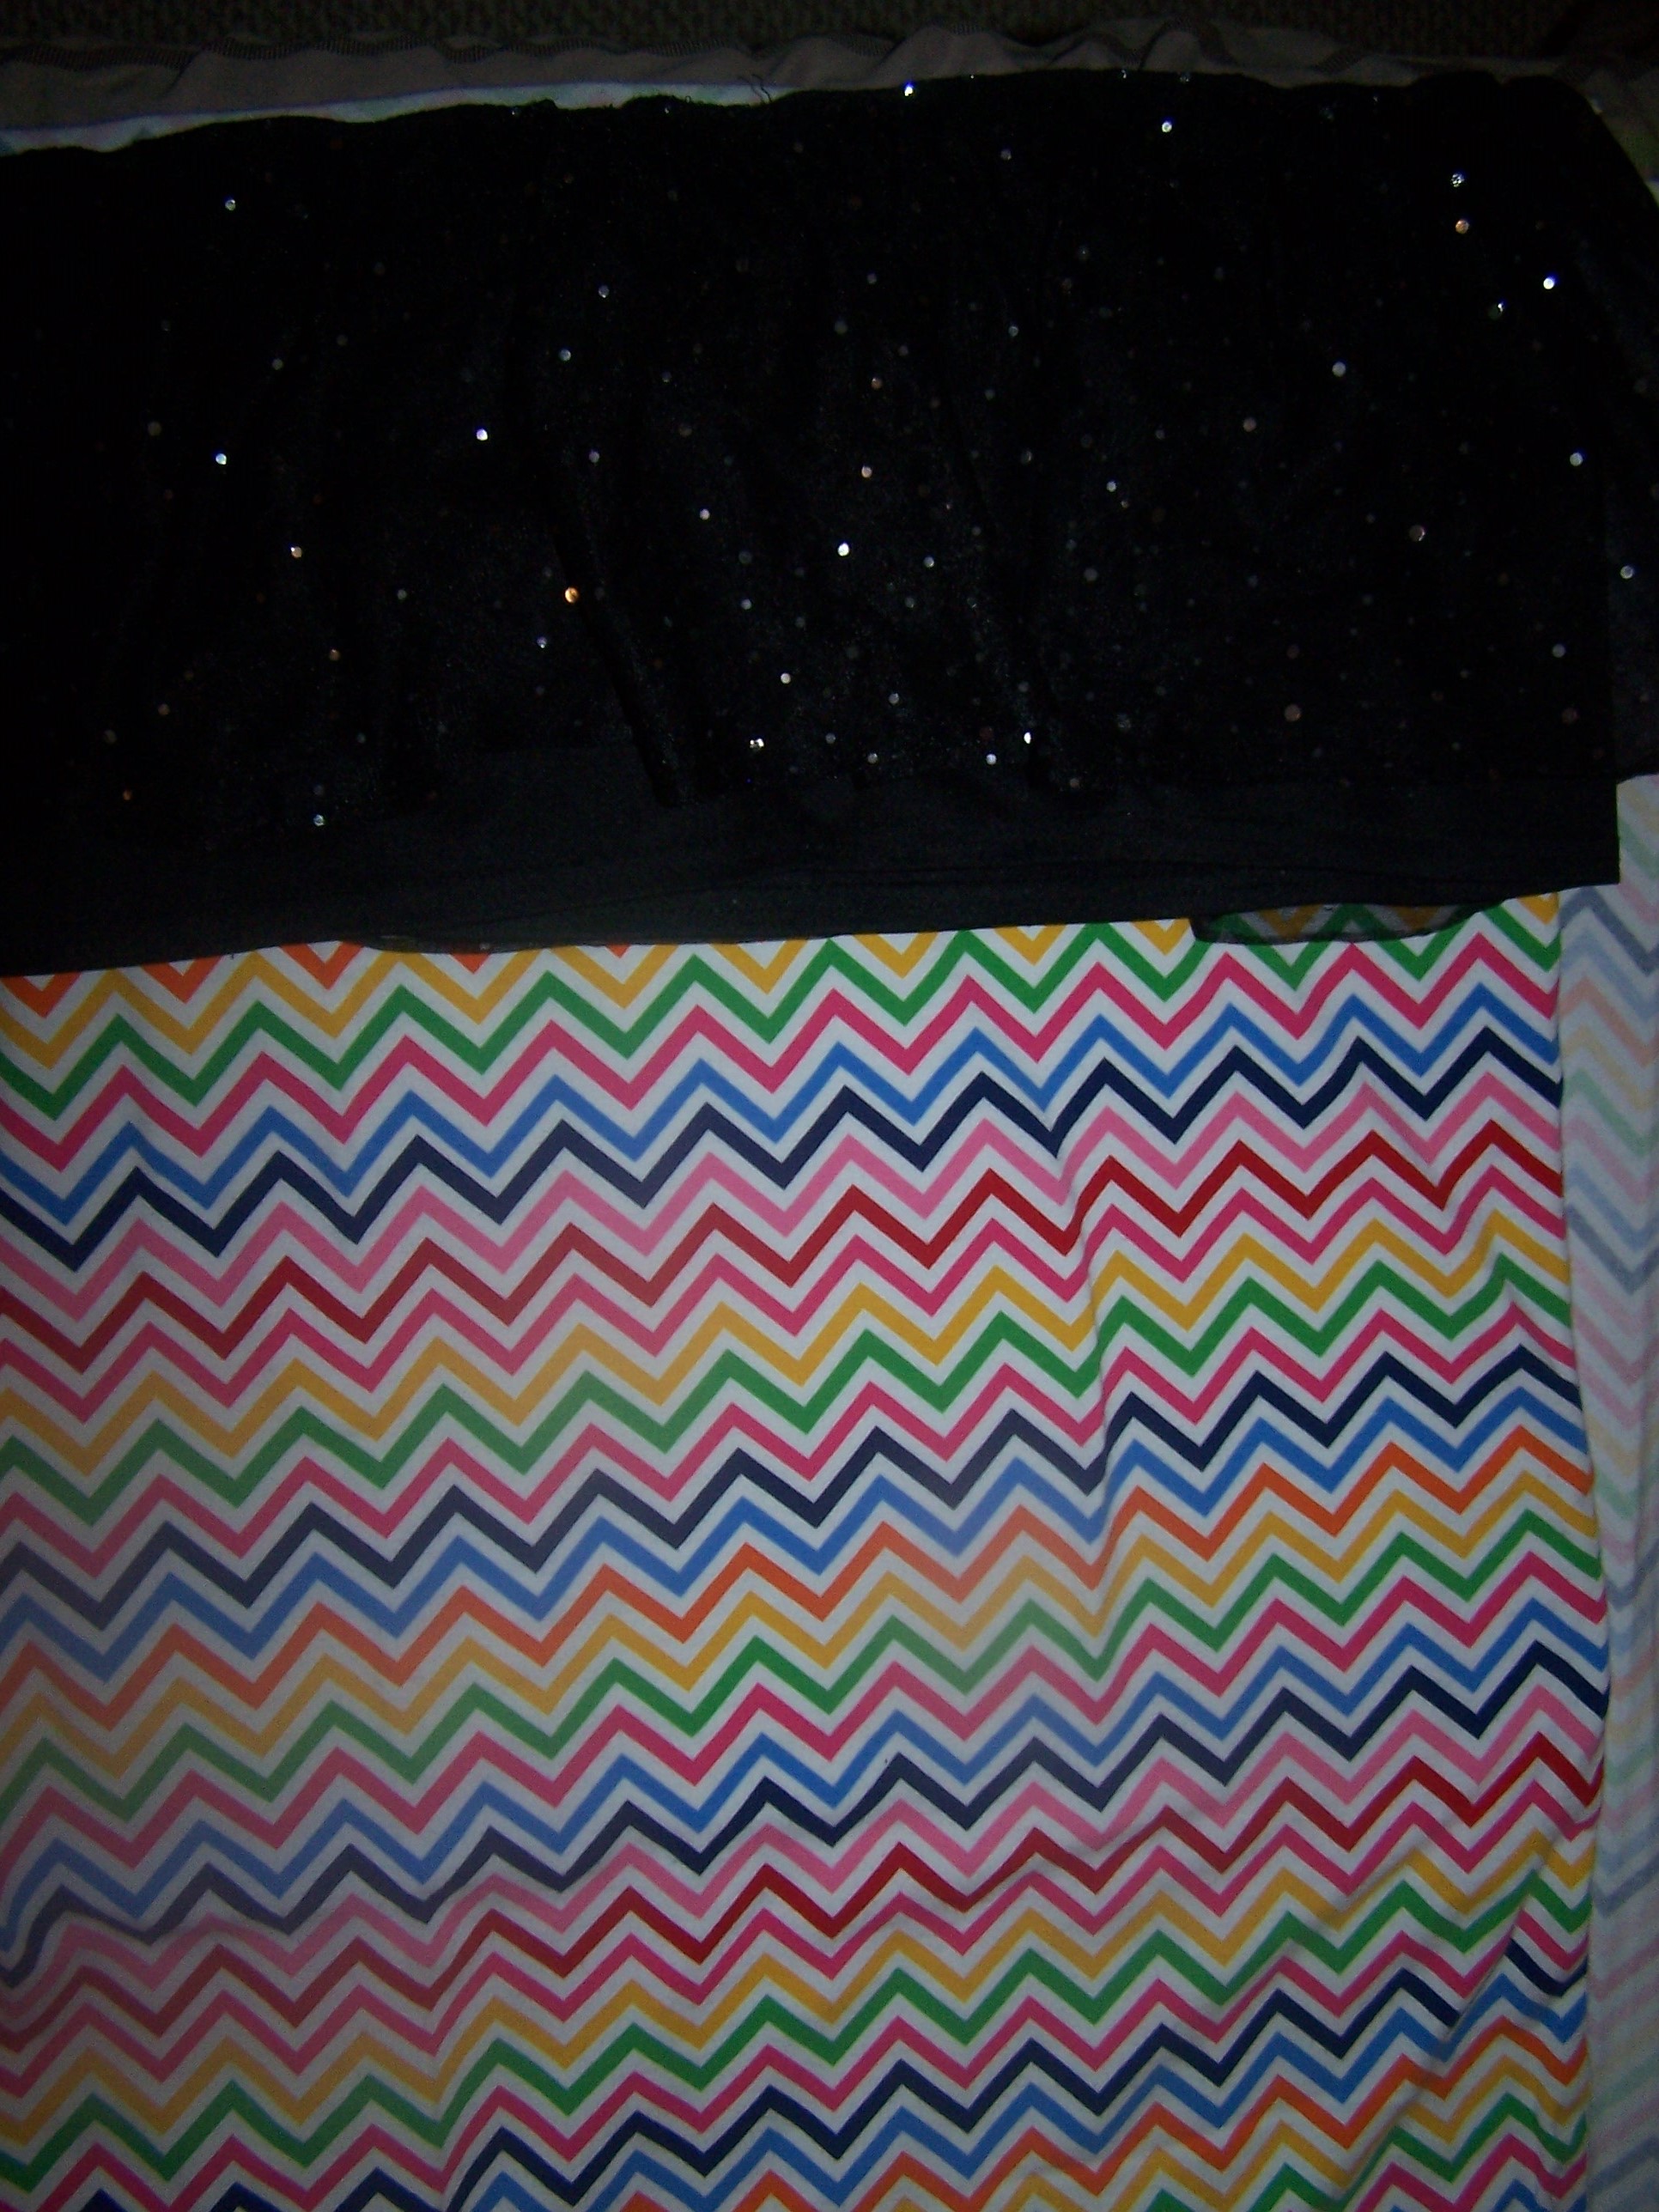
It looks better already!Sleeves Shortened

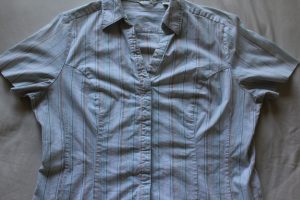
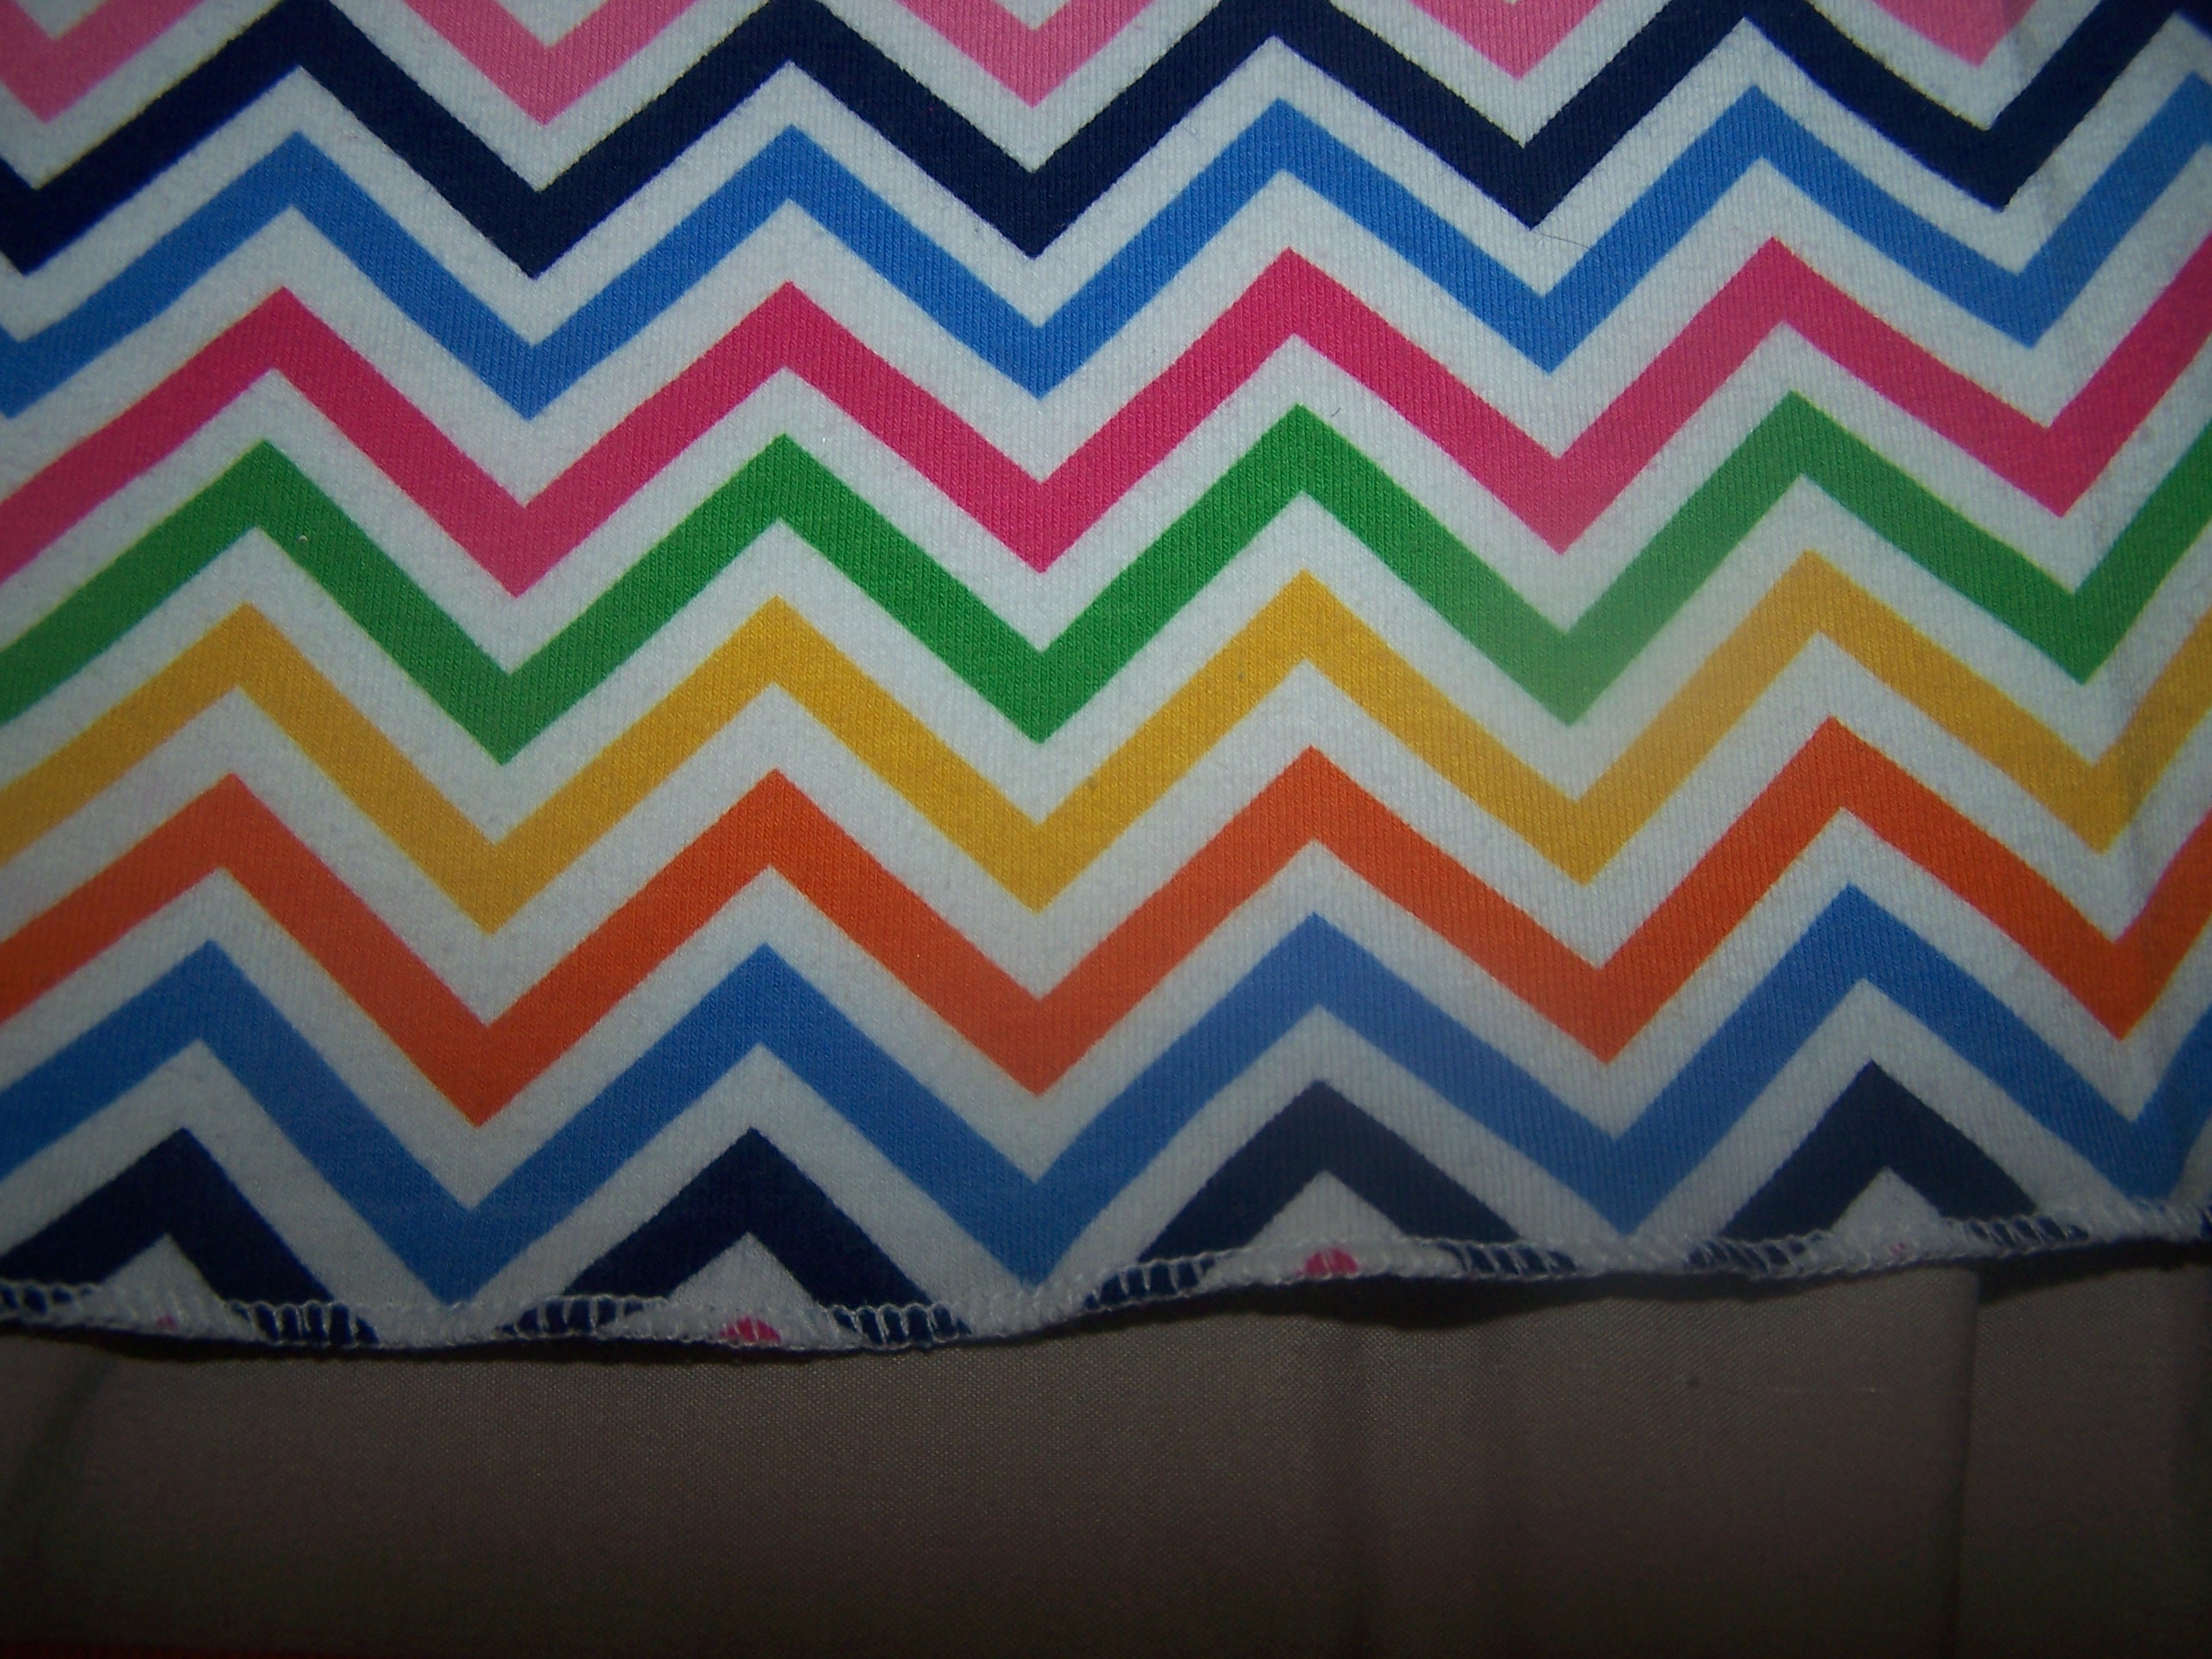
All they need is a quick hem.

Turn under 1/4" on the sleeve edge.

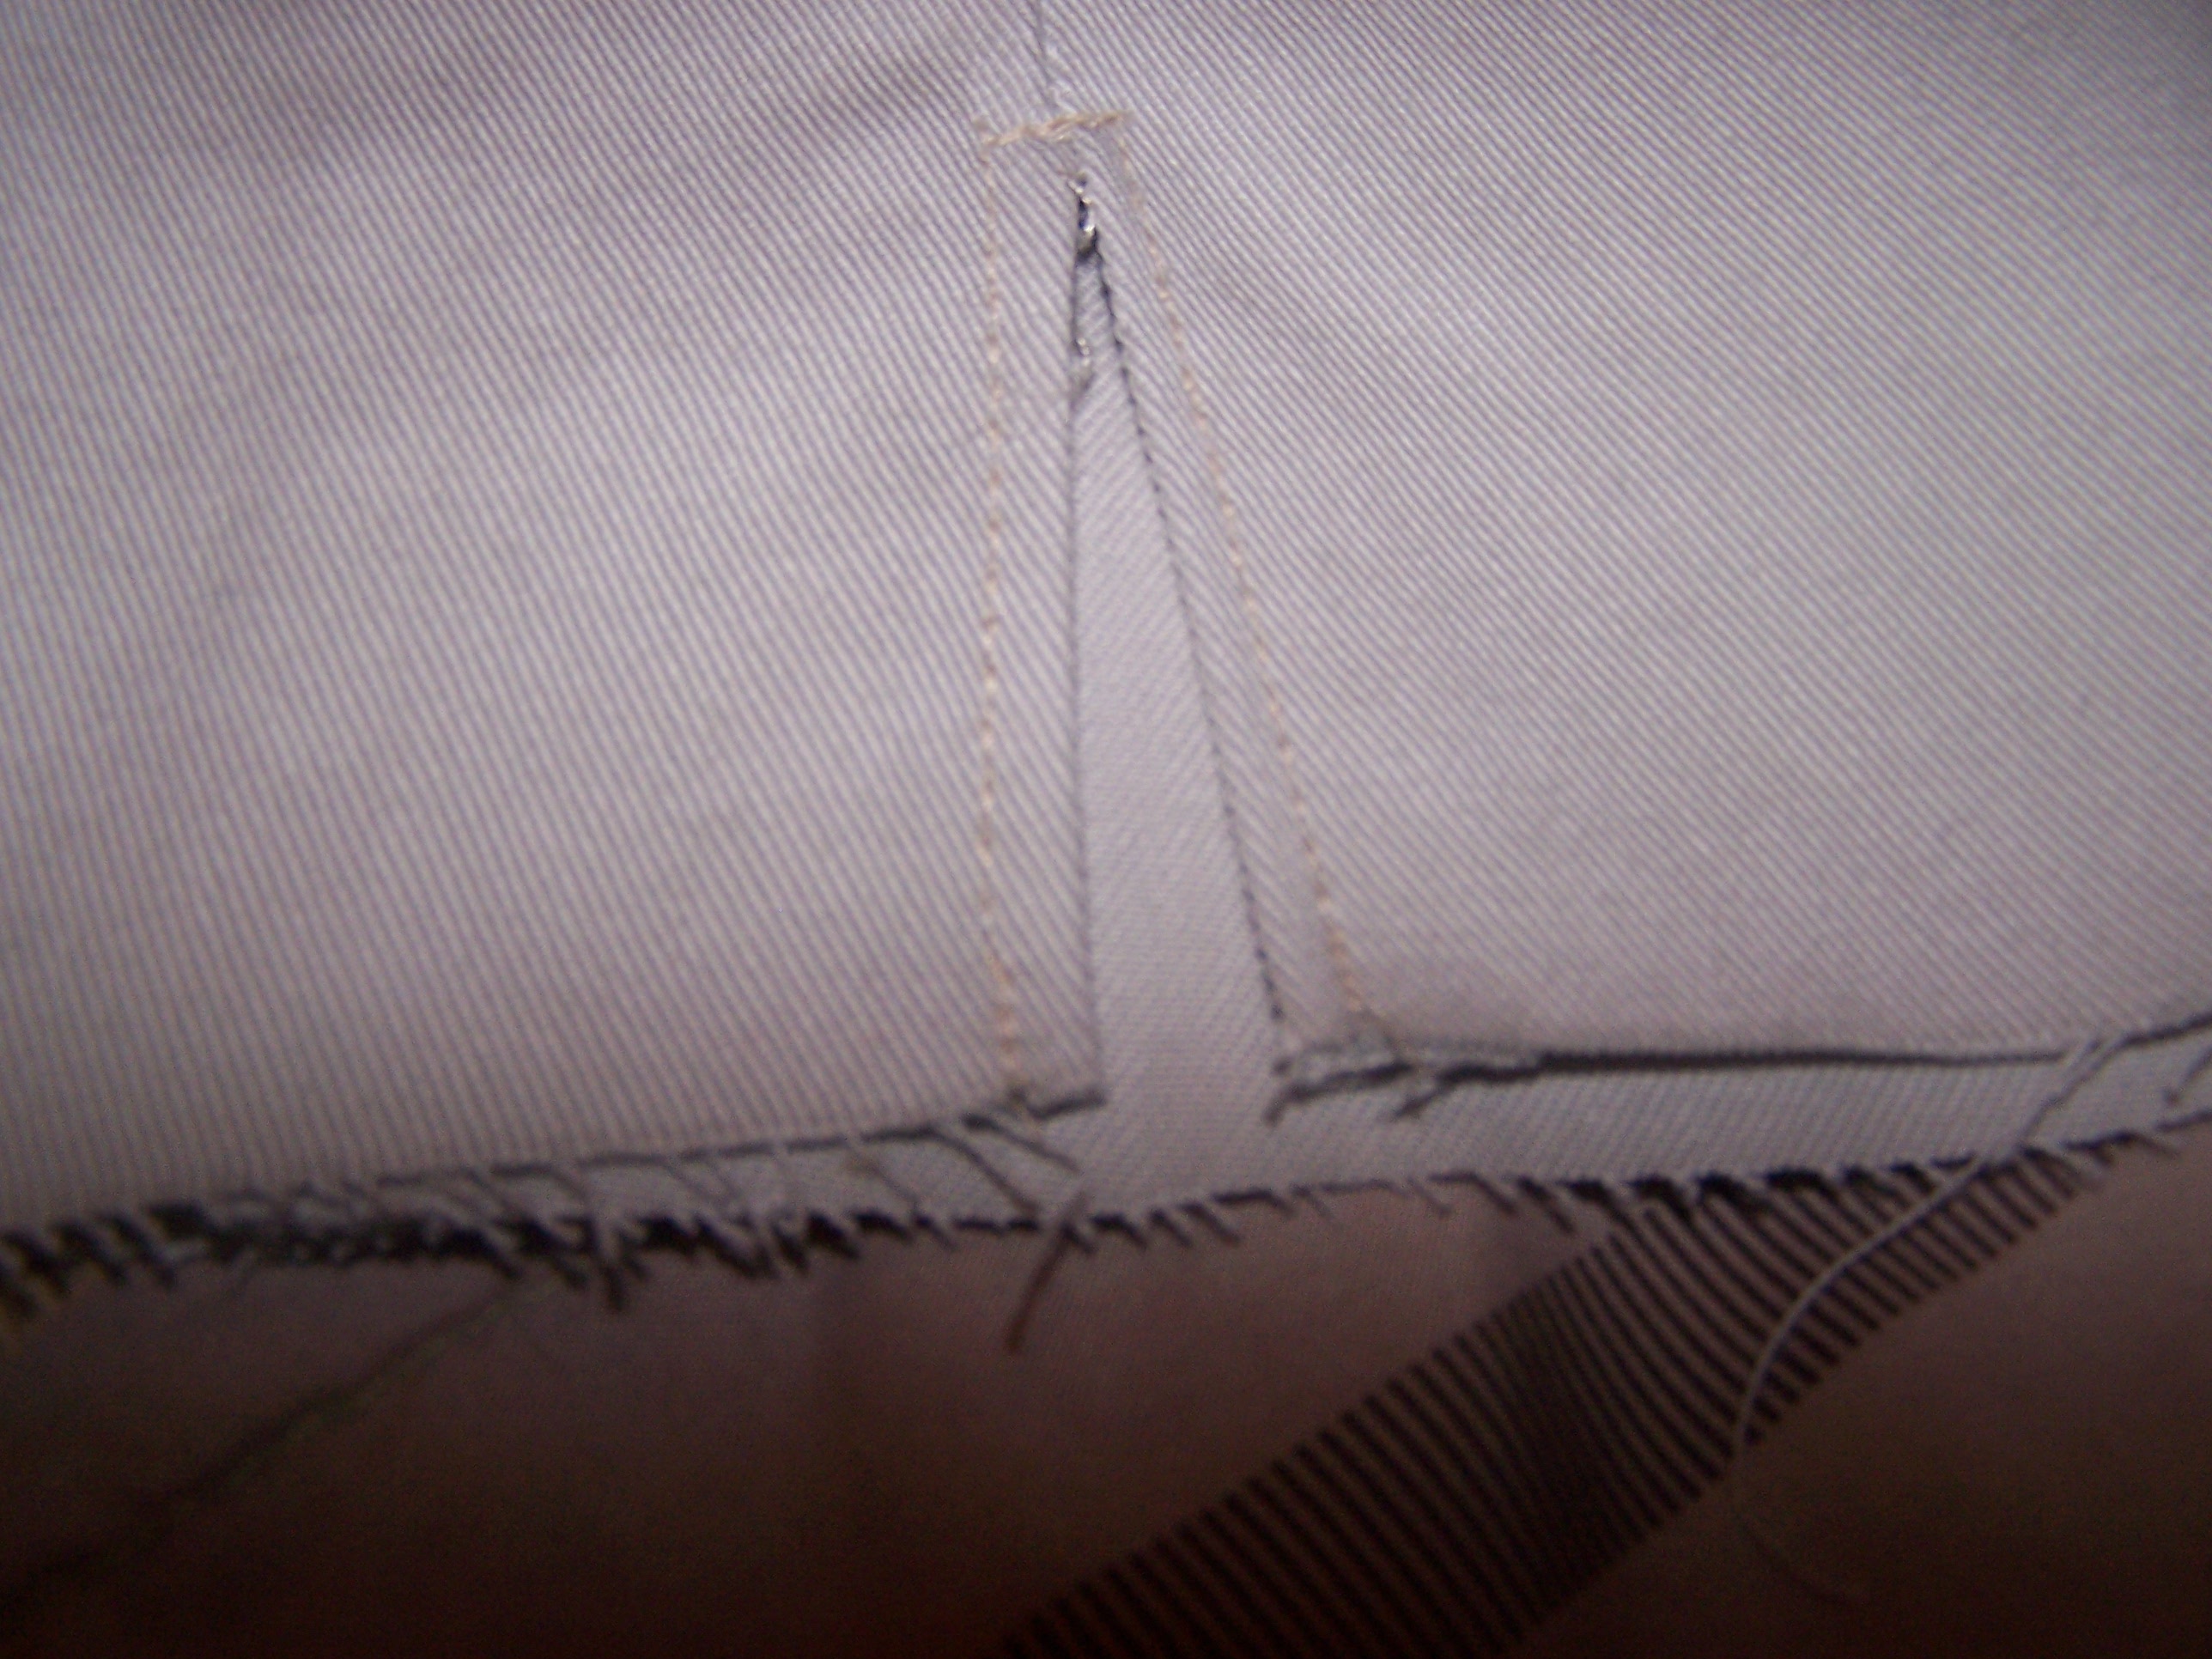
Turn under 1/4″ on the sleeve edge.


Turn under another 1/4" and sew in place.

Turn under another 1/4″ and sew in place.


Finished Sleeve

My new short sleeved shirt.

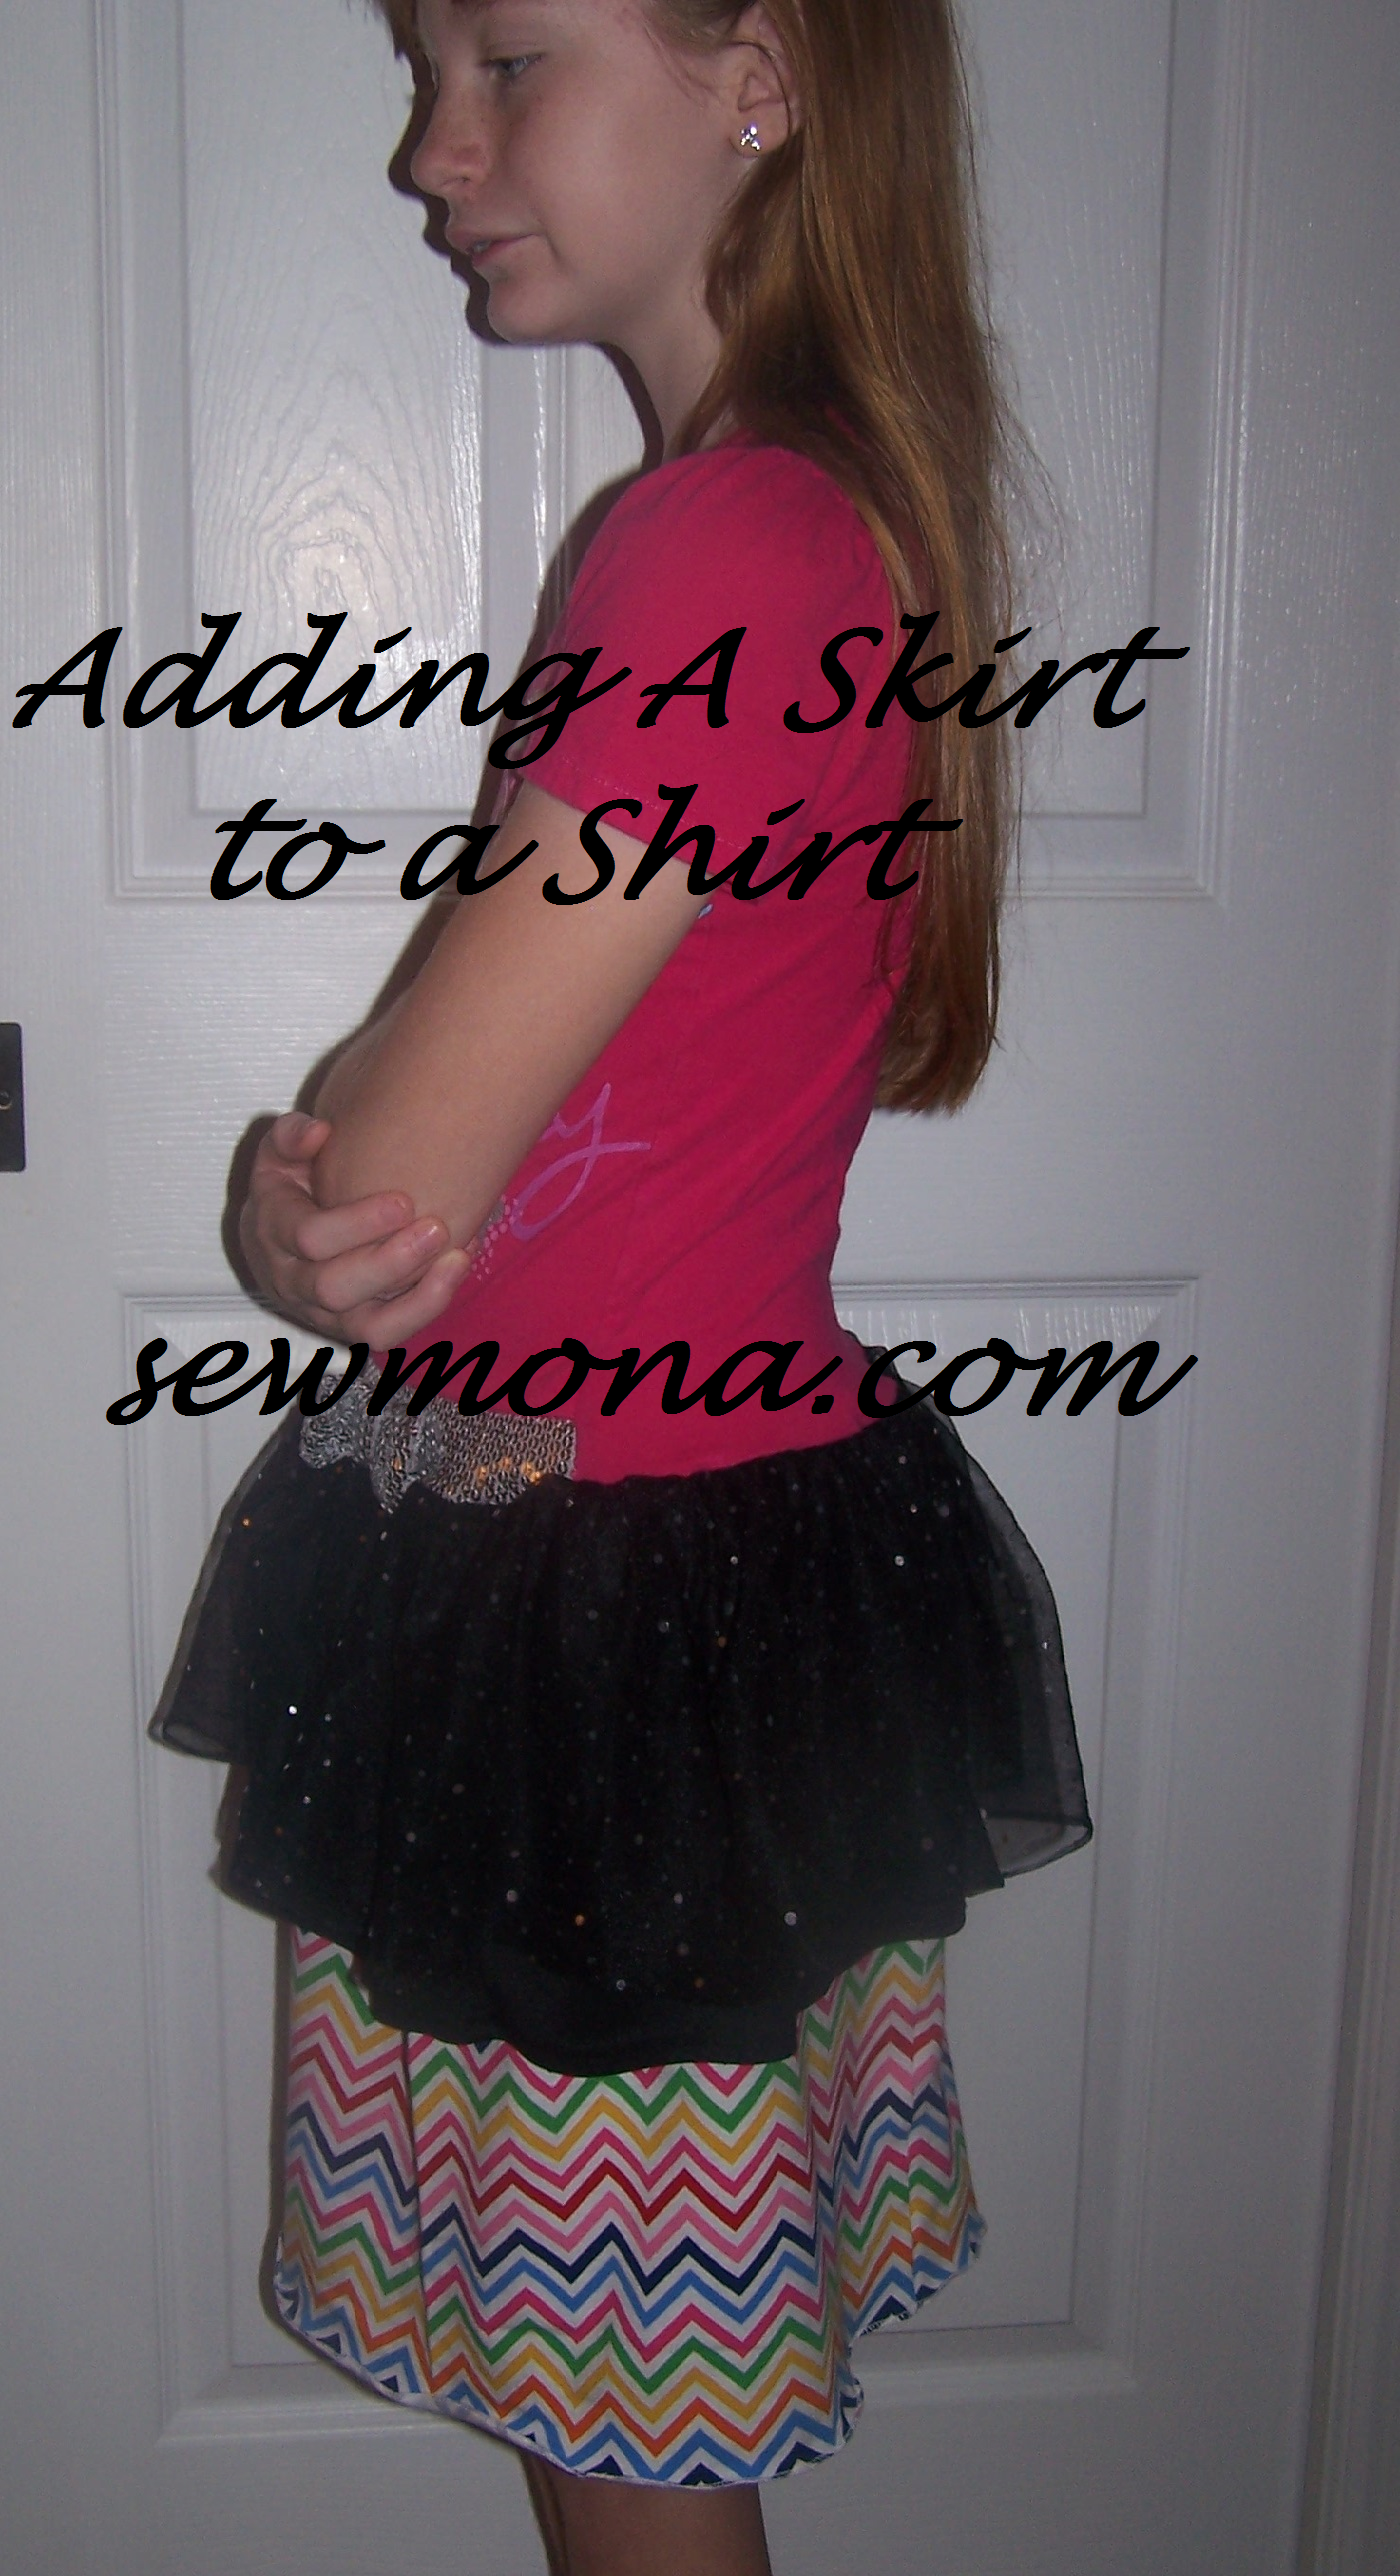
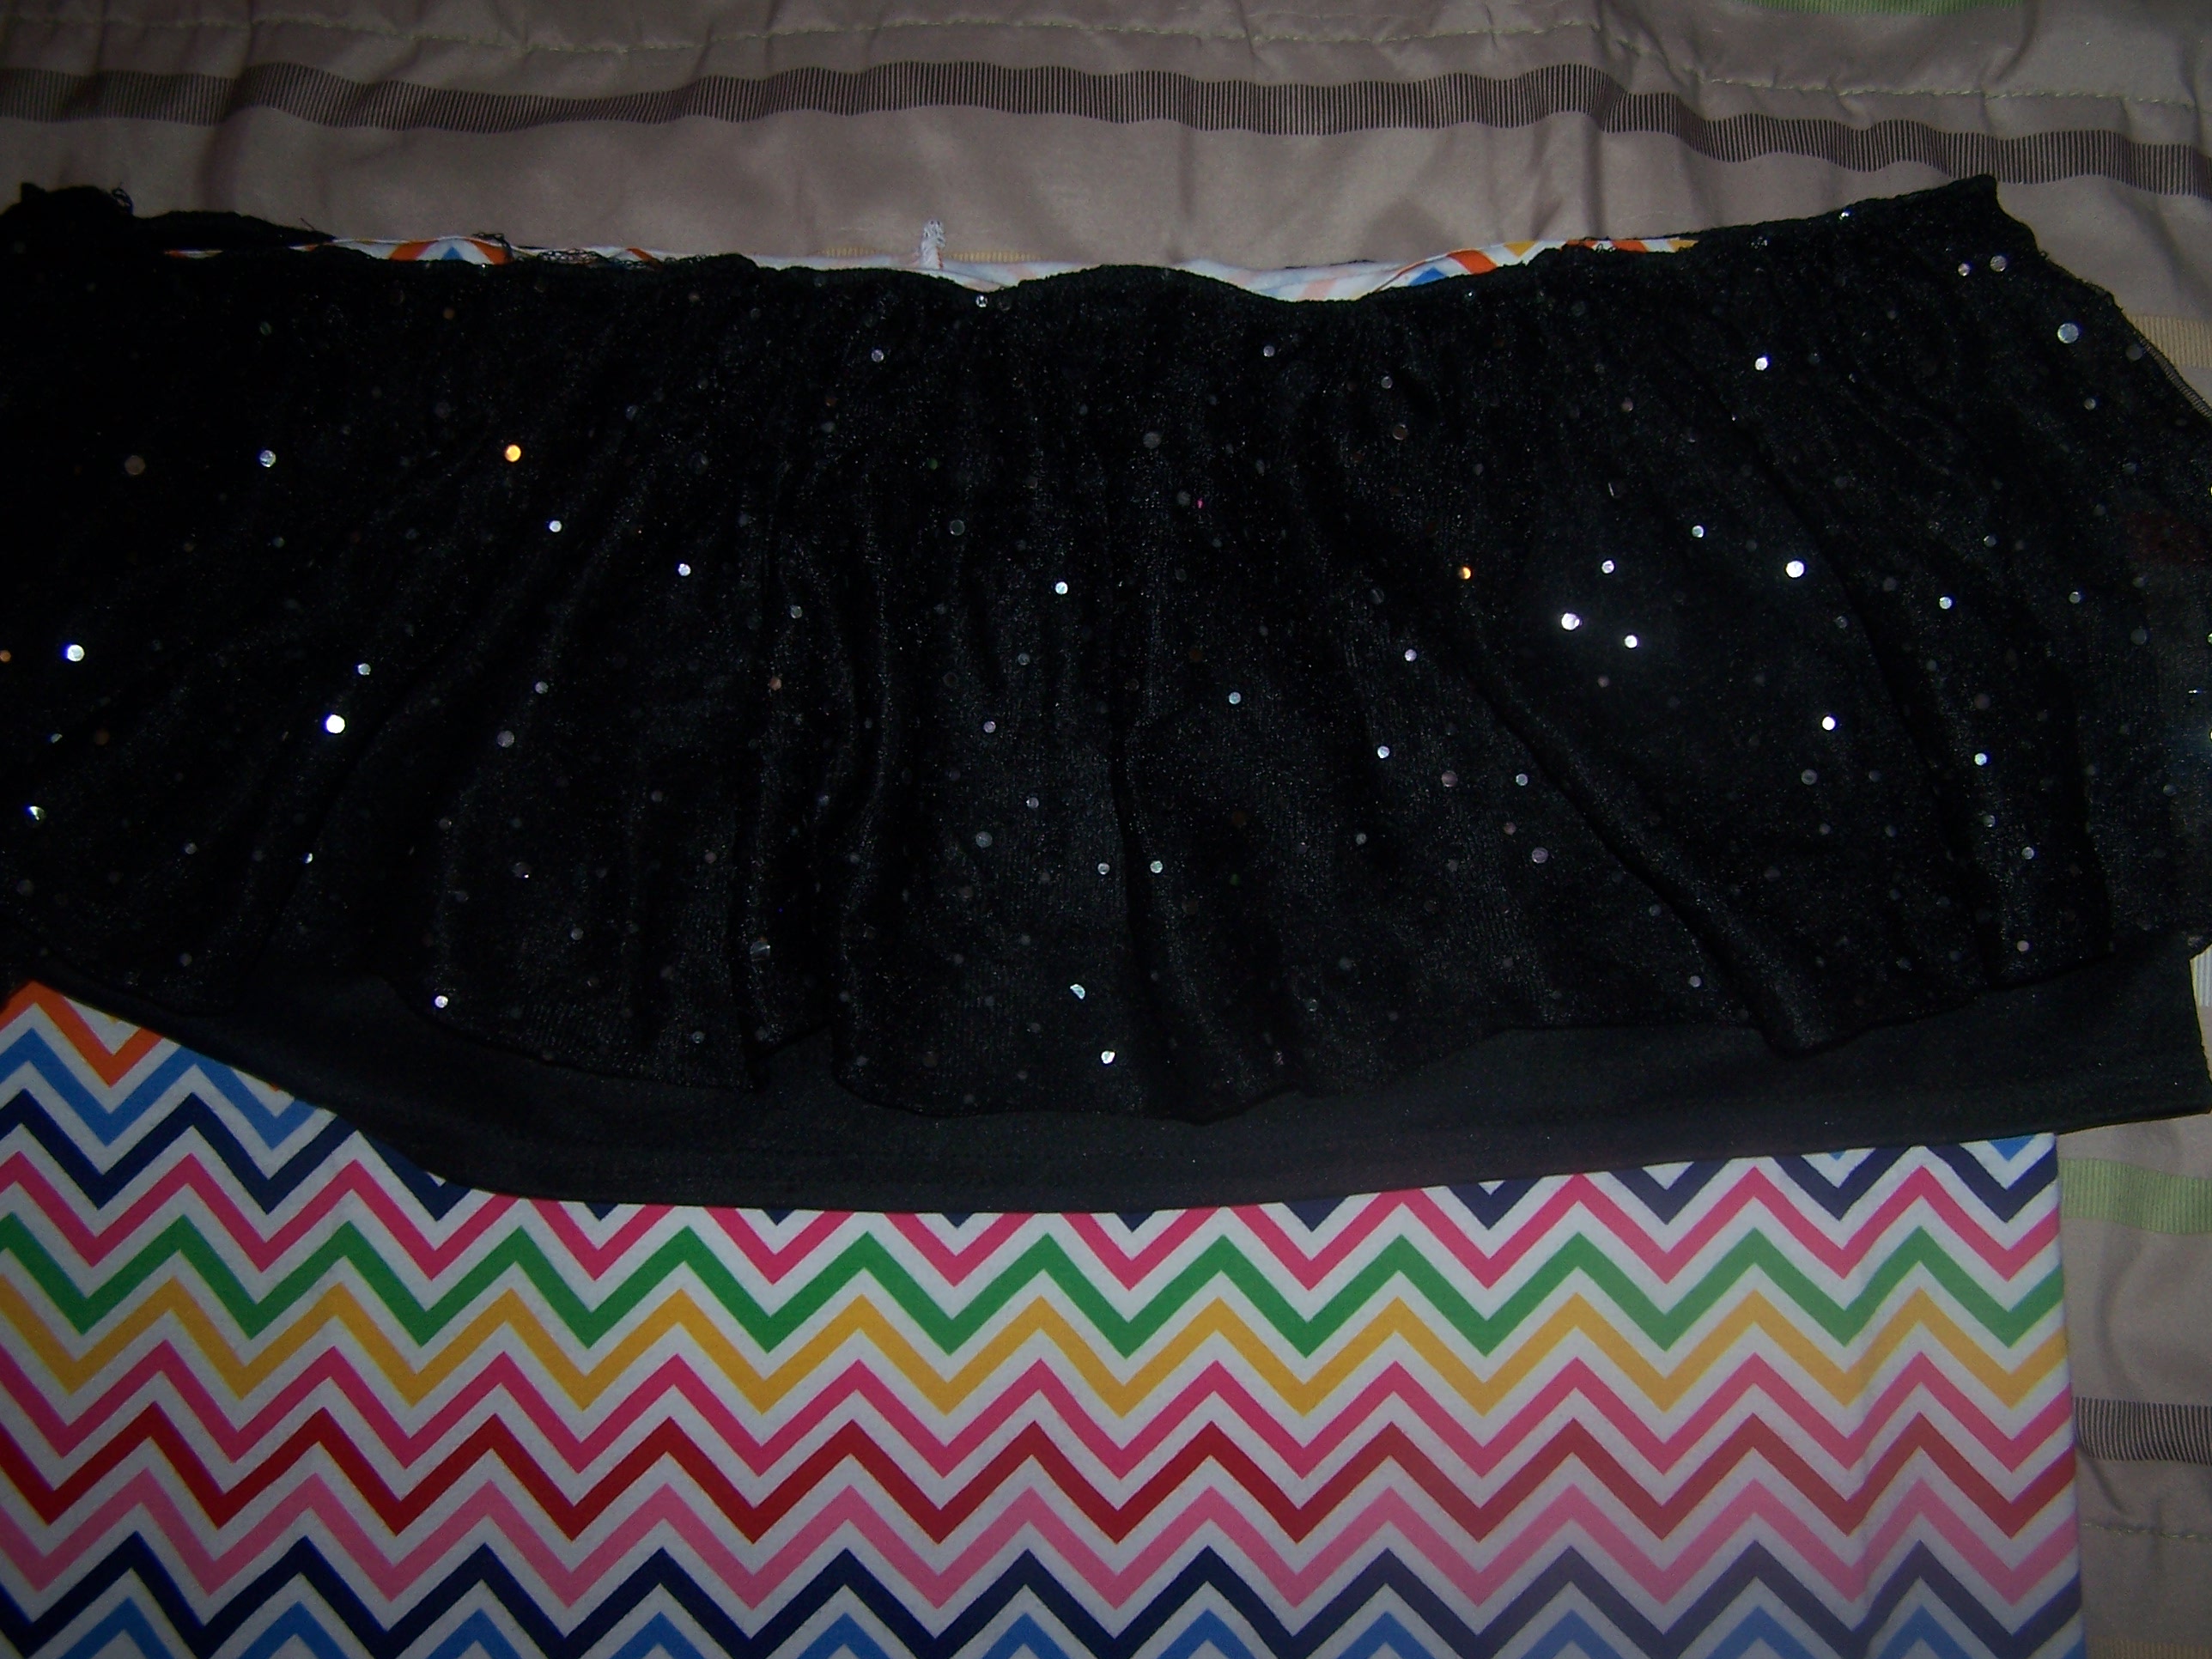
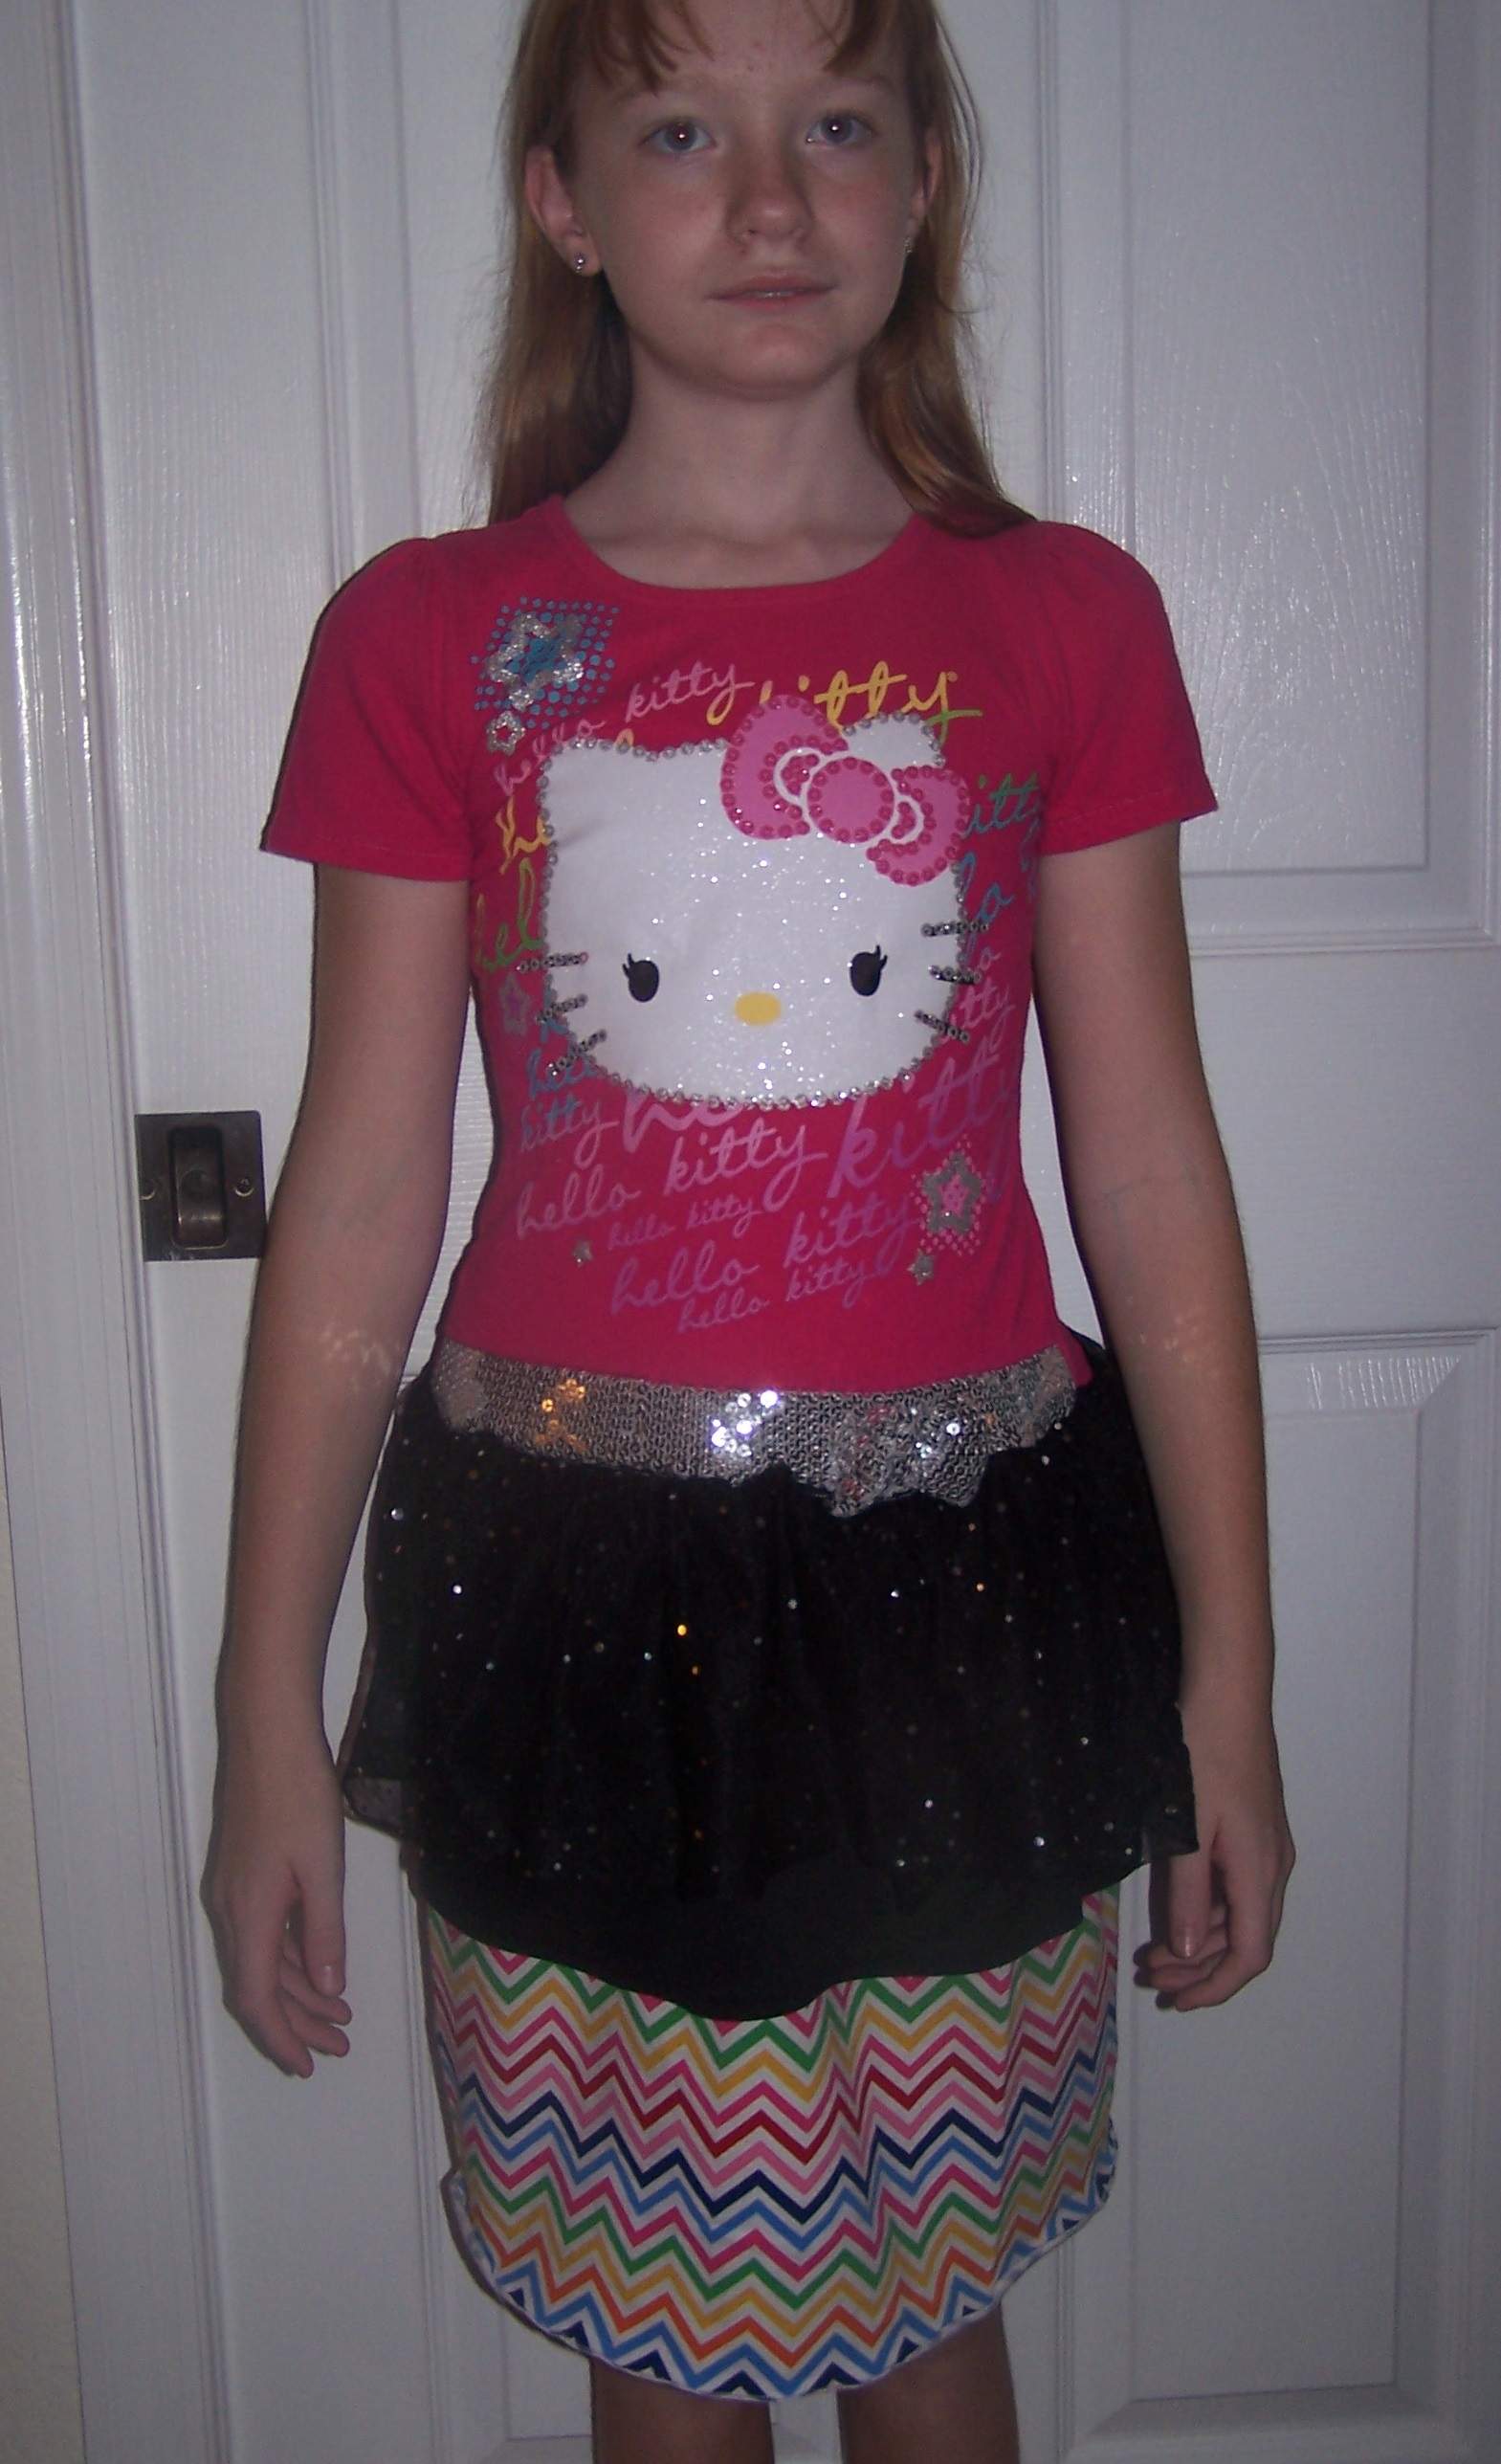
My new short sleeved shirt. (and yes, I purposely told my daughter to not get my face).

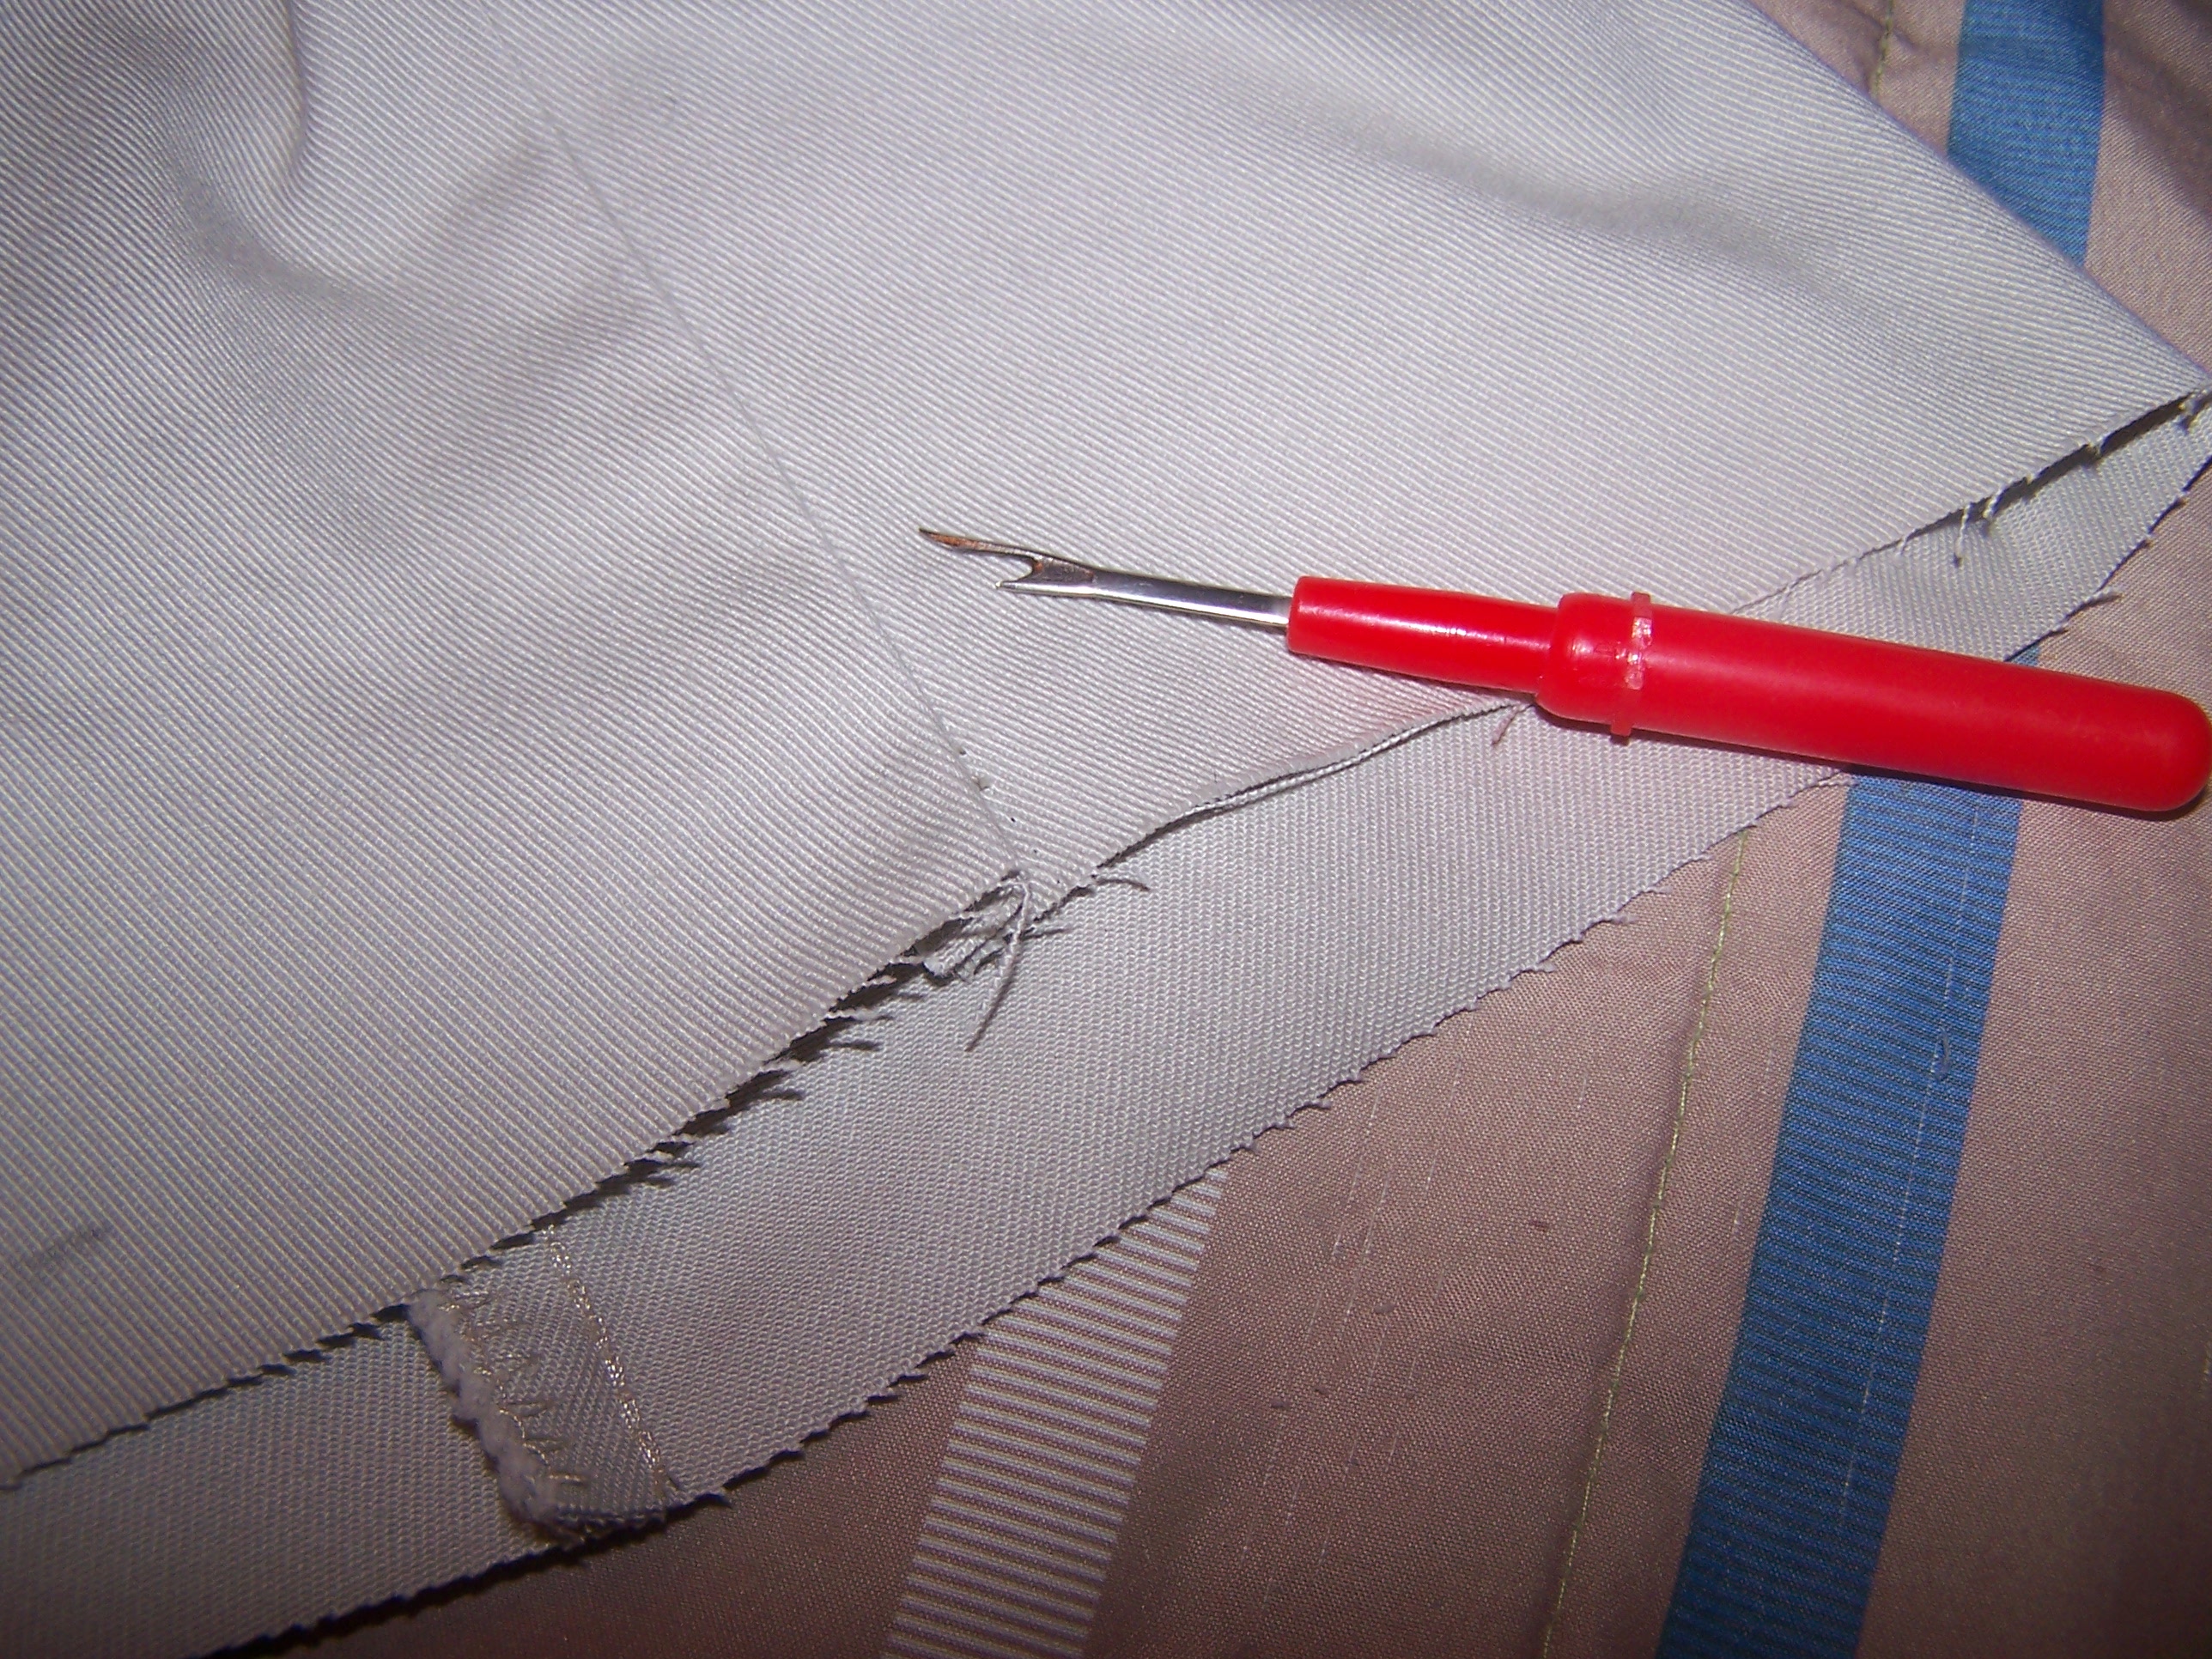
Don’t forget to take the buttons off the cuffs before you toss them.  You can never have too many extra buttons!

How To Sew: Adding A Skirt to a Shirt

How to Sew Adding A Skirt To A Shirt

I’m working on a series of posts about adjusting clothing to fit.  To see all of them click here – How to Sew.

My daughter has this long shirt/short skirt that she really likes.  She normally wears it with leggings, but recently we’ve noticed that the skirt doesn’t quite cover enough and the tulle is pulling away from the seam.  Since she really likes it, I’m going to lengthen the skirt a bit.

Short Shirt Dress

Short Shirt Dress Tulle Pulling AwayThe first step is to remove the skirt from the shirt.  You can either cut them apart by cutting very close to the seam or use a seam ripper to rip out the seam.

Skirt Shirt Separated
Then, because the tulle was ripping out of the seam, I serged it back to the underskirt.

Serging Skirt TulleMy daughter picked out this chevron print to be the skirt.  I cut a piece the same width as the current skirt and twice as long.

Pick Material CoordinateThen I sewed the ends together and hemmed the bottom (I used a rolled hem on my serger, but you can also fold the edge under 1/4″ and then turn it under 1/4″ again and stitch close to the fold).

Rolled Hem Side Seam Sewn

Then, line up the top edges of the existing skirt and the new skirt and baste them together.  Don’t backstitch – you’ll be gathering this to make the skirt fit the shirt.

Skirts Lined Up

Pull the stitches up so that it fits the bottom of the t-shirt.

Gathered Skirt

Pin the skirt to the shirt making sure you catch all the layers and make sure all the layers are flat…nothing is more frustrating than having part of the skirt sewn into the seam!  Then sew the seam.  If needed, pull out the basting stitches.  I only pull them out if they show.  😉

Pinned Skirt

Then convince your daughter to try it on and admire your work.

Finished Skirt ShirtNow it’s long enough that she could wear it without leggings!

Finished Shirt Skirt Front

Making Pants Into Capris

Pants to Capris

I recently bought two pairs of pants at Goodwill. I needed some “new” work pants. I tried them on and was sure one pair would work. The other pair I wasn’t sure about – they seemed just a tad too short – like maybe an inch or so. After I got them home and washed them, I tried them on again. They just aren’t quite long enough for my taste. So, since there’s nothing wrong with them, I’m going to turn them into capris.

Short Pants
I tried them on and marked how long I want them to be.

Short Pants Marked

Then, cut them remembering to leave an inch for the hem.  I used the first leg as a pattern to mark where to cut the second one.

Legs Cut

I wanted to have a small slit on the side, so I opened up the outside seam about 3″ on each side.  If you don’t want a slit, skip to the last step to hem your capris.

Open Up Side Seam

Open Seam

Sew around the edge of the slit.  If the seams are serged, you may need to undo some of the serging so that the seam will lay flat at the top of the slit.

Sew Edges of Slit

Turn under 1/4″ on the hem and press.  Then turn under another 3/4″ and press.  Stitich close to fold.  If you want, stitch again 1/8″ from first seam or use you twin needle.

Turn Hem Under Twice and Hem

Enjoy your “new” capris!

Finished Capris


Recycling A Tank Top

Recycling A Tank Top

My husband has several shirts that he doesn’t wear anymore.  They were in really good shape and I hated to just send them off to the thrift store.  I decided to try and remake one of them into a tank top for my boys.  It turned out to be very easy!  All you need is a shirt to use as a pattern.

Lay the small tank top over the larger one.  Line up the  necklines of the two shirts.  Trim the bottom off remembering to leave enough extra for the hem.

Trim the shirt down to the right lengthTrim the sides the same way.  I used the piece from the first side as a pattern to cut the second so that I cut the same amount off both sides.

Trim the sides the same way.

Trim the shoulders the same way.

Trim the shoulders the same way.

Sew up the side seams and shoulders.  If the back shoulders are wider, just stretch the front a little to make them line up.  The hem can be sewed or serged depending on your preference.

Voila!  A new tank top.  Doesn’t my model look thrilled?

Sew the shoulders and side seams.  Hem the bottom.

IMG_6165

IMG_6166

  • « Previous Page
  • 1
  • 2

Hi, I'm Mona - wife, mom, teacher, seamstress, blogger. This is my home on the web. Read More…

Categories

Copyright © 2026 · The Marianne Theme By Blogelina · Built on the Genesis Framework

Copyright © 2026 · The Marianne on Genesis Framework · WordPress · Log in