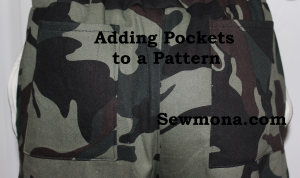
I’m working on a series of posts about adjusting clothing to fit. To see all of them click here – How to Sew.
One of my new favorite patterns is Jasper Joggers. They are a quick and easy sew. The only thing “missing” is the back pockets. There are two front pockets, but the back pockets are fakes. That’s fine by me, but my boys wanted back pockets.
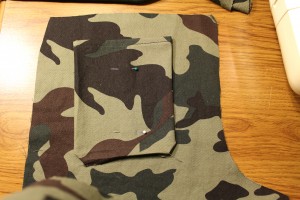
I’m adding two back pockets and a little front pocket. I just eyeballed the size, but you could measure pockets on an existing pair of pants (or the little hands that will be using the pockets) if you’re unsure.
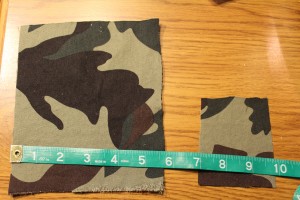
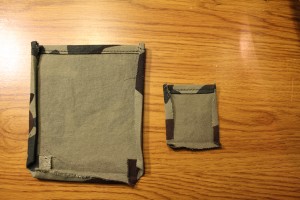
Hem the top edge of the pockets by turning down 1/4″ and then another 1/4″.
Press 1/4″ and then another 1/4″ under on the remaining edges. For the smaller pocket, I only turned under 1/4″ otherwise it was too hard to work with.
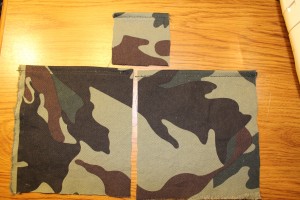
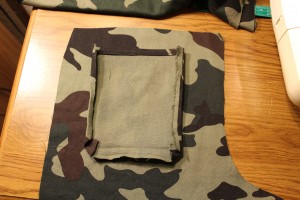
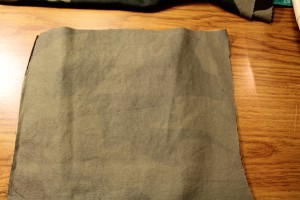
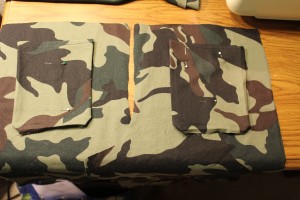
Three pockets ready to sew on to the pants.
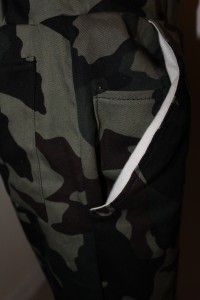
Place the little pocket where you want it positioned on the front pocket. Don’t forget about your seam allowance (so it doesn’t end up too close to the side seam).
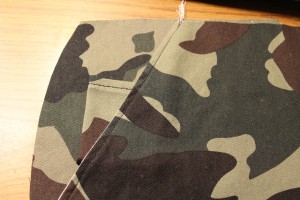
Place one back pocket where you want it – I centered mine between the top & sides. Don’t forget about the waistband – in this pattern, you add a waistband so it will make the pockets lower.
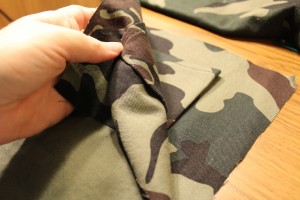
To make sure the other side matches, lay the other pocket upside down (right sides together) over the pinned pocket.
Then lay the other back piece over the pocket making sure the edges line up.
Carefully lift up one side and pin the pocket into place. Then lift up the other side and pin it there too. You should end up with two perfectly matched pockets.
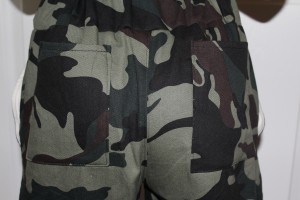
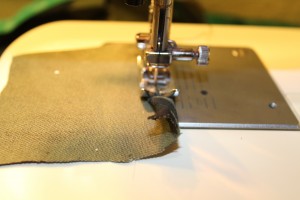
Sew the pockets in place.
Finish sewing the pants/shorts according to the directions. Then find your little model and admire the pockets.