SewMona

A slice of my Florida life

  • Sewing
    • SewMona on Etsy
    • Clothes
      • Boys
      • Girls
      • Men
      • Women
    • Pattern Reviews
    • How to Sew
  • Camping
    • Florida Campgrounds
  • Recipes
  • Crafts
  • DIY
  • About

Resizing Sewing Patterns

Resizing Sewing Patterns

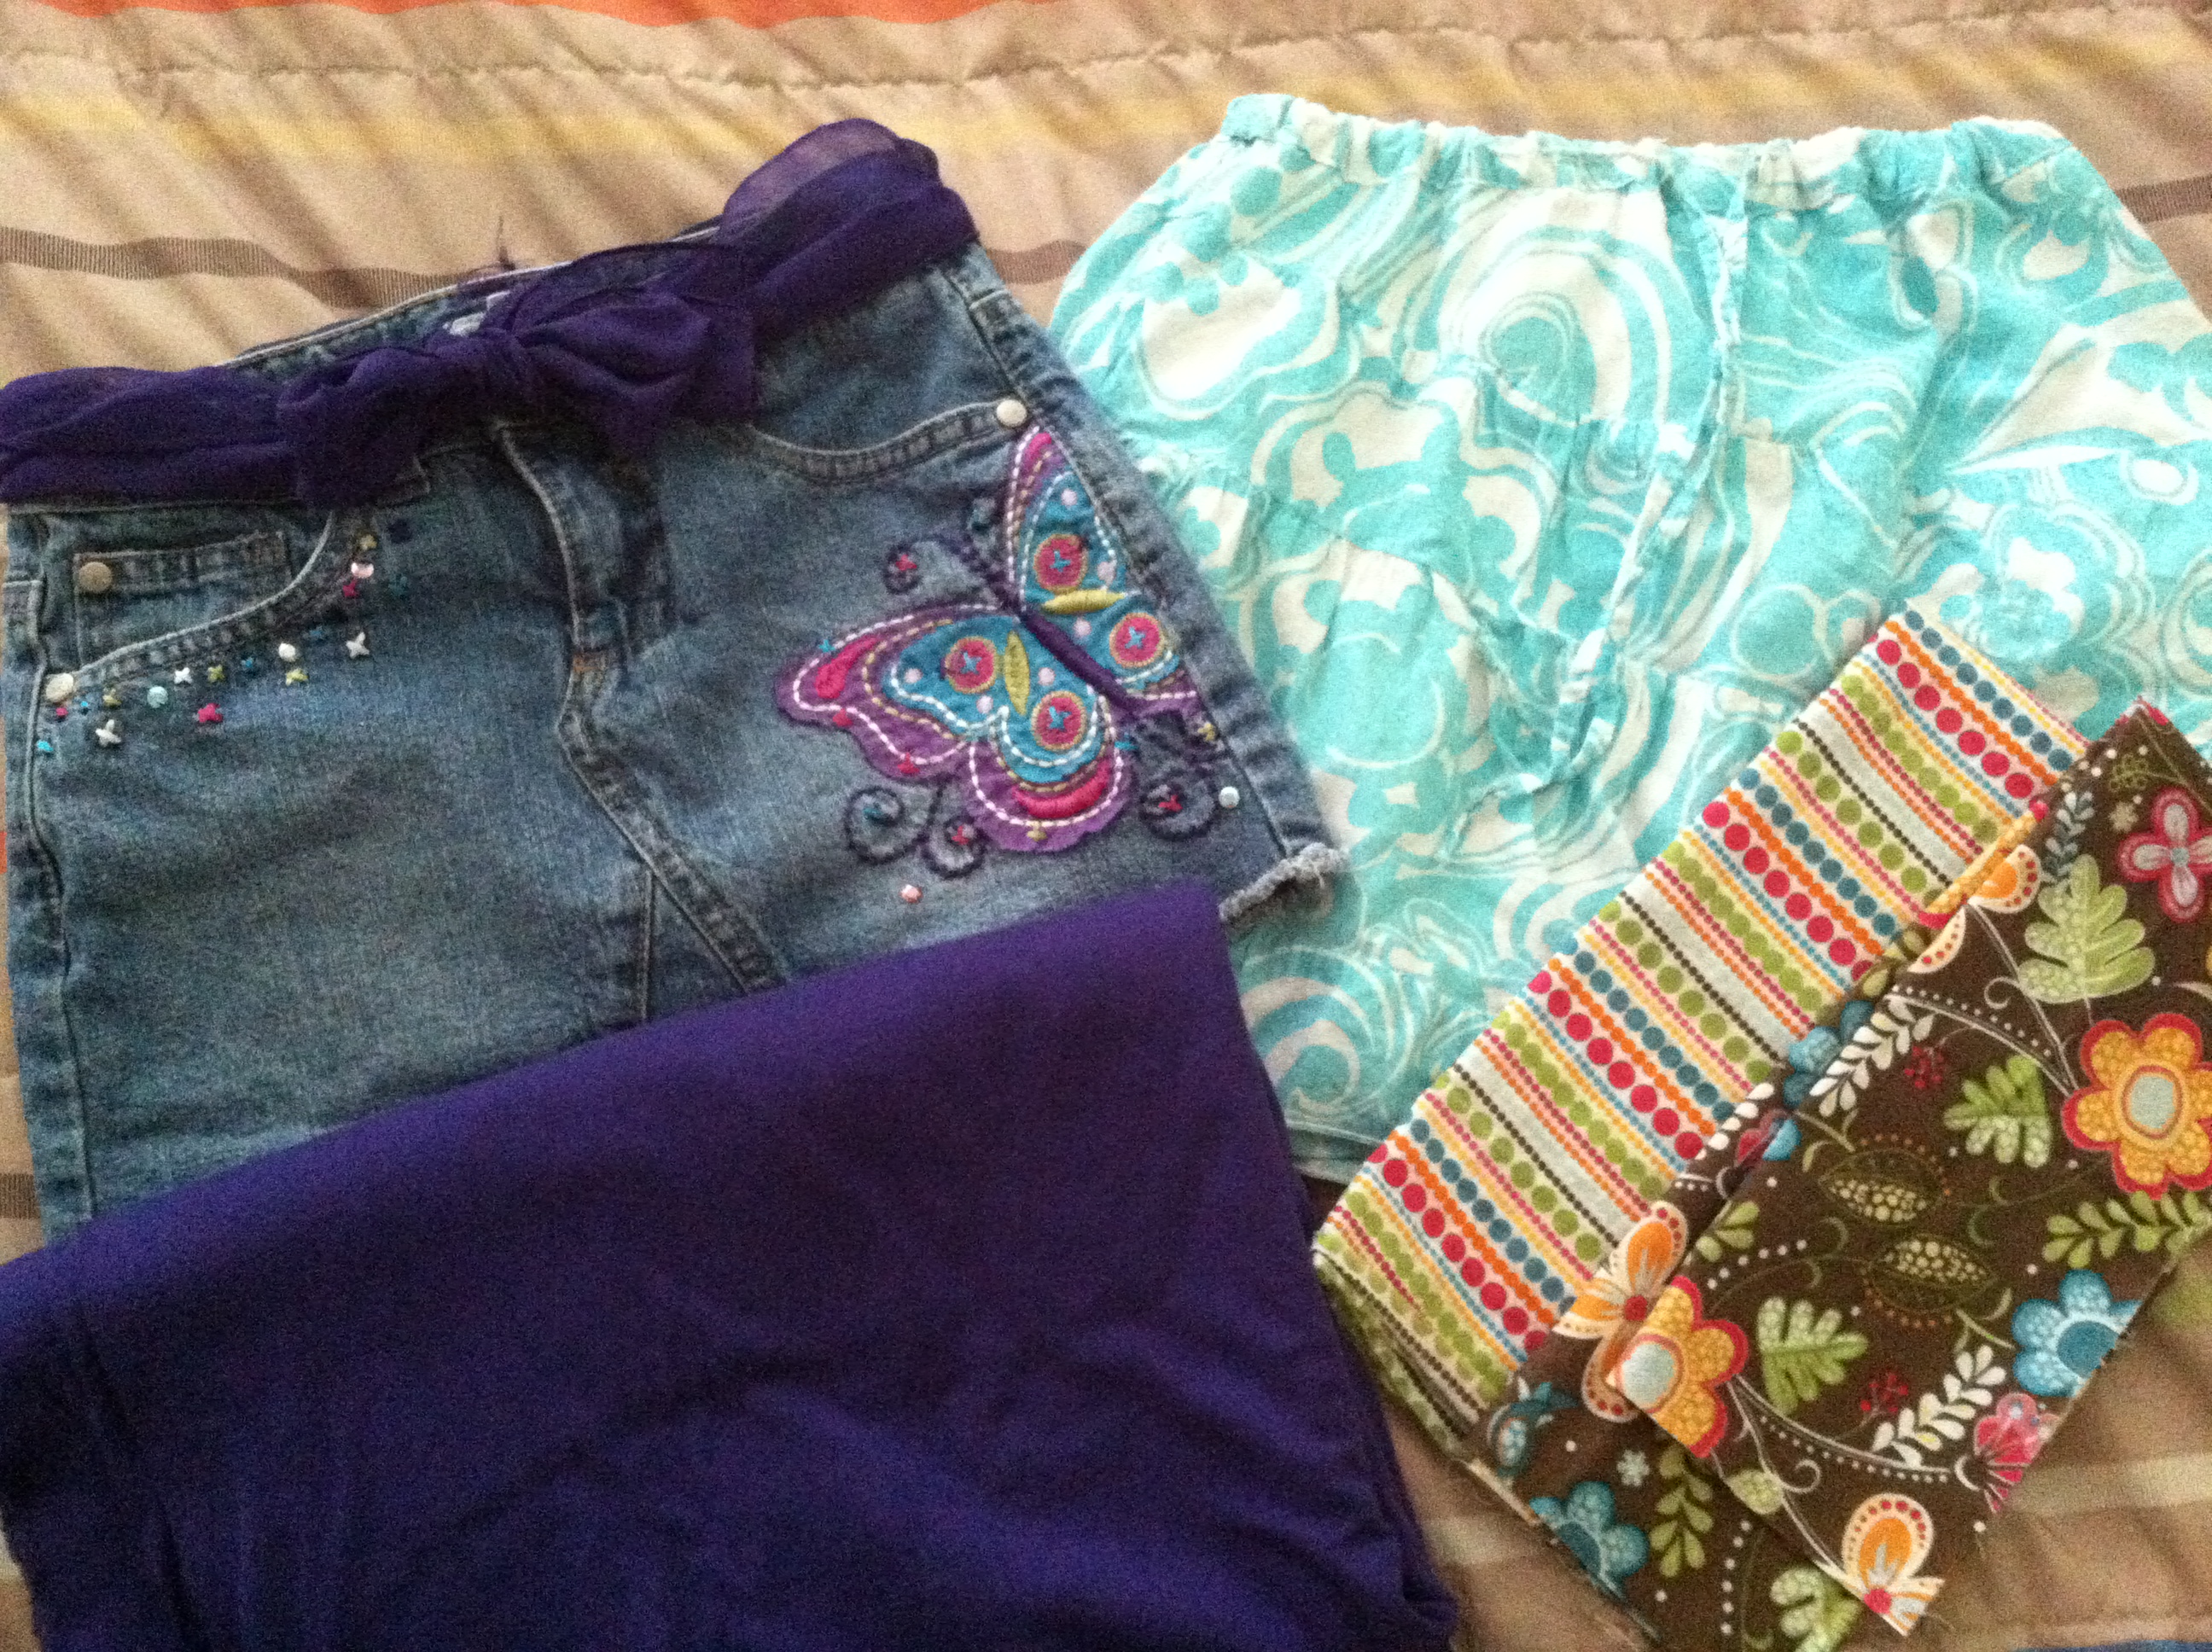
Since my daughter is going to private school this year, we’ve entered the world of school uniforms.  We bought polo shirts for $5 each at Old Navy.  I don’t think I can make one for less than that – plus the hassle of making those little button holes and lining up the buttons…ugh!  Skirts and jumpers however are easy to make.  Except when you pull out your patterns and see this.

Resizing Patterns

Seriously? Size 4? Even an 8 isn’t quite big enough.

I’m sure it wasn’t that long ago that I bought these sewing patterns and now my little girl needs a size 10.  Where did the time go?  Anyway, back to pattern resizing.

Resizing a Pattern - Measuring the PatternI held the skirt piece up to her and measured how much longer it needed to be.

Making Skirt Long EnoughIt needs to be about six inches longer so I measured from edge and marked it with a pin.

IMG_4521
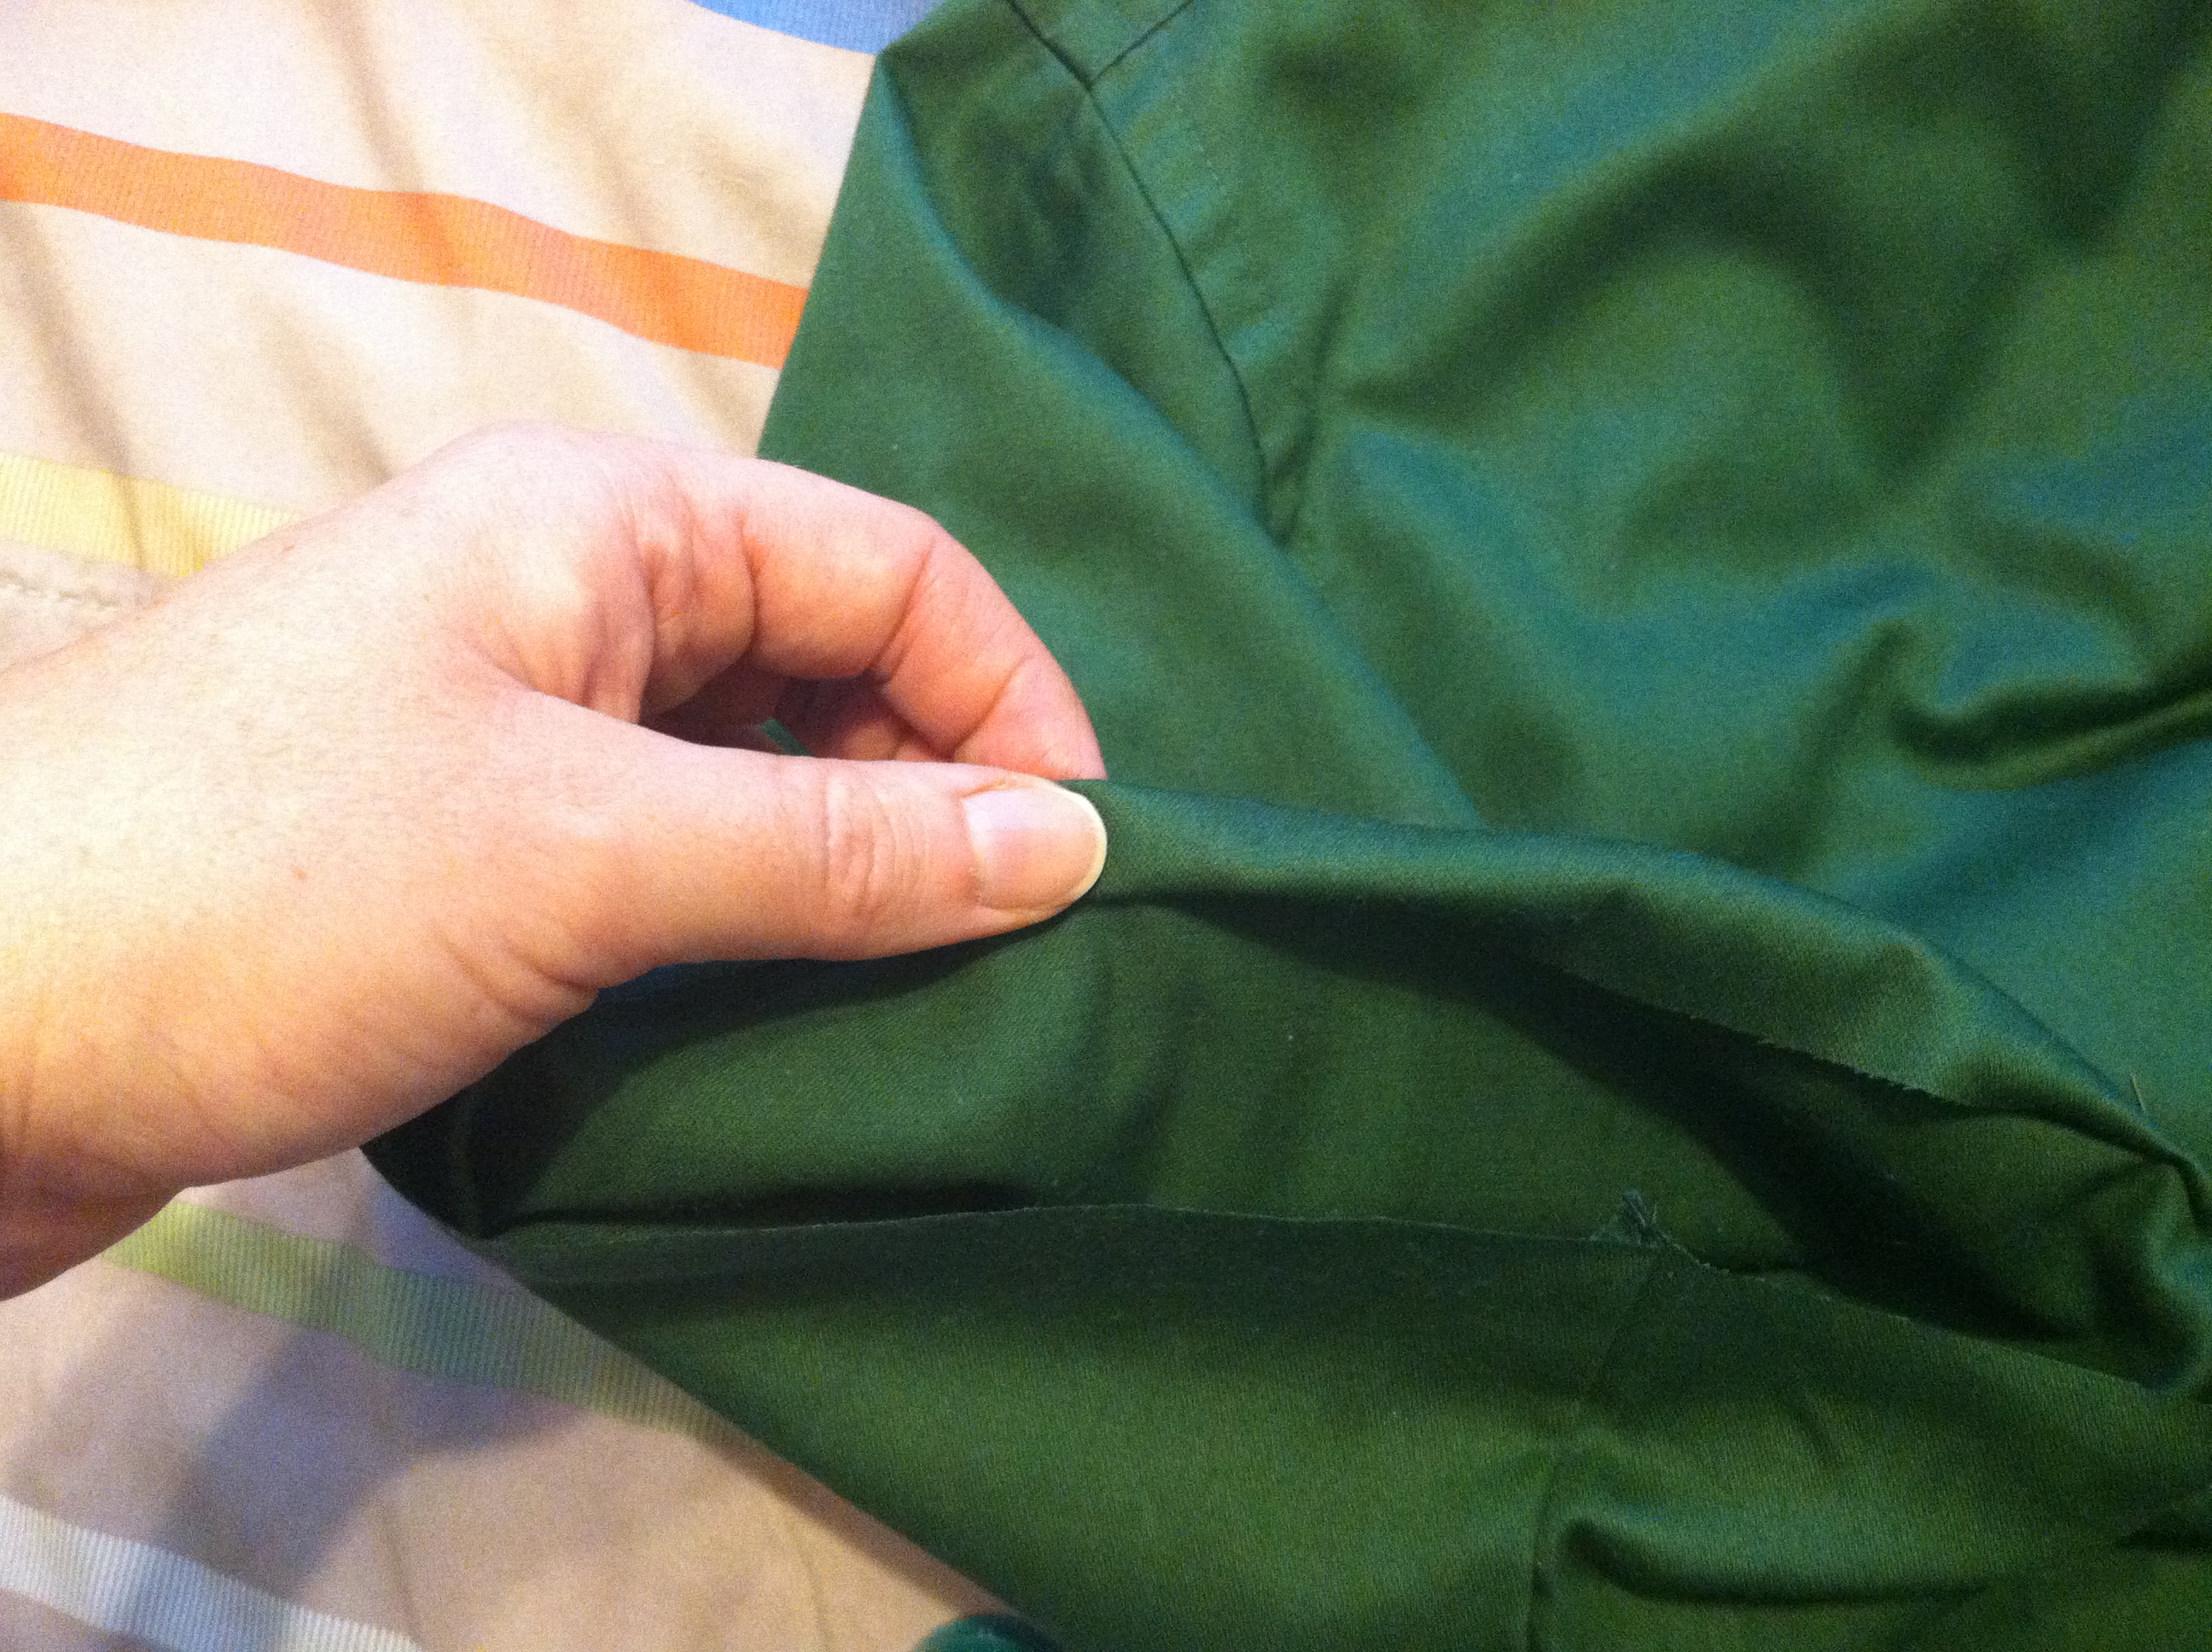
It also needs to be a little wider.  Each size is about 1/4 inch so I added an inch to the width of the skirt.

Resized Pattern Piece
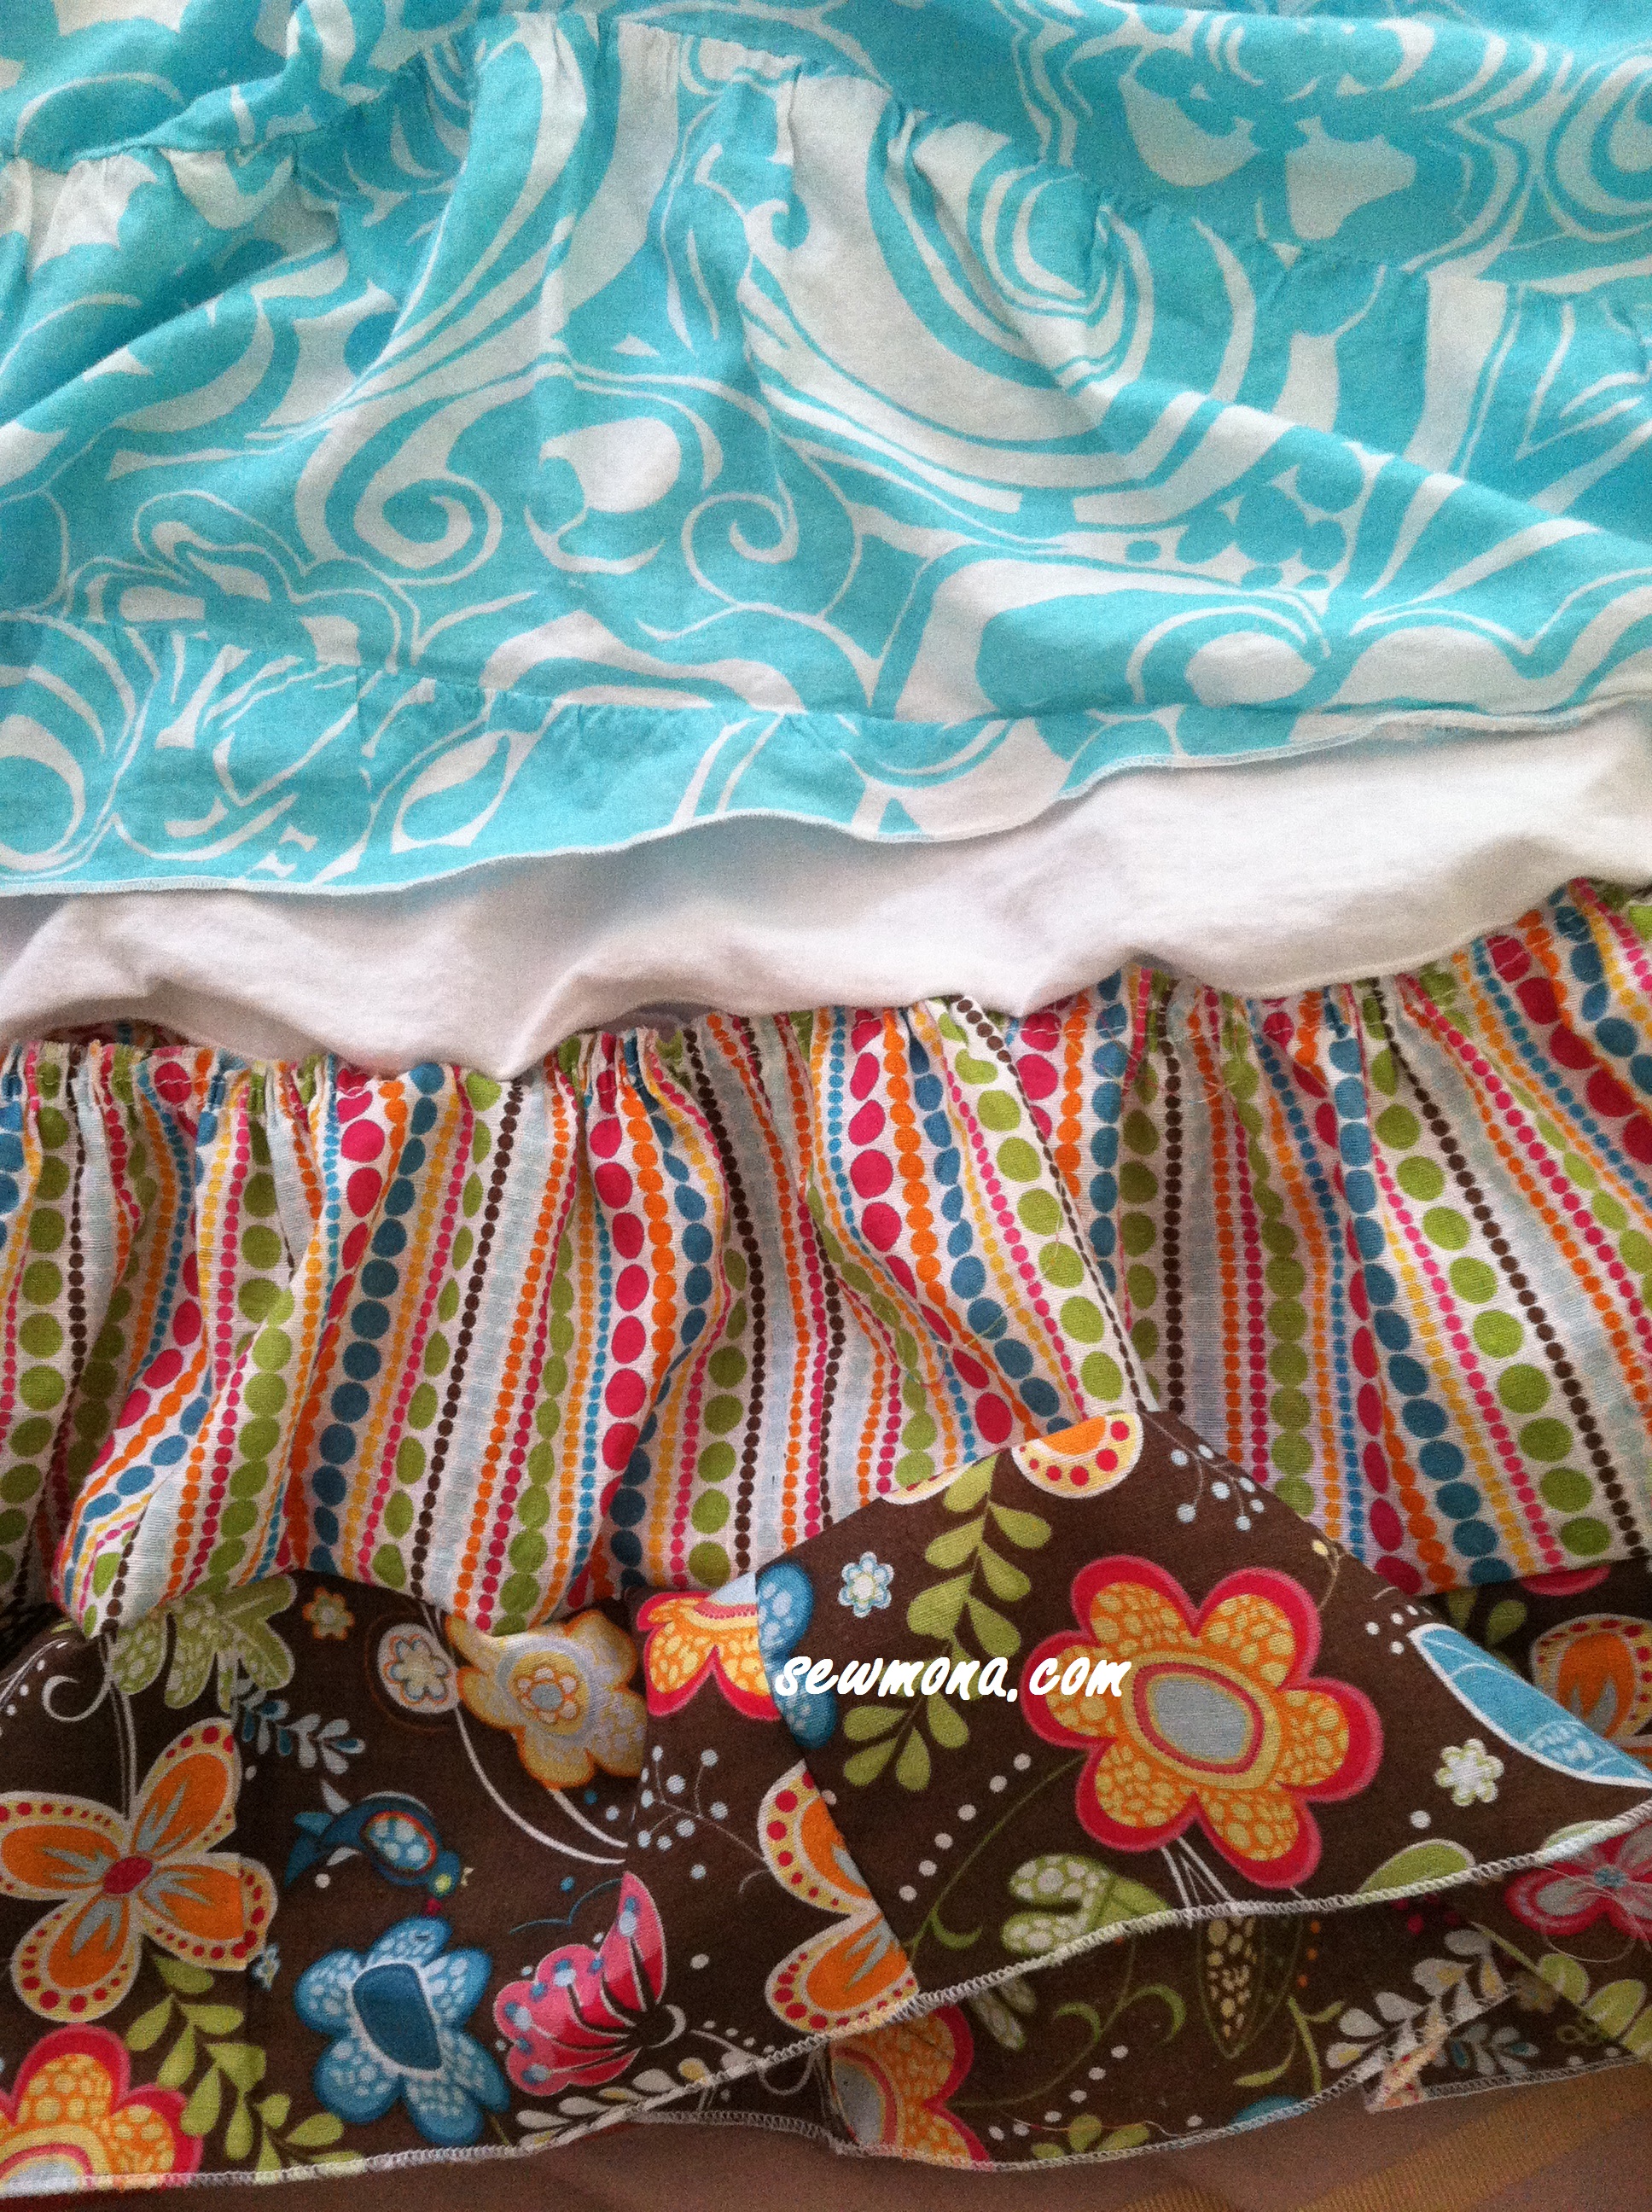
The finished resized piece.  I measured my daughter and the resized pieces to be sure the waist and hips would be the right size.

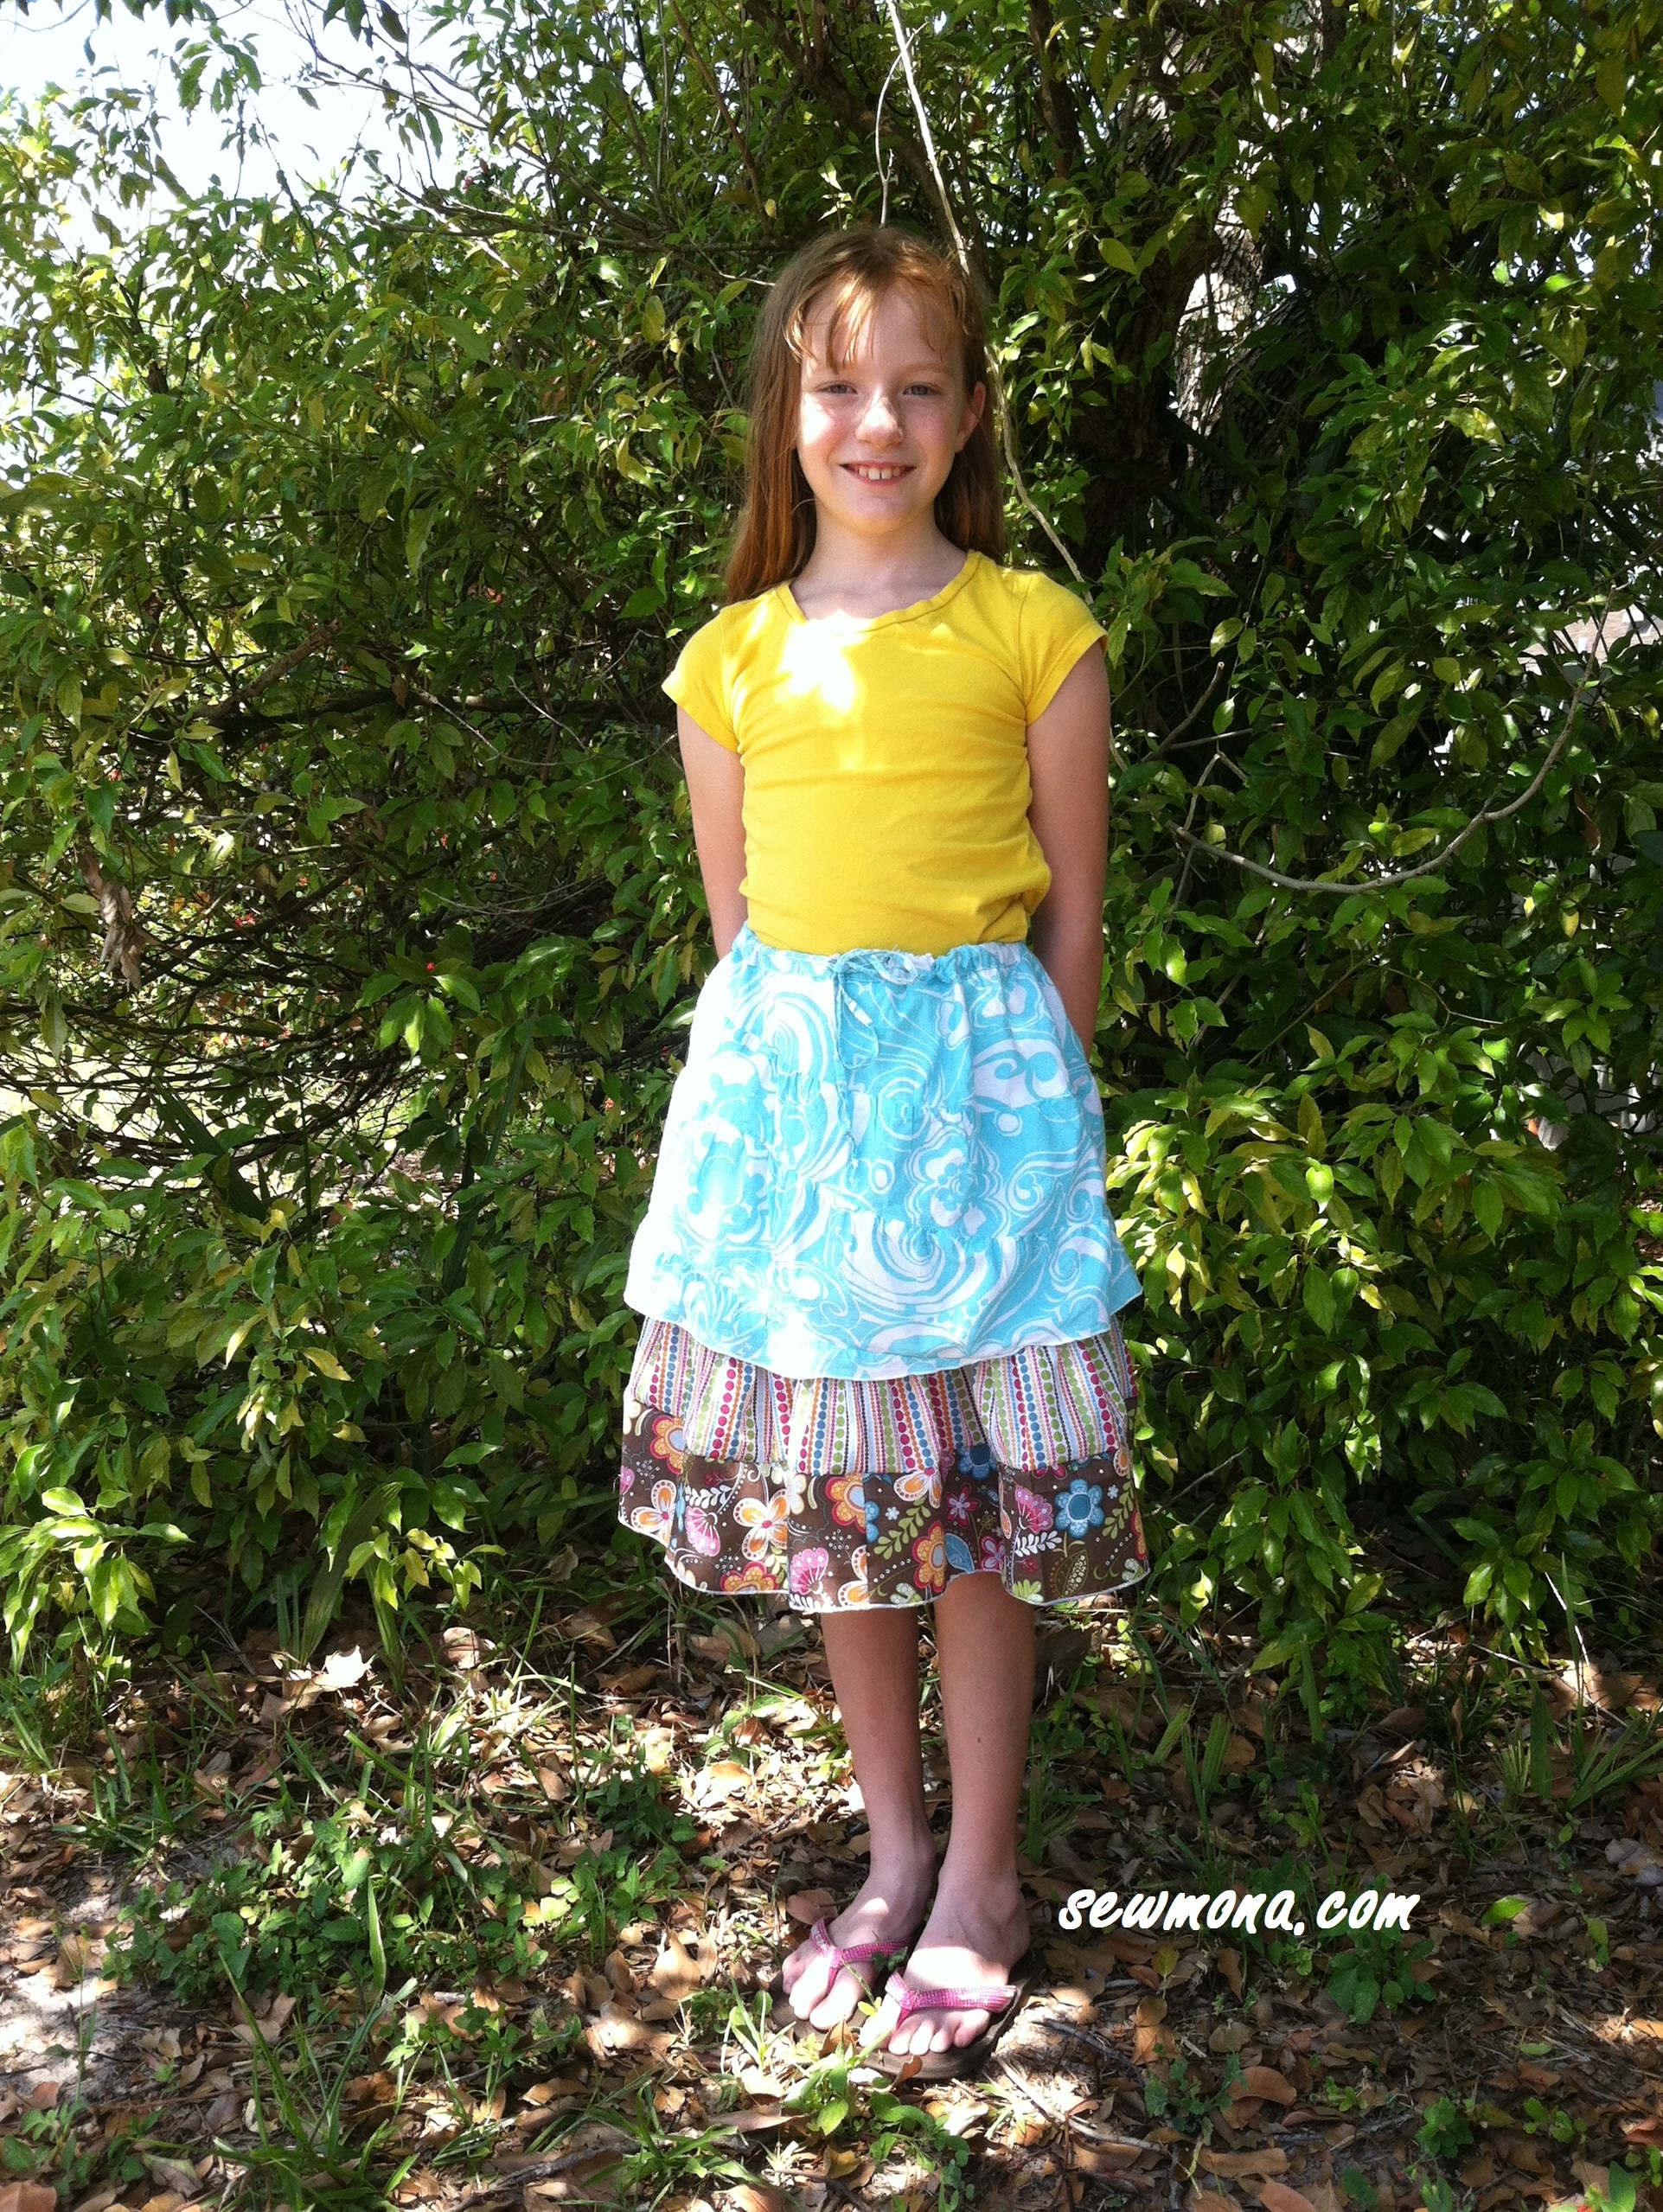
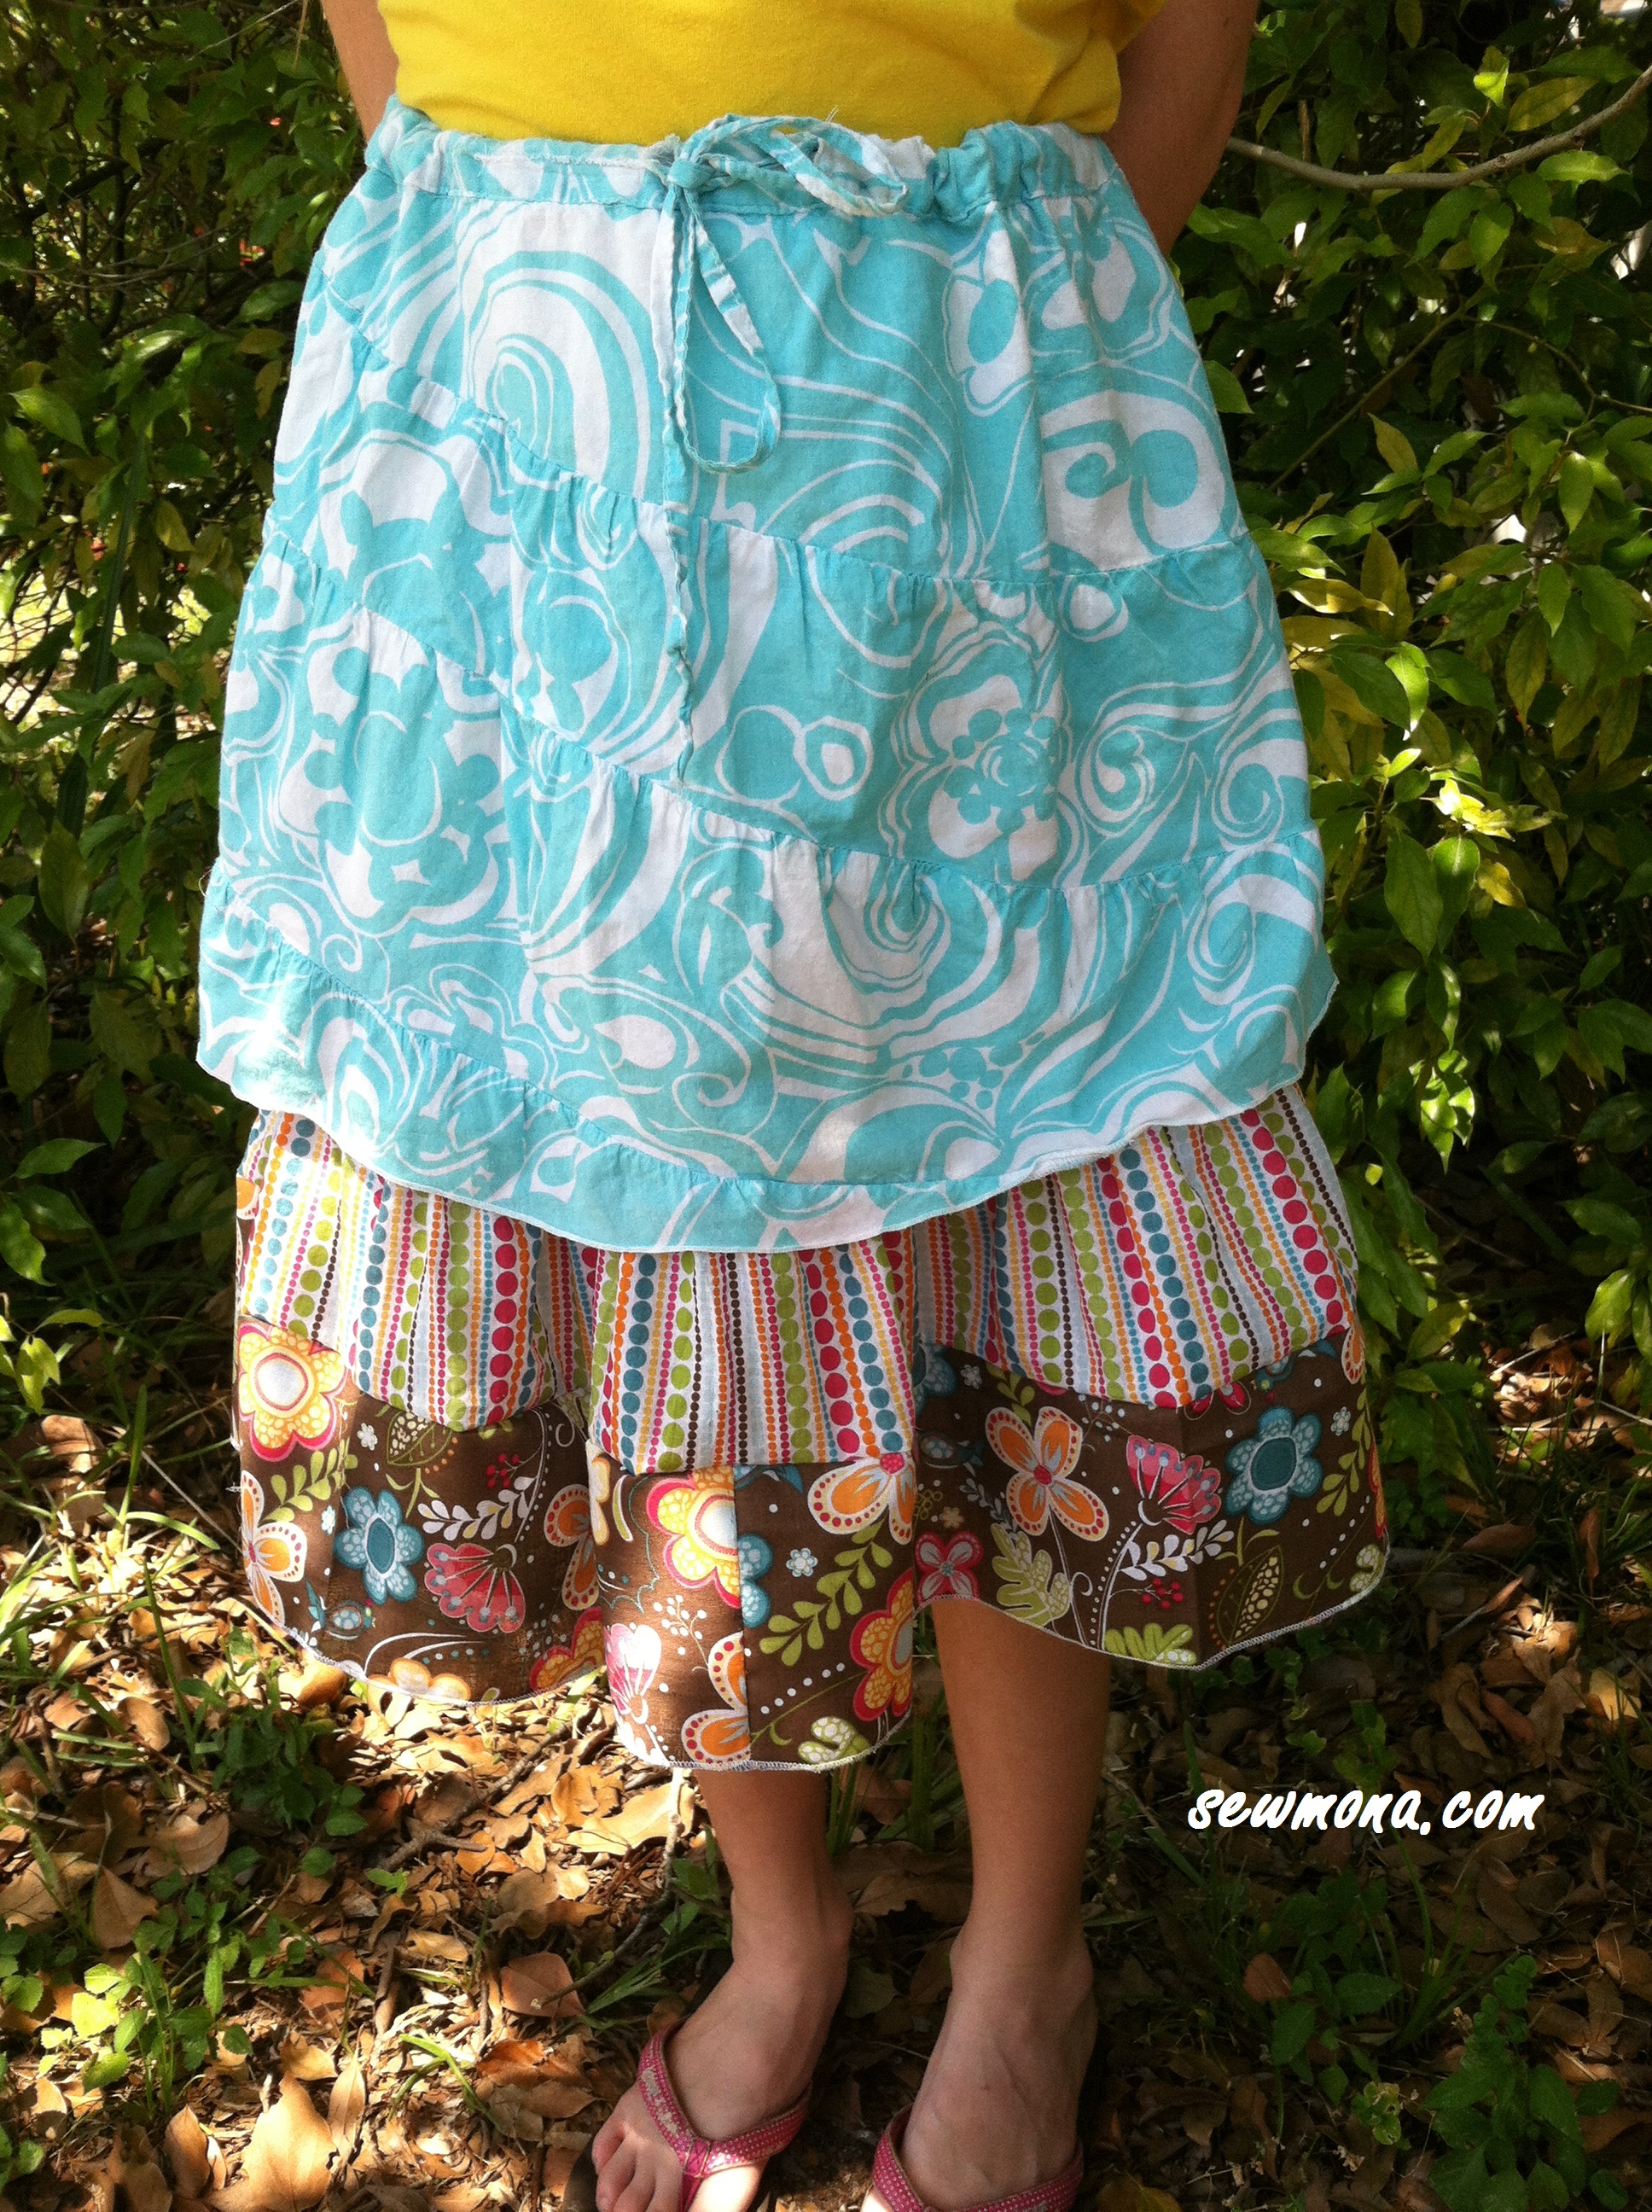
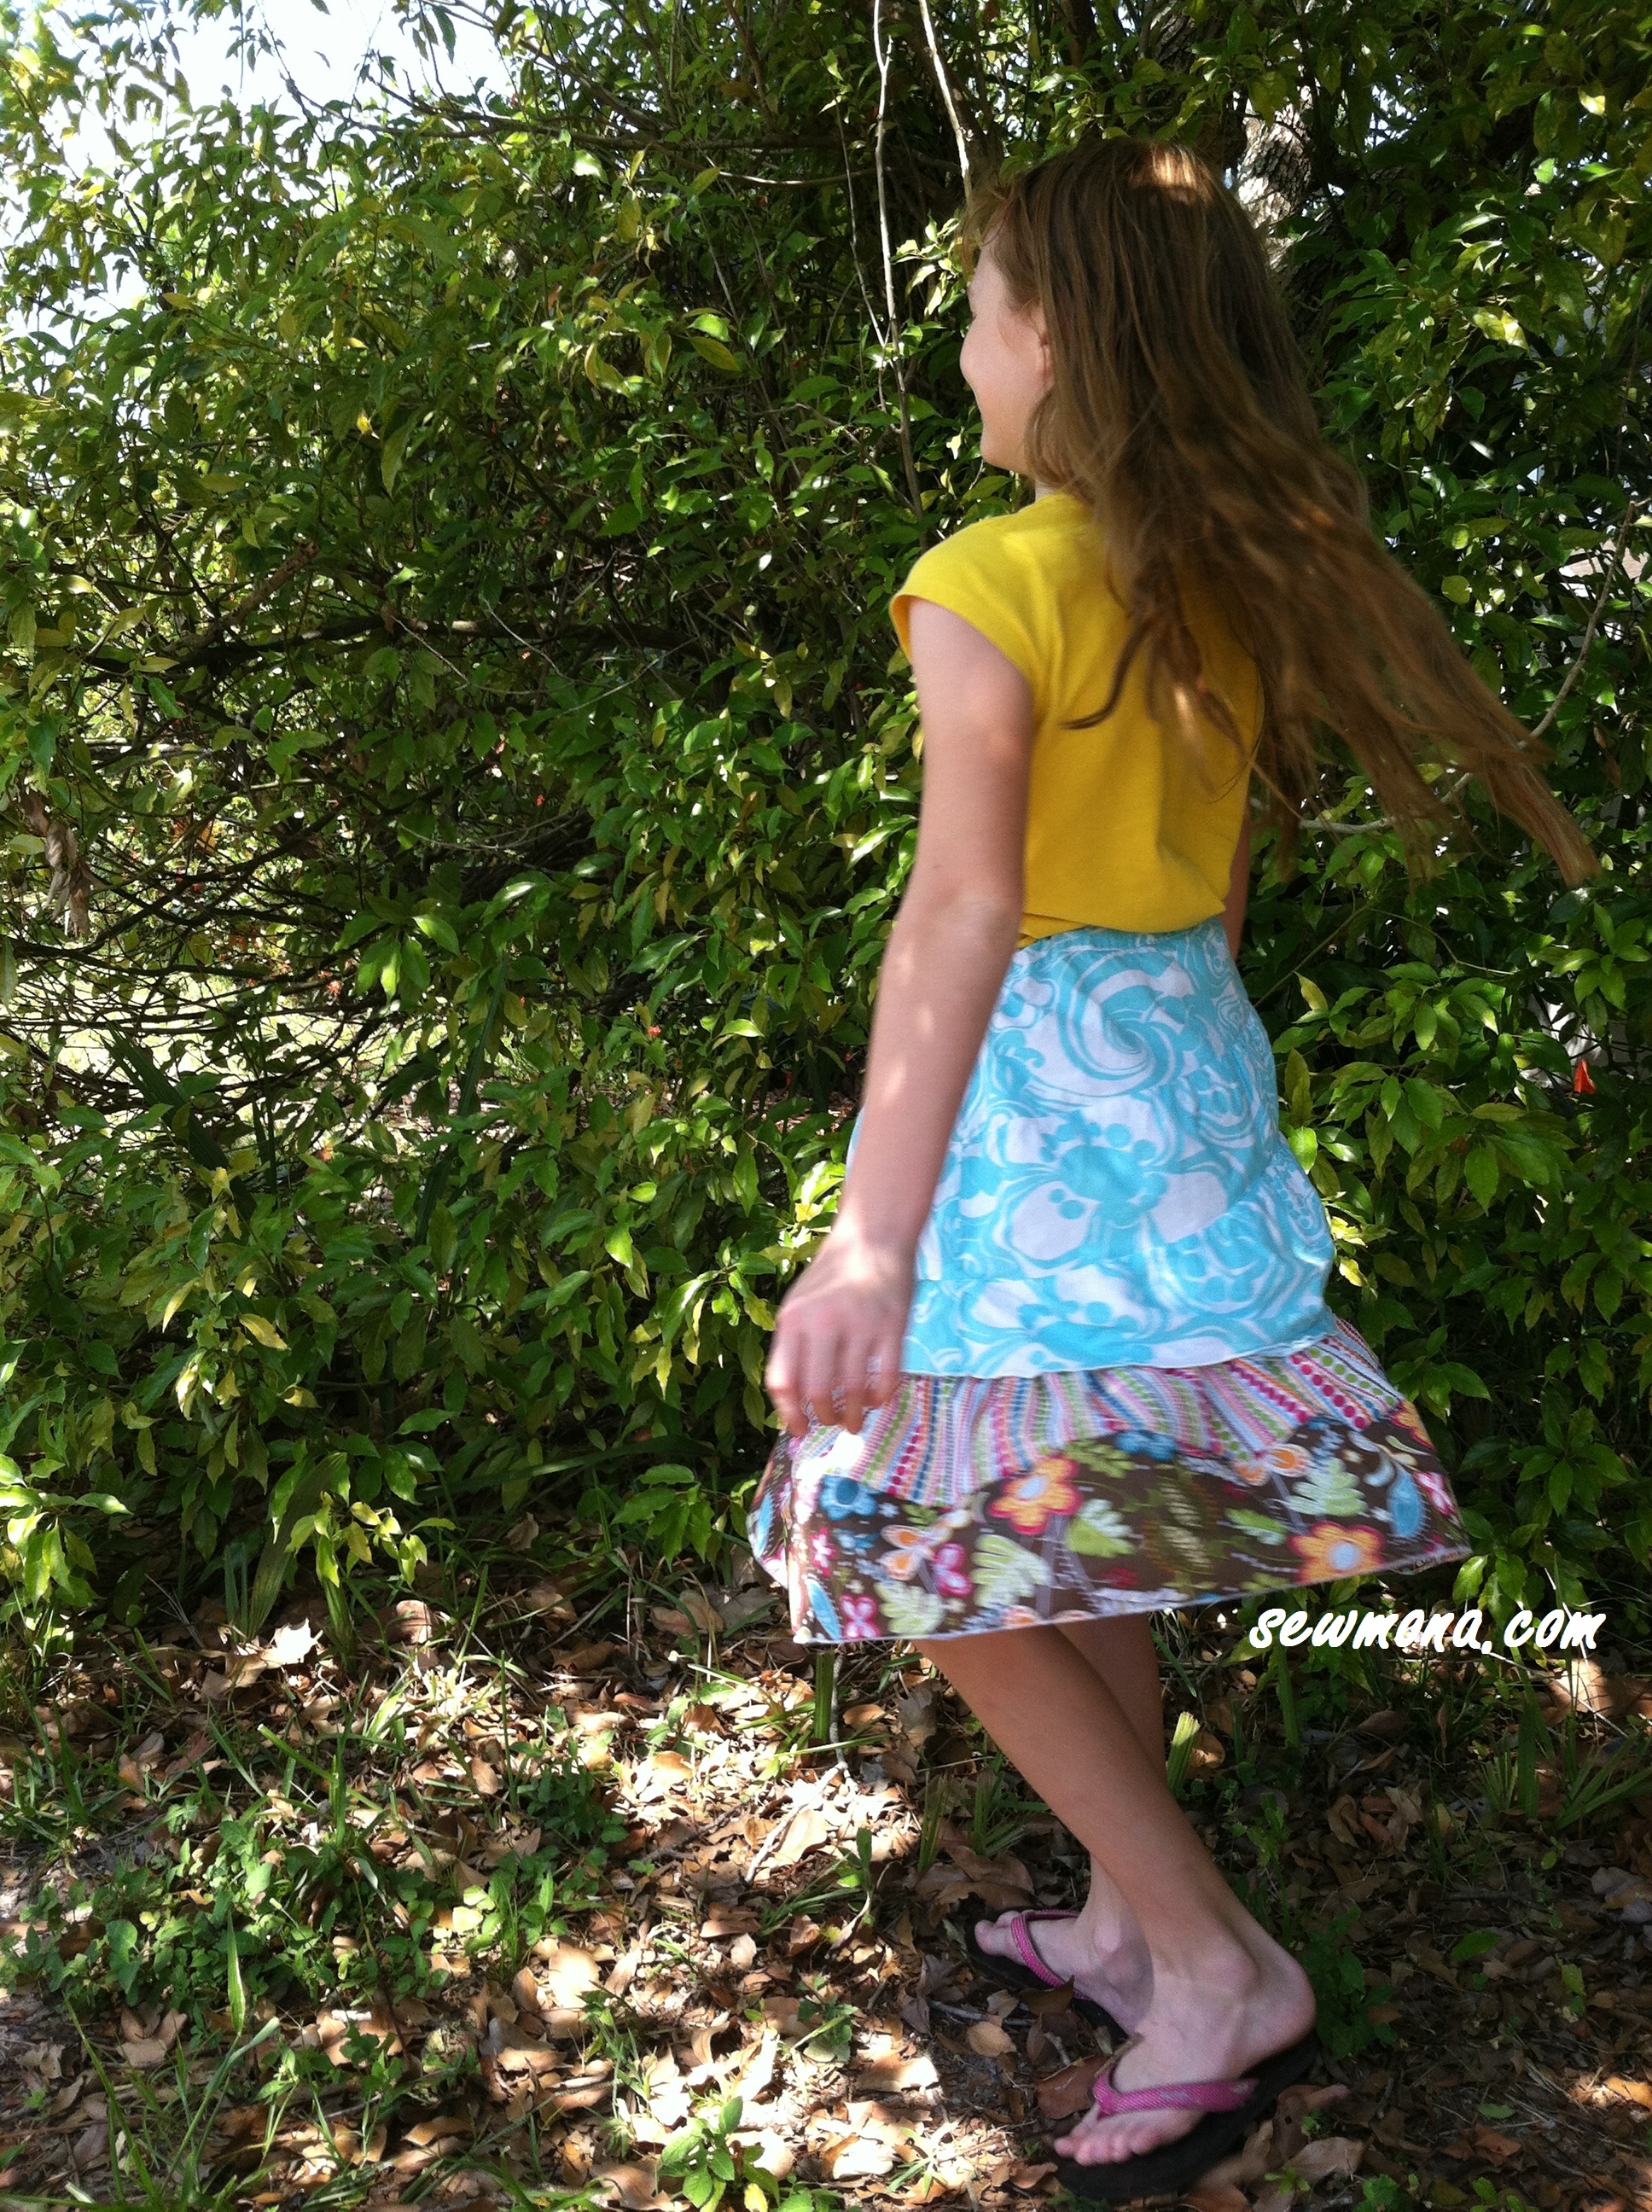
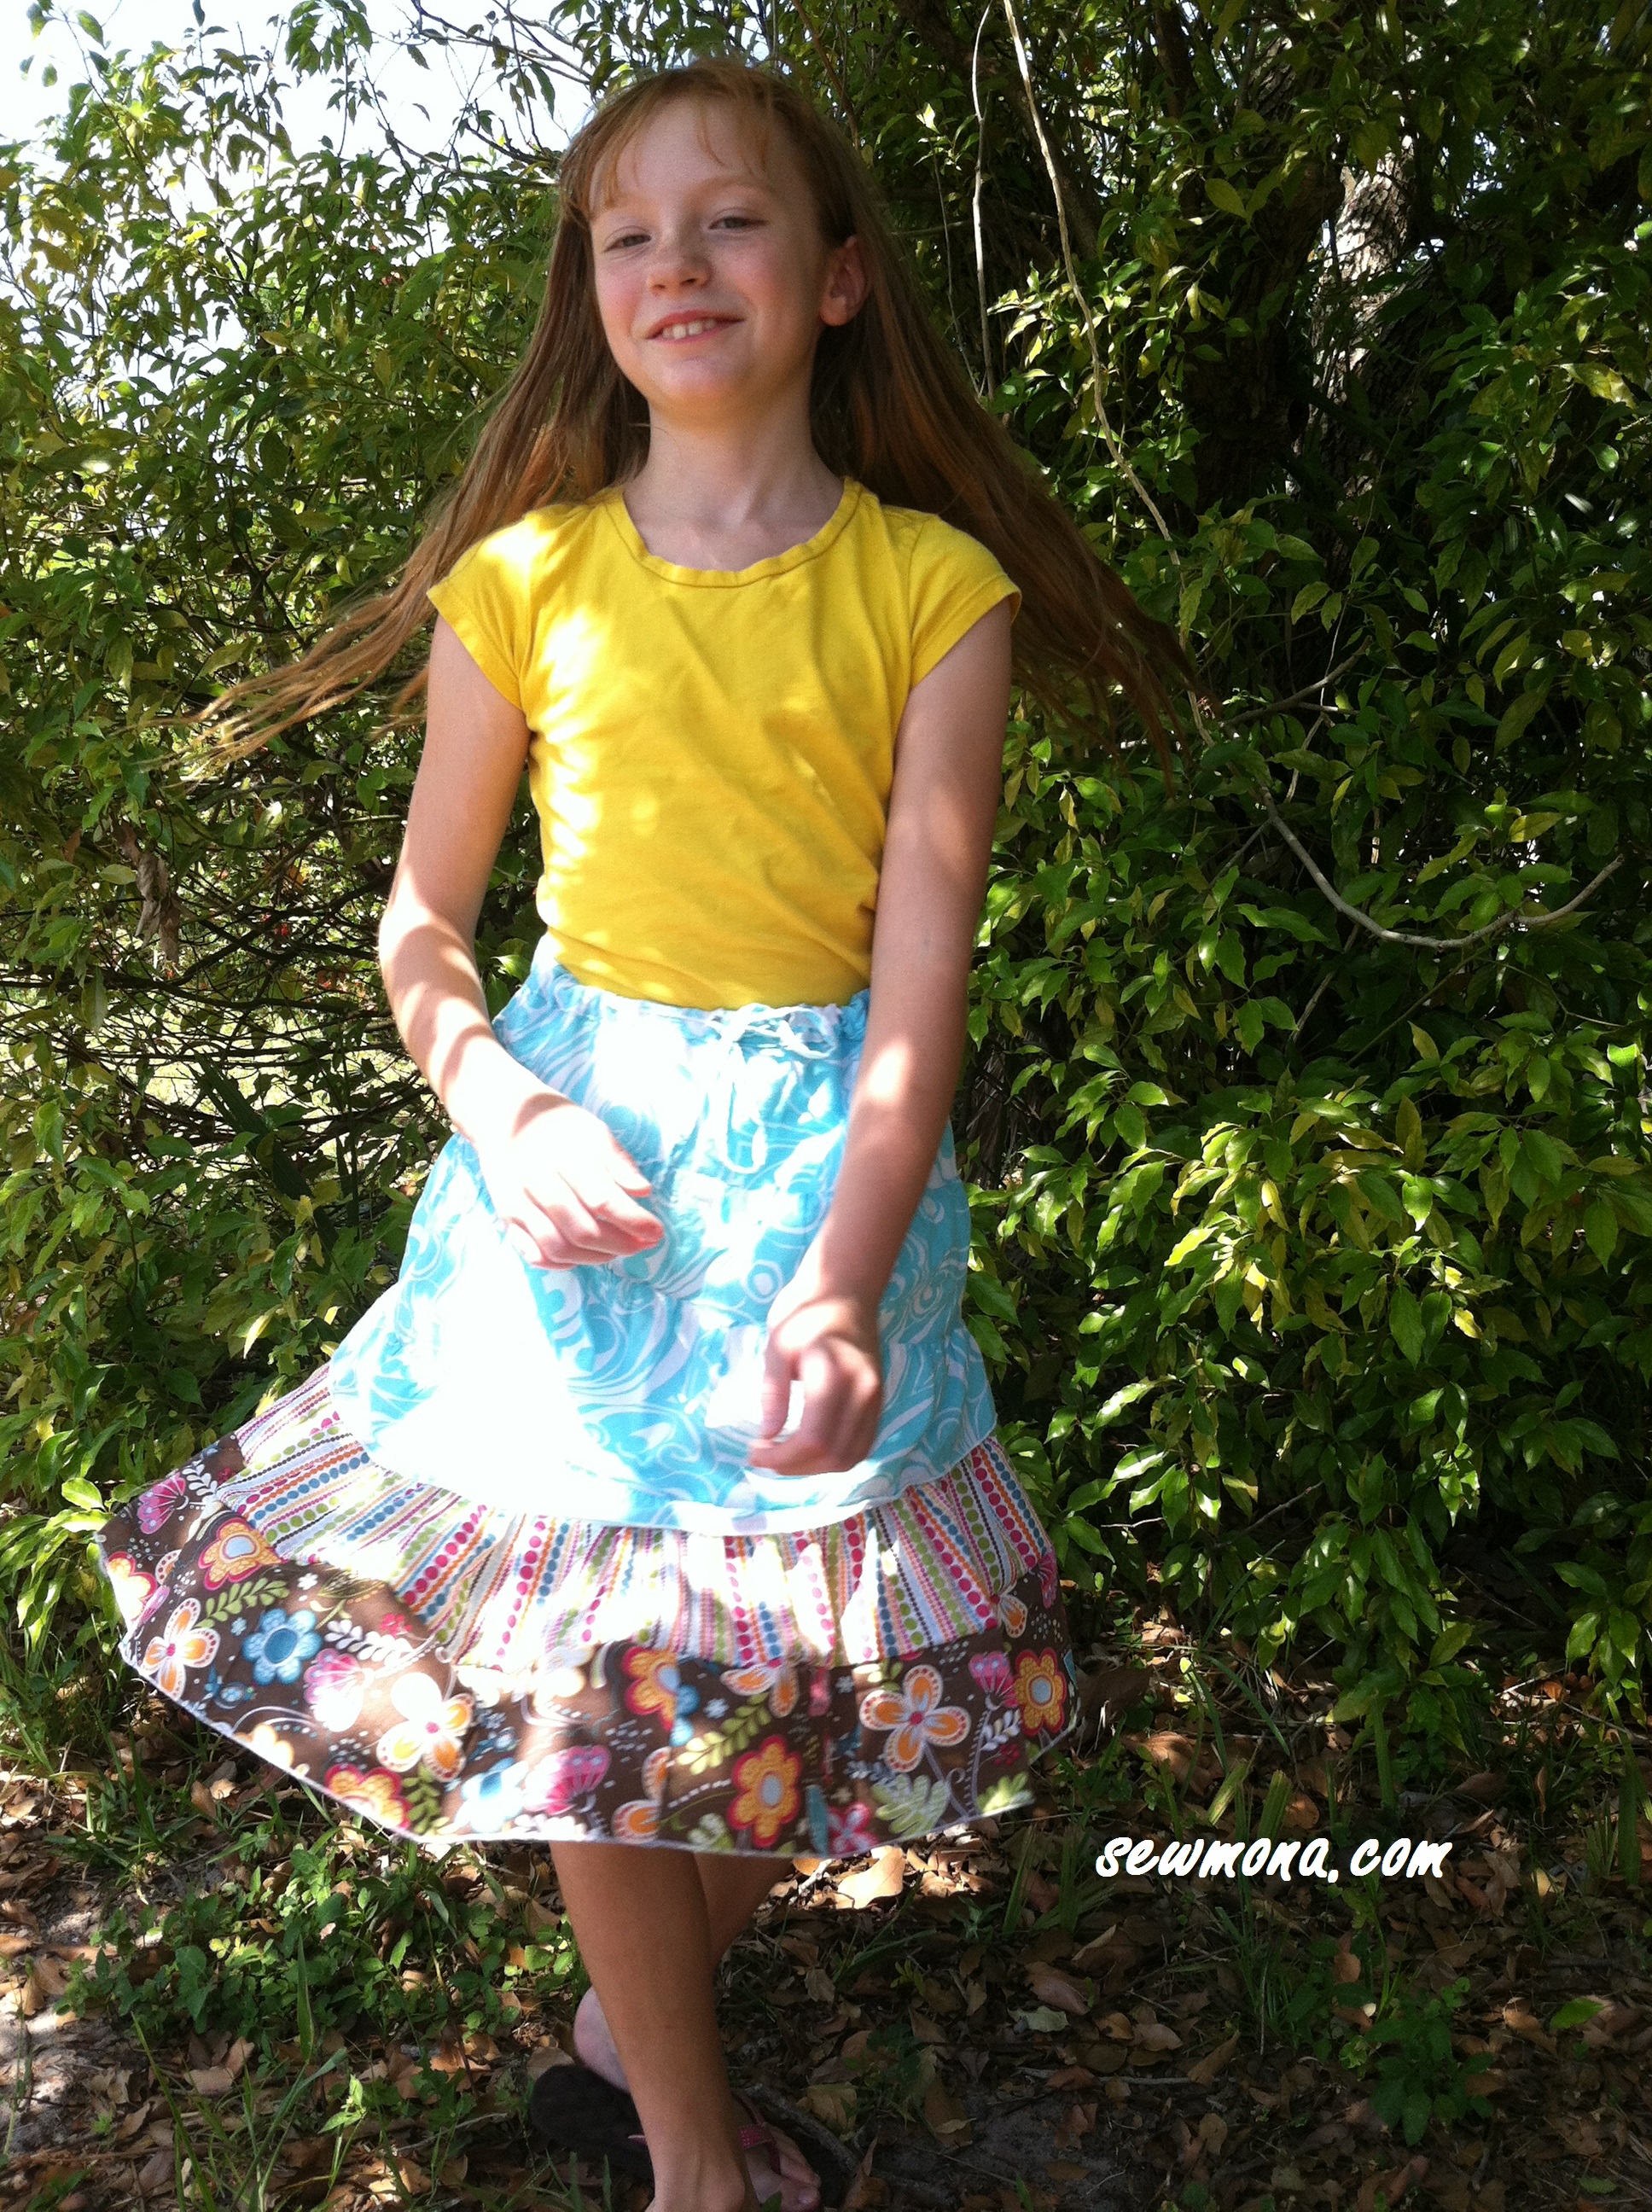
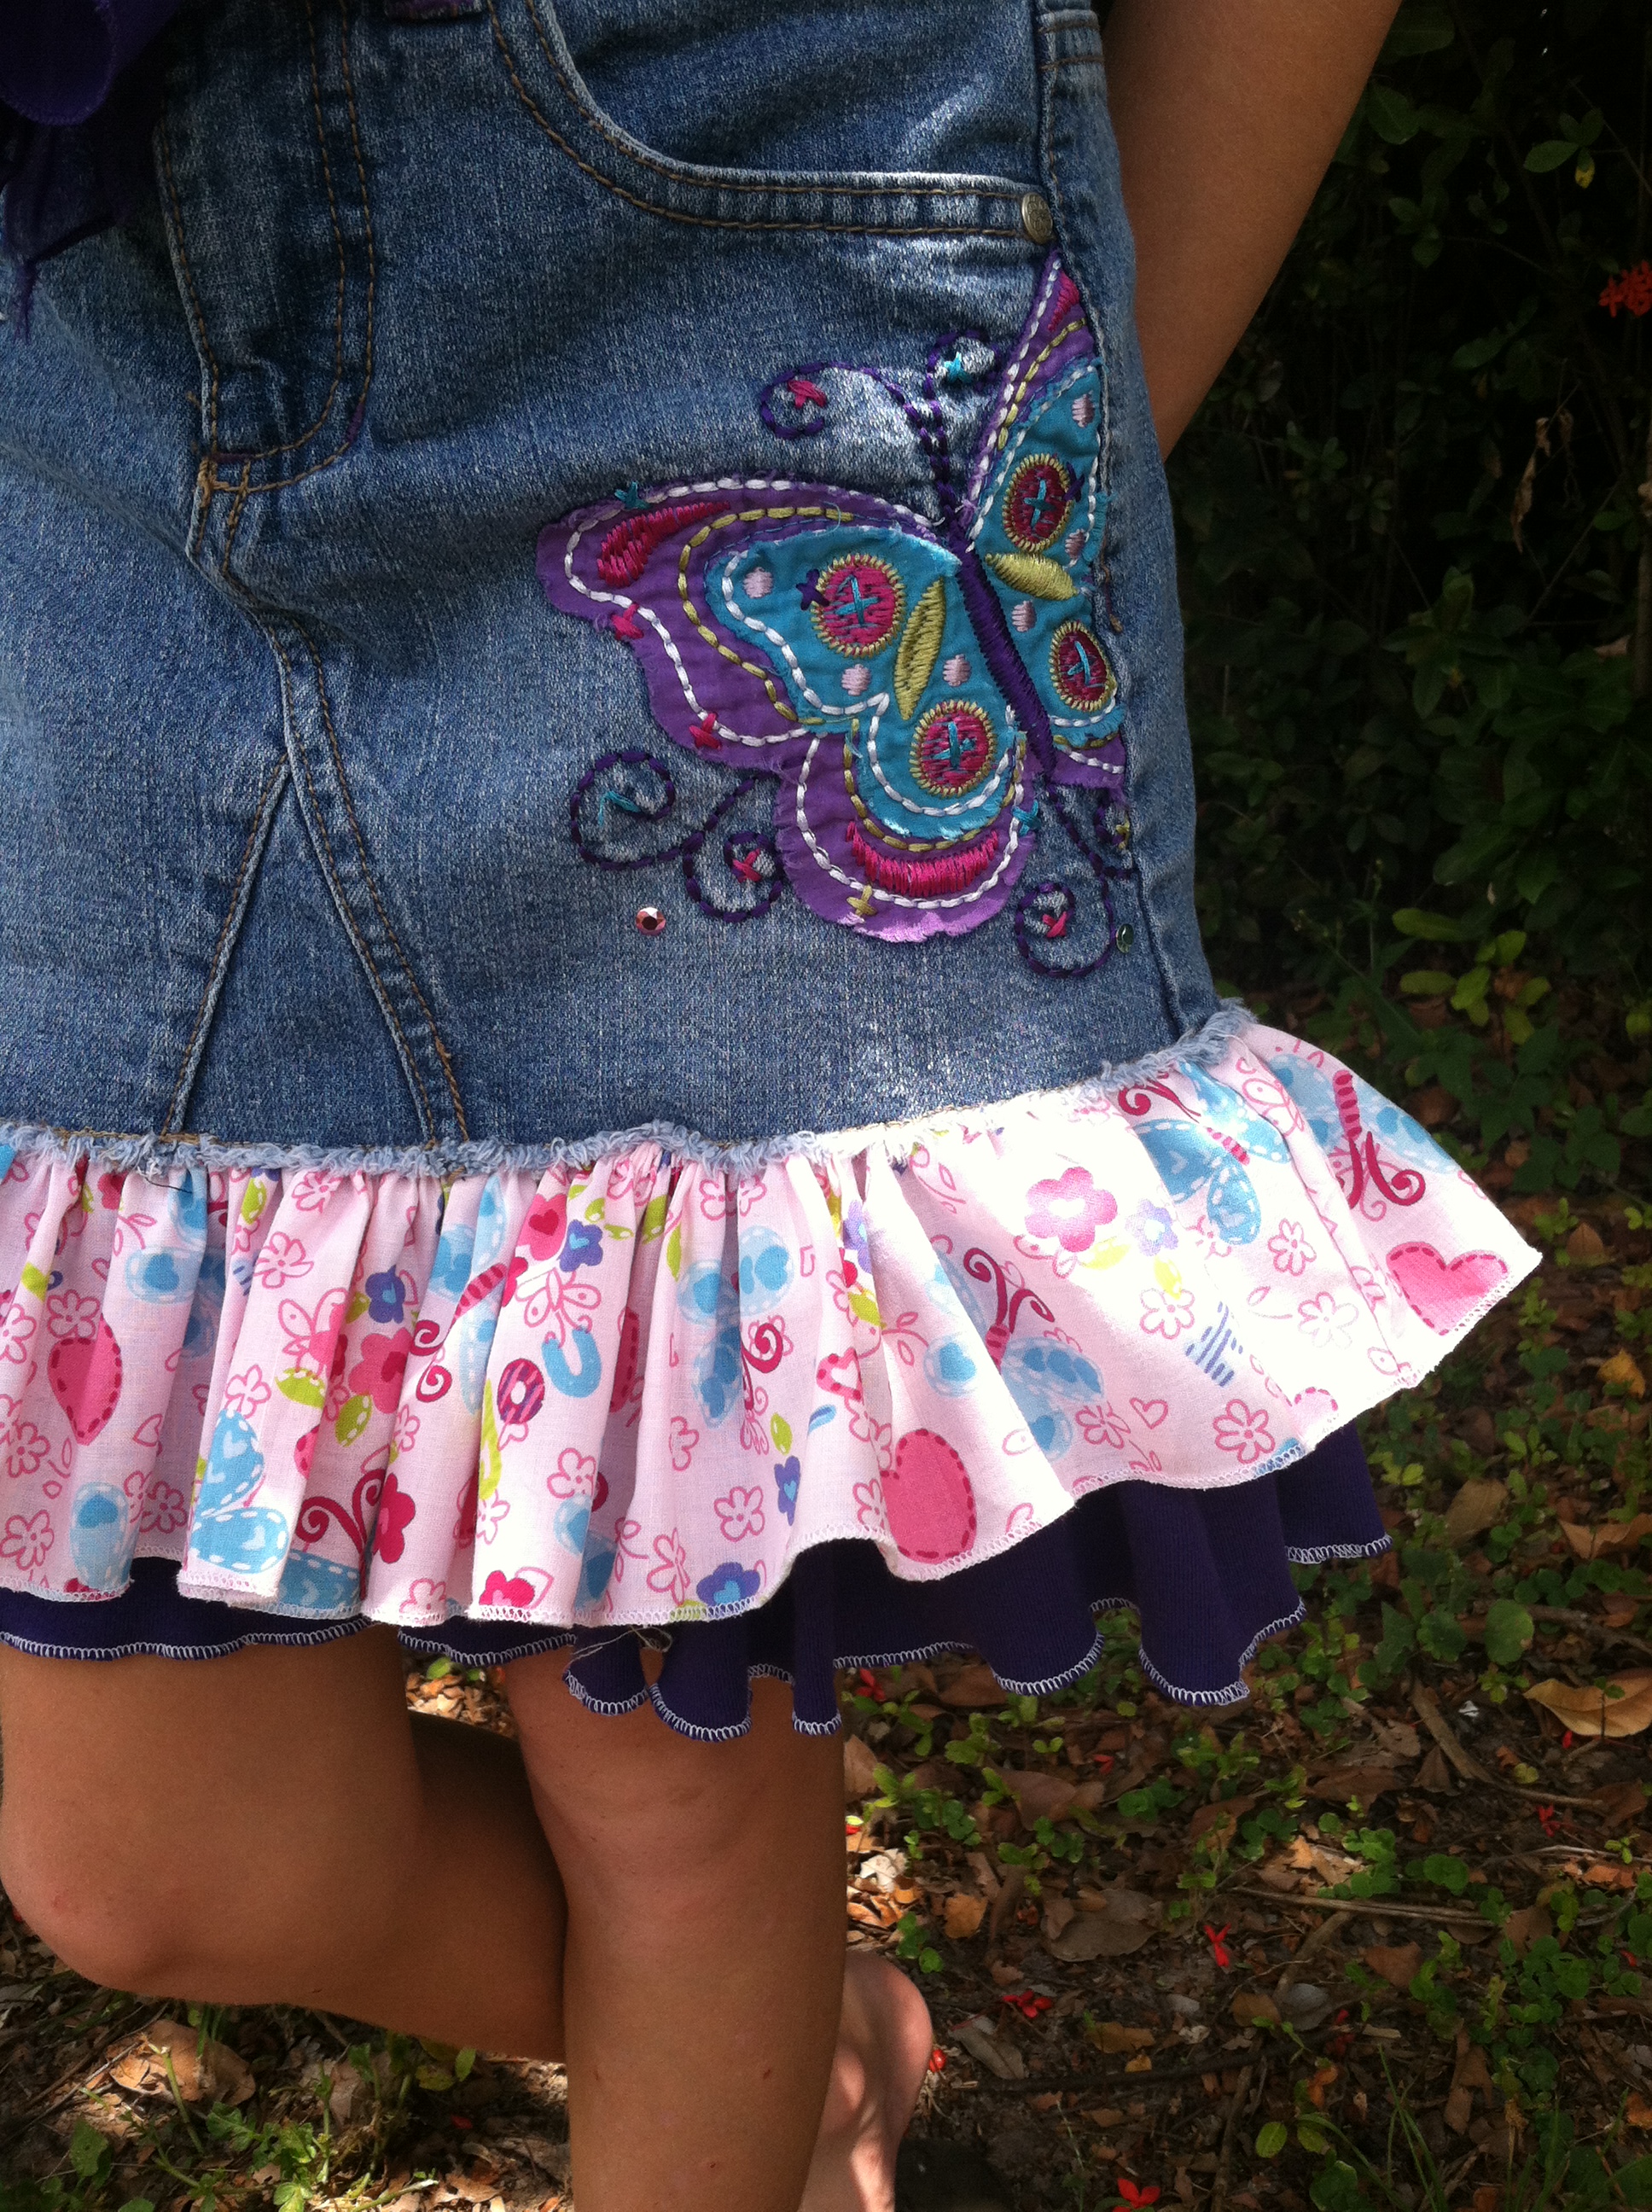
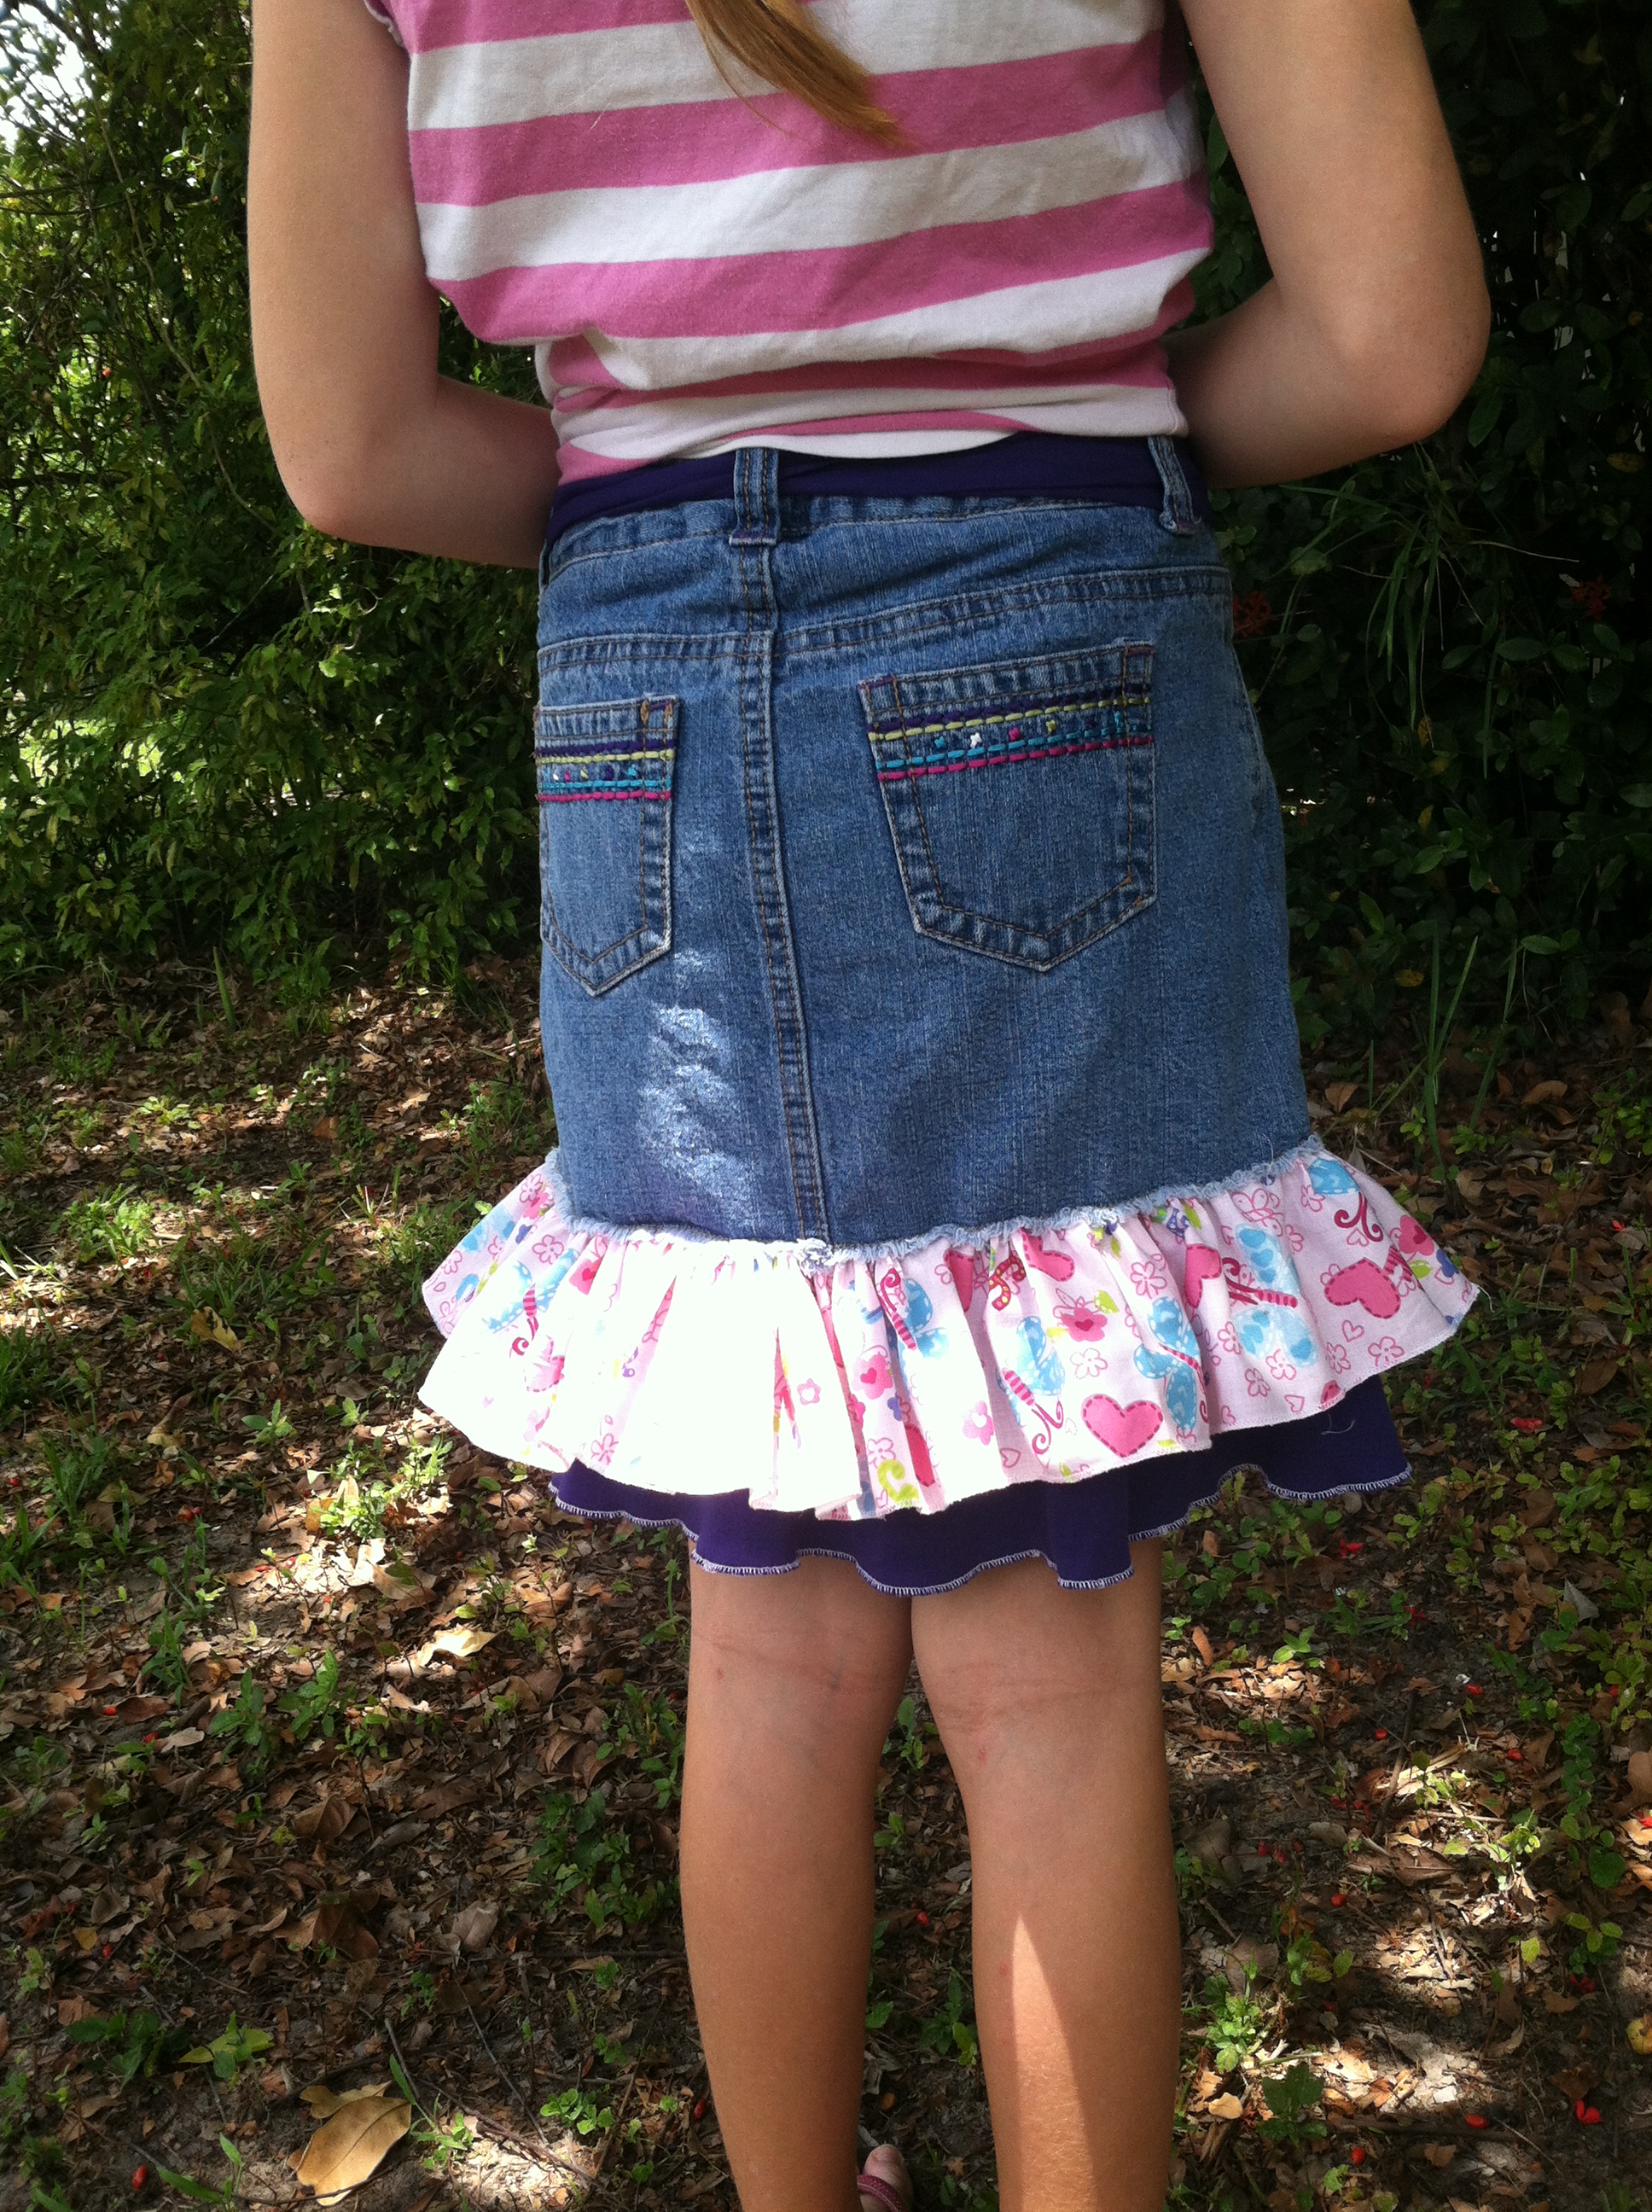
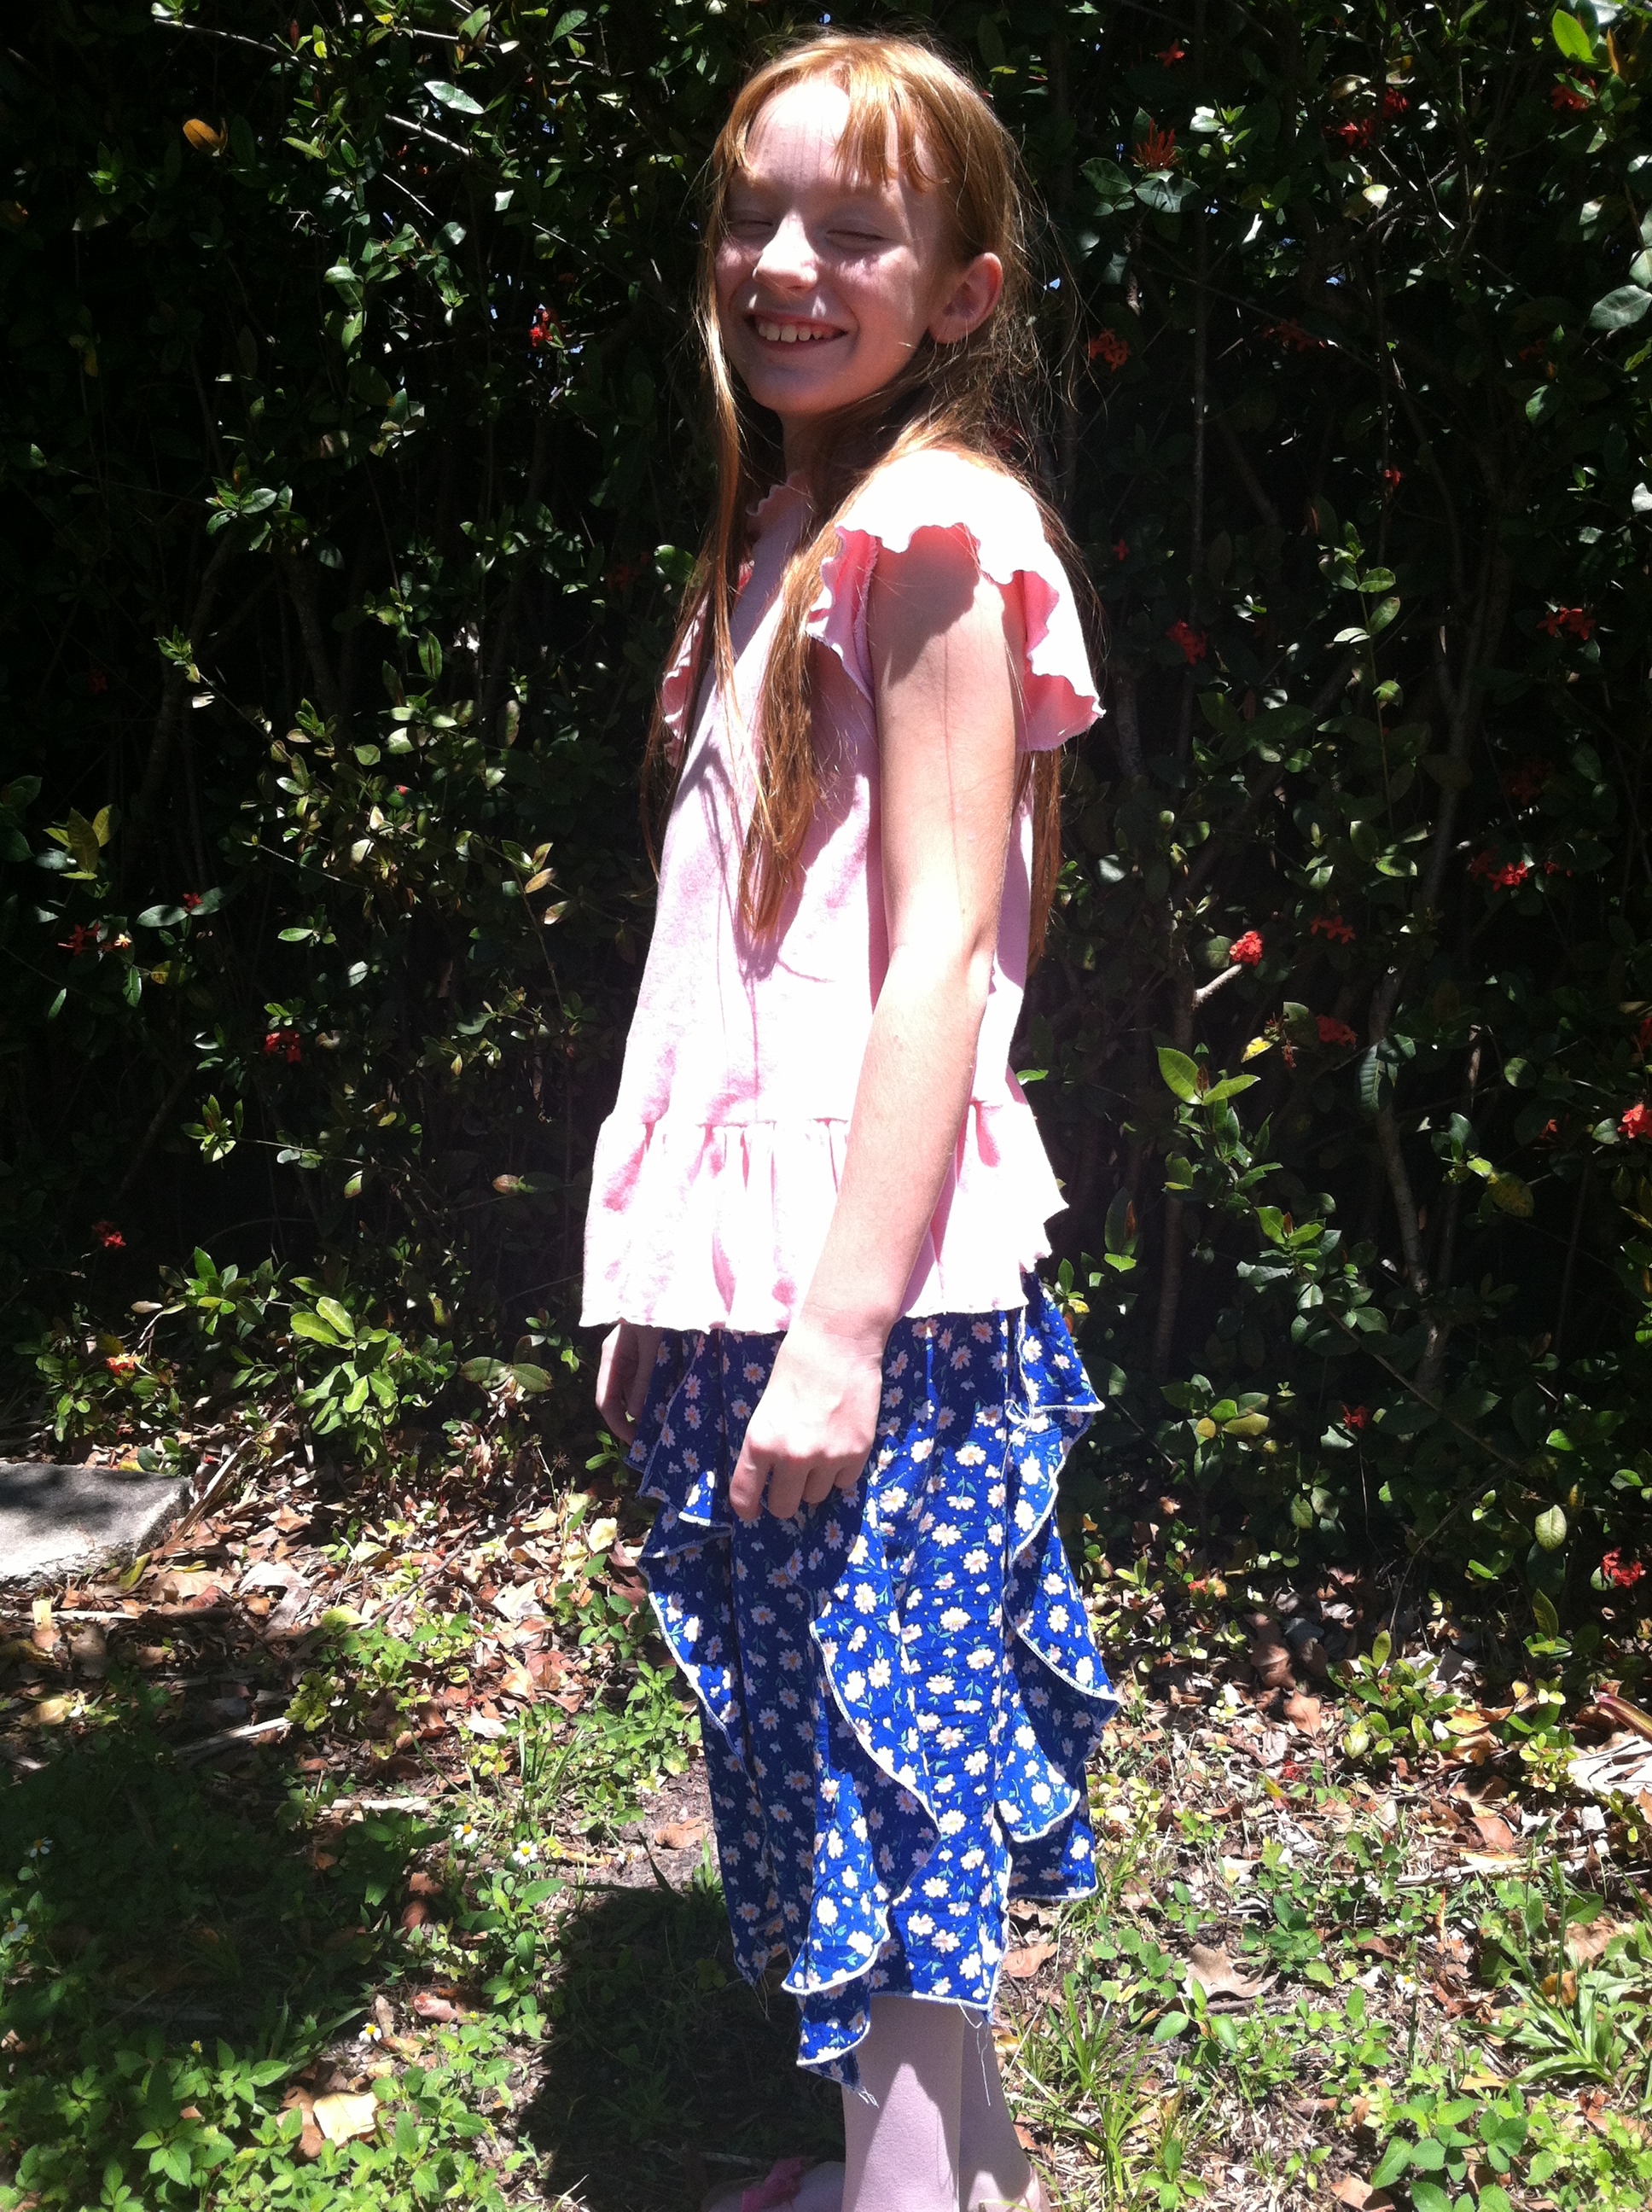
The finished skirt – a perfect fit.

Finished SkirtHave you ever resized a pattern or do you just buy a new one?

Resizing a Button-Up Shirt

ButtonUpFinishedMy sister-in-law recently gave me a shirt that didn’t fit her.  I tried it on and really liked it, except that it was just big enough to look too big and the neck was open a little too low for my comfort.  It laid on my sewing chair for a couple weeks.  I didn’t really want to take it apart (just the side seams) and resew it.  Also, there wasn’t an extra button like I was hoping – I wanted to add another button & button hole at the top.  Then, I had a brainstorm – I didn’t need to take it apart; I could just resew it.

I took each side in about 1/2 inch – I didn’t measure or anything, just eyeballed it.  I also didn’t change my thread…normally I would, but it does make it a little easier to see the pink in this picture.ShirtSideSeam
Instead of making another buttonhole (not one of my favorite things to do), I just used a snap.  It was so much easier!
ShirtSnapI think the whole process took less then 15 minutes.  The moral of the story – don’t over-think things and make it harder than it needs to be!

Making Thrifty Short Skirts Modest

Being modest in dress is something that I think we’ve lost as a society.  People seem to think that modest dress equals frumpy.  Not so!  I recently bought two skirts (one free, one for a dollar) from my local facebook flea market.  Pretty good deal if I do say so.  I knew that the two skirts were going to need a little work.  The just-barely-covers-your-butt look is not something I want my almost ten-year old sporting!  Just for the record – I don’t want her sporting that look at 19 either!

Short SkirtsShe picked out some material that coordinates with each skirt.  The turquoise skirt is going to be unique!  I told her I thought a solid color shirt would be a must!  The jean skirt is so pretty and it has shorts under it.  I think with a couple purple ruffles, it will look even prettier!

Short Skirts with Ruffle Material
For the turquoise skirt, the material she picked out is actually from a fat quarter group. I cut each piece into quarters so I had four strips of material the length of the fat quarter. Then I sewed them together to make a loop. I sewed the two loops together and hemmed one edge. I used my serger and did a rolled hem, but you could just turn the edge under twice and sew it with a regular machine.  I gathered the other edge and sewed it to the lining of the skirt.
Ruffles LiningA much better length and such a fun skirt!
Ruffles2 Ruffles

Of course, ruffles were made for twirling!
Twirly Ruffles 2 Twirly Ruffles

I was going to do the second skirt in a similar fashion.  Then I found this butterfly material and thought it would be perfect for a ruffle.

JeanSkirtRuffleMaterialI made two ruffles and stacked them.  I cut the purple material almost two times the distance around the hem.  The light pink material is almost four times so it gathers more.  I did a rolled hem on both layers (I love my serger!  It makes hemming so easy!).

RuffleFullLengthIt’s a much better length now.  Not too short but not too long.

RuffleFrontClose
RuffleBack

Kids and Sewing

My two older kids like to sew. They don’t get to nearly as often as they’d like though – they still need a lot of help from me. My daughter wanted to make her Easter outfit and she had been bugging to make this skirt, so we made the skirt and designed a shirt to go with it.  I did the cutting out (the skirt pattern is a little tricky and we were sizing it way down since it’s an adult pattern).  The shirt body is modeled after a shirt that currently fits her – I laid the shirt on the fabric and cut two pieces a little big to allow for seams.  The bottom ruffle is a long strip – about twice the circumference of the bottom of the shirt.  The sleeve caps are stretched out “D” shapes.

shirt-skirtSewing up the shirt was actually quite easy and my daughter was able to do most of it herself.  I helped with the pinning and gathering and then I used my serger to do a rolled hem on the sleeves and ruffle.

shirt-skirt-side-1The skirt was a bit trickier.  She sewed some of the ruffles on and then I finished it up.  She loved it so much that she wants to make one for her cousin (shhh, don’t tell 😉  ).

shirt-skirt-side-2All those ruffles make it super fun to wear!  Have you made anything with your kids lately?

Extending Clothing Life – Making a Dress Shirt Short Sleeved

IMG_2966In our new, warmer climate, hubby doesn’t need to wear long sleeve dress shirts for work.  It seemed like a shame to just get rid of (donate) all of his dress shirts though.  Most of them were in really good condition.  So I tried making one into a short sleeve shirt.  It wasn’t that hard!  It may seem intimidating, but it is really very simple.  It took me about 15 minutes to do this.  I use a short sleeve dress shirt as a pattern so I know where to cut the sleeve.  Line up the shoulder seams.

IMG_2967It needs to be cut about an inch longer so you have room to hem it.  I think cutting the first sleeve off is the hardest part.  After that, there’s no going back.

IMG_2968Using the sleeve you just cut off as a guide, cut the other sleeve off.

IMG_2969I remove the buttons before tossing the cut off sleeves.  You never know when you might need to replace a button.

IMG_2970Fold the cut edge under once and then again and pin it.  Do this all the way around both sleeves.

IMG_2971IMG_2972

Line up the shoulder seams and make sure the sleeves are the same length.

IMG_2973IMG_2974

Sew each sleeve hem.  I line up the fold of the hem with the edge of my presser foot.  That way the seam is the same distance from the fold all the way around.

IMG_2975A quick press to smooth out the new hem and you have a “new” short sleeve dress shirt.

IMG_2977

  • « Previous Page
  • 1
  • …
  • 7
  • 8
  • 9
  • 10
  • 11
  • Next Page »

Hi, I'm Mona - wife, mom, teacher, seamstress, blogger. This is my home on the web. Read More…

Categories

Copyright © 2026 · The Marianne Theme By Blogelina · Built on the Genesis Framework

Copyright © 2026 · The Marianne on Genesis Framework · WordPress · Log in