SewMona

A slice of my Florida life

  • Sewing
    • SewMona on Etsy
    • Clothes
      • Boys
      • Girls
      • Men
      • Women
    • Pattern Reviews
    • How to Sew
  • Camping
    • Florida Campgrounds
  • Recipes
  • Crafts
  • DIY
  • About

Pattern Review: Jordan by Made for Mermaids

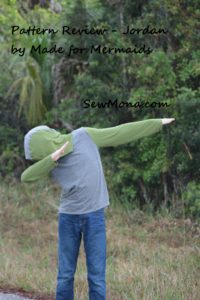
I recently tested the newest pattern by Made for Mermaids – the Jordan.

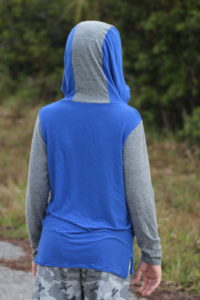
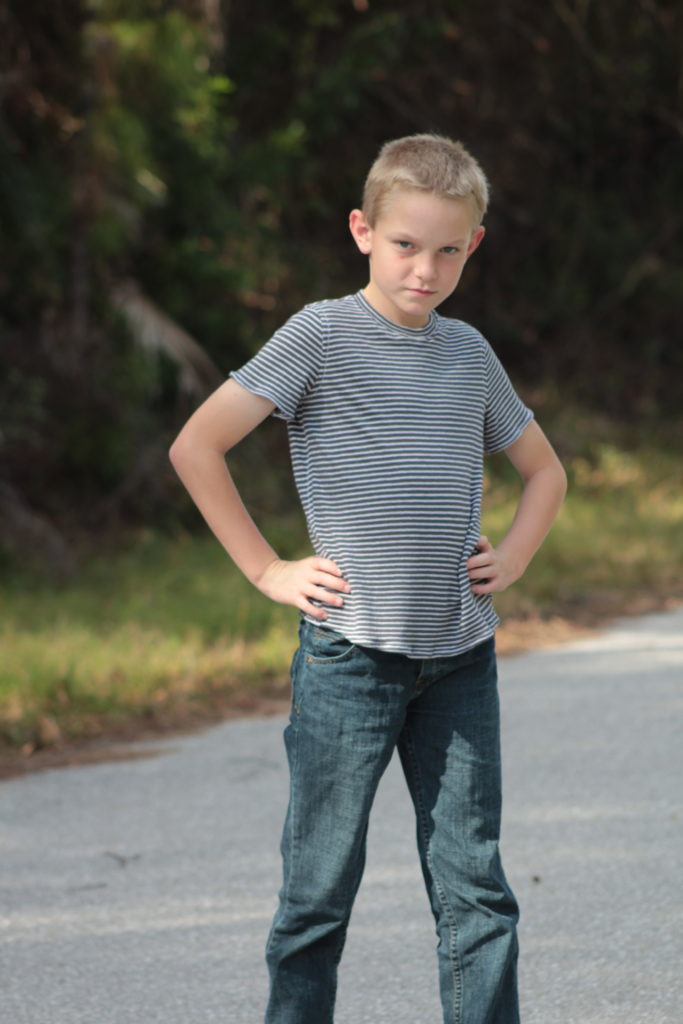
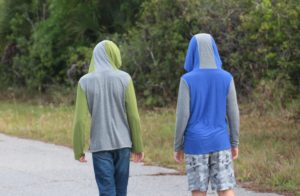
It’s available in kid’s, women’s, and men’s sizes! Perfect for the whole family! My sons love their new Jordan hoodies.

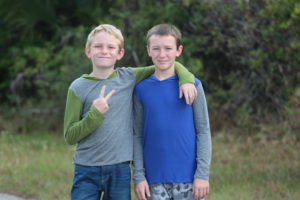
They’re made from lightweight cotton lycra from JoAnns which makes them perfect for cool Florida mornings (no snowmageddon here!).

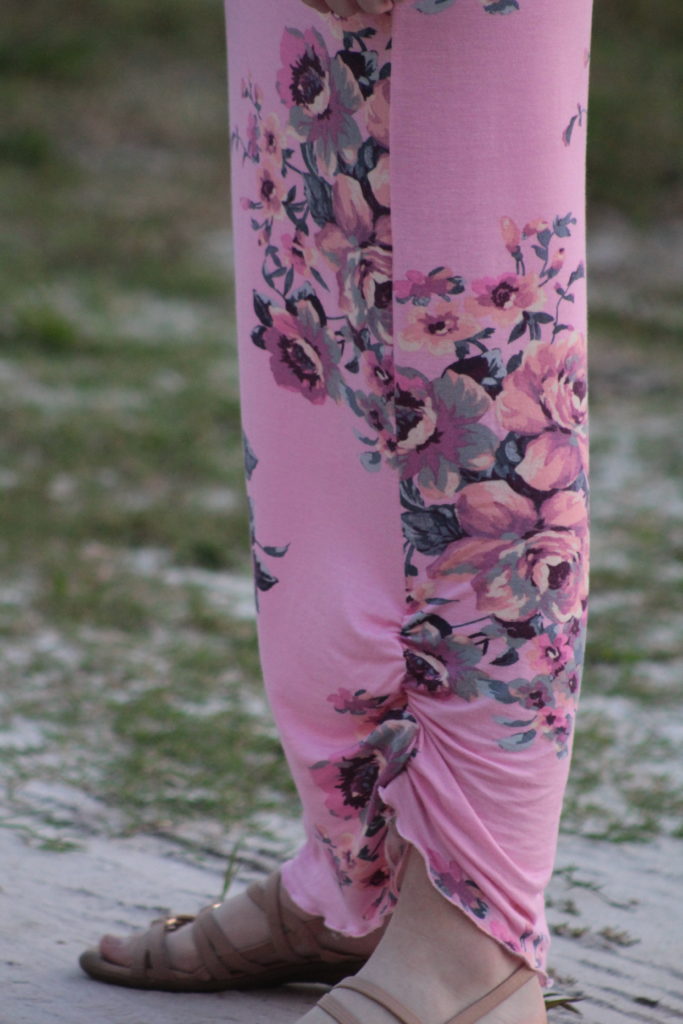
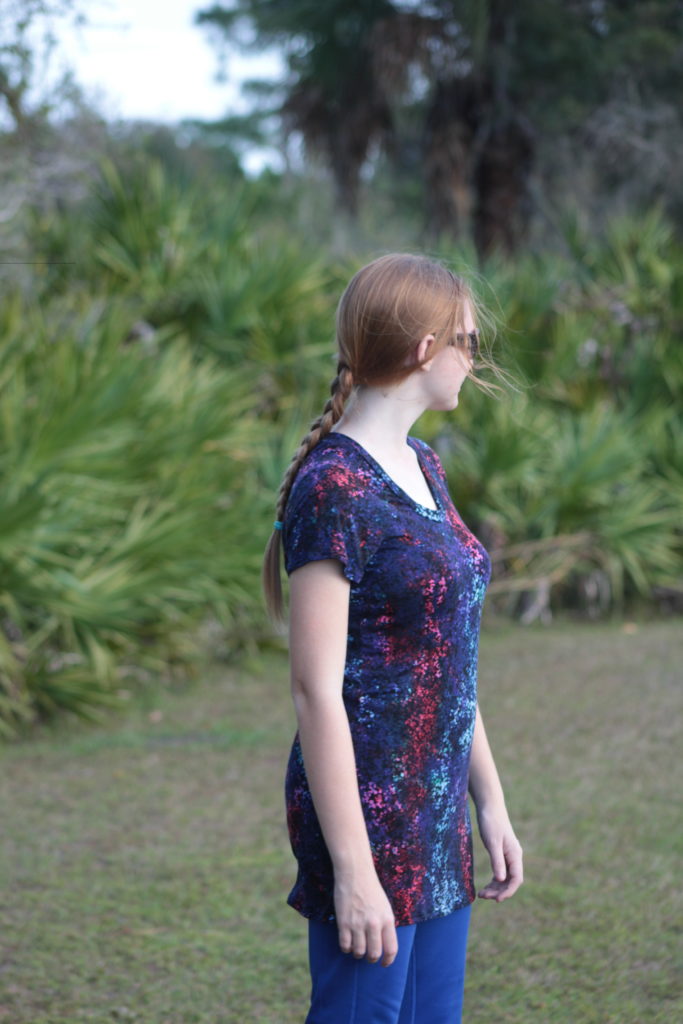
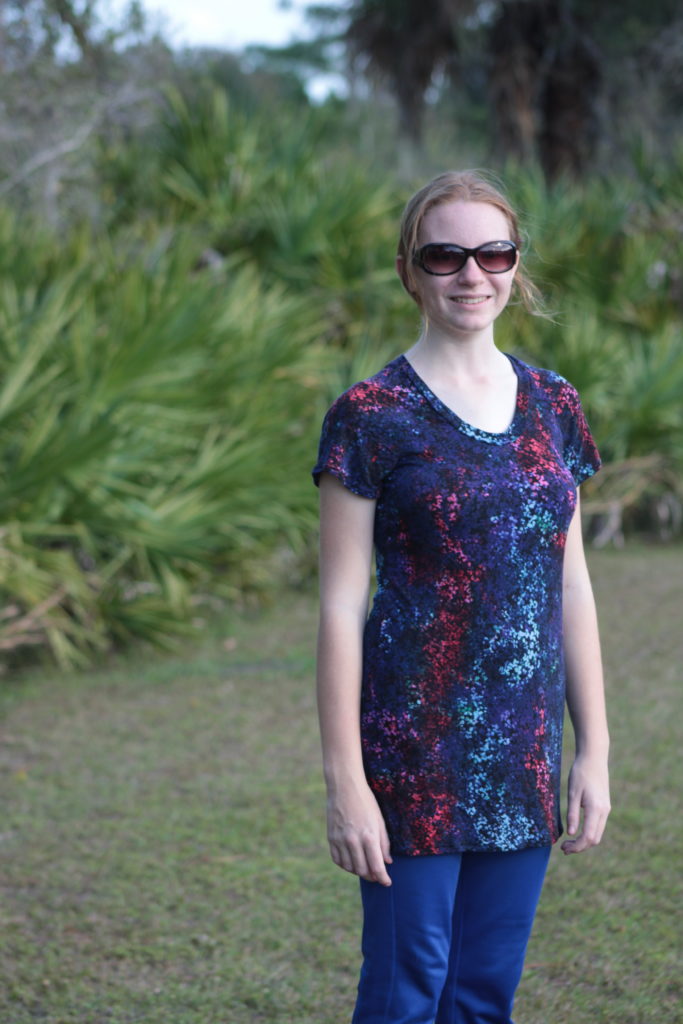
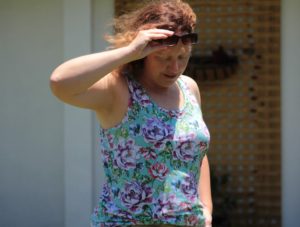
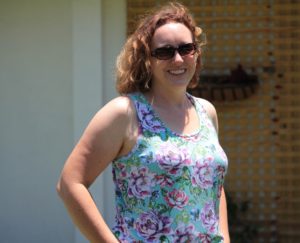
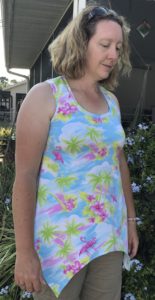
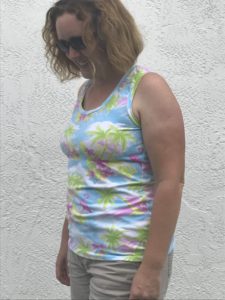
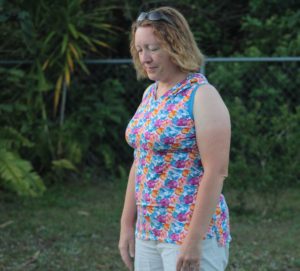
I decided that I needed a Jordan too (I don’t think I’ve owned a hoodie in my adult life…possibly ever). I made my sleeveless since that’s what I wear most of the summer. I love it!

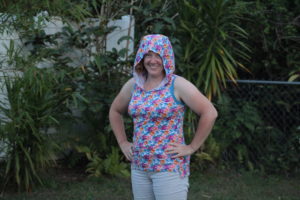
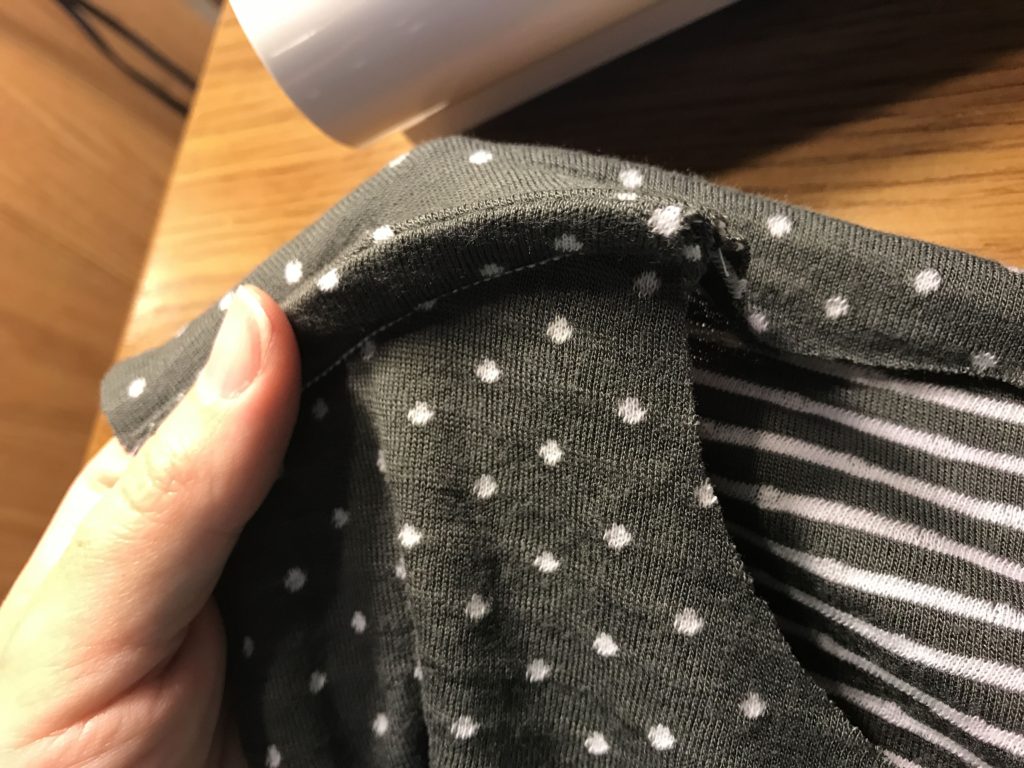
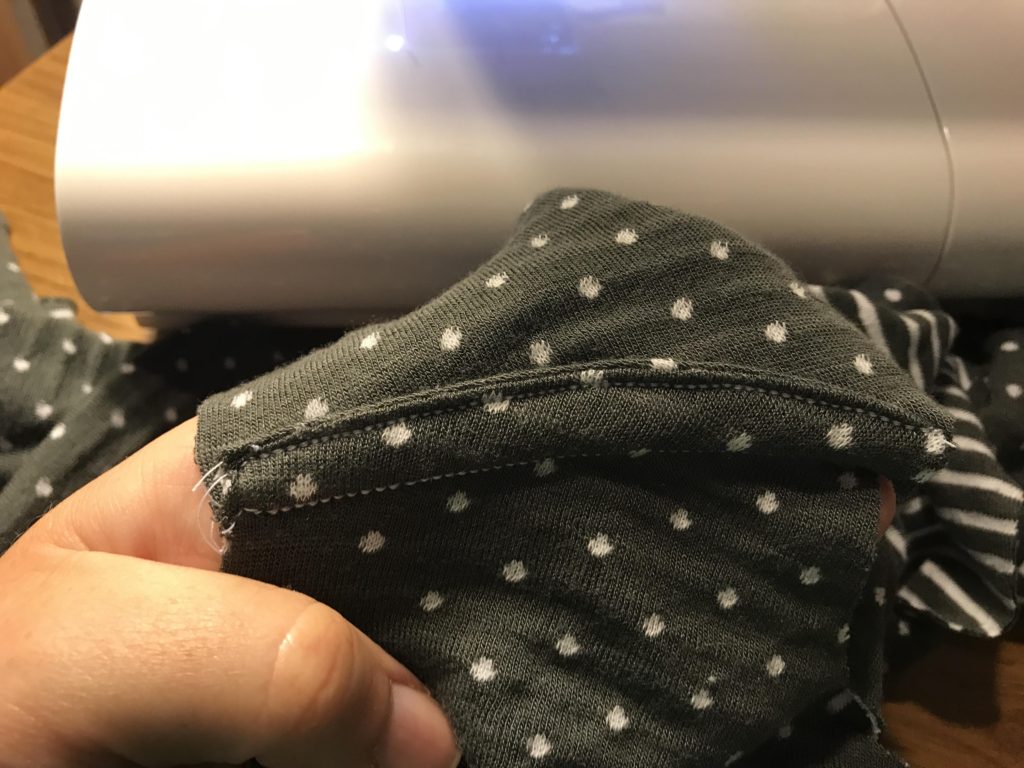
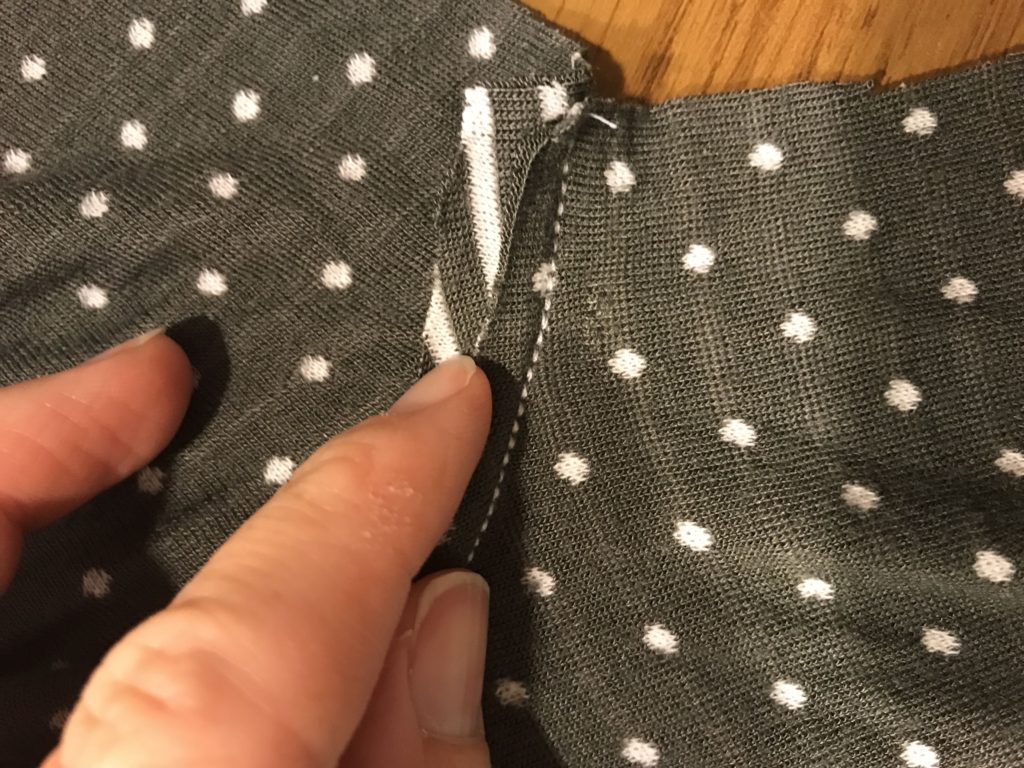
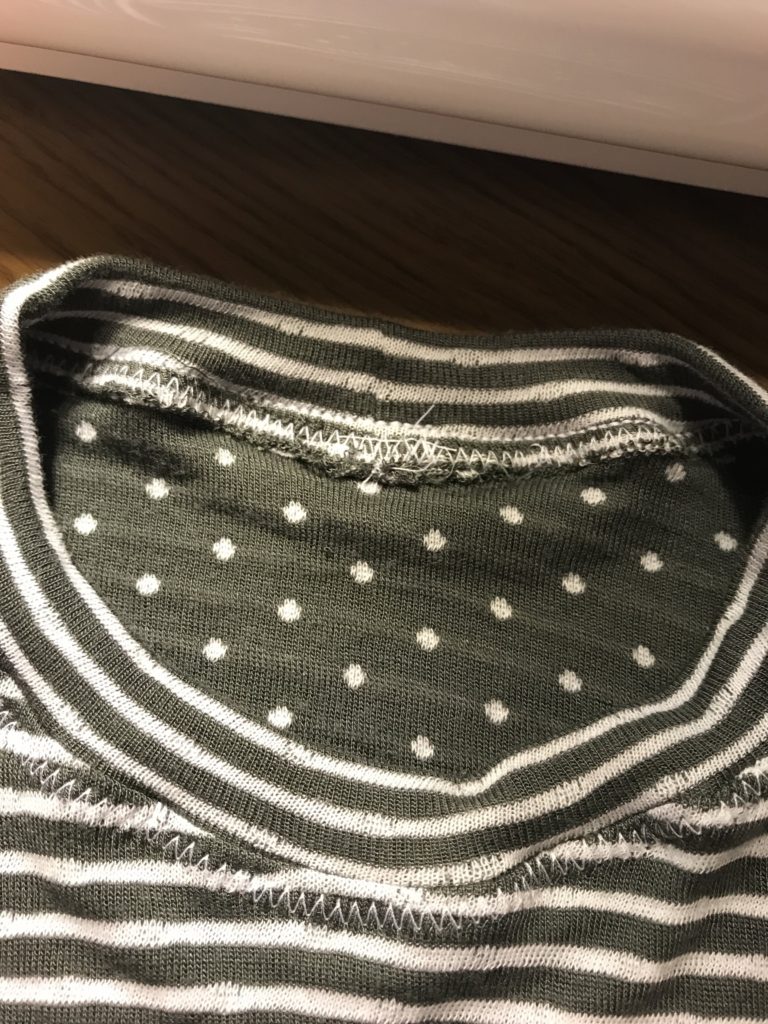
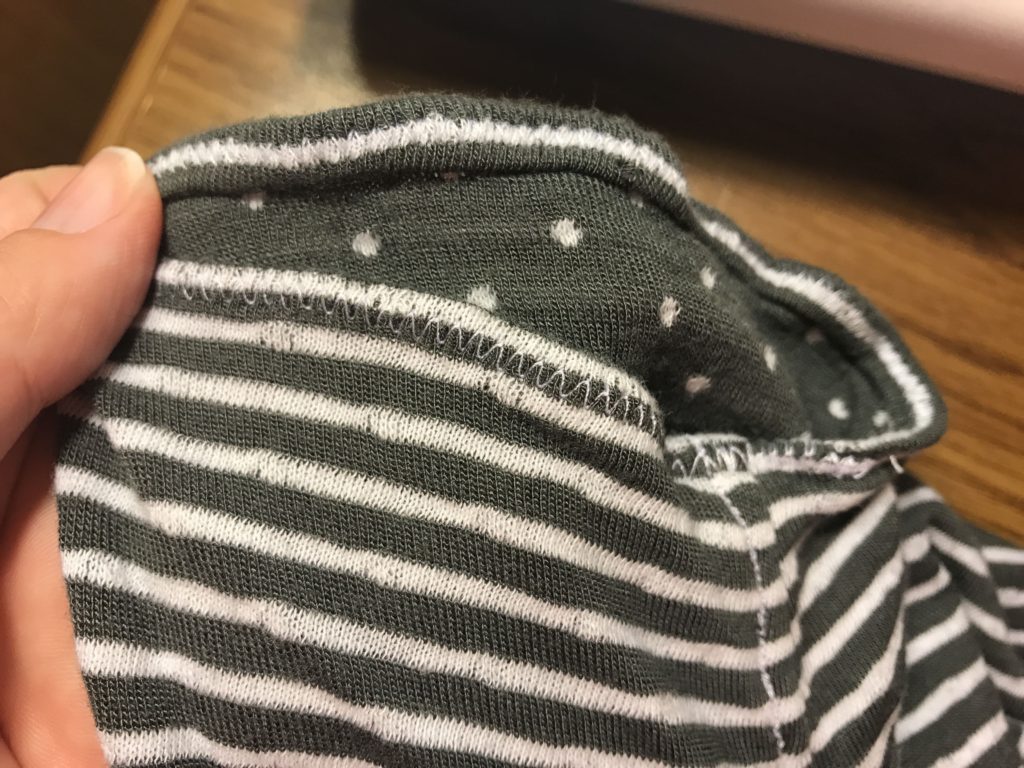
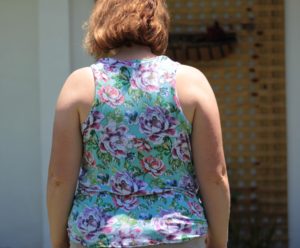
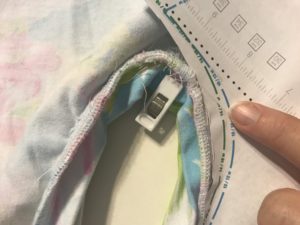
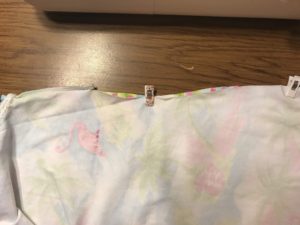
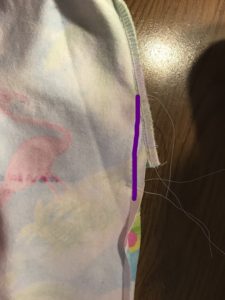
I choose a lightweight cotton/poly blend from Nature’s Fabrics for the main part, and then I used a cotton lycra for the bands around the armholes so that they looked good. The main fabric does not have good recovery which means the arms holes looked all stretched out. Using fabric with good recovery means that the arm holes will not look all stretched out by the end of the day.

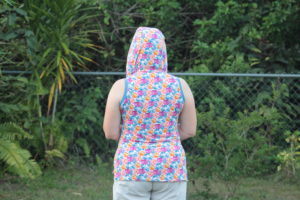
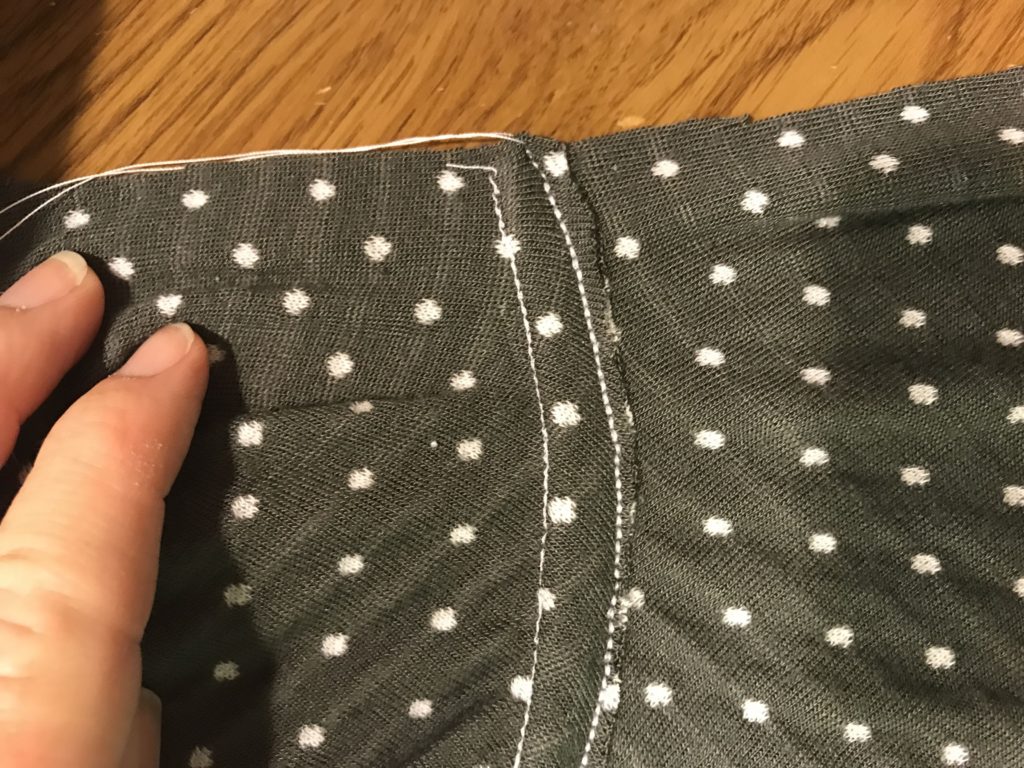
I made mine with the high/low hem, but it there are other options including dress length.

Get yours here:

Kids

Women

Men

Then come back and tell me which one you’re going to make first.

Pattern Review: Moonstruck Skirt by Pickle Toe Patterns

*This post contains affiliate links.

I’ve been looking for some new-to-me pattern companies and recently decided to check out Pickle Toe Patterns. I tested their newest pattern the Moonstruck Skirt.

One of the first things I noticed is that this pattern comes in a wide range of sizes: 00 – 36! That means I can make skirts for just about every woman I know including my teenage daughter.

It really is a simple skirt, but it has so many options that you’ll want one for every day. It comes in 5 different lengths, two different styles of ruching, waistband for high hip or waist, and side vents. It’s bound to become a favorite!

The waistband was a bit fiddle-y, but in the end I decided it was worth it. I hate when the elastic twists or doesn’t stay in the right place. Because the elastic is sewn to the top of the waistband, there’s no way for it to wander.

I made the maxi with ruching on one side, but I only did it on the bottom 12 inches. I cut a piece of 1/4″ elastic about 6 inches long, measured up 13 inches from the bottom, and then stretched it to 1″ from the bottom. You can do it on both sides, but I love the asymmetrical look.

Get your Moonstruck pattern while it’s on sale.

Fabric is a rayon blend from Mily Mae.

*This post contains affiliate links. For more information, see my disclosure policy.

Pattern Review: Basic Tee by Patterns for Pirates

I recently tested two basic tee shirt patterns – youth crew neck basic t-shirt and the women’s basic t-shirt. Both of them are so easy and as always, there are lots of options. I also made a reversible shirt using the youth pattern.

I found this fabric at JoAnns and I new my youngest son would love it – mostly because it wouldn’t matter what way he put his shirt on, it would be the right way. When you’re ten and you don’t have to worry if your shirt is inside out or not, that’s a win!

I used flat fell seams for the shoulder seams. This is actually very easy to do. First, clip the seams wrong sides together (trust me). Sew a narrow 1/4″ seam. For this tutorial, stripes is the right sides, polka dots is the wrong side.

Now, clip the shoulder seams right sides together. The seam you just made will be sandwiched between the layers of your new seam so it’s completely hidden. Sew this seam.

Press the seam to the back and top stitch it down. Voila – seam one, done.

You could do this for all the seams, but I thought it would be hard to do on the sleeves, so I did a different finish. Sew the sleeve seam as normal – right sides together. Then, trim the shirt part of the seam. Press the seam to the shirt and top stitch it in place. Sew slowly and stay as close to the edge as possible.

Sew the side seams normally – right sides together. Then trim the back part of the seam. Press the seam to the back and stitch it down like you did for the sleeves. All the seams are now either fully enclosed or stitched down. The last seam is the neck band. Sew it as instructed. Then, press it towards the shirt and zig zag it down.

The final step is the hems. I chose to do narrow hems and zigzag them. This way they match the neckline stitching. To make a narrow hem, turn under 1/4″ and then another 1/4″ and sew it down.

Want to see all the options – check out this post

Ready to buy one or all? Individual patterns are $7.50 through Monday February 11 and the bundle is $21.

Women’s pattern

Men’s pattern

Youth pattern

Bundle

Pattern Review: Lee Raglan by Made for Mermaids

I recently tested the newest pattern from Made for Mermaid – the Lee raglan. It’s a slim fit raglan style shirt that’s full of options as usual. Raglan means the sleeves extend to and become part of the neckline.

I made a tunic length short sleeve version for my daughter who loves skirts and leggings. It gives her another option to wear with her leggings and she needed some new shirts anyway. This pattern is super quick to sew up. There are four pieces to cut – front, back, sleeve, and neckband.

Lee raglan sleeve

The first one I made was a bit small – I must have mis-measured her and while she will wear it, it had some weird wrinkles around the neck.

The second one (pictured), I adjusted the size based on her correct measurements. However, I used cotton lycra for the sleeves and it doesn’t have as much stretch as the main body fabric. You can see how it pulls at her shoulders. If I had used the flowered fabric for the sleeves too, it probably would have been OK.

So, I made a third top – this time in the right size and with the right fabric. It came out perfect! This is the short sleeve tunic length which is just right to pair with leggings. I choose the easy neckline, but there’s also a henley neckline. It also comes in 3/4 sleeves and long sleeves and it can be shirt length.

Each pattern is on sale individually for $7.50 until Tuesday (1/29/2019)

Youth- www.madeformermaids.com/lee
Men’s- www.madeformermaids.com/menslee
Women’s- www.madeformermaids.com/mamalee

Plus there are two bundles to help you save!

Women’s & Youth – $13 ($5 savings)
www.madeformermaids.com/leebundle

All 3 – Men’s, Women’s, and Youth – $18 ($9 savings)
www.madeformermaids.com/leebundle2

All of my fabric is from JoAnns except the solid cotton lycra which came from Purple Sesamstress (she has awesome prices on good quality cotton lycra).

Pattern Review – Two Free Tank Top Patterns

Two free tank tops and a review of them.
*This post contains affiliate links.

I’ve lived in Florida for almost five years now and my summer wardrobe is still lacking in tank tops!  I only wear pants and long sleeves for maybe 2-3 weeks of the year and yet I’m pretty sure that I have more long sleeve shirts than tank tops.  This summer I hope to remedy that!  I’ve had this Lago tank top pattern by Itch to Stitch for over a year and I’m just getting around to making it.  I actually printed it out shortly after I got it and then….well, I never made it.  So, while I was at JoAnns the other day I found this soft drapey knit that I knew would be the perfect tank top.

The Lago is a super quick and easy tank to sew up!  There are five pieces of fabric – front, back, neckband, and two arm bands.  I’m pretty sure that it took me less than 30 minutes!

The Lago tank is absolutely free – no code, no Facebook group to join, just head over to her site and “buy” it!

Using free patterns is a great way to learn more about a designer.  You get to try out one of their patterns and the only cost to you is some fabric and some time.

Another great free tank pattern is the Stardust by Halla.  You have to join their Facebook group and then read the pinned post for the code, but it’s worth it!  It’s available for sizes 00-30.  There are several free patterns listed there (check out their dolman pattern).  This is another pattern I’ve had for a while and never made (are you sensing a theme here?).

This pattern will work with knits that aren’t as drapey – like this cotton lycra print that I bought because I loved it and it just seems so appropriate for Florida!  I made this tank top, but the pattern I used wasn’t made for knits that aren’t drapey.  So, it ends up looking like a tent…not really a flattering look, plus after I got it made, I didn’t really like the handkerchief hemline.  It slowly made it’s way to the bottom of my shirt pile.  One day recently I decided to find a pattern that I could use to fix this shirt.  Fortunately the Stardust tank top is a similar cut at the top, but a little more close fitting so I can upcycle my new tank top into another new tank top that I will actually wear!  Also, I’ve learned to really pay attention to what kind of material a pattern requires!

The first step is to to fold the front and back in half.  I’m not changing anything about the the arms or neckline so I don’t want to take it all apart.  I unpicked the hem at the center back and center front folds so that it would be easy to rehem when I’m all done.

Carefully fold front and back in half

Since I’m not adjusting the neckline at all, I just lined that pattern up with the neck binding.  This meant that the bottom edge of the pattern was exactly even with the part of the hem I unpicked.

Line up the neck.

I lined up the underarm as best I could.  When I straighten the underarm seams out, it almost makes it to the edge of the pattern.  Since I’m not adjusting the anything until about 3-4 inches down from the underarm seam, I didn’t worry about it.  I already know that I like they way this part of the shirt fits.

Lining up underarm

After cutting out the new front and back, they were still attached everywhere but the new side seams.  I clipped them together and sewed them.

Clip the new side seam

After I got them sewed, I had a weird curve near the underarm where the old and new pattern didn’t quite line up.  I redid my seam (purple line) to straighten it out so that it doesn’t look funny.

Carefully straighten out the underarm seam.

When I tried it on, I loved it!  What a difference the right pattern AND the right material make!  I’m already planning for make a couple more of these!

Enjoy your new Stardust tank top!

Hop on over to the Halla Facebook group and get the codes for all the free patterns!

*This post contains affiliate links.  See my disclosure policy for more details.
  • « Previous Page
  • 1
  • 2
  • 3
  • Next Page »

Hi, I'm Mona - wife, mom, teacher, seamstress, blogger. This is my home on the web. Read More…

Categories

Copyright © 2026 · The Marianne Theme By Blogelina · Built on the Genesis Framework

Copyright © 2026 · The Marianne on Genesis Framework · WordPress · Log in