SewMona

A slice of my Florida life

  • Sewing
    • SewMona on Etsy
    • Clothes
      • Boys
      • Girls
      • Men
      • Women
    • Pattern Reviews
    • How to Sew
  • Camping
    • Florida Campgrounds
  • Recipes
  • Crafts
  • DIY
  • About

Pattern Review: Noelle by Made for Mermaids

I recently tested the Women’s Noelle pattern by Made for Mermaids. I searched for pictures from when I tested the girls version. It was three years ago! It’s part of their Dreamy Collection and it is definitely dreamy!

We even made her Christmas dress from the Girls Noelle pattern.

She was thrilled to get a new dress in one of her favorite patterns.

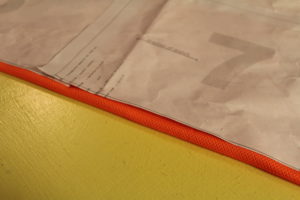
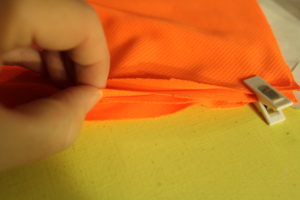
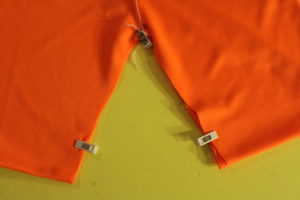
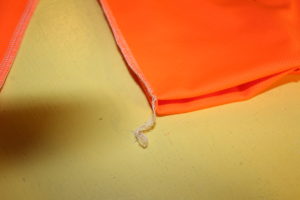
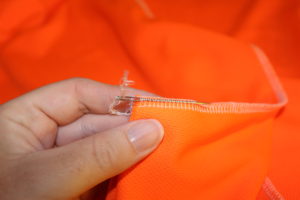
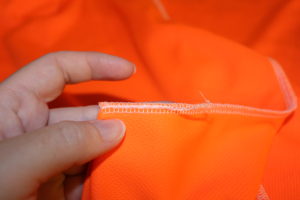
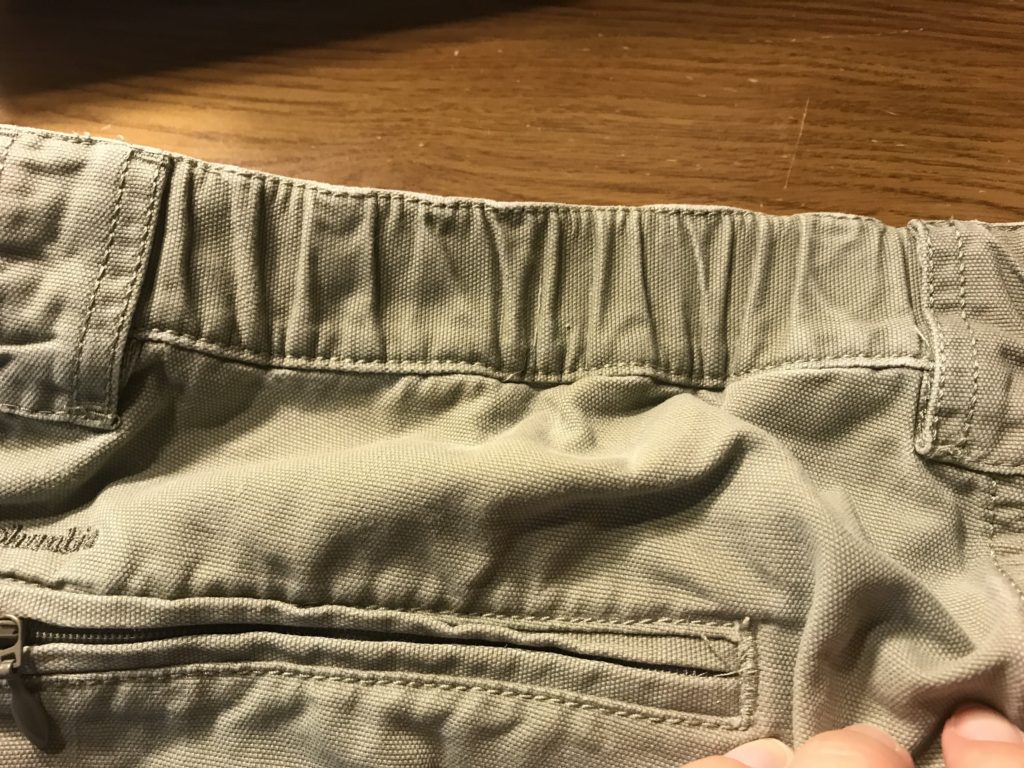
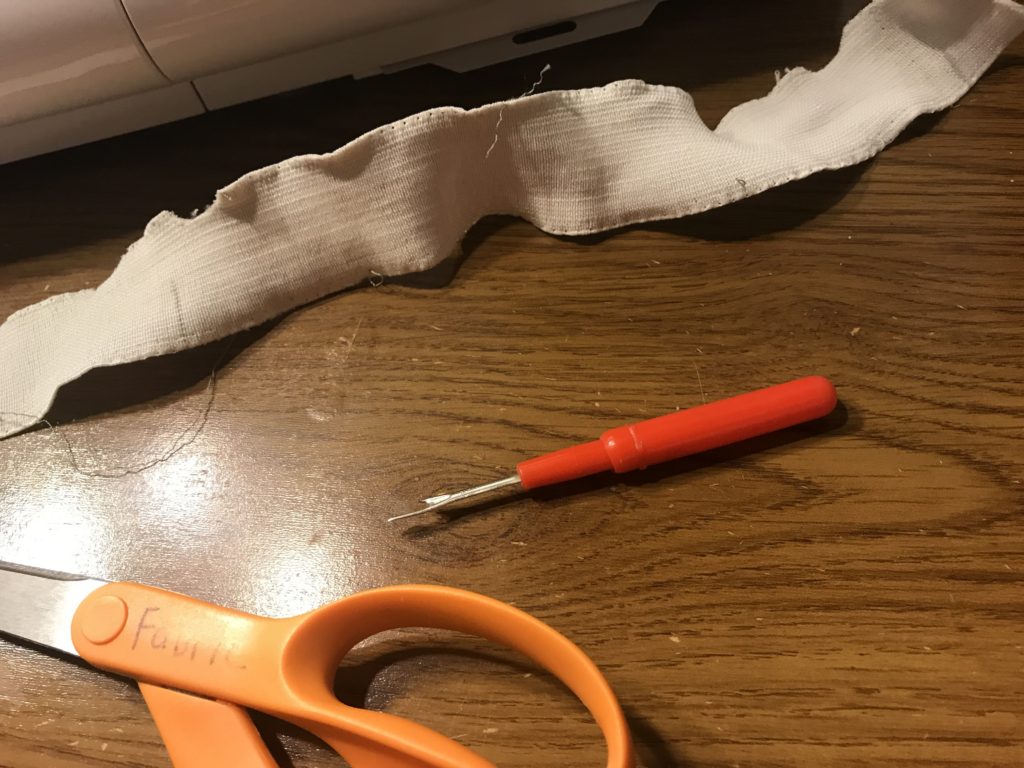
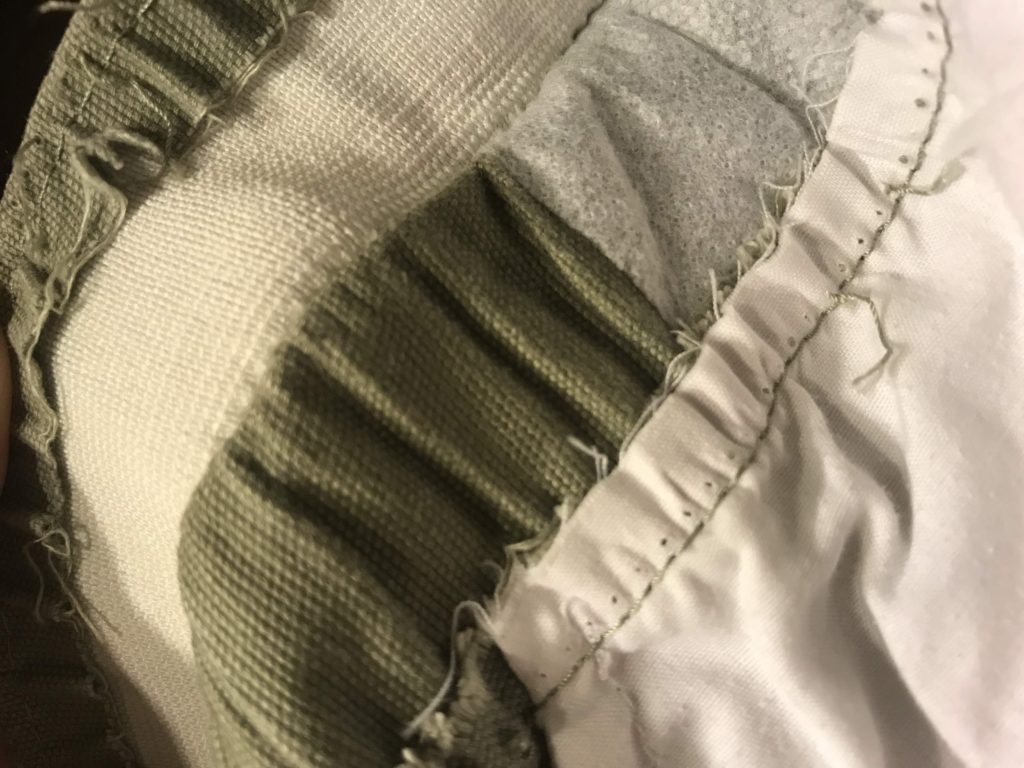
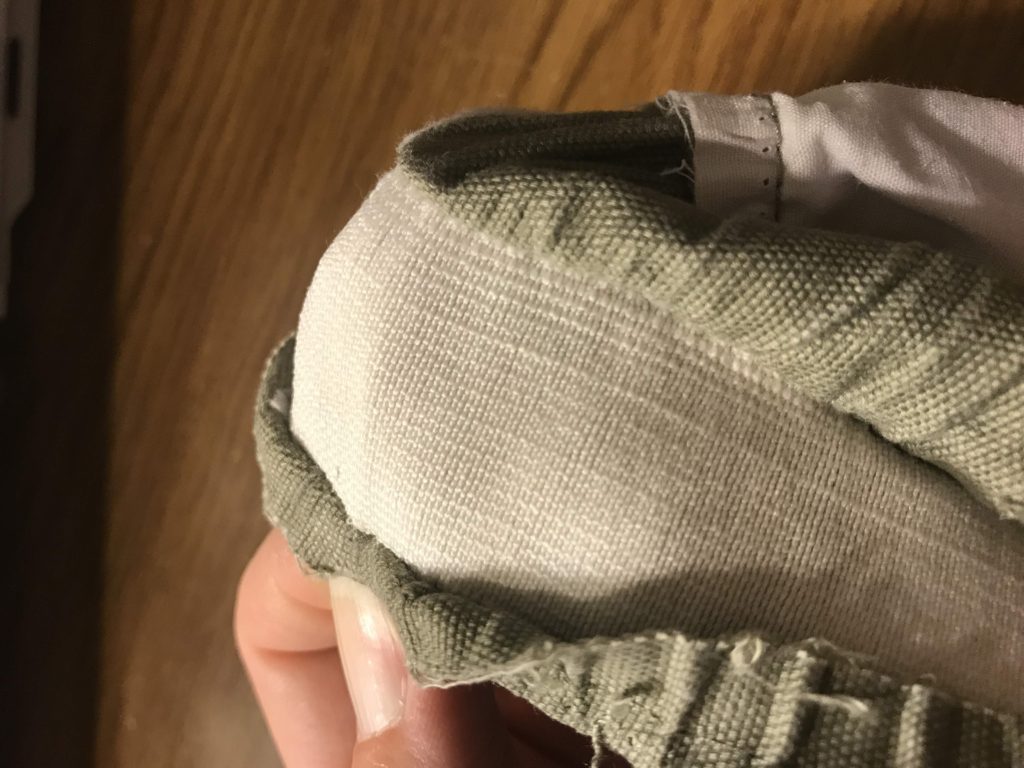
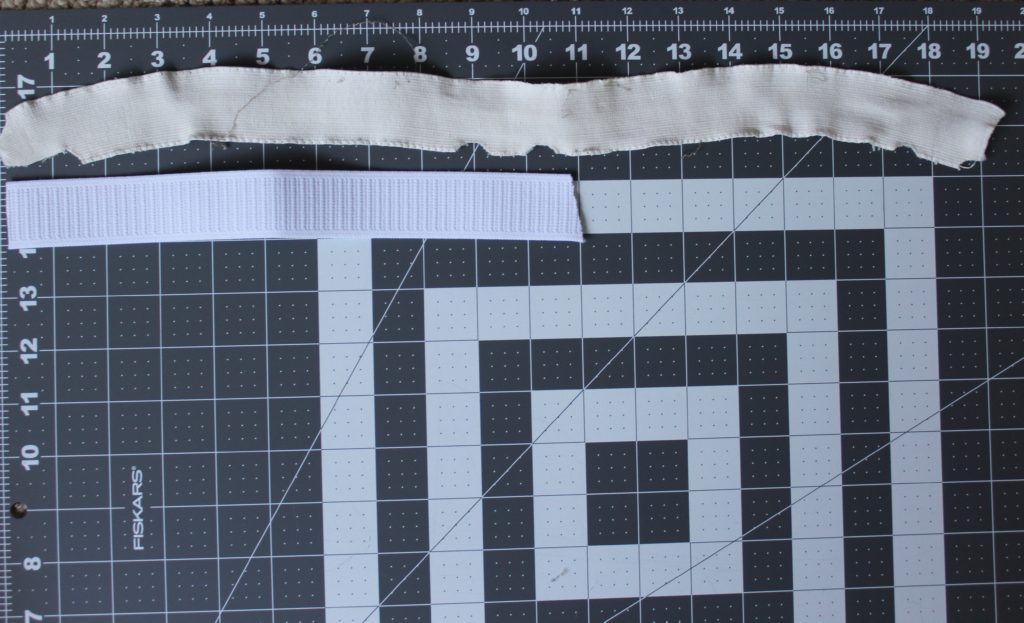
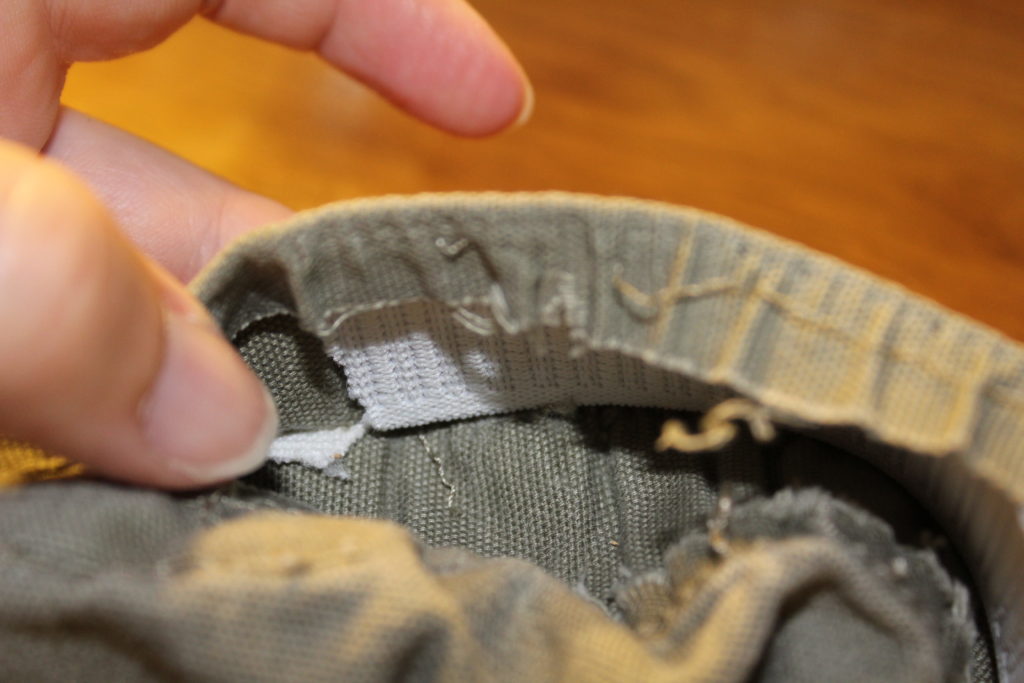
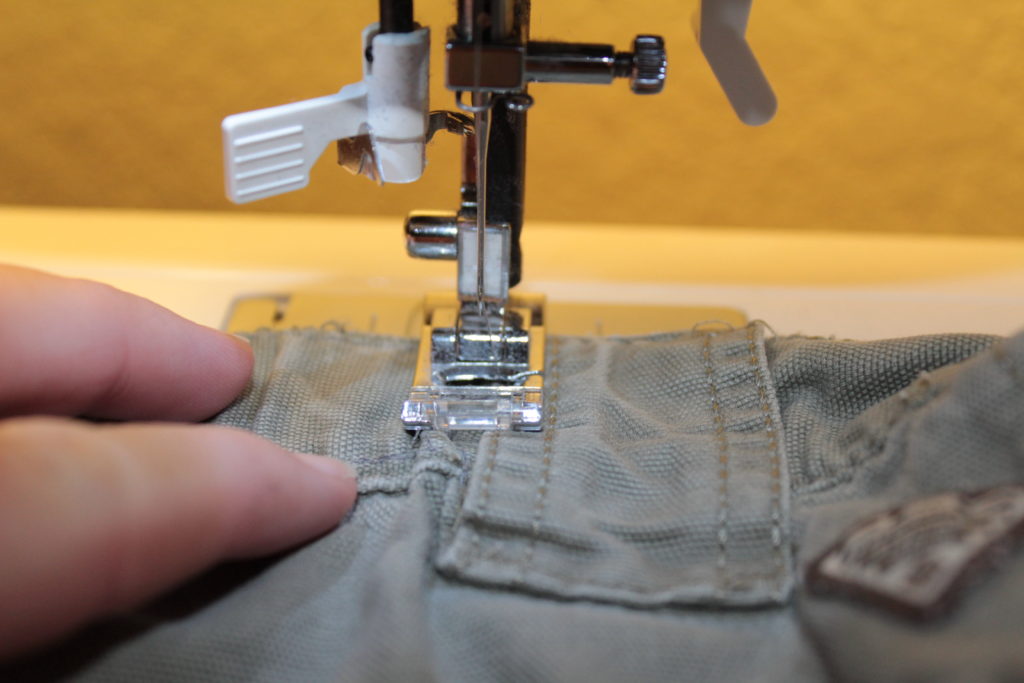
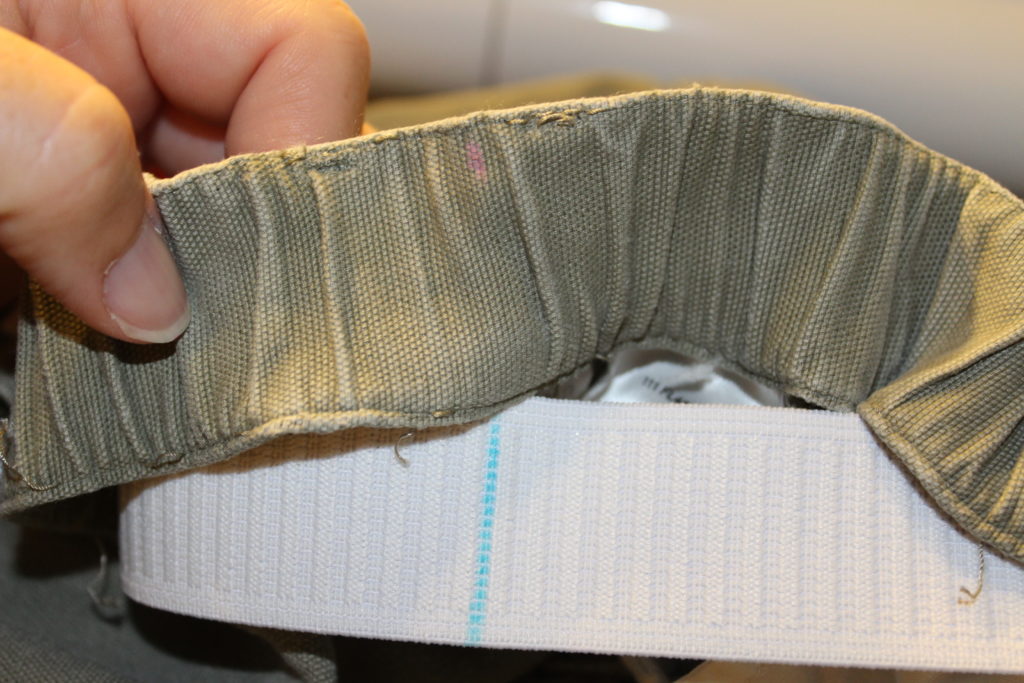
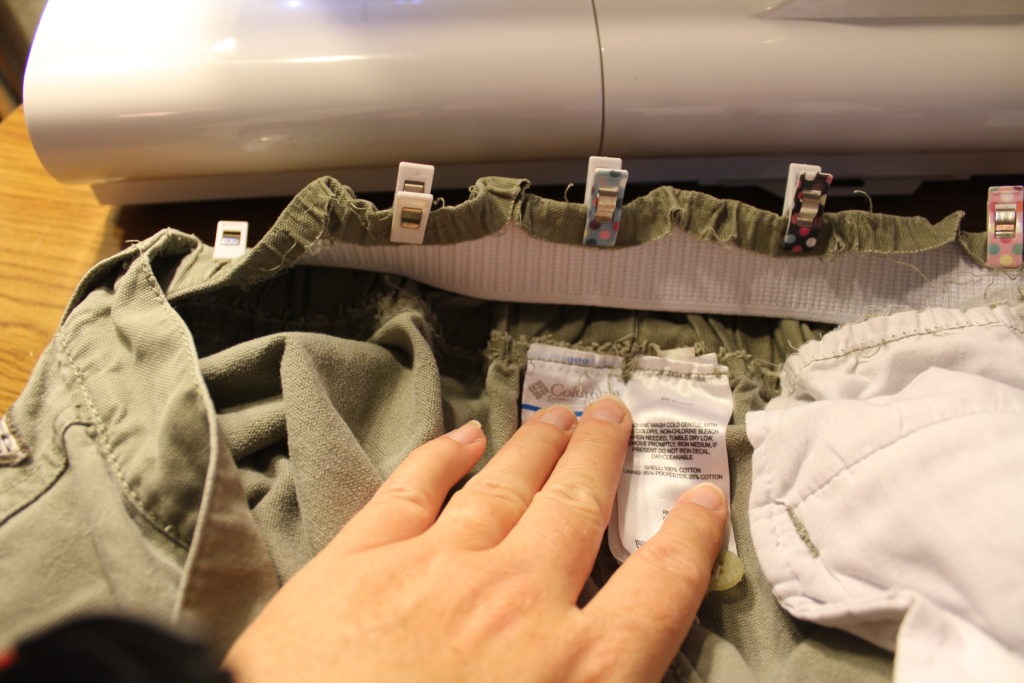
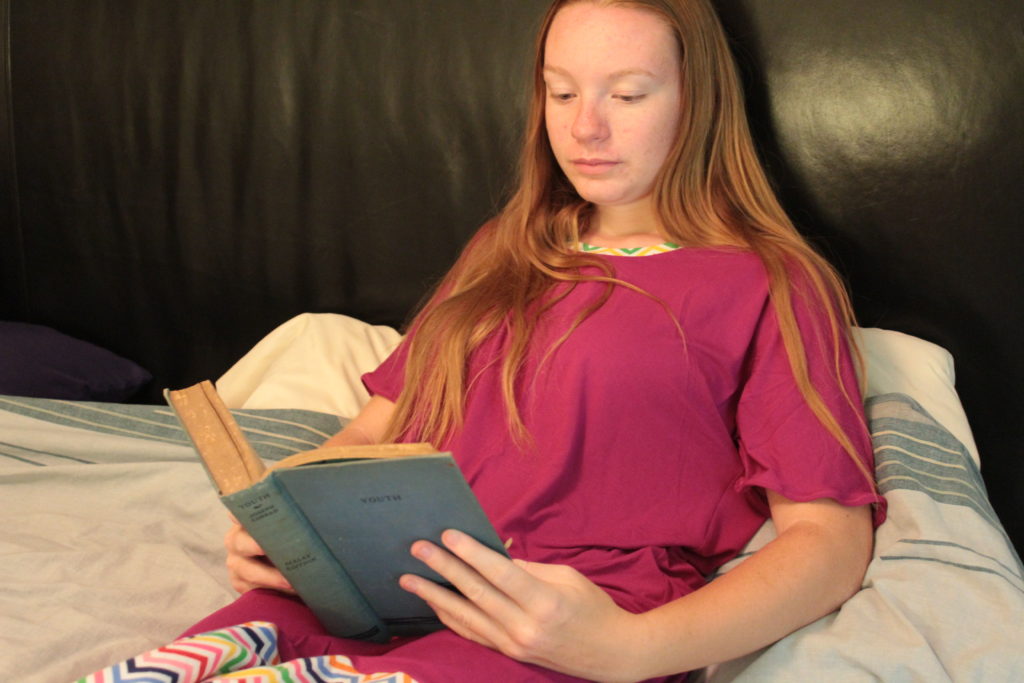
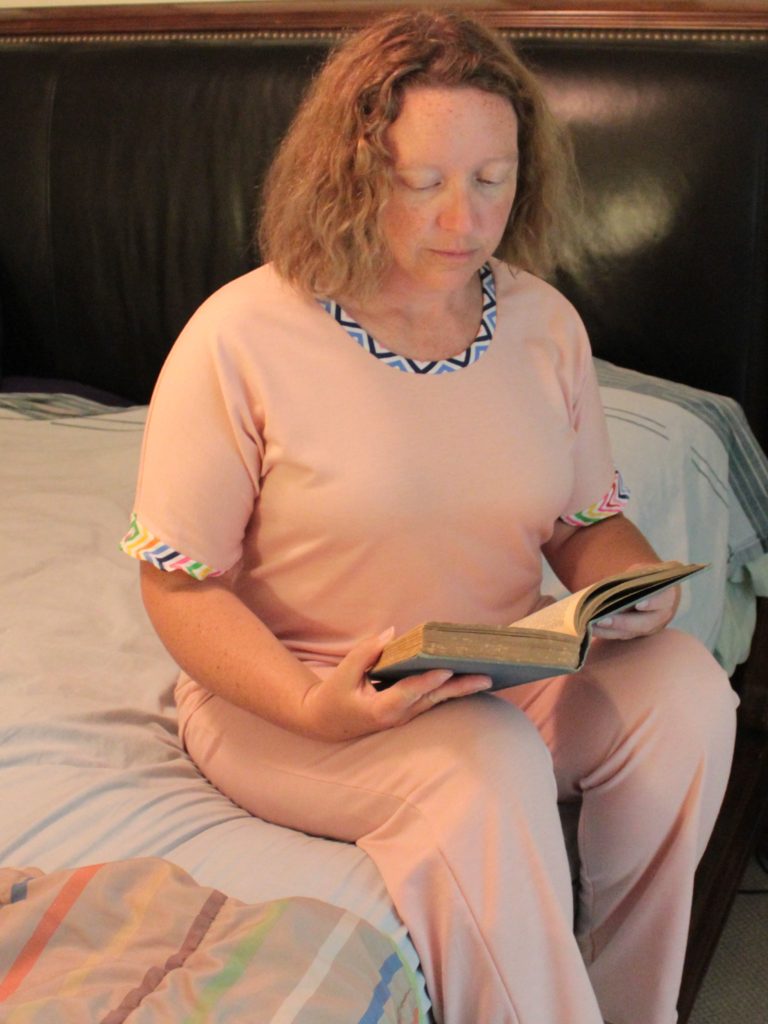
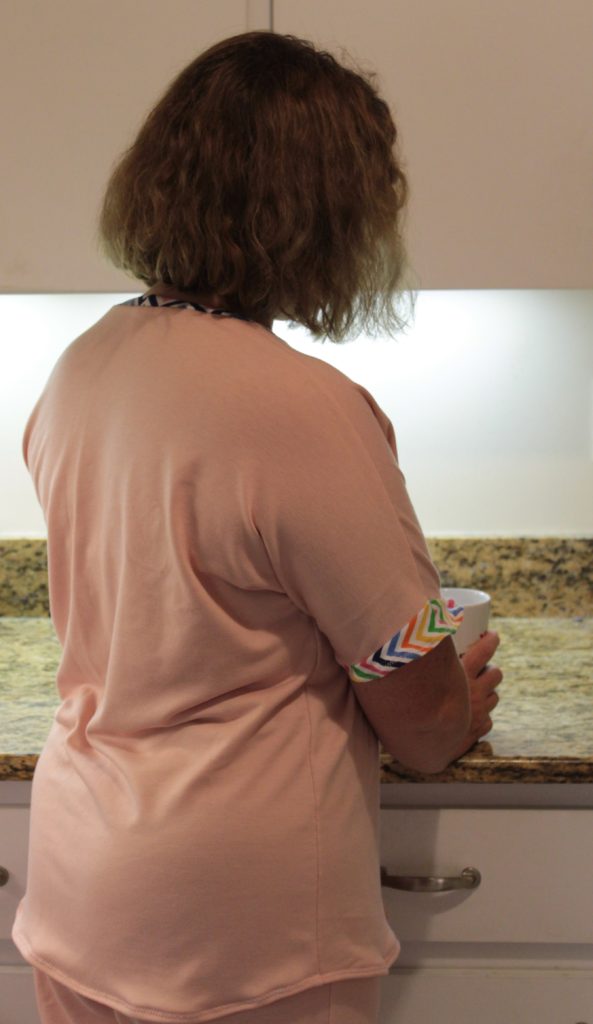
I made the dress with both the peplum and the long skirt. Since my fabric is a bit heavier, I used clear elastic to reinforce the shoulder seams, side seams and the waist. It will help the fabric not stretch out so much with wear.

Cowl neck Noelle Dress

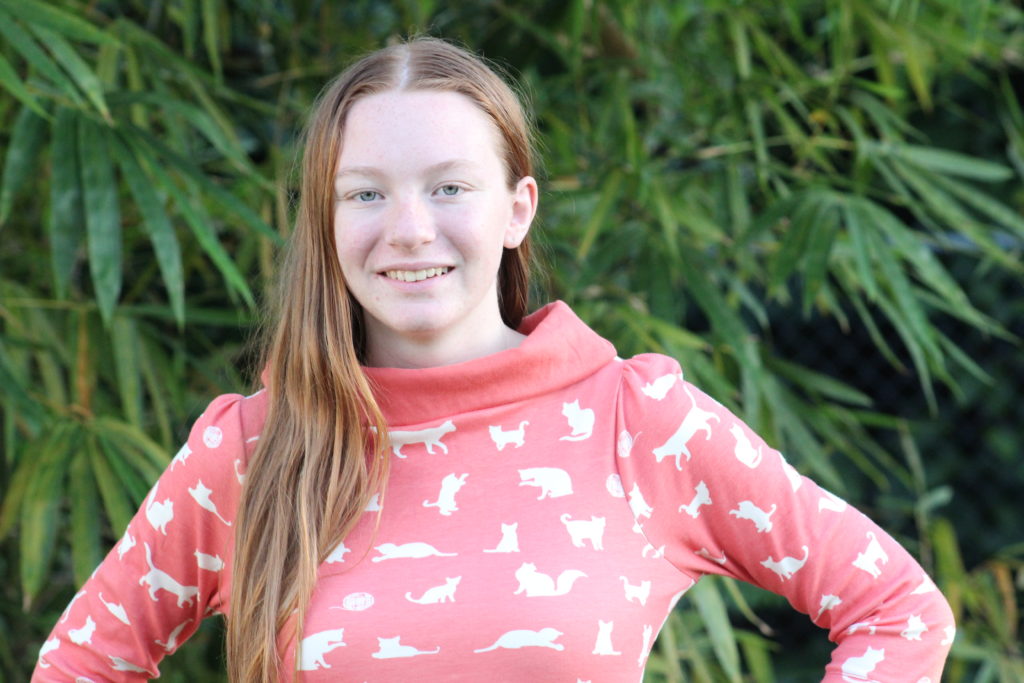
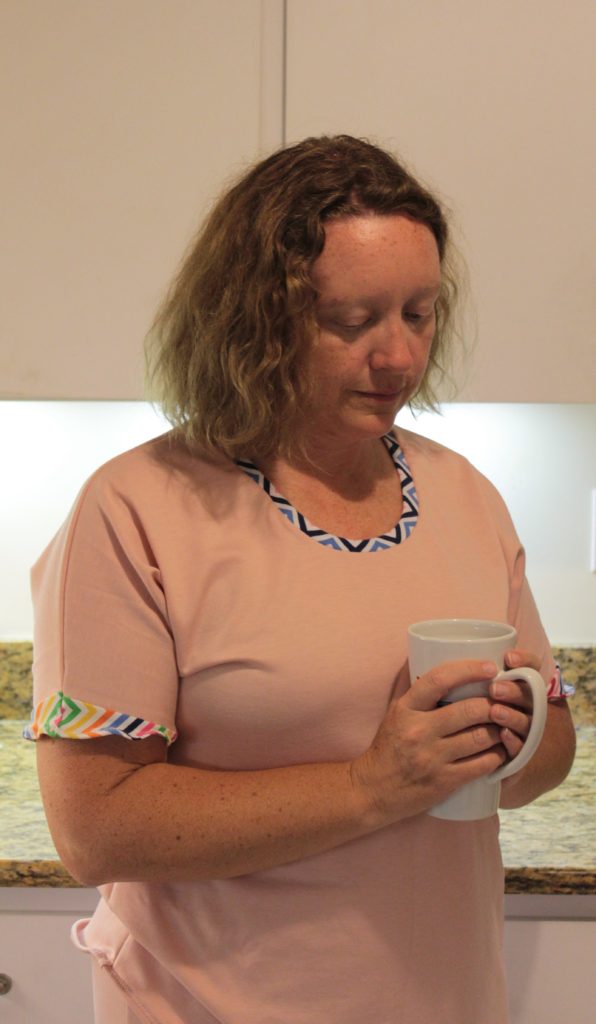
The cowl neck is one of the main features of this pattern. For this version, we folded it down like a turtle neck, but you could leave it unfolded and add a drawstring to make it a little more casual.

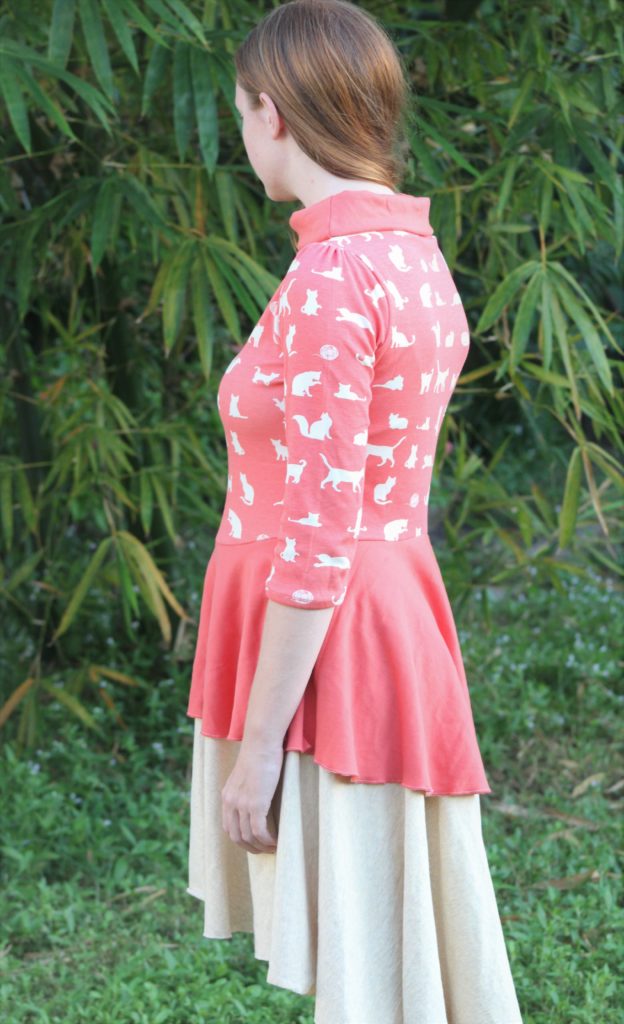
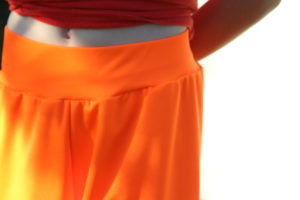
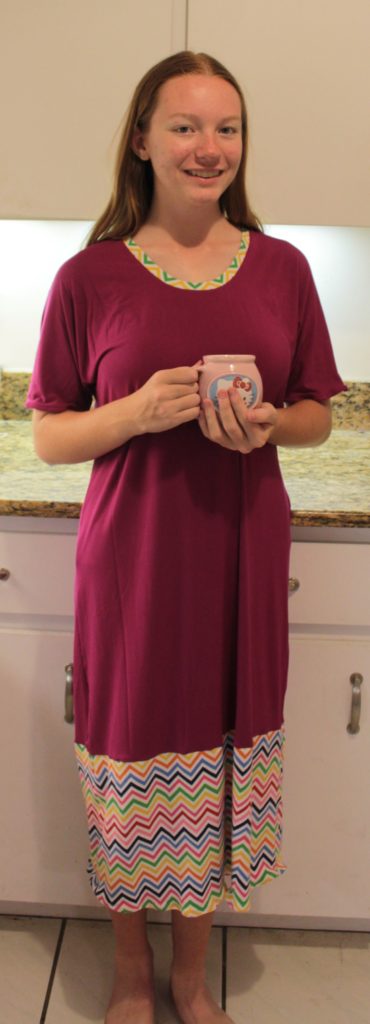
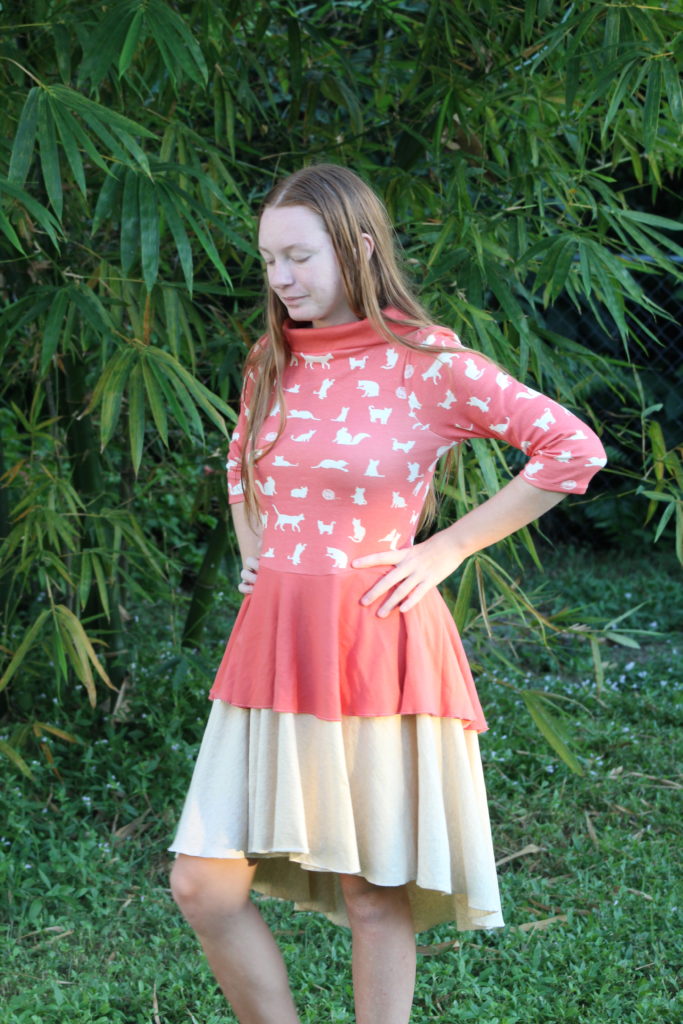
The other feature is the high-low hemline. It adds to the dreaminess of the dress.

Noelle Dress Twirl Factor

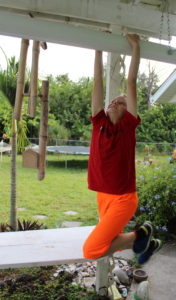
The best part of this pattern is definitely the full circle skirt – you can twirl & twirl!

It’s also available in baby sizes and girls. There are bundles available too. Go check it out here and then let me know what version you make.

Pattern Hack – Making Lined Gym Shorts plus a Free Pattern

Making Lined Gym Shorts
*This post contains affiliate links.

Have you seen gym shorts that have two layers?  Usually a light knit underlayer and then a stretchy mesh kind of top layer?  Well, I decided that it can’t be that hard to make them without buying a special pattern.  Guess what?  I was right!  My boys have both been wanting new gym shorts – the kind with just elastic, no tie waists.

Elastic waistband

I ordered some fabric from Amazon (yes, they really do sell everything!).  It was a little thin so it was perfect for my experiment.  I’m using the Tupelo shorts pattern by Sew Like My Mom which is free, by the way, and comes in sizes 12M – 16!

This is my wannabe ninja putting his shorts to the test.

For the first pair, I used a double layer of the orange.  I folded the fabric the “wrong” way because I wanted the fold to be at the hem of the shorts.  Instead of folding the fabric with the selvages together (so it’s half the width), I folded the fabric and kept the selvages on either side (so it’s half the length).

Place hem on the fold.

Keep the pieces folded and treat each one as one piece.  If it helps, you can baste the raw edges together.  Sew the center front seam and the center back seam.  You will be sewing through 4 layers of fabric.

Line up all the layers to sew.

Then clip the inseam together and sew that as well.

Clip the inseam together

Because there is no need to hem them, you will need to tuck in the tails from serging.

Tuck in serger tail

Thread the tail into a large eye needle and pull it into the serger stitches.

Now it won’t be visible from the right side.

Next, attach the waistband per the instructions in the pattern.  Just remember that you will be sewing through 4 layers of fabric rather than three.  Also, because my fabric doesn’t have very good stretch/recovery, I used 1.5″ elastic.  I measured it to fit my son’s waist, zigzagged the ends together and put it in the waistband before attaching it.

Attach waistband

Because the hem was cut on the fold, there’s no need for hemming!  If you wanted it to look hemmed, you could sew a line of stitching around the bottom 1/4″ from the fold, use your twin needle, or zigzag (one of my current favorite ways to hem sports type clothing).

No need to hem because they're cut on the fold

The neon orange is one of his favorite colors (actually, any neon is good with him).

*This post contains affiliate links.  See my disclosure policy for more details.

How to Sew: Replacing Elastic in Shorts

Ever have a pair of shorts that you love, but the elastic in the waist looses it’s stretch? Well, I haven’t had these shorts long enough to love them (they were hand-me-downs), but I love the cargo style (hello pockets galore!) and knew that they would be comfy. They were a size too big, but that meant they would fit my hips and then I could just take a couple tucks in the waist to make them fit. After I tried them on I realized that the elastic in the back waist was shot!

Skipping ahead for a minute just so I can show you the elastic. Look how stretched out it is! No wonder the shorts were so loose!

stretched out elastic

Since these shorts were otherwise in great shape, I knew I wanted to try and fix them. The first step is to remove the old elastic. To do this I took out the seam at the bottom of the waistband

Of course the elastic was also sewn in along the top and it was sewn in along the fold at the bottom. So, I had to seam rip three seams total! Fortunately, it was pretty easy.

Check out the old elastic vs the new elastic! I cut the new elastic at about 80% of the length between the belt loops on either side of the center back. Then I clipped it in place and tried on the shorts just to be sure they were tight enough/not too tight. It’s very easy to adjust the length now! It’s frustrating to get all done and realize they still don’t fit.

To put in the new elastic, just reverse the process. First, I sewed the elastic to the waistband on either end.

I pushed the belt loop over just a bit and sewed the elastic in place. This way the seam will be hidden by the belt loop.

Sewing the elastic in place

To make sure that the elastic is evenly stretched, I mark the middle of the elastic with a highlighter. I also marked the middle of the waist with a pink fabric pencil.

Then I line them up and clip the elastic to the waistband

I sewed the elastic in place using a zigzag stitch since it won’t show from the outside. This way you aren’t trying to stretch the elastic evenly and sew the waistband back down at the same time.

At this point I realized that the center back belt loop was going to be in the way of sewing the waistband back in place.

I undid the top of the belt loop so I can easily fold it out the way.

Then I folded the waistband back into place and stitched it down with a straight stitch. I sewed it on the outside so that I could be sure I was staying on the original stitching line. I also redid the top stitching along the top of the waistband and sewed the center back belt loop back down.

Now my shorts stay put and I’m sure I’m going to love them because, again, pockets!

Sewing with Kids – Making Pajama Shorts Plus A Free Pattern

Walk the Plank Pajama Bottoms

*This post contains affiliate links.

I made the mistake of taking my youngest son with me to JoAnn’s one day (I’m sure he went along because we always stop at Starbucks afterwards!).  He found some woven (non-stretch) material that he really liked.  I had no clue what we would make with it, but I bought a yard for him.

He told me he wanted to make a sheath for his sword.  Boys! (picture a mom eye roll) I suggested that we could also make some pajama shorts for him and that maybe he could even help with the process – I would cut them out and then he could sew the two pieces together and then I would do the waist and hemming (I’m sure kids can hem, but my 10 y/o isn’t ready for that yet).

Sewing PJ Pants with kids

I knew that the Walk the Plank PJ Pants by Patterns for Pirates would be perfect and it’s free – no code, no joining a Facebook group, just hop on over and “buy” it.

Walk the Plank jammie shorts

I made his somewhere between short and knee length.  The short shorts I made for him previously were too short for him and the knee length were just too long to be comfy for sleeping.

Finished PJ Pants

He was so proud of himself!  Using Mom’s machine for the first time, learning to use clips instead of pins (which are so hard for kids!), and the final result is wearable.  That’s a win in my book!

Sewing PJ Pants with kids

For reference, here’s the short shorts length on him.  I feel like just a couple extra inches made a huge difference in how comfortable they are for sleeping and lounging.

Even though the directions don’t call for it, I sewed around the top of the waistband too – just about 1/4″ from the fold.  I think it adds a more finished look to the waist.

Waistband detail

I also made some Walk the Planks for my other two kids.  Besides short shorts and knee length, it also comes in pants length (or you can be like me – have them try them on before hemming and choose your length).   Both of these are knee length.

There’s also an adult version (I have not made this version) which is also free and includes men’s and women’s sizes.  You could make family pajama pants!

*This post contains affiliate links.  See my disclosure policy for more details.

Pattern Review: Slumberland Pajamas

*This post contains affiliate links.

I recently discovered Pickle Toe Patterns when I saw her tester call for the Moonstruck Skirt. I enjoyed testing for her, so when I saw another call for her newest pattern – the Slumberland Pajamas – I jumped at the chance.

The pattern includes both a nightgown and pants/shorts and a shirt with either long or short sleeves.

The shirt is a dolman style which means that the sleeves are part of the bodice. This makes the shirt/nightgown super easy! It’s just three pieces – front and back and then the neckband.

For the nightgown, I colorblocked it since I didn’t have enough of the purple bamboo spandex (from Mily Mae Fabrics – the bamboo spandex is sooo soft!). I also used the zigzag fabric for the neckband for a contrast. The night gown also comes in a shorter above knee option. Of course, you can always make it however long or short you like and hem it to your perfect length.

For my second pair, I used a french terry with two way stretch. It’s a bit heavier and probably too heavy for regular use here in SWFL. However, these will be perfect for when we go camping! I can walk to the bath house and feel like I’m decent and I won’t freeze – win, win! I made the pants length, but they can also be made in shorts or capri length. The waist also has options for high, mid, and low rise.

I came up a little short on the sleeves, so I did a bit of colorblocking. The sleeves would have been plenty long for me without the colorblocking, but since it was my first pair I wanted to follow the pattern exactly. For my next pair, I’ll probably cut the sleeves a bit shorter. These come almost to my elbow and my preference is much shorter.

One of the things I really like about the shirt is that it’s longer. Nothing is more annoying to me than a shirt that isn’t long enough!

The Slumberland pattern is on sale now through Friday May 24. Get your pattern and then join the sew-along on facebook.

*This post contains affiliate links. See my disclosure policy for more details.

  • « Previous Page
  • 1
  • 2
  • 3
  • 4
  • …
  • 9
  • Next Page »

Hi, I'm Mona - wife, mom, teacher, seamstress, blogger. This is my home on the web. Read More…

Categories

Copyright © 2026 · The Marianne Theme By Blogelina · Built on the Genesis Framework

Copyright © 2026 · The Marianne on Genesis Framework · WordPress · Log in