SewMona

A slice of my Florida life

  • Sewing
    • SewMona on Etsy
    • Clothes
      • Boys
      • Girls
      • Men
      • Women
    • Pattern Reviews
    • How to Sew
  • Camping
    • Florida Campgrounds
  • Recipes
  • Crafts
  • DIY
  • About

Pattern Review: Reagan Rash Guard

*This post contains affiliate links.

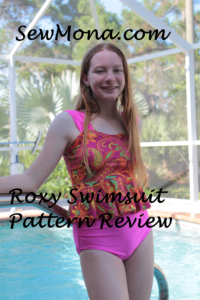
The newest pattern from Made for Mermaids is the Reagan Rash Guard. It’s available in women’s and kid’s sizes.

My daughter is in the women’s version and my youngest is in the kids version. Fabric is from Raspberry Creek Fabrics.

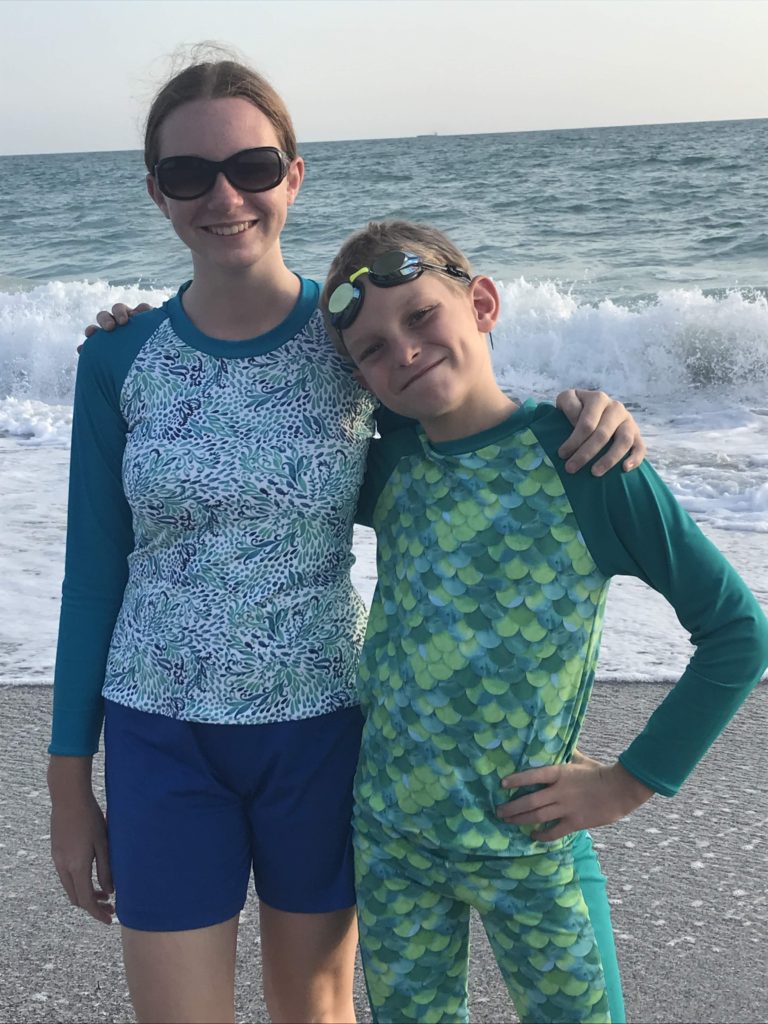
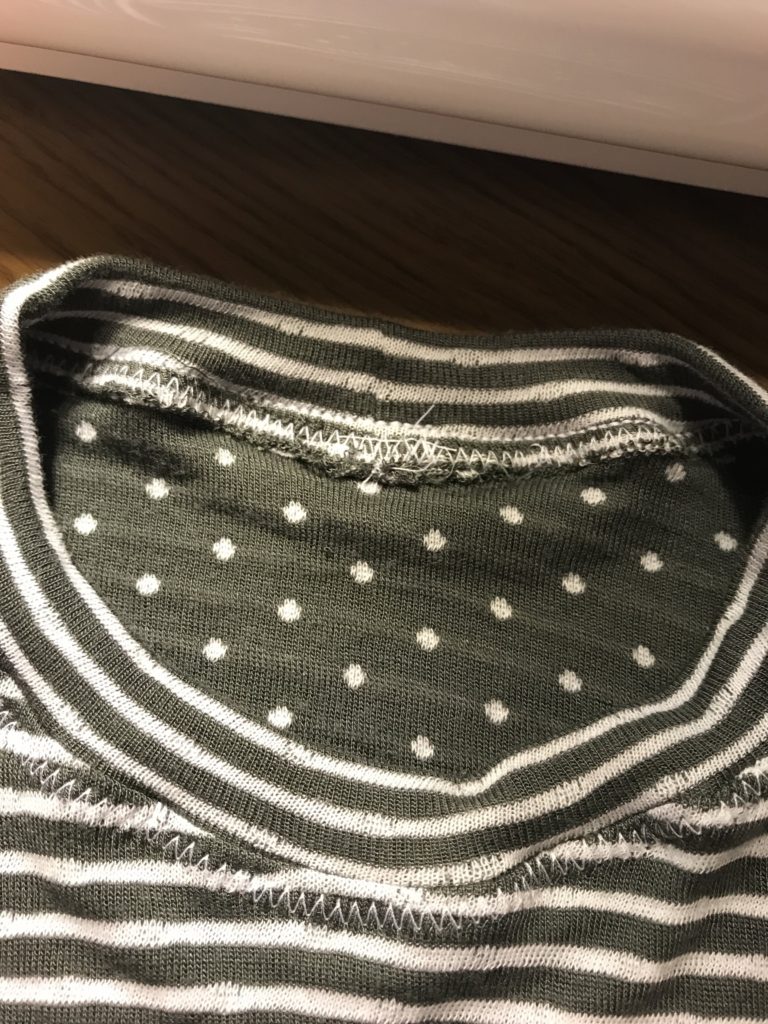
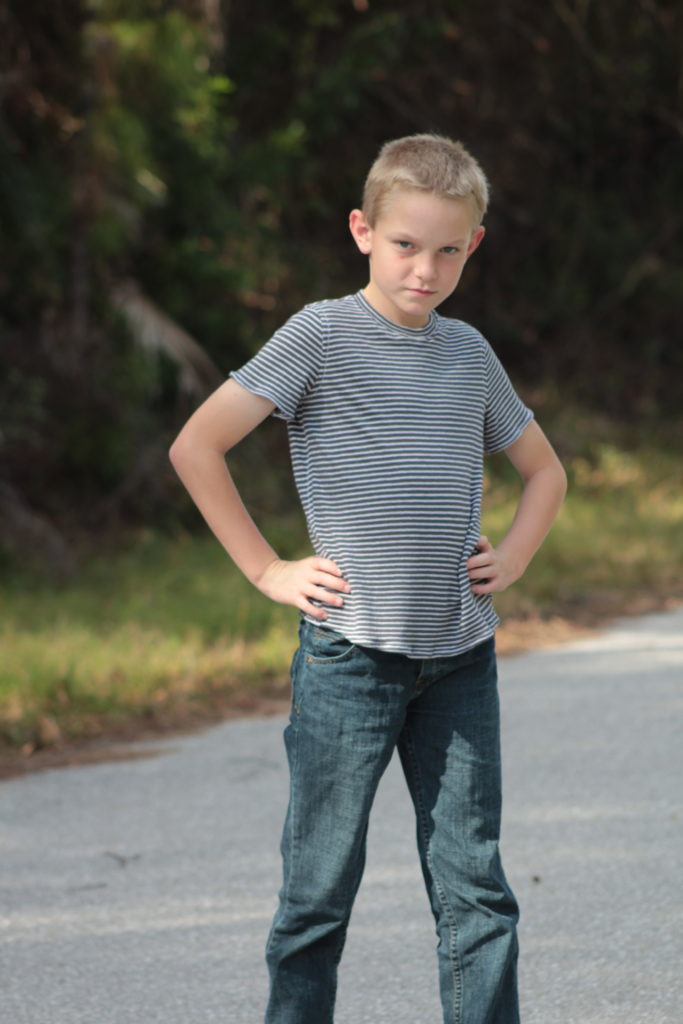
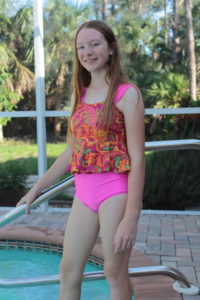
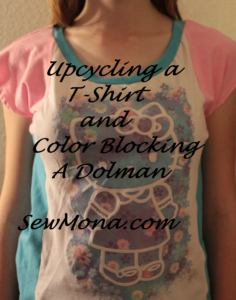
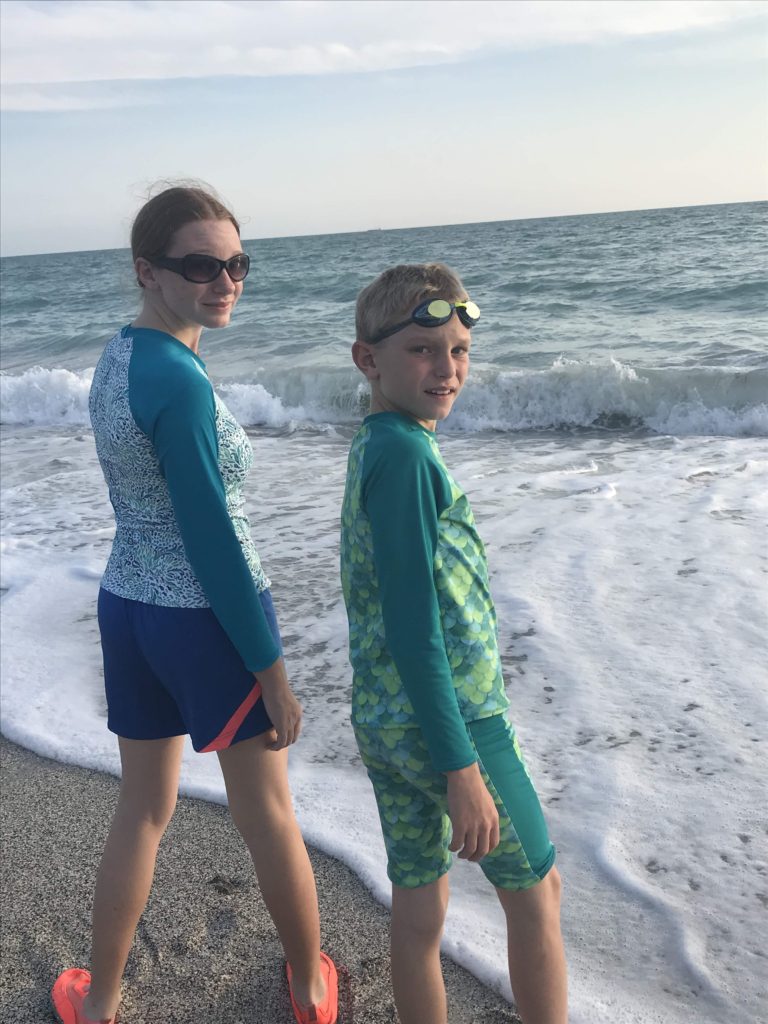
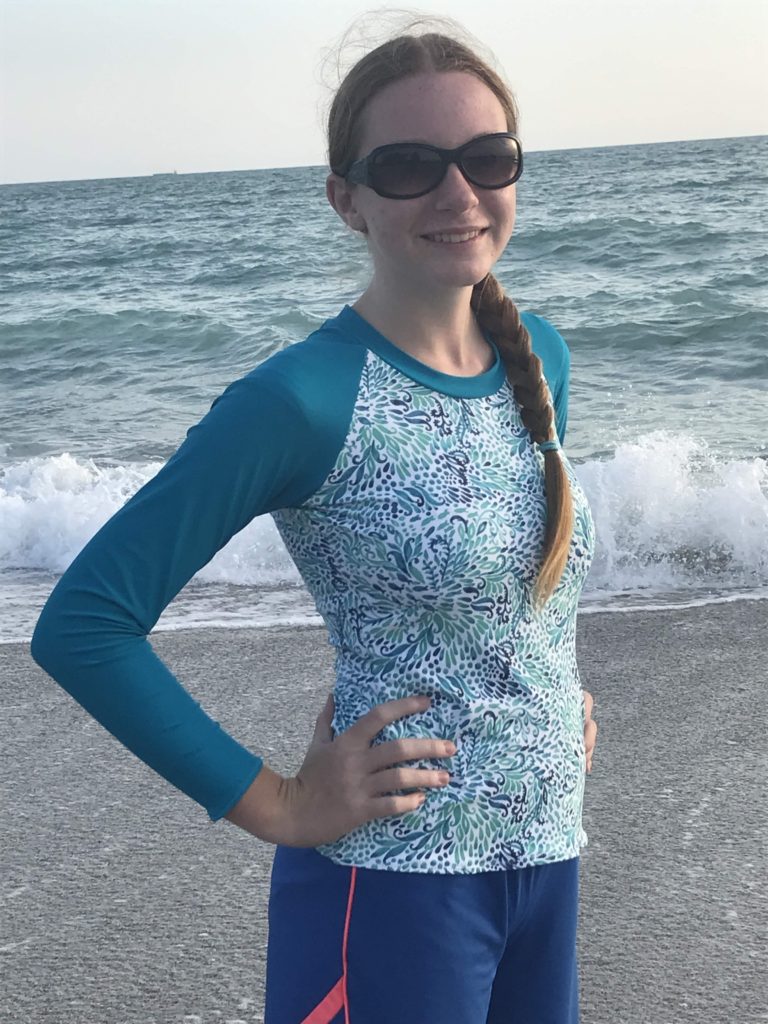
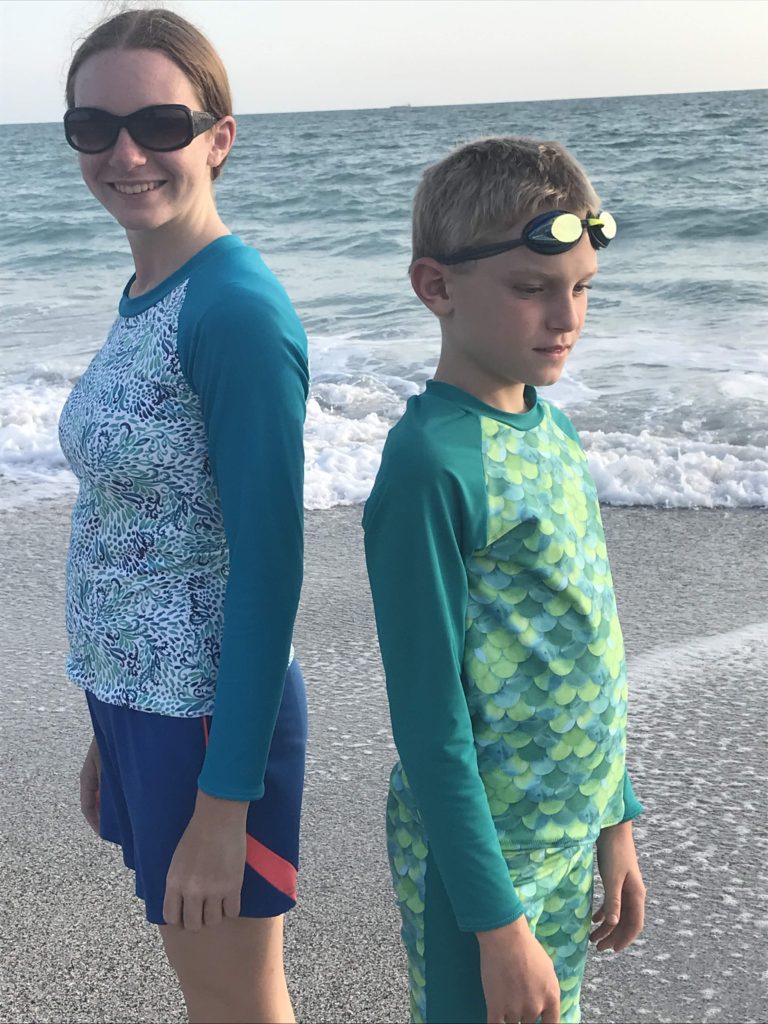
The Reagan is a raglan style shirt that is close fitting. It can be short or long sleeved (since we’re in Florida and the sun is pretty intense in the summer, I went with long sleeves). There’s also a cropped version and the kids version has an optional ruffle along one arm seam. As with most raglan style shirts, this one is a quick sew! I made mine in about 30 minutes. I think the longest part is taping the pattern together.

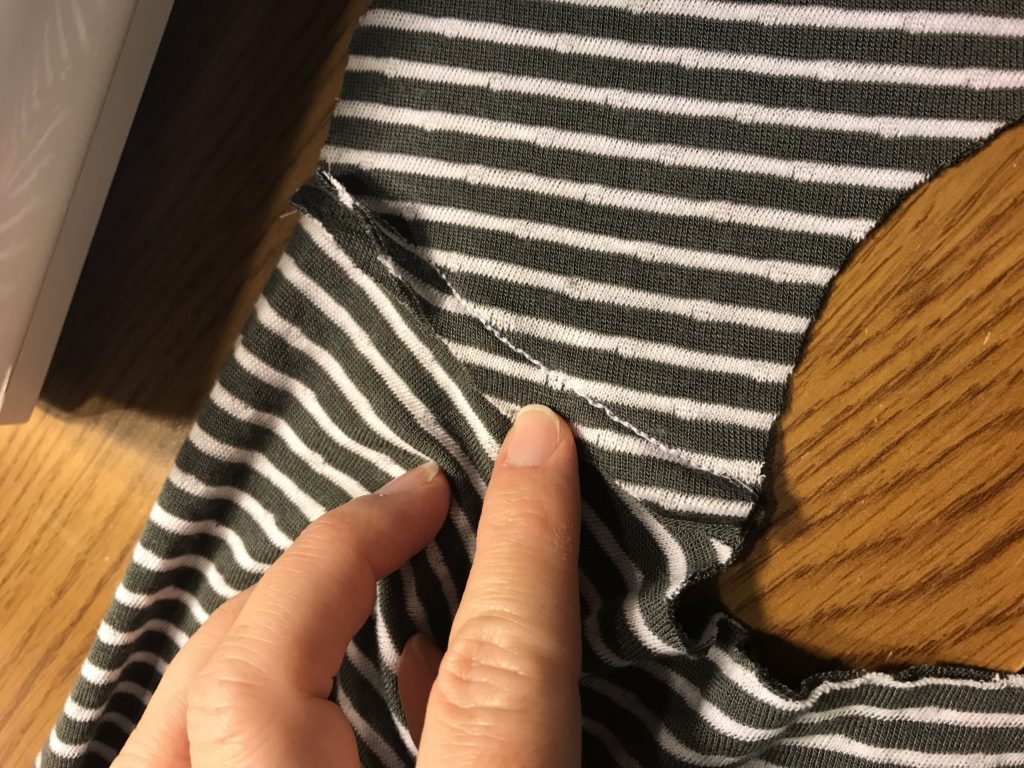
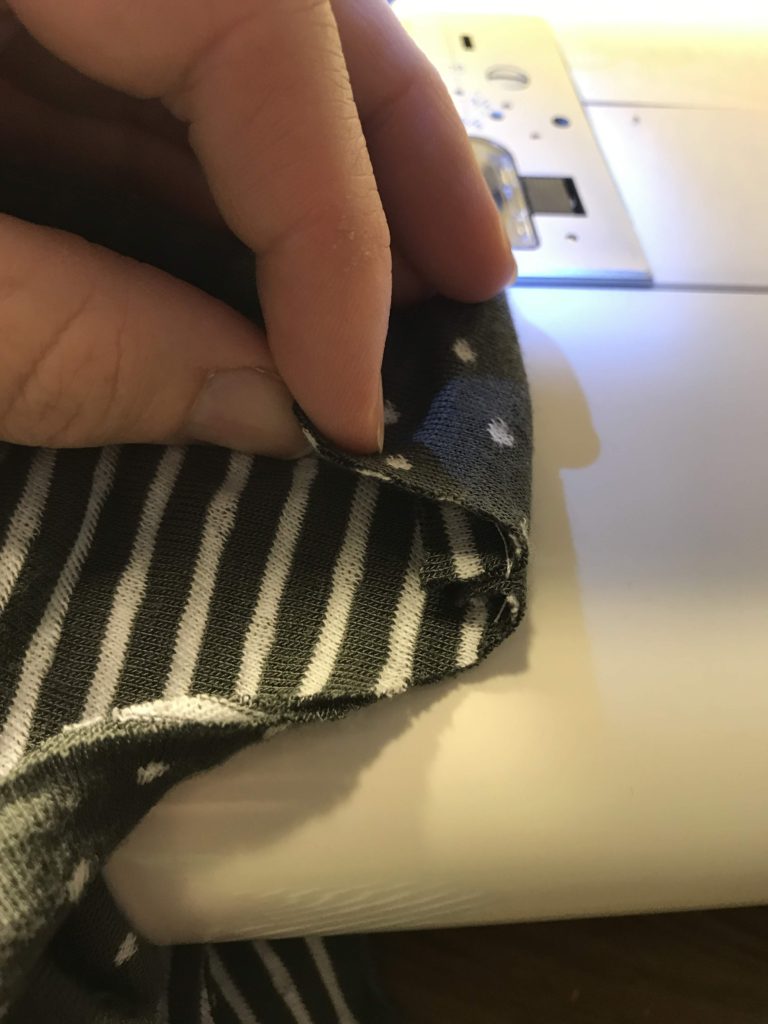
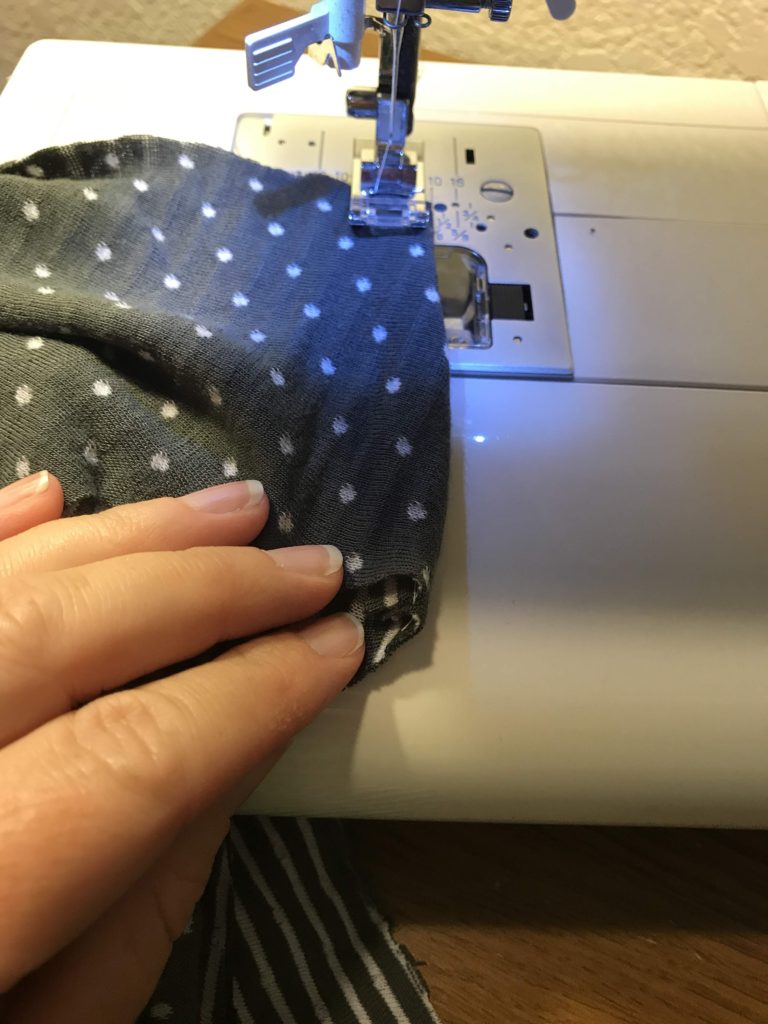
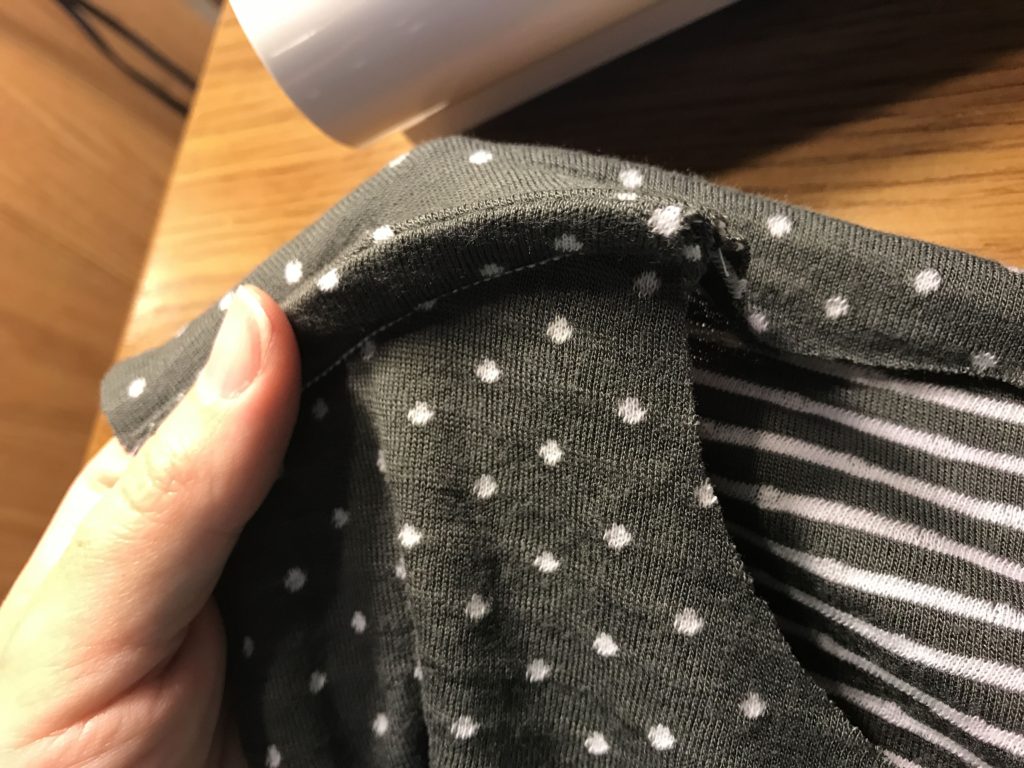
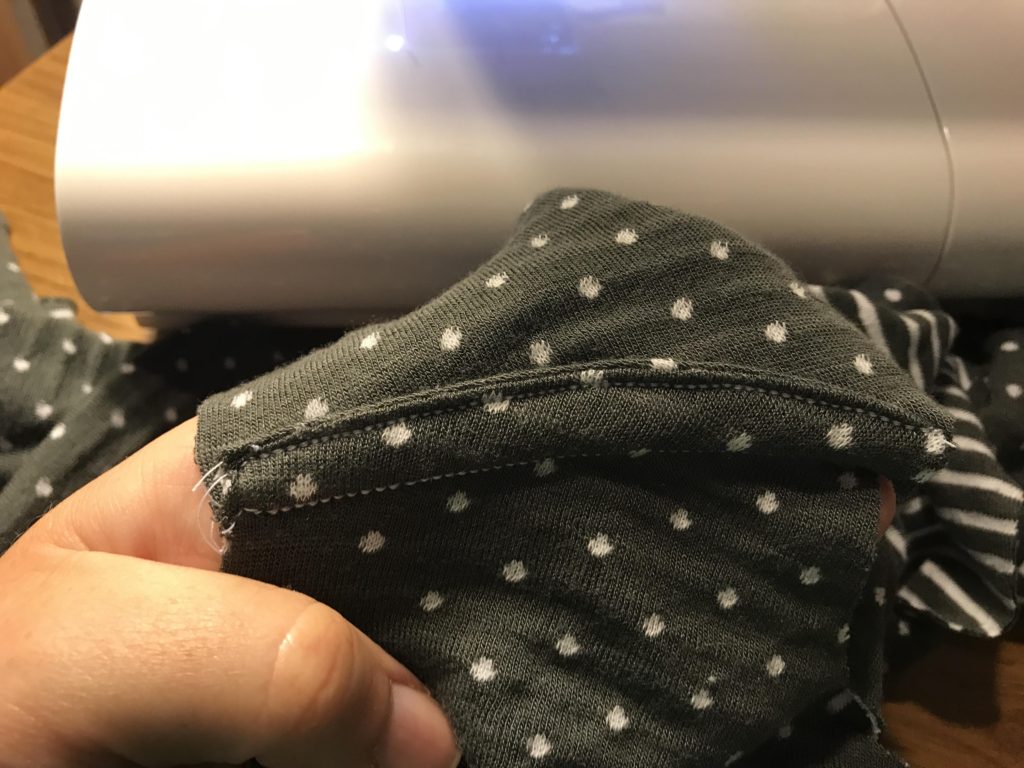
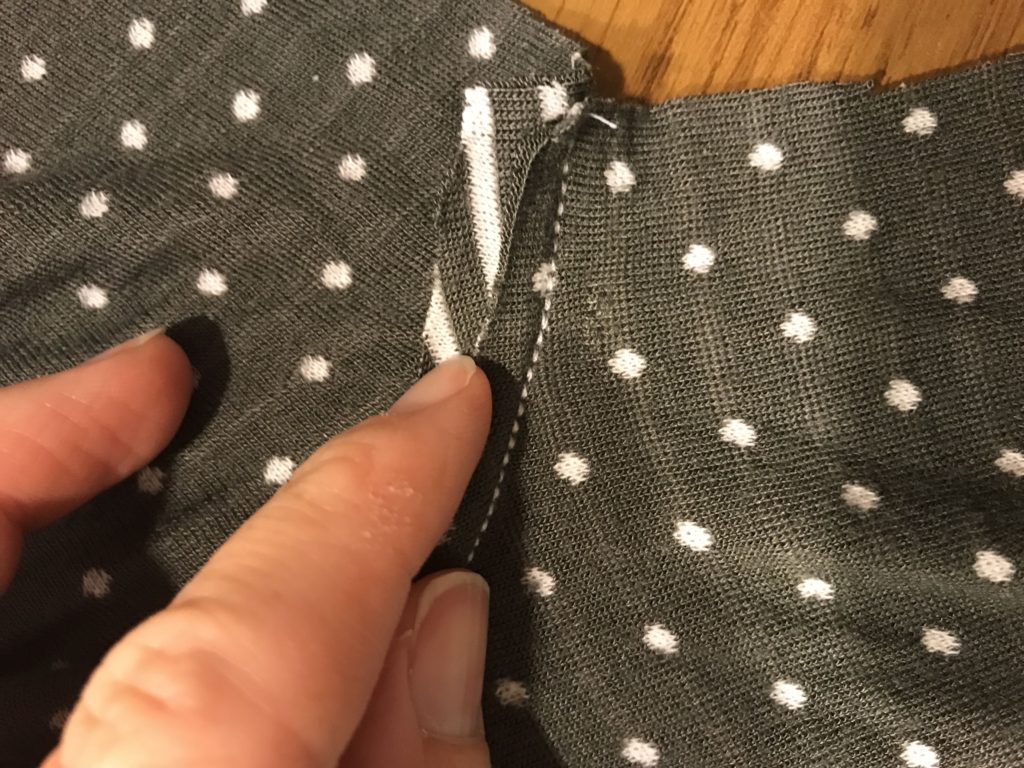
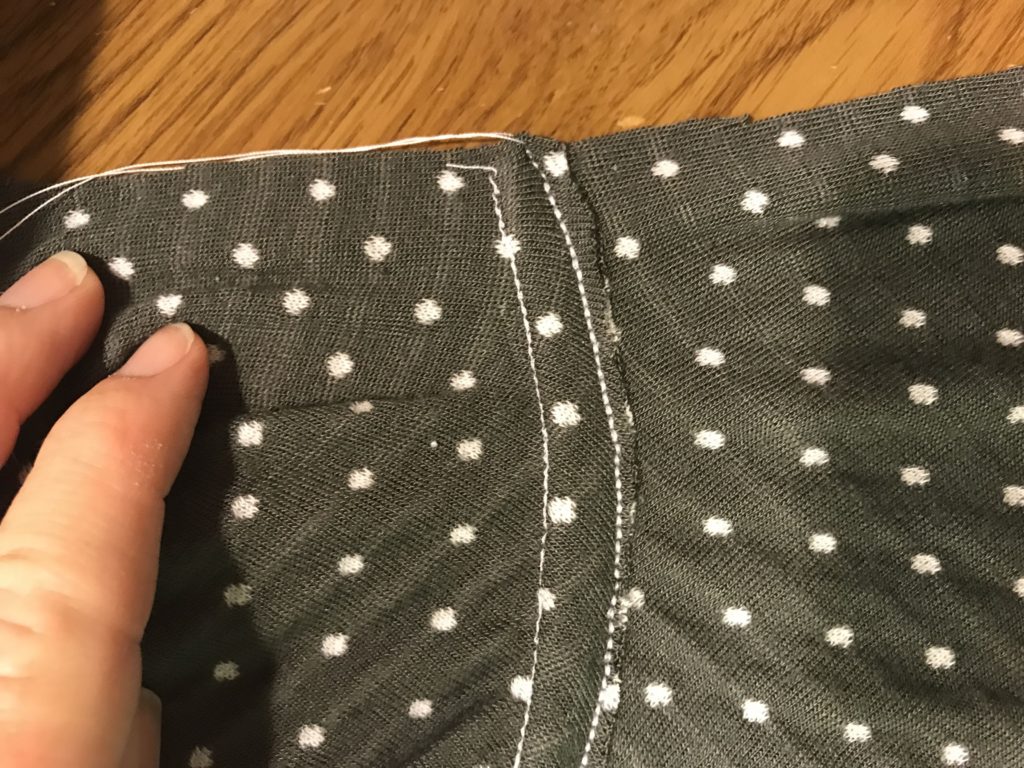
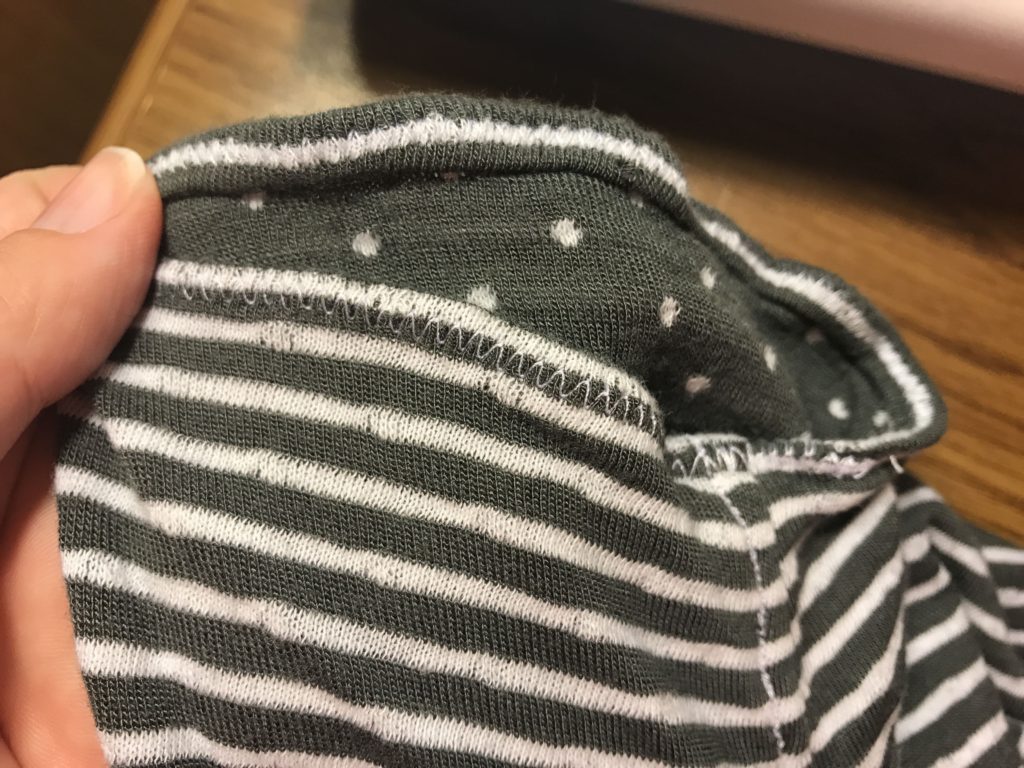
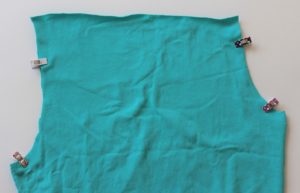
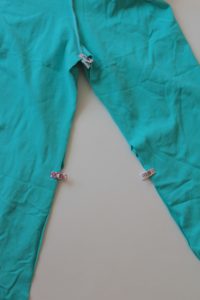
Sewing with swim fabric is not that much harder than sewing knit fabrics. Swim does tend to be slippery-ier (is that a word?) so you will need to pin or clip your seams really well to keep them straight. Also make sure you’re using a stretch stitch (zig zag or triple stretch stitch are my favorites). If it’s your first time, just go slow! The pattern itself is easy and the instructions will walk you through each step.

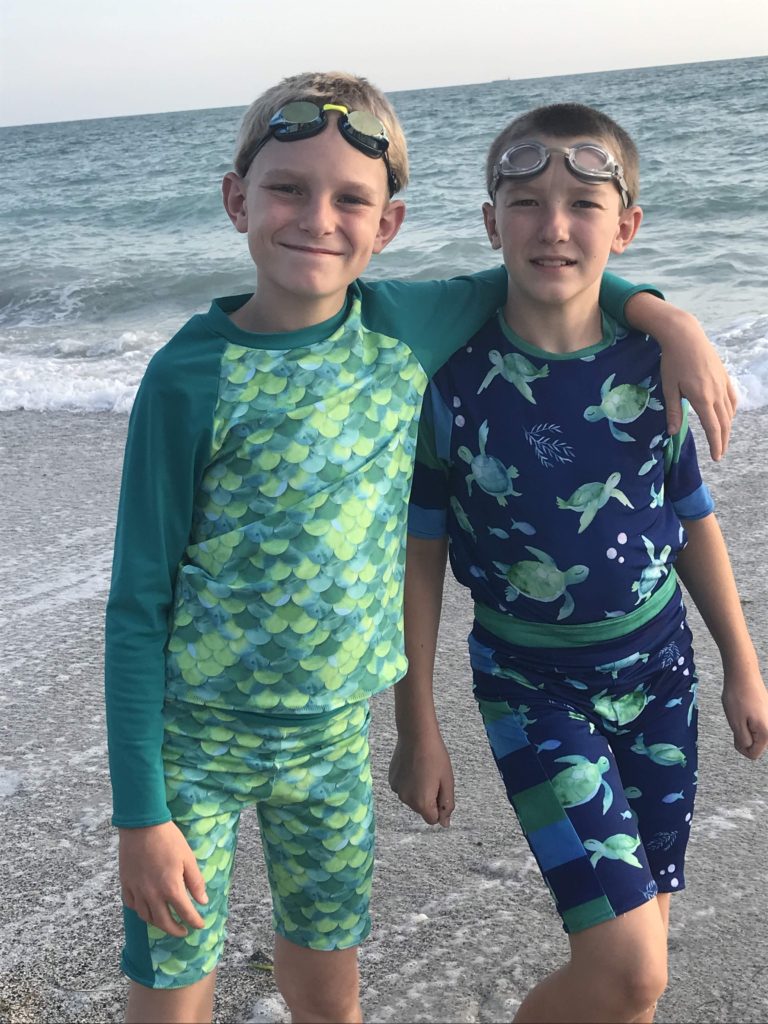
We took ours to the beach for the ultimate test. It was a success! The kids love their new shirts and the fabric is so soft! It’s from Raspberry Creek Fabrics swim collection. They design and print their own fabric right here in the US! It provides UPF 50+ protection.

I also made my boys new swim trunks. I used the Monaco swim trunks pattern by Peek-A-Boo Pattern Shop. It’s a European style swim suit made with swim fabric rather than board short fabric. The pattern has a shorter inseam, but my boys wanted shorts closer to their knees so I lengthened the inseam to about 8″.

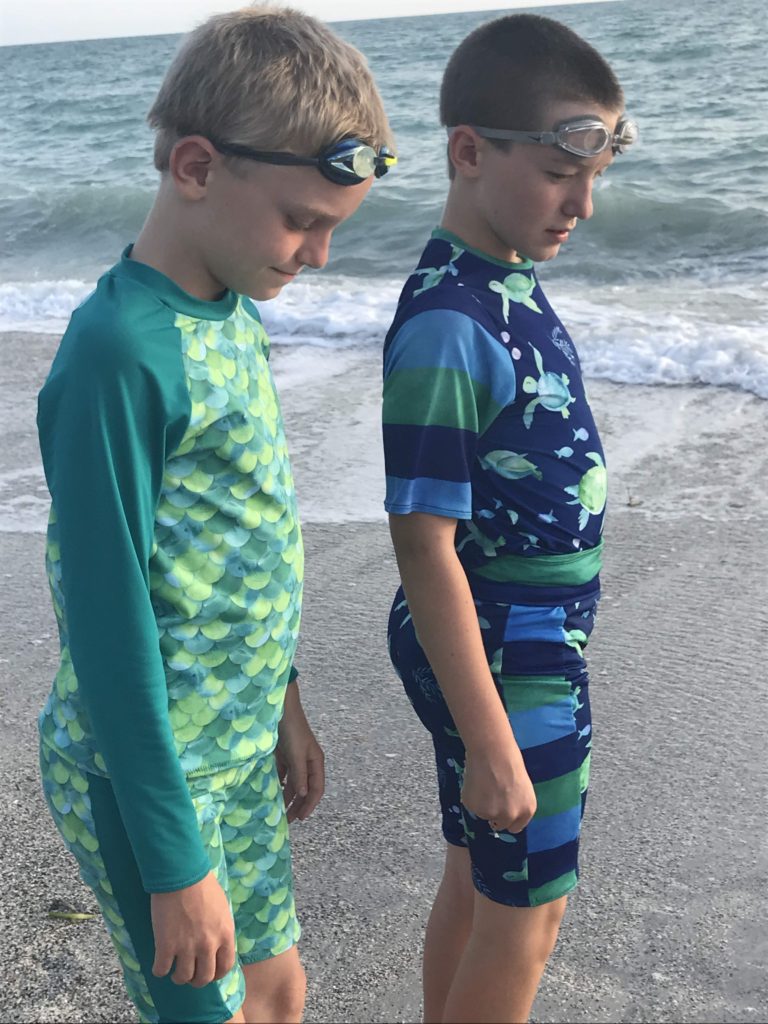
The turtle fabric and coordinating stripes are also from Peek-A-Boo Fabric Shop.

The turtle shirt is the Boulder Tee by Gracious Threads

The Reagan pattern is on sale now through Tuesday, May 21.

Women’s Reagan

Kids Reagan

Reagan Bundle

*This post contains affiliate links. See my disclosure policy for more details.

Pattern Review: Basic Tee by Patterns for Pirates

I recently tested two basic tee shirt patterns – youth crew neck basic t-shirt and the women’s basic t-shirt. Both of them are so easy and as always, there are lots of options. I also made a reversible shirt using the youth pattern.

I found this fabric at JoAnns and I new my youngest son would love it – mostly because it wouldn’t matter what way he put his shirt on, it would be the right way. When you’re ten and you don’t have to worry if your shirt is inside out or not, that’s a win!

I used flat fell seams for the shoulder seams. This is actually very easy to do. First, clip the seams wrong sides together (trust me). Sew a narrow 1/4″ seam. For this tutorial, stripes is the right sides, polka dots is the wrong side.

Now, clip the shoulder seams right sides together. The seam you just made will be sandwiched between the layers of your new seam so it’s completely hidden. Sew this seam.

Press the seam to the back and top stitch it down. Voila – seam one, done.

You could do this for all the seams, but I thought it would be hard to do on the sleeves, so I did a different finish. Sew the sleeve seam as normal – right sides together. Then, trim the shirt part of the seam. Press the seam to the shirt and top stitch it in place. Sew slowly and stay as close to the edge as possible.

Sew the side seams normally – right sides together. Then trim the back part of the seam. Press the seam to the back and stitch it down like you did for the sleeves. All the seams are now either fully enclosed or stitched down. The last seam is the neck band. Sew it as instructed. Then, press it towards the shirt and zig zag it down.

The final step is the hems. I chose to do narrow hems and zigzag them. This way they match the neckline stitching. To make a narrow hem, turn under 1/4″ and then another 1/4″ and sew it down.

Want to see all the options – check out this post

Ready to buy one or all? Individual patterns are $7.50 through Monday February 11 and the bundle is $21.

Women’s pattern

Men’s pattern

Youth pattern

Bundle

Pattern Review – Roxy Bathing Suit by Made for Mermaids

Roxy swimsuit by Made for Mermaids
*This post contains affiliate links.

Making bathing suits for my daughter wasn’t something I ever really considered until last year.  It turned out that making girls swim suits wasn’t nearly as hard as I thought.  So, when Made for Mermaids announced they were looking for testers for their newest bathing suit, I jumped at the chance.  The Roxy bathing suit is a two piece vintage style bathing suit.  The high waisted bottoms and top with three length options are sure to please even the pickiest girl (and mom)!

The high-waisted bottoms cover the belly button and can either be ruched (have gathers along the side seams) or not and there are optional ties that can be added.

High waisted bottoms (with ruching) cover the belly button

The top comes in three lengths – bikini (no ruffle/peplum), short peplum, and long peplum.

Roxy bathing suit by Made for Mermaids

Short peplum – no belly showing

My daughter really wanted the long peplum – she felt like it would cover better.  However, even the short peplum covers the stomach since the bottom are high waisted (they cover the belly buttom).

This is the long peplum.

The top has wide stripes that are slightly gathered.  Even though they sit at the edge of the shoulder, they still feel secure and don’t slide off.  You can add elastic to them to help keep them in place.

Go ahead, jump on over to Made for Mermaids and buy the pattern!  It’s sure to be a hit!  There’s also a Mama version available.

Interested in a one piece bathing suit?  Look here for my review of the Camilla (and notice how my daughter’s taste in swim fabric doesn’t change).

*This post contains affiliate links.  See my disclosure policy for more details.

How to Sew – Free Leggings for Kids and Adults

 How To Sew plus a free leggings pattern
*This post contains affiliate links.

I’m not much of a leggings person, but my daughter wears them under her school skirts frequently.  They’re perfect for keeping her modest on the playground and some of her favorite school uniform skirts are the ones that have leggings attached.

Fun leggings under a boring school skirt

Leggings are pretty quick and easy to sew up and there’s nothing better than a free pattern!  Feel free to skip to the end of the post if you just want the links.  Otherwise, read on for my review of the Bonny Leggings.

Bonny Leggings Capri Length

Leggings require material with good recovery – it should have at least 5% spandex/lycra otherwise you’ll have saggy knees and if you do a yoga style waistband, they won’t stay up all day.  Talk about a wardrobe malfunction!

I assemble my leggings differently than the instructions.  I prefer to sew the center front and back seams first.

Sewing the center front and back seams first.

Then I sew the inseams together.

Sewing inseam after center seams.

Then sew the waistband on per the instructions.  The waistband does not need to be stretched to fit – it should fit the opening perfectly.

The bonny leggings pattern comes with directions for making a knit skirt to attach to your leggings.  Once you’ve made a skirt with the leggings and know how to attach the leggings to the skirt, you can use the leggings with your favorite skirt pattern to playground proof your daughter’s wardrobe.  It’s so easy!  Plus, if your school requires a certain color skirt (like navy or tan….boring!), you can add a fun print for the leggings.  No one will know, but it’s a fun way to dress up her school wardrobe.

School Uniform skirt with fun leggings

The kid leggings are available here in sizes 1/2 – 14 – Bonny Leggings.  They are totally free – no facebook groups to join, just add the pattern to your cart and checkout.

The adult leggings are available here (and in full disclosure, I’ve never made them, I’m just pointing them out for adults who may want leggings or for older girls who don’t fit into Bonny’s anymore) – Peg Legs.  Please note there are also a couple add on packs which are also free – a maternity add on and an add on with more options – waistband, color blocking, side pocket.

*This post contains affiliate links.  For more information, see my disclosure policy.

Upcycling a T-Shirt and Color Blocking a Dolman

Finished Dolman Upcycle Color Block

My daughter got this shirt for her birthday year or two ago and loved it!  However, it has recently gotten a little tight and she was sad about the thought of it going to the rummage sale.

Original too small shirt to be upcycled

I told her I might be able to upcycle it into a “new” shirt.  She was agreeable and I decided that a dolman was my best option (OK, actually I was going to do a raglan, but I would’ve had to reprint the pattern…foster kittens got to it….the dolman pattern was all printed and ready to go).  The first step is to cut the sleeves off (and throw them away!) and cut the side seams and shoulder seams.  I cut as close to the seams as possible.  You should end up with a front piece and a back piece.

First cut off the sleeves, upcycle

To make the dolman work, I would have to color block.  Color blocking is not my strong suit!  I have a hard time seeing what the finished thing will look like.  I tried laying out the fabric on the pattern so I could get an idea of what it would look like.

Laying Out color blocking

While doing this, I realized that I needed to straighten out the sides to the shirt and the arm cutouts to make it more like a panel, so I trimmed it down some.  Once I was happy with they way it looked, I sewed my pieces together.  First I sewed a pink rectangle to a blue rectangle.  I also hemmed the bottom of the blue since I was keeping the original t-shirt hem.  Then I sewed it to the newly straightened out sides of the the old t-shirt.  I also decided I was going to need to redo the neckline, so I cut the neckband off.

T-Shirt Color Blocked

Then, I folded my piece of fabric in half and put it on the pattern and trimmed it to fit.

Attach the color blocking

Then, I sewed the side seams.  At this point, I was really worried about the neckline.  It looked really wide for my very modest teen!  I was hopeful that the new neckband would pull it in!

Dolman upcycled t-shirt

I had her try it on and I was still worried.  It just seemed overly big!

Dolman neckline too big, upcycled t-shirt, color blocking

I figured at this point, I might as well finish it. All I had left was the neckband and hemming the sleeves.  I’m actually pretty happy with the way it turned out!

Finished upcycled color blocked dolman

I probably could’ve made the neckband smaller, but it works as is too.

Side view finished color blocked upcycled dolman

Do you upcycle your kids clothes?  Do you color block?

Back finished upcycled color blocking dolman

  • « Previous Page
  • 1
  • 2
  • 3
  • 4
  • 5
  • Next Page »

Hi, I'm Mona - wife, mom, teacher, seamstress, blogger. This is my home on the web. Read More…

Categories

Copyright © 2026 · The Marianne Theme By Blogelina · Built on the Genesis Framework

Copyright © 2026 · The Marianne on Genesis Framework · WordPress · Log in