SewMona

A slice of my Florida life

  • Sewing
    • SewMona on Etsy
    • Clothes
      • Boys
      • Girls
      • Men
      • Women
    • Pattern Reviews
    • How to Sew
  • Camping
    • Florida Campgrounds
  • Recipes
  • Crafts
  • DIY
  • About

Pattern Review: Basic Tee by Patterns for Pirates

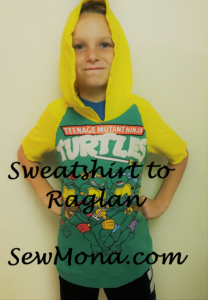
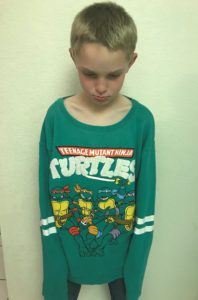
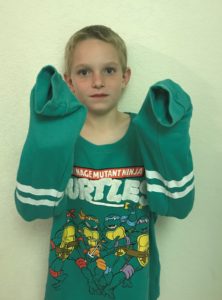
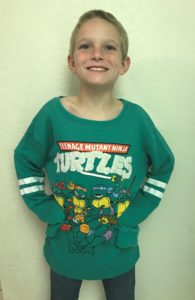
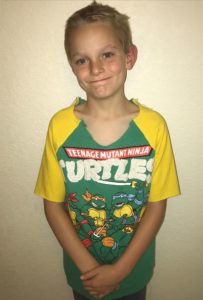
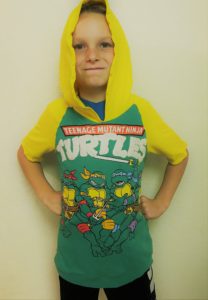
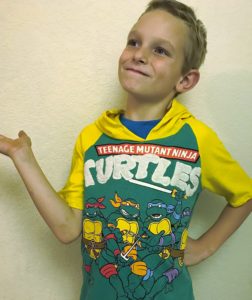
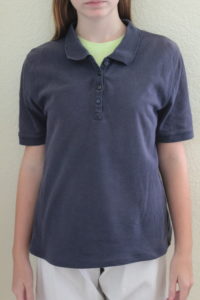
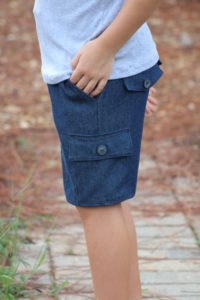
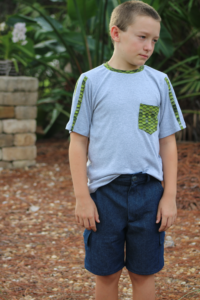
I recently tested two basic tee shirt patterns – youth crew neck basic t-shirt and the women’s basic t-shirt. Both of them are so easy and as always, there are lots of options. I also made a reversible shirt using the youth pattern.

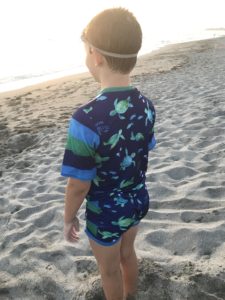
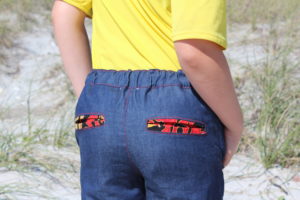
I found this fabric at JoAnns and I new my youngest son would love it – mostly because it wouldn’t matter what way he put his shirt on, it would be the right way. When you’re ten and you don’t have to worry if your shirt is inside out or not, that’s a win!

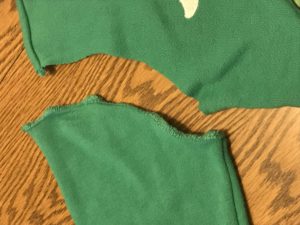
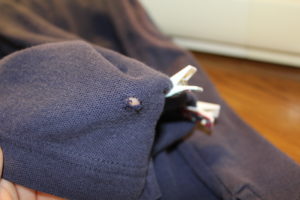
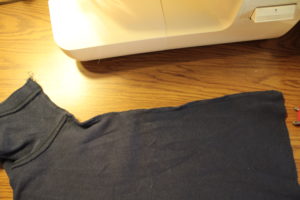
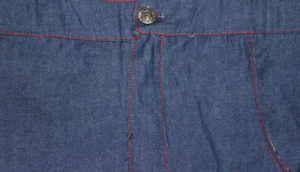
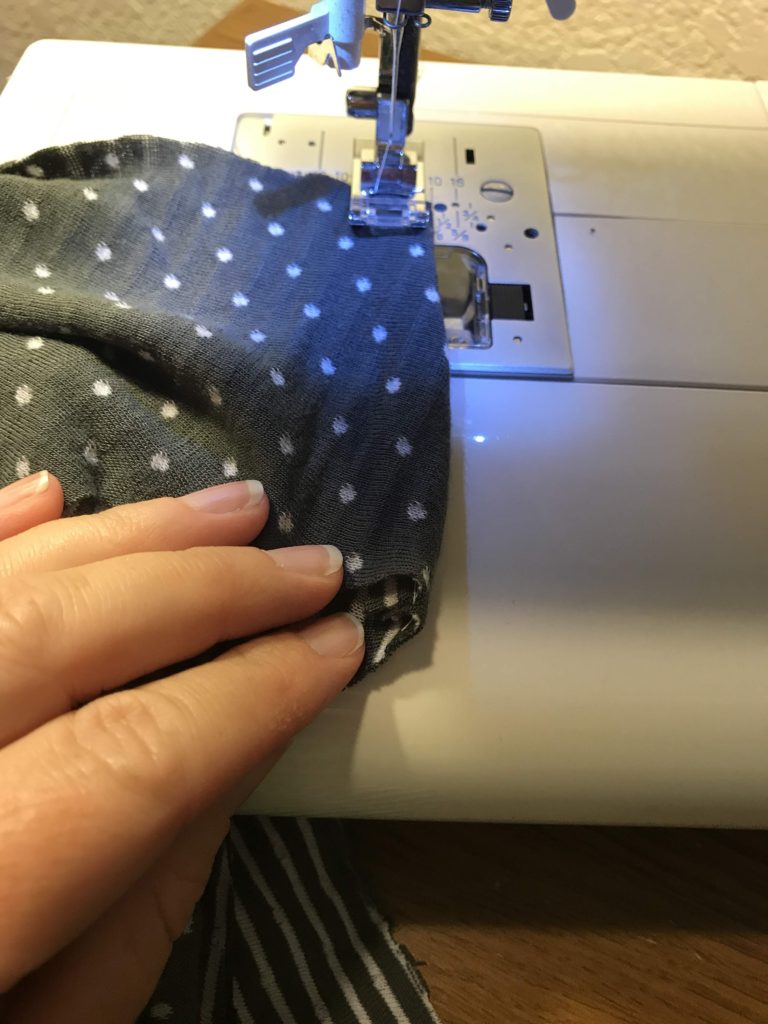
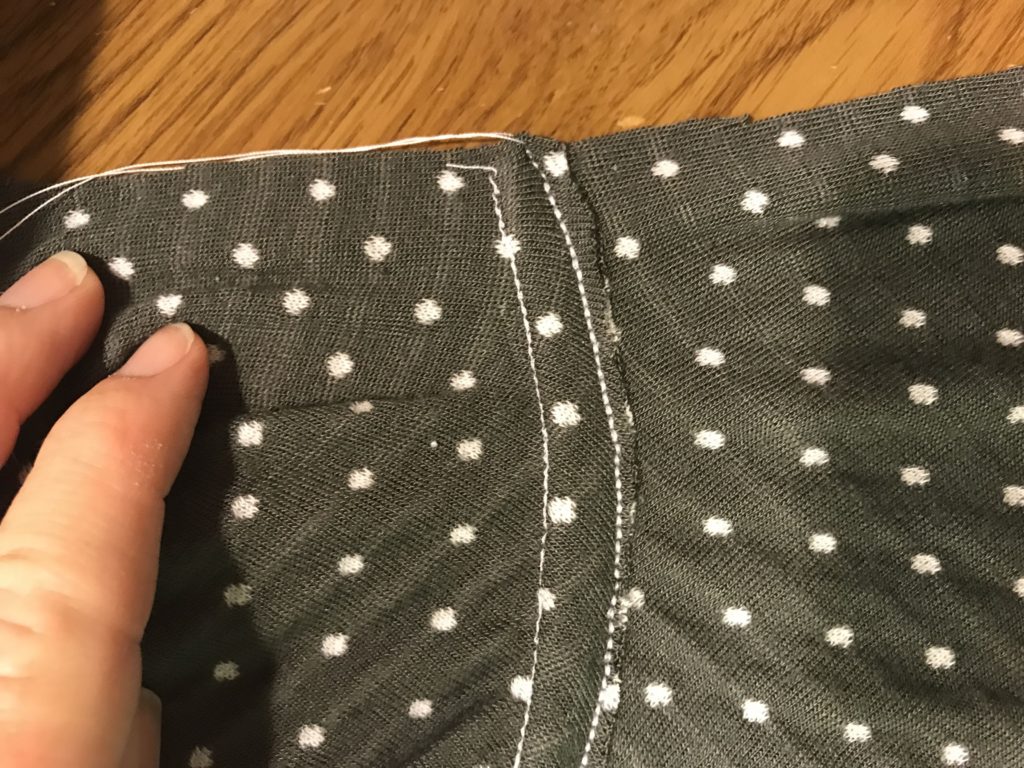
I used flat fell seams for the shoulder seams. This is actually very easy to do. First, clip the seams wrong sides together (trust me). Sew a narrow 1/4″ seam. For this tutorial, stripes is the right sides, polka dots is the wrong side.

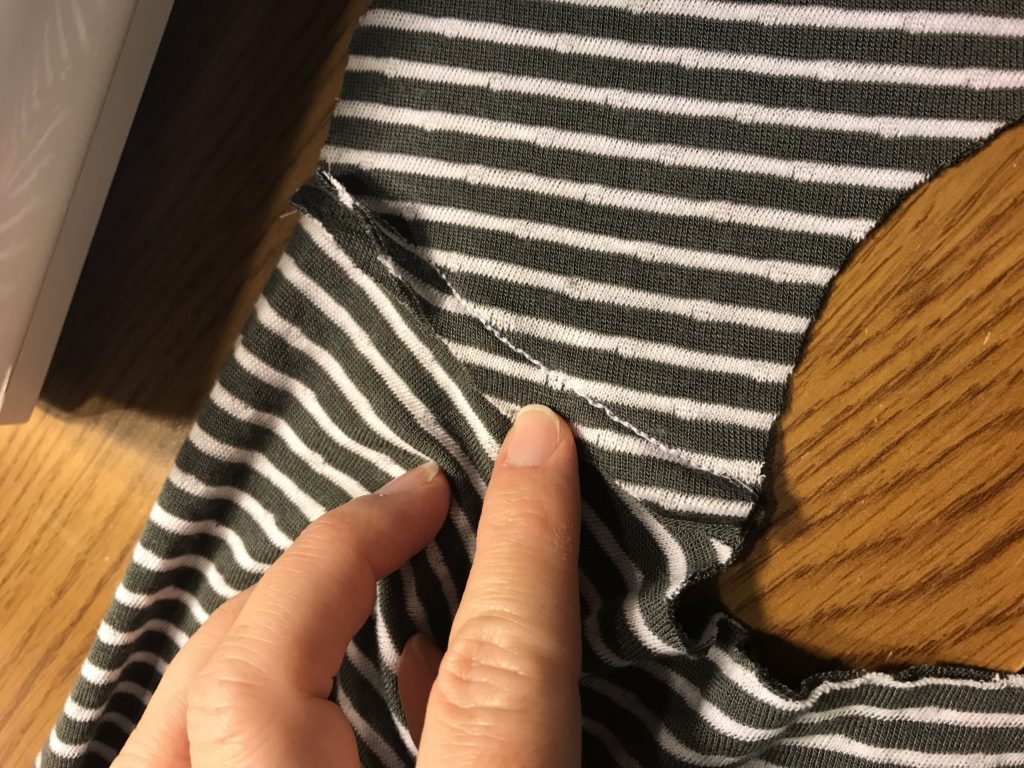
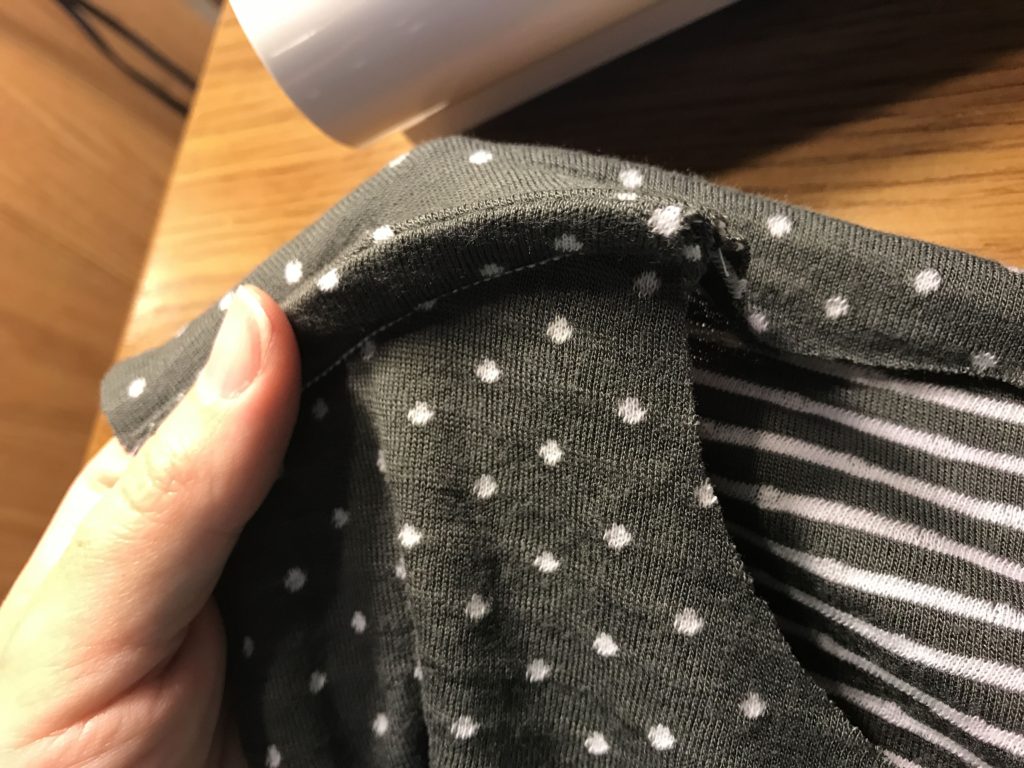
Now, clip the shoulder seams right sides together. The seam you just made will be sandwiched between the layers of your new seam so it’s completely hidden. Sew this seam.

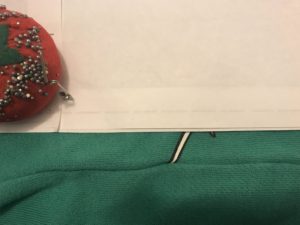
Press the seam to the back and top stitch it down. Voila – seam one, done.

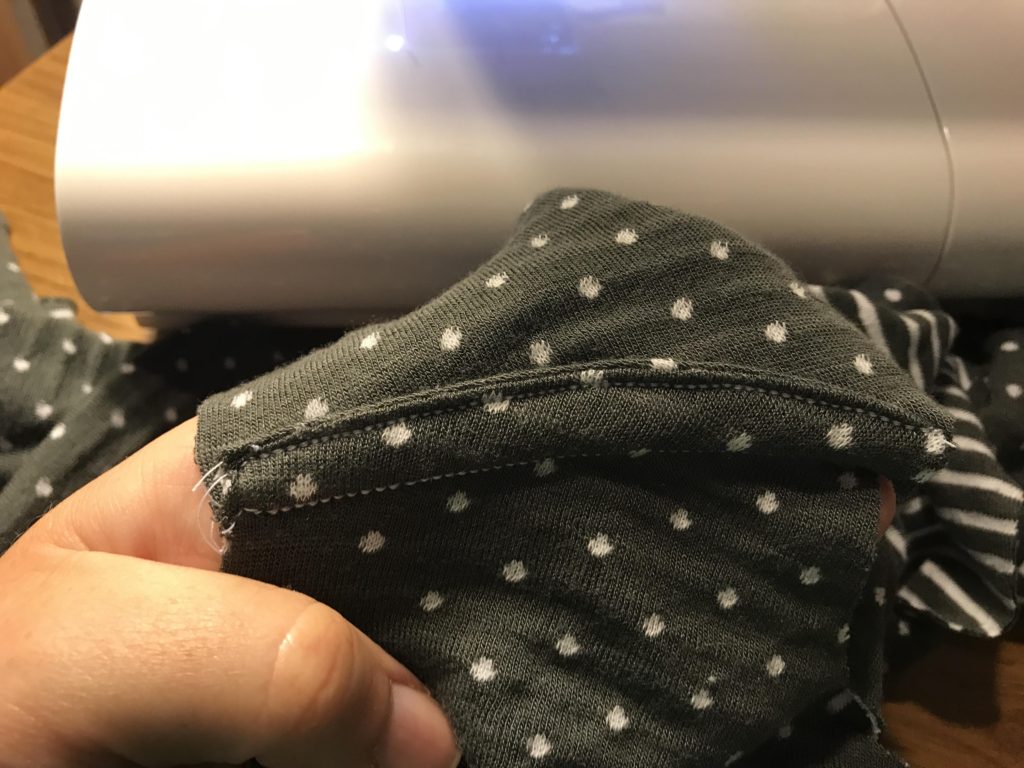
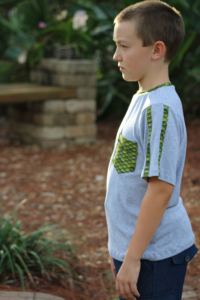
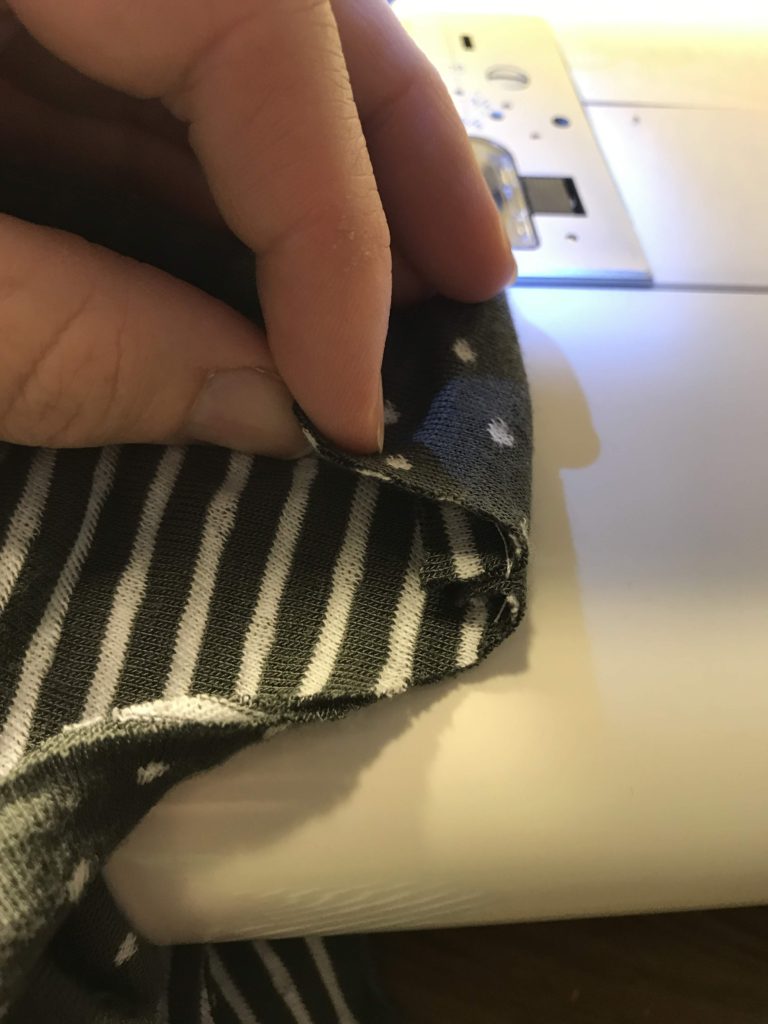
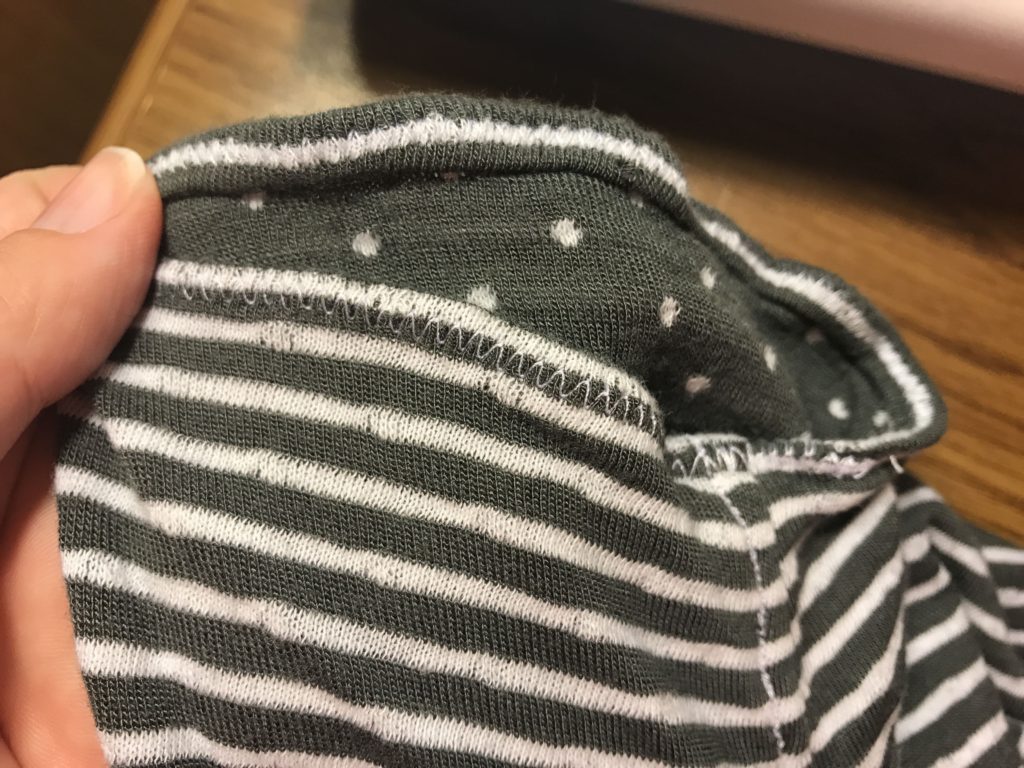
You could do this for all the seams, but I thought it would be hard to do on the sleeves, so I did a different finish. Sew the sleeve seam as normal – right sides together. Then, trim the shirt part of the seam. Press the seam to the shirt and top stitch it in place. Sew slowly and stay as close to the edge as possible.

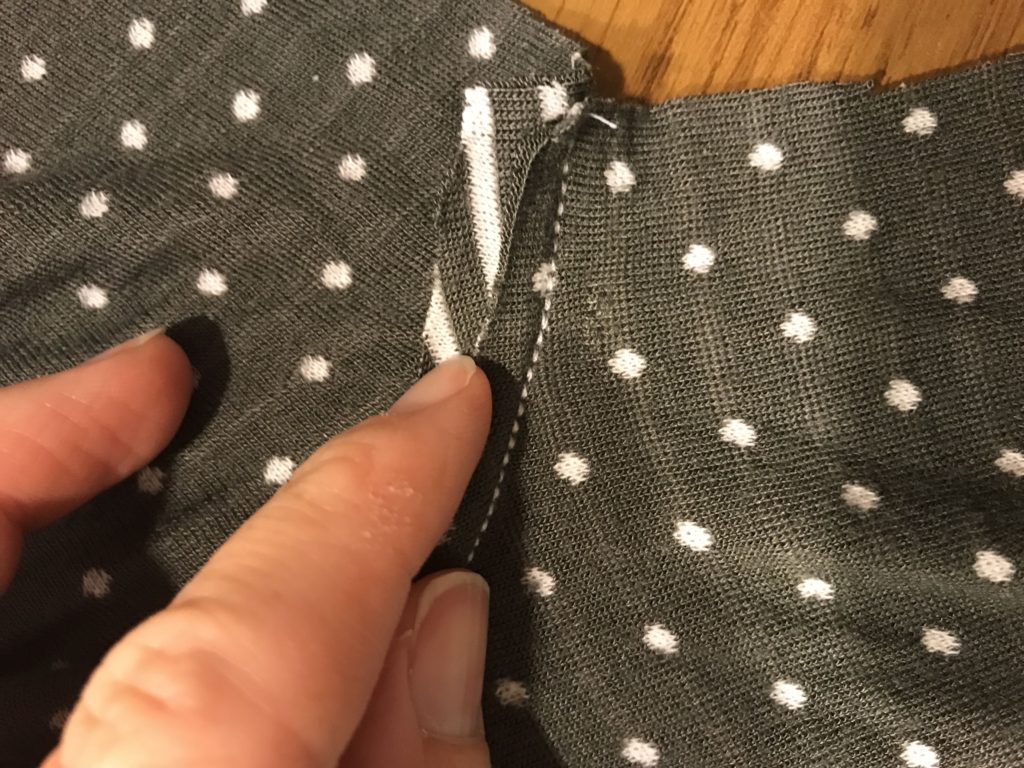
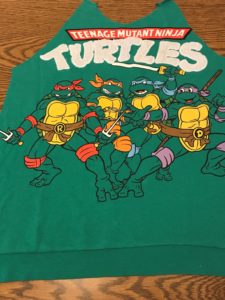
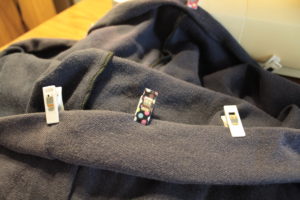
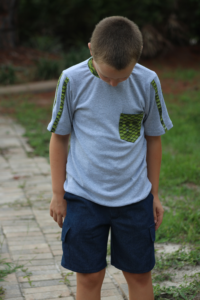
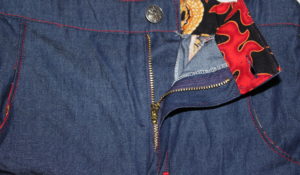
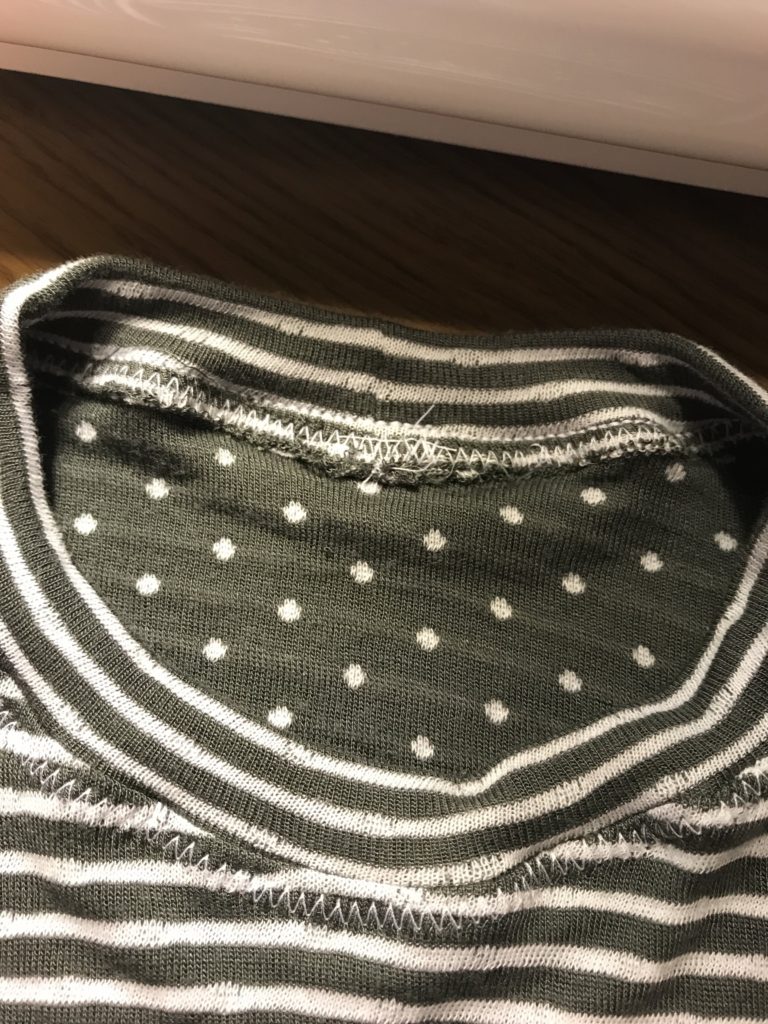
Sew the side seams normally – right sides together. Then trim the back part of the seam. Press the seam to the back and stitch it down like you did for the sleeves. All the seams are now either fully enclosed or stitched down. The last seam is the neck band. Sew it as instructed. Then, press it towards the shirt and zig zag it down.

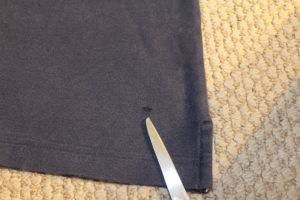
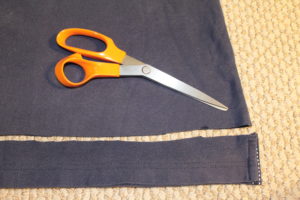
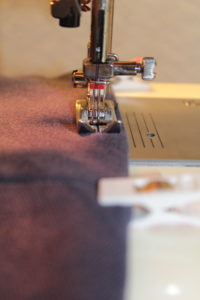
The final step is the hems. I chose to do narrow hems and zigzag them. This way they match the neckline stitching. To make a narrow hem, turn under 1/4″ and then another 1/4″ and sew it down.

Want to see all the options – check out this post

Ready to buy one or all? Individual patterns are $7.50 through Monday February 11 and the bundle is $21.

Women’s pattern

Men’s pattern

Youth pattern

Bundle

Upcycling A Sweatshirt

Sweatshirt to Raglan

My son recently found a Ninja Turtles sweatshirt in a bag of hand-me-downs.  It’s too big for him, but he wants to wear it now.

So sad, the Ninja sweatshirt is too big

It’s also long sleeved and we live in SWFL where it’s almost always summer (except for a couple weeks in January where I actually had to turn the heat on…I hate turning the heat on!).

Long sleeves are no good in Florida

Anyway, I found the perfect color of cotton spandex in my recent material order so I can make him a raglan – short sleeves, possibly with a hood.

So happy the shirt can be resized

My first step is always to cut the sleeves off.

Sweatshirt to raglan - cut off the sleeves

Since I don’t want to rehem the shirt, I’m not going to cut the side seams.  This makes laying the pattern pieces out a little tricky, but hopefully it will work out.  The print on the front was slightly off center meaning that when I cut out the new front, I’m going to cut some of this sword off.

Cutting the front piece out is tricky

The front doesn’t look too bad.  I believe the original shirt was a 14/16 and I’m making a 10.  Not a huge change, but even so, the design just fits on the front.

Front piece cut out of old sweatshirt.

I’m always worried that the neckline is going to be too big, but I’ve learned to wait until I have the hood or neck band on…it always looks much better!

Sweatshirt turned raglan

With the hood sewn on, the neckline fits so much better and there’s still some growing room (very important!).

A new raglan upcycled from a sweatshirt.

This kid loves making all different faces while I’m trying to take pictures.  Plus we’ve got a new cat who thinks he needs to try opening all the doors.

A new raglan upcycled from a sweatshirt plus the cat.

Really Mom, you need another picture??

A new raglan upcycled from a sweatshirt.

So, have you ever upcycled a shirt into something new?  If not, you should try it!  It’s really not that hard.

A new raglan upcycled from a sweatshirt.

*affiliate link* The pattern I used here is the Rowan Raglan.  If you buy it through my link, I earn some money (it doesn’t cost you anything extra!  🙂  ).  Read more about affiliate links on my disclosure page.

How to Sew – Making A Polo Shirt Smaller

The private school where I teach (along with DH and our kids also attend) requires us to wear polo shirts.  Polos are one thing I’ve never tried making.  I buy the $5 ones at Old Navy during our tax free weekend.  Occasionally I find them at a thrift store for less than $5.  Last year, I managed to get a hole in my navy blue polo.  It was still in really good shape otherwise.  I hated to throw it away!

Navy blue polo with a hole near the hem

It really is a little hole and lucky for me (and my daughter), it’s below where the hem needs to be for her.

Navy blue polo with a hole near the hem.

So, I just trimmed it off.  Ignore my horrible cutting…I just eyeballed it and clearly didn’t do a very good job.  Hemming will fix that!

Trim the hem off the polo

I also took the side seams in a bit so it wasn’t quite so baggy on her.

PoloSideSeam

Turn up the hem – I turn under 1/4″ and then another 3/4″ so the hem looks neat and you don’t see any unfinished edges.

PoloHemClipped

Hem the shirt with a double needle for a professional finished look.  Make sure to hem with the right side up if you’re using a double needle.  Also, this is one of the many reasons I love these clips – it doesn’t matter which way I put them on, I can sew with either side up.  With pins, you have to sew with the side you pined facing up.

Hem the polo with a double needle for a professional finished look

The finished product – a pretty good fit for my teenager and there are no holes in it!

Pattern Review – Cache Cargo Shorts & Boulder Tee

*This post contains affiliate links.

I recently tested the two newest patterns by Gracious Threads – the Boulder Tee and the Cache Cargo Shorts.

The Cache Cargo Shorts are the perfect addition to my boys’ summer wardrobe.  I love the side pockets plus the cargo pockets.

The back flaps are fake pockets (although it you wanted, you could use the welt pockets from the Dax Trousers to make them real).

The shorts have a real working fly – and it isn’t nearly as complicated as I thought it would be!


The Boulder Tee is a quick and easy sew with a couple options – short sleeve or banded 3/4 sleeves, pocket or no pocket, and optional sleeve stripes.

I love the little design element the sleeve stripes add.  Such a simple thing yet it makes the t-shirt different from just a plain t-shirt.

I also used it to make a swim shirt for my son.  I just made the seams a little deeper so it was a little tighter.  The swim shorts are the Monaco Swim Trunks by Peekaboo Pattern Shop.  Fabric is from Peekaboo Fabric Shop.

Gracious Threads is having a sale this weekend on all their patterns.  I have the Jasper Joggers which I used to make school uniform pants and then I also cut them of to make shorts.

Gracious Threads Sale

*This post contains affiliate links.  See my disclosure policy for more details.


Pattern Review: Dax Trousers by Gracious Threads

Dax Trousers by Gracious Threads

*This post contains affiliate links.

I recently got to try our the new Dax Trousers by Gracious Threads.  I was a little nervous about it – a real, working fly?  Double welt pockets?  Yikes!  The only thing I skipped was the belt loops.  This pattern taught me a lot!  I’ve never done an actual fly before.  I always thought it was hard – isn’t that what you’re always told?!  Turns out, it really isn’t that bad!  The instructions with the pattern were great, but if you need more help, there’s a free guide that you can download too (link is in the pattern).  It includes more pictures plus instructions on shortening zippers.

Dax Trousers by Gracious Threads with fly closed.

I still need a little practice, but I’m so happy with how it turned out!  The best part is that it really does work!

Dax Trousers by Gracious Threads with fly open.


I’ve also never done welt pockets.  Mostly because I’m scared of them.  Also, they involve cutting a slit into your material – in the middle…if you mess up…..what to do??  Well, in reality, they weren’t that bad!  The directions walk you through each step plus there’s a link to a video walking you through the process. I made the whole pocket out of a contrasting material to add some detail to the shorts.  If you just do the lining from a different material, you won’t see it on the outside.  I’m so happy with how these turned out!  Two new skills in one pattern!  That’s a win!

Welt Pockets Dax Trousers by Gracious Threads

The pattern is actually for pants but since we’re in Florida, I cut them off to make shorts instead.  I measured the inseam of a pair of shorts that currently fit and used that as a starting point for the length of these.  I love the how nice the finishing touches (mostly the top stitching) make them look – almost like they were store bought.  If you are on good terms with your twin needle, these would look sharp with two rows of top stitching.

I even made a second pair and they turned out equally nice (and it didn’t take me as long to make them!).

Dax Trousers by Gracious Threads

This pattern is currently available through One Thimble or as a stand alone pattern.  While I went with jean material, this pattern could also be used to make slightly dressier pants.

Dax Trousers by Gracious Threads

Go check it out and then let me know what you’re planning to make.  Have you ever done a real fly or welt pockets?

*This post contains affiliate links.  See my disclosure policy for more details.

  • « Previous Page
  • 1
  • 2
  • 3
  • 4
  • Next Page »

Hi, I'm Mona - wife, mom, teacher, seamstress, blogger. This is my home on the web. Read More…

Categories

Copyright © 2026 · The Marianne Theme By Blogelina · Built on the Genesis Framework

Copyright © 2026 · The Marianne on Genesis Framework · WordPress · Log in