I’m going to assume here that you have very little sewing experience. If you need a reminder of the basics of sewing, this post is for you. If you want to teach your kids to sew, this post might be for you. If you’re looking for my next post with a pattern recommendation – this is not the post. Sorry, I thought maybe I should go over some basics first.
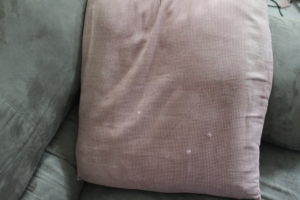
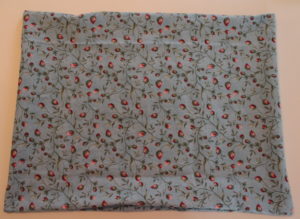
I’m not actually making a pillow; I’m just recovering one. Maybe you have a well loved pillow that could use a new lease on its life.
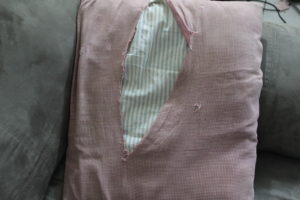
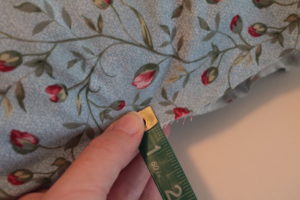
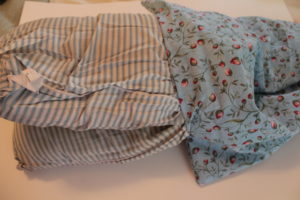
The easy part is ripping off the old pillow cover. Then you need about 3/4 yard of fabric. Depending on how wide it is and how big/small your pillow is, you might be able to get away with 1/2 yard. If you want to make a new pillow, you’ll need a bag of stuffing too. If your pillow is really flat, you can fold it in half to make it fluffier.
Lay your pillow out on your fabric. Leave an inch border to allow for the seam allowance (1/2″) and a little for the puffiness of the side.
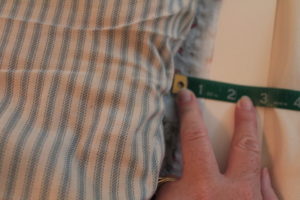
Fold the fabric over the top of the pillow and match up the edges. Make sure that they meet with 1/2″ leftover for the seam. Cut any extra fabric off. You should now have a rectangle of fabric that fits nicely over your pillow.
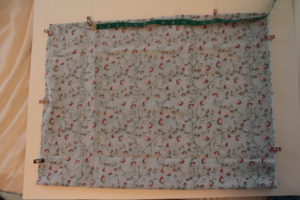
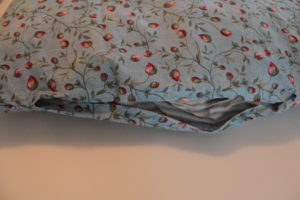
Put the pillow to the side. Fold your fabric in half right sides together (side note – Most of the time when you’re sewing two pieces together, you’ll do it with the right sides together. Then when you turn it right side out, you won’t see the seams). Pin or clip the sides together. Leave an opening on one side so you can replace the pillow. I like to leave it in the middle of a seam. It needs to be about 2/3 of the opening – big enough that you don’t have to fight to get the pillow back in.
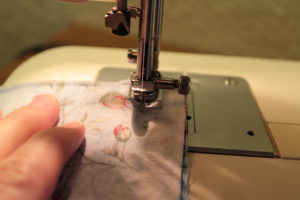
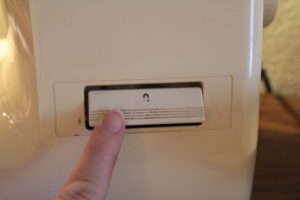
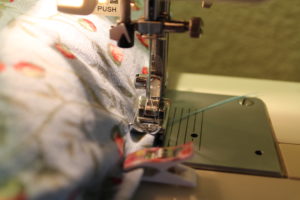
Now you’re going to sew the sides together using a 1/2″ seam allowance. My sewing machine has markings for different seam allowances. I measure from my needle to the lines to figure out which one was 1/2″. Then I make sure the edge of my fabric stays on that line.

When I get to a corner, I sew to what I think is close enough so that when I turn the corner, my edge is lined up with the line. Make sure the needle is down and lift the presser foot.
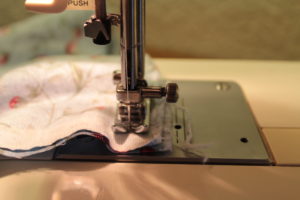
Turn your material and see if the edge lines up with your line.
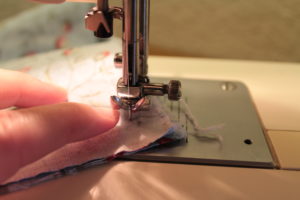
In this case, it didn’t, so I turn the material back and sew another stitch or two.
Turn it again and this time it does line up. Make sure to put the presser foot back down. It’s just about impossible to sew with it up! Finish sewing your edges together remembering to leave your opening for stuffing.

Every time you start or end a seam, you need to go backwards a couple stitches and then forward a couple. So, when you start, you sew a couple stitches, then push your reverse button and go back a couple, then go forward and finish your seam. When you reach the end (not a corner, but the very end of the seam), back up a couple stitches and go forward again.
Make sure you trim your thread ends too.
Turn the pillow cover right side out.
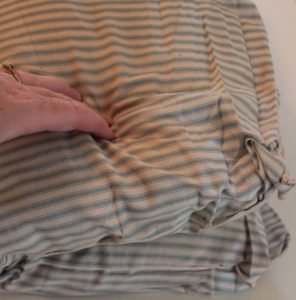
Then comes the fun part – stuffing the pillow in. Depending on how large or small you made the opening, it may be easier or harder. I tend to make them as small as I can…. I folded my pillow in half to make it easier to stuff. Once I get it in the case, I can unfold it and make it lay right.
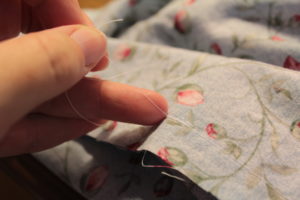
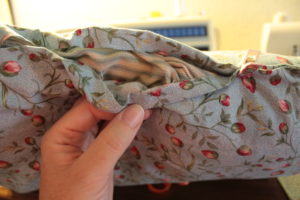
One last step – closing up the opening. There are two choices – hand sew or machine sew. If you’re making a fancy pillow, you probably want to hand sew it since it’s easier to hide your stitches. I despise hand sewing and avoid it at all costs! On a side note, I do enjoy counted cross stitch…go figure. So, I’m going to sew this shut on my machine using thread that’s as close to matching the fabric as possible. Turn the edges to the inside.
Then clip it closed.
It can be hard to get a pillow up close enough to your machine to sew, but to me it’s worth it to not hand sew! This time, I want a very narrow seam, so the edge of my seam is just under the edge of the presser foot. Go slow and make sure your seam stays together. There’s nothing more frustrating than thinking you’re done and realizing that the bottom part slid out and didn’t get caught in the seam!
The seam will look similar to this.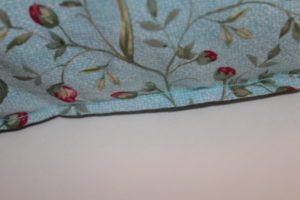
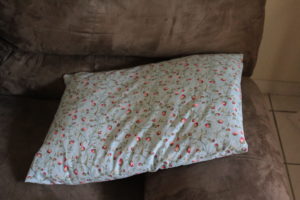
Admire your new pillow.