
*This post contains affiliate links.
My tween/teens have been watching a lot of animes lately and one of them is Inuyasha. My daughter decided she wanted to make an Inuyasha costume for her youngest brother for his birthday. Plus, it will double as a Halloween costume.
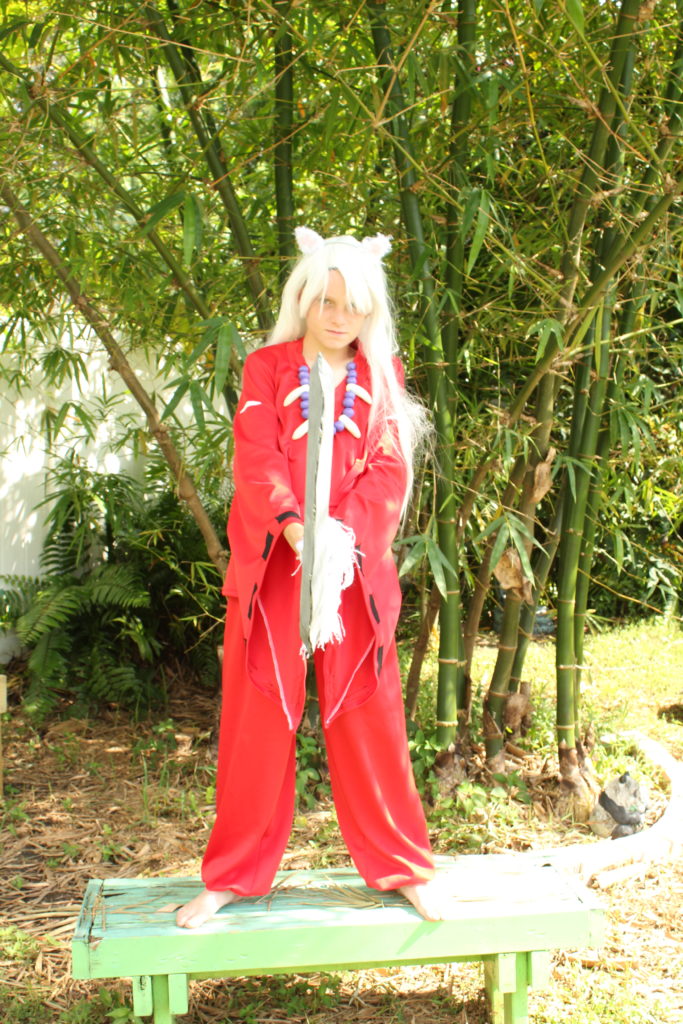
She only bought two things – the wig (although she did try to make one with white yarn – it just proved too time consuming) and the katana (Tetsusaiga in it’s smaller form). We were hoping to find one at Dollar Tree, but no such luck. Maybe when it’s closer to Halloween season.
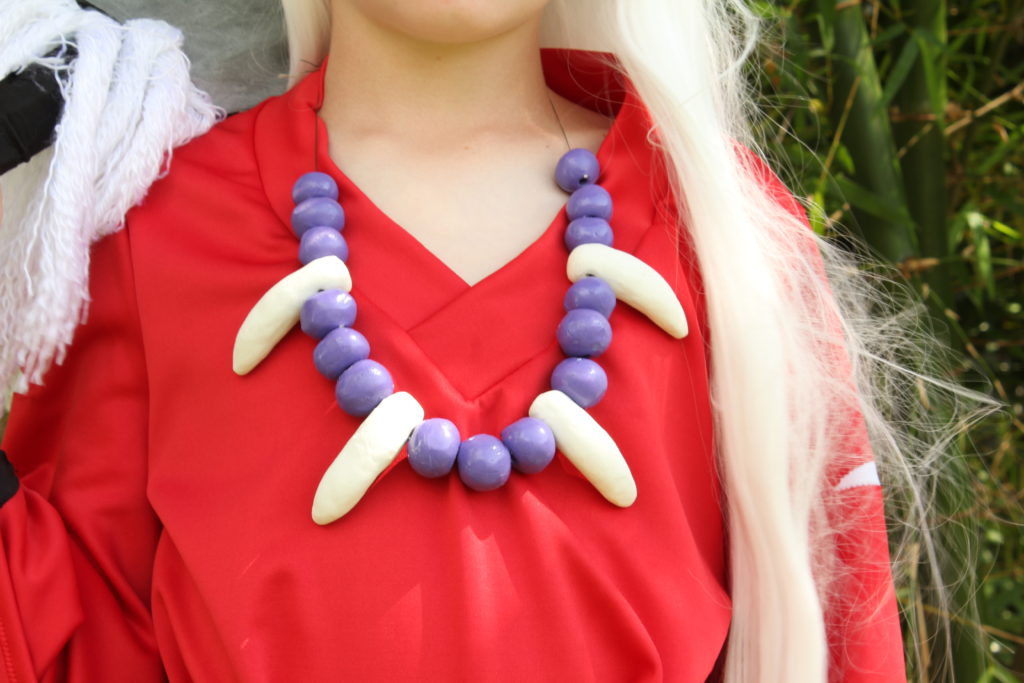
The necklace was made from oven bake clay. We found a one pound block at WalMart for around $6. The beads are about 1″ in diameter and she used a large needle to make a hole through them prior to baking. Make sure that they bake long enough! The first ones apparently didn’t and then after they were painted they stayed tacky. The teeth have nothing on them. We tried ModPodge, but it stayed super sticky so those got remade too. She threaded the necklace on a piece of fishing line. The necklace is heavy so we will make a cloth sleeve to go around the string at the back so it doesn’t hurt his neck. It will be hidden by the wig.
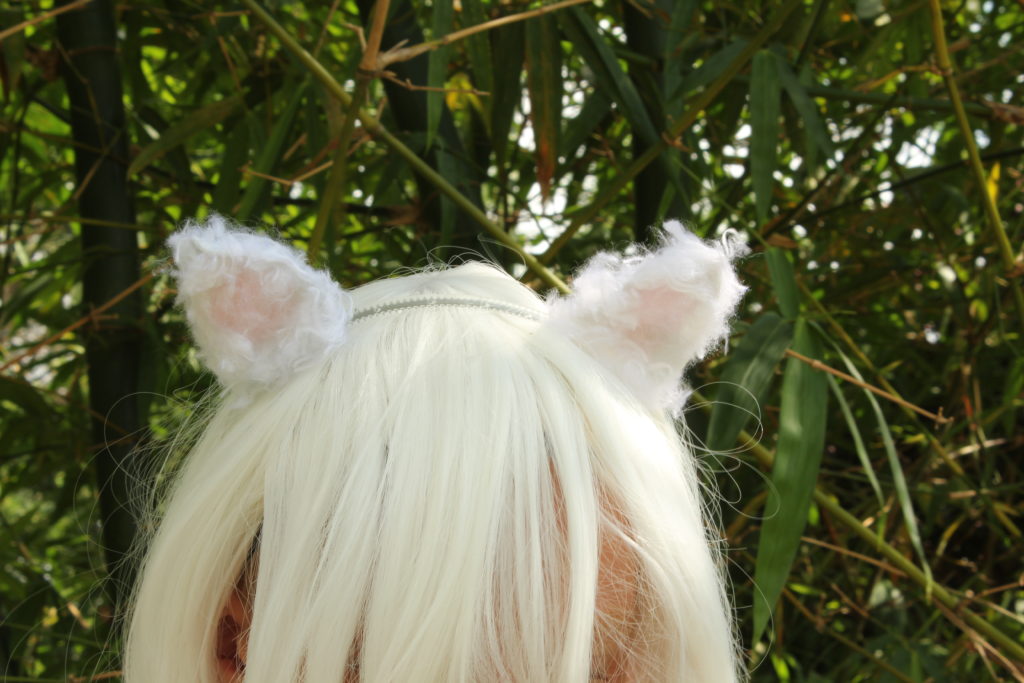
We used a scrap of white craft foam to make the dog ears. Cut a slit in the bottom of the ears and then hot melt glue the edges to help them stay in a curved shape. The fuzz is white and pink yarn that was pulled apart and then hot melt glued to the ears. The ears were then hot melt glued to the clear headband (also bought at WalMart).
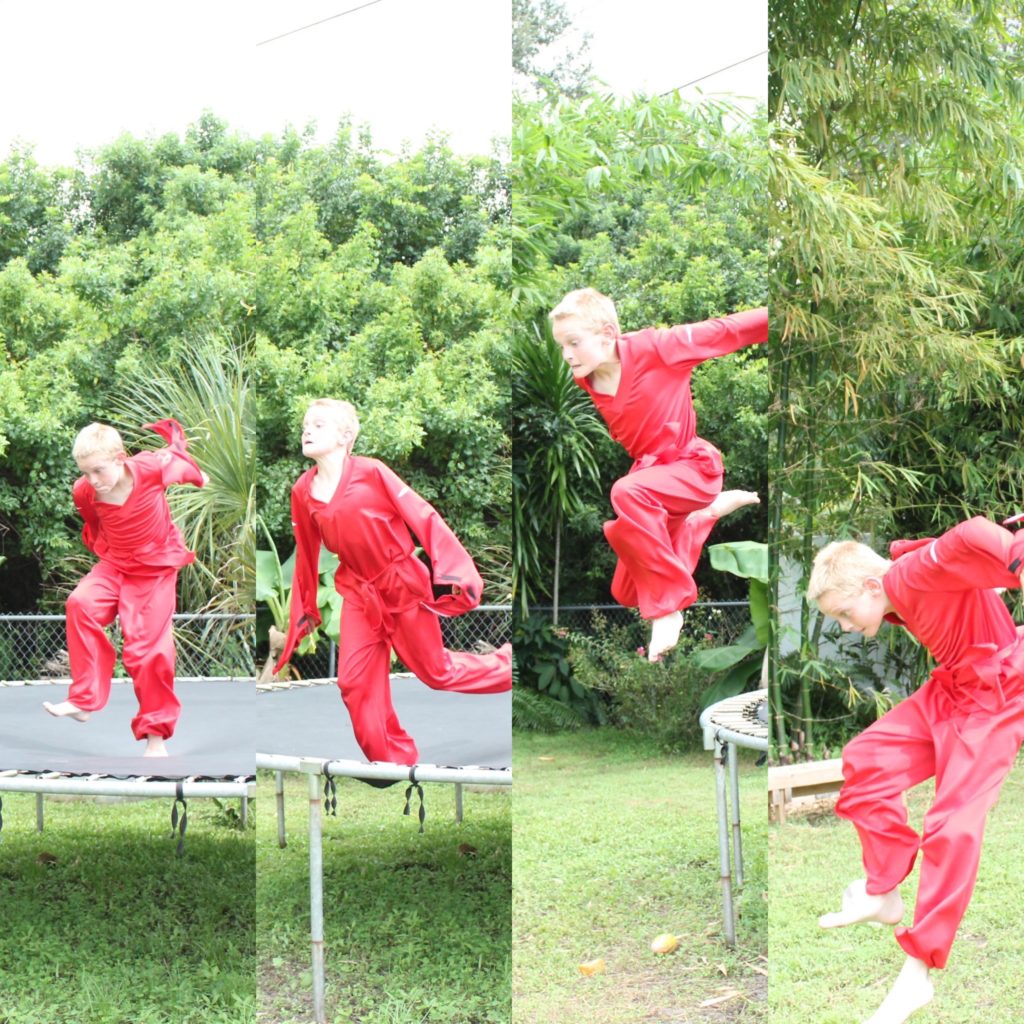
The pants and shirt were made from some fabric we found at, you guessed it, WalMart. It’s similar to this one. The one we used is heavier, but any knit fabric with some drape will work. The pattern came from several different patterns that I mashed together. The pants can be made using a pajama pants pattern. There’s a free one available in youth and adult sizes. They need to be baggy and a bit long. Putting elastic around the ankles helps give them the needed volume while keeping them from being tripped over. The pants will sag over the elastic and it won’t be seen.

The shirt was a bit more complicated. I used this pattern because it was one I had, however, any v-neck shirt will work. The shirt is cut big and the side seams are straight (my pattern has the side seams tapered in, but I wanted a baggy look). I cut the sleeves at an angle so they get bigger at the wrist instead of smaller.

The sleeves have a small white spot (a tear, maybe?) midway between the elbow and the shoulder. This is easiest to do before you sew up the sleeves. I folded the sleeves in half and cut a 3″ slit that was less than 1/2″ wide in the center. I then sewed a scrap of white fabric to the inside of the sleeve.

The black around the sleeve hems is a scrap of black fabric cut into strips about 1/2″ x 3″. I zigzag stitched them on, but you could probably glue them on too. The belt is 2″ wide and 7′ long.
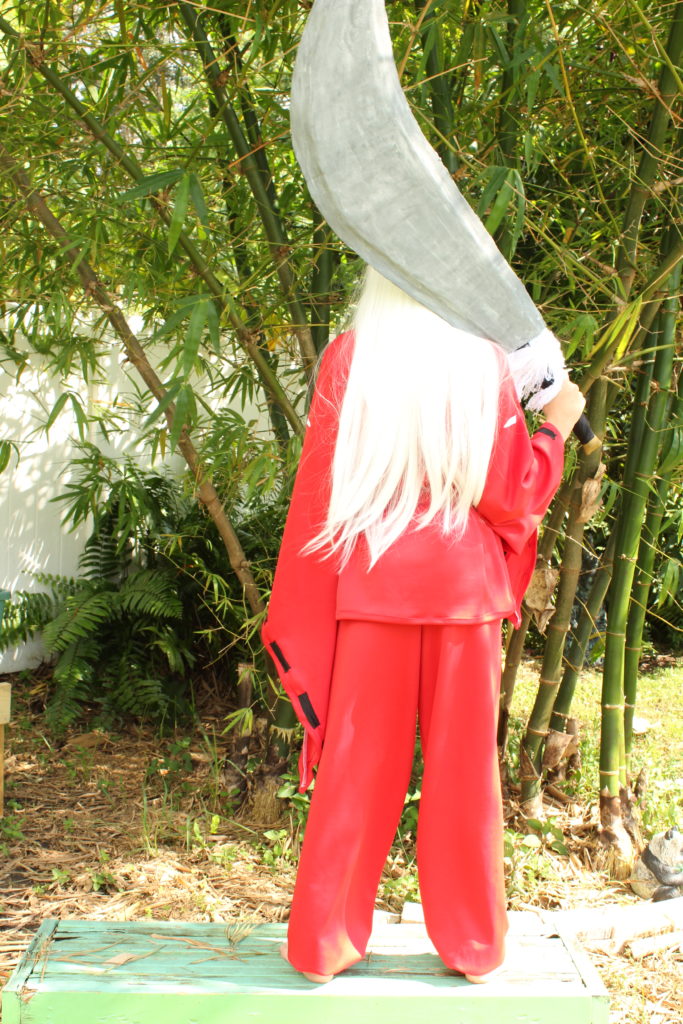
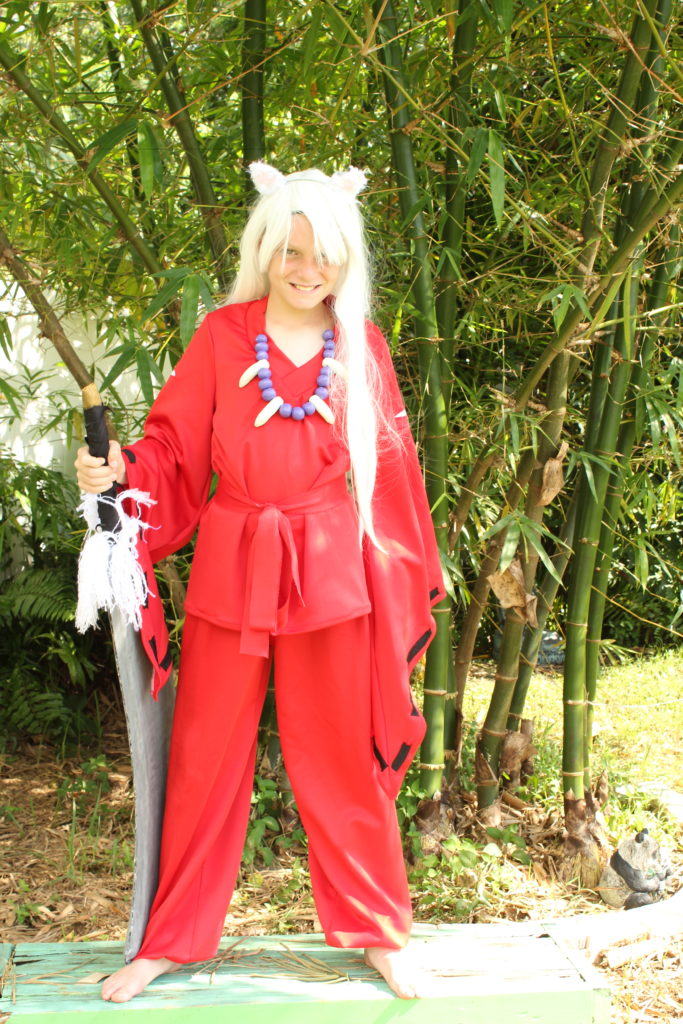
I think the piece that we are proudest of is the Tetsusaiga! The hardest part was getting the shape right. Once we had that, everything else was relatively easy. Because we wanted the sword to be lightweight, but also not flexible we used 1″ rigid foam board (we got ours from Home Depot). It’s covered with craft foam. We bought a 2mm sheet at JoAnns (I think it was 24″x40″ and was around $10 on sale – there are almost always coupons available if it isn’t on sale). We were able to cut both pieces out of it. We cut them about 2″ too big so that there was room to glue them together around the edges and then trimmed off the excess. The whole thing is painted silver.

The handle is a 1/2″ dowel about 16″ long. We drilled a hole into the rigid foam board and put some super glue on the dowel and pushed it into the foam. The dowel is then covered with craft foam and then wrapped with strips of black fabric.
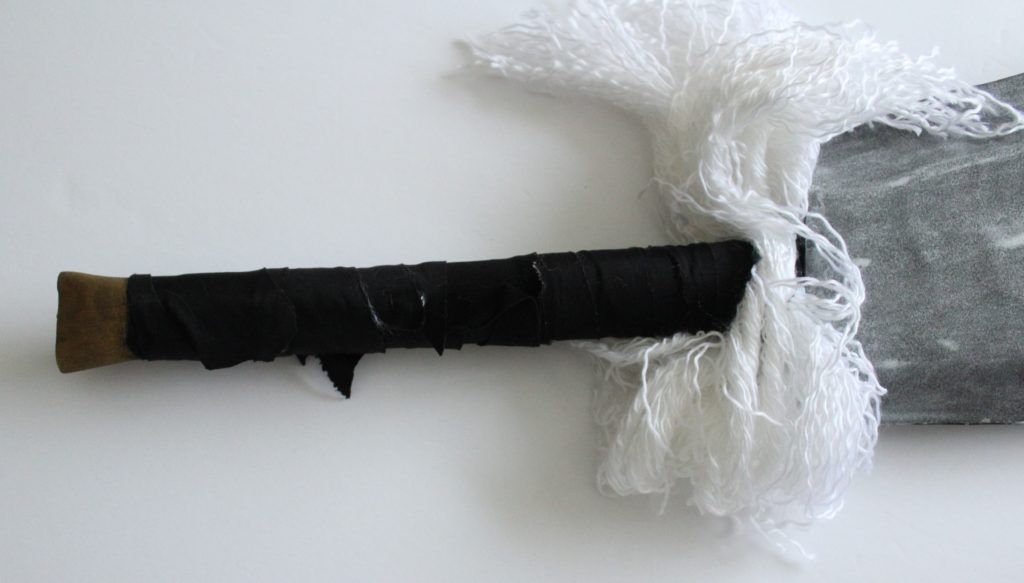
The fluff around the handle is yarn that was separated into strands and then tied in bunches and hot melt glued to the sword. It also helps hide the edge that isn’t finished.
Do you have any questions? Let me know in the comments. Happy sewing!
*This post contains affiliate links. See my disclosure policy for more details.